Articles
How To Repair Basement Walls
Modified: October 20, 2024
Learn effective ways to repair your basement walls with these informative articles. Find step-by-step guides and expert tips to fix and maintain your basement walls.
(Many of the links in this article redirect to a specific reviewed product. Your purchase of these products through affiliate links helps to generate commission for Storables.com, at no extra cost. Learn more)
Introduction
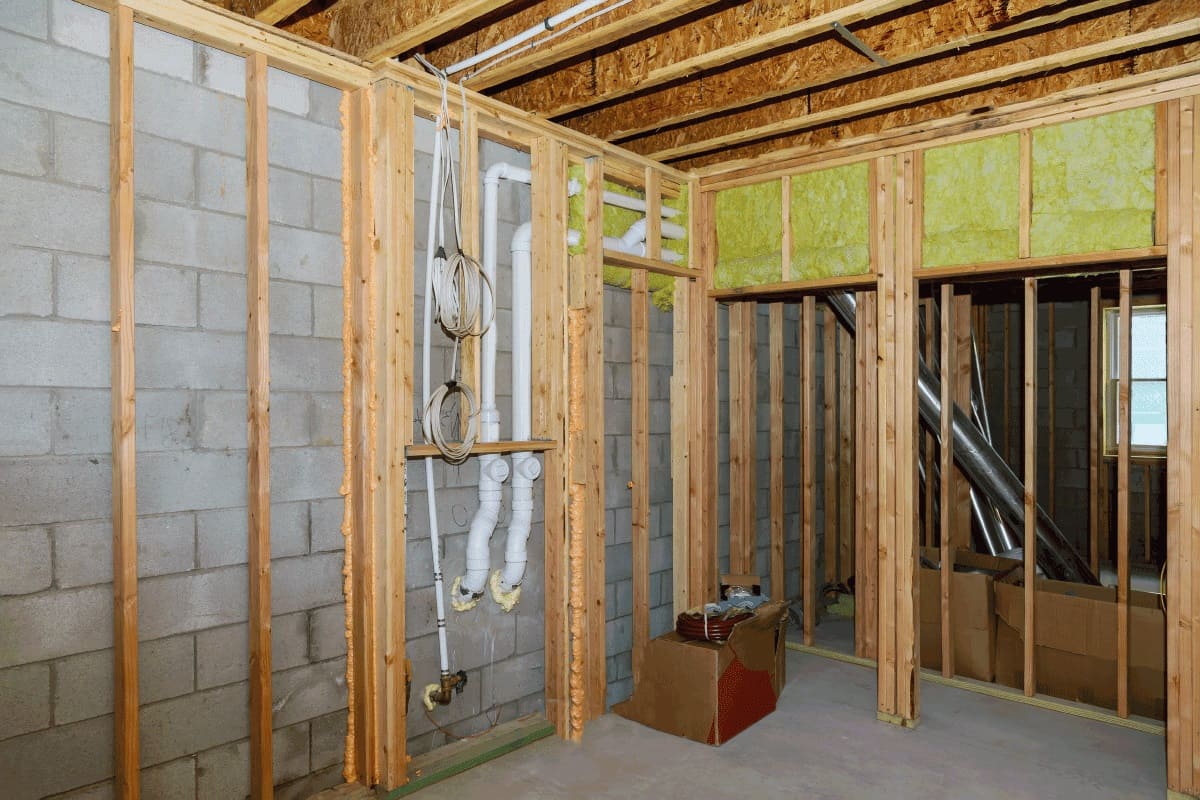
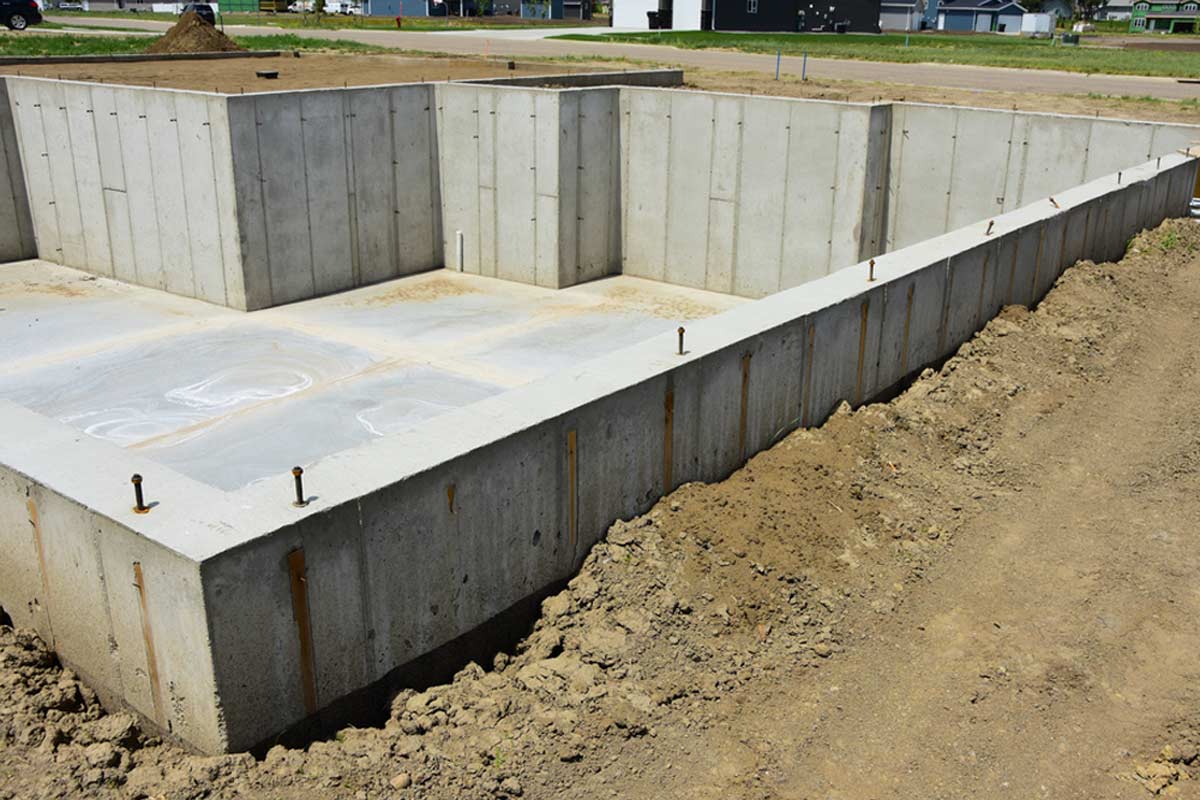
Welcome to our comprehensive guide on how to repair basement walls. Your basement is an essential part of your home, providing valuable storage space or even potential living areas. However, over time, basement walls can become damaged due to various factors such as water seepage, cracks, bowing, and moisture issues. These problems not only compromise the structural integrity of your basement but also pose a threat to the overall safety and health of your living space.
In this article, we will explain the signs of damaged basement walls, discuss the different types of basement wall repairs, outline the materials and tools you will need, and provide a step-by-step guide on how to repair and restore your basement walls. We will cover everything from patching small cracks and filling larger holes or gaps to repairing bowing or bulging walls and fixing leaks and moisture issues. Additionally, we will discuss the importance of applying finishes and paint to protect your basement walls and share some maintenance tips to keep them in optimal condition.
Repairing your basement walls is not only a matter of aesthetics but also crucial for the overall stability and functionality of your home. By following the instructions and tips provided in this guide, you will be able to tackle common basement wall issues effectively and restore your basement to its former glory.
Before we dive into the details of basement wall repairs, let’s first explore the signs that indicate your basement walls may need attention.
Key Takeaways:
- Proactive maintenance and timely repairs of basement walls are essential for preserving the structural integrity of your home and creating a safe, healthy living environment. By identifying signs of damage early and following expert guidance, you can effectively address common basement wall issues.
- From patching small cracks to stabilizing bowing walls and addressing moisture problems, this comprehensive guide equips homeowners with the knowledge and step-by-step instructions needed to successfully repair and maintain their basement walls. Prioritizing safety and consulting professionals when necessary are key to ensuring effective repairs.
Read more: How To Repair Cracks In Basement Wall
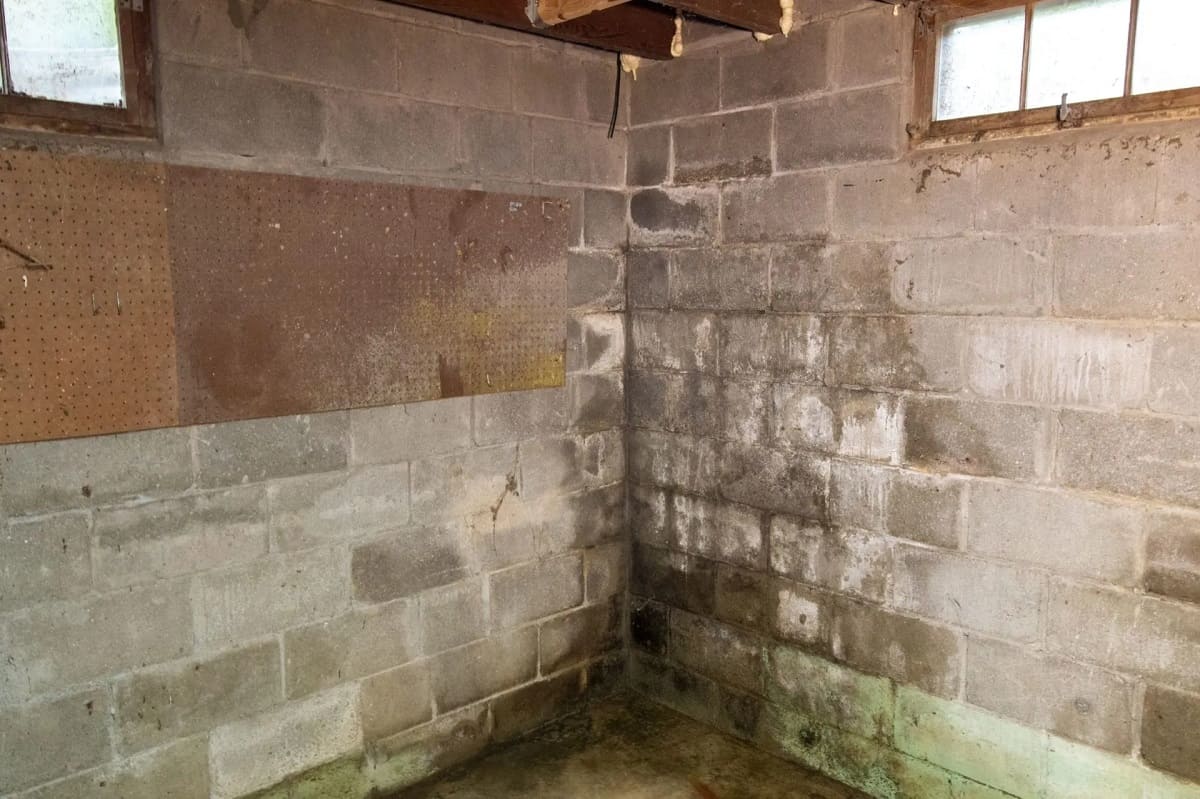
Signs of Damaged Basement Walls
Damaged basement walls can manifest in various ways, and recognizing the signs of trouble early on is crucial for prompt repair and prevention of further damage. Here are some common signs that indicate your basement walls may be in need of repair:
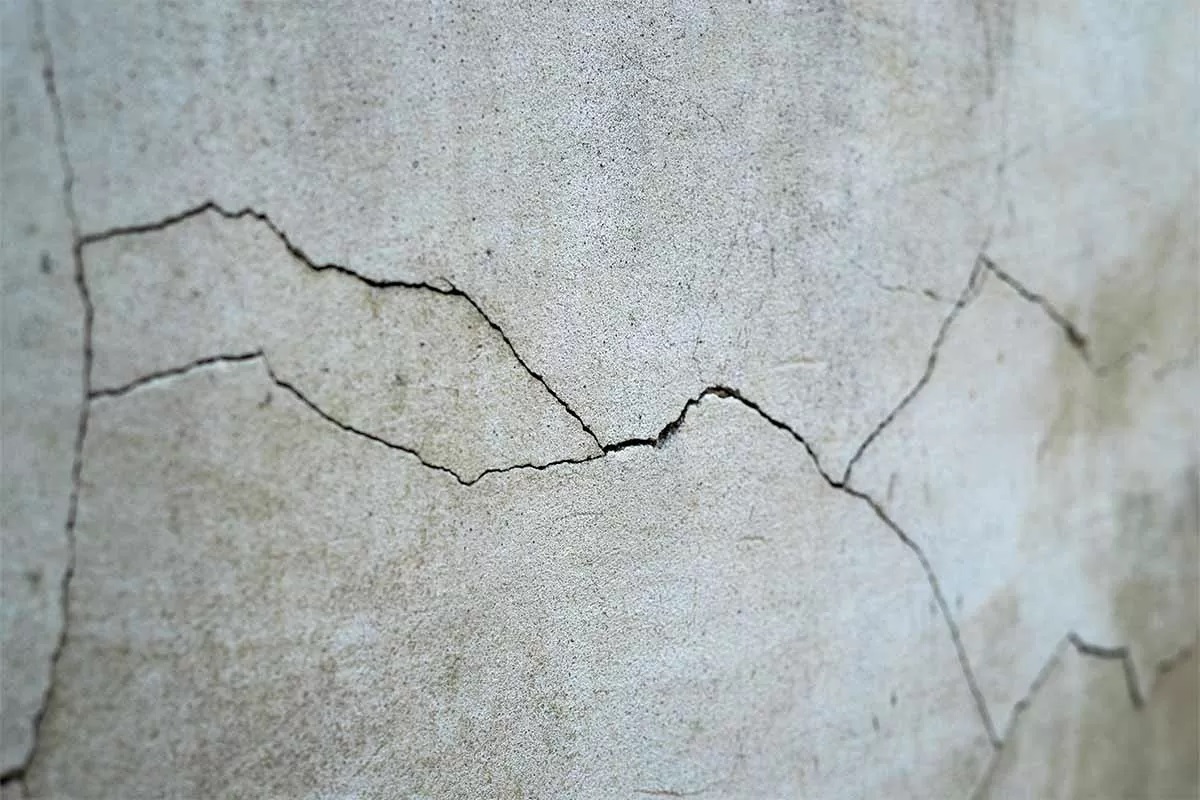
- Cracks: One of the most obvious signs of damaged basement walls is the presence of cracks. These cracks can range in size and severity, from small hairline fractures to larger fissures that run vertically or horizontally along the walls. Cracks can be caused by a variety of factors, including shifting soil, water pressure, or the natural settling of the house.
- Water Seepage: If you notice water stains, dampness, or a musty odor in your basement, it could be a sign that water is seeping in through cracks or gaps in the walls. This can lead to further damage, including mold and mildew growth, and should be addressed promptly to prevent more extensive issues.
- Bowing or Bulging Walls: Another common sign of basement wall damage is when the walls start to bow or bulge inward. This can be attributed to excessive hydrostatic pressure from the surrounding soil or poor construction techniques. Bowing or bulging walls indicate a significant structural issue that needs immediate attention to prevent collapse.
- Efflorescence: If you notice a white, powdery substance on your basement walls, it is called efflorescence. This is caused by the crystallization of minerals present in the groundwater that seep through the walls. While efflorescence itself is not a direct sign of structural damage, it often indicates that water is infiltrating the walls and should not be ignored.
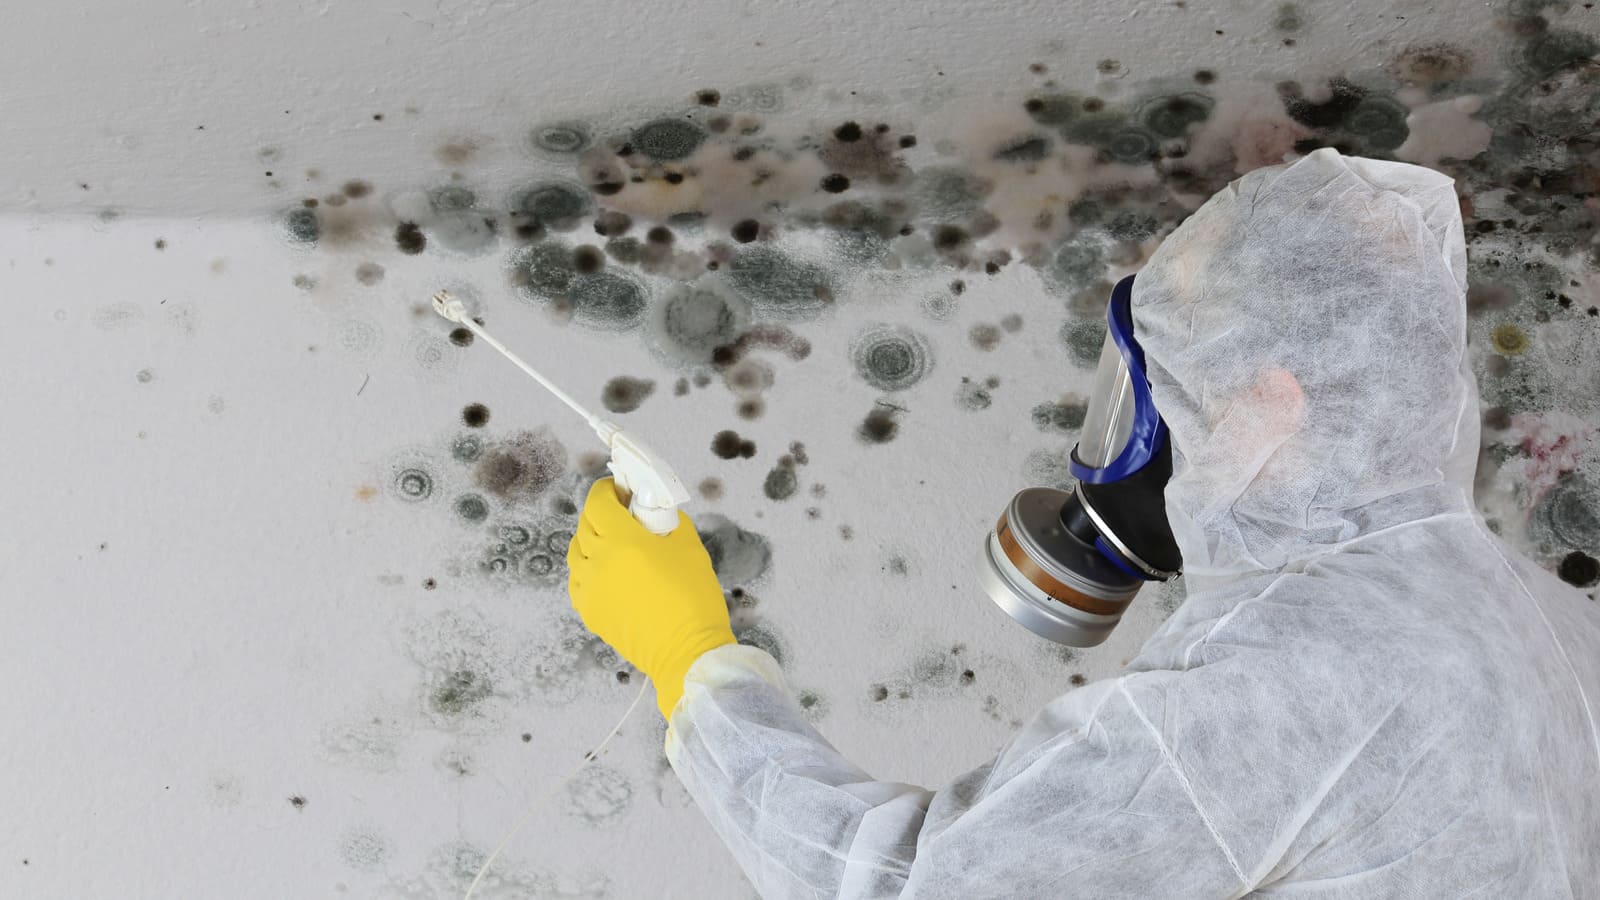
- Mold or Mildew: Excessive moisture in your basement can create the perfect breeding ground for mold and mildew. If you see visible mold growth or notice a musty smell, it is likely that your basement walls have moisture issues that need to be addressed promptly. Mold and mildew can not only damage your walls but also pose health risks to you and your family.
- Unstable or Crumbling Foundation: If you notice any signs of an unstable or crumbling foundation, such as gaps between the walls and the floor or visible deterioration of the concrete, it is crucial to address the issue immediately. Unstable foundations can compromise the structural integrity of your entire home.
If you observe any of these signs, it is essential to take action and repair your damaged basement walls to prevent further deterioration and potential structural problems. In the following sections, we will cover the different types of basement wall repairs and guide you through the step-by-step process of fixing these issues.
Types of Basement Wall Repairs
When it comes to repairing basement walls, there are several methods and techniques available, depending on the nature and severity of the damage. Here are some common types of basement wall repairs:
- Crack Repair: Cracks in basement walls are a common issue and can be repaired using various methods. Epoxy injection is often used for smaller cracks, where a resin is injected into the crack to seal it. For larger cracks, a combination of epoxy injection and carbon fiber strips can provide added strength and stability.
- Waterproofing: If water seepage is a problem in your basement, waterproofing is an essential repair to prevent further damage. Waterproofing techniques include applying waterproof coatings or membranes on the interior or exterior walls, installing drainage systems, and sealing gaps and cracks that allow water to enter.
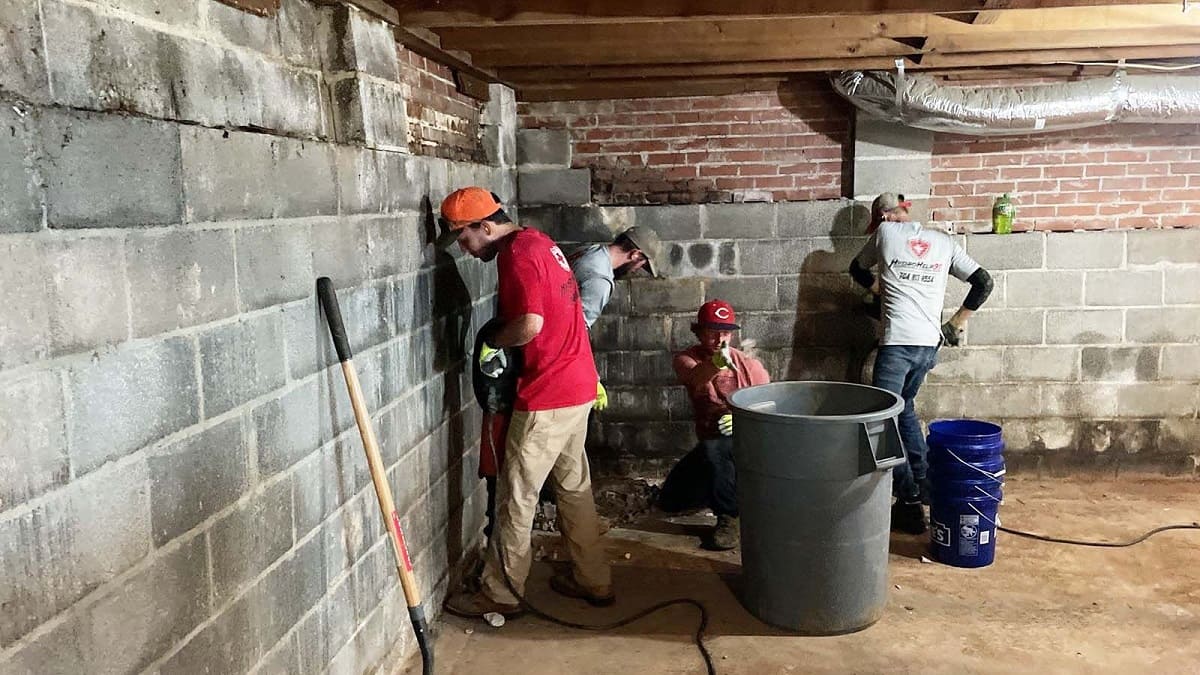
- Bowing Wall Repair: Bowing or bulging walls require immediate attention, as they pose a significant risk to the structural integrity of your home. Several methods are used to stabilize and repair bowing walls, including installing carbon fiber straps or steel beams, and employing helical tiebacks or wall anchors.
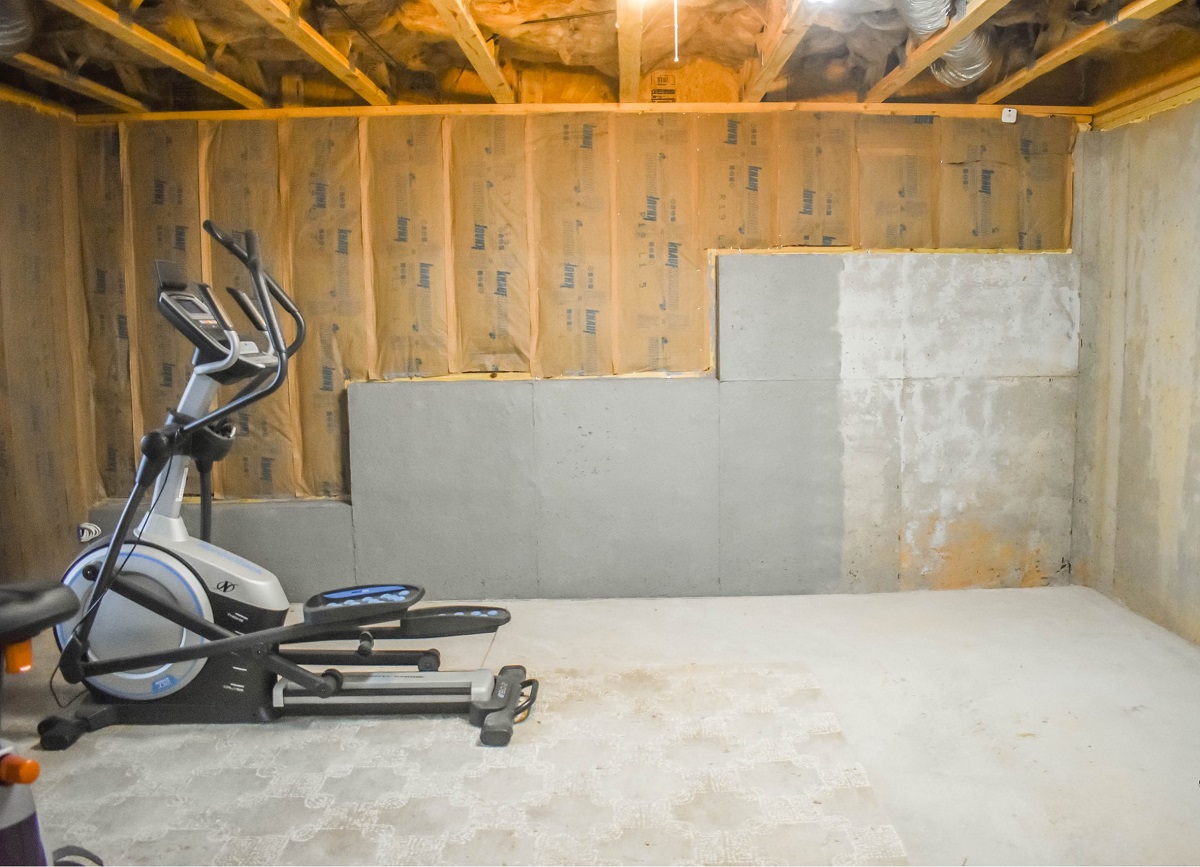
- Moisture Control: Moisture issues in the basement can lead to mold and mildew growth and compromise the overall air quality. To control moisture, repairs may involve improving drainage systems, installing dehumidifiers, insulating the walls, and ensuring proper ventilation.
- Foundation Repair: If your basement walls are damaged due to foundation issues, such as settling or shifting, foundation repair may be necessary. This can involve underpinning the foundation, which provides additional support, or using methods such as helical piers or slabjacking to stabilize and level the foundation.
The specific type of repair required for your basement walls will depend on the nature and extent of the damage. It is recommended to consult with a professional contractor or structural engineer to assess the condition of your walls and recommend the most appropriate repair method.
In the next section, we will discuss the materials and tools you will need for basement wall repairs, ensuring you’re well-prepared to tackle the project.
Materials and Tools Needed
Before you begin repairing your basement walls, it’s important to gather all the necessary materials and tools. Here is a list of essential items you will need:
- Safety Gear: Ensure you have the appropriate safety gear, including gloves, safety glasses, and a dust mask, to protect yourself during the repair process.
- Masonry Cleaning Solution: A masonry cleaning solution will be required to clean the damaged areas of your basement walls before starting the repairs.
- Epoxy Injection Kit: For crack repairs, you’ll need an epoxy injection kit, which typically includes the epoxy resin, injection ports, and dispensing tools.
- Carbon Fiber Strips or Steel Beams: If you’re repairing bowing or bulging walls, you may need carbon fiber strips or steel beams to stabilize and reinforce the walls.
- Waterproofing Coating or Membrane: Depending on the extent of your water seepage issues, consider purchasing a waterproofing coating or membrane to create a barrier against moisture.
- Drainage System: In cases of intense water seepage, installing a drainage system, such as a sump pump or French drain, may be necessary.
- Concrete Patching Compound: To fill larger holes or gaps in the basement walls, you’ll need a high-quality concrete patching compound that can withstand the pressure and moisture of the surrounding environment.
- Waterproof Sealant: A waterproof sealant is essential for sealing cracks, gaps, and joints to prevent further water infiltration.
- Appropriate Fasteners: Depending on the repair method, you may need different types of fasteners, such as screws, nails, or anchors, to secure reinforcement materials or finishes.
- Masonry or Concrete Tools: You will require common masonry or concrete tools, such as a trowel, putty knife, wire brush, masonry chisel, and hammer, to prepare the surfaces and apply the repair materials.
It is important to note that the specific materials and tools needed can vary depending on the type of repair you are undertaking. Additionally, it’s advisable to consult with a professional or follow manufacturer instructions to ensure you have the correct materials for your specific situation.
Now that you have the necessary materials and tools ready, we can move on to the step-by-step guide for repairing your basement walls.
Step-by-Step Guide to Repairing Basement Walls
Repairing basement walls can be a complex process, but by following a step-by-step guide, you can effectively restore the integrity of your walls. Here is a detailed outline of the repair process:
- Assess the Damage: Begin by carefully inspecting your basement walls to identify the extent and type of damage. This will help determine the appropriate repair method and materials needed.
- Prepare the Work Area: Clear the area around the damaged walls, remove any loose debris, and create a clean and safe work environment.
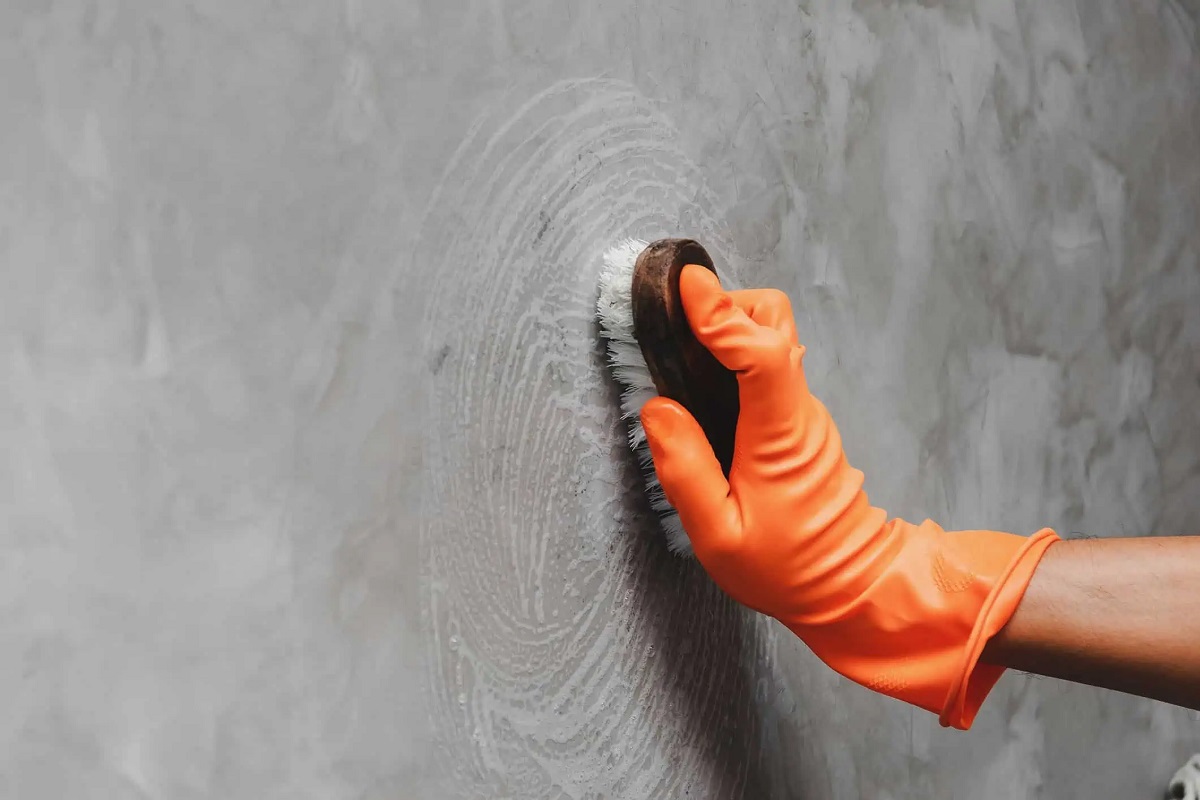
- Clean the Walls: Use a masonry cleaning solution and a wire brush to thoroughly clean the damaged areas of your basement walls. This will remove any dirt, dust, or loose material that could affect the repair process.
- Patch Small Cracks: For small cracks, apply an epoxy injection using the provided kit. Inject the epoxy resin into the cracks, following the manufacturer’s instructions, and allow it to cure completely.
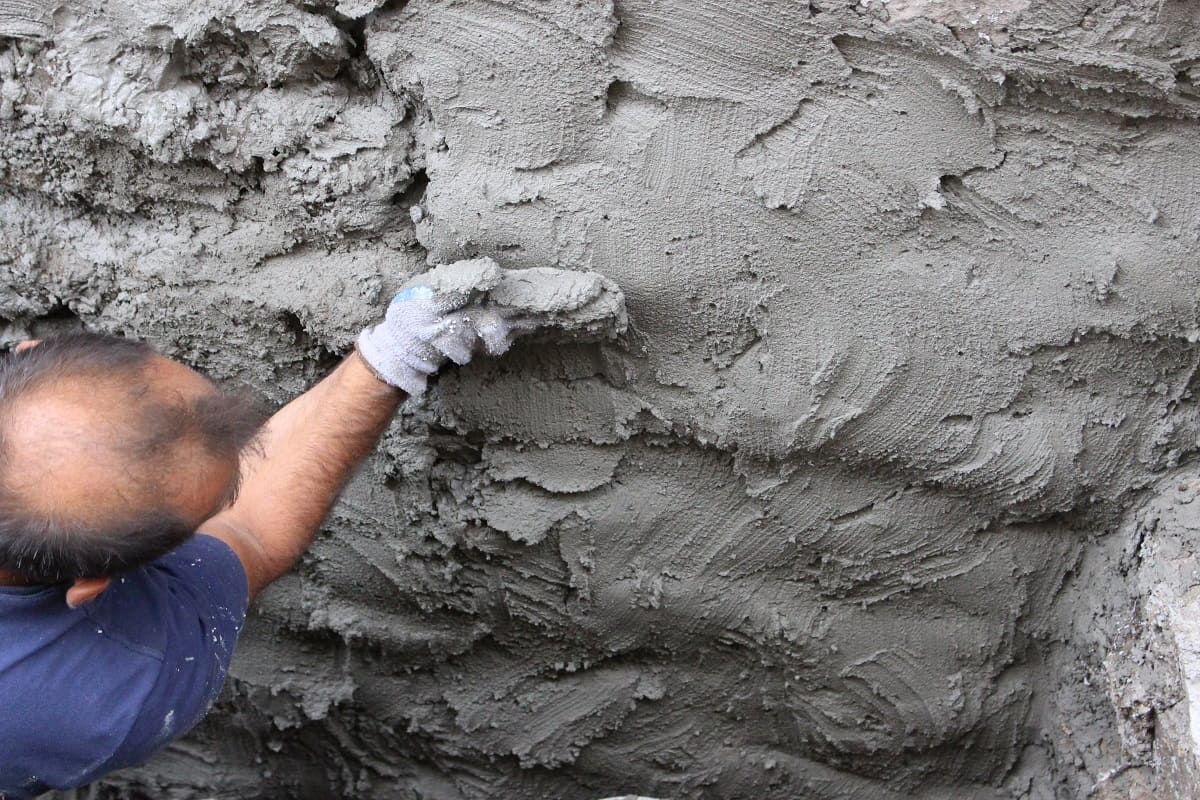
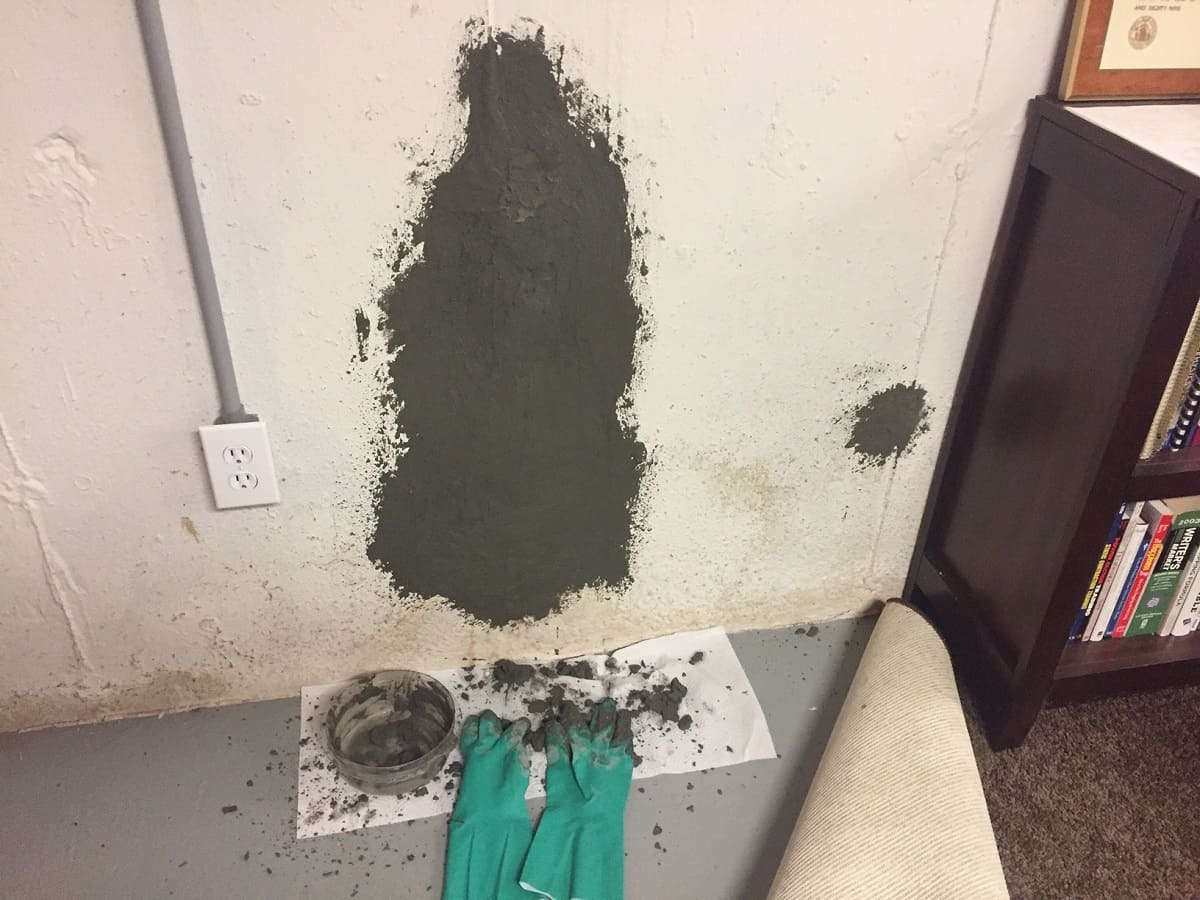
- Fill Larger Holes or Gaps: For larger holes or gaps in the walls, use a concrete patching compound. Prepare the compound according to the manufacturer’s instructions, fill the holes with the mixture, and smooth the surface using a trowel or putty knife.
- Repair Bowing or Bulging Walls: If your walls are bowing or bulging, reinforce them using carbon fiber strips or steel beams. Consult with a professional to determine the best method for your specific situation and follow their instructions carefully.
- Fix Leaks and Moisture Issues: Address any water seepage problems by applying a waterproof coating or membrane to the interior or exterior walls. Install a drainage system if required, such as a sump pump or French drain, to redirect water away from the basement.
- Apply Finishes and Paint: Once the repairs are complete and the walls are dry, apply a finish or paint of your choice. This will provide added protection and enhance the visual appeal of your basement walls.
- Maintain the Walls: Regularly inspect your basement walls for any signs of new damage or issues. Address any potential problems promptly to prevent further deterioration.
It is important to note that while small repairs can be done by homeowners, more complex or extensive repairs may require professional assistance. Always prioritize safety and consult with experts when necessary.
With this step-by-step guide, you are now equipped with the knowledge to repair and restore your damaged basement walls. Continue reading for additional tips on patching small cracks and filling larger holes or gaps in the walls.
Read more: How To Fix A Bowing Basement Wall
Patching Small Cracks
Patching small cracks in your basement walls is a crucial step in preventing further damage and maintaining the structural integrity of your home. Here’s a step-by-step guide to help you patch small cracks effectively:
- Clean the Crack: Use a wire brush or a brush attachment on a power drill to remove any loose debris, dust, or dirt from the crack. Ensure the crack is clean and free of any loose particles.
- Prepare the Epoxy Injection: Follow the manufacturer’s instructions to prepare the epoxy injection. This typically involves mixing the resin and hardener components together in the specified ratios.
- Insert Injection Ports: Place injection ports along the length of the crack, spacing them evenly. The number of injection ports required will depend on the length and severity of the crack.
- Apply the Epoxy Resin: Fill the crack with the prepared epoxy resin using a dispensing tool or a caulk gun. Start from the bottom of the crack and work your way up, ensuring the resin fills the entire crack.
- Allow the Epoxy to Cure: Leave the epoxy to cure and harden as per the manufacturer’s instructions. This typically takes a few hours to a day, depending on the product used.
- Remove the Injection Ports: Once the epoxy has completely cured, remove the injection ports by carefully cutting them off with a utility knife or chisel. Be careful not to damage the surrounding area.
- Smooth and Paint: If necessary, use a putty knife or sandpaper to smooth out any excess epoxy and create a flush finish with the wall. Apply paint or a finish that matches your basement walls to blend the repaired area seamlessly.
It’s important to note that while epoxy injections are effective for small cracks, they may not be suitable for larger or more severe cracks. In such cases, it is recommended to consult with a professional to determine the best repair method.
By following these steps, you can successfully patch small cracks in your basement walls. However, if you encounter larger holes or gaps, the process for repairing them may differ. Read on to learn the steps for filling larger holes or gaps in the walls.
When repairing basement walls, make sure to address any water issues first to prevent further damage. Use waterproofing materials and consider hiring a professional for structural repairs.
Filling Larger Holes or Gaps
When dealing with larger holes or gaps in your basement walls, it’s important to use a proper technique and suitable materials to ensure a durable and long-lasting repair. Here’s a step-by-step guide to filling larger holes or gaps effectively:
- Clean and Prep the Area: Begin by cleaning the area around the hole or gap with a wire brush to remove any loose debris, dust, or dirt. Ensure the surface is clean and free from any contaminants that may interfere with the adhesion of the repair material.
- Prepare the Concrete Patching Compound: Follow the manufacturer’s instructions to prepare the concrete patching compound. This typically involves mixing the compound with water to achieve the desired consistency.
- Fill the Hole or Gap: Use a trowel or putty knife to fill the hole or gap with the prepared concrete patching compound. Press the compound firmly into the opening, ensuring it completely fills the space and adheres to the surrounding wall.
- Smooth and Level: After filling the hole or gap, smooth the surface of the patching compound using the trowel or putty knife. Feather out the edges to create a seamless transition between the patch and the surrounding wall. Ensure the repaired area is level and flush with the rest of the wall.
- Allow Proper Drying Time: Allow the patching compound to dry and cure as per the manufacturer’s instructions. This typically takes several hours or longer, depending on the product used. Avoid touching or disturbing the patched area during this time.
- Sand and Finish: Once the patching compound has fully dried, lightly sand the repaired area to smooth out any imperfections or roughness. Wipe away any dust or debris with a clean, damp cloth. Apply paint or a finish that matches your basement walls to complete the repair and blend the area with the surrounding wall.
It’s important to note that the effectiveness and durability of the repair will depend on the quality of the concrete patching compound used. Ensure you choose a high-quality product that is specifically designed for patching masonry and can withstand the conditions of a basement environment.
By following these steps, you can effectively fill larger holes or gaps in your basement walls. However, for more complex or extensive repairs, it may be necessary to consult with a professional for guidance and assistance.
Next, we’ll discuss the specific steps involved in repairing bowing or bulging walls, which require specialized techniques to address the structural issues.
Repairing Bowing or Bulging Walls
Repairing bowing or bulging walls in your basement is crucial to prevent further structural damage and ensure the safety of your home. Here’s a step-by-step guide to help you address these issues:
- Assess the Severity: Before starting the repair, it’s important to assess the severity of the bowing or bulging. Measure the extent of the displacement and monitor any changes over time. This will help determine the appropriate repair method.
- Consult with a Professional: Bowing or bulging walls can be a serious structural concern. It’s recommended to consult with a structural engineer or professional contractor to evaluate the situation and provide expert guidance on the most suitable repair method.
- Stabilize the Walls: Depending on the severity of the issue, several methods can be used to stabilize the walls. This may involve installing carbon fiber strips, steel beams, helical tiebacks, or wall anchors. These reinforcements help counteract the pressure exerted on the walls and prevent further bowing or bulging.
- Follow Professional Recommendations: The specific steps and techniques for repairing bowing or bulging walls will vary based on the recommendations provided by the professional assessing your situation. It may involve excavating the exterior of the foundation, installing the necessary reinforcements, and securing them to the walls or footings.
- Monitor and Maintain: After the repair, it is essential to monitor the walls regularly and address any signs of movement or further issues promptly. Follow maintenance guidelines provided by the professional to ensure the long-term stability of the repaired walls.
It’s important to note that repairing bowing or bulging walls is a complex task that requires specialized knowledge and expertise. It’s highly recommended to seek professional assistance in addressing these structural issues. A professional will assess the specific conditions of your basement and provide a tailored solution to restore the structural integrity of your walls.
By following these steps and working with a professional, you can effectively repair and stabilize bowing or bulging walls in your basement, ensuring the safety and stability of your home. However, if you’re dealing with leaks or moisture issues in your basement, read on to learn the steps to fix these problems.
Fixing Leaks and Moisture Issues
Dealing with leaks and moisture issues in your basement is essential to prevent further damage and create a healthier living environment. Here’s a step-by-step guide to help you address these problems effectively:
- Identify the Source of the Leak: Before proceeding with any repairs, it’s important to determine the source of the leak. Check for signs of water intrusion, such as damp spots, water stains, or musty odors, and trace them back to their origin.
- Inspect Exterior Drainage: Check the exterior of your home for proper drainage systems. Ensure that the grading slopes away from your foundation, downspouts are directed away from the house, and gutters are clean and functioning well. Poor exterior drainage can contribute to basement moisture issues.
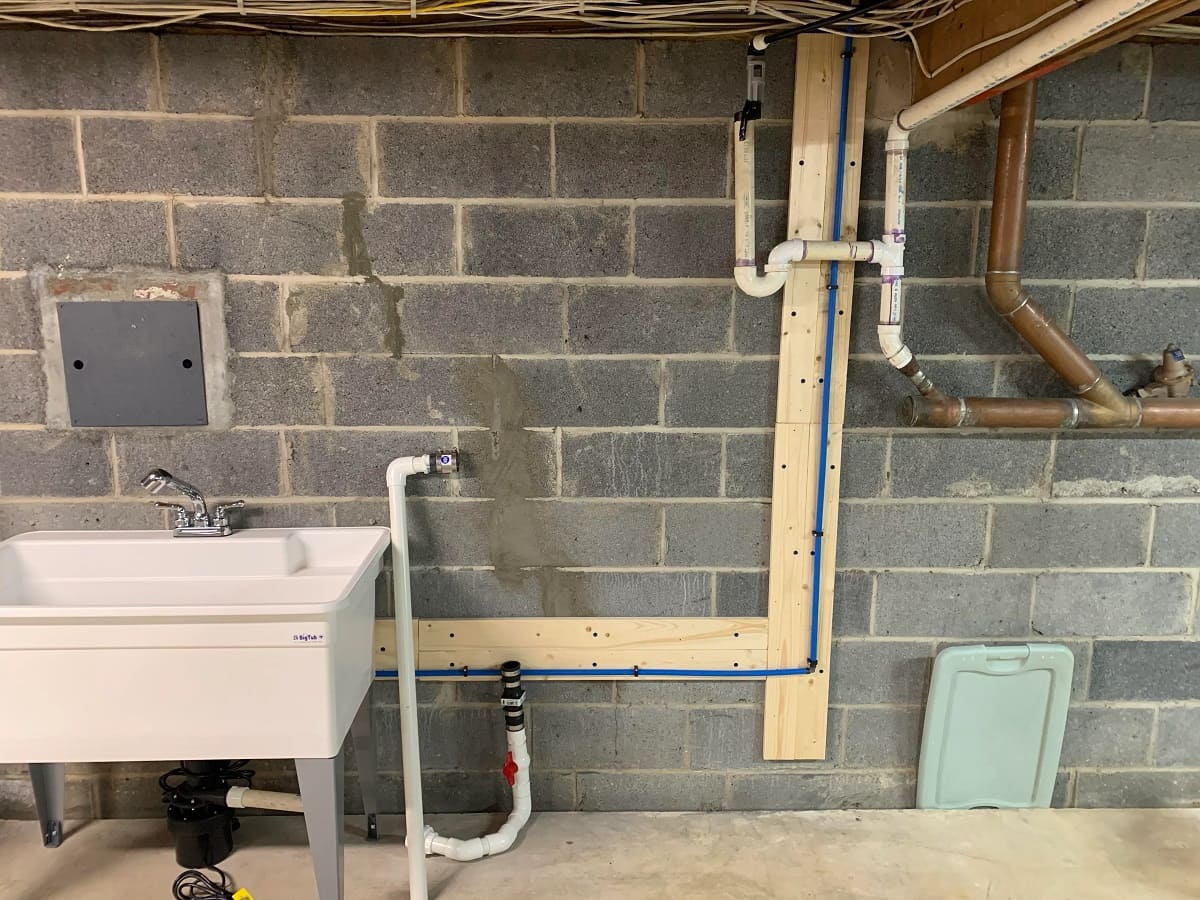
- Repair Foundation Cracks: Inspect your basement walls for any visible cracks or gaps. Use a masonry patching compound or hydraulic cement to seal these cracks from the inside. Ensure the area is clean and dry before applying the patching material.
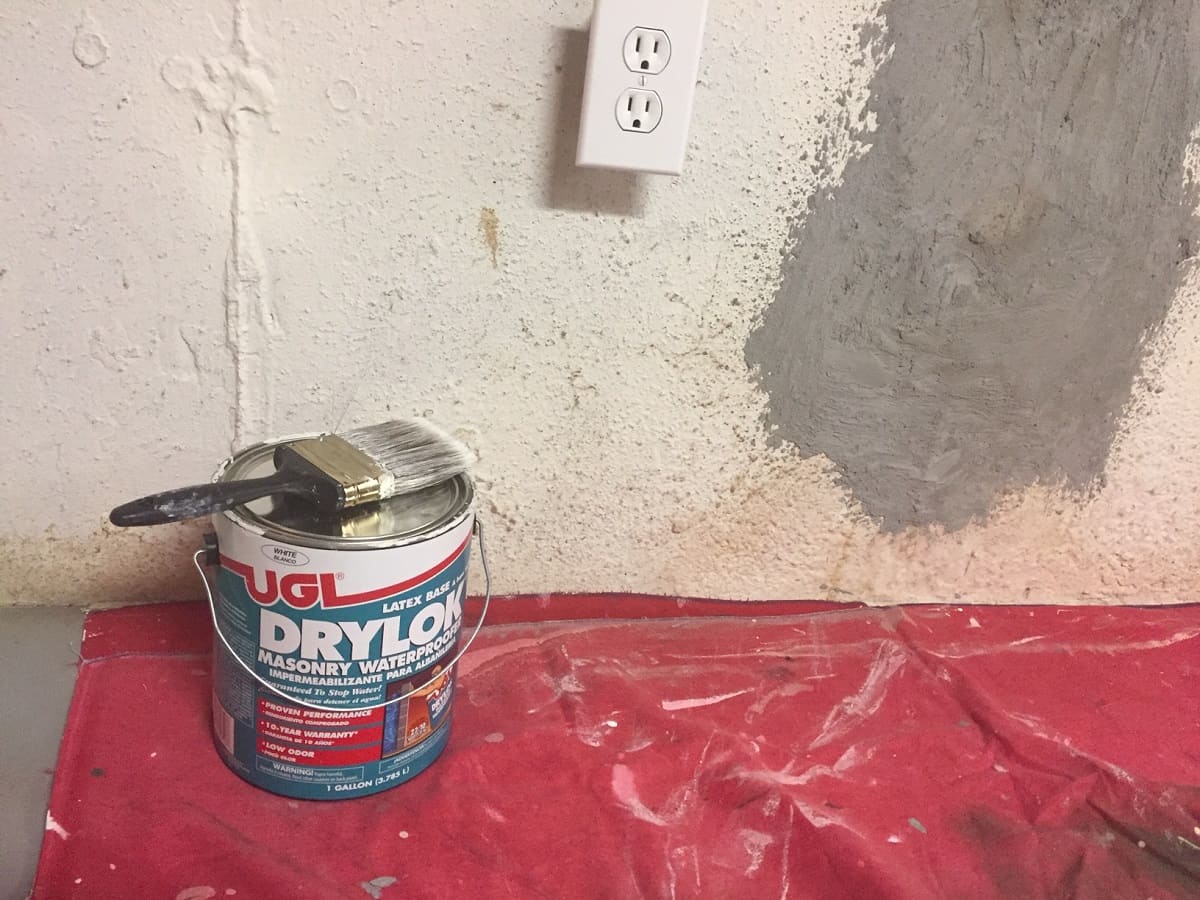
- Apply Waterproof Coating or Membrane: Depending on the severity of the moisture issues, applying a waterproof coating or membrane to the interior or exterior walls can provide an additional layer of protection. Follow the manufacturer’s instructions to apply the coating or membrane and ensure proper coverage.
- Install a Drainage System: In cases where water seepage is persistent, installing a drainage system can be an effective solution. Consider options such as a sump pump or French drain to redirect water away from the foundation and prevent it from entering the basement.
- Improve Ventilation and Circulation: Proper ventilation is crucial in reducing moisture levels in your basement. Install exhaust fans or dehumidifiers to improve air circulation and control humidity levels. Consider using a basement ventilation system if necessary.
- Monitor and Maintain: After addressing the leaks and moisture issues, continue to monitor your basement regularly. Check for signs of any new leaks or moisture problems and address them promptly to prevent further damage.
It’s important to note that fixing leaks and moisture issues may require a combination of different solutions and may involve both interior and exterior repairs. If you’re unsure about the best course of action or if the moisture issues persist, it’s advisable to consult with a professional contractor or waterproofing specialist for expert guidance.
By following these steps and implementing the necessary repairs and precautions, you can effectively fix leaks and moisture issues in your basement, creating a healthier and more usable space. Now, let’s move on to the final section, which covers applying finishes and paint to protect your basement walls.
Applying Finishes and Paint
Applying finishes and paint to your basement walls is not only an aesthetic choice, but also a crucial step in protecting and preserving the repaired surfaces. Here’s a step-by-step guide to help you apply finishes and paint effectively:
- Preparation: Before applying finishes or paint, ensure that the repaired walls are clean, dry, and free from any dust or debris. Use a damp cloth or sponge to wipe down the surfaces and allow them to dry completely.
- Choose the Right Finish: Select a finish that is suitable for basement environments, such as a waterproof or moisture-resistant paint. Consider factors such as durability, coverage, and the desired aesthetic to make an informed decision.
- Prime the Walls (if needed): If the repaired walls are porous or have uneven surfaces, applying a primer can help improve adhesion and create a smooth finish. Follow the manufacturer’s instructions to apply the primer and allow it to dry completely.
- Apply the Finish: Use a brush, roller, or paint sprayer to apply the chosen finish to the basement walls. Start from the top and work your way down, ensuring even coverage and avoiding drips or streaks. Allow the first coat to dry as per the manufacturer’s instructions before proceeding to the next coat.
- Apply Multiple Coats (if needed): Depending on the type of finish and desired coverage, you may need to apply multiple coats. Ensure each coat is dry before applying the next one, and follow the manufacturer’s instructions for recommended drying times.
- Allow Sufficient Drying Time: After applying the final coat, allow sufficient drying time for the finish to cure and harden. Proper drying time will ensure a durable and long-lasting finish that can withstand the demands of a basement environment.
- Inspect and Touch Up: After the finish has dried, inspect the walls for any missed spots or imperfections. Touch up these areas with additional paint, if necessary, to achieve a seamless and uniform appearance.
It’s important to note that the specific instructions and drying times may vary depending on the type of finish and paint you choose. Always refer to the manufacturer’s instructions for the recommended application techniques and drying guidelines.
By following these steps and applying suitable finishes and paint, you can protect your basement walls from moisture, improve their appearance, and ensure their long-term durability. Now, let’s move on to the final section to learn some important maintenance tips for keeping your basement walls in optimal condition.
Maintenance Tips for Basement Walls
Maintaining your basement walls is essential to ensure their long-term stability and prevent future damage. Here are some important maintenance tips to keep your basement walls in optimal condition:
- Inspect Regularly: Schedule regular inspections of your basement walls to check for any signs of cracks, leaks, or moisture issues. Catching problems early can prevent further damage and costly repairs.
- Monitor Moisture Levels: Keep an eye on the moisture levels in your basement. Use a hygrometer to measure humidity and address any high moisture levels promptly, as excessive moisture can lead to mold growth and damage the walls.
- Control Indoor Air Quality: Maintain good ventilation in your basement to reduce moisture buildup. Use dehumidifiers or fans to circulate air, open windows when weather permits, and avoid storing damp or wet items in your basement.
- Maintain Exterior Drainage: Ensure that the exterior drainage systems are functioning properly. Regularly clean gutters, keep downspouts clear and directed away from the foundation, and ensure that the grading around your home slopes away from the foundation to prevent water infiltration.
- Address Small Issues Promptly: If you notice any cracks, leaks, or small damage to your basement walls, address them promptly. Small problems can escalate over time, leading to larger and more expensive repairs.
- Manage Landscaping: Properly maintain the landscaping around your home to prevent excessive water from reaching your basement walls. Ensure that plants, shrubs, and trees are not planted too close to the foundation and that their roots do not pose a threat to the walls.
- Avoid Excessive Weight: Do not store heavy items or place excessive weight against your basement walls, as this can put unnecessary pressure on them and potentially lead to cracks or damage.
- Reapply Waterproof Coating: Over time, the effectiveness of waterproof coatings may diminish. Consider periodically reapplying a fresh coat of waterproof coating or membrane to maintain protection against moisture.
- Consult with Professionals: If you have any concerns or notice significant issues with your basement walls, it’s always best to consult with professionals. They can provide expert guidance, conduct inspections, and recommend appropriate repairs or maintenance strategies.
By implementing these maintenance tips, you can preserve the integrity of your basement walls and minimize the risk of future damage. Remember that prevention and proactive care are key to maintaining a durable and safe basement environment.
Now that you’re equipped with the knowledge of repairing and maintaining your basement walls, you can confidently undertake these tasks to protect and enhance the functionality of your living space. Remember to prioritize safety and consult with professionals when needed.
Conclusion
Repairing and maintaining your basement walls is a vital responsibility as a homeowner. By addressing and fixing any damage, leaks, or moisture issues, you can uphold the structural integrity of your home and create a safe and healthy basement environment. Throughout this comprehensive guide, we have covered various aspects of basement wall repairs and provided step-by-step instructions to assist you in the process.
We began by discussing the signs of damaged basement walls, such as cracks, water seepage, bowing or bulging walls, efflorescence, and mold or mildew growth. Identifying these signs early on empowers you to take the necessary steps to prevent further damage and maintain a secure living space.
We then delved into the different types of basement wall repairs, including crack repairs, waterproofing, bowing wall repairs, moisture control, and foundation repairs. Each repair method requires specific materials, tools, and techniques to address the unique needs of your basement walls.
We provided guidance on gathering the required materials and tools for basement wall repairs, highlighting the importance of safety gear, masonry cleaning solution, epoxy injection kits, waterproofing coatings or membranes, and appropriate fasteners, among other essentials.
Next, we presented a comprehensive step-by-step guide for repairing basement walls. This included instructions on patching small cracks, filling larger holes or gaps, repairing bowing or bulging walls, fixing leaks and moisture issues, and applying finishes and paint. Following these steps will help you achieve effective repairs and restore the functionality and visual appeal of your basement walls.
To ensure the longevity of your basement walls, we offered maintenance tips such as regular inspections, monitoring moisture levels, controlling indoor air quality, maintaining exterior drainage, addressing small issues promptly, managing landscaping, avoiding excessive weight, reapplying waterproof coatings, and consulting with professionals when needed.
In conclusion, the repair and maintenance of your basement walls are crucial for the overall stability, functionality, and aesthetic appeal of your home. By following the guidelines and suggestions in this guide, you will be well-equipped to tackle common basement wall issues and preserve the integrity of your living space. Remember, if you encounter significant damage or are unsure about any aspect of the repairs, it’s always advisable to consult with professionals for expert guidance and assistance.
Frequently Asked Questions about How To Repair Basement Walls
Was this page helpful?
At Storables.com, we guarantee accurate and reliable information. Our content, validated by Expert Board Contributors, is crafted following stringent Editorial Policies. We're committed to providing you with well-researched, expert-backed insights for all your informational needs.


0 thoughts on “How To Repair Basement Walls”