Articles
How To Parge Basement Walls
Modified: May 6, 2024
Learn how to parge basement walls with our informative articles. Get step-by-step instructions and expert tips to improve your basement's appearance and durability.
(Many of the links in this article redirect to a specific reviewed product. Your purchase of these products through affiliate links helps to generate commission for Storables.com, at no extra cost. Learn more)
Introduction
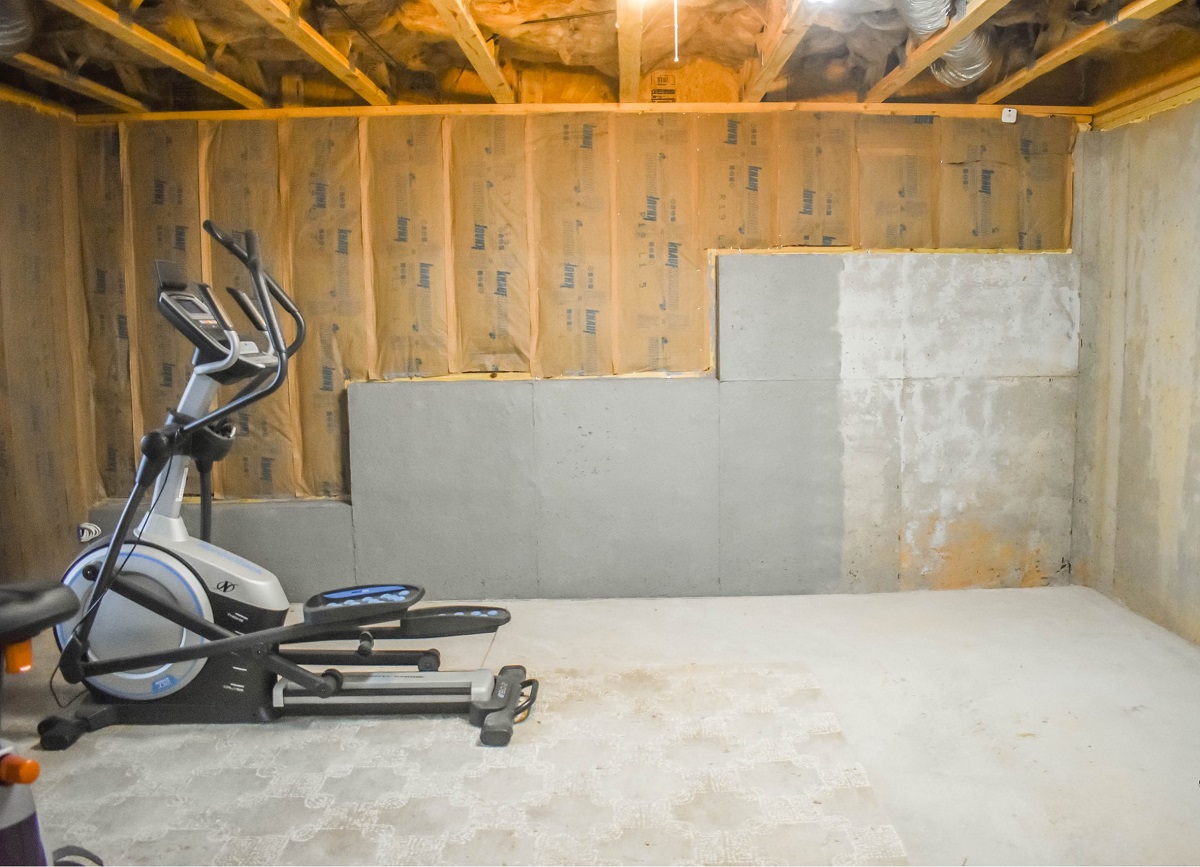
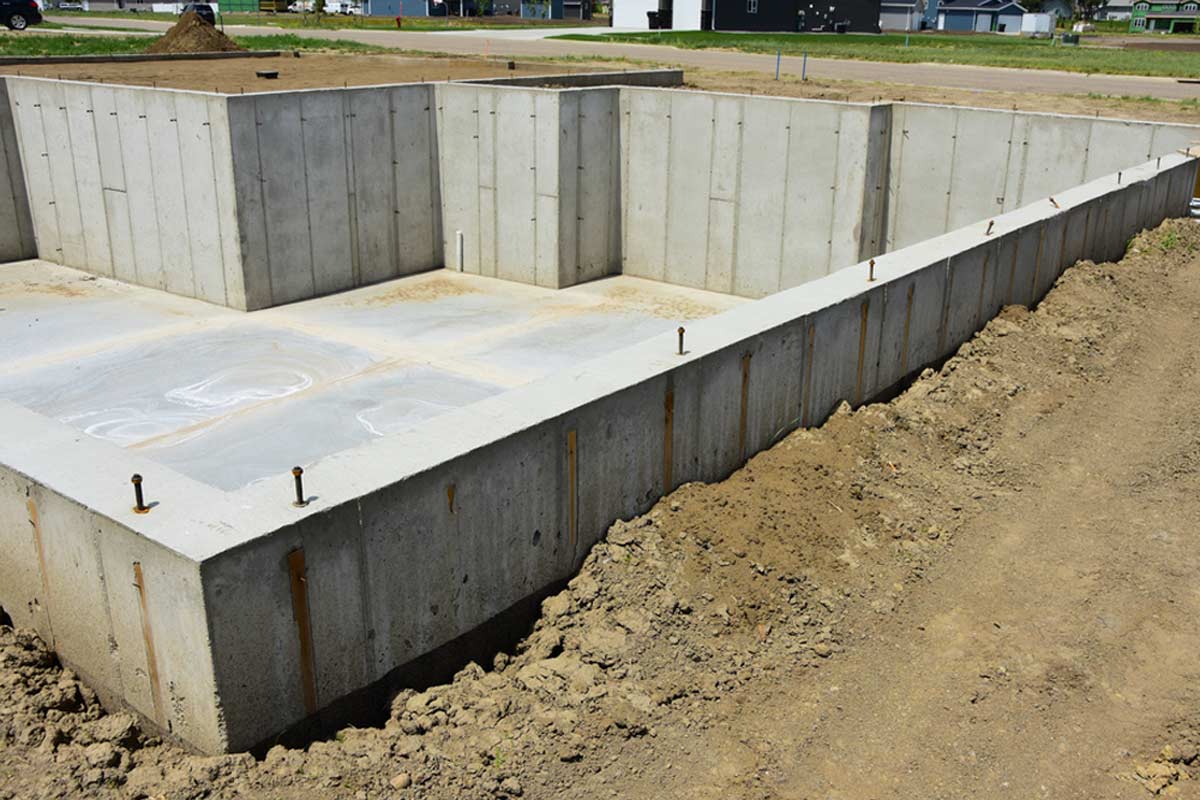
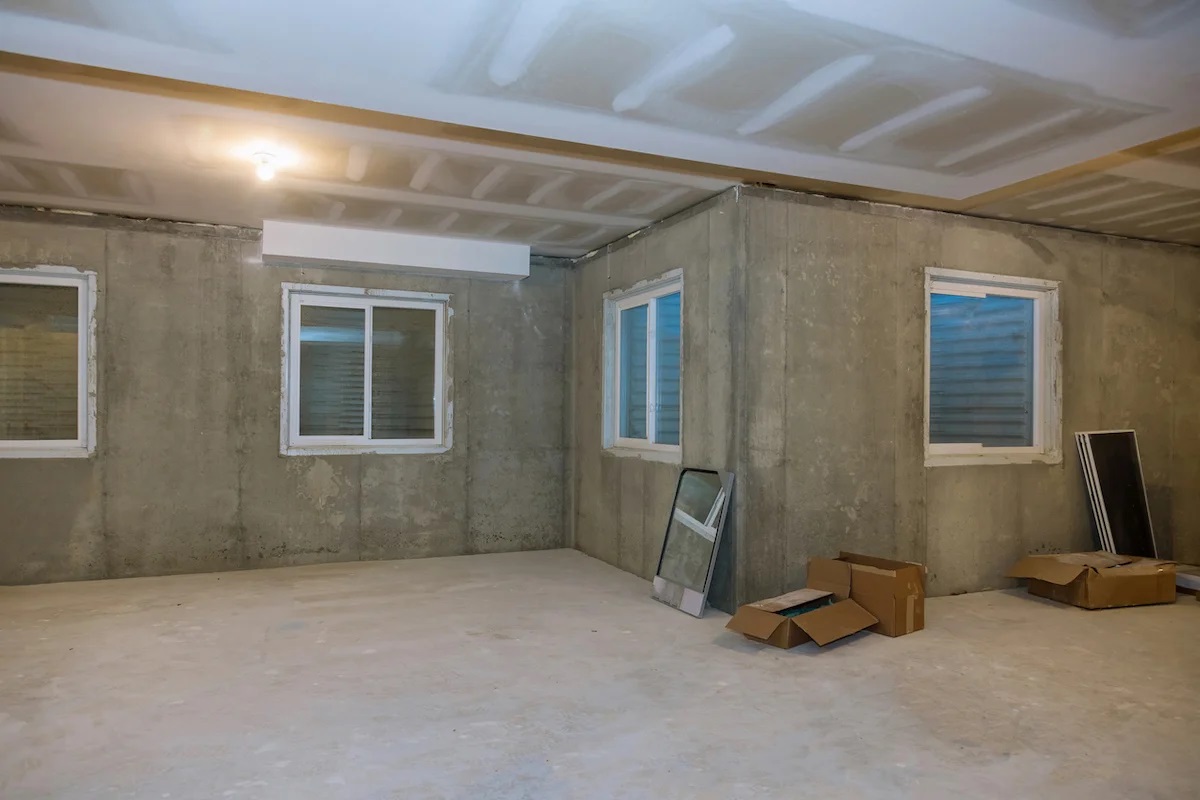
Parging basement walls is an essential step in creating a finished and polished look for your basement. If you’re looking to convert your basement into a livable space or simply want to improve its overall appearance, parge coating can help you achieve that.
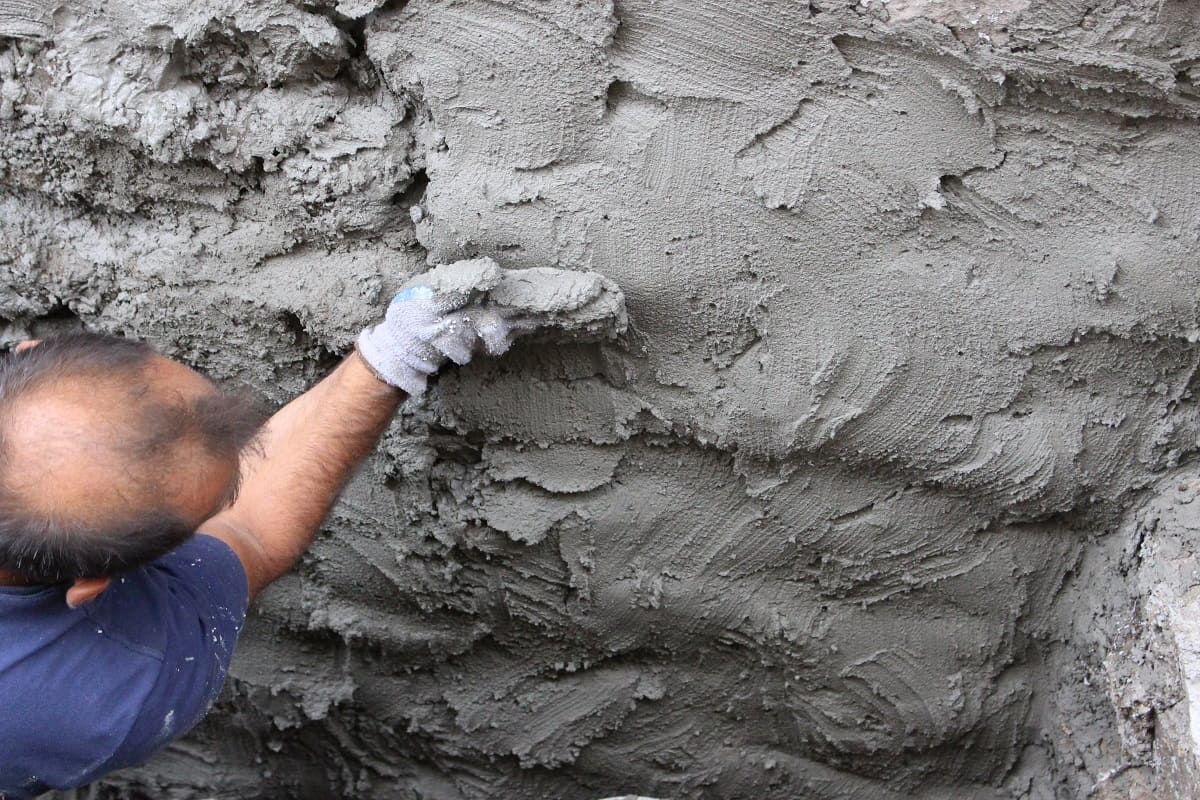
Parging refers to the process of applying a thin layer of mortar or cement mixture to the surface of your basement walls. This coating not only serves as a protective barrier against moisture and potential water damage but also gives your basement a more visually appealing finish.
In this article, we will guide you through the step-by-step process of parge coating your basement walls. We’ll cover the materials and tools you’ll need, as well as provide detailed instructions on how to prep the walls, mix the parging material, apply the coat, and achieve a smooth, professional-looking finish.
Before we dive into the process, it’s important to note that parge coating is a labor-intensive task that requires some level of skill and experience. If you are not confident in your ability to complete this project or if your basement walls have significant structural issues, it’s best to consult a professional contractor.
Now, let’s gather our materials and tools and get started on transforming your basement walls into a beautiful, functional space!
Key Takeaways:
- Transform your basement with a professional parge coating to enhance its appearance and protect against moisture. Follow the step-by-step guide for a polished and visually appealing space.
- Properly prepare, mix, apply, and finish the parging coat to achieve a durable and visually pleasing result. Take the time to cure and consider optional sealants for added protection.
Read more: How To Parge A Brick Foundation Wall
Materials and Tools Needed
Before you begin the process of parge coating your basement walls, gather the following materials and tools to ensure a smooth and efficient workflow:
- Parging mix: This is a pre-mixed bag of mortar or cement specifically formulated for parge coating. Make sure to choose a mix suitable for indoor applications.
- Water: You’ll need water to mix with the parging mix to create the desired consistency.
- Bucket: A large bucket or mixing container to combine the parging mix and water.
- Trowel: A trowel is a hand tool with a flat, pointed blade used to spread and smooth the parging material on the walls.
- Masonry brush: Use a stiff-bristled brush to dampen the surface of the walls before applying the parging coat.
- Damp cloth or sponge: To clean tools and wipe off any excess parging material.
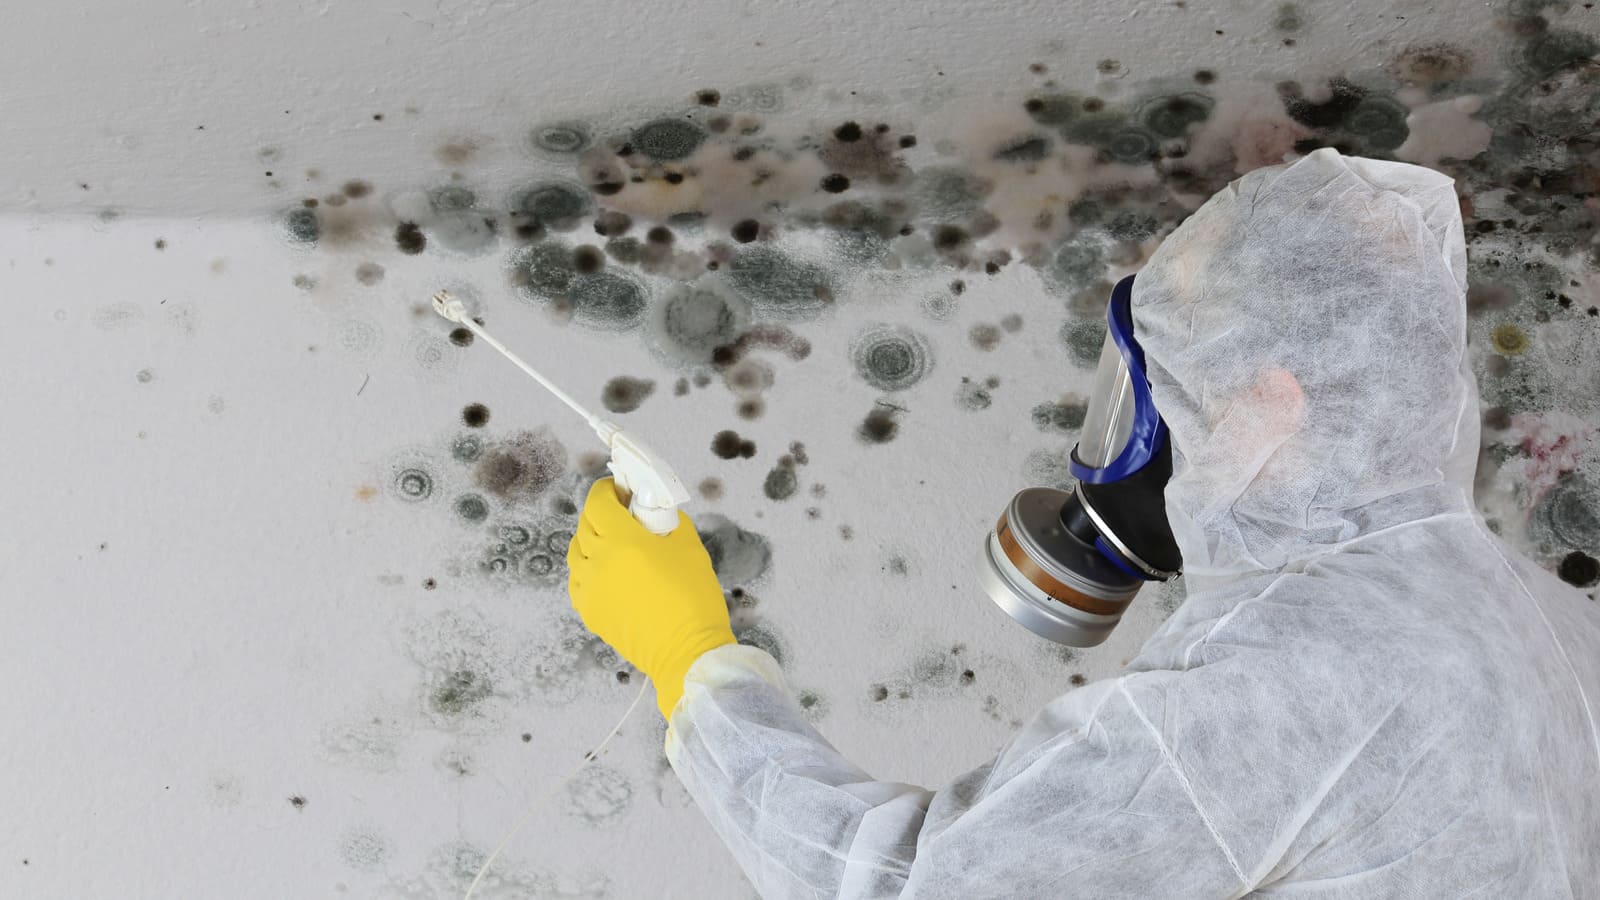
- Protective gear: Wear gloves, safety glasses, and a dust mask to protect yourself from the parging mix and dust.
- Drop cloth or plastic sheet: Lay down a protective covering to prevent any parging mix from splattering or staining the floor.
Having these materials and tools ready before you start will streamline the process and ensure you have everything you need to achieve professional-looking results. Now that we have our supplies, let’s move on to the preparation step.
Step 1: Preparing the Basement Walls
Before you can begin applying the parging coat, it’s crucial to properly prepare the surface of your basement walls. Follow these steps to ensure a clean and well-prepped canvas for the parge coating:
- Clean the walls: Use a broom or vacuum to remove any loose dirt, dust, or debris from the walls. You can also use a damp cloth or sponge to wipe down the surface and remove any stubborn dirt or grime.
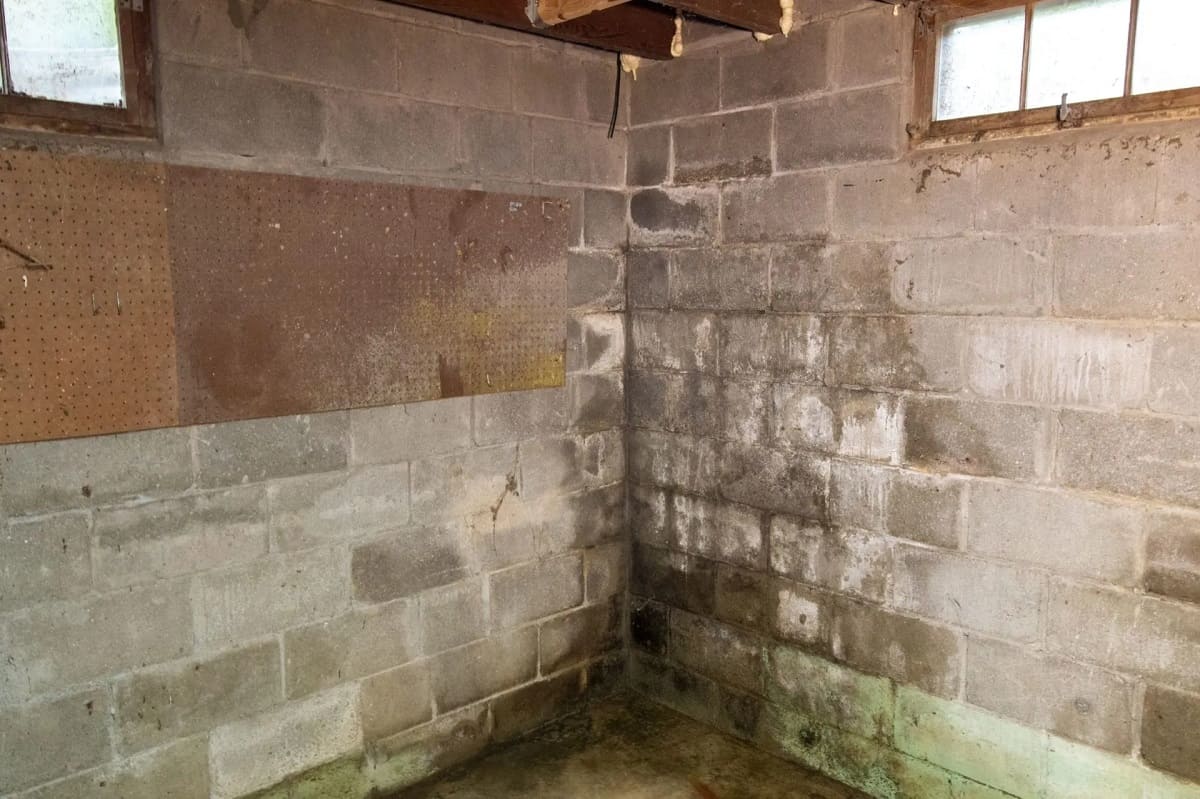
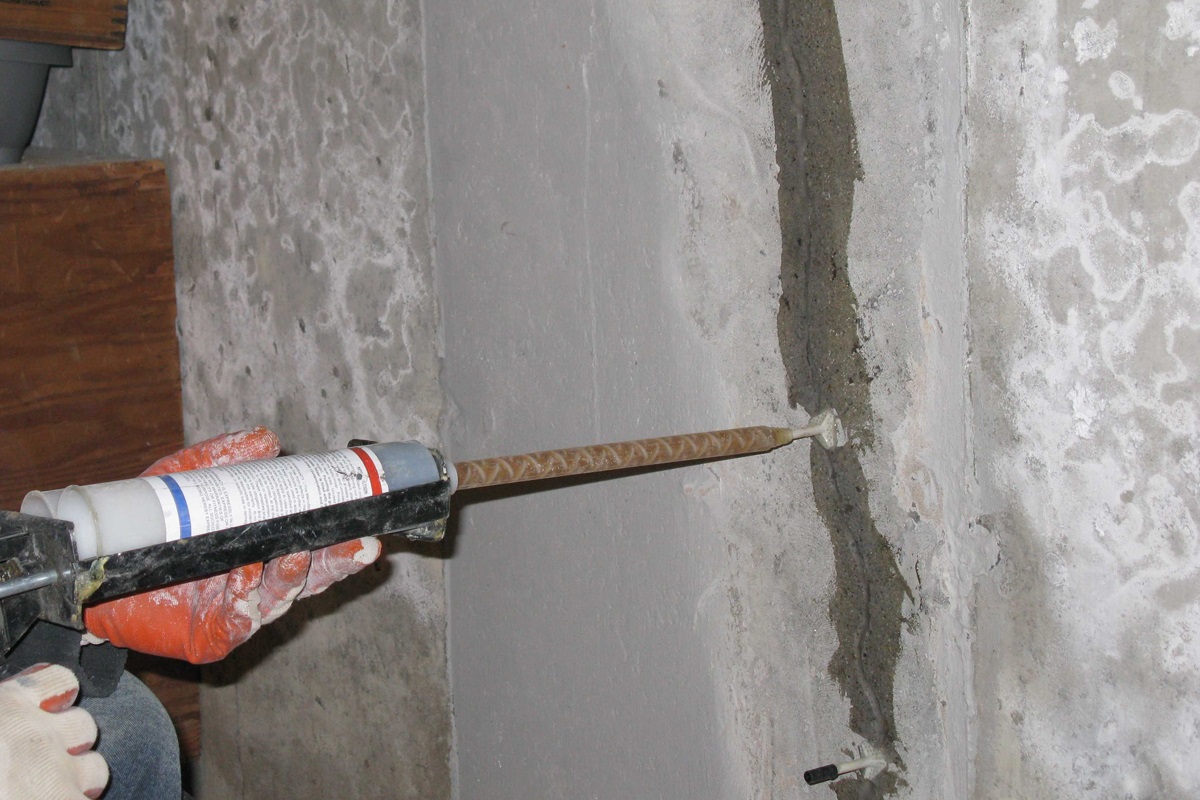
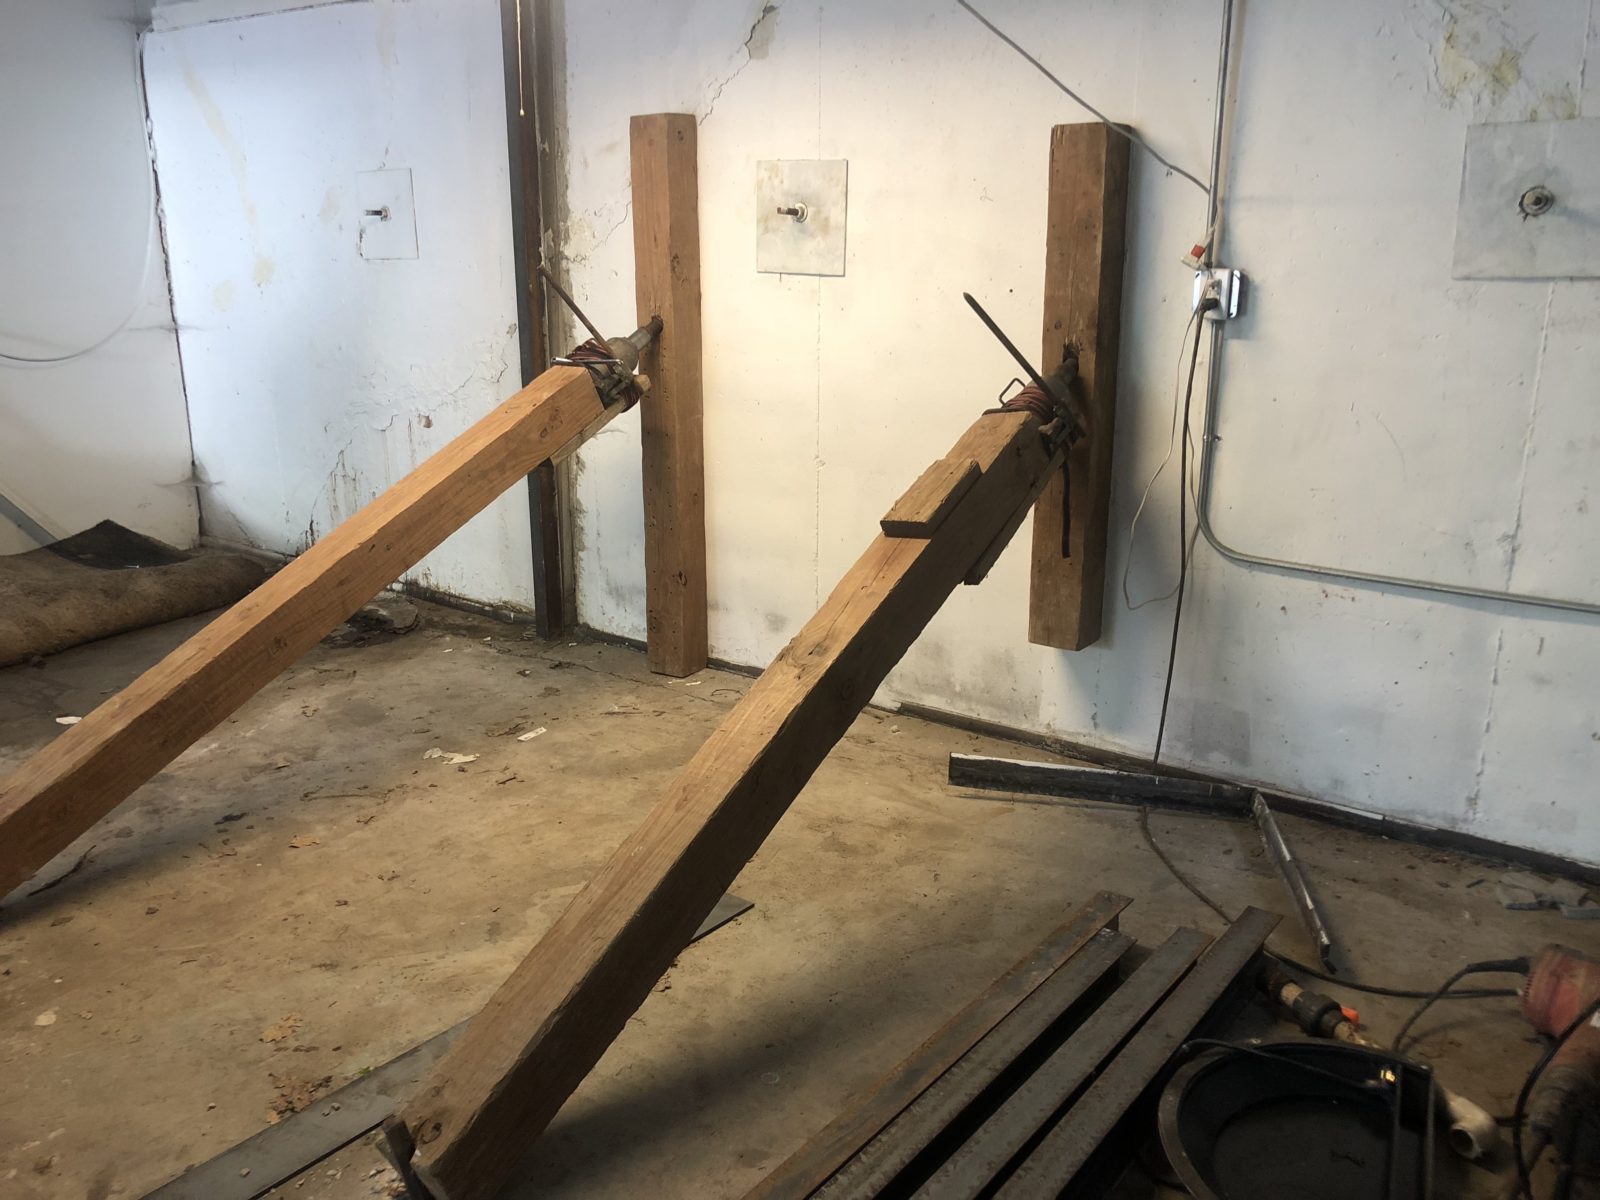
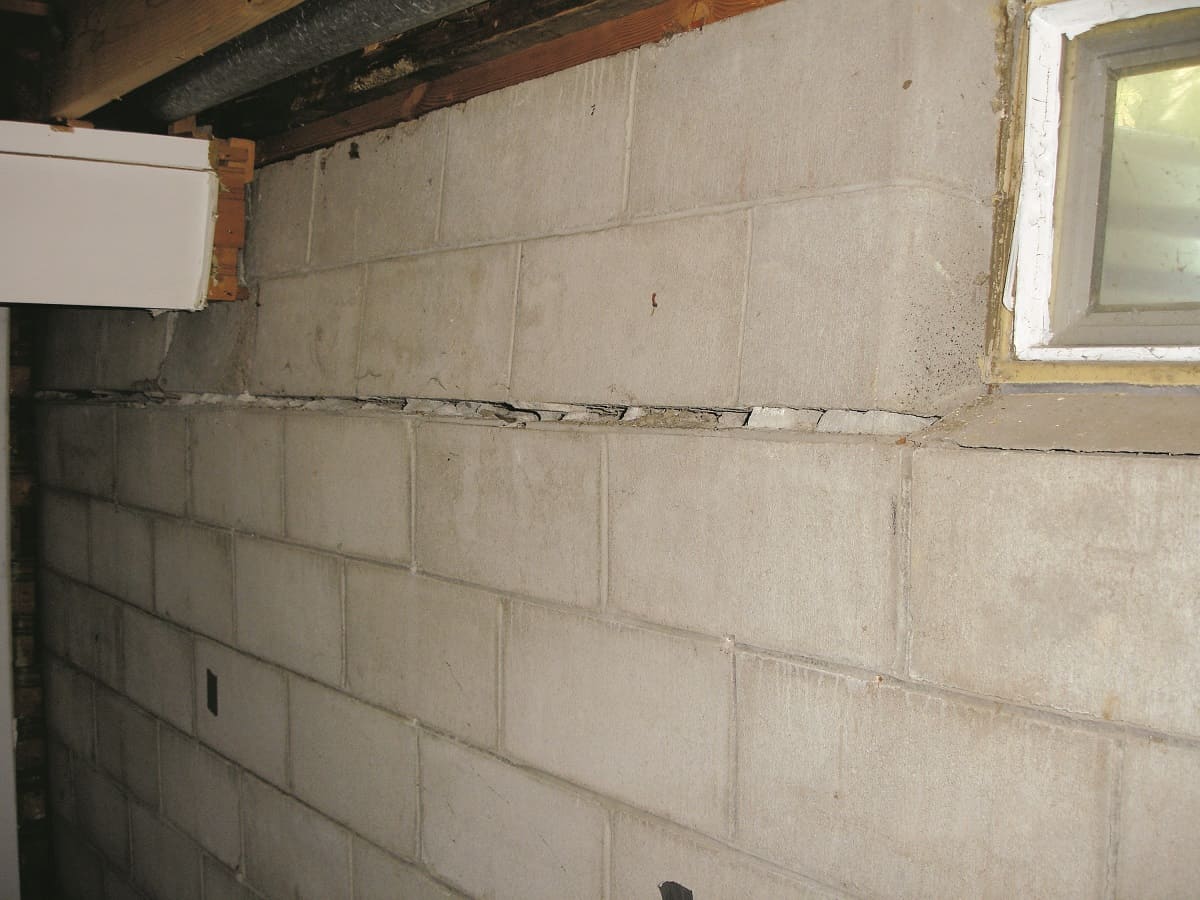
- Inspect for cracks and damage: Carefully inspect the walls for any cracks, holes, or other structural issues. Repair any significant cracks or damage before proceeding with the parging process.
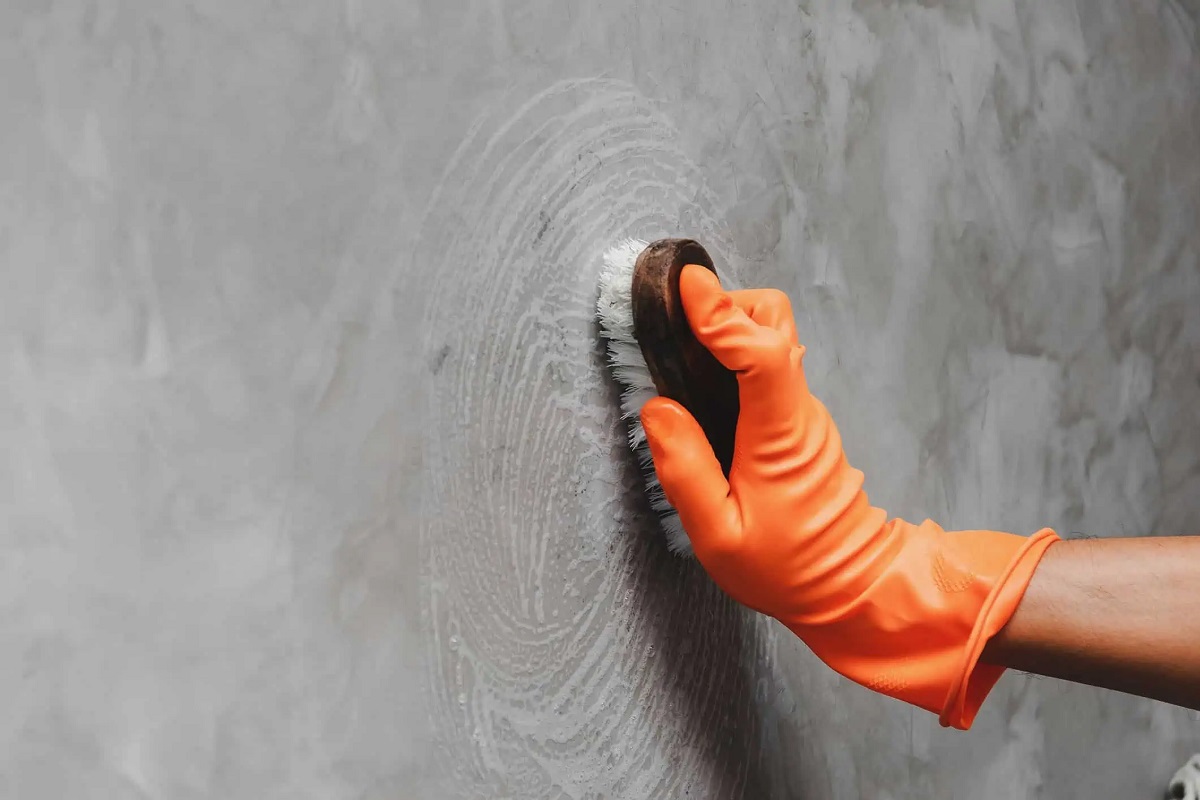
- Moisten the surface: Use a masonry brush to dampen the surface of the walls. This will help improve the adhesion of the parging coat to the wall surface.
- Fill in small cracks: For small cracks or imperfections, use a patching compound or a specialized masonry repair product to fill them in. Smooth out the patches and allow them to dry as per the manufacturer’s instructions.
- Apply a bonding agent (optional): If desired, you can apply a primer or bonding agent to the walls to enhance the bond between the parging coat and the wall surface. Follow the manufacturer’s instructions for application and drying times.
Taking the time to properly prepare your basement walls will ensure a strong and durable bond between the parging coat and the wall surface. It will also help minimize future issues that may arise from underlying wall damage or moisture infiltration.
Once you’ve completed the preparation steps, you’re ready to move on to the next phase – mixing the parging material. Be sure to have the necessary materials and tools handy before proceeding to the next step.
Step 2: Mixing the Parging Material
Now that your basement walls are prepped and ready, it’s time to mix the parging material. Follow these steps to ensure the correct consistency and a well-mixed batch:
- Read the instructions: Carefully read the instructions on the parging mix packaging for specific mixing ratios and guidelines. Different brands may have slightly different requirements, so it’s important to follow the instructions provided.
- Prepare the mixing container: Use a large bucket or mixing container to combine the parging mix and water. Make sure it’s clean and free from any debris.
- Add the parging mix: Start by adding a small amount of parging mix to the container. This will make it easier to incorporate the water smoothly.
- Add water gradually: Slowly pour water into the container while continuously mixing the parging mix. Use a trowel or mixing paddle to blend the materials together. Add water gradually until you achieve a thick, creamy consistency. Avoid making the mix too watery, as this can compromise its bonding ability.
- Mix thoroughly: Continuously mix the parging material for several minutes, ensuring there are no lumps or dry pockets. Scrape the sides and bottom of the container to incorporate all the dry mix into the mixture. The final mixture should be smooth and free from clumps.
It’s important to note that proper mixing is crucial for achieving a consistent texture and a strong bond between the parging material and the walls. Take your time during the mixing process to ensure the parging material is well-blended.
Once you’ve achieved the desired consistency, you’re ready to move on to the next step – applying the parging coat. Gather your tools and prepare your workspace before proceeding to ensure a smooth application process.
When parge coating basement walls, make sure to clean the surface thoroughly and apply a bonding agent before applying the parge coat to ensure proper adhesion and a long-lasting finish.
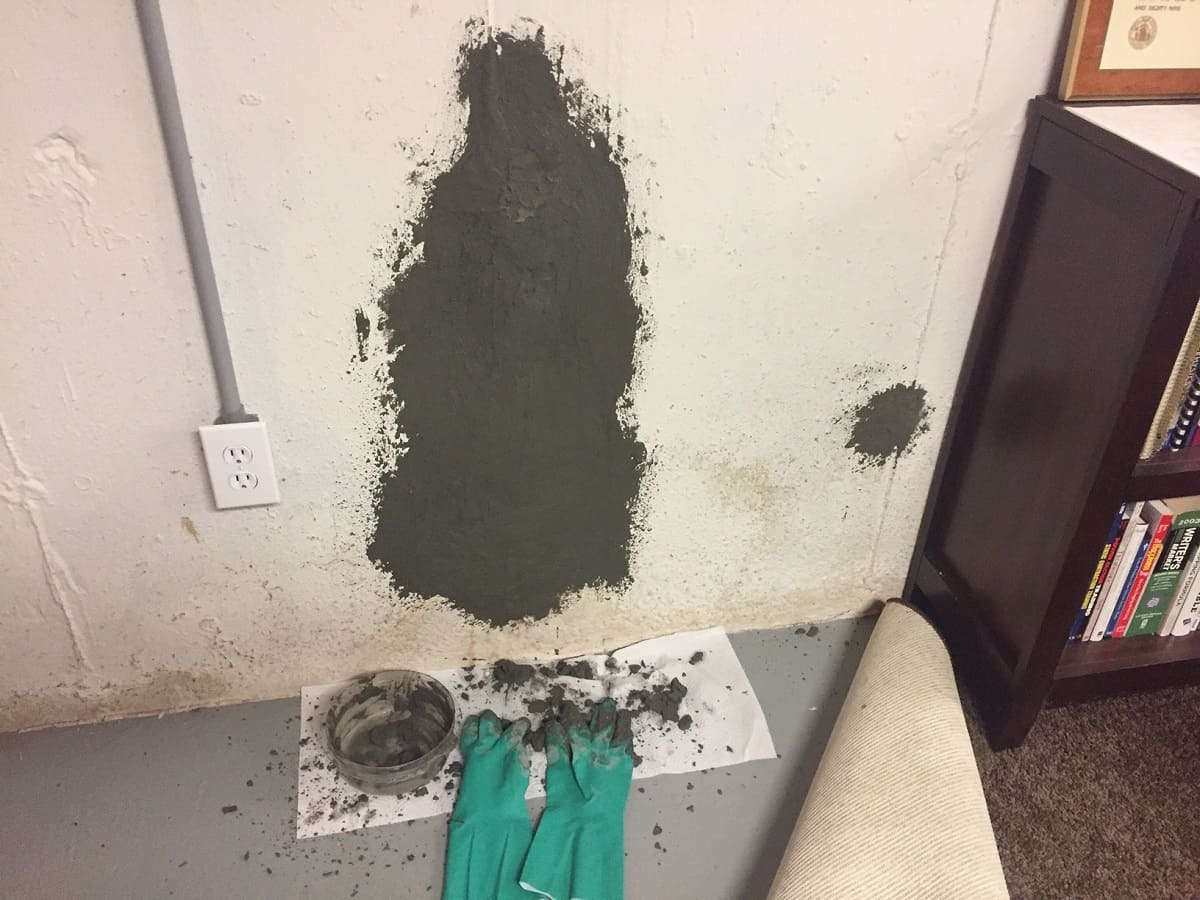
Step 3: Applying the Parging Coat
With the parging material mixed to the correct consistency, it’s time to apply the coat to your basement walls. Follow these steps for a successful application:
- Start from the bottom: Begin applying the parging coat from the bottom of the wall and work your way up. This will help ensure a consistent coverage and prevent any drips or unevenness.
- Use the trowel: Scoop a generous amount of the parging material onto the flat side of the trowel. Hold the trowel at a slight angle and spread the material onto the wall with firm, even pressure. Aim for a thickness of about 1/8 to 1/4 inch.
- Work in small sections: Divide your wall into manageable sections and focus on one section at a time. This will allow you to maintain control and achieve a more uniform finish.
- Apply an even coat: Using the flat side of the trowel, spread the parging material in a smooth and even layer. Work in horizontal or vertical strokes to achieve a consistent texture. Avoid overworking the material, as it can become too dry and challenging to work with.
- Fill in gaps and voids: Pay attention to any gaps or voids in the wall surface and fill them in with the parging material. Smooth over the filled areas to blend them with the rest of the coat.
- Continue across the wall: Continue applying the parging coat section by section until you’ve covered the entire wall. Take breaks as needed to ensure you maintain control and quality in your application.
As you progress with the application, periodically step back to assess the overall consistency and texture of the coat. Make adjustments as needed to achieve a uniform and visually pleasing finish.
Once you’ve completed applying the parging coat to all the walls, allow it to dry according to the manufacturer’s instructions. This will typically take several hours or even overnight, depending on the climate and humidity levels.
Now that the parging coat is in place, it’s time to move on to the next step – smoothing the surface to create a polished look. Get your tools ready and let’s proceed.
Read more: How To Repair Basement Walls
Step 4: Smoothing the Surface
After the parging coat has dried, it’s time to smooth the surface and create a polished finish. Follow these steps to achieve a professional look:
- Dampen the surface: Before smoothing the parging coat, lightly dampen the surface with a sponge or damp cloth. This will help prevent the trowel from sticking to the material and allow for easier manipulation.
- Use a float or trowel: Switch to a float or a steel trowel to smooth out the surface. Hold the tool at a slight angle and apply gentle pressure as you glide it over the parging material. This will help flatten any ridges or uneven areas.
- Feather the edges: Pay special attention to the edges of the parging coat. Use the float or trowel to feather the edges, blending them seamlessly with the surrounding wall. This will create a more natural and finished look.
- Smooth out imperfections: As you smooth the surface, keep an eye out for any imperfections such as bumps or air pockets. Gently press down on these areas with the trowel or float to even them out.
- Continue across the walls: Work your way across the walls, smoothing the surface in small sections. Take your time and use smooth, fluid motions to achieve a consistent texture.
- Clean up as you go: Periodically clean your tools and remove any excess parging material from the surface. Use a damp cloth or sponge to wipe away any stray drips or smudges.
Remember, the goal is to create a smooth and even finish, so take your time during this step. It’s better to go slow and make adjustments as needed than to rush and end up with an uneven or rough surface.
Once you’ve smoothed out the entire surface, step back and evaluate the overall appearance. If needed, make any final touch-ups before moving on to the next step.
In the final step, we’ll discuss how to cure the parging coat and add finishing touches to complete the process. Stay tuned!
Step 5: Curing and Finishing Touches
Now that the surface of your basement walls is smooth and polished, it’s time to focus on the final steps of the parge coating process. Follow these steps to ensure proper curing and add those finishing touches:
- Curing the coat: Allow the parging coat to cure according to the manufacturer’s instructions. This typically involves keeping the area well-ventilated and avoiding any water or moisture exposure for a specific period of time. Follow the recommended curing time to ensure the coat fully hardens and sets.
- Inspect for any touch-ups: After the parging coat has cured, inspect the walls for any areas that require touch-ups or refinements. Look for any uneven spots, small imperfections, or places where the coat may have dried differently. Use a trowel or float to make any necessary adjustments and ensure a uniform appearance.
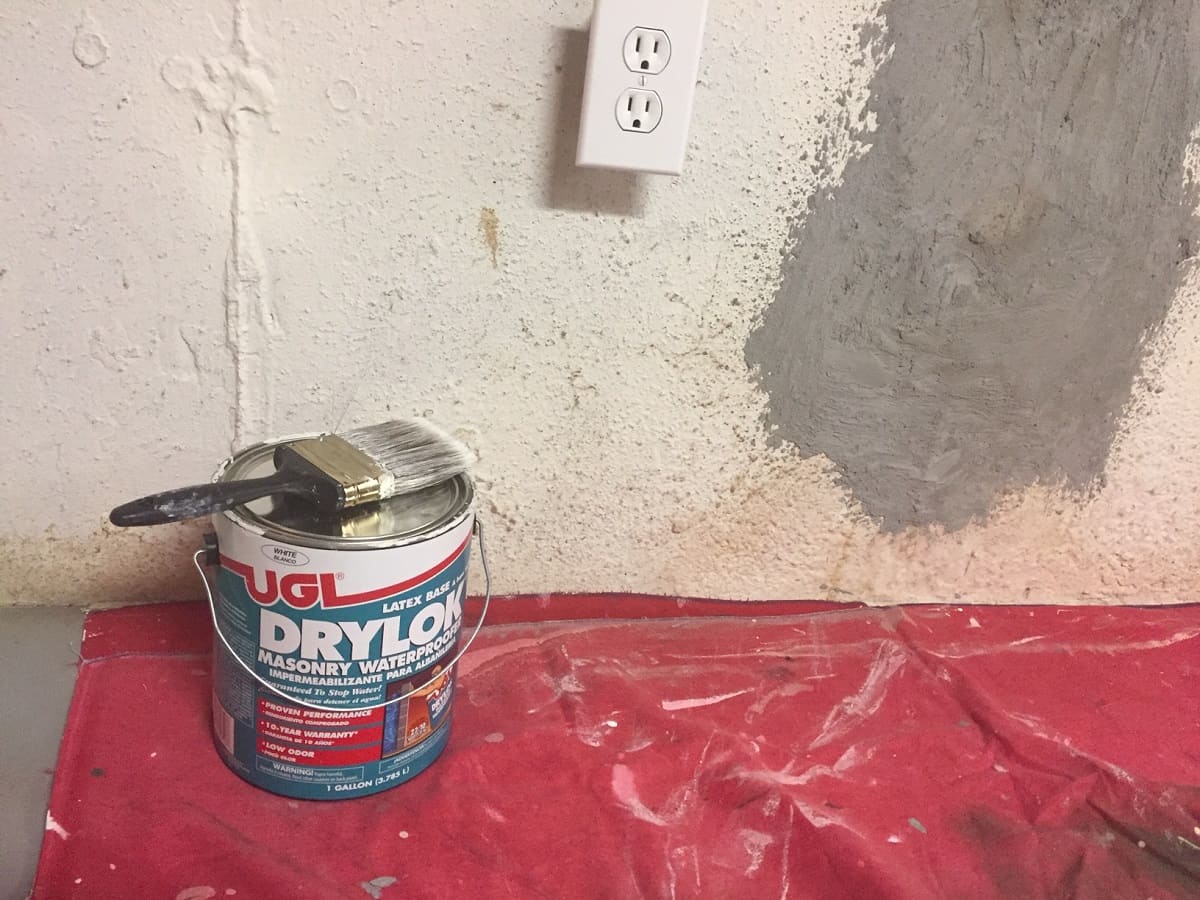
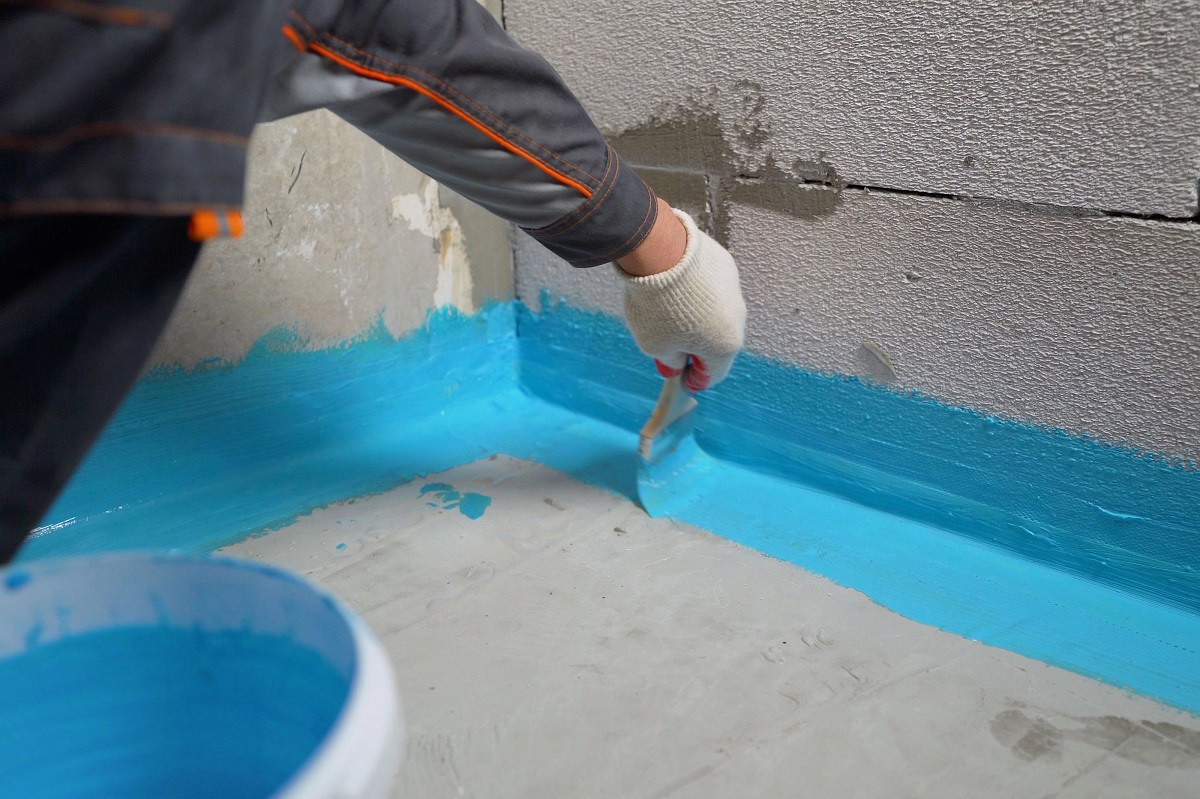
- Apply a sealant (optional): If desired, you can apply a sealant over the cured parging coat to provide an extra layer of protection against moisture and potential damage. Choose a sealant specifically designed for parging and follow the manufacturer’s instructions for application and drying time.
- Clean up and final touches: Once you’re satisfied with the overall appearance of the parge-coated walls, clean up your workspace by removing any debris or tools. Take the time to wipe down the walls with a damp cloth to remove any dust or residue from the process.
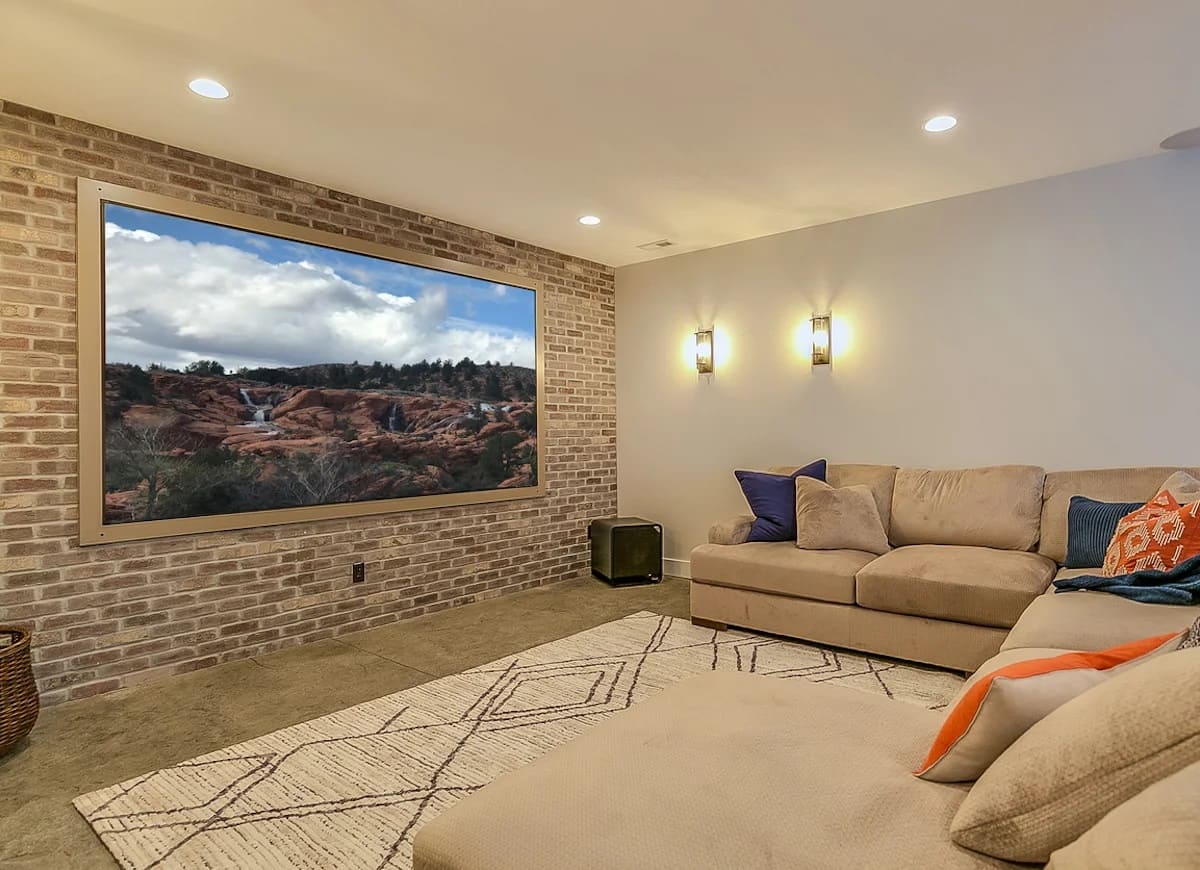
- Enjoy your finished basement walls: With the parge coating process complete, take a moment to appreciate your hard work and enjoy the transformed appearance of your basement walls. Whether you’re planning to use the space for storage or creating a livable area, the parge coating will add both visual appeal and functionality to your basement.
Taking the time to properly cure the parging coat, make any necessary touch-ups, and consider optional sealants, will ensure the longevity and durability of the finished walls.
Remember, if you encounter any challenges or feel unsure about any step of the process, it’s always a good idea to consult with a professional contractor. They can provide expert advice and assistance to help you achieve the best results.
Congratulations on completing the parge coating of your basement walls! Now you can sit back and enjoy the results of your hard work.
Conclusion
Parging basement walls is a valuable investment that not only enhances the appearance of your basement but also provides crucial protection against moisture and potential damage. By following the step-by-step process outlined in this article, you can successfully parge coat your basement walls and create a polished and visually appealing space.
Remember, proper preparation of the basement walls is key to a successful parge coating. Take the time to clean the walls, inspect for any cracks or damage, and ensure the surface is dampened before applying the parging coat. This will ensure a strong bond and improve the overall quality of the finish.
Mixing the parging material to the correct consistency is also crucial. Follow the instructions provided by the manufacturer and diligently mix the material until it is smooth and free from lumps. This will make the application process easier and result in a more professional-looking coat.
When applying the parging coat, work in small sections and use a trowel to spread the material evenly. Take care to fill in any gaps or voids in the wall surface, and maintain a consistent thickness throughout. Smoothing the surface with a float or trowel will create a polished finish and give your walls a refined look.
After the parging coat has dried, take the time to properly cure it according to the manufacturer’s instructions. This will ensure the coat fully hardens and sets, providing long-lasting protection. Consider adding a sealant for an extra layer of defense against moisture and potential damage.
By following these steps and taking the necessary precautions, you can successfully parge coat your basement walls and create a beautiful, functional space. Whether you’re converting your basement into a livable area or simply improving its overall appearance, the parge coating will add value and visual appeal.
Remember, if you feel unsure about any step of the process or encounter significant wall damage, it’s always best to seek the assistance of a professional contractor. They have the expertise and experience to handle any challenges and ensure the best results.
Now, gather your materials, get ready to transform your basement walls, and enjoy the process of creating a polished and inviting space!
Now that you've got the scoop on parging basement walls, why stop there? Dive deeper into maintaining your underground space with our guide on protecting your basement against moisture. Not sure about the integrity of your foundation? Our article on checking for foundation issues is perfect for homeowners looking to identify warning signs early. And if you’re contemplating a full makeover, understanding how much time a basement overhaul requires is essential. Each piece is packed with tips and insights to help ensure your basement is not only beautiful but structurally sound and efficiently upgraded.
Frequently Asked Questions about How To Parge Basement Walls
Was this page helpful?
At Storables.com, we guarantee accurate and reliable information. Our content, validated by Expert Board Contributors, is crafted following stringent Editorial Policies. We're committed to providing you with well-researched, expert-backed insights for all your informational needs.
0 thoughts on “How To Parge Basement Walls”