Articles
How To Install A Duct Booster Fan
Modified: January 6, 2024
Learn how to easily install a duct booster fan with our informative articles, providing step-by-step instructions and expert tips. Enhance airflow and improve ventilation in your home.
(Many of the links in this article redirect to a specific reviewed product. Your purchase of these products through affiliate links helps to generate commission for Storables.com, at no extra cost. Learn more)
Introduction
In many homes, inadequate airflow through the ductwork can lead to uneven temperature distribution and reduced air circulation. This can result in certain rooms feeling too hot or too cold, causing discomfort for the occupants. One way to address this issue is by installing a duct booster fan.
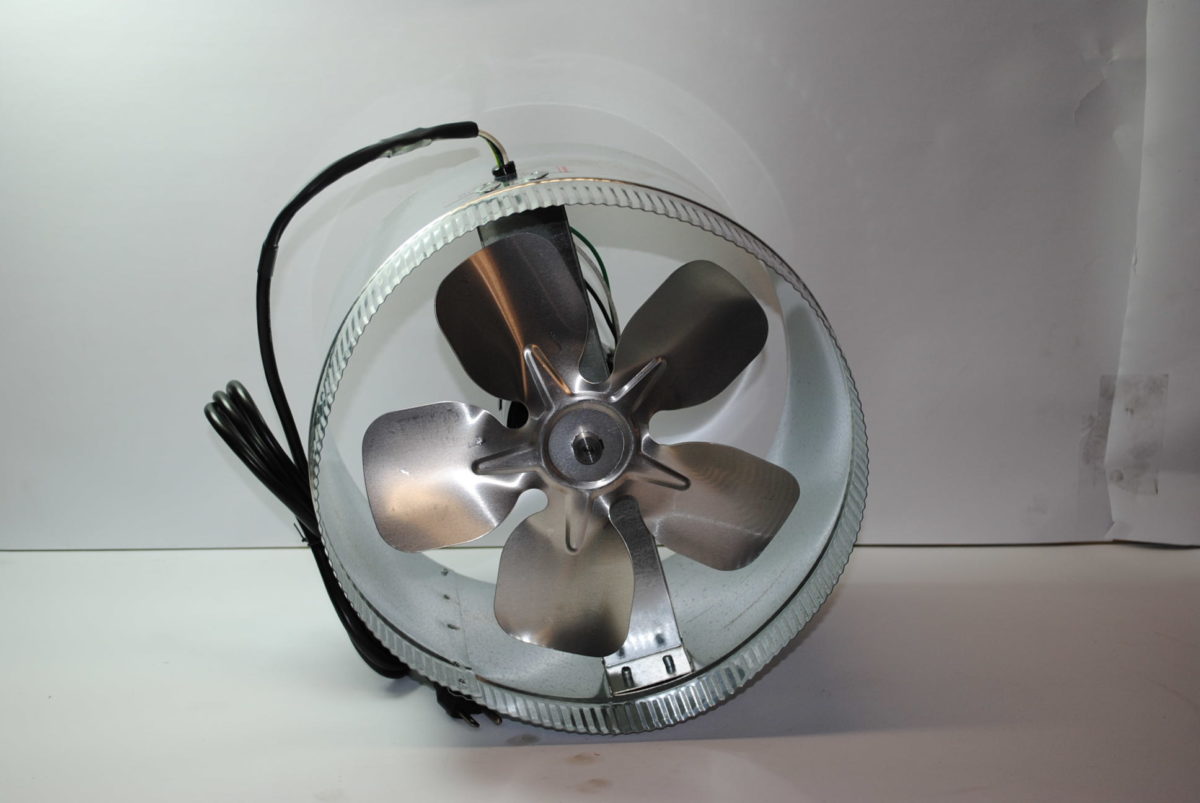
A duct booster fan is a device that is installed in the ductwork to help increase the airflow and improve the performance of the HVAC system. It is especially useful in situations where long duct runs, bends, or restrictions in the ductwork cause a drop in air pressure and flow.
In this article, we will guide you through the step-by-step process of installing a duct booster fan in your home. Whether you are a seasoned DIY enthusiast or a homeowner looking to make some improvements, this guide will provide you with the knowledge and instructions you need to get the job done.
Before we dive into the installation process, let’s first discuss the tools and materials you will need to complete the project.
Key Takeaways:
- Improve home comfort by installing a duct booster fan to address uneven airflow and temperature distribution. Follow the step-by-step guide for a DIY solution to enhance HVAC system performance.
- Prioritize safety, precise measurements, and secure connections when installing the fan. Enjoy enhanced airflow and comfort while ensuring regular maintenance for long-term performance.
Read also: 14 Amazing Duct Booster Fan for 2024
Step 1: Gather the necessary tools and materials
Before you start the installation process, it’s important to gather all the tools and materials you will need. Having everything on hand will make the process smoother and more efficient. Here is a list of the essential tools and materials:
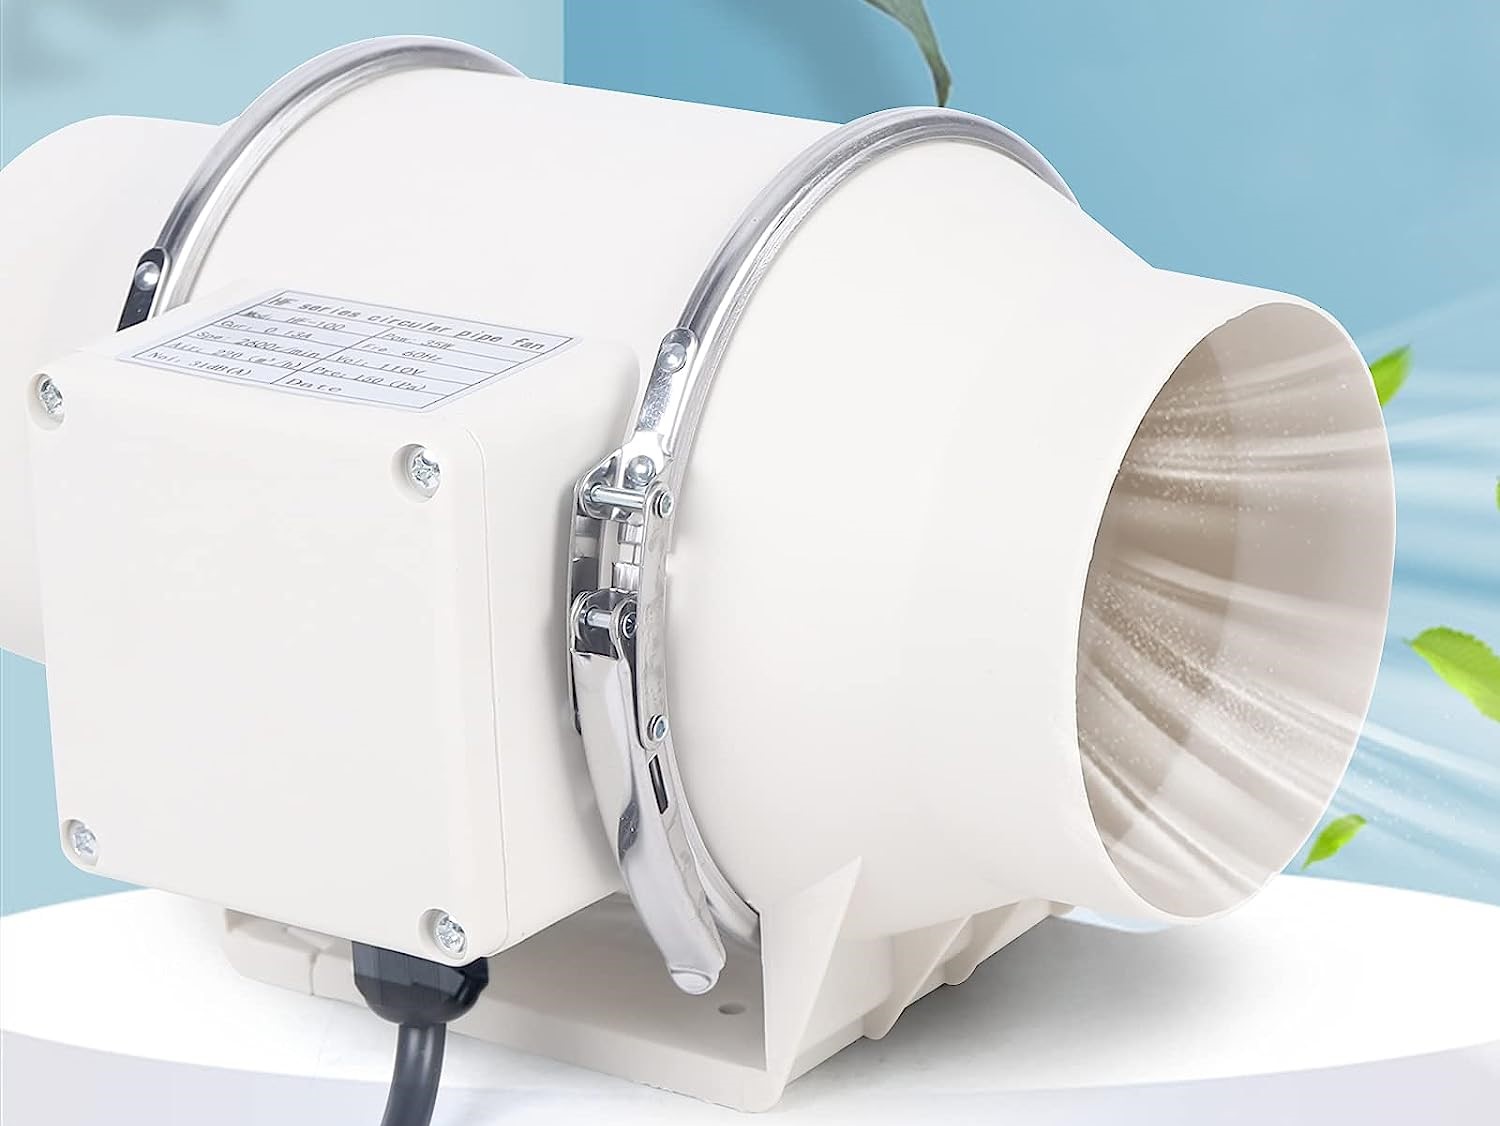
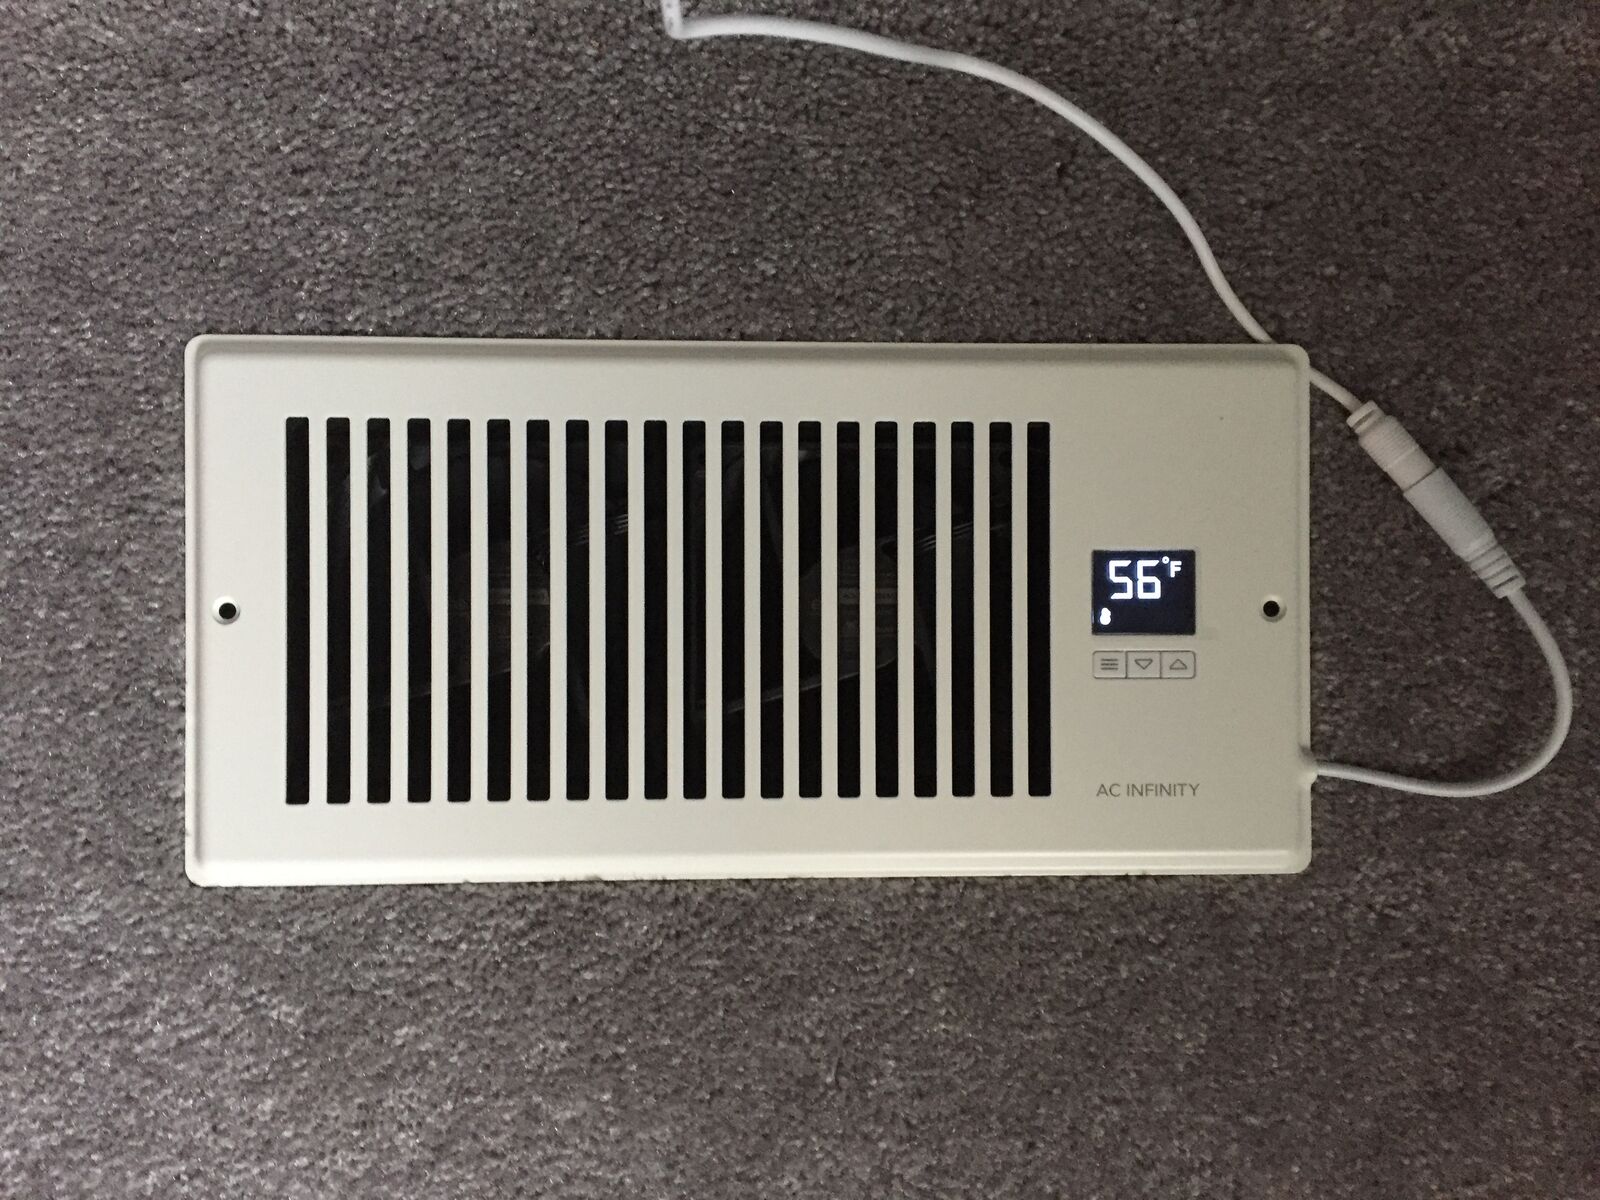
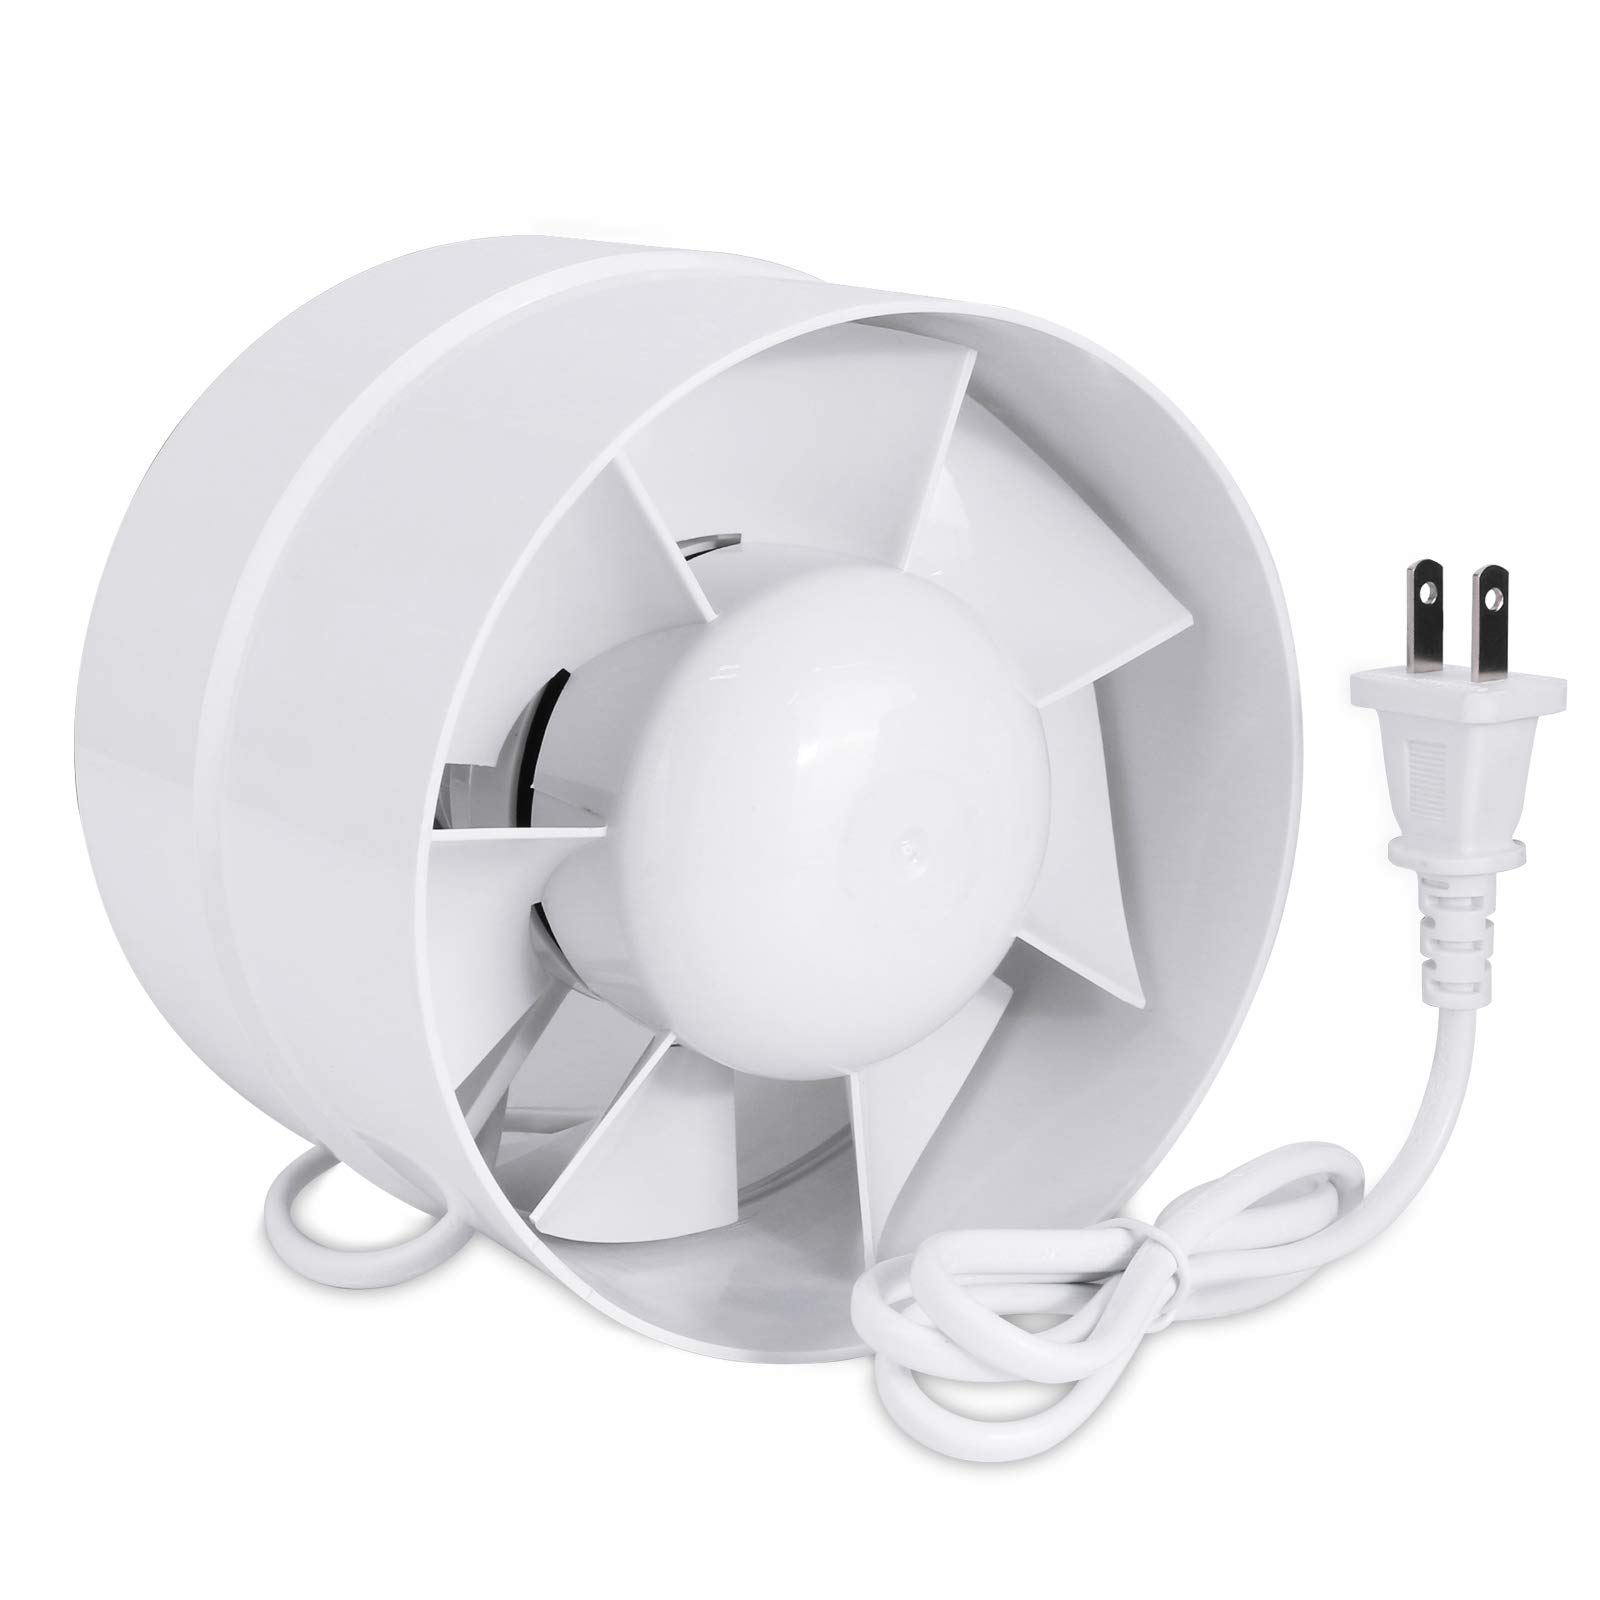
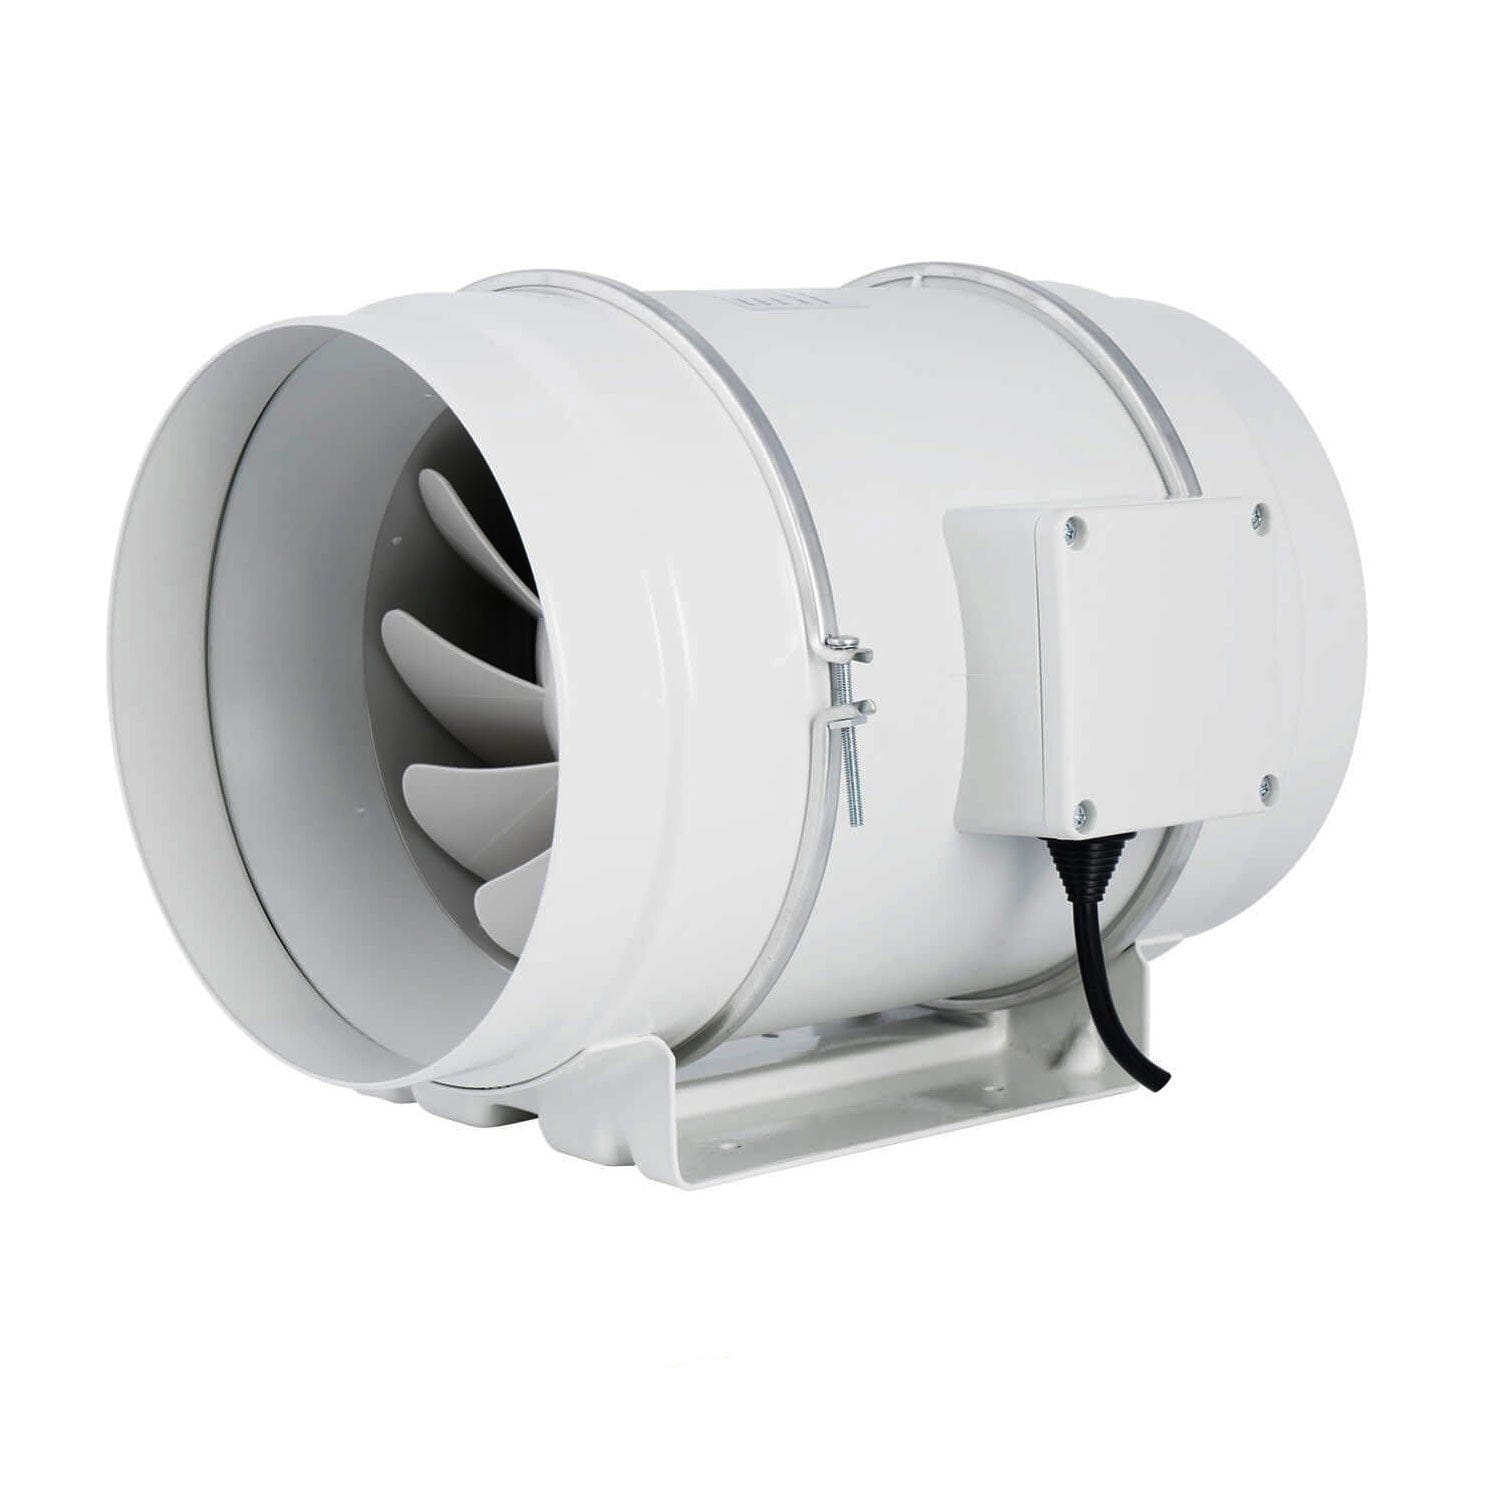
- Duct booster fan: Choose a fan that is appropriate for the size of your ductwork and the airflow capacity you need.
- Tape measure: Use a tape measure to accurately measure the dimensions of your ductwork and determine the necessary location for installation.
- Pencil: Marking the ductwork and other components will help ensure precise placement during the installation process.
- Hacksaw or reciprocating saw: These tools are used to cut an opening in the ductwork to accommodate the fan.
- Screwdriver: A screwdriver will be needed to secure the fan and any other components during the installation process.
- Electric drill: If necessary, you may need an electric drill to create pilot holes for mounting screws.
- Wire strippers: Use wire strippers to remove the insulation from the electrical wires for proper wiring connections.
- Electrical tape: Use electrical tape to secure and insulate the electrical connections.
- Wire connectors: These connectors are used to join wires together for a secure and reliable electrical connection.
- Sheet metal screws: These screws are used to secure the fan and other components to the ductwork.
- Wire nuts: Wire nuts are used to securely connect the electrical wires.
Once you have gathered all the necessary tools and materials, you are ready to move on to the next step: turning off the power.
Step 2: Turn off the power
Before you begin any electrical work, it is crucial to ensure your safety by turning off the power to the area where you will be working. This step will prevent any accidental electrical shocks or damage to the electrical components.
Here’s how to turn off the power:
- Locate the circuit breaker box or the electrical panel in your home.
- Open the panel door to reveal the circuit breakers.
- Look for the circuit breaker that controls the power to your HVAC system or the specific area where you will be installing the duct booster fan.
- Switch off the circuit breaker by flipping it to the “off” position.
- Verify that the power is indeed off by testing nearby switches or appliances to see if they are still functioning. Alternatively, you can use a voltage tester to ensure there is no electrical current present.
Remember, electrical work can be dangerous, especially if you are not experienced or familiar with electrical systems. If you are unsure or uncomfortable working with electrical components, it is always best to seek the assistance of a qualified electrician.
Once you have confirmed that the power is off, you can proceed with confidence to the next step: choosing the installation location for the duct booster fan.
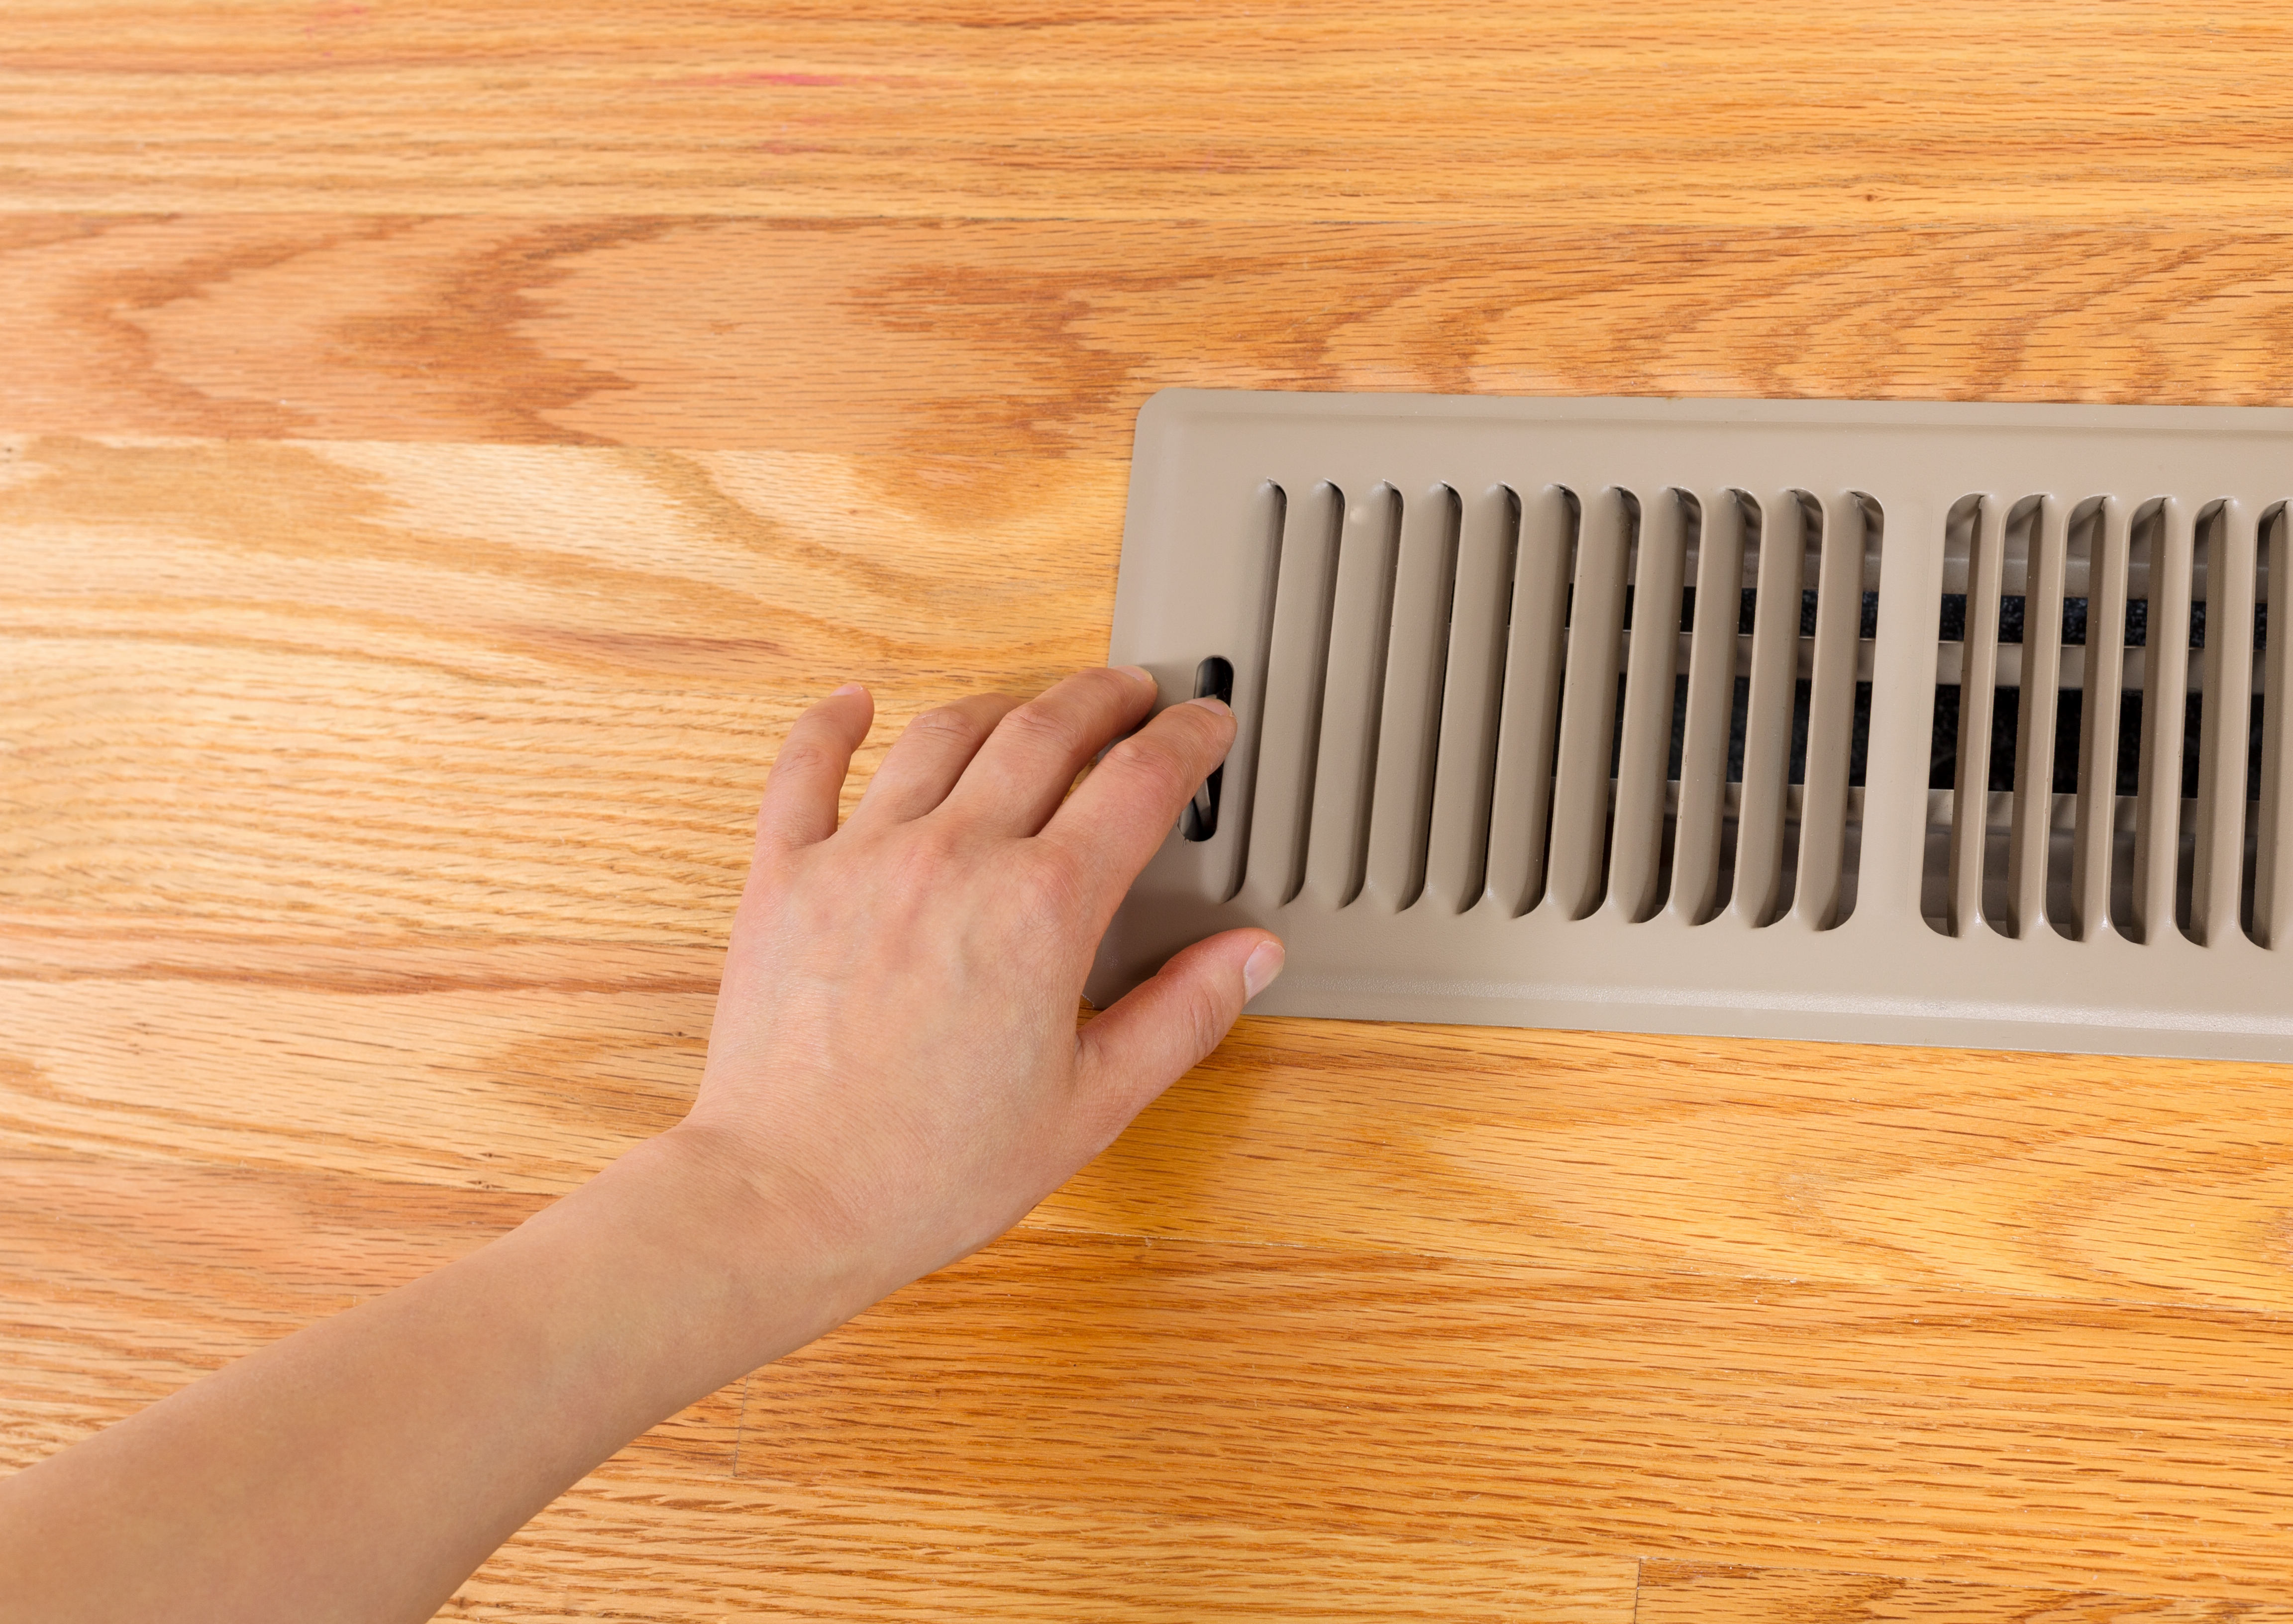
Step 3: Choose the installation location
Choosing the right location for installing the duct booster fan is crucial to ensure optimal airflow and performance. The ideal location will depend on various factors such as the layout of your ductwork, the proximity to power sources, and accessibility for future maintenance.
Here are some considerations when selecting the installation location:
- Identify the problem areas: Determine which rooms or zones in your home experience poor airflow or temperature imbalances. These areas should be the primary focus for installing the duct booster fan.
- Observe the ductwork layout: Locate the main supply duct where the airflow is strongest. Ideally, the booster fan should be installed downstream of this point to push the air through more effectively.
- Check for obstructions: Ensure there are no obstacles or obstructions like bends, turns, or junctions that may impede the airflow and restrict the installation of the fan.
- Consider noise levels: Keep in mind that the booster fan can generate some noise when in operation. Avoid installing it in bedrooms or other areas where the noise may be disruptive.
- Accessibility: Choose a location that will allow for convenient access for future maintenance, such as cleaning or replacing the fan.
- Power source availability: Ensure there is a nearby power source for connecting the electrical wiring of the fan.
Once you have considered these factors and identified the suitable location for installation, you can proceed to the next step: measuring and marking for installation.
Step 4: Measure and mark for installation
Accurate measurements and markings are essential to ensure proper placement of the duct booster fan. This step will help you cut an opening in the ductwork and position the fan correctly.
Here’s how to measure and mark for installation:
- Using a tape measure, measure the dimensions of your ductwork to determine the appropriate size for the opening where the fan will be installed.
- Make sure to account for any clearance requirements, such as the fan’s housing or any mounting brackets that may be included.
- Marks the measurements on the ductwork using a pencil or marker. Make sure the markings are clear and visible.
- Double-check your measurements to ensure accuracy and make any adjustments if necessary.
- If the ductwork is made of flexible material, secure the area around the marking to prevent any movement or shifting during the cutting process.
Remember, it’s important to exercise caution when cutting into the ductwork to avoid damaging any internal components or causing a disruption to the airflow. If you are unsure about cutting into the ductwork, it is advisable to seek professional help.
Once you have completed the measuring and marking process, you are ready to move on to the next step: cutting an opening in the ductwork.
Read more: How To Install A Booster Seat
Step 5: Cut an opening in the ductwork
Now that you’ve measured and marked the location for installation, it’s time to cut an opening in the ductwork to accommodate the duct booster fan. This step requires precision and attention to detail to ensure a proper fit.
Follow these steps to cut an opening in the ductwork:
- Put on protective eyewear and gloves to safeguard yourself while working.
- Using a hacksaw or reciprocating saw, carefully cut along the marked lines on the ductwork.
- Take your time during the cutting process to ensure smooth and clean edges.
- If you encounter any sharp edges or burrs after cutting, use a small file or sandpaper to smooth them down.
- Remove any debris or loose material from the ductwork to prevent it from entering the system.
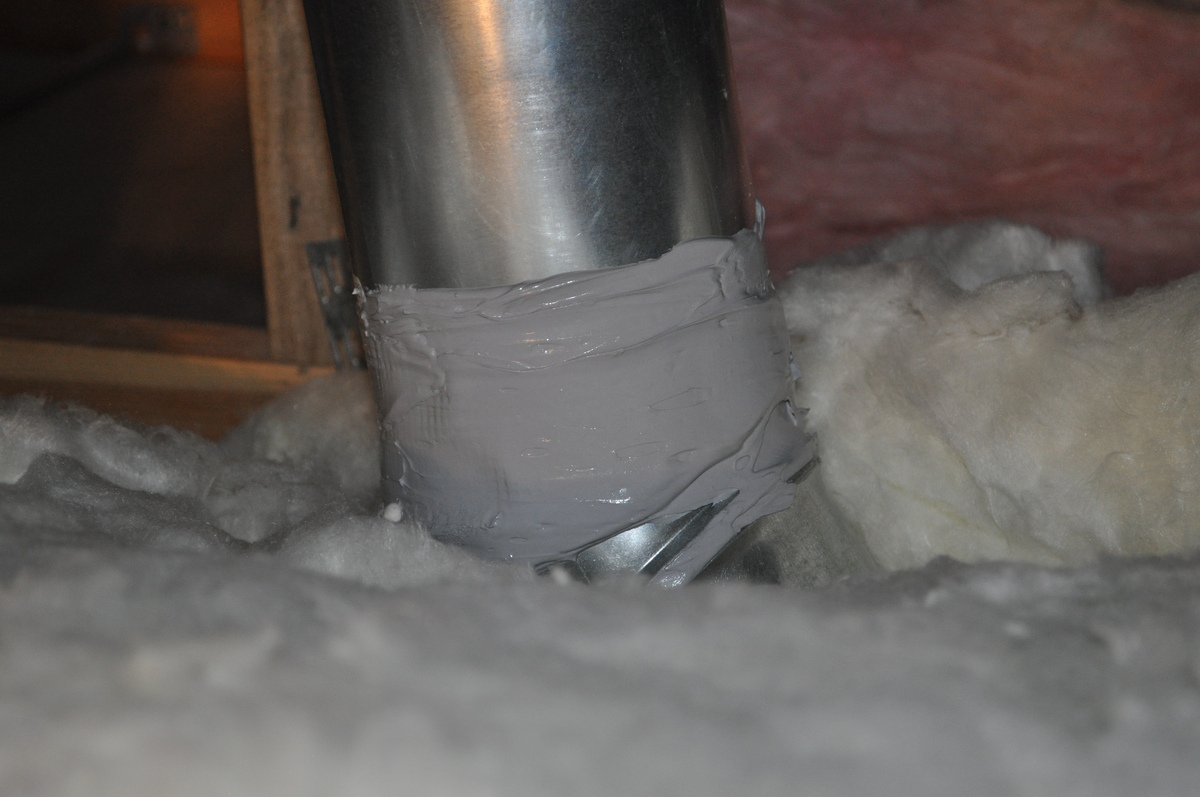
It’s important to note that proper sealing is crucial after cutting into the ductwork. To maintain optimal airflow, use foil tape or mastic sealant to seal the edges around the opening.
Remember, if you are not comfortable or experienced in cutting into the ductwork, it’s advisable to seek professional assistance.
Now that you have successfully cut the opening, you are ready to move on to the next step: connecting the duct booster fan to the ductwork.
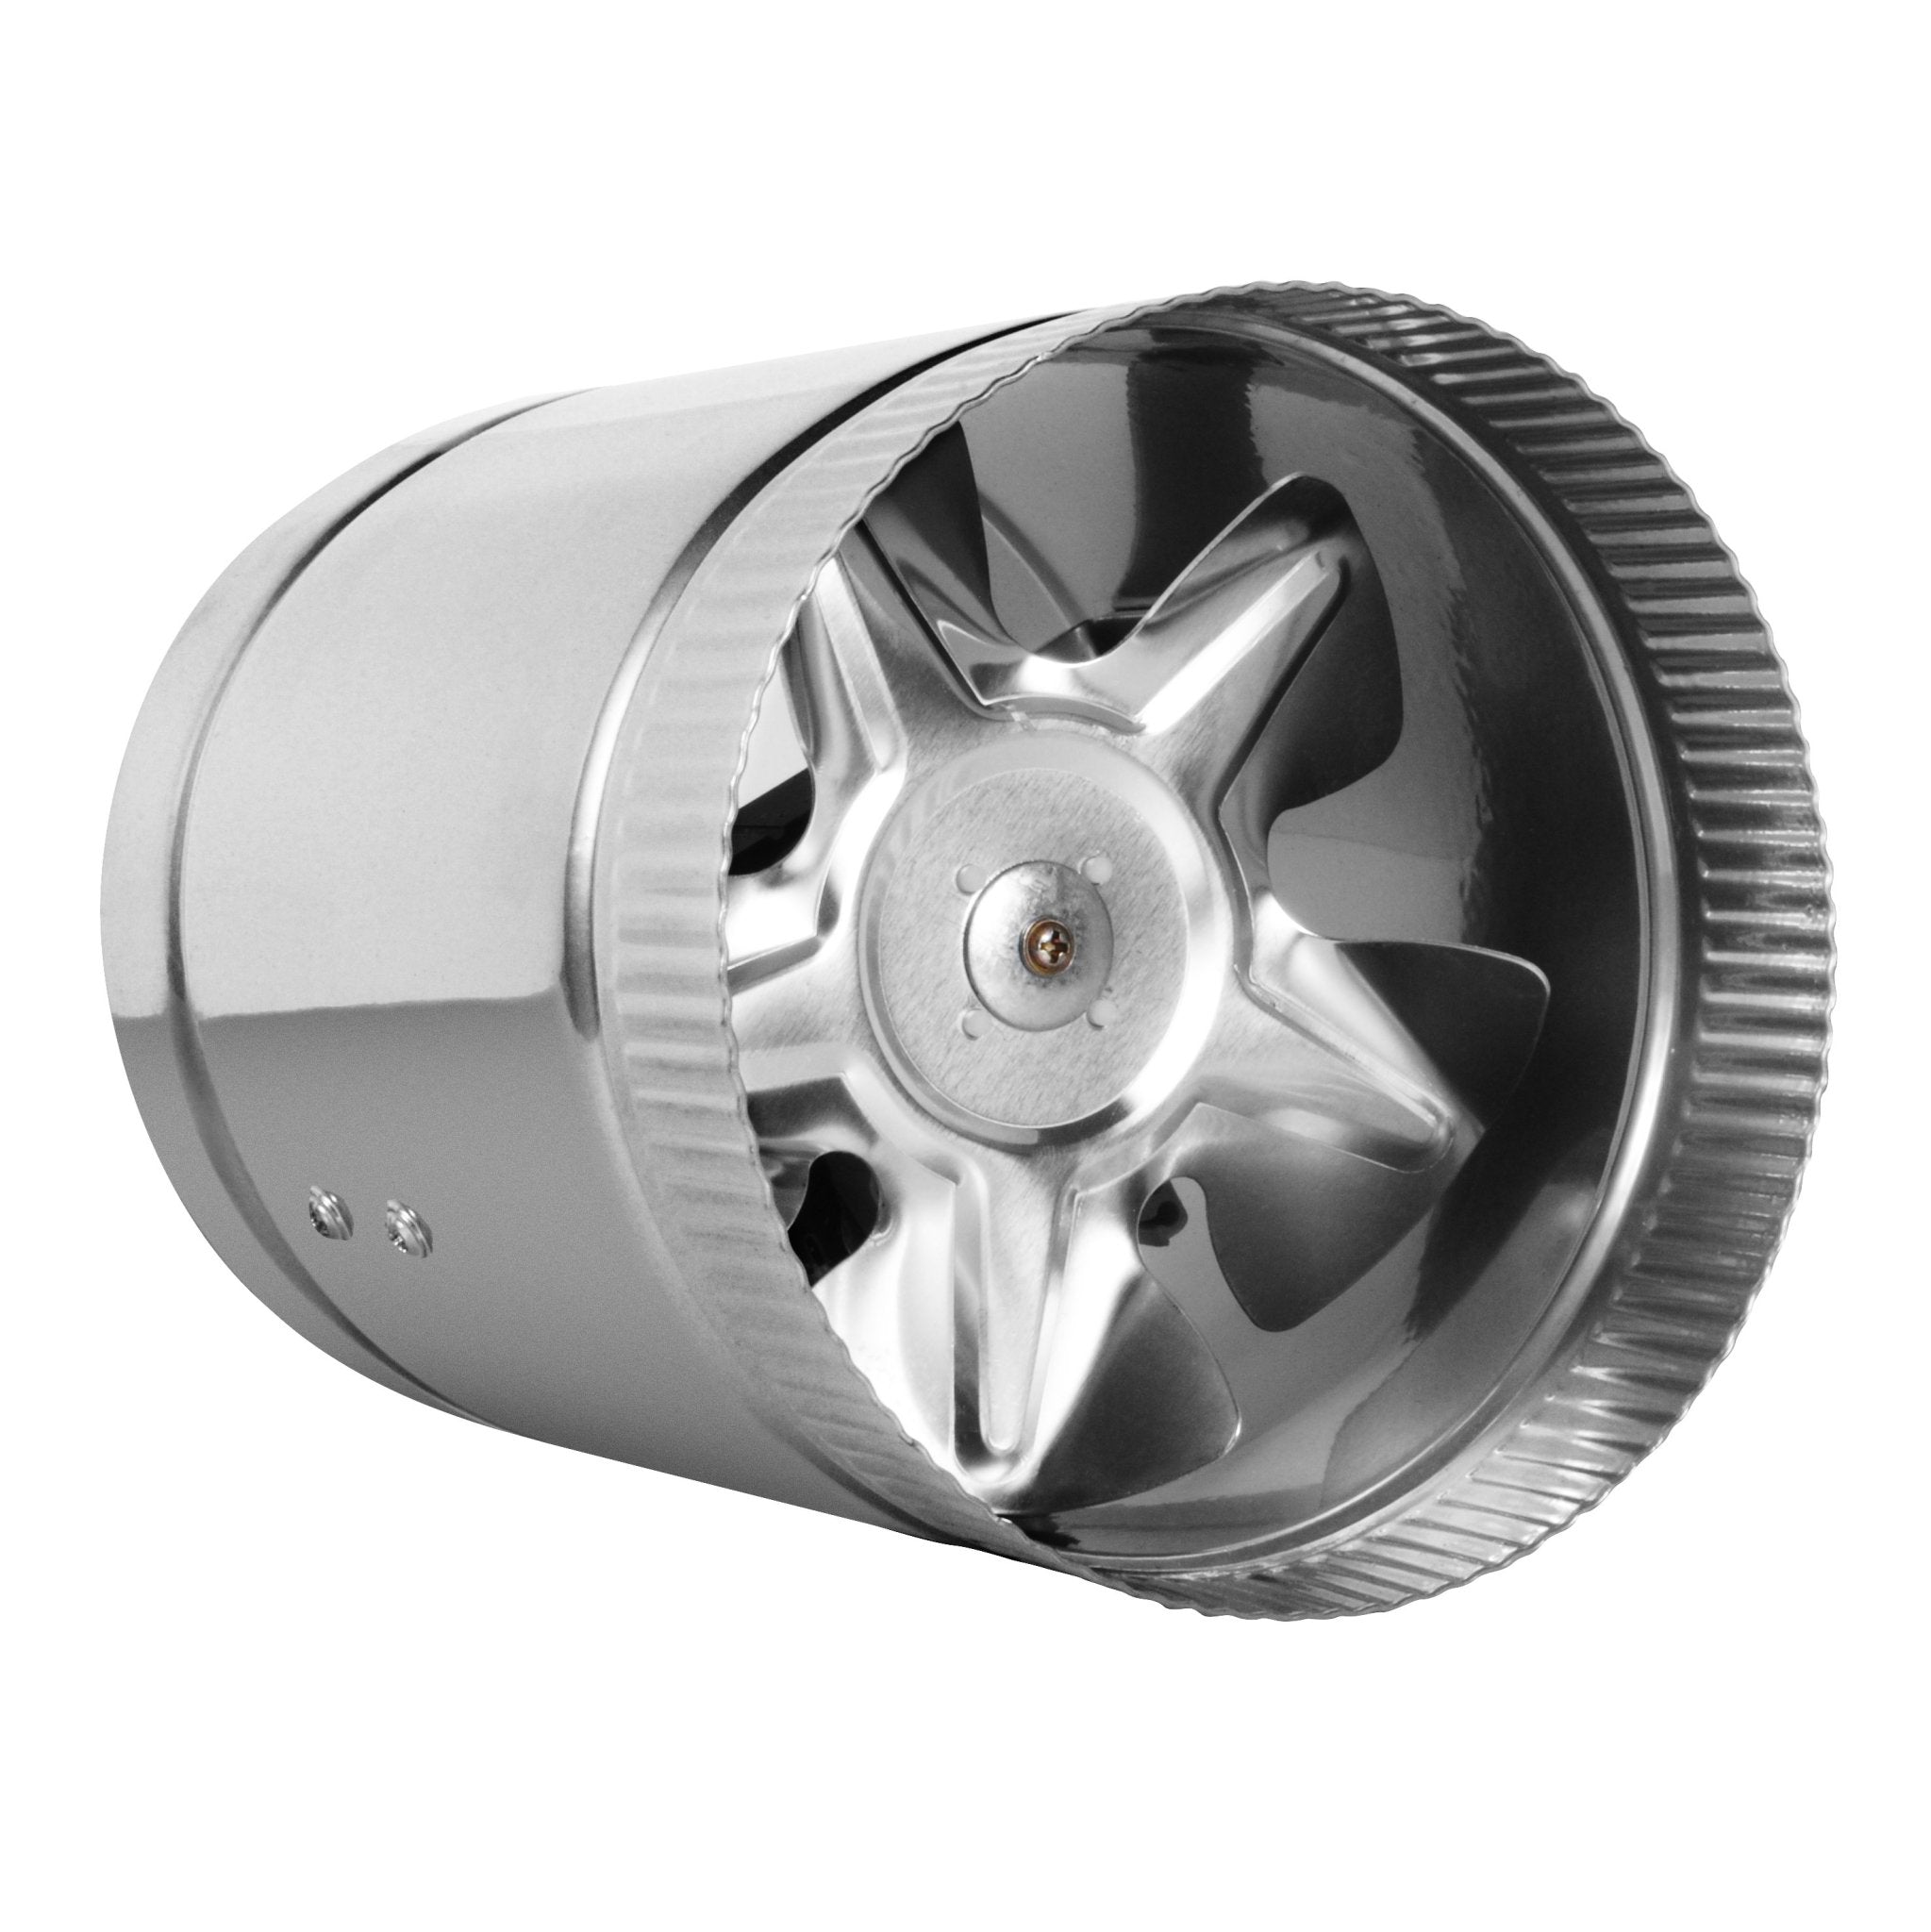
Make sure to measure the size of your duct before purchasing a booster fan to ensure a proper fit. It’s important to install the fan in the correct orientation for optimal airflow.
Step 6: Connect the fan to the ductwork
With the opening cut in the ductwork, it’s time to connect the duct booster fan to the existing ductwork. This step will ensure that the airflow is directed through the fan, increasing the overall performance of your HVAC system.
Follow these steps to connect the fan to the ductwork:
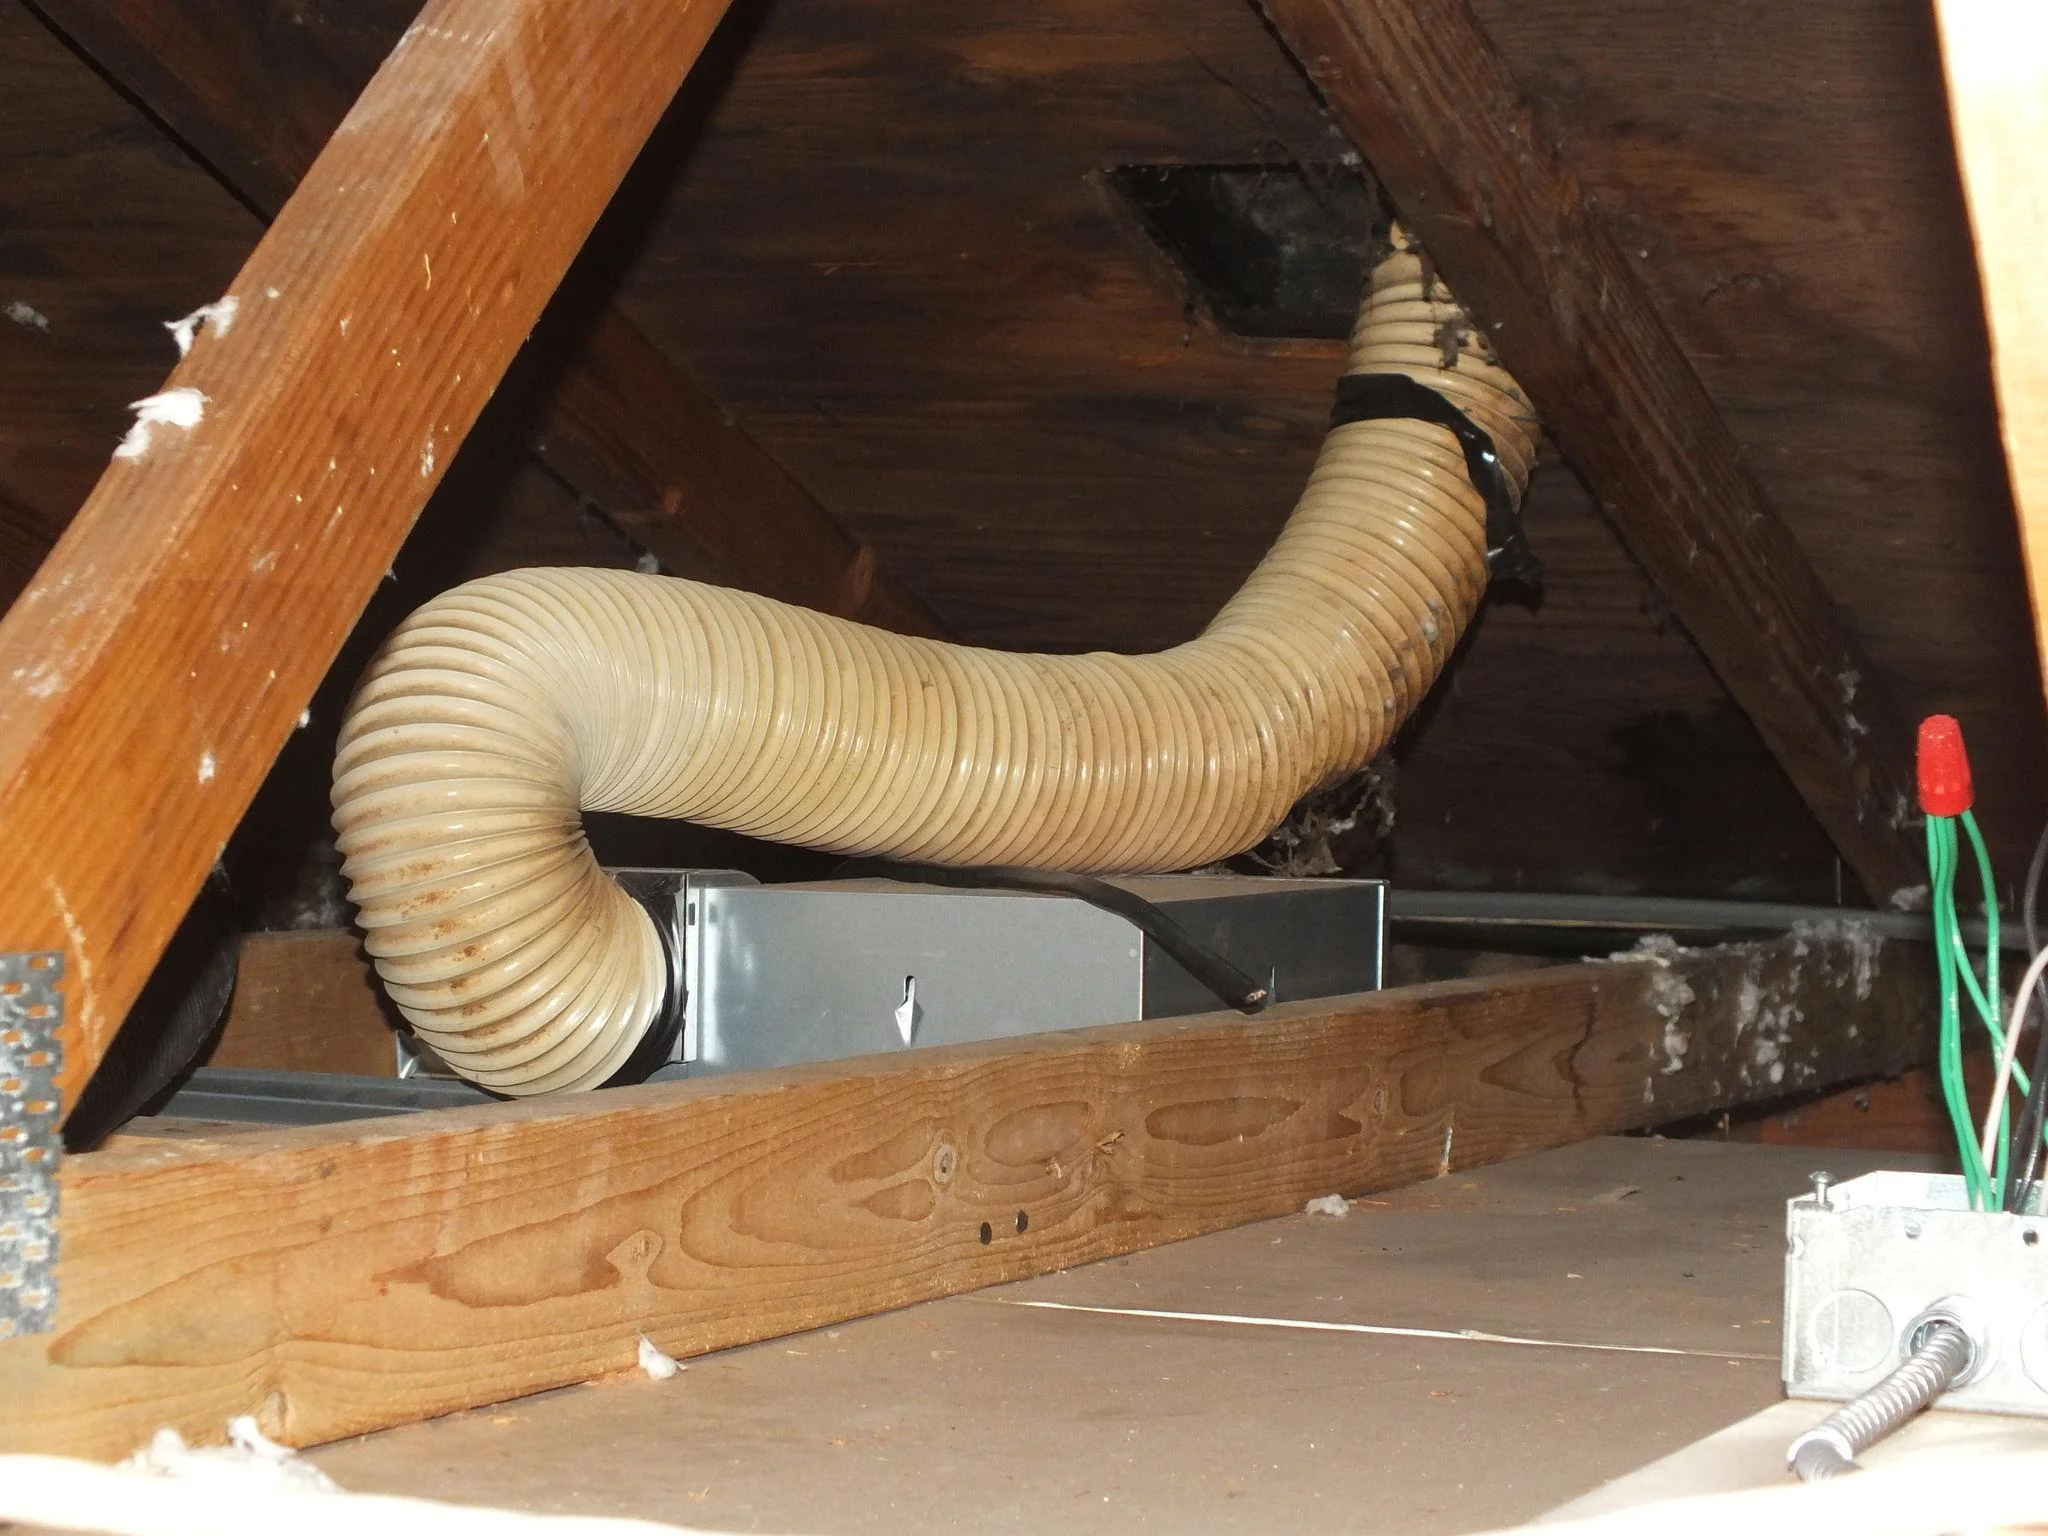
- Position the duct booster fan over the cut opening in the ductwork. Ensure that it aligns properly and sits securely.
- Use sheet metal screws to attach the fan to the ductwork, ensuring a tight and secure fit. Avoid overtightening the screws to prevent damage to the ductwork or fan.
- Make sure the fan is facing the correct direction. Most fans come with arrows indicating the airflow direction. Align the fan to ensure air flows in the desired direction.
- Check for any gaps or leaks around the fan and the ductwork. If necessary, use foil tape or mastic sealant to seal any gaps and ensure airtight connections.
Properly connecting the fan to the ductwork is essential for efficient airflow and performance. Take your time to ensure a secure and sealed connection.
Once you have successfully connected the fan to the ductwork, you can proceed to the next step: installing the electrical wiring.
Step 7: Install the electrical wiring
Installing the electrical wiring for your duct booster fan is an important step to ensure that it operates safely and effectively. Proper wiring connections will allow for seamless integration with your HVAC system.
Follow these steps to install the electrical wiring:
- Ensure that the power is still turned off at the circuit breaker to prevent any electrical hazards.
- Locate a nearby power source that can supply the necessary voltage for the fan. This can be an existing electrical box or outlet.
- If the power source is not in close proximity to the fan, you may need to install a dedicated electrical junction box and run new wiring to the fan location. Consult a professional electrician for assistance if needed.
- Strip the insulation from the ends of the electrical wires, both from the fan and the power source, using wire strippers.
- Connect the corresponding wires by twisting them together and securing them with wire connectors. The colors of the wires should match (e.g., black to black, white to white, and green or copper for the ground).
- Wrap the connected wires with electrical tape to provide additional insulation and secure the connections.
- Ensure that all connections are tight and secure to prevent any loose or exposed wiring.
It’s important to adhere to local electrical codes and regulations when installing electrical wiring. If you are uncertain or uncomfortable with electrical work, consider hiring a licensed electrician to handle the installation for you.
Once the electrical wiring is properly installed, you can proceed to the next step: mounting the fan.
Step 8: Mount the fan
Mounting the duct booster fan securely is essential to ensure its stability and optimal performance. Proper mounting will prevent any vibrations or movement that could lead to noise, damage, or compromised airflow.
Follow these steps to mount the fan:
- Position the fan in its designated location, ensuring that it aligns with the cut opening in the ductwork.
- Use screws or other mounting hardware provided with the fan to secure it in place. Refer to the manufacturer’s instructions for specific mounting guidelines.
- If necessary, use spacers or mounting brackets to ensure a snug fit and proper clearance from surrounding surfaces or components.
- Tighten the screws or fasteners to securely hold the fan in place. Avoid overtightening, as it can damage the fan or the ductwork.
- Give the fan a gentle shake or push to ensure that it is firmly mounted and doesn’t move or wobble.
Properly mounting the fan will ensure its stability and effectiveness in boosting the airflow. Take extra care to follow the manufacturer’s instructions to ensure the fan is mounted correctly.
Once the fan is securely mounted, you can proceed to the final step: restoring power and testing the fan.
Read more: How To Install A Booster Seat With A Back
Step 9: Restore power and test the fan
With the duct booster fan mounted and all the connections in place, it’s time to restore power and test the fan to ensure proper functionality. This step will help confirm that the fan is operating as intended and effectively boosting the airflow in your HVAC system.
Follow these steps to restore power and test the fan:
- Return to the circuit breaker box or the electrical panel where you initially turned off the power.
- Locate the circuit breaker that controls the power to the HVAC system or the specific area where you installed the duct booster fan.
- Flip the circuit breaker back to the “on” position to restore power to the fan and the system.
- Wait a few moments for the fan to start up and begin circulating the air.
- Listen for any unusual noises, vibrations, or fluctuations in airflow that may indicate a problem with the fan or the installation.
- Check the airflow in the areas you aimed to improve. Use your hand or a piece of paper to feel for increased air movement.
- Monitor the performance of the fan over the next few days to ensure it continues to operate effectively.
- If you notice any issues or have concerns about the fan’s performance, consult a professional HVAC technician for further troubleshooting and assistance.
Testing the fan after restoring power is crucial to ensure that it is working properly and providing the desired airflow improvement. If you encounter any problems or are unsure about the fan’s performance, do not hesitate to seek professional help for further evaluation.
Congratulations! You have successfully installed and tested your duct booster fan. It will now help enhance the airflow and improve the overall comfort of your home.
Before concluding, it’s important to note that regular maintenance and cleaning of the fan are essential to ensure long-term performance. Consult the manufacturer’s guidelines for cleaning and maintenance recommendations.
Lastly, we hope this guide has been helpful in assisting you with installing a duct booster fan. Enjoy the enhanced comfort and improved airflow in your home!
Conclusion
Installing a duct booster fan can greatly improve the airflow and efficiency of your HVAC system, ensuring a more comfortable and evenly heated or cooled home. By following the step-by-step process outlined in this guide, you have gained the knowledge and instructions necessary to successfully install a duct booster fan in your home.
Remember to gather all the necessary tools and materials before starting the installation process, and always prioritize your safety by turning off the power to the area where you will be working. Carefully choose the installation location based on the specific needs of your home, and accurately measure and mark for the fan’s placement.
When cutting an opening in the ductwork, take your time to ensure clean and precise cuts, and properly seal around the opening to maintain optimal airflow. Connect the fan to the ductwork securely, and follow all electrical wiring guidelines to ensure safe and effective operation.
Finally, mount the fan securely and restore power to test its functionality and performance. Monitor the fan’s operation and seek professional assistance if any issues arise.
With a properly installed duct booster fan, you can enjoy improved airflow, reduced temperature imbalances, and increased comfort in your home. Regular maintenance and cleaning will help prolong the fan’s lifespan and ensure continued efficiency.
We hope this guide has been a valuable resource for you, providing the necessary information and guidance to successfully install a duct booster fan. Enhance your HVAC system today and enjoy the benefits of improved airflow and comfort in your home.
Frequently Asked Questions about How To Install A Duct Booster Fan
Was this page helpful?
At Storables.com, we guarantee accurate and reliable information. Our content, validated by Expert Board Contributors, is crafted following stringent Editorial Policies. We're committed to providing you with well-researched, expert-backed insights for all your informational needs.


0 thoughts on “How To Install A Duct Booster Fan”