
Articles
How To Program An Overhead Garage Door Opener
Modified: October 20, 2024
Learn how to program an overhead garage door opener with our informative articles. Step-by-step instructions and troubleshooting tips.
(Many of the links in this article redirect to a specific reviewed product. Your purchase of these products through affiliate links helps to generate commission for Storables.com, at no extra cost. Learn more)
Introduction
Welcome to the world of convenient and secure garage door operation. An overhead garage door opener is a crucial component that allows you to operate your garage door with ease. Whether you’re looking to replace an old opener or simply want to program a new one, this article will guide you through the process step by step.
As technology continues to advance, garage door openers have become increasingly sophisticated. From basic manual openers to smart Wi-Fi enabled systems, there are various options available in the market. Before diving into the programming process, it’s important to choose the right garage door opener that suits your needs and requirements.
When selecting an overhead garage door opener, consider factors such as horsepower, drive type, safety features, and compatibility with your existing garage door. It’s recommended to consult with a professional or refer to the manufacturer’s guidelines to ensure compatibility and avoid any compatibility issues.
Before programming your garage door opener, it’s crucial to take necessary safety precautions. Make sure to read and understand the manufacturer’s manual or instructions thoroughly. This will help you become familiar with the specific steps and safety guidelines for your particular model.
Additionally, ensure that the area around the garage door is clear of any obstructions or debris. This will prevent any accidents or damage during the programming process. If you’re unsure about any aspect of the programming or safety precautions, it’s always best to seek professional assistance.
Now that you’re well-equipped with the necessary knowledge and precautions, let’s dive into the step-by-step process of programming your overhead garage door opener. Follow these instructions carefully, and soon you’ll be enjoying the convenience and security of effortless garage door operation.
Key Takeaways:
- Choose the right garage door opener by considering factors like horsepower, drive type, safety features, and compatibility. Always refer to the manufacturer’s guidelines for a smooth installation process.
- Prioritize safety precautions before programming your garage door opener. Read the manual, inspect the door, clear the area, and test the safety features to ensure a secure programming experience.
Read more: How To Program Garage Door Opener With Car
Choosing the Right Garage Door Opener
When it comes to selecting a garage door opener, there are a few key factors to consider. The right opener will not only ensure smooth and reliable operation but also provide the necessary safety and security features for your garage.
1. Horsepower: The first consideration is the horsepower rating of the opener. This determines the strength and capability of the motor to lift the weight of the garage door. Residential garage doors typically require openers with 1/2 to 1 1/2 horsepower, while larger or heavier doors may need higher horsepower ratings.
2. Drive Type: There are three main types of drive systems for garage door openers: chain drive, belt drive, and screw drive. Chain drive openers are most common and reliable, but they can be noisy. Belt drive openers are quieter and ideal for garages located near living spaces. Screw drive openers are less common and suitable for areas with moderate climates.
3. Safety Features: Look for openers with advanced safety features like automatic reverse and infrared sensors. Automatic reverse will stop and reverse the closing door if there’s an obstruction in its path. Infrared sensors transmit an invisible beam across the garage door opening and will prevent the door from closing if the beam is interrupted.
4. Compatibility: Ensure that the opener you choose is compatible with your specific garage door. Different doors may require different types of openers, so refer to the manufacturer’s recommendations or consult a professional to ensure compatibility.
5. Additional Features: Consider any additional features or conveniences you may want. These can include built-in Wi-Fi connectivity for smartphone control, battery backup to operate during power outages, or even integration with home automation systems.
6. Budget: Finally, consider your budget for the garage door opener. While it’s important to invest in a high-quality opener, there are options available at different price points to fit your needs. Remember to factor in the longevity, warranty, and maintenance costs when evaluating the overall value.
Taking these factors into account will help you select the right garage door opener that meets your requirements and provides the necessary safety features for your garage. Always refer to the manufacturer’s guidelines and seek professional help if needed to ensure a smooth installation process.
Safety Precautions Before Programming
Before diving into the programming process of your overhead garage door opener, it’s essential to prioritize safety. By taking the necessary precautions, you can prevent accidents and ensure a smooth and secure programming experience.
1. Read the Manual: Start by thoroughly reading the manufacturer’s manual or instructions specific to your garage door opener. Familiarize yourself with the safety guidelines, programming steps, and any warnings or precautions stated by the manufacturer.
2. Inspect the Garage Door: Before beginning the programming process, visually inspect the garage door to ensure there are no damaged or worn-out parts. Check for loose or broken hinges, springs, cables, or track misalignment. It’s crucial to address any necessary repairs or replacements before proceeding.
3. Clear the Area: Clear the area around the garage door and ensure there are no obstructions or bystanders nearby. This will minimize the risk of accidents during the programming process. Also, remove any objects under the door that could interfere with its operation.
4. Disable the Garage Door Opener: Disconnect the power to the garage door opener or deactivate any automatic functions to prevent the door from accidentally closing or opening during the programming process. This will guarantee your safety as you work on the programming steps.
5. Protective Gear: Consider wearing safety goggles, gloves, and closed-toe shoes as a precautionary measure. Although programming your opener may not involve heavy or dangerous tasks, it’s better to be safe than sorry.
6. Use a Steady Ladder: If you need to access the garage door opener or reach the programming buttons, use a sturdy and stable ladder. Ensure that the ladder is set up on a level surface and that someone else is available to assist you if needed.
7. Follow the Steps: Pay close attention to the programming steps and follow them precisely as stated in the manual. Avoid skipping any steps or improvising, as this can lead to incorrect programming or damage to the opener.
8. Test the Safety Features: Before completing the programming process, test the safety features of the garage door opener. Check if the automatic reverse function is working correctly by placing an obstruction in the path of the closing door. The door should reverse its course when encountering the obstruction.
By adhering to these safety precautions, you can mitigate any potential risks associated with programming your garage door opener. Remember to prioritize safety above all else and seek professional assistance if you are unsure or uncomfortable with any aspect of the process.
Make sure to follow the manufacturer’s instructions carefully when programming your overhead garage door opener. This will ensure that the process is done correctly and the opener functions properly.
Programming Steps for Overhead Garage Door Opener
Now that you’ve taken the necessary safety precautions, it’s time to dive into the programming process of your overhead garage door opener. Follow these step-by-step instructions to program your opener and enjoy the convenience of effortless operation.
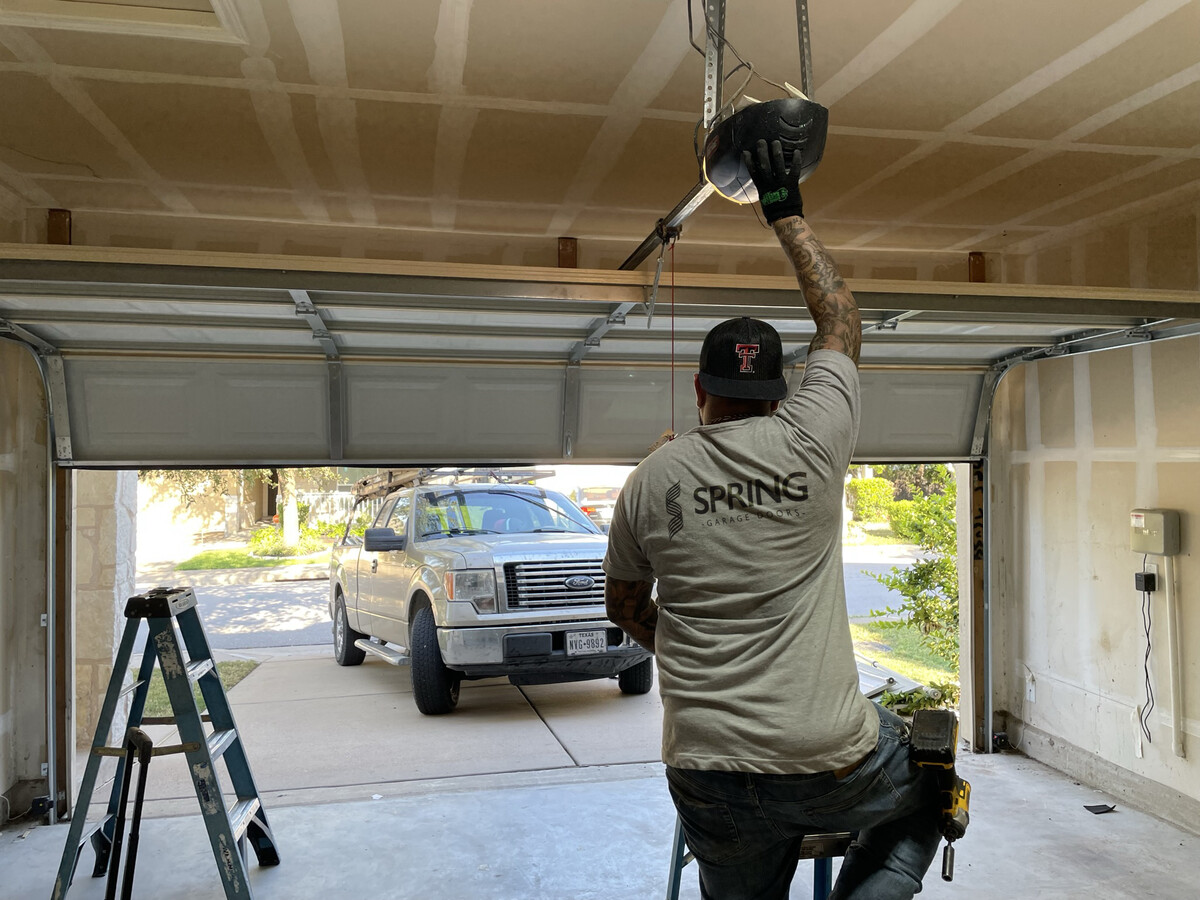
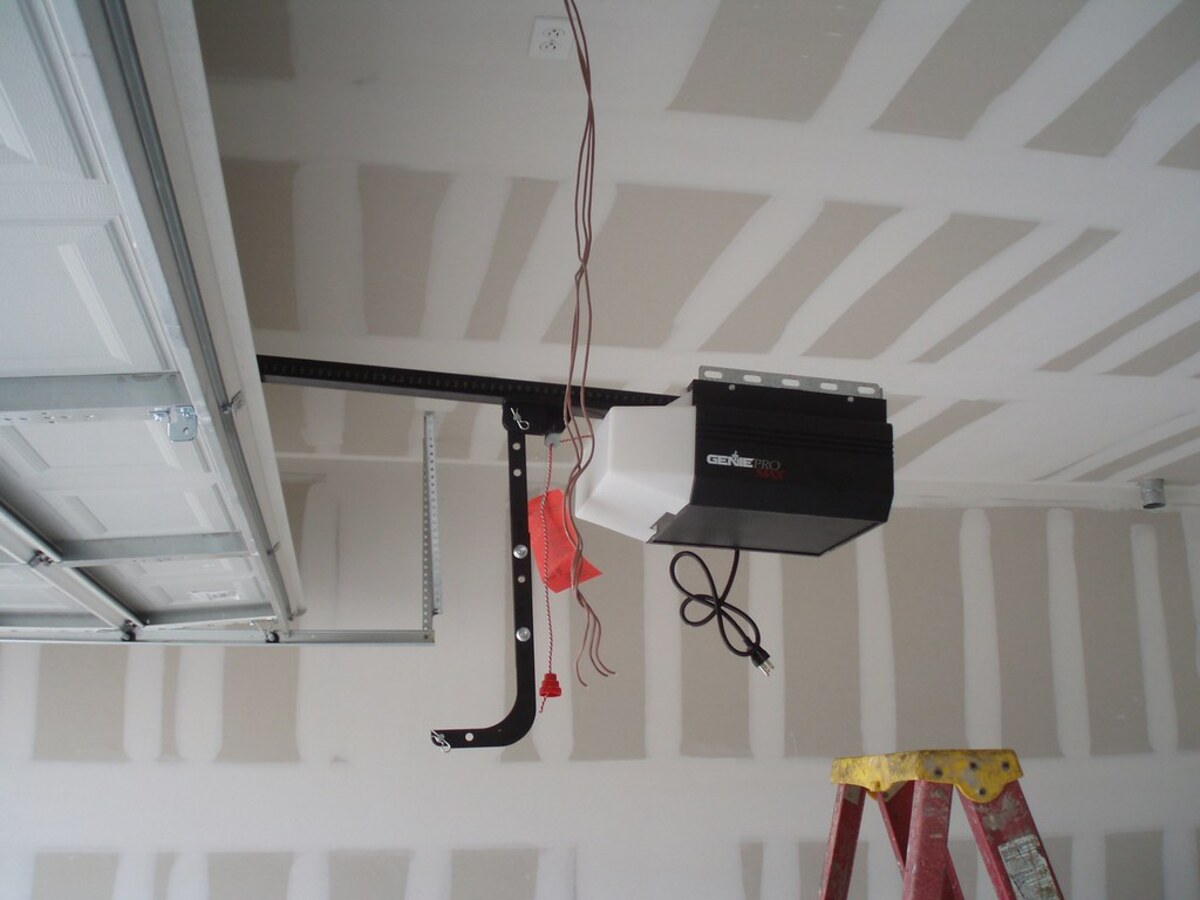
- Locate the Learn Button: Begin by locating the “learn” button on your garage door opener. This button is typically found on the back or side of the opener motor unit. Consult the manufacturer’s manual if you’re unsure about the exact location.
- Access the Programming Mode: Once you’ve located the learn button, press and release it. You will typically have 30 seconds to access the programming mode. Look for a light or indicator that confirms the opener is now in programming mode.
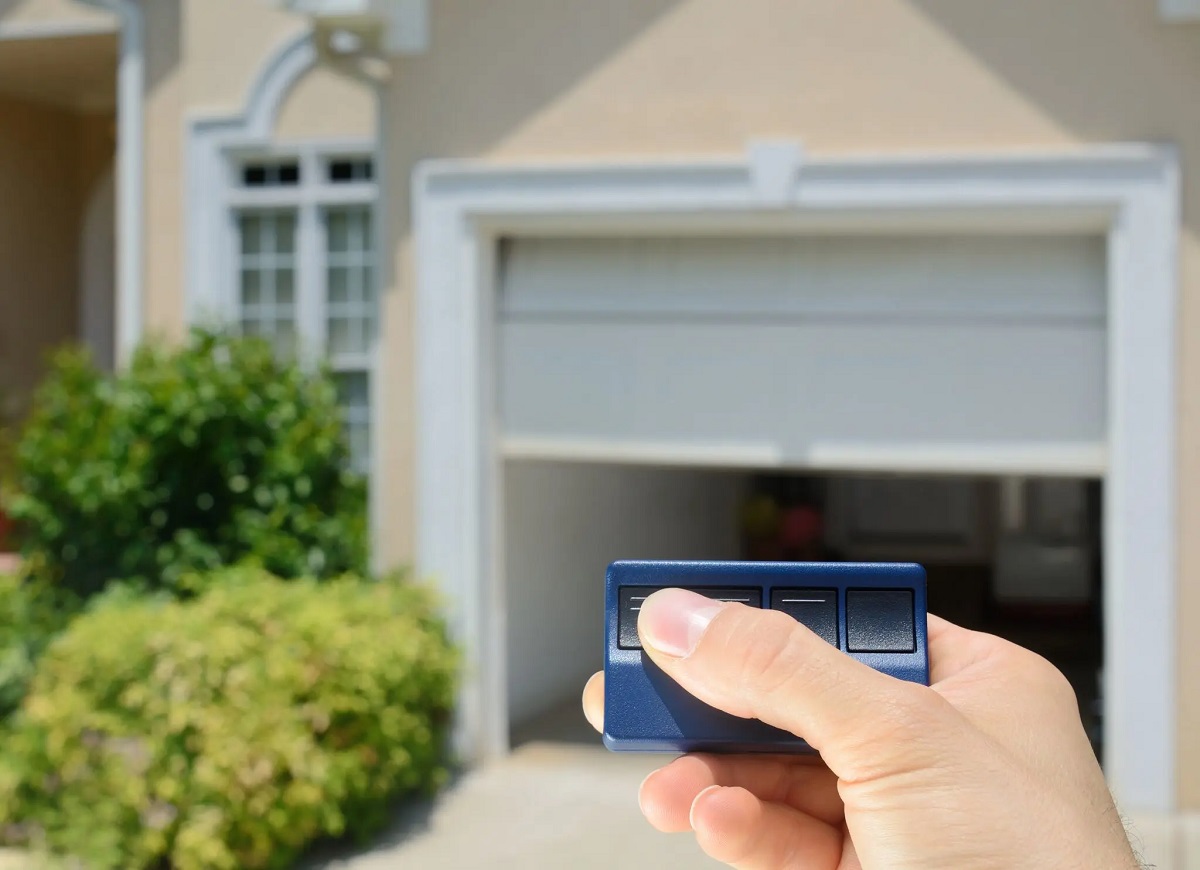
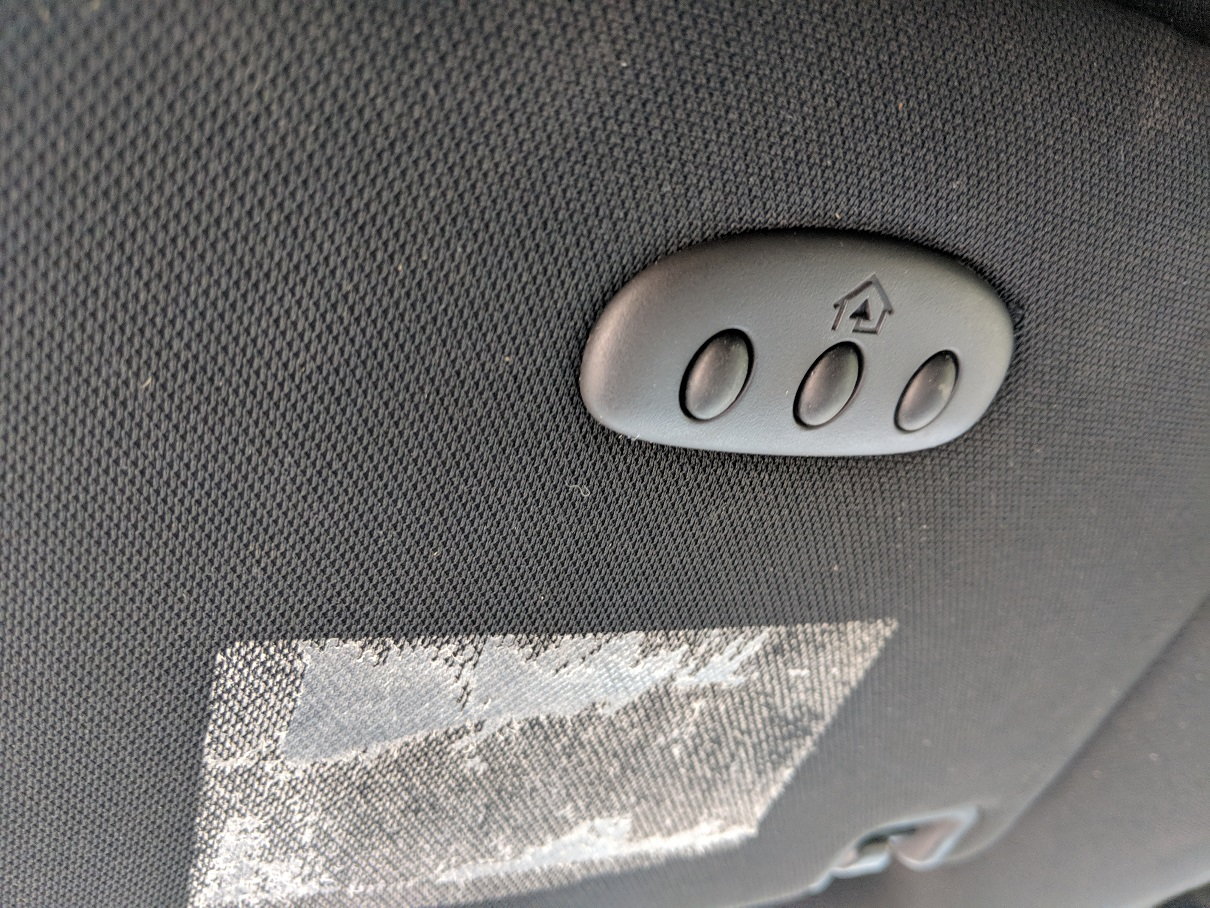
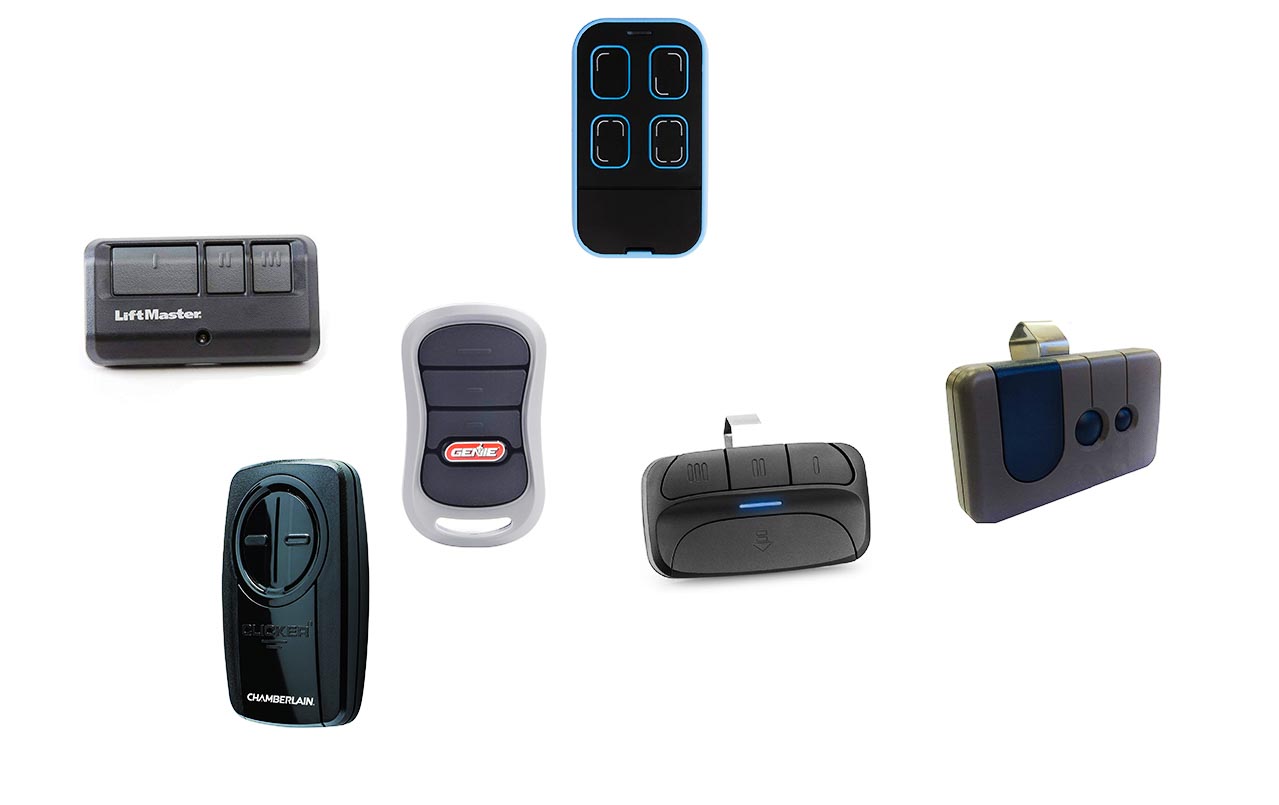
- Choose Your Remote Control: With the opener in programming mode, you’ll have a short window of time to program your desired remote control. On your remote control, press and hold the button you would like to use to open and close the garage door.
- Sync the Remote and Opener: While holding down the button on the remote control, press and release the learn button on the opener once again. The opener should emit a beep, flash a light, or display another indicator to confirm that the remote control has been successfully synced.
- Repeat for Additional Remote Controls: If you have multiple remote controls that you’d like to program, repeat the previous steps for each remote control. Each remote control should be synced individually with the opener.
- Test the Remote Controls: After programming all desired remote controls, test their functionality by pressing the programmed button(s) on each remote control. The garage door should open or close in response to the button press. If the door does not respond, repeat the programming steps from the beginning.
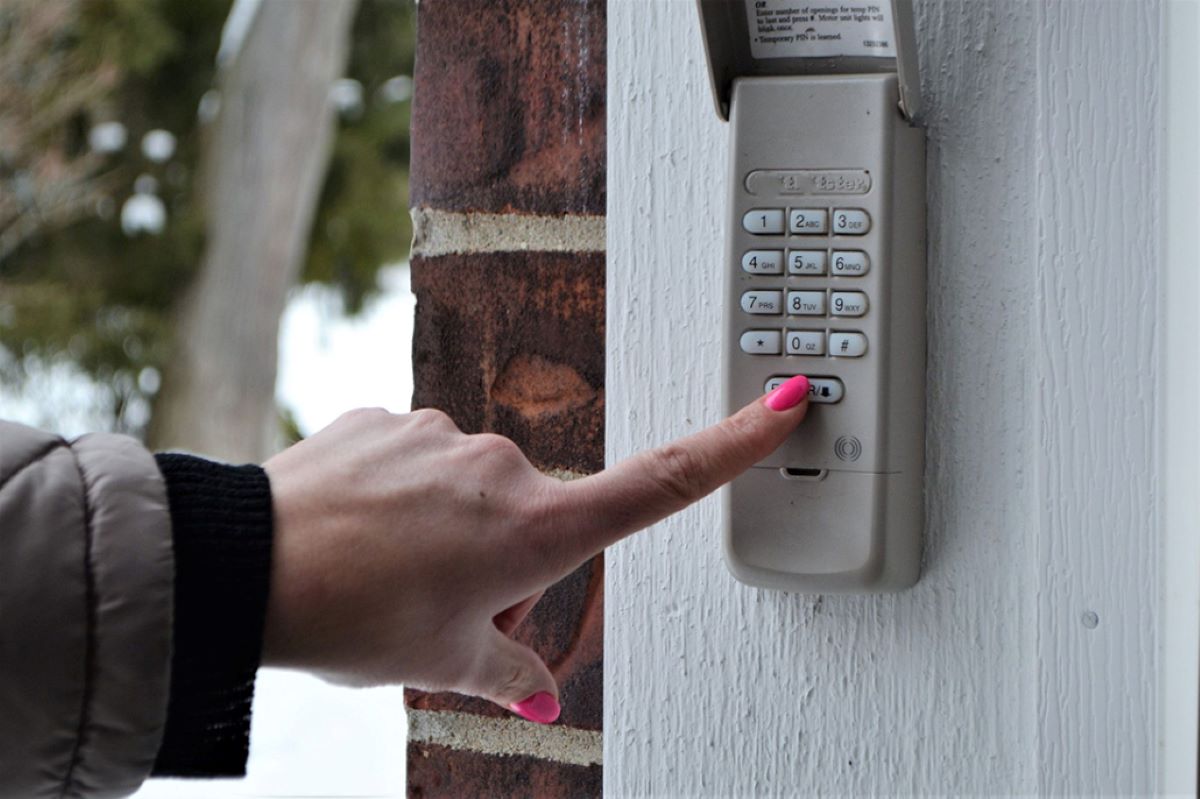
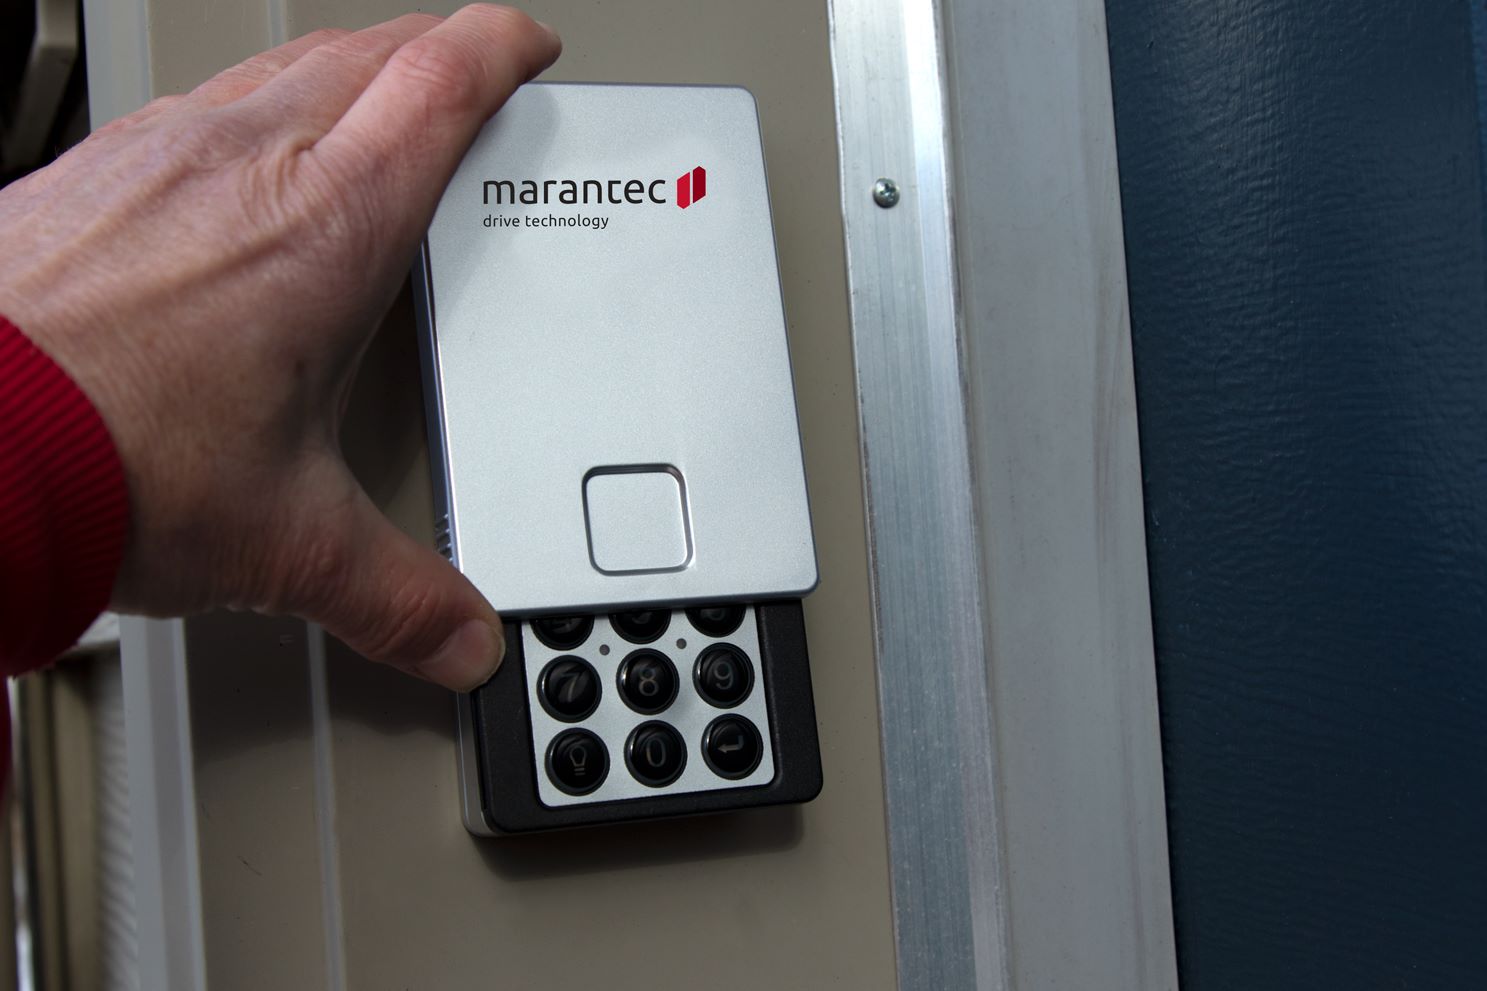
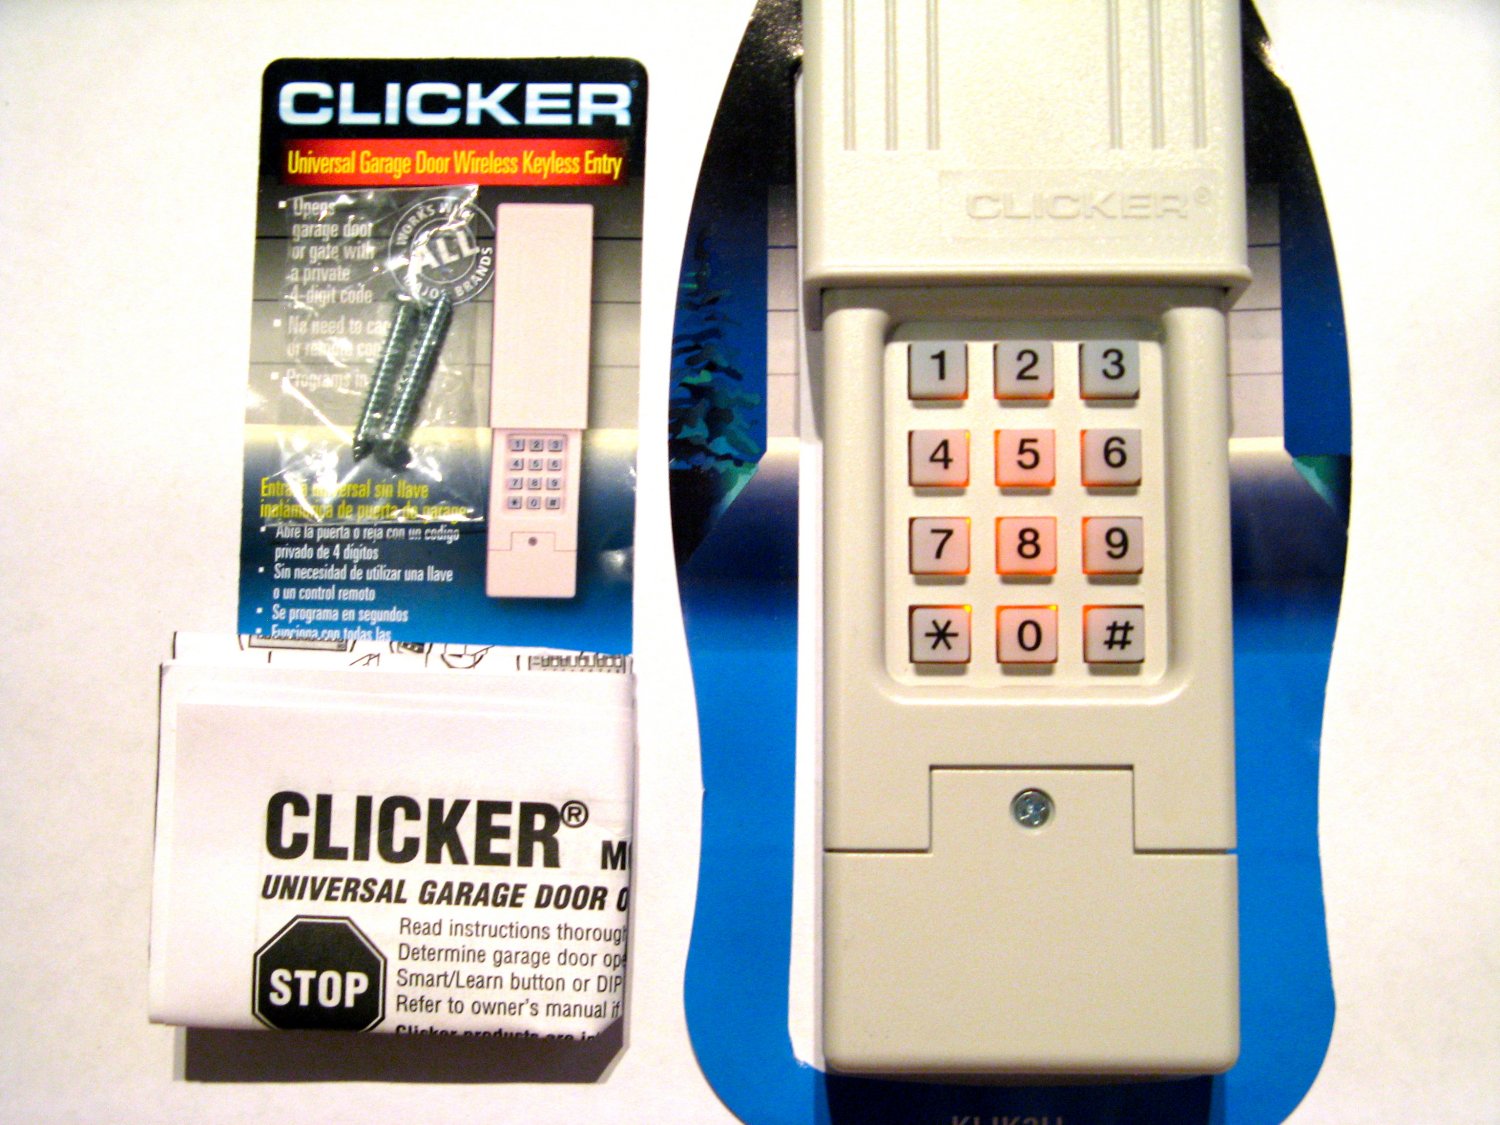
- Program the Keypad (if applicable): If your garage door opener includes a keypad, refer to the manufacturer’s instructions for programming it. This typically involves entering a specific code or series of buttons on the keypad to sync it with the opener.
Remember, these programming steps are general guidelines and may vary depending on the make and model of your garage door opener. Always refer to the specific instructions provided by the manufacturer for accurate programming information.
Once you’ve successfully completed the programming process, you can enjoy the convenience of operating your overhead garage door with the programmed remote controls or keypad. If you encounter any issues or difficulties during the programming process, consult the manufacturer’s manual or seek professional assistance to ensure proper programming and functionality.
Testing the Newly Programmed Garage Door Opener
After programming your overhead garage door opener, it’s essential to test its functionality to ensure smooth and reliable operation. By conducting a thorough test, you can identify any potential issues and make necessary adjustments before relying on the opener for day-to-day use.
Here are the steps to successfully test your newly programmed garage door opener:
- Clear the Area: Ensure the area around the garage door is clear of any obstructions or objects that could interfere with the door’s operation. This includes any vehicles, tools, or other items that may be in the vicinity of the door.
- Activate the Opener: Stand at a safe distance from the door and press the programmed button on your remote control or enter the code on the keypad, if applicable. The garage door should begin to open smoothly and quietly.
- Observe the Door’s Movement: Pay close attention to the movement of the garage door as it opens or closes. Ensure that it moves in a straight and level manner without any jerking or shaking. Additionally, listen for any unusual noises that may indicate a problem with the opener or door mechanism.
- Test the Safety Features: To ensure the safety of you and your loved ones, it’s crucial to test the safety features of the garage door opener. Place an object, such as a sturdy box or a roll of paper towels, in the path of the closing door. As the door begins to close, it should detect the obstruction and automatically reverse its direction. If the door fails to reverse, immediately stop operating the door and consult the manufacturer’s instructions for troubleshooting.
- Check for Proper Sealing: As the door closes, inspect the sides and bottom of the door to ensure a proper seal. The door should fit snugly against the weatherstripping and create a barrier against drafts and weather elements.
- Verify Remote Control Range: Test the range of your remote control by standing further away from the door and pressing the button. The opener should still respond and open or close the door smoothly. If the range is insufficient, consider repositioning the opener or installing a range extender to improve signal reception.
By following these steps and conducting a thorough test, you can identify any potential issues with your newly programmed garage door opener. If you encounter any problems, refer to the manufacturer’s instructions for troubleshooting tips or consider contacting a professional for assistance.
Regularly testing and maintaining your garage door opener is essential to ensure safe and reliable operation. It’s recommended to perform these tests periodically, especially after any adjustments or repairs to the opener or door mechanism. Remember, safety should always be a priority when operating a garage door, so never hesitate to seek professional help if you have any concerns or doubts about the functionality of your opener.
Read more: How To Program Honda Garage Door Opener
Troubleshooting Tips
While programming and testing your overhead garage door opener, you may encounter certain issues or difficulties. Don’t worry! Here are some troubleshooting tips to help you address common problems and ensure optimal performance of your garage door opener:
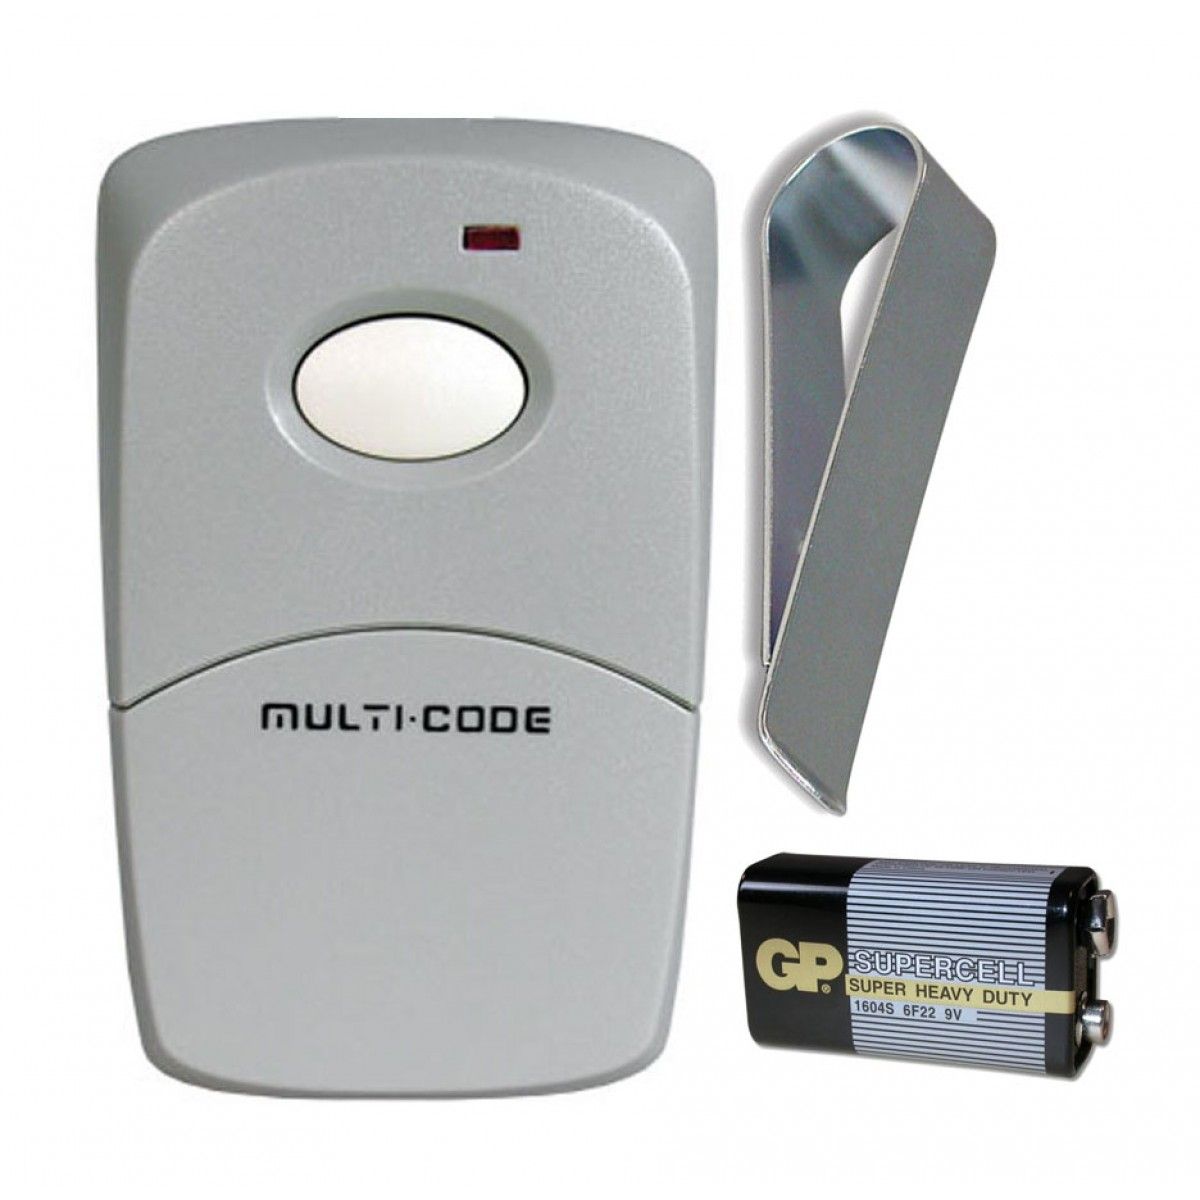
1. Remote Control Not Working: If the remote control is not operating the garage door, check the batteries and replace them if necessary. Make sure there are no obstructions between the remote control and the opener, as this can affect the signal transmission. If the problem persists, reprogram the remote control following the manufacturer’s instructions.
2. Door Not Opening or Closing Completely: If the garage door does not open or close fully, check for any obstructions on the door tracks or around the door itself. Clear away any debris or objects that may be hindering the door’s movement. Also, inspect the sensors to ensure they are aligned and not blocked by dirt or dust.
3. Noisy Operation: If your garage door opener is making excessive noise during operation, lubricate the moving parts such as the rollers, hinges, and springs with a silicone-based lubricant. Inspect the hardware for any loose or worn components that may be causing the noise. Tighten or replace any parts as necessary.
4. Garage Door Reverses Unexpectedly: If the garage door reverses unexpectedly while closing, check if there are any objects or debris blocking the door’s path. Clear the area and try closing the door again. If the problem persists, adjust the close limit or force settings on the garage door opener according to the manufacturer’s instructions.
5. Keypad Not Working: If the keypad is not responding, check if the batteries need to be replaced. Make sure the keypad is within range of the opener and that the code being entered is correct. If the issue continues, reprogram the keypad following the manufacturer’s guidelines.
6. Opener Motor Running But Door Not Moving: If you hear the motor running but the garage door is not moving, check for any disengaged cables or broken springs. Additionally, examine the drive mechanism (such as the chain or belt) for any signs of damage. Consult a professional technician if you are unable to identify or resolve the issue.
7. Opener Not Responding to Remote Control: If the opener does not respond to the remote control, check if the remote control has been properly programmed and synced with the opener. Ensure that the opener is receiving power and the antenna is intact. If the problem persists, refer to the manufacturer’s troubleshooting guide or contact their customer support for further assistance.
Remember, troubleshooting steps can vary depending on the specific make and model of your garage door opener. Always consult the manufacturer’s instructions and guidelines for accurate troubleshooting information. If you are uncertain about performing any troubleshooting steps, it is recommended to seek the assistance of a professional technician to avoid further complications or damage.
By following these troubleshooting tips, you can address common issues with your overhead garage door opener and maintain its smooth and reliable operation. Regular maintenance and prompt troubleshooting will prolong the lifespan of your opener and ensure the safety and security of your garage.
Frequently Asked Questions about How To Program An Overhead Garage Door Opener
Was this page helpful?
At Storables.com, we guarantee accurate and reliable information. Our content, validated by Expert Board Contributors, is crafted following stringent Editorial Policies. We're committed to providing you with well-researched, expert-backed insights for all your informational needs.


0 thoughts on “How To Program An Overhead Garage Door Opener”