Home>Renovation & DIY>Tools & Equipment>How To Organize Tools On A Pegboard
Tools & Equipment
How To Organize Tools On A Pegboard
Modified: August 29, 2024
Learn how to efficiently organize your tools and equipment on a pegboard with our step-by-step guide. Maximize space and improve accessibility today!
(Many of the links in this article redirect to a specific reviewed product. Your purchase of these products through affiliate links helps to generate commission for Storables.com, at no extra cost. Learn more)
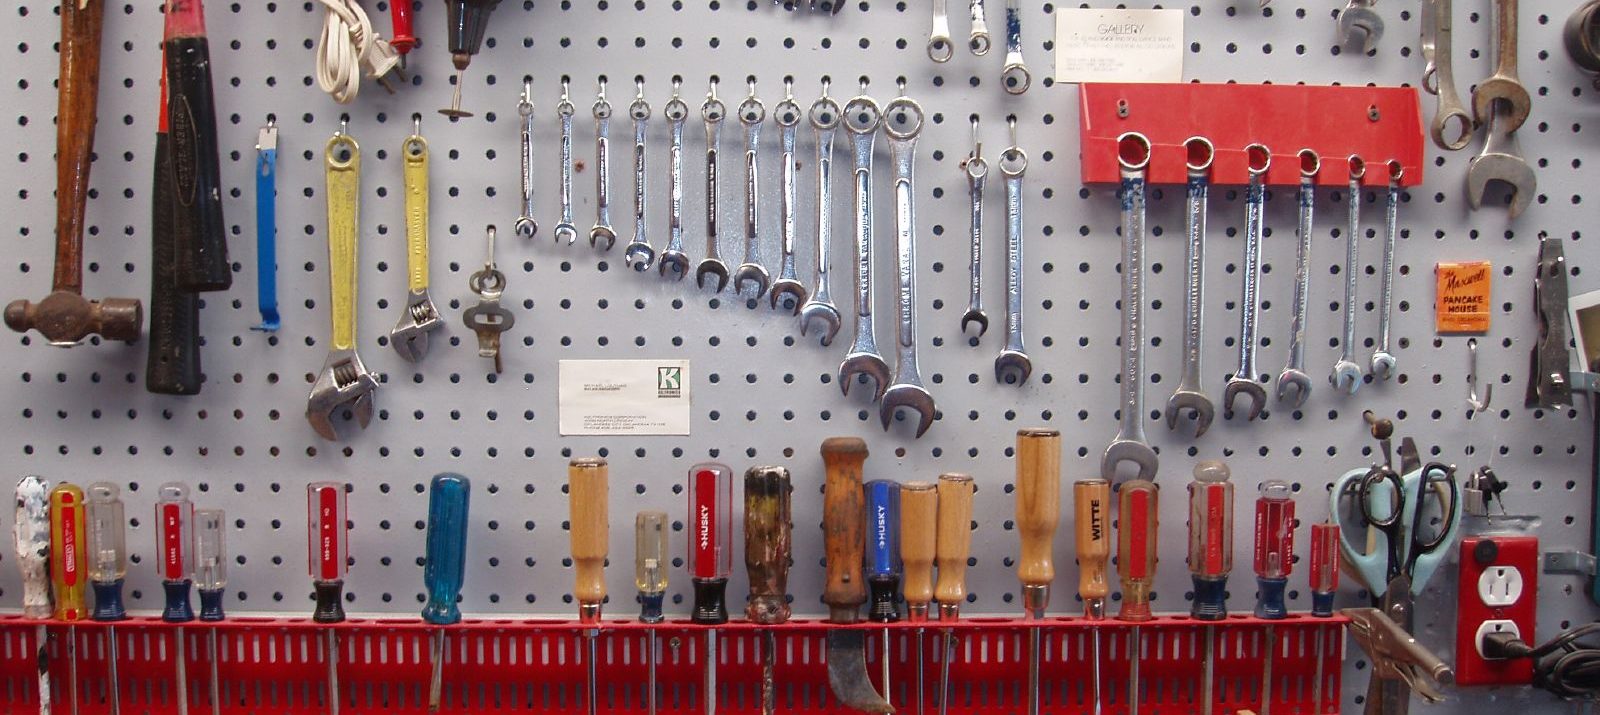
Benefits of Using a Pegboard for Tool Organization
Using a pegboard for tool organization offers several benefits that can help you keep your workspace tidy and efficient. Here are some of the key advantages:
-
Maximizes Space: Pegboards are a great way to make use of vertical space in your workshop or garage. By hanging your tools on the pegboard, you can free up valuable floor and shelf space for other items.
-
Easy Access: When your tools are neatly arranged on a pegboard, you can easily see and access each one. This makes it quick and convenient to grab the tool you need without rummaging through drawers or toolboxes.
-
Customizable: Pegboards are highly customizable, allowing you to arrange your tools in a way that makes the most sense for your workflow. You can easily move hooks and holders around to accommodate different tools and equipment.
-
Visibility: With tools displayed on a pegboard, you can quickly assess your inventory and see if any tools are missing. This can help you keep track of your tools and prevent them from getting lost or misplaced.
-
Aesthetically Pleasing: A well-organized pegboard can add a touch of visual appeal to your workspace. By arranging your tools in a neat and orderly manner, you can create a more professional and inviting environment.
In summary, using a pegboard for tool organization can help you maximize space, improve accessibility, customize your storage, enhance visibility, and create a more visually appealing workspace.
Key Takeaways:
- Maximize space and accessibility by using a pegboard to organize tools. It’s customizable, visually appealing, and helps prevent tools from getting lost or misplaced.
- Choose a sturdy pegboard, plan the layout, and categorize tools by function and frequency of use. Hang tools by category, utilize vertical space, and maintain flexibility for easy access and organization.
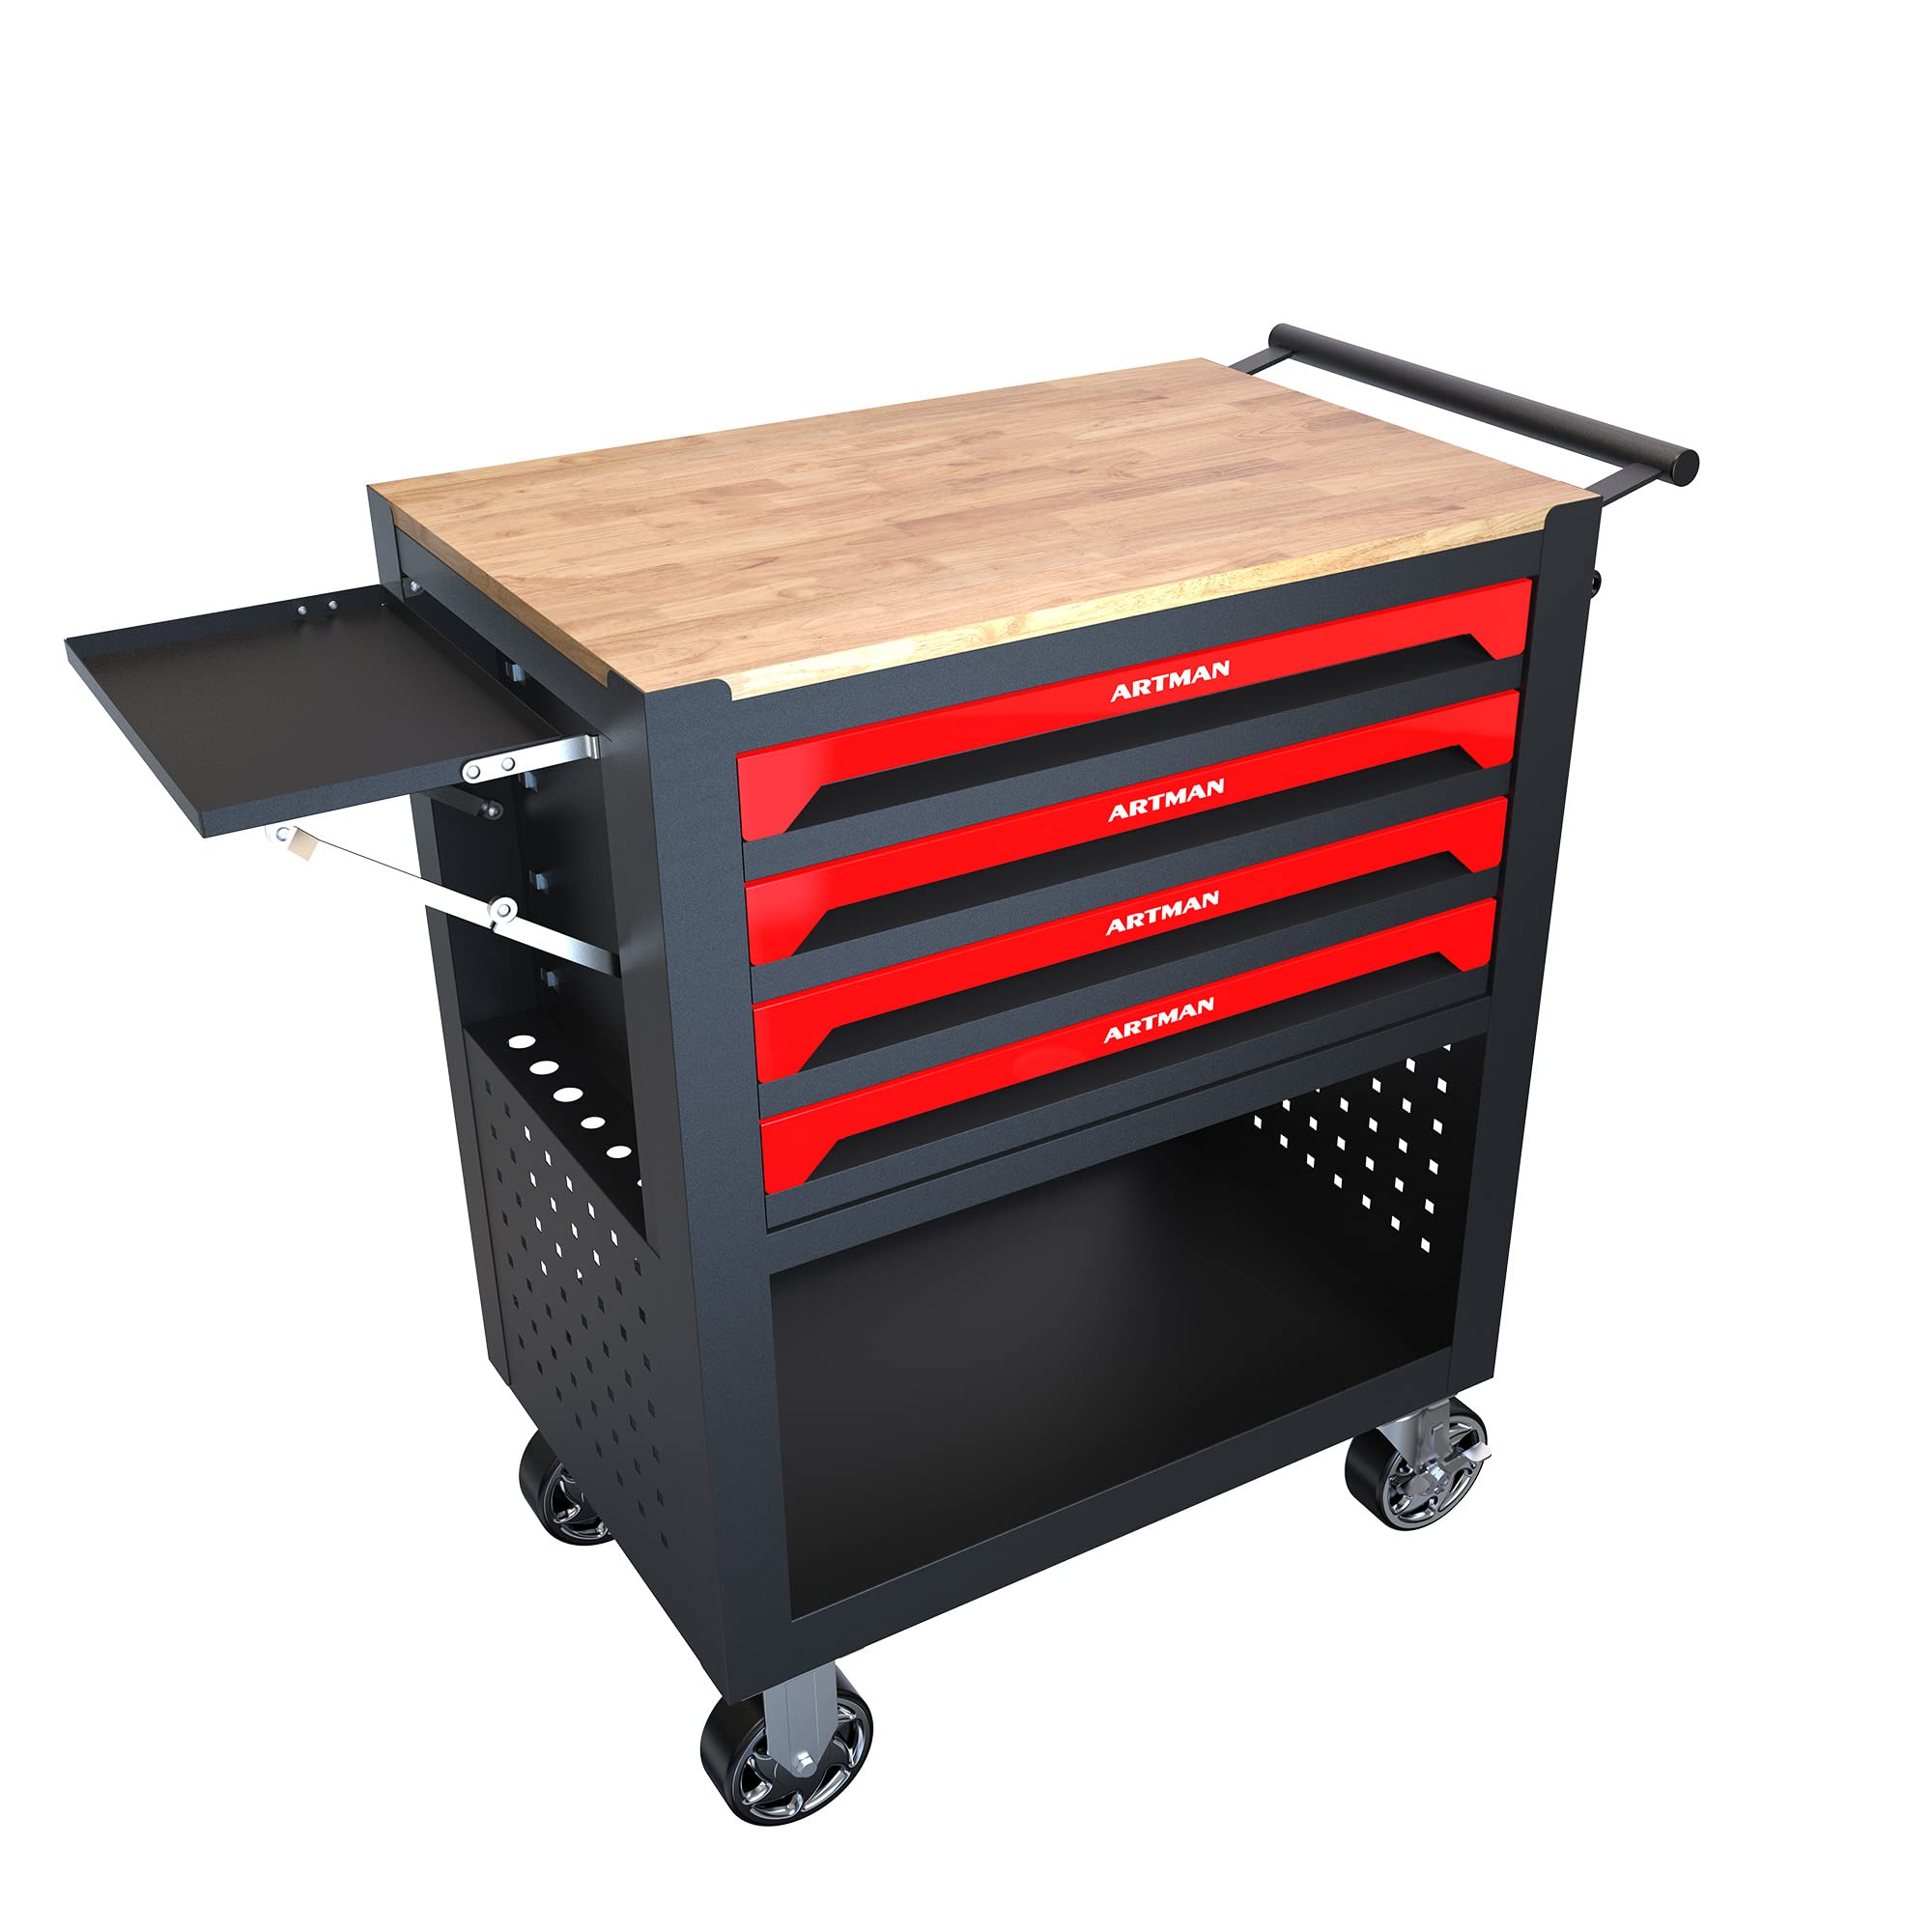
Choosing the Right Pegboard and Accessories
When it comes to organizing your tools on a pegboard, selecting the right pegboard and accessories is crucial for an efficient and effective storage solution. Here's what you need to consider:
1. Pegboard Material
Choose a pegboard made of durable and sturdy material such as metal or high-quality plastic. Metal pegboards are particularly robust and can support heavier tools without warping or bending.
2. Hole Size
Consider the hole size of the pegboard. Smaller holes are suitable for holding smaller tools and accessories, while larger holes are better for accommodating larger items. Make sure the hole size matches the hooks and accessories you plan to use.
3. Accessories
Invest in a variety of pegboard accessories such as hooks, shelves, bins, and tool holders. Different tools require different types of holders, so having a selection of accessories will allow you to customize the pegboard to fit your specific tool collection.
4. Mounting Options
Consider how you will mount the pegboard. Some pegboards come with mounting hardware, while others require you to purchase it separately. Additionally, think about whether you want the pegboard to be freestanding or wall-mounted based on your available space and preferences.
5. Size and Layout
Determine the size of the pegboard based on the number of tools you need to store and the available space in your workshop or garage. Consider the layout of your tools and plan the arrangement of the pegboard to optimize accessibility and organization.
By carefully considering the material, hole size, accessories, mounting options, and size/layout of the pegboard, you can ensure that you choose the right pegboard and accessories for your specific tool organization needs.
Planning the Layout of Your Pegboard
When planning the layout of your pegboard, it's essential to consider the specific tools you'll be organizing and how frequently you use them. Here are some steps to help you plan the layout effectively:
-
Tool Placement: Start by grouping your tools based on their functionality or how you use them together. For example, keep all your measuring tools in one area, power tools in another, and hand tools in a separate section. This grouping will make it easier to locate the tools you need for specific tasks.
-
Frequently Used Tools: Place the tools you use most frequently within easy reach. This could be at eye level or within arm's reach to ensure quick access. Tools that are used less often can be placed higher or lower on the pegboard.
-
Consider Tool Sizes: Arrange the pegboard to accommodate the sizes of your tools. Larger tools such as hammers and wrenches may require more space between hooks, while smaller items like screwdrivers and pliers can be grouped closer together.
-
Visual Balance: Aim for a visually balanced layout by distributing the weight of the tools evenly across the pegboard. This not only enhances the overall appearance but also ensures that the pegboard can support the weight of the tools without becoming overloaded in one area.
-
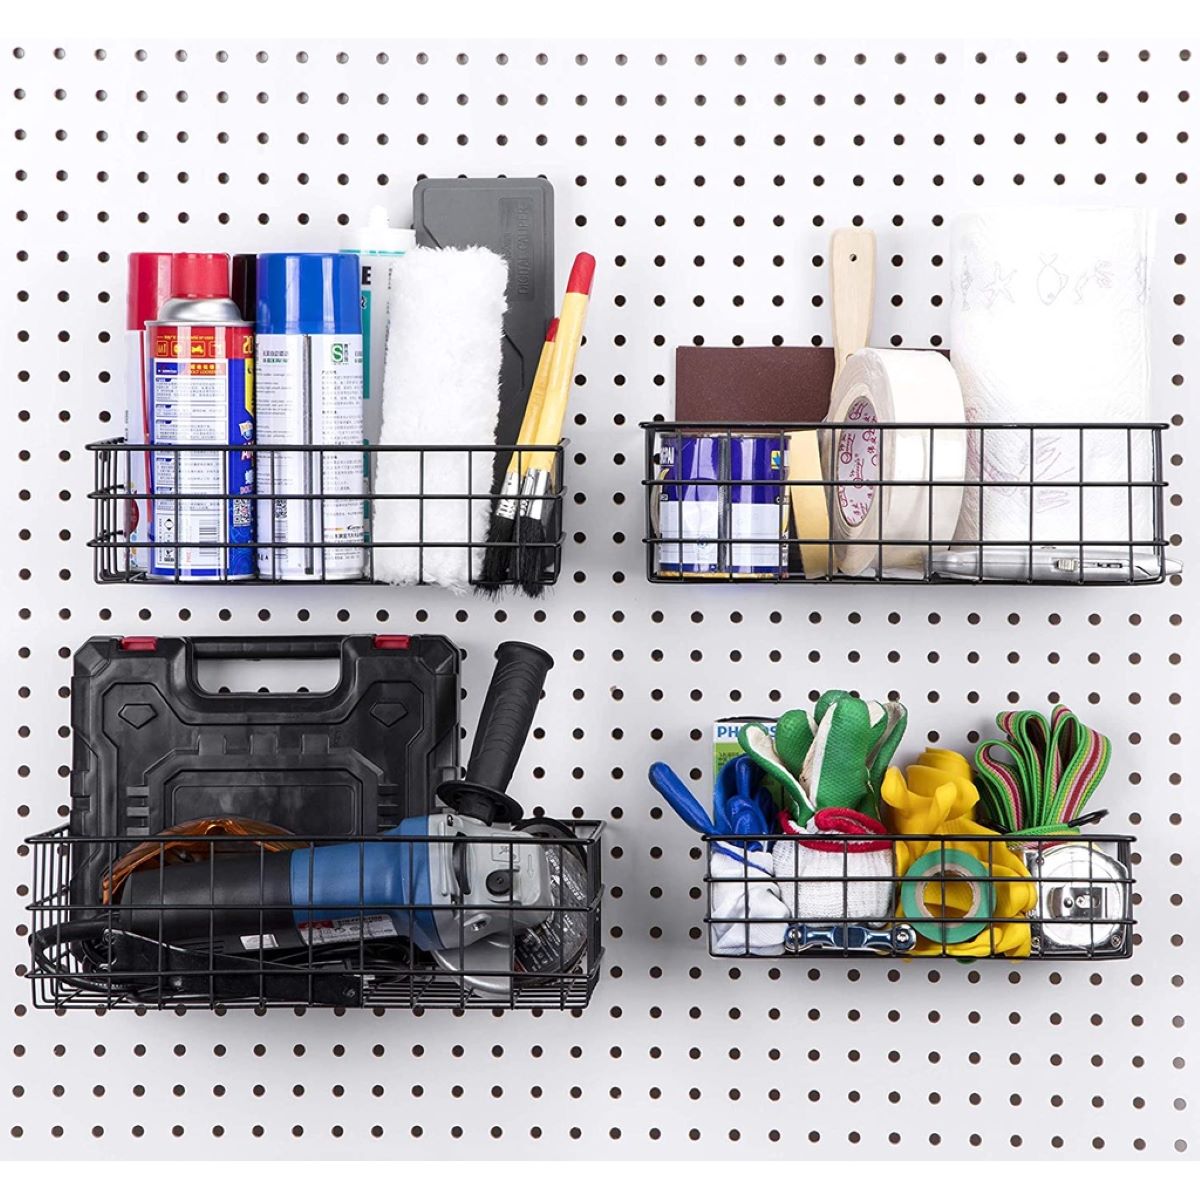
Space Optimization: Make the most of the available space by utilizing the entire surface of the pegboard. Consider adding shelves or bins to hold smaller items or accessories that may not hang neatly on hooks.
-
Flexibility: Keep the layout flexible to accommodate changes as your tool collection evolves. Using adjustable hooks and holders allows you to reconfigure the pegboard easily as you add or remove tools over time.
By carefully planning the layout of your pegboard, you can create an organized and efficient storage system that not only showcases your tools but also makes them easily accessible for your DIY and home improvement projects.
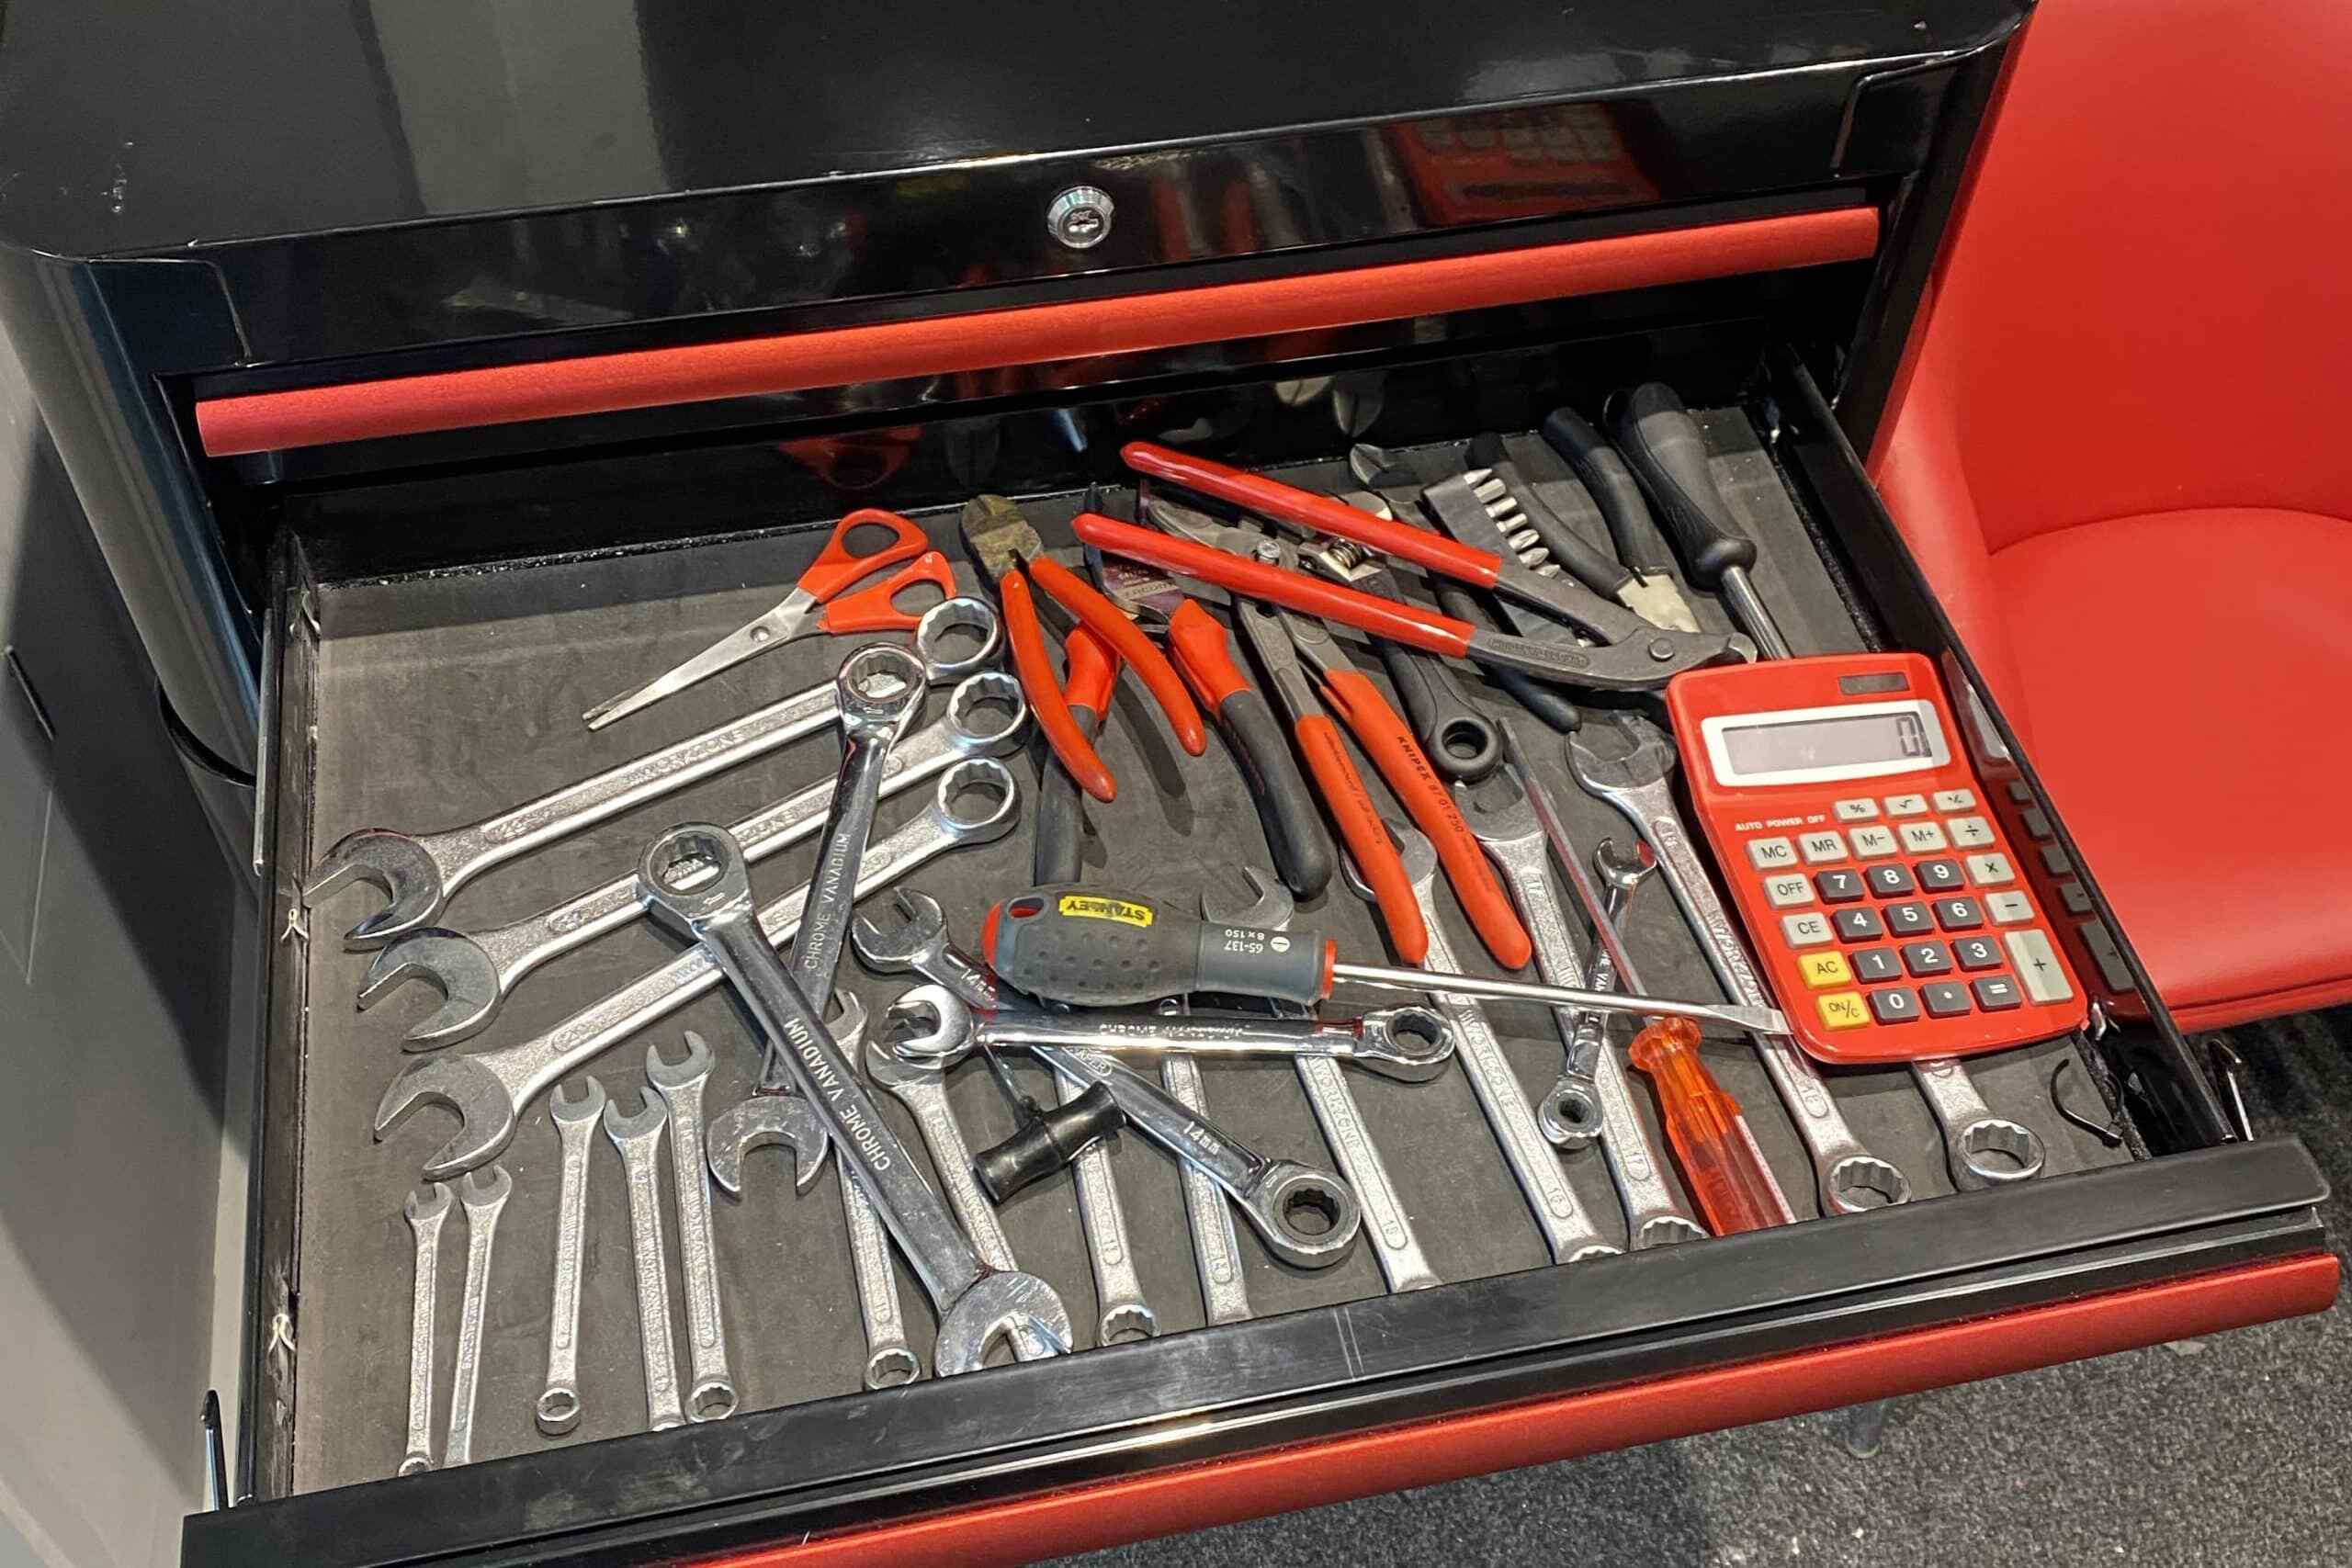
Sorting and Categorizing Your Tools
Sorting and categorizing your tools is a crucial step in the process of organizing your pegboard. By grouping similar tools together, you can create a systematic and efficient storage system. Here's how to effectively sort and categorize your tools:
-
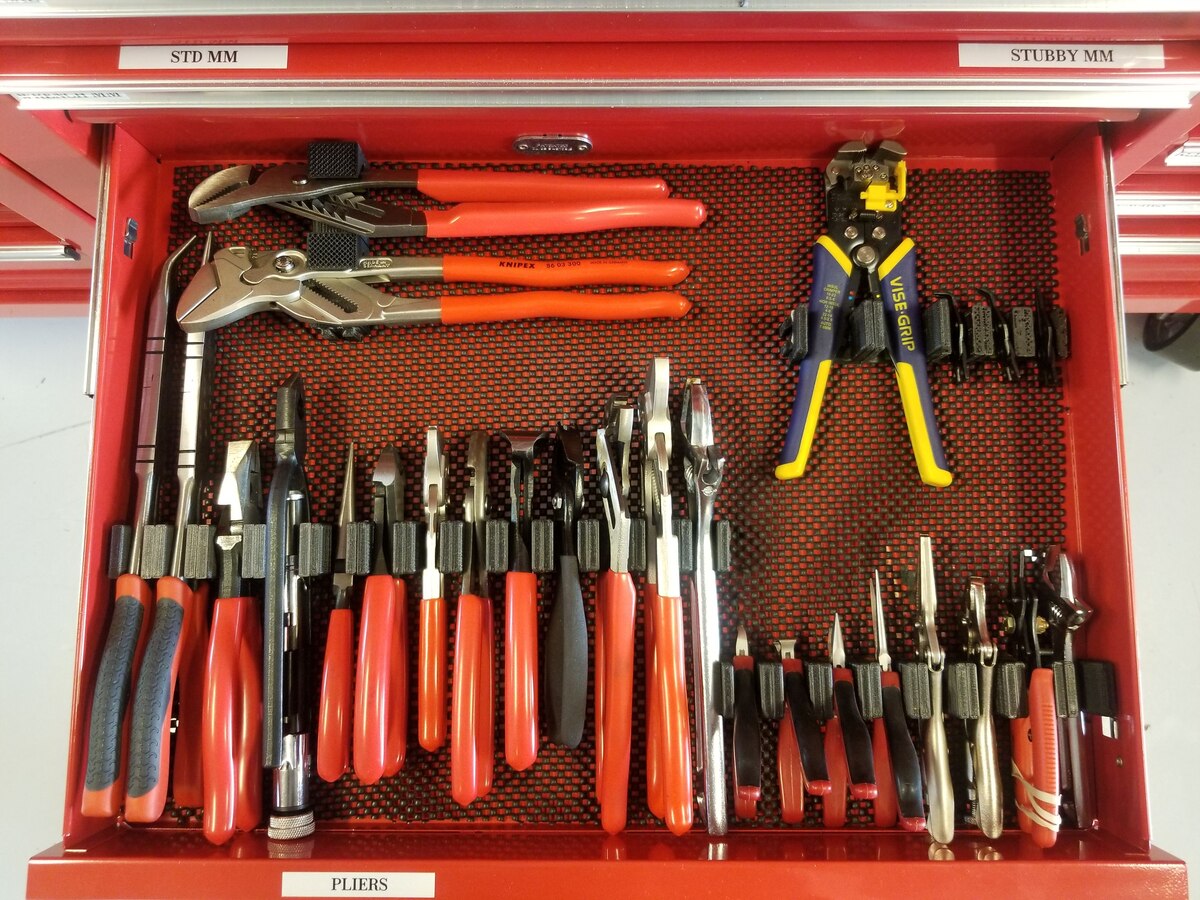
Group by Function: Start by grouping your tools based on their primary function. For example, place all cutting tools such as saws, knives, and scissors in one section, and group fastening tools like hammers, screwdrivers, and wrenches together. This approach makes it easier to locate specific tools when needed for a particular task.
-
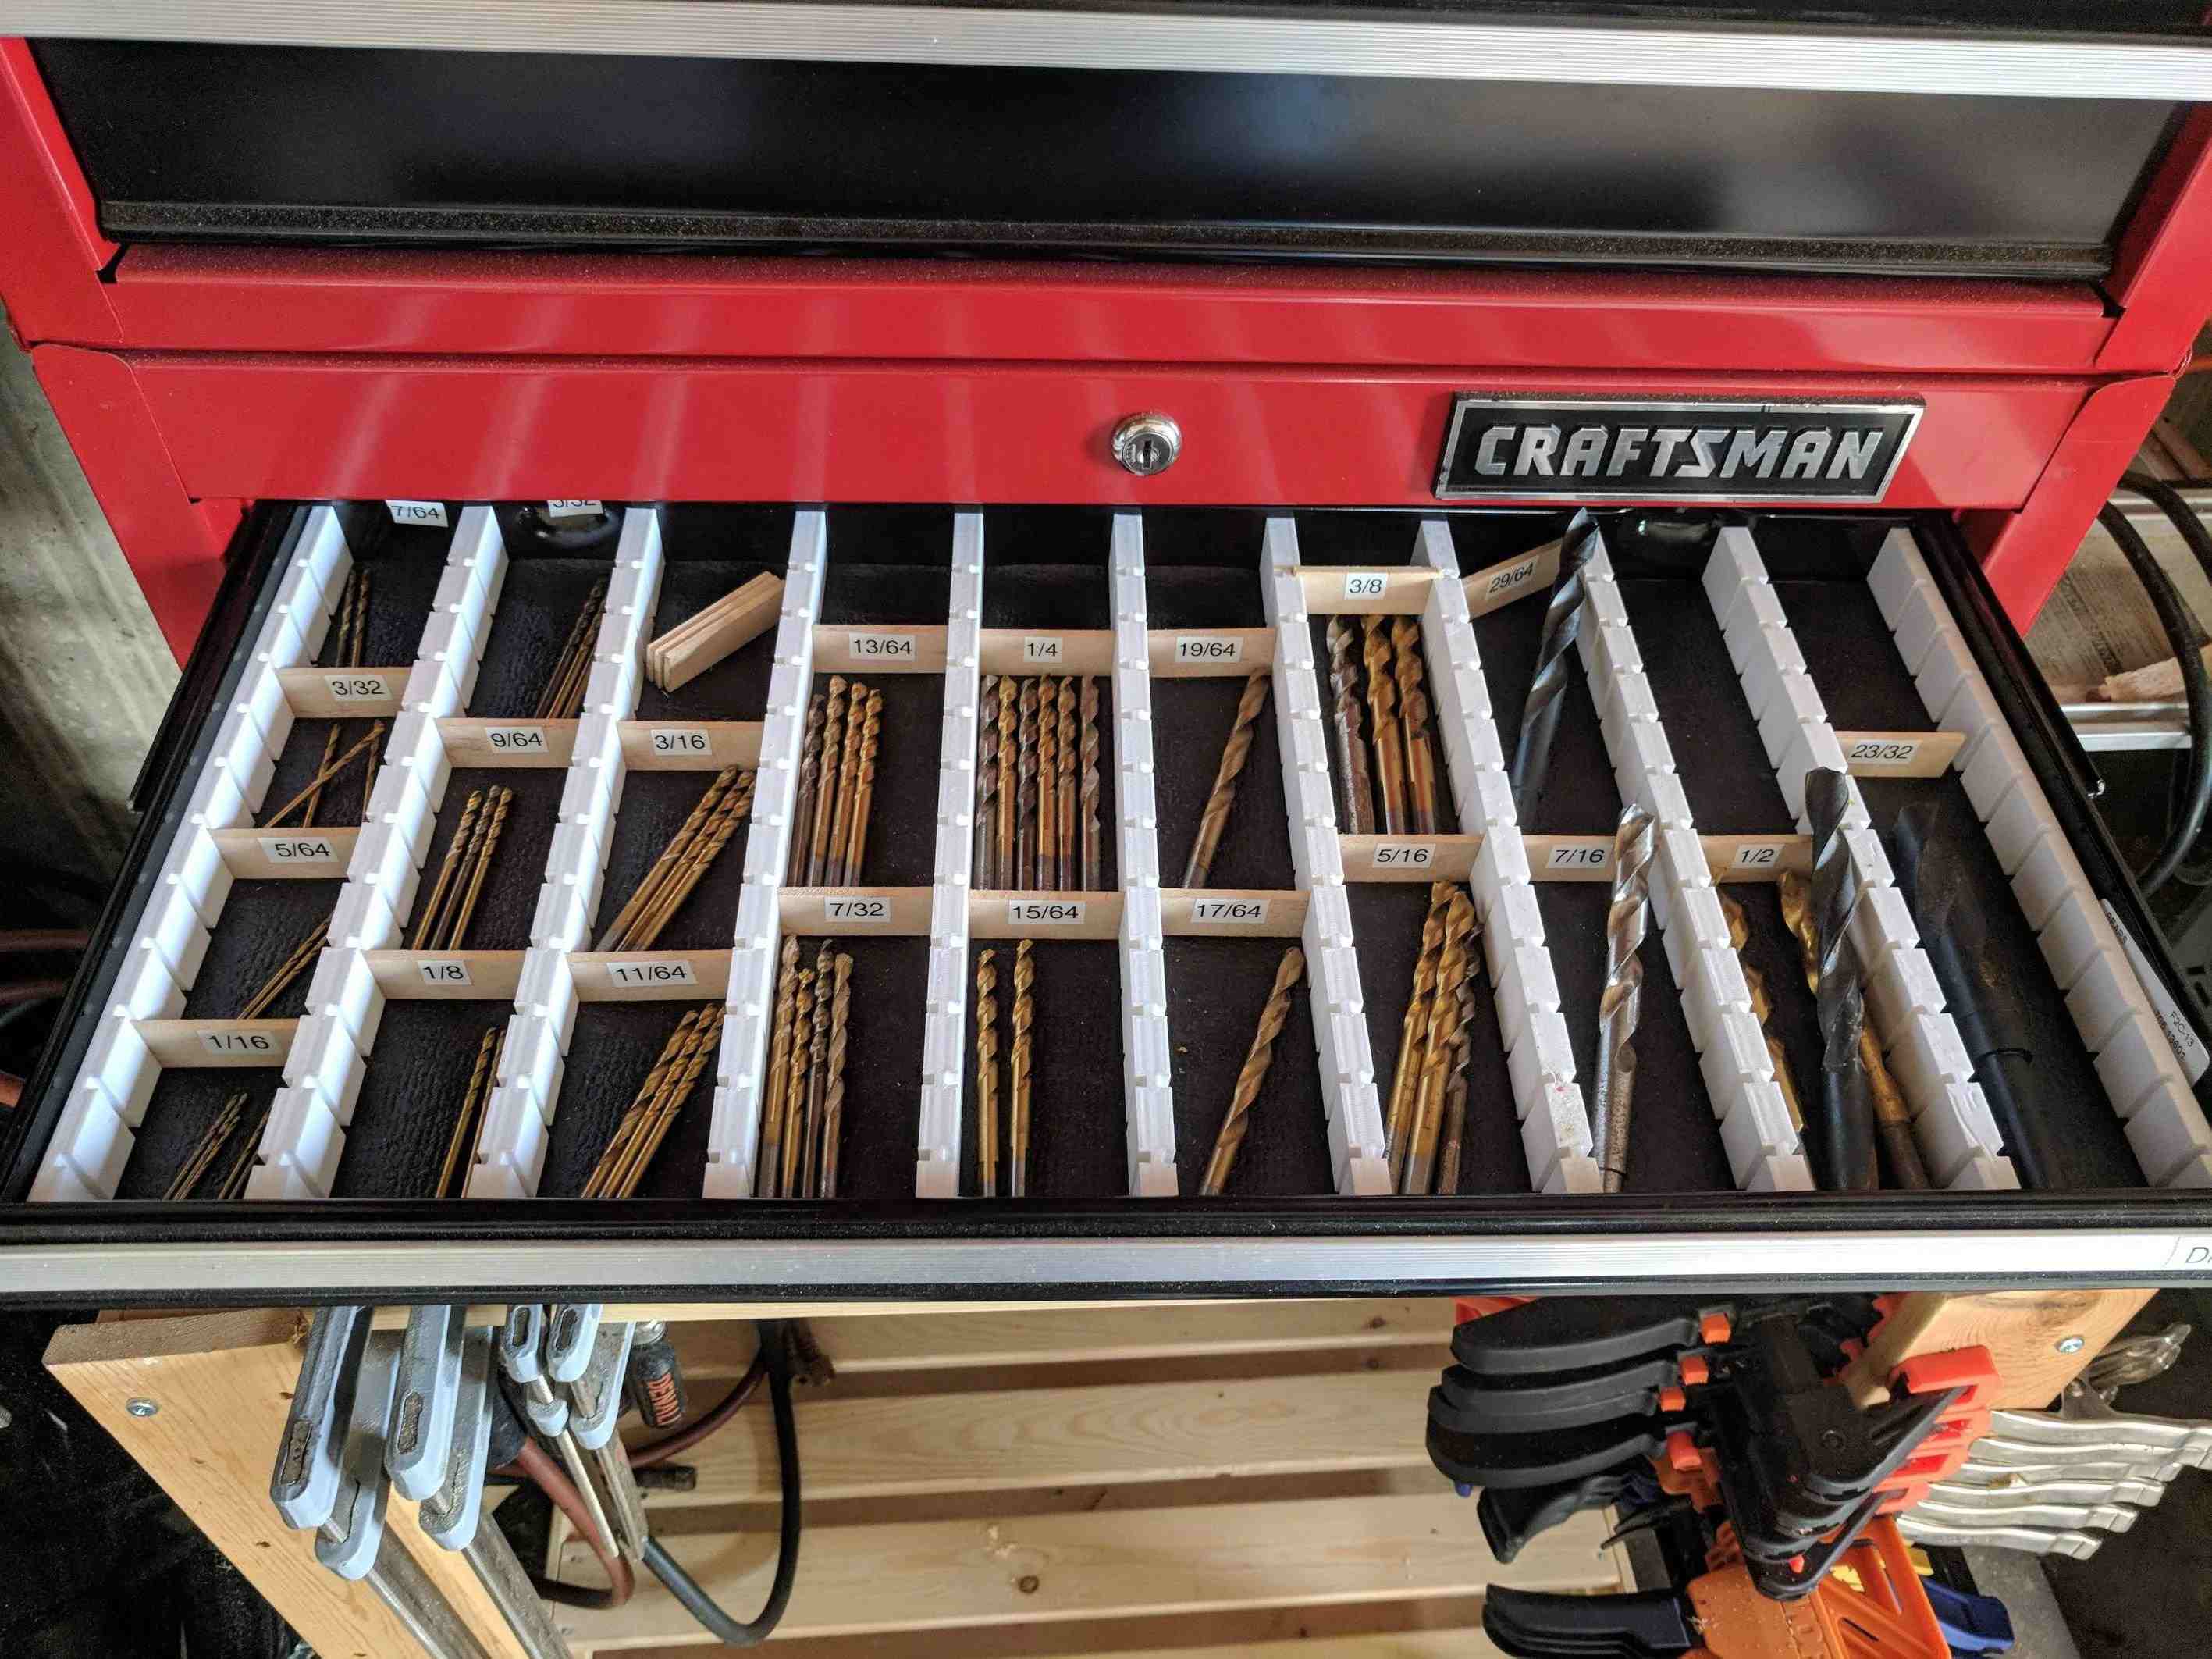
Separate by Size and Shape: Consider the size and shape of your tools when categorizing them. Larger tools such as drills and power saws may require their own designated area, while smaller hand tools like pliers and screwdrivers can be grouped together. This separation helps optimize the use of space on the pegboard and prevents overcrowding.
-
Organize by Frequency of Use: Another effective way to categorize your tools is by how frequently you use them. Keep the tools you use most often in easily accessible areas of the pegboard, while placing less frequently used tools in secondary or higher storage areas. This ensures that the tools you reach for most frequently are within arm's reach.
-
Consider Tool Families: Some tools may belong to the same family or category, such as woodworking tools, electrical tools, or painting supplies. By grouping tools by their respective families, you can create dedicated sections on the pegboard, making it easier to find all the necessary tools for a specific type of project.
-
Allocate Space for Accessories: Don't forget to allocate space for tool accessories such as drill bits, nails, screws, and other small items. Utilize bins, cups, or small shelves to store these accessories near the corresponding tools, ensuring that everything you need for a particular task is conveniently located in one area.
-
Labeling and Color Coding: Consider using labels or color-coding systems to further categorize and identify your tools. Labeling shelves or using colored hooks can help visually distinguish between different tool categories, making it easier to maintain the organization of the pegboard over time.
By sorting and categorizing your tools effectively, you can create a well-organized pegboard that not only showcases your tool collection but also enhances the efficiency and functionality of your workspace.
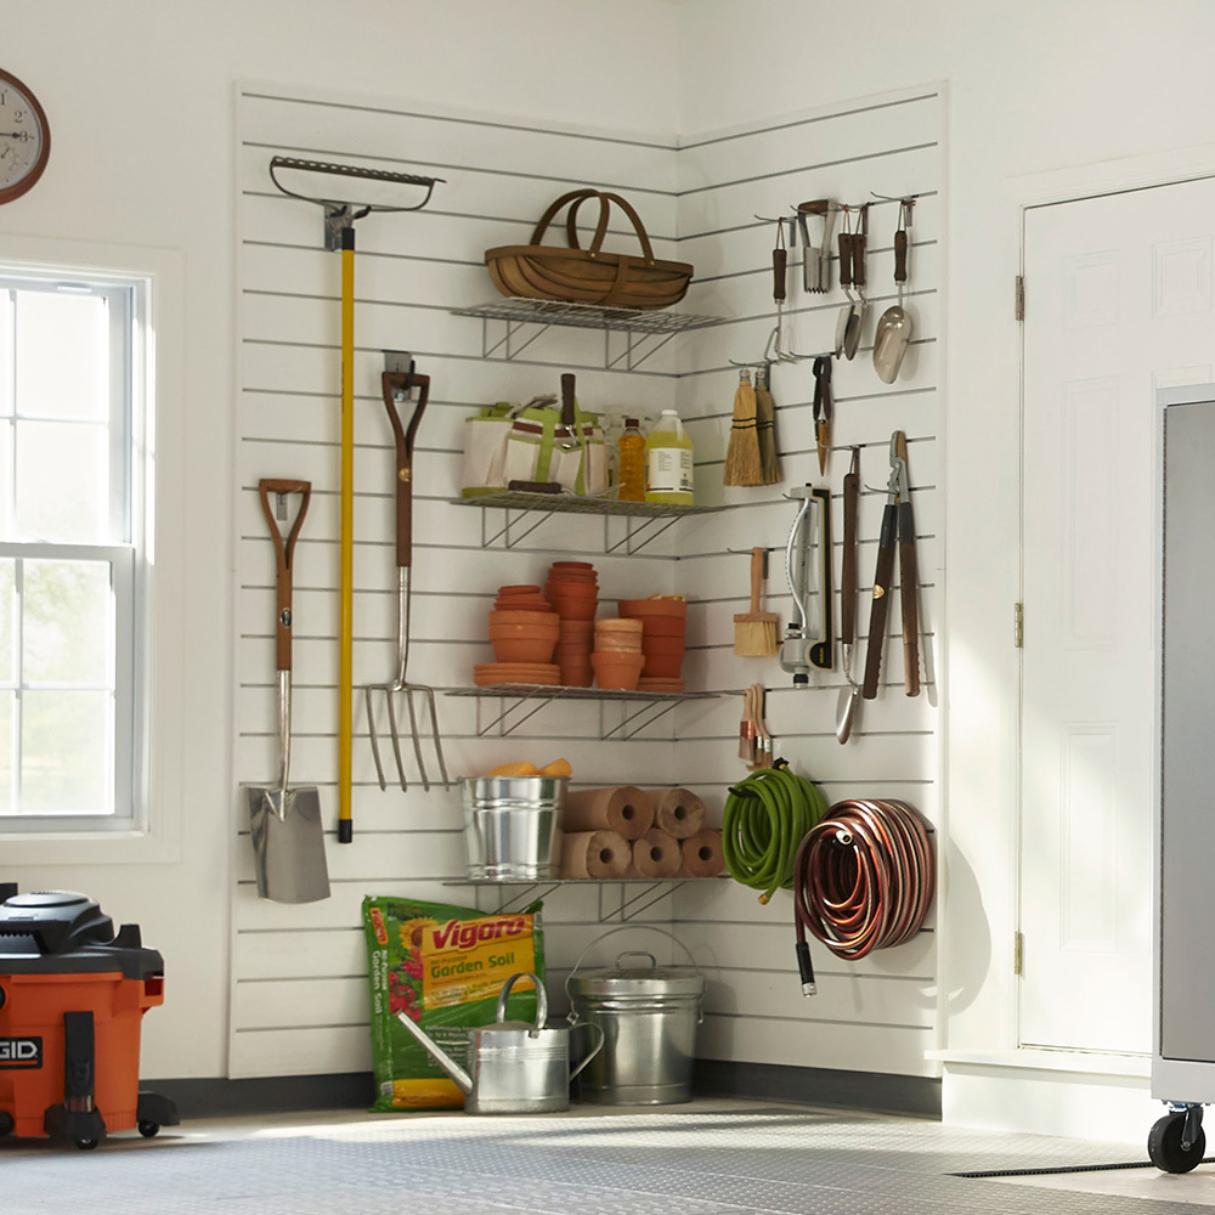
Hanging and Arranging Your Tools on the Pegboard
Now that you have selected the right pegboard, planned its layout, and sorted your tools, it's time to hang and arrange your tools on the pegboard. Here's a step-by-step guide to help you effectively hang and arrange your tools:
-
Select the Right Hooks and Holders: Choose hooks and holders that are suitable for the specific tools you are organizing. Different tools require different types of hooks and holders to ensure a secure and stable fit. For example, larger tools may require heavy-duty hooks, while smaller hand tools may need specialized holders.
-
Arrange Tools by Category: Start by hanging the larger tools such as hammers, wrenches, and power drills. Place these tools in designated areas on the pegboard, ensuring that they are evenly distributed to maintain visual balance and prevent overcrowding in one section.
-
Utilize Vertical Space: Make use of the vertical space on the pegboard by hanging tools of varying lengths. Taller tools such as shovels, rakes, and levels can be hung vertically to maximize space and prevent them from protruding too far from the pegboard.
-
Group Similar Tools Together: Arrange similar tools together within their designated categories. For example, place all screwdrivers in one area, pliers in another, and saws in a separate section. This grouping makes it easier to locate specific tools and maintains a systematic organization.
-
Use Shelves and Bins: Incorporate shelves and bins to hold smaller tools, accessories, and items that may not hang neatly on hooks. Utilizing shelves and bins helps keep smaller items organized and prevents them from cluttering the pegboard.
-
Consider Tool Weight: Be mindful of the weight of the tools you are hanging. Ensure that the hooks and holders you use can support the weight of the tools without bending or becoming dislodged. Heavier tools should be securely anchored to the pegboard to prevent accidents.
-
Adjust for Accessibility: Place frequently used tools within easy reach, ensuring that they are at eye level or within arm's reach. Tools that are used less often can be positioned higher or lower on the pegboard, optimizing accessibility and convenience.
-
Maintain Flexibility: Keep the arrangement of your tools flexible to accommodate changes as your tool collection evolves. Adjustable hooks and holders allow you to reconfigure the pegboard easily, making it simple to add or remove tools as needed.
By following these steps, you can effectively hang and arrange your tools on the pegboard, creating a well-organized and visually appealing storage solution for your workshop or garage.
Frequently Asked Questions about How To Organize Tools On A Pegboard
Was this page helpful?
At Storables.com, we guarantee accurate and reliable information. Our content, validated by Expert Board Contributors, is crafted following stringent Editorial Policies. We're committed to providing you with well-researched, expert-backed insights for all your informational needs.

0 thoughts on “How To Organize Tools On A Pegboard”