
Articles
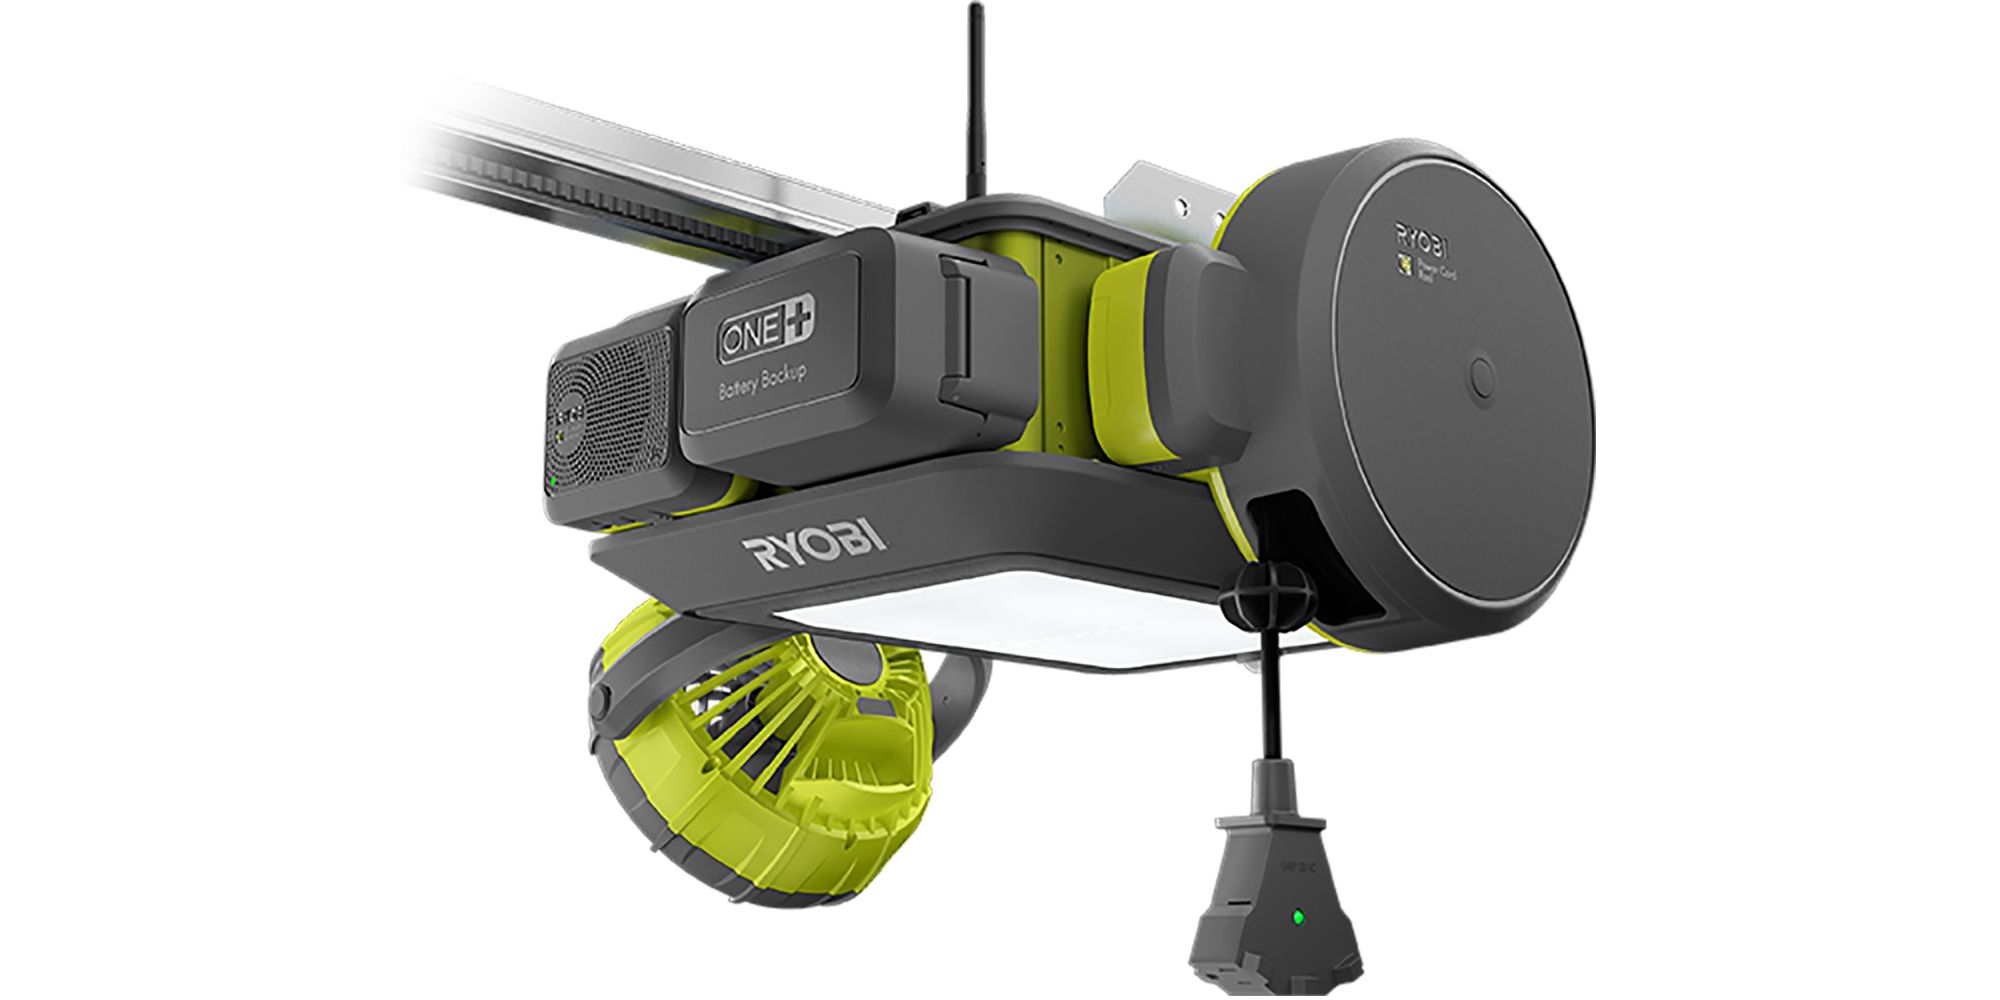
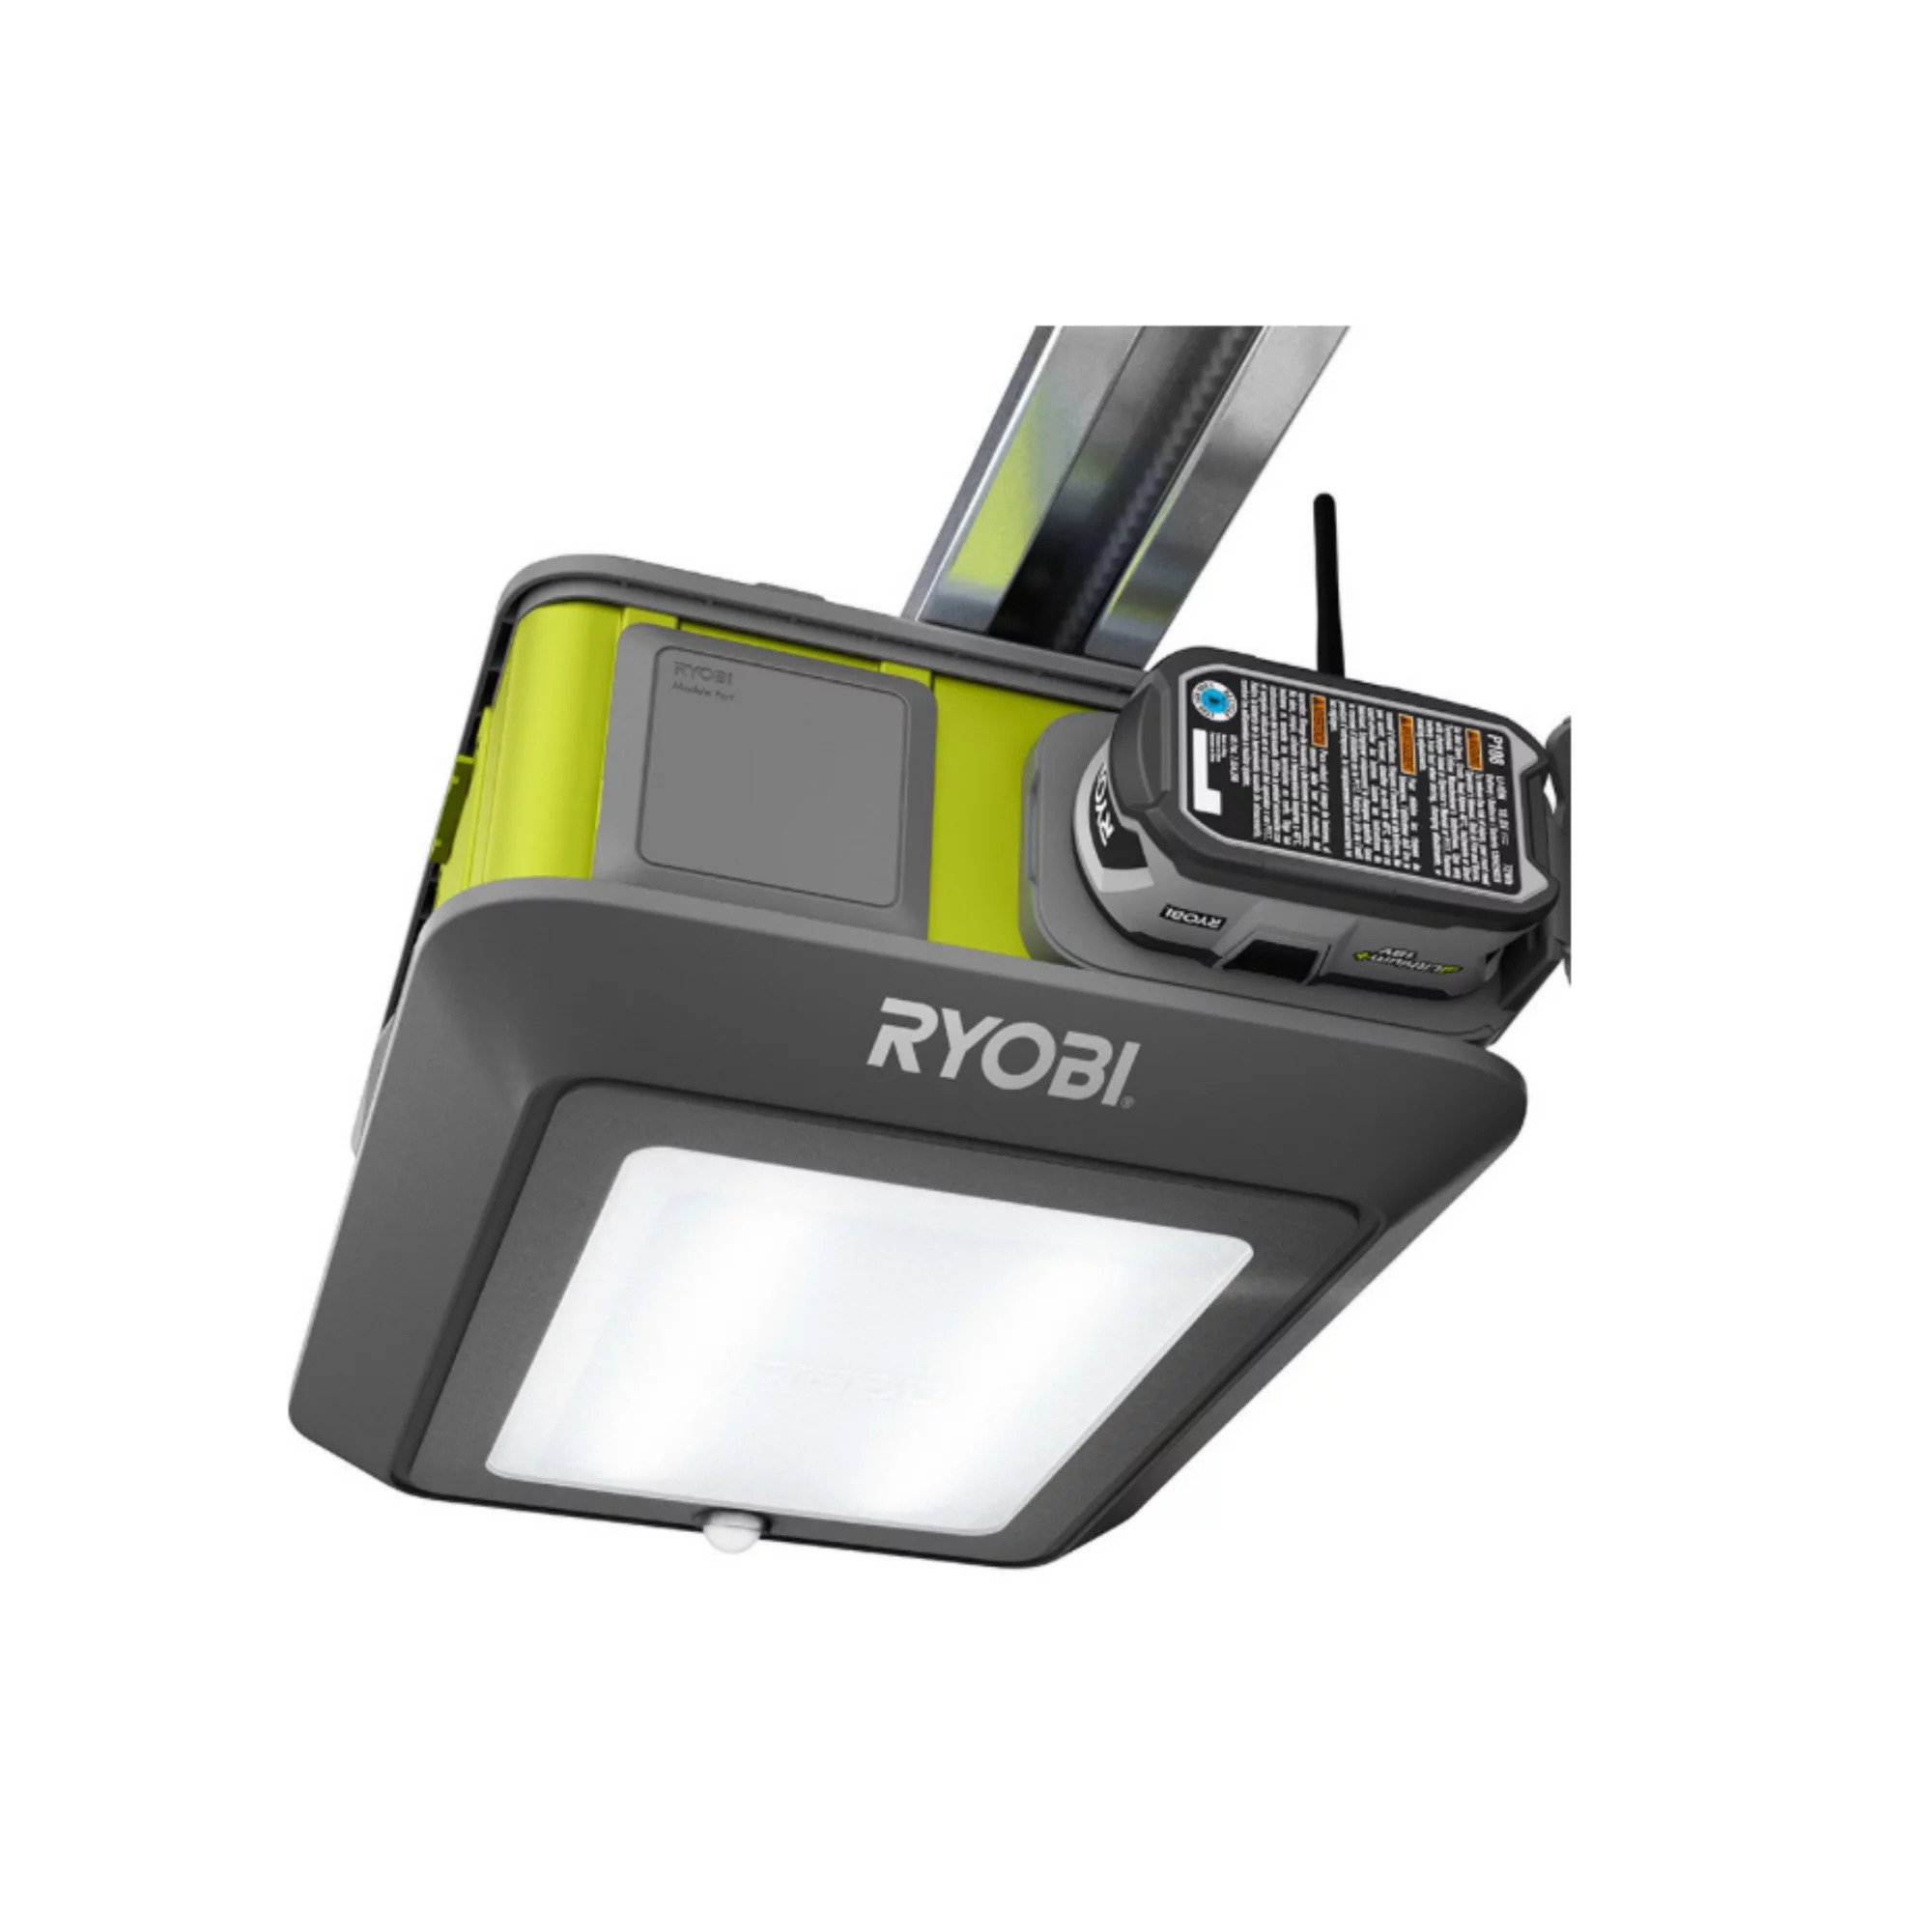
How To Program A Ryobi Garage Door Opener
Modified: October 20, 2024
Learn how to program a Ryobi garage door opener with these informative articles. Gain expert knowledge and step-by-step instructions to set up your opener successfully.
(Many of the links in this article redirect to a specific reviewed product. Your purchase of these products through affiliate links helps to generate commission for Storables.com, at no extra cost. Learn more)
Introduction
Welcome to this comprehensive guide on how to program a Ryobi garage door opener. If you’ve recently purchased a Ryobi garage door opener or need to reprogram your existing opener, you’ve come to the right place. Programming a garage door opener allows you to conveniently open and close your garage door with a remote control. By following the step-by-step instructions in this article, you’ll be able to program your Ryobi opener quickly and easily.
Before we dive into the programming process, it’s important to note that Ryobi offers a range of garage door opener models, each with its own specific programming instructions. It’s crucial to consult the owner’s manual that came with your Ryobi opener to ensure you follow the correct procedure. However, in general, the programming process tends to be similar across most Ryobi openers. In this guide, we’ll outline the standard steps involved in programming a Ryobi garage door opener.
It’s important to gather all the required materials before you begin programming your Ryobi garage door opener. You’ll need the following:
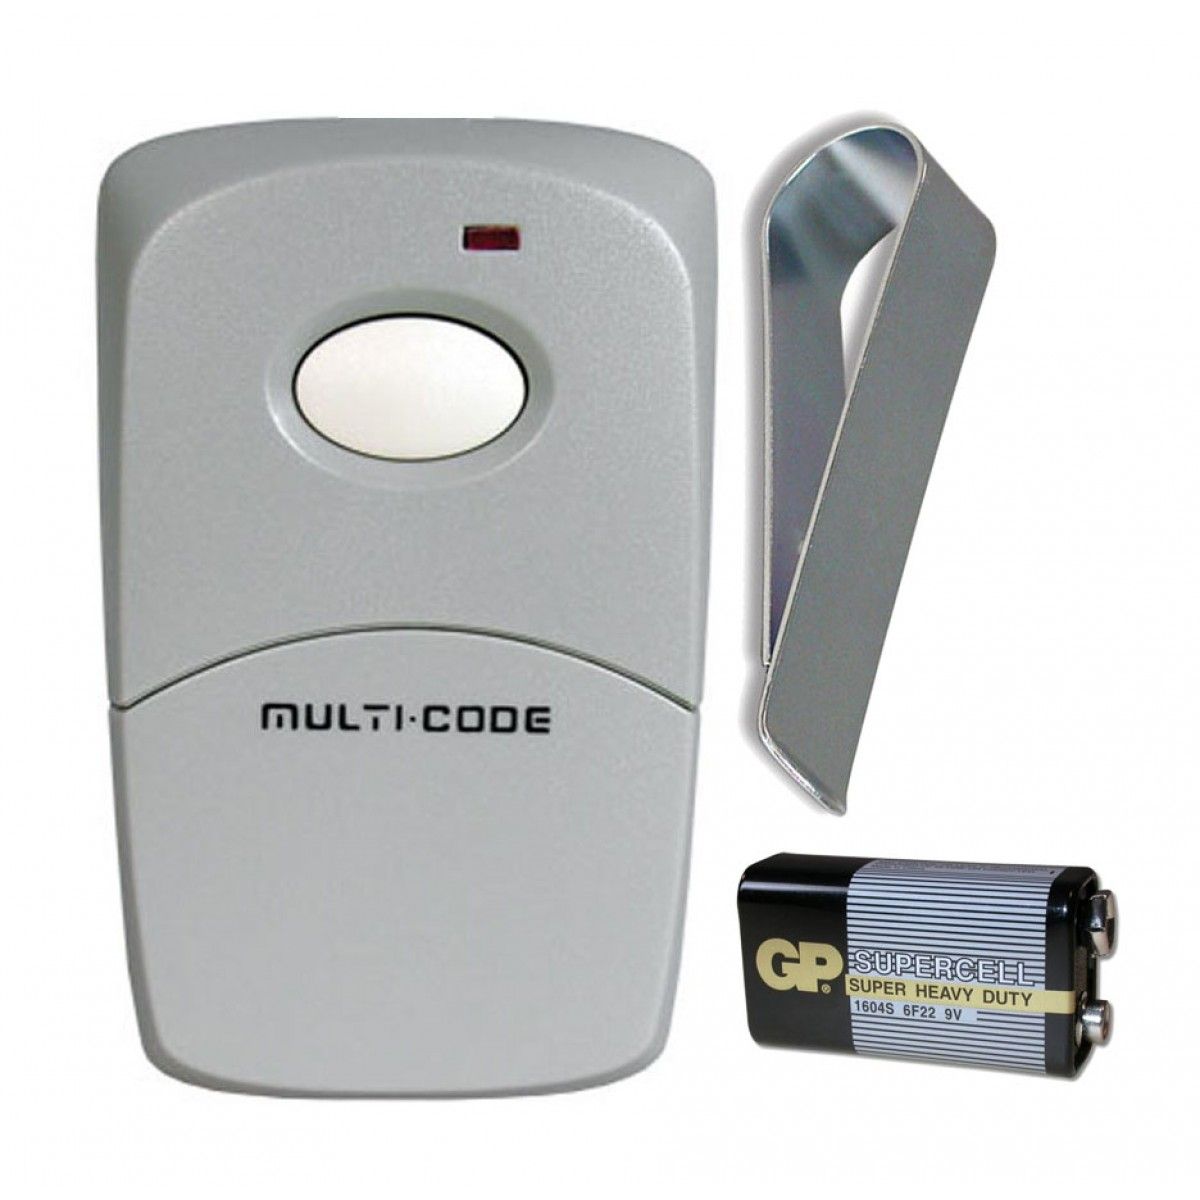
- Ryobi garage door opener
- Opener remote control
- New batteries (if necessary)
- Step ladder (if necessary)
Make sure you have everything on hand before starting the programming process to avoid any interruptions or delays.
Now that you have all the materials ready, let’s move on to the next step and prepare the opener remote and garage door opener for programming.
Key Takeaways:
- Proper preparation is crucial for programming a Ryobi garage door opener. Gather all materials, set DIP switches, and locate the programming button to ensure a smooth and successful process.
- Testing the programmed opener remote is essential to ensure seamless operation. By following the steps and troubleshooting if needed, you can enjoy the convenience of a well-programmed Ryobi garage door opener.
Step 1: Gather the Required Materials
Before you can begin programming your Ryobi garage door opener, it’s important to gather all the required materials. By having everything prepared and within reach, you can ensure a smooth programming process without any unnecessary interruptions. Here’s a list of the materials you’ll need:
- Ryobi garage door opener: This is the main unit that controls the opening and closing of your garage door. Ensure that it is properly installed and functioning correctly before proceeding with the programming.
- Opener remote control: This is the handheld device that allows you to operate your garage door opener from a distance. It usually comes with the Ryobi garage door opener package. Make sure the remote control is in good working condition and has fresh batteries installed.
- New batteries (if necessary): If the batteries in your opener remote control are low or dead, it’s important to replace them before attempting to program the opener. This ensures that the remote control has enough power to communicate with the garage door opener properly.
- Step ladder (if necessary): Depending on the height and location of your garage door opener unit, you may need a step ladder to access the programming buttons or switches. Make sure you have a stable step ladder available if needed.
By having these materials ready, you can proceed with the programming process without any delays. It’s important to note that different Ryobi garage door opener models may have specific requirements or additional materials needed for programming. Consult the owner’s manual that came with your specific model to ensure you have all the necessary materials.
Once you have gathered all the required materials, you’re ready to move on to the next step: preparing the opener remote and garage door opener for programming. This step ensures that both devices are ready to communicate with each other during the programming process. Let’s proceed to step 2 to learn how to prepare the opener remote and garage door opener.
Step 2: Prepare the Opener Remote and Garage Door Opener
Before you can begin programming your Ryobi garage door opener, it’s important to properly prepare the opener remote and the garage door opener unit. This step ensures that both devices are in the correct state to facilitate successful programming. Here’s how to prepare them:
1. Ensure the opener remote control is within close range of the garage door opener unit. This typically means standing within a few feet of the opener unit.
2. Check the batteries in the opener remote control. Make sure they are fresh and properly inserted. If the batteries are old or weak, it’s best to replace them with new ones to ensure optimal performance during programming.
3. If there are any existing programming settings on the opener remote, it’s recommended to reset the remote to its default factory settings. Refer to the owner’s manual for specific instructions on how to reset the opener remote control. This step ensures that any previous programming or interference is cleared, allowing for a clean programming process.
4. Verify that the garage door opener unit is plugged in and receiving power. Check the power cord connection to ensure it is securely plugged into an electrical outlet. If the opener unit has a power switch, make sure it is turned on.
5. If your garage door opener has a wall-mounted control panel, disconnect it from the power source. This ensures that the opener unit and the opener remote are the only devices involved in the programming process, avoiding any potential interference.
By following these steps, you can ensure that both the opener remote and the garage door opener unit are ready for programming. This preparation step is crucial to establish a successful connection between the two devices during the programming process. Once you have completed these preparations, you are now ready to proceed to step 3: setting the opener remote’s DIP switches.
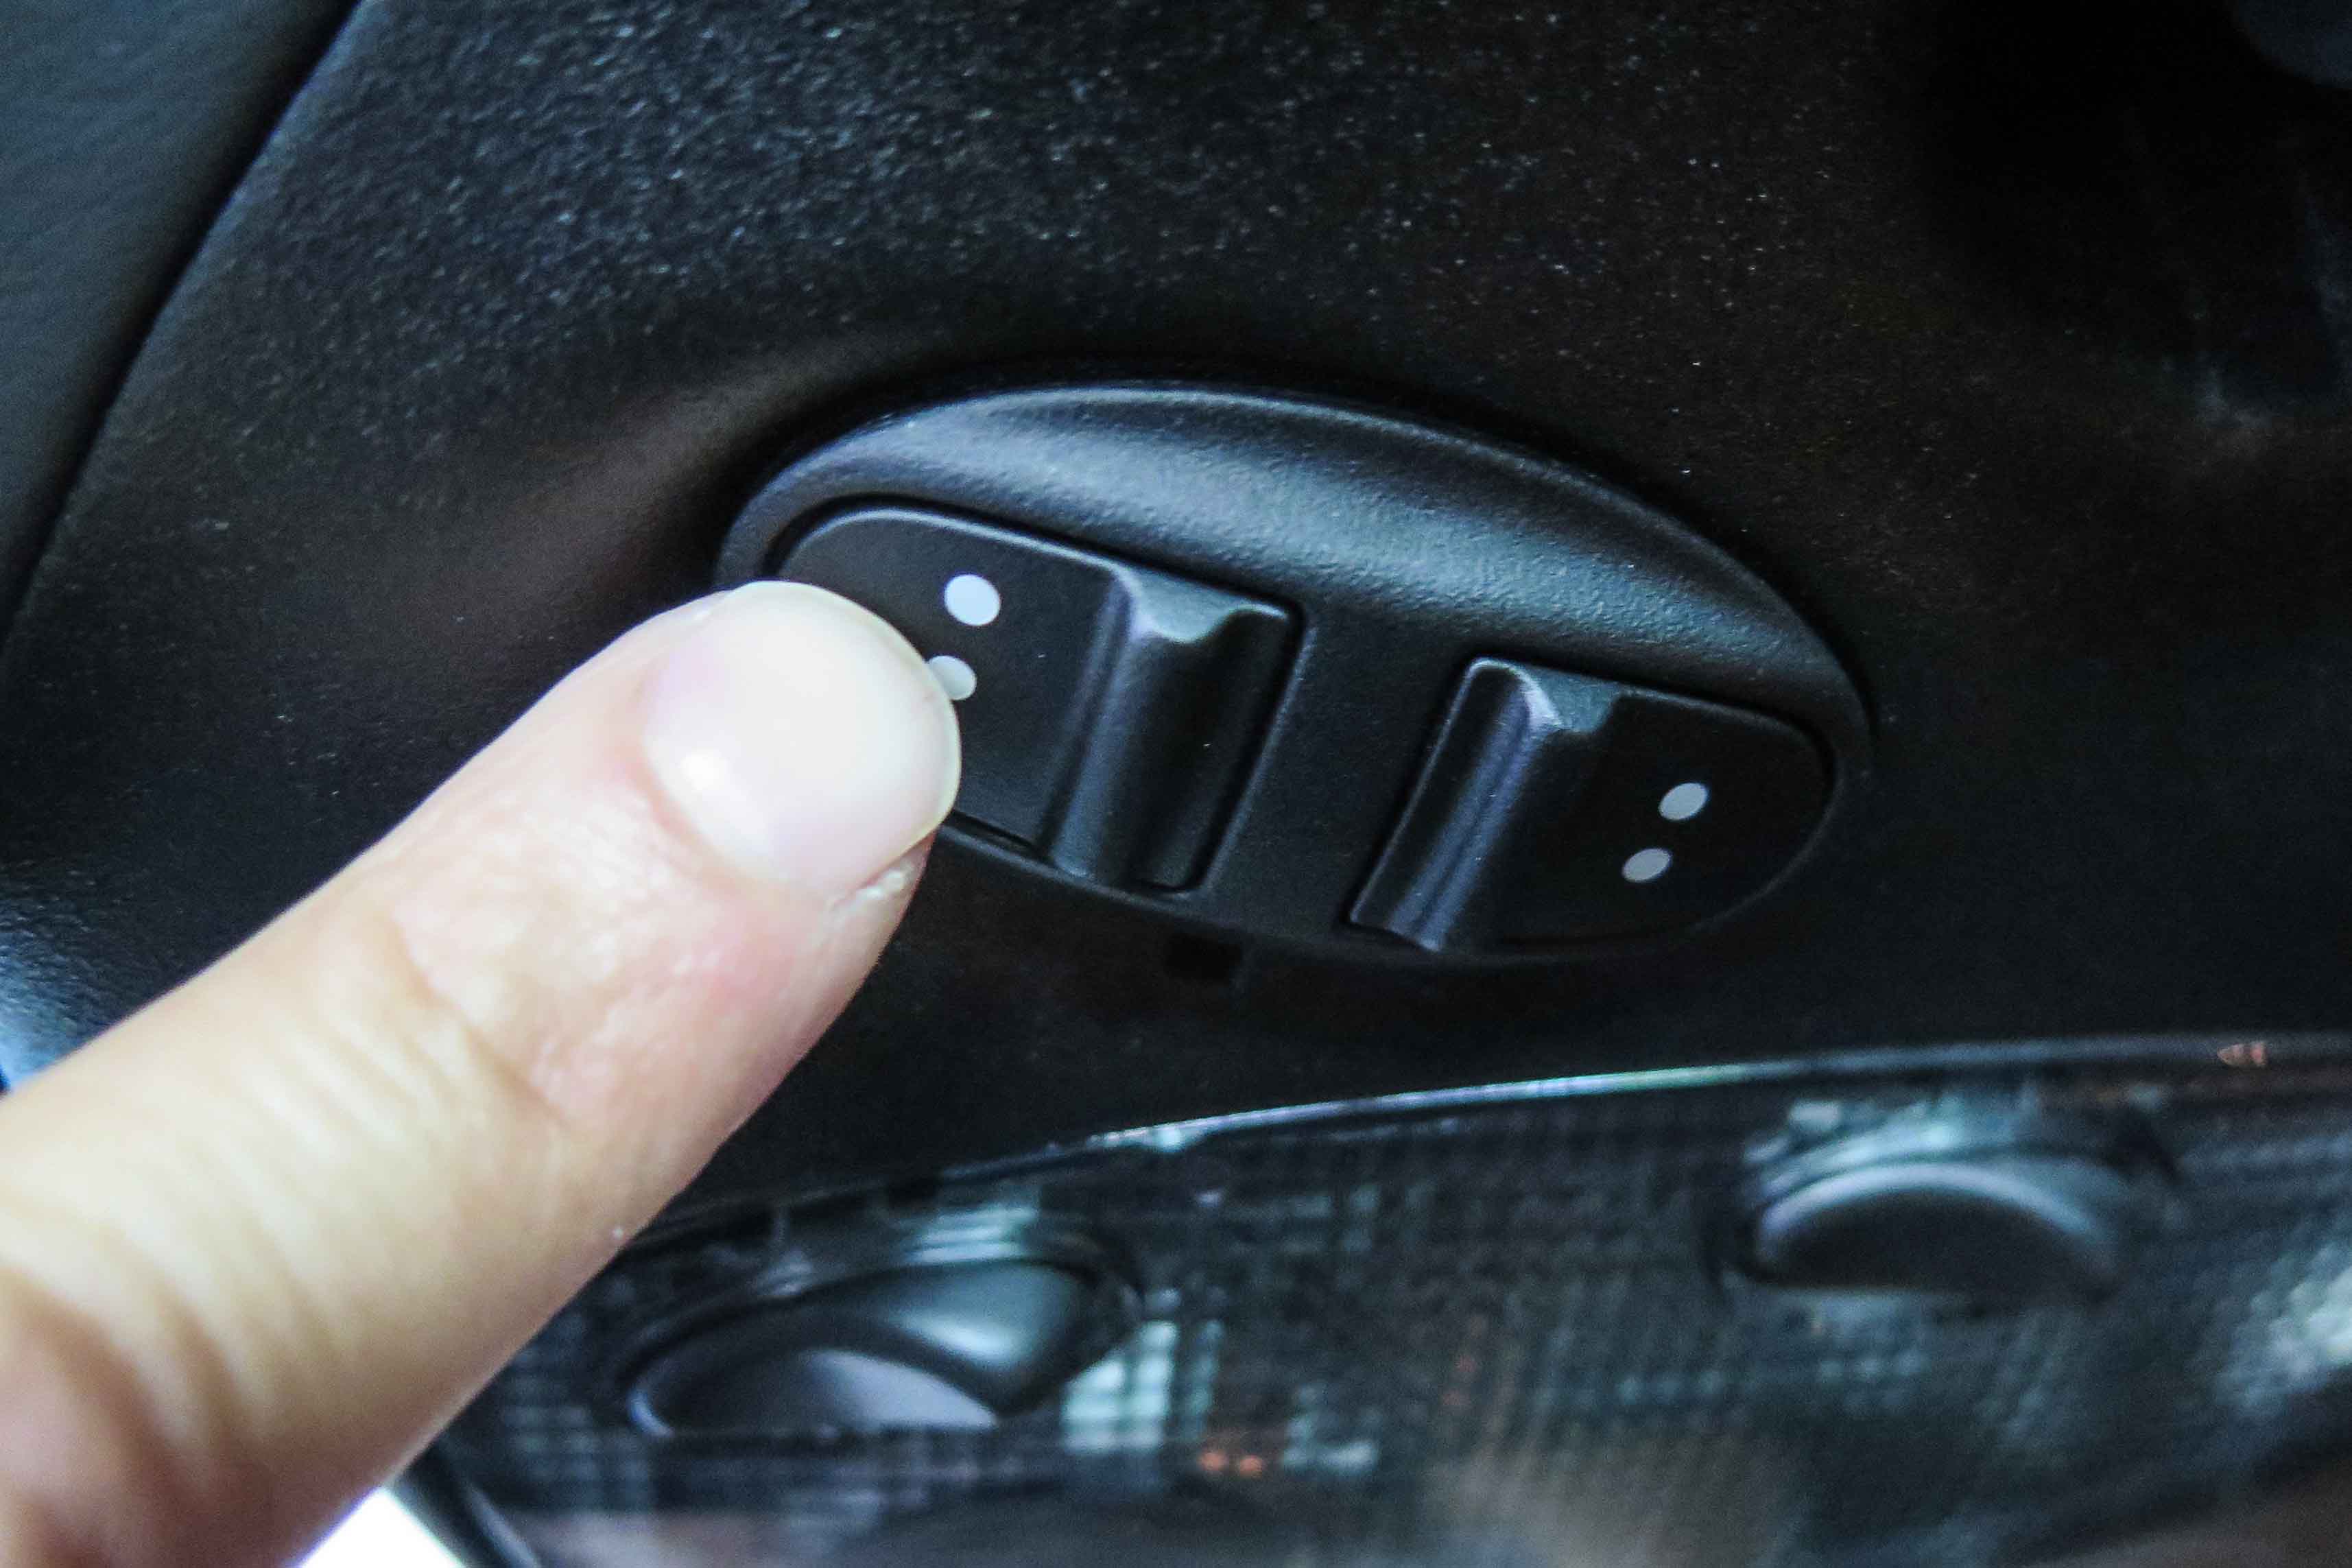
Step 3: Set the Opener Remote’s DIP Switches
In order to program your Ryobi garage door opener, you need to ensure that the opener remote’s DIP switches are set correctly. DIP switches are small, numbered switches on the back or inside of the remote control. These switches help to establish a unique communication code between the remote control and the garage door opener unit. Here’s how to set the opener remote’s DIP switches:
1. Locate the DIP switches on the back or inside of the opener remote control. They are typically small, rectangular switches with numbers printed next to each switch.
2. With a pen, pencil, or small tool, move the switches into your desired combination. Make sure to note down the position of each switch as you set them. This combination will act as the unique code for your opener remote.
3. It is important to note that the opener remote control and the garage door opener unit should have corresponding DIP switch settings. This means that you will need to set the DIP switches on both the remote control and the opener unit to match each other.
4. Consult the owner’s manual or documentation that came with your Ryobi garage door opener to find the DIP switch settings for the opener unit. Match the switch positions on the opener remote control to the corresponding positions on the opener unit. This ensures that the remote control and opener unit are synchronized and can communicate effectively during the programming process.
5. Once you have set the DIP switches on both the opener remote control and the opener unit, double-check the switch positions to ensure they match. If they do not match, adjust the switches accordingly until the positions align.
By correctly setting the opener remote’s DIP switches and ensuring they match the opener unit’s switch settings, you establish the necessary communication link between the two devices. This step is crucial for a successful programming process. Now that the DIP switches are set, you are ready to move on to step 4: locating the programming button on the garage door opener.
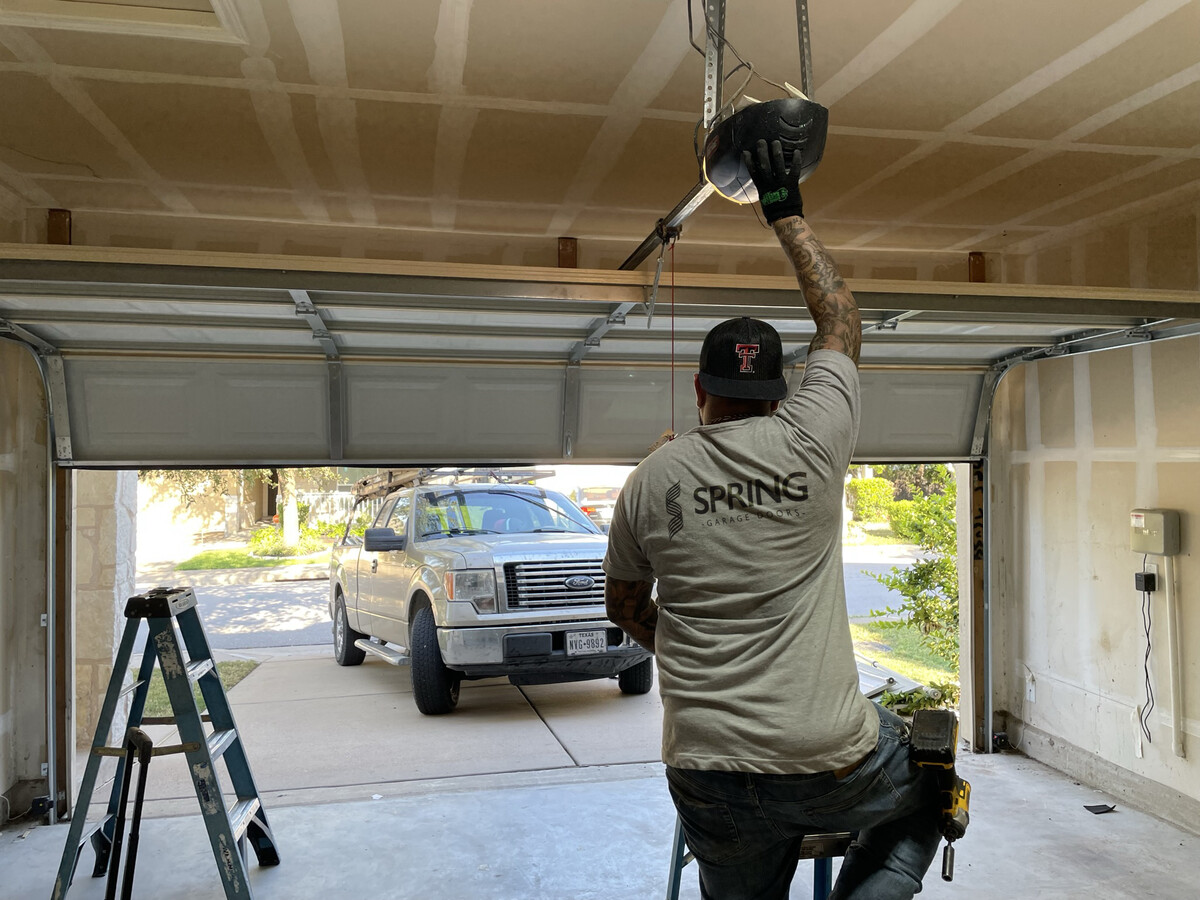
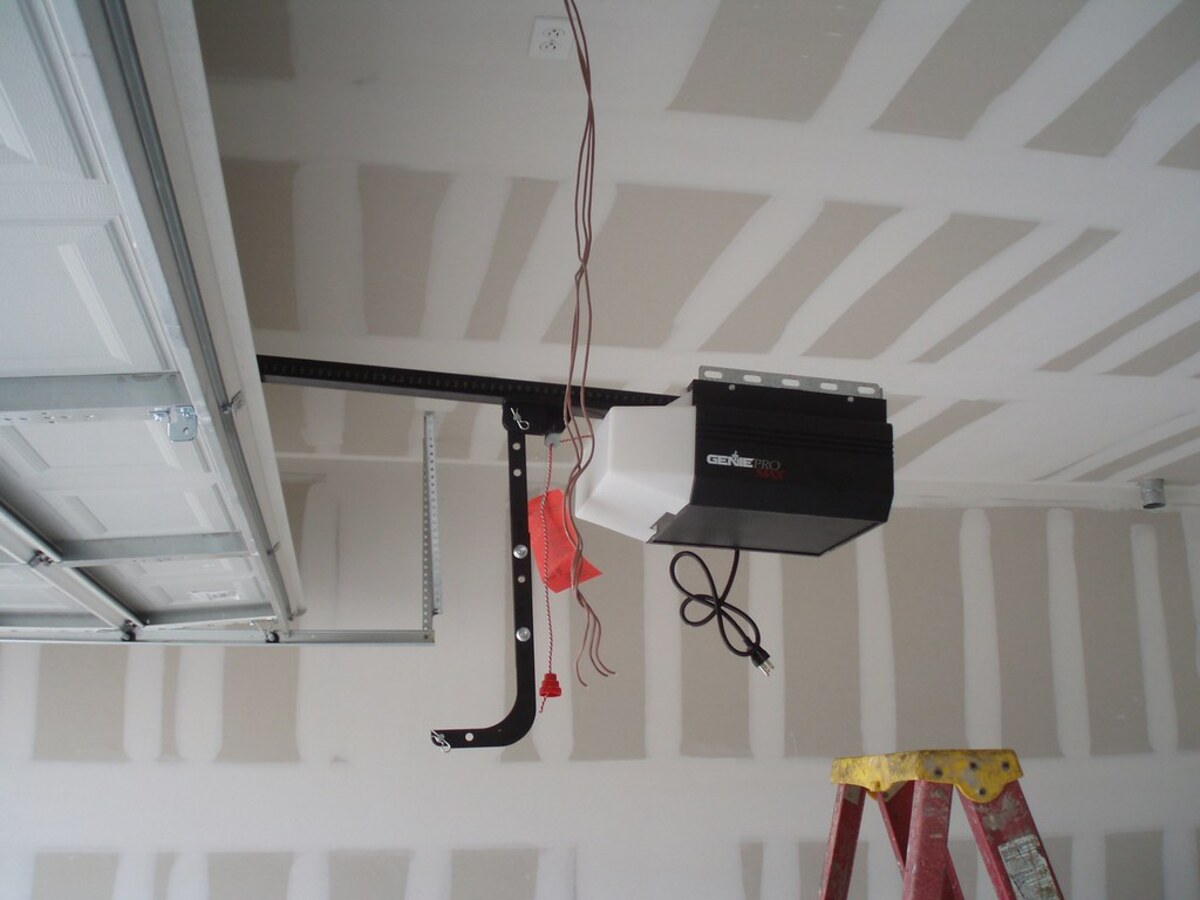
Step 4: Locate the Programming Button on the Garage Door Opener
Before you can program your Ryobi garage door opener, you need to locate the programming button on the opener unit. The position of the programming button may vary depending on the model of your Ryobi opener, so consult the owner’s manual for specific instructions. Here’s how to locate the programming button:
1. Inspect the exterior of the garage door opener unit. Look for a small button or switch that is specifically labeled as the “Programming” button. It is typically located on the back or side of the opener unit.
2. In some cases, locating the programming button may require removing a cover or accessing a hidden compartment on the opener unit. Refer to the owner’s manual or documentation for guidance on how to access and locate the programming button in such scenarios.
3. Once you have located the programming button, take a moment to familiarize yourself with its appearance and position. Note down its exact location, as you will need to engage this button during the programming process.
4. Ensure that the programming button is easily accessible and not obstructed by any objects or debris. Clear away any obstructions to ensure you can press the button without any hindrance.
5. If necessary, use a step ladder or stool to reach the programming button if it is positioned higher up on the opener unit.
Locating the programming button is an important step in the programming process as it enables you to initiate the programming mode on your Ryobi garage door opener. Once you have successfully located the programming button, you are ready to proceed to step 5: pressing the programming button.
When programming a Ryobi garage door opener, make sure to follow the manufacturer’s instructions carefully and ensure that the opener is compatible with your specific garage door model.
Read more: How To Program Garage Door Opener With Car
Step 5: Press the Programming Button on the Garage Door Opener
Once you have located the programming button on your Ryobi garage door opener, it’s time to move on to the next step: pressing the programming button. This step initiates the programming mode on the opener unit, allowing it to receive and store the programming information from the remote control. Here’s how to press the programming button:
1. Make sure that you are within close range of the garage door opener unit and that the opener remote control is ready for programming.
2. Position yourself in a way that allows you to easily reach the programming button on the garage door opener. Use a step ladder or stool if necessary to access the opener unit if it is positioned higher up.
3. With your finger or a small tool, firmly press and hold down the programming button on the opener unit. You may need to hold it for a few seconds to ensure that the programming mode is activated.
4. While holding down the programming button, observe the indicator lights or listen for a beep from the opener unit. These signals indicate that the unit has entered the programming mode and is ready to receive the programming information from the remote control.
5. Continue holding down the programming button until you are ready to proceed to the next step. Remember not to release the button until prompted to do so by the programming instructions.
By pressing the programming button, you put your Ryobi garage door opener unit into the programming mode, signaling its readiness to receive the programming information from the remote control. With the opener unit in this state, you can now move on to step 6, which involves pressing a button on the opener remote. Let’s proceed to the next step to complete the programming process and synchronize the opener remote with the garage door opener unit.
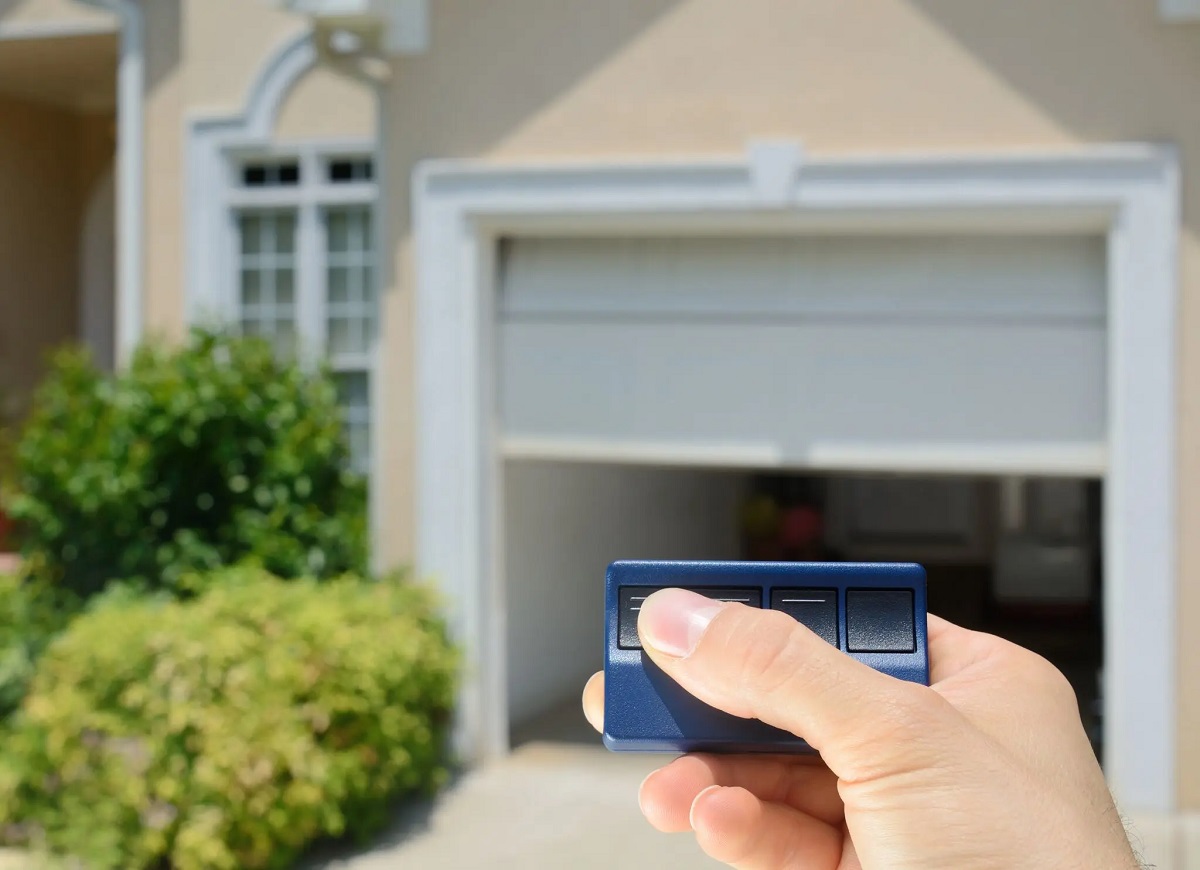
Step 6: Press a Button on the Opener Remote
With the garage door opener unit in programming mode, it’s time to proceed to the next step: pressing a button on the opener remote. This step allows the remote control to send the programming information to the opener unit for synchronization. Here’s how to press a button on the opener remote:
1. Ensure that you are within the recommended range of the garage door opener unit, typically a few feet away. This ensures optimal transmission of the programming information from the remote control to the opener unit.
2. Hold the opener remote control in one hand, making sure your fingers are not obstructing any buttons.
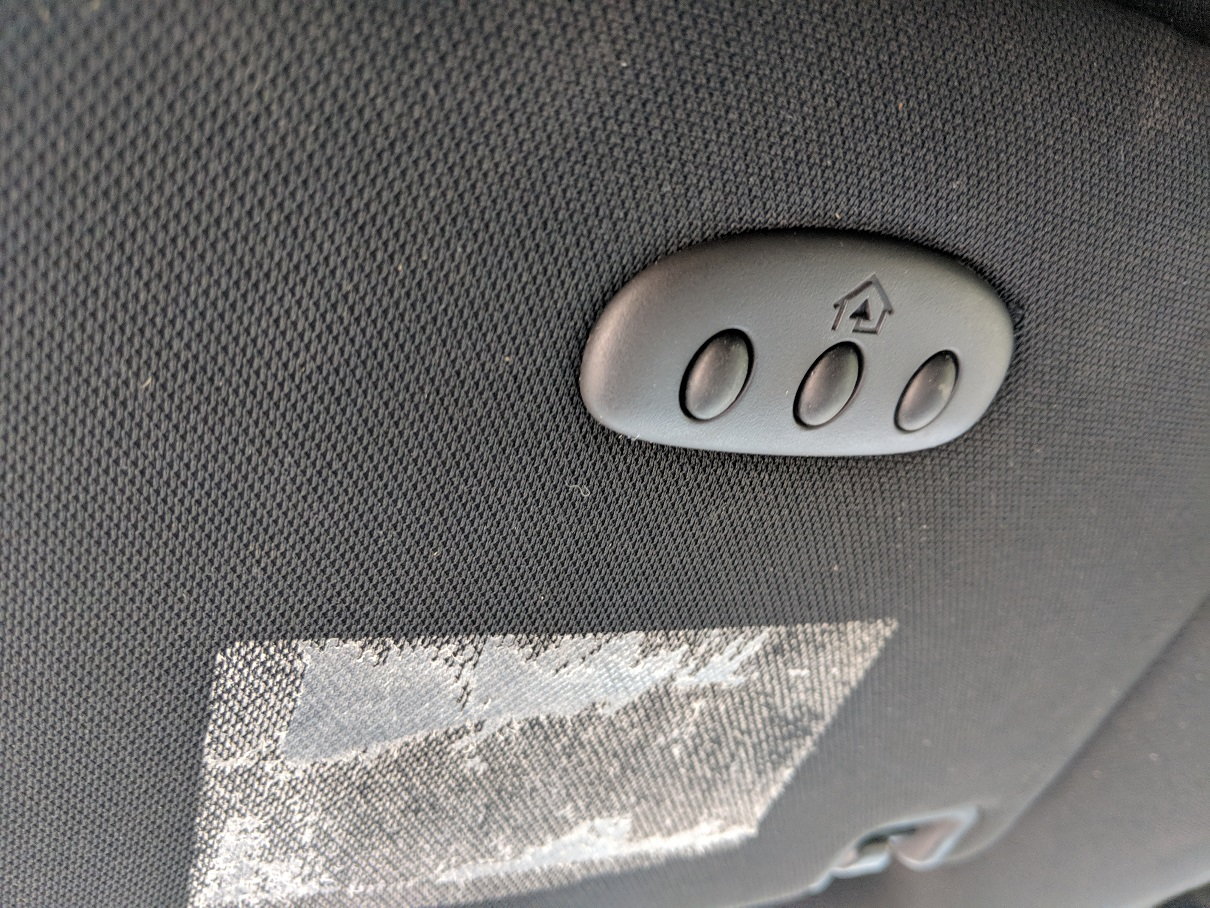
3. Look for the button on the opener remote control that is designated for programming or syncing purposes. This button is typically labeled as “Program,” “Learn,” or “Sync.” Refer to the owner’s manual or documentation for your specific model to identify the correct button.
4. With your other hand, press and release the designated programming button on the opener remote control. It should be a quick press and release, without holding the button down for an extended period.
5. Observe the indicator lights or listen for a beep on the garage door opener unit. These signals indicate that the opener unit has successfully received the programming information from the remote control and is in the process of synchronizing with it. The synchronization process may take a few seconds.
6. During the synchronization process, it’s important to avoid pressing any other buttons on the opener remote control or interfering with the garage door opener unit. Allow the synchronization to complete on its own.
By pressing a button on the opener remote control, you send the programming information to the garage door opener unit, initiating the synchronization process. This step establishes a connection between the remote control and the opener unit, enabling them to work together seamlessly. Now that the programming information has been sent, you’re ready to move on to step 7: testing the programmed opener remote.
Step 7: Test the Programmed Opener Remote
After successfully programming your Ryobi garage door opener and syncing the opener remote control with the opener unit, it’s time to test the programmed remote. Testing allows you to ensure that the garage door opens and closes as expected using the remote control. Here’s how to test the programmed opener remote:
1. Stand within range of the garage door opener unit, typically a few feet away, with a clear line of sight to the garage door.
2. Hold the programmed opener remote control in your hand, ensuring that you have a firm grip and can easily access the buttons.
3. Look for the button on the opener remote control that is designated as the “Open” button. This button is typically represented by an arrow pointing upward or a symbol indicating the opening of a door. Refer to the owner’s manual or documentation for your specific model to identify the correct button.
4. Press the “Open” button on the opener remote control and observe the garage door. It should start to open smoothly and without any hesitation. Listen for any unusual noises or vibrations that might indicate any issues with the door or the opener.
5. Once the garage door is fully open, press the “Close” button on the opener remote control. Observe the door as it closes securely and smoothly. Again, pay attention to any uncommon noises or movements that could signify a problem.
6. Repeat the process of opening and closing the garage door using the opener remote control multiple times to ensure consistent and reliable performance.
If the programmed opener remote control operates the garage door as expected without any issues, congratulations! You have successfully programmed your Ryobi garage door opener. However, if you encounter any difficulties or notice any problems during the testing phase, it’s recommended to consult the troubleshooting section of the owner’s manual or seek professional assistance to resolve any issues.
By testing the programmed opener remote control, you can ensure that the remote control and the garage door opener unit are correctly synchronized and working in harmony. Your Ryobi garage door opener is now ready to provide you with convenient and reliable access to your garage.+
Conclusion
Congratulations on successfully programming your Ryobi garage door opener! By following the steps outlined in this guide, you have learned how to gather the required materials, prepare the opener remote and garage door opener, set the opener remote’s DIP switches, locate the programming button on the opener unit, press the programming button, press a button on the opener remote, and test the programmed opener remote. With your opener remote control in hand, you now have convenient and reliable access to your garage.
Remember to consult the owner’s manual or documentation specific to your Ryobi garage door opener model throughout the programming process. These resources will provide you with additional guidance and instructions tailored to your opener’s features and functionalities.
It’s important to note that although the programming process may vary between Ryobi opener models, the general steps provided in this guide should give you a good understanding of how to program your opener effectively. Additionally, if you encounter any difficulties or face issues during the programming process, it’s recommended to consult the troubleshooting section of the owner’s manual or reach out to Ryobi’s customer support for assistance.
Having a programmed Ryobi garage door opener allows you to enjoy the convenience of opening and closing your garage door with a simple press of a button. Whether you’re arriving home after a long day, leaving in a hurry, or simply want to secure your garage, the opener remote control provides you with quick and easy access.
As technology advances, garage door openers continue to offer improved features and functions. It’s essential to stay up to date with the latest advancements and follow any software updates or instructions provided by Ryobi to ensure the optimal performance of your opener.
Thank you for choosing Ryobi for your garage door opener needs. We hope this comprehensive guide has been helpful in programming your Ryobi opener and that it enhances your overall experience with your garage door. Enjoy the convenience and peace of mind that comes with a properly programmed garage door opener!
Ready to tackle more than just programming your garage door opener? Dive into our guide on DIY home improvement for insightful tips and tricks that empower you to revamp your living space with your own hands. Whether you're updating a room or fixing up the garden, this article demystifies DIY projects, making them accessible and enjoyable. Why wait? Start transforming your home into a more beautiful and functional space today!
Frequently Asked Questions about How To Program A Ryobi Garage Door Opener
Was this page helpful?
At Storables.com, we guarantee accurate and reliable information. Our content, validated by Expert Board Contributors, is crafted following stringent Editorial Policies. We're committed to providing you with well-researched, expert-backed insights for all your informational needs.
0 thoughts on “How To Program A Ryobi Garage Door Opener”