Home>Technology>Home Entertainment Systems>How To Program Universal Remote Garage Door Opener
Home Entertainment Systems
How To Program Universal Remote Garage Door Opener
Modified: August 22, 2024
Learn how to program a universal remote garage door opener for your home entertainment systems. Simplify your life with easy access to your garage at the touch of a button.
(Many of the links in this article redirect to a specific reviewed product. Your purchase of these products through affiliate links helps to generate commission for Storables.com, at no extra cost. Learn more)
Introduction
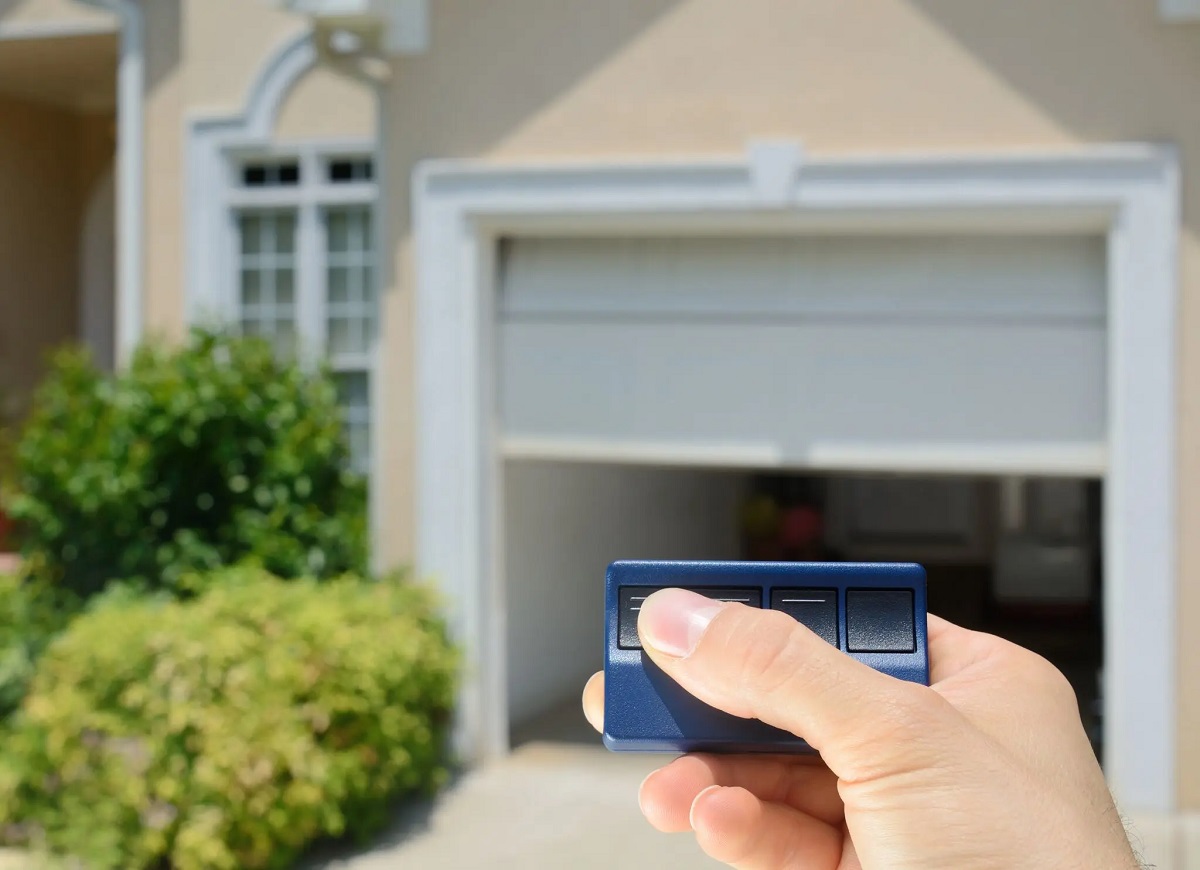
Welcome to our comprehensive guide on how to program a universal remote garage door opener. Installing a universal remote control for your garage door opener can provide convenience and ease of access to your home. With the push of a button, you can open and close your garage door without the hassle of manually operating it. However, programming a universal remote can seem daunting if you have never done it before. But fear not! In this article, we will take you through each step of the process, ensuring that you can successfully program your remote control and enjoy the benefits of automated garage door access.
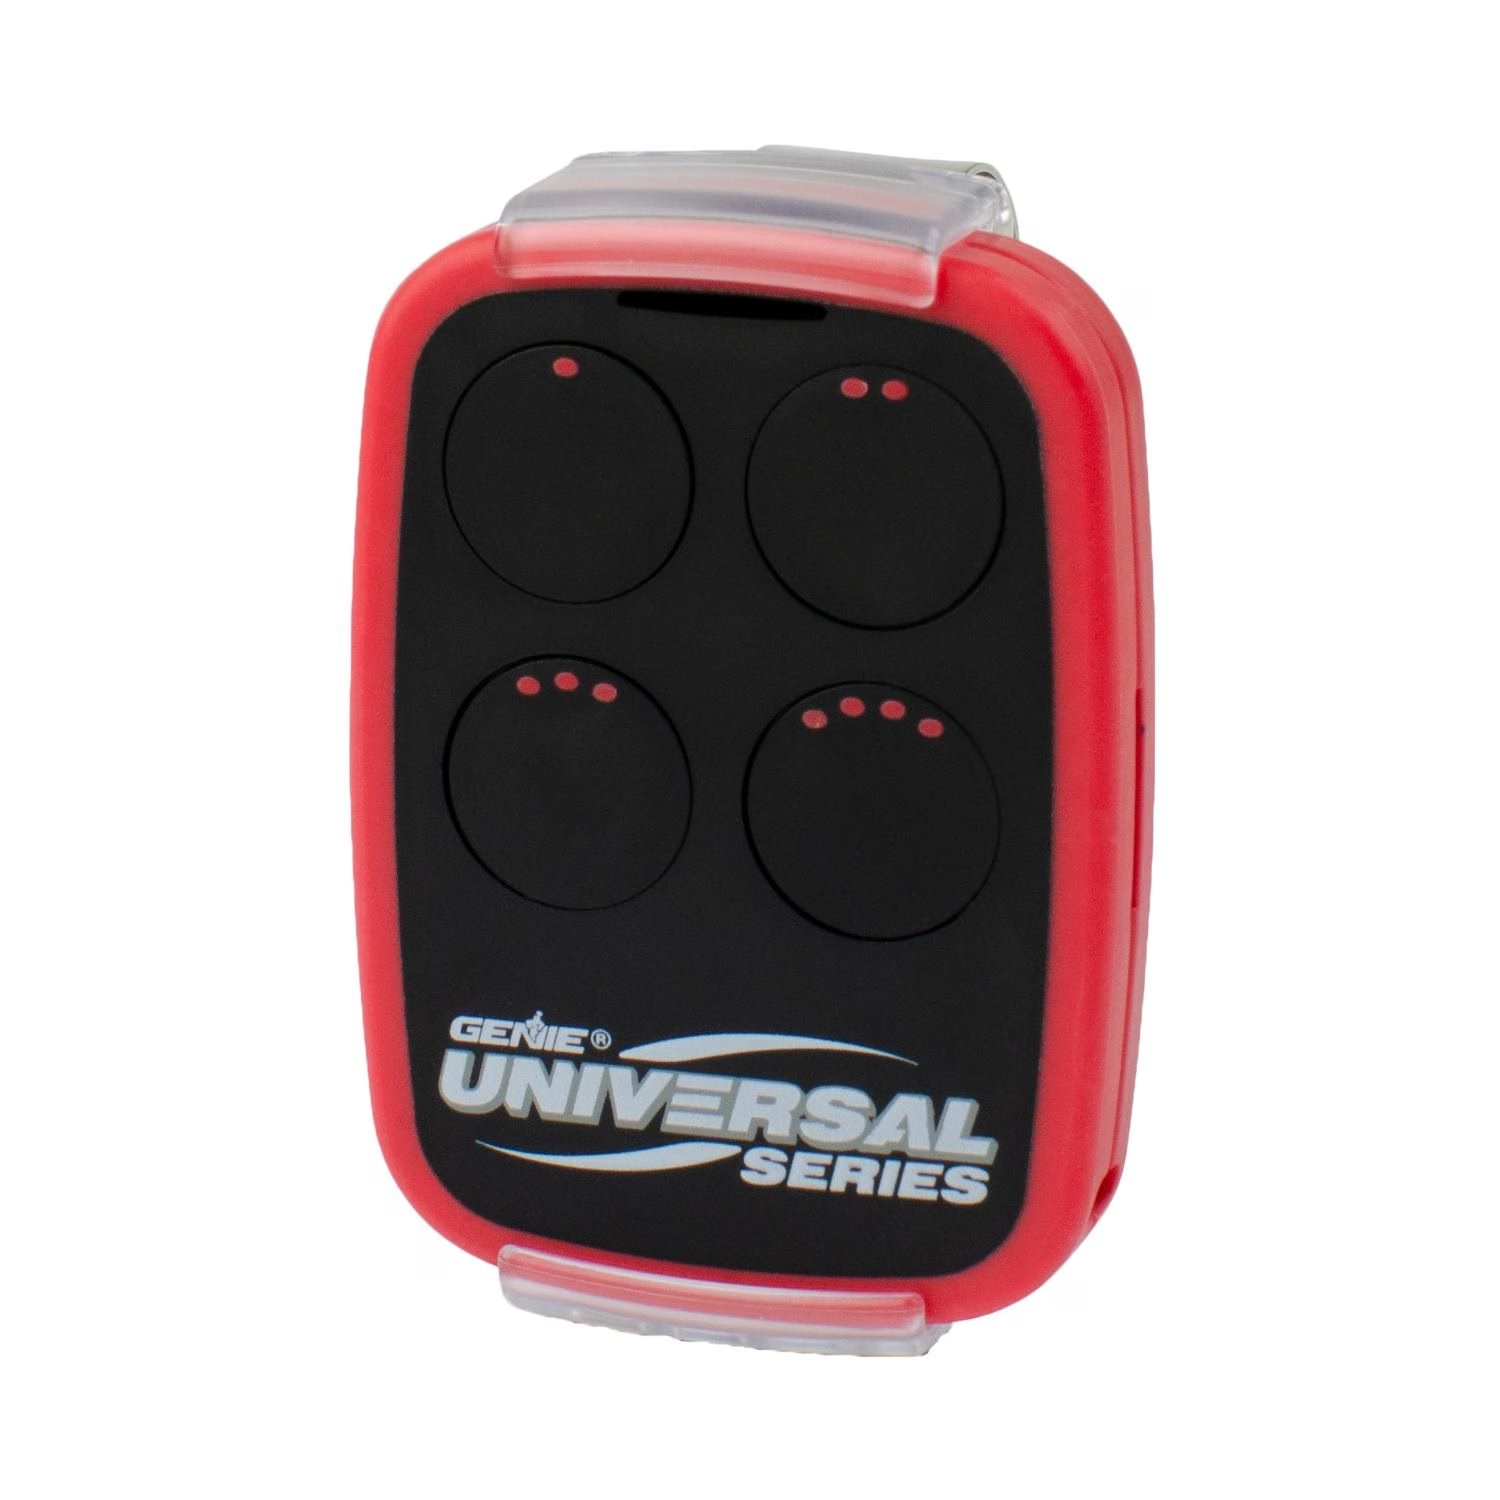
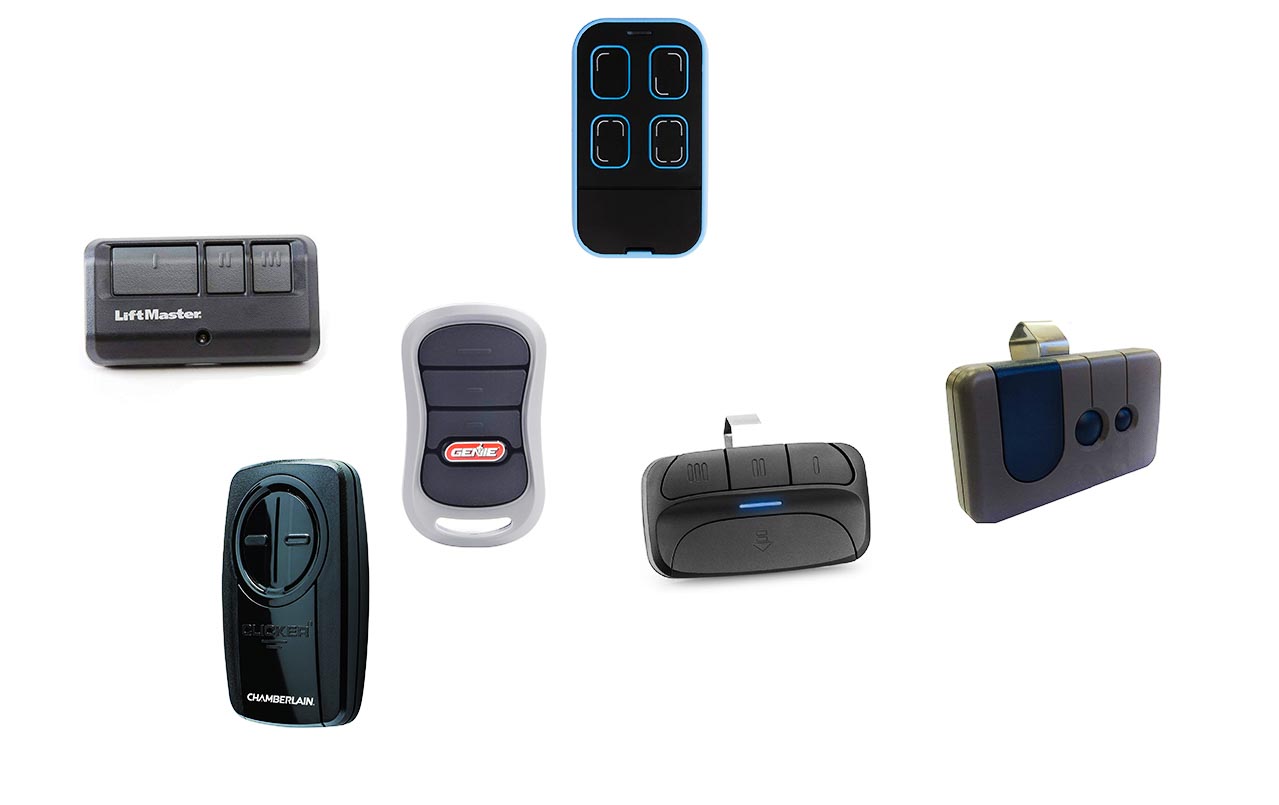
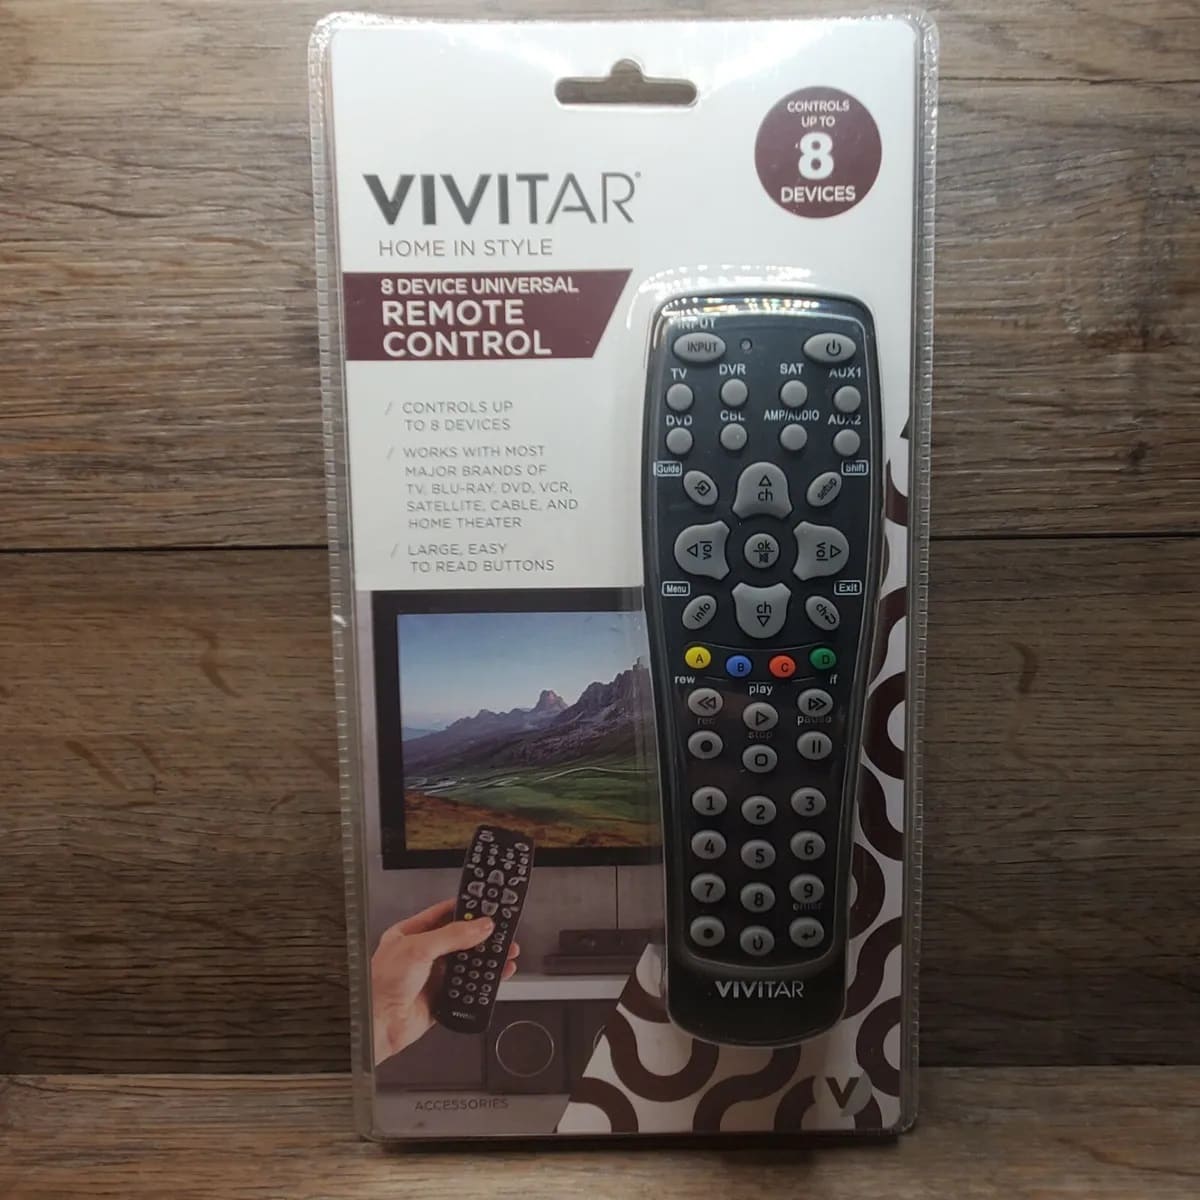
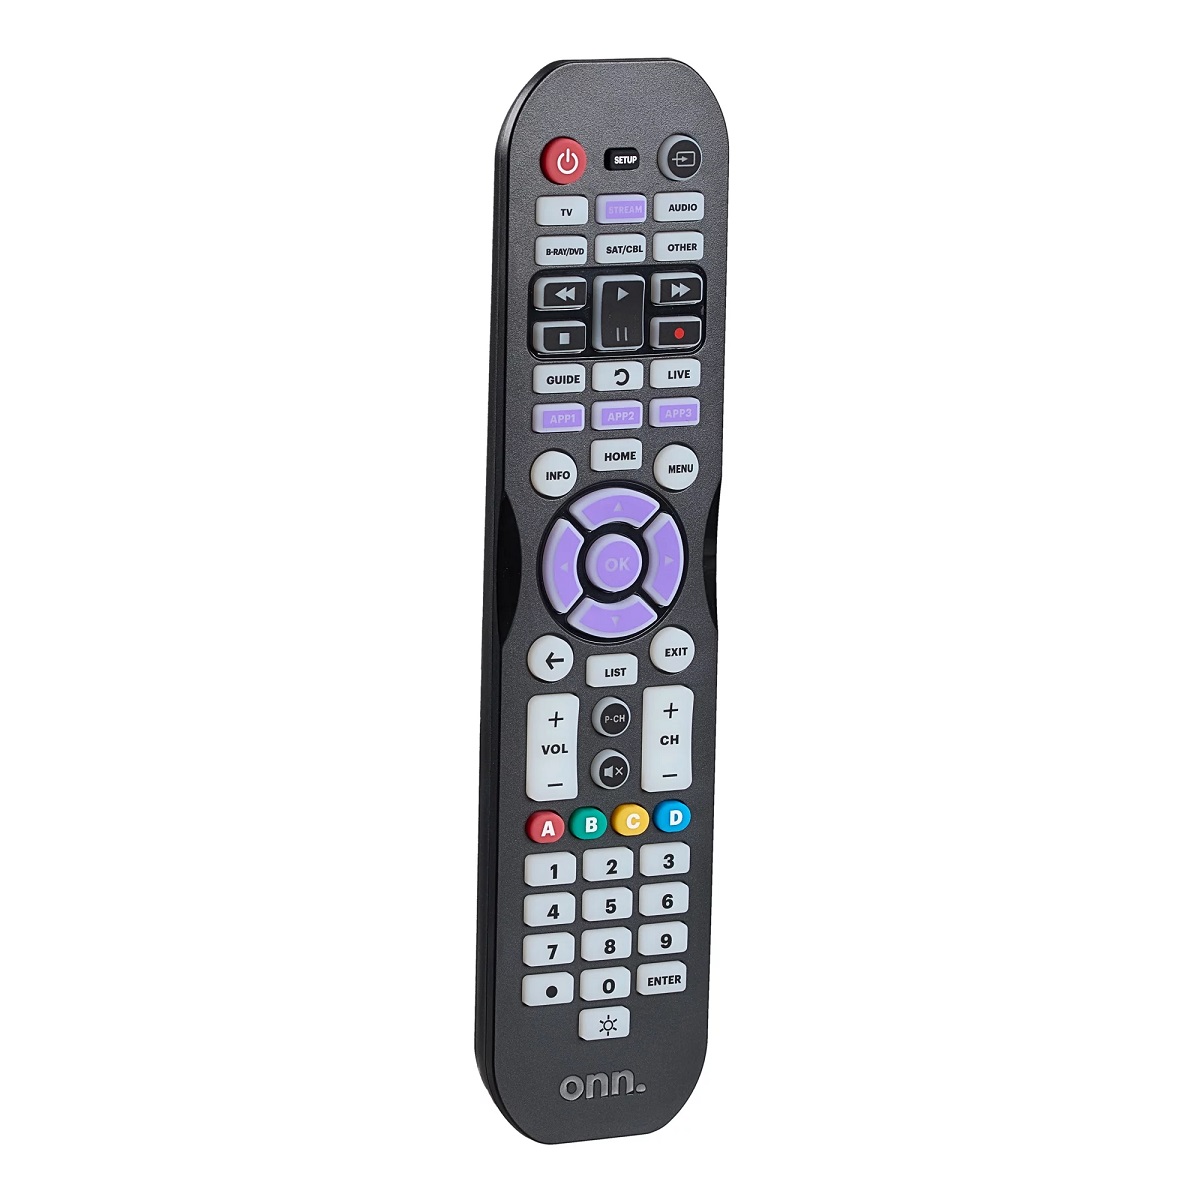
Before we delve into the step-by-step instructions, let’s briefly go over what a universal remote garage door opener is. A universal remote control is designed to work with a variety of brands and models of garage door openers, making it a versatile choice for homeowners. Whether you have a Chamberlain, Genie, LiftMaster, or any other popular brand, a universal remote can usually be programmed to work with your specific opener.
Programming a universal remote for your garage door opener has several advantages. Firstly, it eliminates the need for multiple remotes cluttering your car visor or keychain. With a single universal remote, you can control multiple garage door openers, reducing the hassle of carrying and managing multiple devices. Secondly, it simplifies your access to your home. Instead of fumbling for keys or using a keypad, you can simply press a button on your remote to open or close your garage door. Lastly, it adds an extra layer of security to your home. Universal remotes often offer rolling code technology, which generates a unique code each time you use the remote. This helps prevent unauthorized entry and ensures the safety of your home and belongings.
Now that we understand the benefits of a universal remote garage door opener, let’s dive into the step-by-step process of programming it. Follow these instructions carefully, and soon you’ll be enjoying the convenience and efficiency of a remote-controlled garage door.
Key Takeaways:
- Say goodbye to multiple remotes and keypads! Program a universal remote garage door opener for convenient, secure, and efficient access to your home.
- Overcome common programming issues with troubleshooting tips and enjoy seamless operation of your remote-controlled garage door opener.
Step 1: Gather the necessary materials
Before you begin the programming process, it’s essential to ensure that you have all the necessary materials on hand. Here’s a list of what you’ll need:
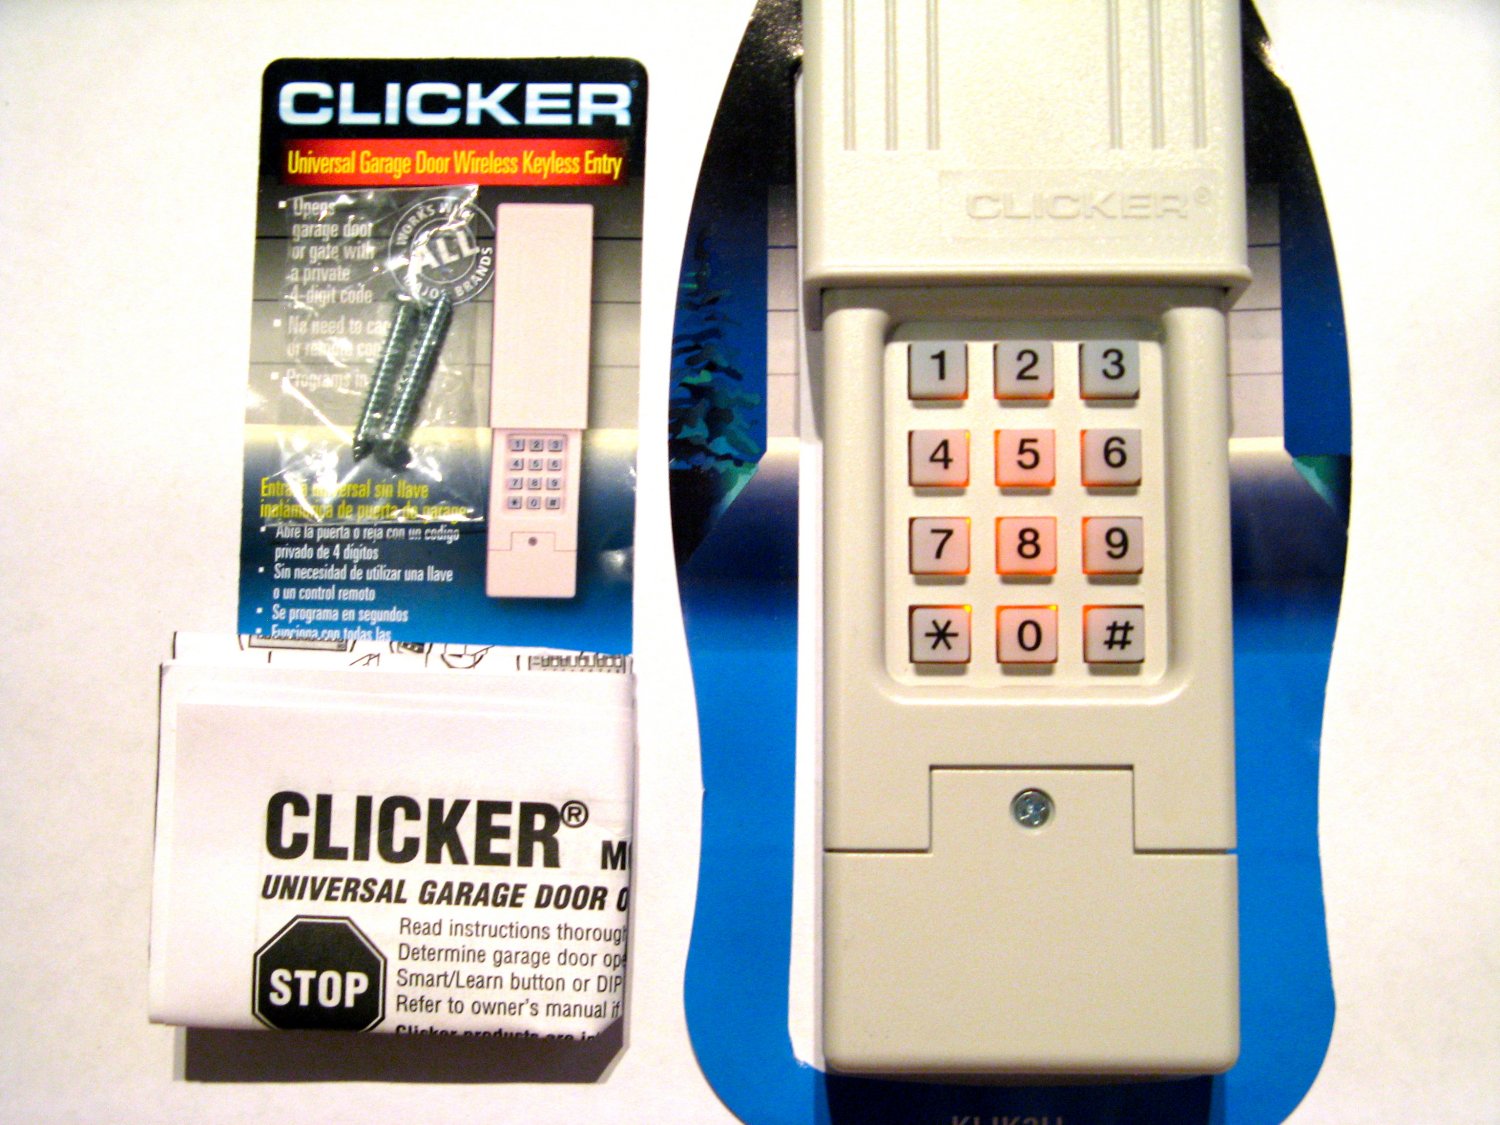
- A universal remote control: Make sure you have a compatible universal remote control for your garage door opener. Check the manufacturer’s recommendations or consult the user manual to ensure compatibility.
- User manual: Locate the user manual for your garage door opener. This will provide specific instructions on how to program the remote control for your particular model.
- Batteries: Check the remote control to see what type of batteries it requires and make sure you have them available. It’s always a good idea to have extra batteries on hand in case the existing ones run out.
- Ladder or step stool: Depending on the height of your garage door opener, you may need a ladder or step stool to reach the unit safely.
- Patience and focus: Programming a universal remote control may require patience and attention to detail. Take your time and follow the instructions carefully to ensure successful programming.
Once you have gathered all these materials, you are ready to move on to the next step: locating the learn button on your garage door opener.
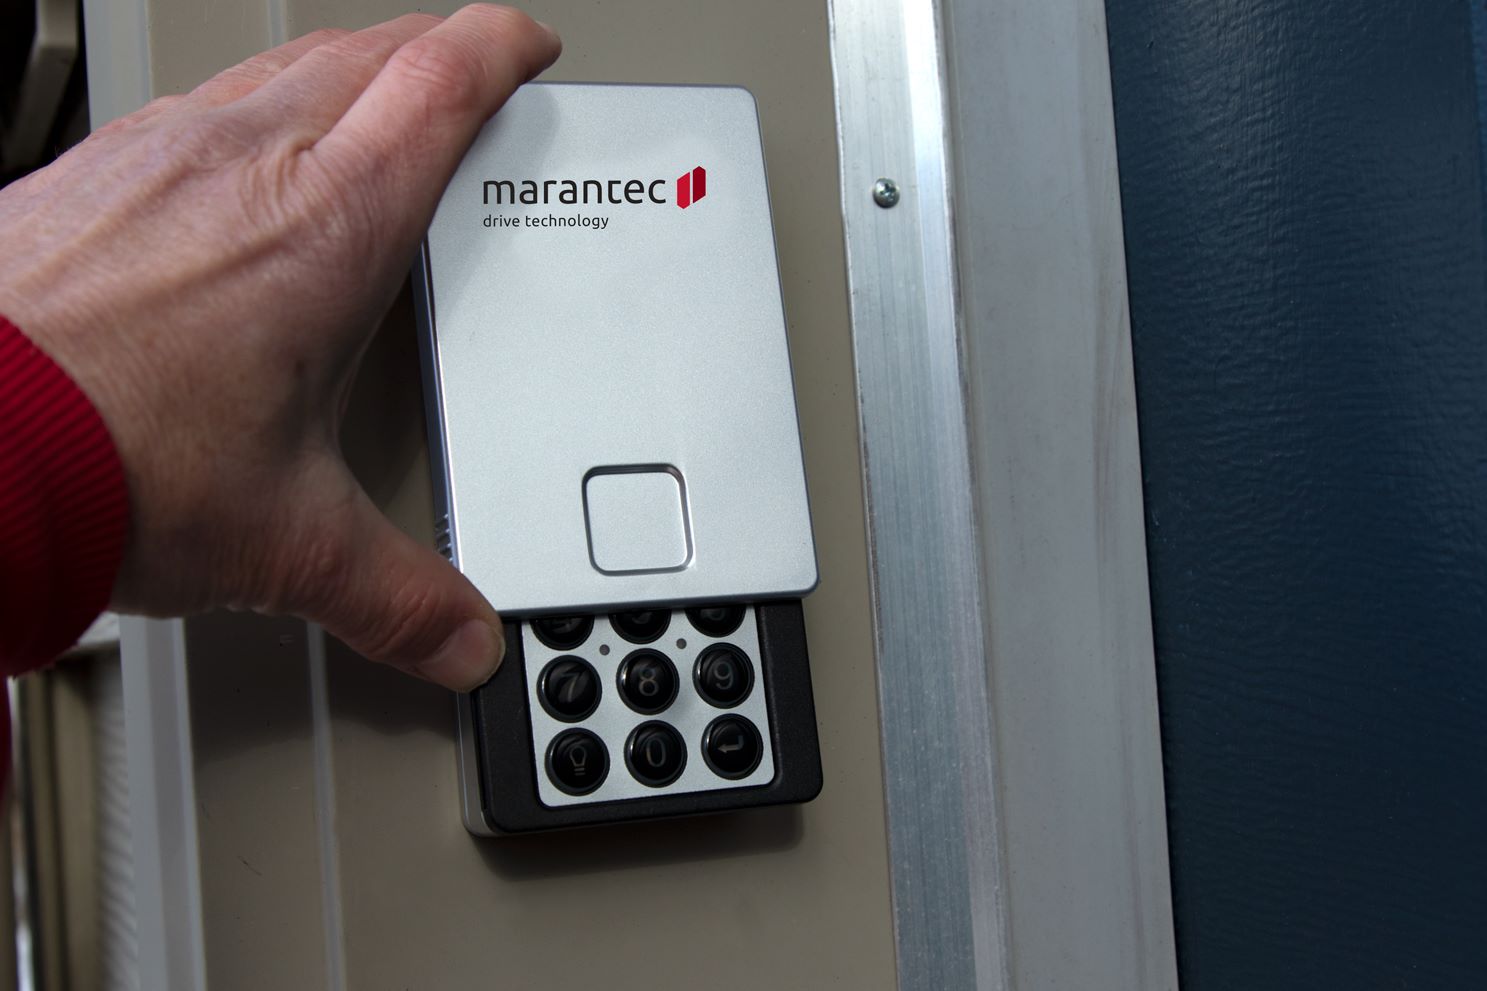
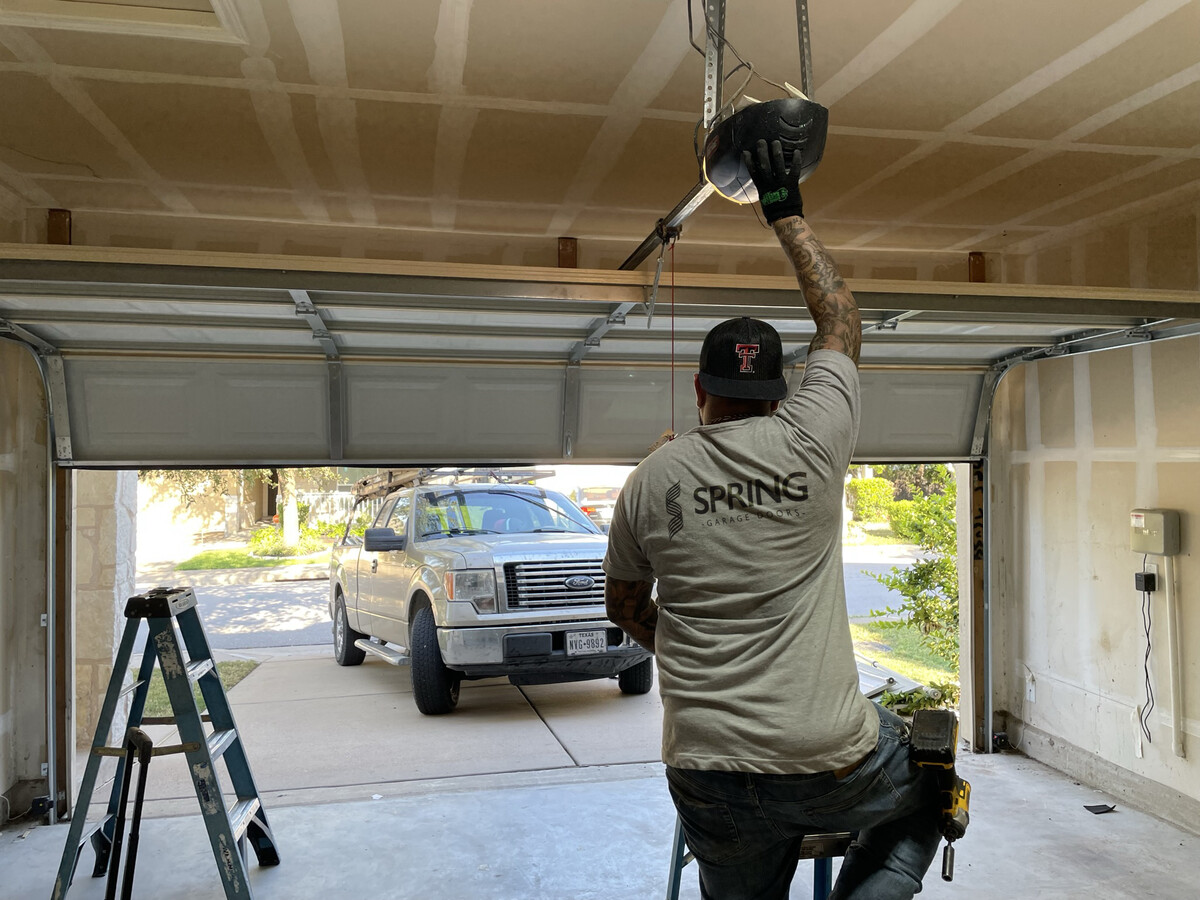
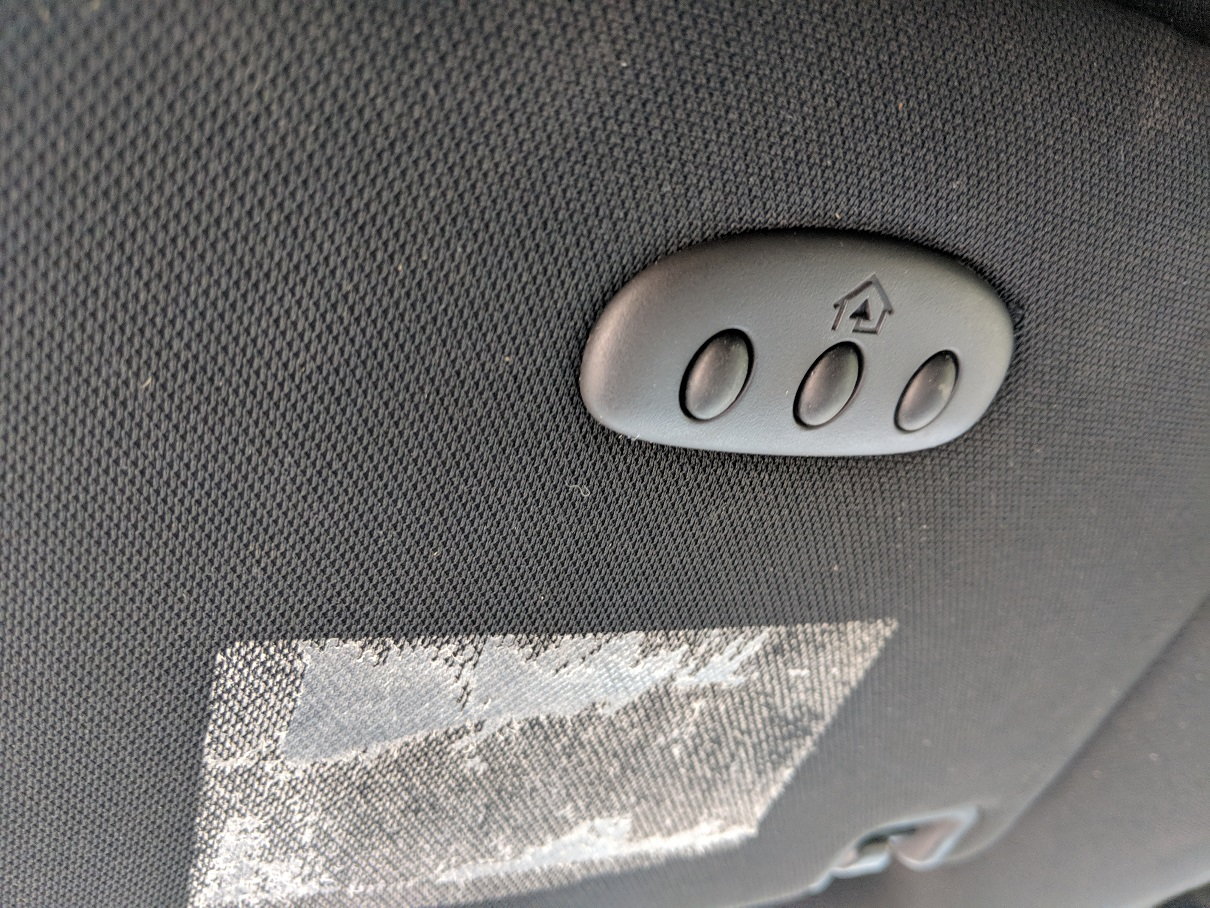
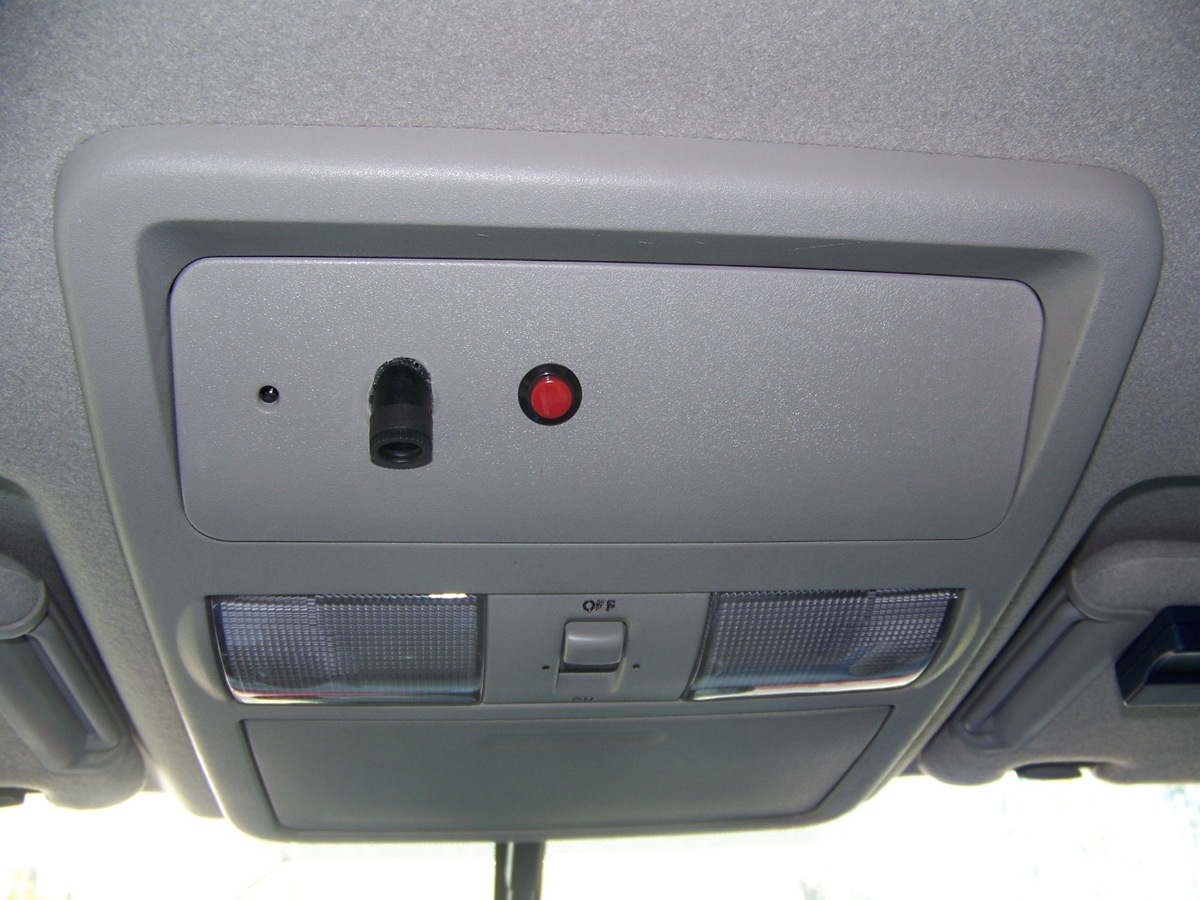
Step 2: Locate the learn button on your garage door opener
In order to successfully program your universal remote control, you need to locate the learn button on your garage door opener. The learn button is a small button typically located on the back or side of the opener unit. Its appearance may vary depending on the brand and model of your opener, but it is usually labeled as “Learn” or “Program.”
Here are a few general steps to help you find the learn button on your garage door opener:
- Ensure your garage door is closed: Before you start, make sure the garage door is fully closed to prevent any accidents or potential damage.
- Find the opener unit: Locate the motorized unit that controls your garage door. It is usually installed on the ceiling or wall of the garage.
- Inspect the unit: Look for a small button or a series of buttons on the back or side of the opener unit. Check if any buttons are labeled as “Learn” or “Program.” The button may be color-coded or have a distinct shape to help you identify it.
If you are having trouble locating the learn button, refer to your garage door opener’s user manual for specific instructions. The manual usually provides detailed diagrams and descriptions to assist you in finding the learn button.
Once you have identified the learn button, you are ready to move on to the next step: preparing the remote control for programming.
Step 3: Prepare the remote control for programming
Now that you have located the learn button on your garage door opener, it’s time to prepare the remote control for programming. Follow these steps to get your remote control ready:
- Remove the battery cover: Depending on the design of your remote control, you may need to remove the battery cover to access the programming buttons. Look for a small latch or screw holding the cover in place, and open it carefully.
- Insert batteries: Insert the required batteries into the remote control following the correct polarity (+ and -). Ensure that the batteries are securely in place.
- Replace the battery cover: Once the batteries are inserted, close the battery cover and secure it back in place. Make sure it is tightly sealed to prevent any damage to the batteries or the remote control.
- Reset the remote control (if necessary): If you have used the remote control with another garage door opener before, you may need to reset it to clear any previous programming. Consult the user manual for instructions on how to reset the remote control. This step is optional but recommended if you are experiencing any issues during programming.
By preparing the remote control properly, you ensure that it is powered and ready to be synced with your garage door opener. Once you have completed these steps, you can move on to the next step: programming the remote control using the learn button.
When programming a universal remote garage door opener, make sure to follow the specific instructions provided by the manufacturer. This may involve locating the “learn” button on the garage door opener motor and following the steps to sync the remote to the opener.
Step 4: Program the remote control using the learn button
Now that you have prepared your remote control, it’s time to program it using the learn button on your garage door opener. Follow these steps to synchronize the remote control with your opener:
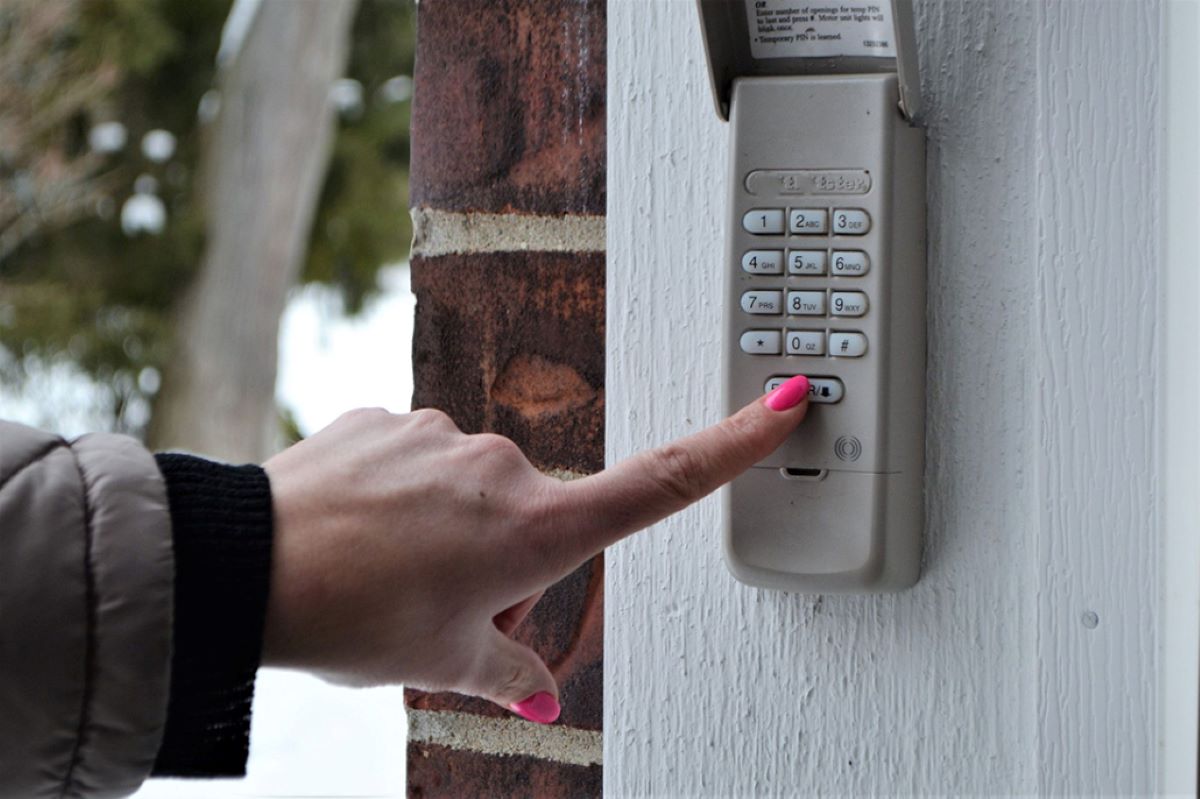
- Stand within range: Stand within range of your garage door opener, typically around 20-30 feet away. This ensures a strong signal between the remote control and the opener during the programming process.
- Press and release the learn button: Press and release the learn button on your garage door opener. The learn button may need to be pressed and released multiple times, depending on your specific opener model. Refer to your user manual for the exact number of times and the duration to press the button.
- Indicator light: After pressing the learn button, an indicator light on the opener unit should start flashing or remain steadily lit. This indicates that the opener is in programming mode and ready to receive the signal from the remote control.
- Press the desired button on the remote control: Within 30 seconds of activating the programming mode, press and hold the desired button on the remote control that you want to program. This could be a button labeled “Open,” “Close,” or any other designated button for operating the garage door.
- Confirm programming: After holding the button for a few seconds, the indicator light on the opener unit should flash or change its pattern. This indicates that the programming was successful, and the remote control is now paired with the opener.
It’s important to note that the exact steps and timing may vary depending on your particular garage door opener model. Always refer to the user manual for specific instructions and any variations in the programming process.
Once you have successfully programmed the remote control using the learn button, you can proceed to the final step: testing the remote control to ensure it is working correctly.
Step 5: Test the remote control
After programming your universal remote control using the learn button, it’s time to test its functionality. Follow these steps to ensure that the remote control is working correctly:
- Stand within range: Stand within range of your garage door opener, around 20-30 feet away.
- Press the programmed button: Press the button on the remote control that you programmed to open or close the garage door.
- Observe the garage door: Watch the garage door to see if it responds to the remote control. It should open or close smoothly and without any issues.
- Repeat the process: Press the button again to check if the garage door responds consistently. Repeat the process a few times to ensure that the remote control consistently operates the garage door.
- Test from different angles: Stand in different positions and angles to test the range and signal strength of the remote control. Make sure it works reliably from various directions to ensure convenient access to your garage.
If the remote control does not operate the garage door as expected or if you encounter any issues during testing, refer to the troubleshooting section in your user manual. It may provide solutions to common problems and suggestions for resolving any programming or functionality issues.
Once you have successfully tested the remote control and confirmed that it is operating the garage door smoothly, you have completed the programming process. Enjoy the convenience and ease of accessing your garage with a simple push of a button!
Step 6: Troubleshooting common issues
While programming a universal remote control for your garage door opener is generally a straightforward process, you may encounter some common issues along the way. Here are a few troubleshooting tips to help you overcome common problems:
- Check battery life: If the remote control is not responding or the signal is weak, check the battery life. Replace the batteries if they are low or depleted.
- Verify compatibility: Ensure that the universal remote control is compatible with your specific garage door opener model. Refer to the manufacturer’s recommendations or consult the user manual for compatible remote control options.
- Reset and reprogram: If the remote control is not functioning correctly, try resetting it and reprogramming it according to the manufacturer’s instructions.
- Check signal range: If the remote control works intermittently or only from a short distance, check the signal range. Move closer to the opener unit to test the range, and ensure there are no obstructions or interference affecting the signal.
- Inspect antenna: If your garage door opener has an external antenna, make sure it is fully extended and not damaged. A damaged or obstructed antenna can weaken the signal and affect the remote control’s performance.
- Consult professional help: If you have followed all the troubleshooting steps and are still experiencing issues, it may be time to consult a professional garage door technician. They can diagnose and fix any underlying problems with your opener or remote control.
Remember to always refer to your user manual for specific troubleshooting instructions and solutions tailored to your garage door opener model. The manual provides valuable insights into resolving common issues and ensuring proper functionality of your remote control.
By following these troubleshooting steps, you can overcome common problems and enjoy seamless operation of your universal remote control for your garage door opener. Now you can open and close your garage door with ease and convenience.
Conclusion
Congratulations! You have successfully learned how to program a universal remote control for your garage door opener. By following the step-by-step instructions provided in this guide, you have gained the knowledge and skills to enjoy the convenience, efficiency, and security that a remote-controlled garage door offers.
With a universal remote control, you can eliminate the need for multiple remotes, simplify access to your home, and enhance the security of your property. Programming the remote control using the learn button on your garage door opener is a straightforward process that anyone can accomplish with a little patience and attention to detail.
Remember to gather all the necessary materials, locate the learn button on your opener, prepare the remote control, and follow the specific programming instructions for your model. After programming, don’t forget to test the remote control to ensure it is operating the garage door smoothly and reliably from various angles and distances.
If you encounter any issues during the programming process, refer to your user manual for troubleshooting tips and manufacturer-specific instructions. Additionally, consider consulting a professional garage door technician if you require further assistance or encounter persistent problems.
Enjoy the convenience and ease of opening and closing your garage door with a single push of a button. Say goodbye to manual operation and welcome the efficiency and security of a remote-controlled garage door opener.
Thank you for choosing our guide to help you with programming your universal remote garage door opener. We hope this article has been informative and helpful. Now, go ahead and enjoy the benefits of your newly programmed universal remote control!
Frequently Asked Questions about How To Program Universal Remote Garage Door Opener
Was this page helpful?
At Storables.com, we guarantee accurate and reliable information. Our content, validated by Expert Board Contributors, is crafted following stringent Editorial Policies. We're committed to providing you with well-researched, expert-backed insights for all your informational needs.
0 thoughts on “How To Program Universal Remote Garage Door Opener”