
Articles
How To Program Garage Door Clicker
Modified: August 24, 2024
Learn how to program your garage door clicker with our informative articles. Get step-by-step instructions and troubleshoot common issues.
(Many of the links in this article redirect to a specific reviewed product. Your purchase of these products through affiliate links helps to generate commission for Storables.com, at no extra cost. Learn more)
Introduction
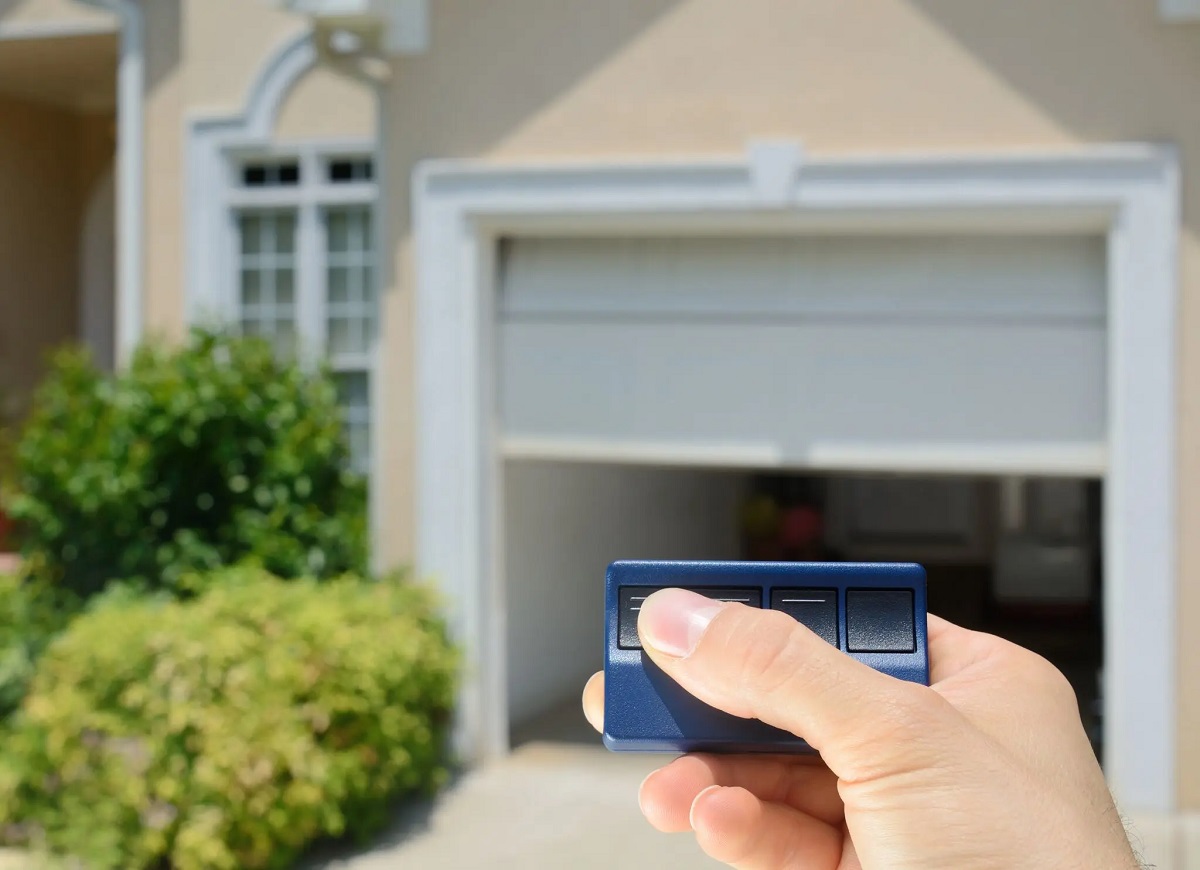
Opening and closing your garage door with a click of a button has become a modern necessity. Garage door clickers, also known as remote controls or transmitters, provide convenience and security to homeowners by allowing them to operate their garage doors from a distance.
However, if you’ve recently moved into a new home or have replaced your garage door opener, you may need to program a new garage door clicker. Learning how to program a garage door clicker can save you time and money, as you won’t have to rely on a professional to do it for you.
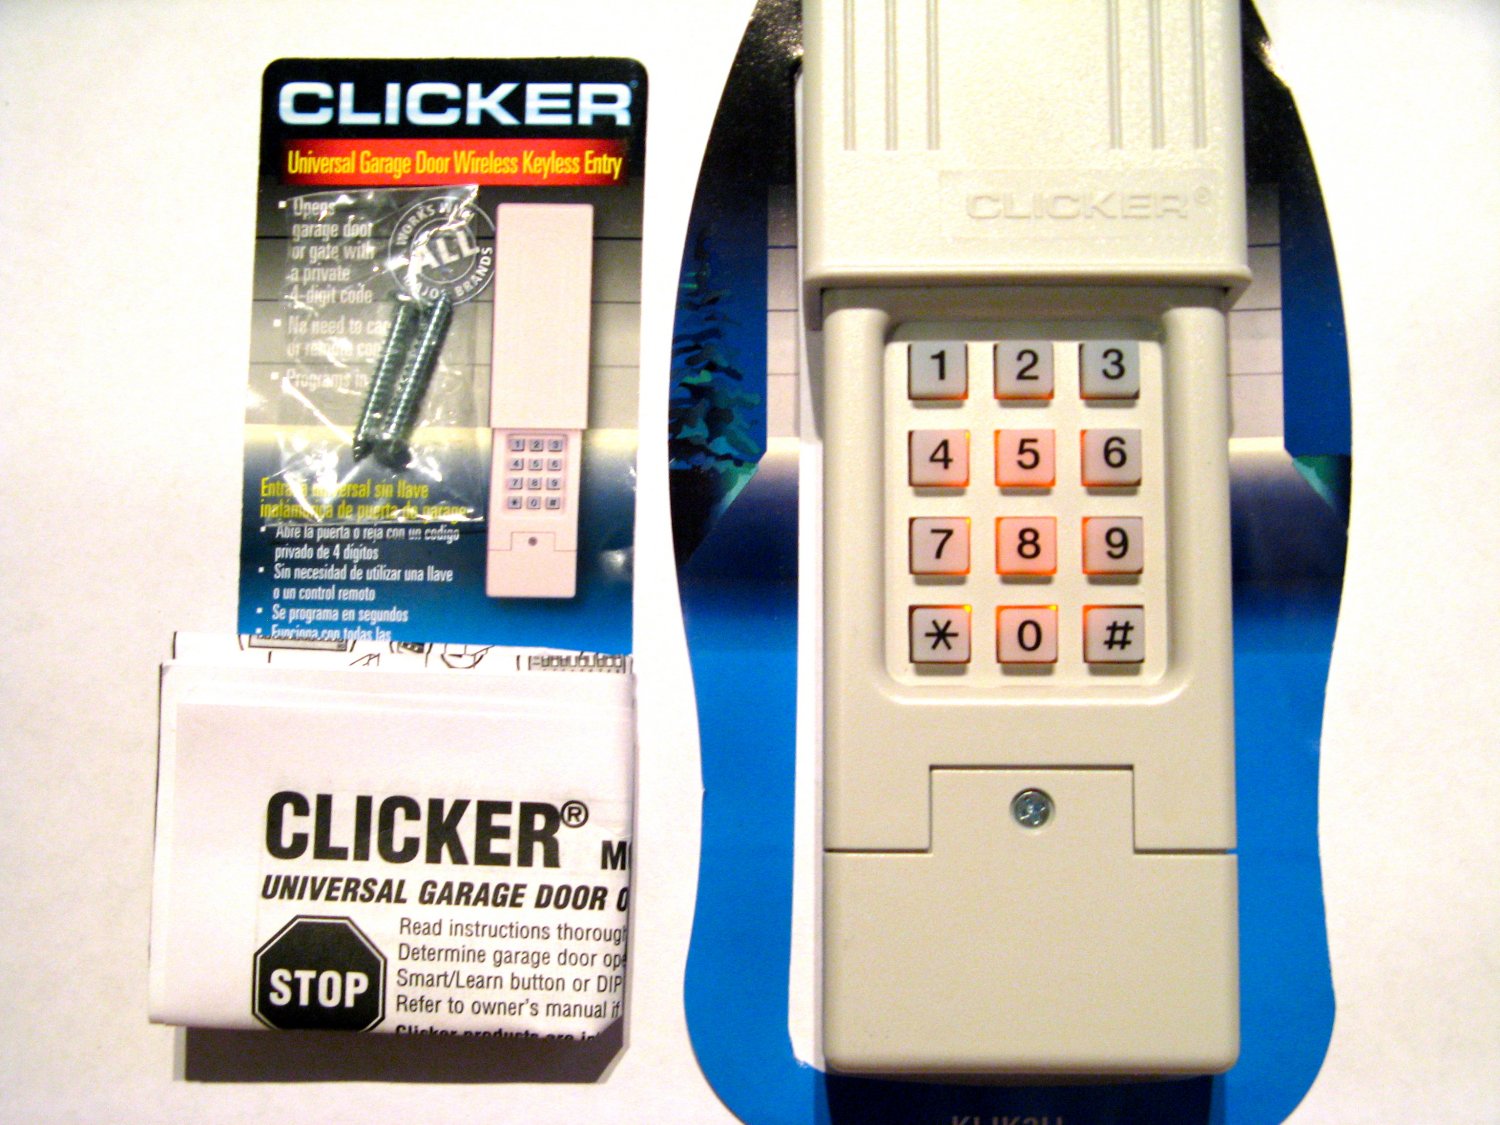
In this article, we will guide you through the step-by-step process of programming a garage door clicker. Whether you have a LiftMaster, Genie, Chamberlain, or any other garage door opener brand, our instructions will be applicable to most models.
Before we dive into the programming steps, it’s essential to determine the model of your garage door opener. The programming process may vary slightly depending on the brand and model of your opener. Let’s begin by identifying your garage door opener model.
Key Takeaways:
- Programming your garage door clicker is a manageable task that can save time and money. Identifying the opener model and following specific steps will ensure a successful and convenient process.
- Testing and troubleshooting your garage door clicker after programming is crucial for smooth functionality. Regular maintenance and periodic battery checks will help maintain hassle-free operation.
Step 1: Determine the Garage Door Opener Model
Before you can begin programming your garage door clicker, you need to identify the make and model of your garage door opener. This information is crucial as it will determine the specific programming instructions for your device.
To determine your garage door opener’s model, follow these steps:
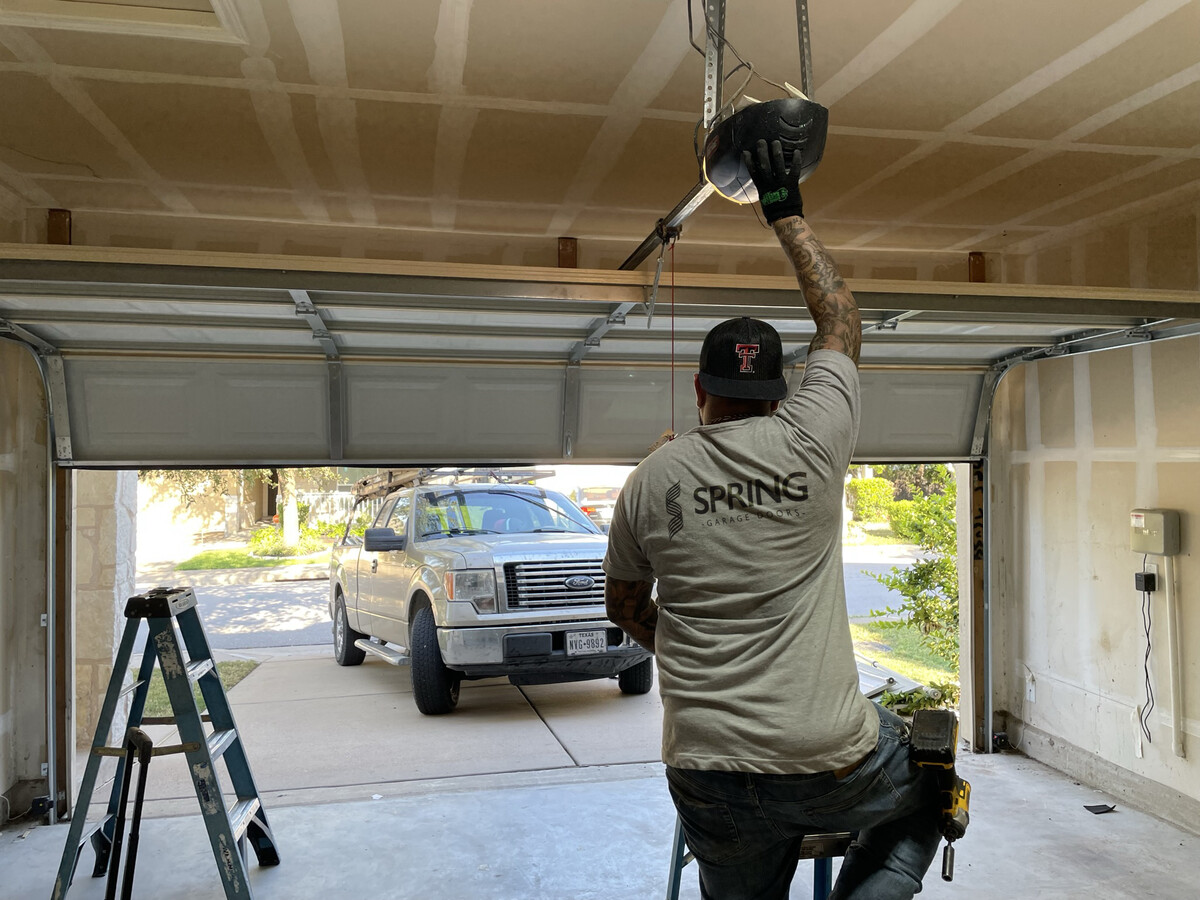
- Locate the motor unit of your garage door opener. This is typically mounted on the ceiling or wall near the garage door.
- Look for a label or sticker on the motor unit that displays the brand and model number of your opener. It may also include other information such as the serial number or manufacturing date.
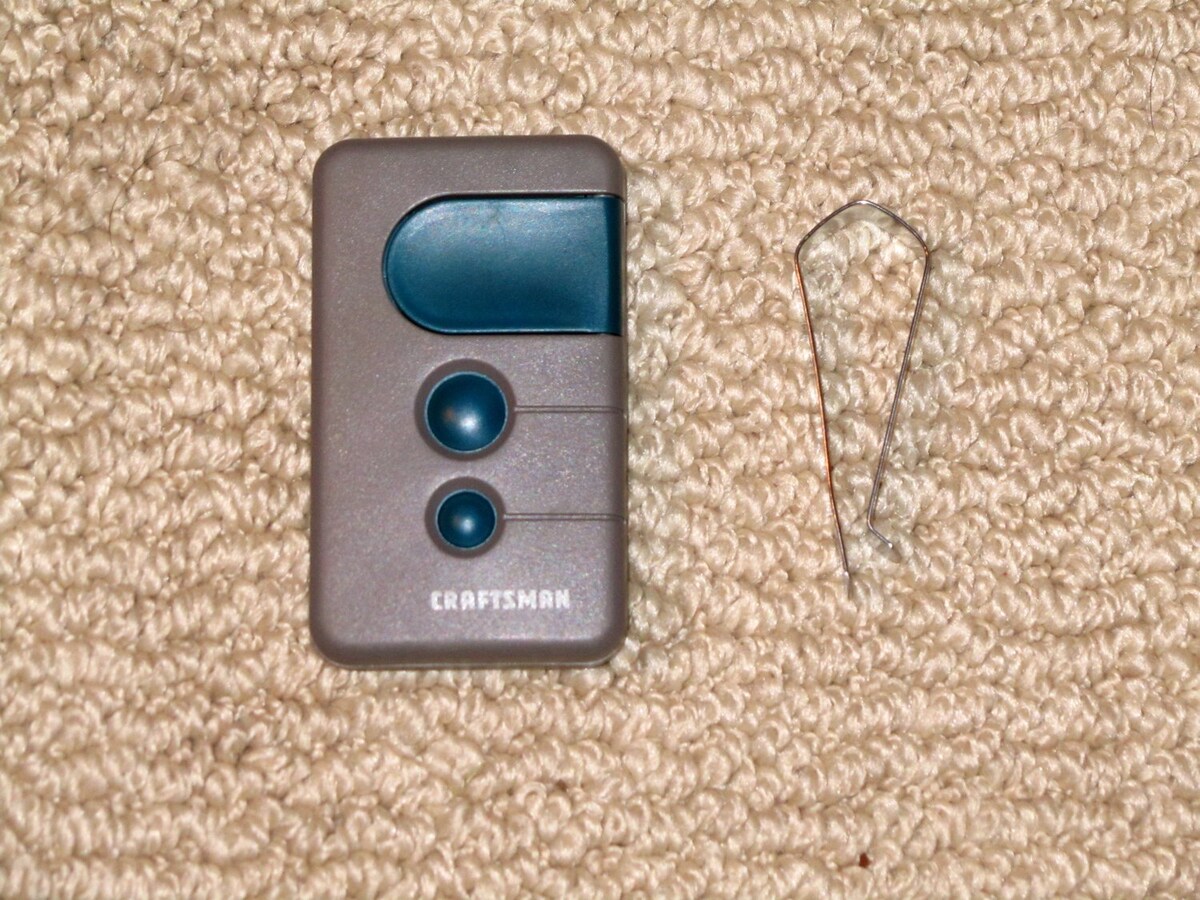
- If you cannot find the label on the motor unit, check the remote control itself. Some remote controls have the model number printed on them.
- If you are still unable to identify the model, consult your garage door opener’s manual or visit the manufacturer’s website for assistance. They may have a support page or customer service contact to help you find the model number.
Once you have identified the model of your garage door opener, you can proceed with the programming instructions specific to that model. Different brands and models might have slight variations in the programming process, so it’s important to have the correct information.
Now that you have determined the make and model of your garage door opener, you are ready to move on to the next step: accessing the garage door opener.
Step 2: Accessing the Garage Door Opener
Before you can program your garage door clicker, you need to access the garage door opener itself. This will allow you to locate the programming button or switch that you’ll use to sync your clicker with the opener.
To access the garage door opener, follow these steps:
- Ensure that the garage door is fully closed to prevent any accidents or damage during the programming process.
- Locate the motor unit of your garage door opener. This is usually a box-shaped device installed on the ceiling or wall of your garage.
- Remove the cover or panel of the motor unit to expose the internal components. This may require using a screwdriver or following specific instructions outlined in your garage door opener’s manual.
- Once the motor unit is open, you should be able to see the programming button or switch. It may be labeled as “Learn” or “Program” and is typically located near the antenna wire.
It’s important to note that the location of the programming button or switch may vary depending on the brand and model of your garage door opener. If you’re having trouble finding it, consult your opener’s manual or refer to the manufacturer’s website for assistance.
Now that you have accessed the garage door opener and located the programming button or switch, you are ready to proceed with the next step: programming the garage door clicker.
Step 3: Programming the Garage Door Clicker
With the garage door opener model identified and the motor unit accessible, you are now ready to program your garage door clicker. The programming process involves syncing the clicker with the opener to establish a secure communication link.
Follow these steps to program your garage door clicker:
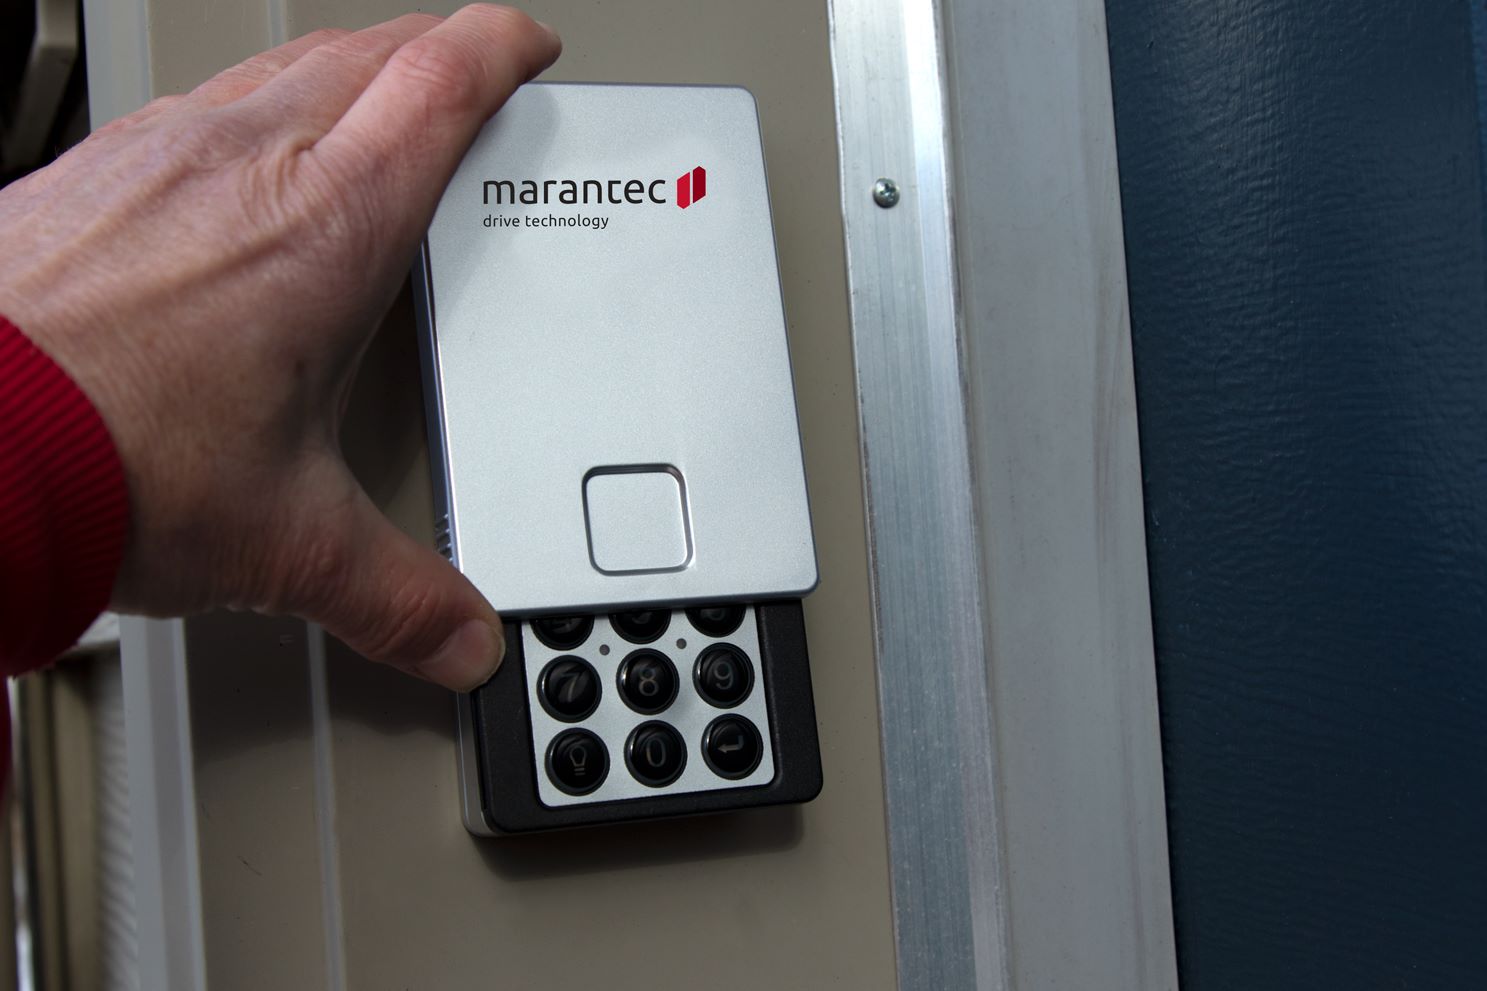
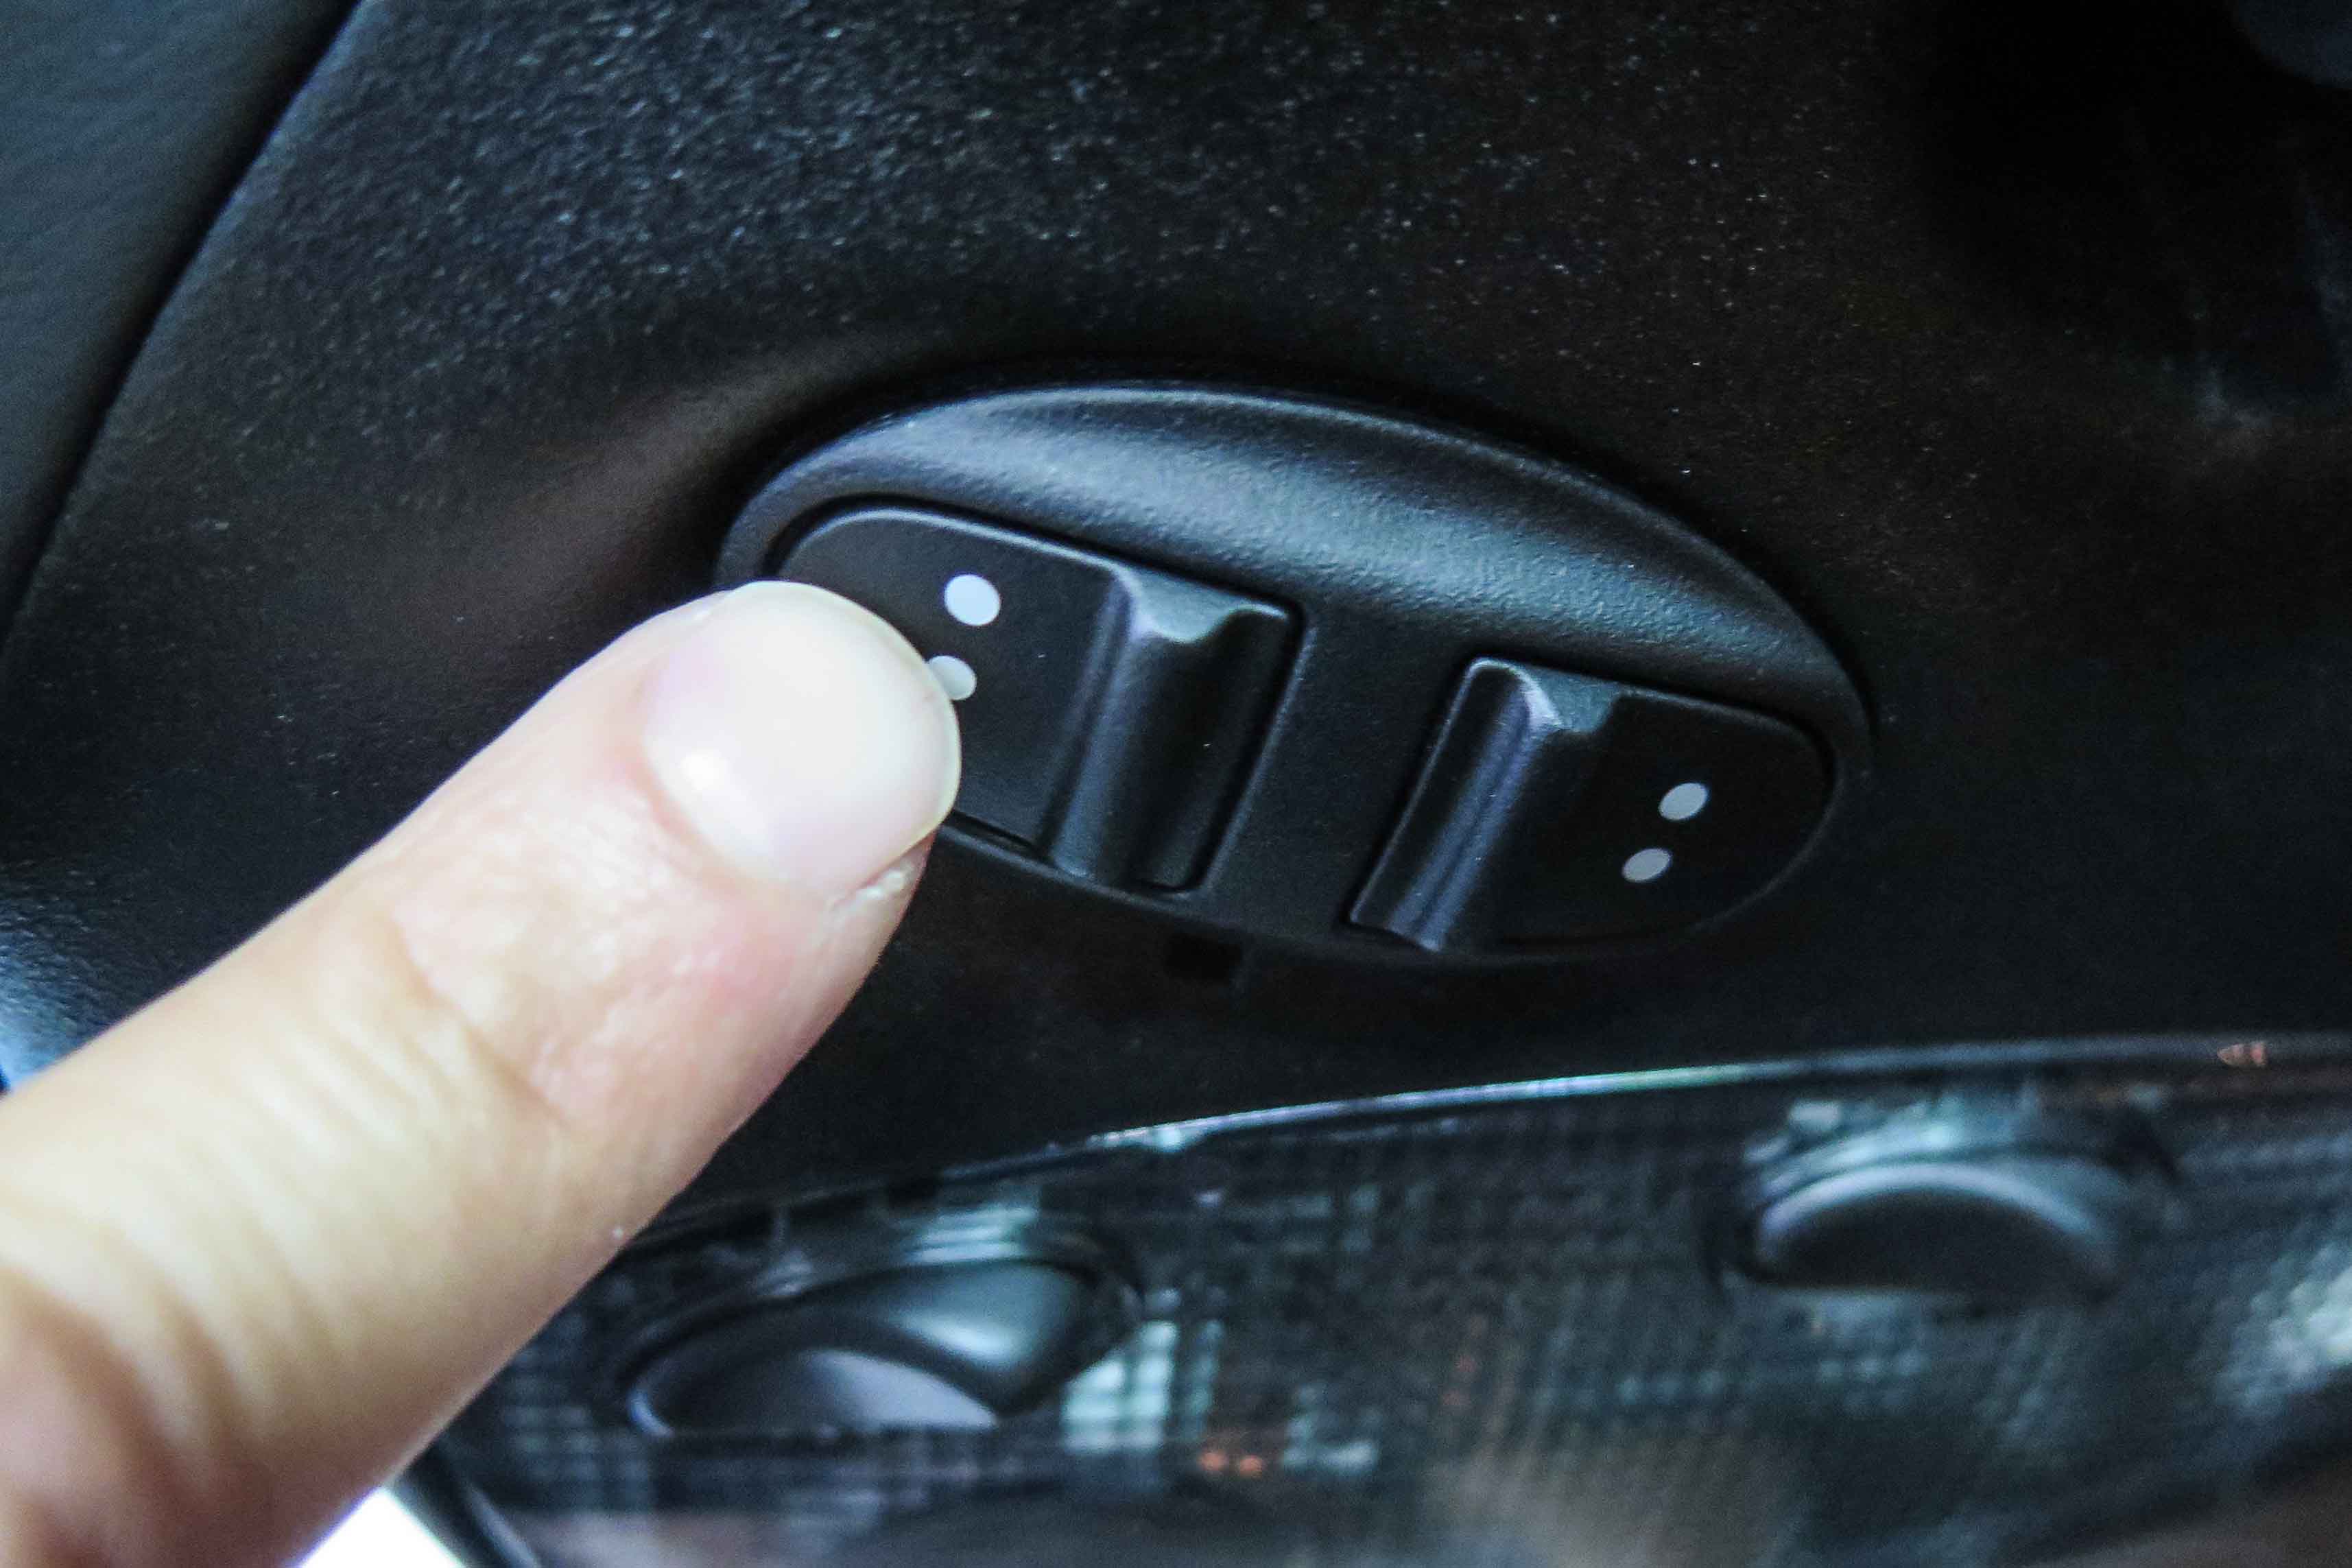
- Take your garage door clicker in hand and locate the programming button or switch. Depending on the model, it may be on the back, side, or front of the clicker.
- Press and hold down the programming button or switch on the clicker. This will usually activate an LED light indicator to let you know that the clicker is in programming mode.
- Within 30 seconds of activating the programming mode on the clicker, locate the programming button or switch on the garage door opener motor unit.
- Press and release the programming button or switch on the garage door opener motor unit. This will initiate the programming sequence and put the opener into learning mode.
- Within a few seconds, press the button on the garage door clicker that you want to program. This will send a signal to the opener, and it should respond by either flashing its lights, beeping, or displaying some other indication.
- Once the clicker and opener have successfully synced, release the programming button or switch on both the clicker and the opener.
It’s important to note that the specific steps may vary depending on the brand and model of your garage door opener. Always refer to your opener’s manual or consult the manufacturer’s website for detailed programming instructions specific to your model.
After completing the programming process, your garage door clicker should now be successfully synced with your opener. However, it’s crucial to test the clicker’s functionality before considering the programming complete.
That covers the programming steps for your garage door clicker. The next step is to test the clicker to ensure that it is functioning correctly. Keep reading to learn how to do this in step 4.
When programming a garage door clicker, always follow the manufacturer’s instructions carefully. Make sure to clear any existing codes before attempting to program a new one.
Step 4: Testing the Garage Door Clicker
After programming your garage door clicker, it’s essential to test its functionality to ensure that it opens and closes the garage door as intended. This step allows you to confirm that the programming was successful and that the clicker is working correctly.
Follow these steps to test your garage door clicker:
- Stand within range of your garage door opener, typically within your driveway or close to the garage.
- Ensure that the garage door is fully closed before proceeding.
- Press the button on your garage door clicker that you programmed in the previous step.
- Observe the garage door opener’s response. It should begin to activate, indicating that it’s receiving the signal from the clicker.
- Watch as the garage door starts to open. Listen for any unusual noises or obstructions as it moves.
- Once the garage door is fully open, press the same button on the clicker again to close the door.
- Monitor the garage door as it closes, ensuring that it operates smoothly and without any issues.
If the garage door opens and closes correctly in response to the clicker, congratulations! Your programming process was successful, and your clicker is ready to use.
However, if the garage door doesn’t respond to the clicker or exhibits any issues during testing, there may be a problem with the programming, the clicker’s battery, or the garage door opener itself. In such cases, refer to your garage door opener’s manual or contact the manufacturer for troubleshooting tips and assistance.
By testing your clicker after programming, you can ensure that everything is functioning smoothly and that your garage door is secure and easily accessible.
Now that you have tested your garage door clicker and confirmed its functionality, you’re ready to move on to step 5: troubleshooting tips. Keep reading to learn how to address common issues that may arise with your clicker or garage door opener.
Read more: How To Program Garage Door Opener With Car
Step 5: Troubleshooting Tips
Despite your best efforts, it’s possible to encounter some issues when programming or using your garage door clicker. These issues can be frustrating, but they are often solvable with a few troubleshooting steps. Here are some common troubleshooting tips to help you address potential problems:
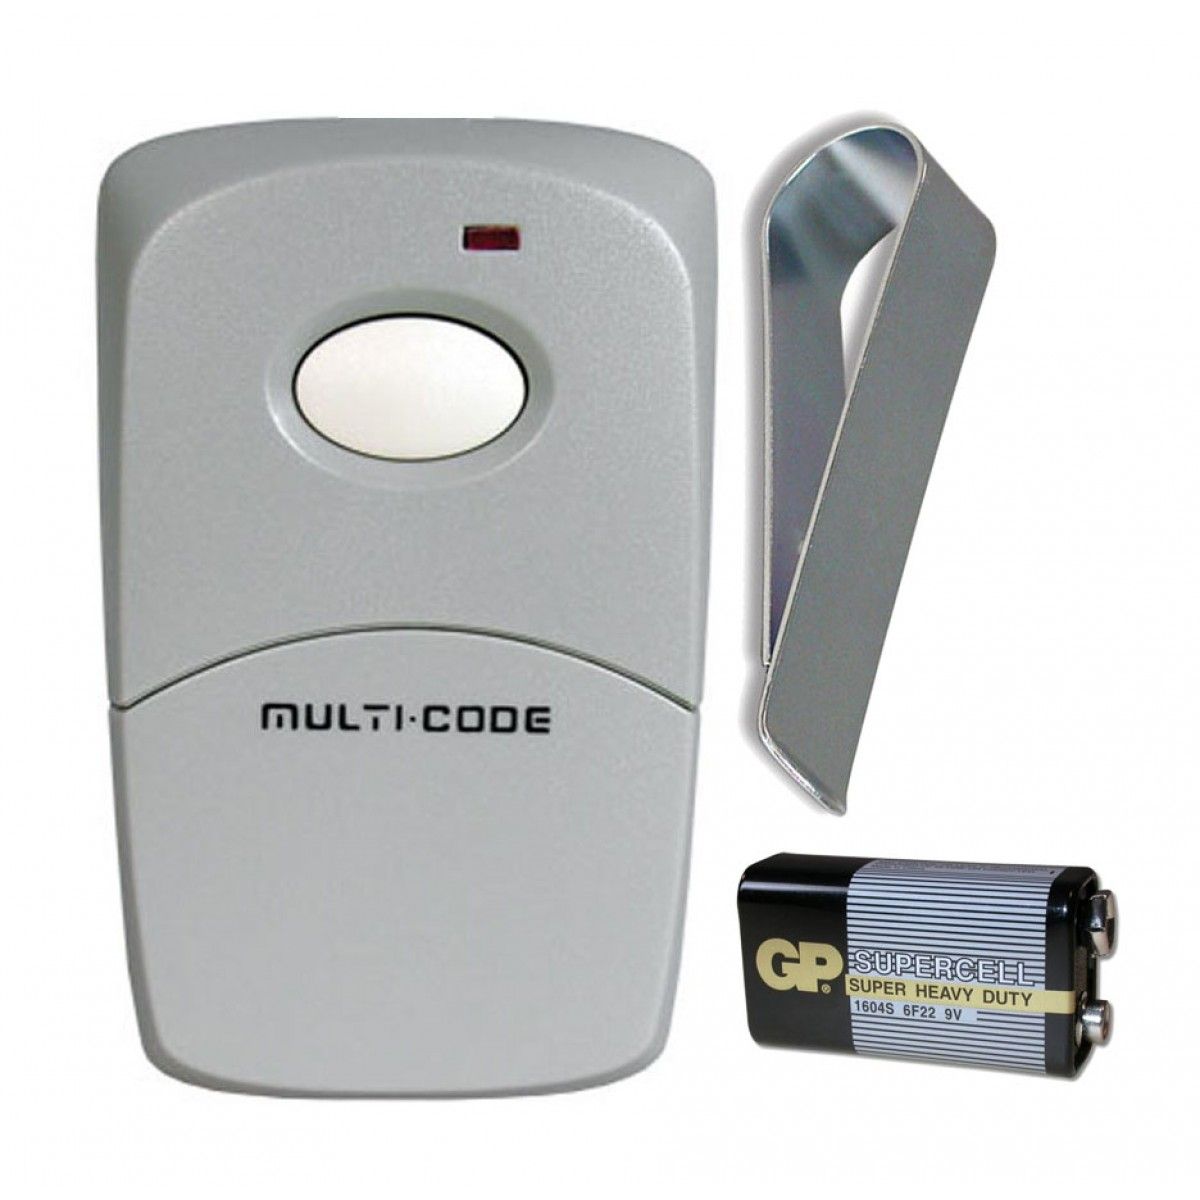
- Check the battery: If your garage door clicker is not working, it may be due to a weak or dead battery. Replace the battery with a fresh one and try programming and testing the clicker again.
- Reposition the clicker: Ensure that you are pressing the button on the clicker adequately and that you’re within range of the garage door opener. Hold the clicker higher or closer to the opener to improve the signal strength.
- Clear the clicker memory: If you’re having trouble programming your clicker, try erasing the memory of both the clicker and the opener. Refer to your opener’s manual for specific instructions on how to clear the memory.
- Reset the opener: In some cases, resetting the entire garage door opener can resolve programming issues. Consult your opener’s manual on how to perform a reset, as the process may vary depending on the model.
- Check for interference: Radio frequency interference from other devices or nearby electronics can disrupt the communication between the clicker and opener. Try moving any potential sources of interference away from the opener and clicker.
- Inspect the clicker and opener: Examine both the clicker and opener for any visible damage or loose connections. Tighten any loose screws or connections and replace any damaged parts if necessary.
- Consult the manufacturer or seek professional help: If you have tried all the troubleshooting steps and are still experiencing issues, reach out to the manufacturer for further assistance. They may be able to provide specific guidance or recommend a professional technician to help resolve the problem.
By following these troubleshooting tips, you can quickly identify and address common issues with your garage door clicker. Remember to reference your opener’s manual and contact the manufacturer if needed for more specific guidance.
Congratulations! You have now successfully programmed your garage door clicker and tested its functionality. By troubleshooting any potential issues, you can ensure a smooth and hassle-free operation of your garage door.
Remember to periodically check the battery of your clicker and perform regular maintenance on your garage door opener to keep it in optimal condition. Now, enjoy the convenience of opening and closing your garage door with a simple click of a button!
This concludes our guide on how to program a garage door clicker. We hope you found it helpful and informative.
Conclusion
Programming a garage door clicker may seem daunting at first, but with the right instructions and a little bit of patience, it can be a straightforward process. By following the step-by-step guide in this article, you can easily program your garage door clicker and enjoy the convenience and security it provides.
Remember to determine the make and model of your garage door opener before starting the programming process. This will ensure that you have the correct instructions for your specific opener.
Accessing the garage door opener and locating the programming button or switch is the next crucial step. Opening up the motor unit and finding the programming feature will allow you to establish a connection between the opener and the clicker.
Once you’re ready to program, follow the provided steps to successfully sync your garage door clicker with the opener. Testing the clicker afterwards will confirm that the programming was successful and that your garage door responds as expected.
In the event of any issues, troubleshooting tips such as checking the battery, repositioning the clicker, or clearing the clicker memory can often resolve the problem. If needed, consult your opener’s manual or contact the manufacturer for further assistance.
By completing these steps and ensuring the proper functioning of your garage door clicker, you can enjoy the convenience and ease of operating your garage door from a distance.
We hope this guide has been helpful in guiding you through the process of programming your garage door clicker. Now, go ahead and take advantage of the modern convenience it offers!
Frequently Asked Questions about How To Program Garage Door Clicker
Was this page helpful?
At Storables.com, we guarantee accurate and reliable information. Our content, validated by Expert Board Contributors, is crafted following stringent Editorial Policies. We're committed to providing you with well-researched, expert-backed insights for all your informational needs.

0 thoughts on “How To Program Garage Door Clicker”