Articles
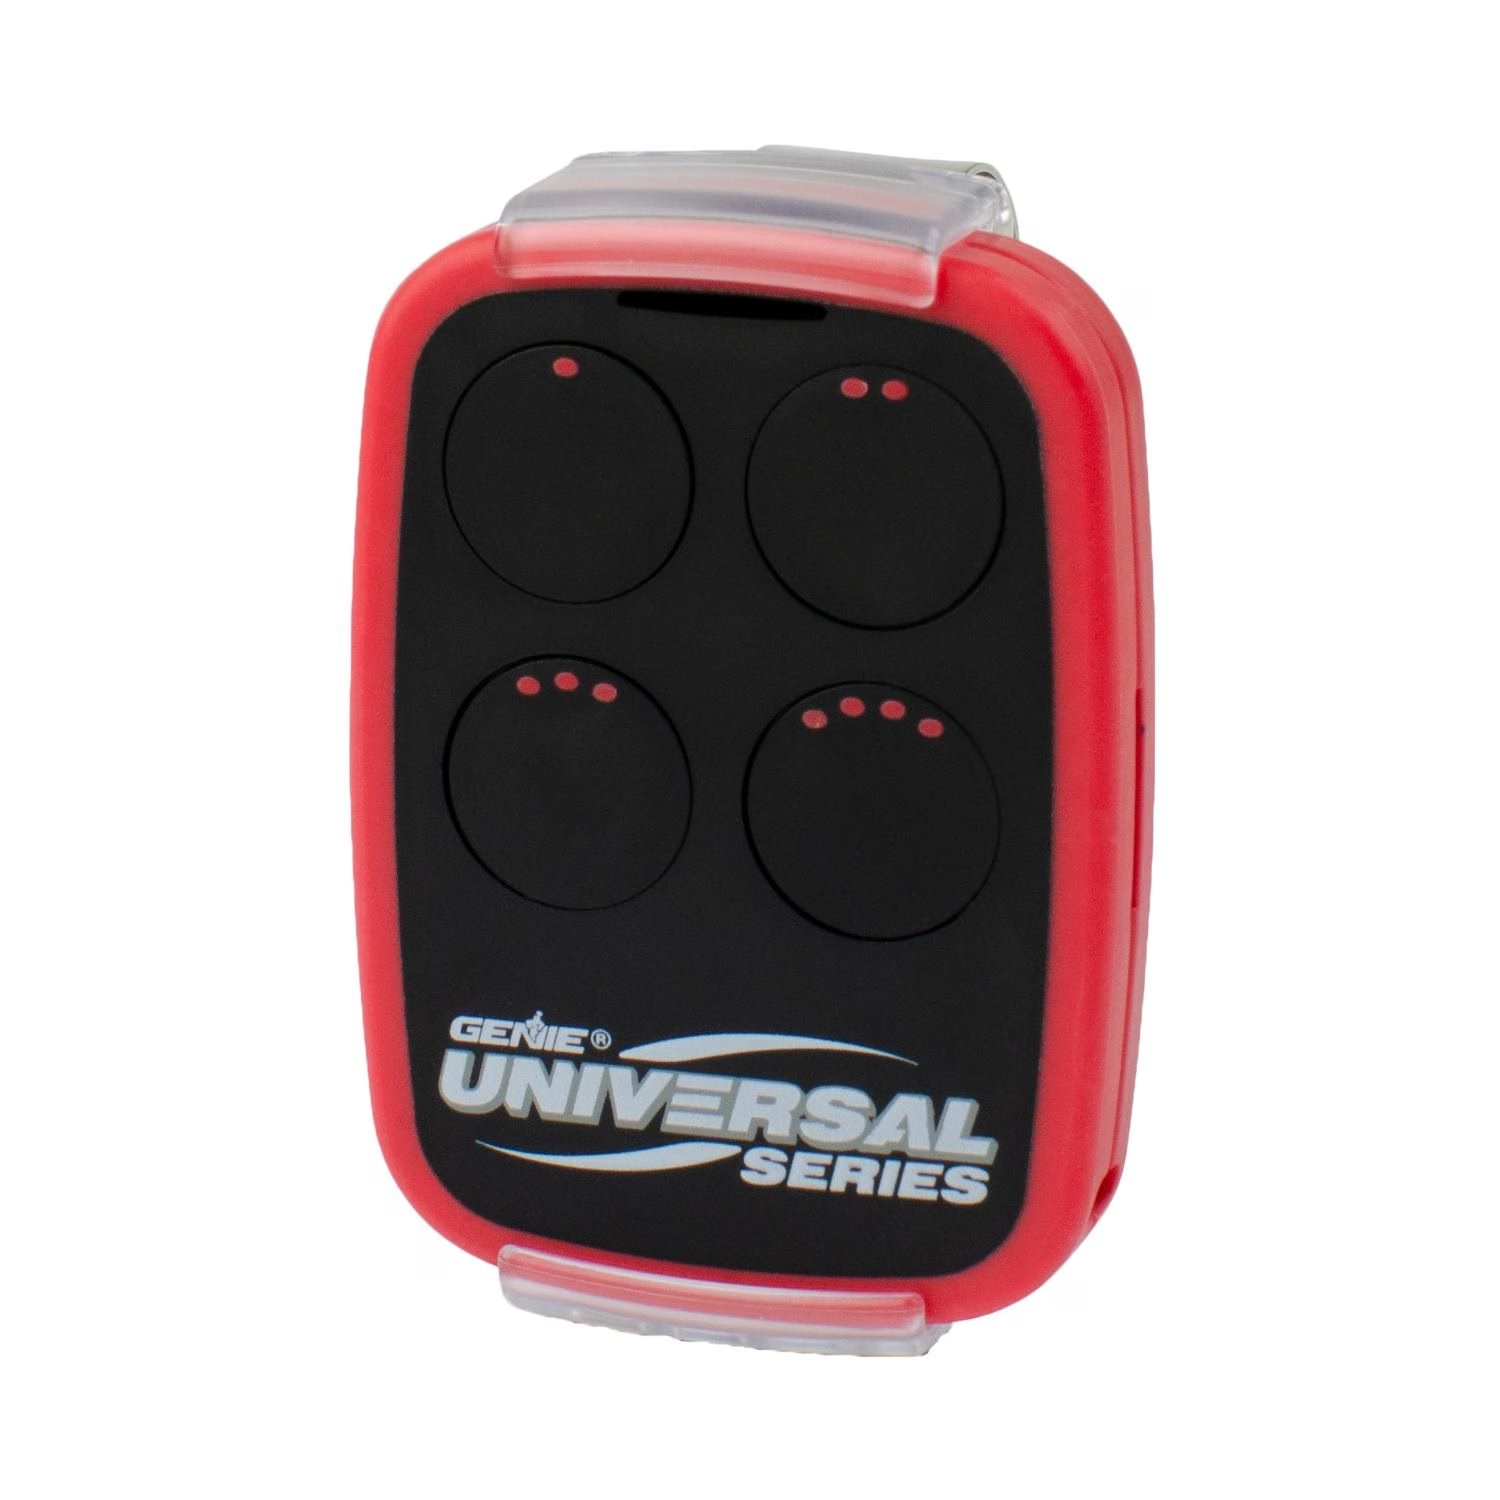
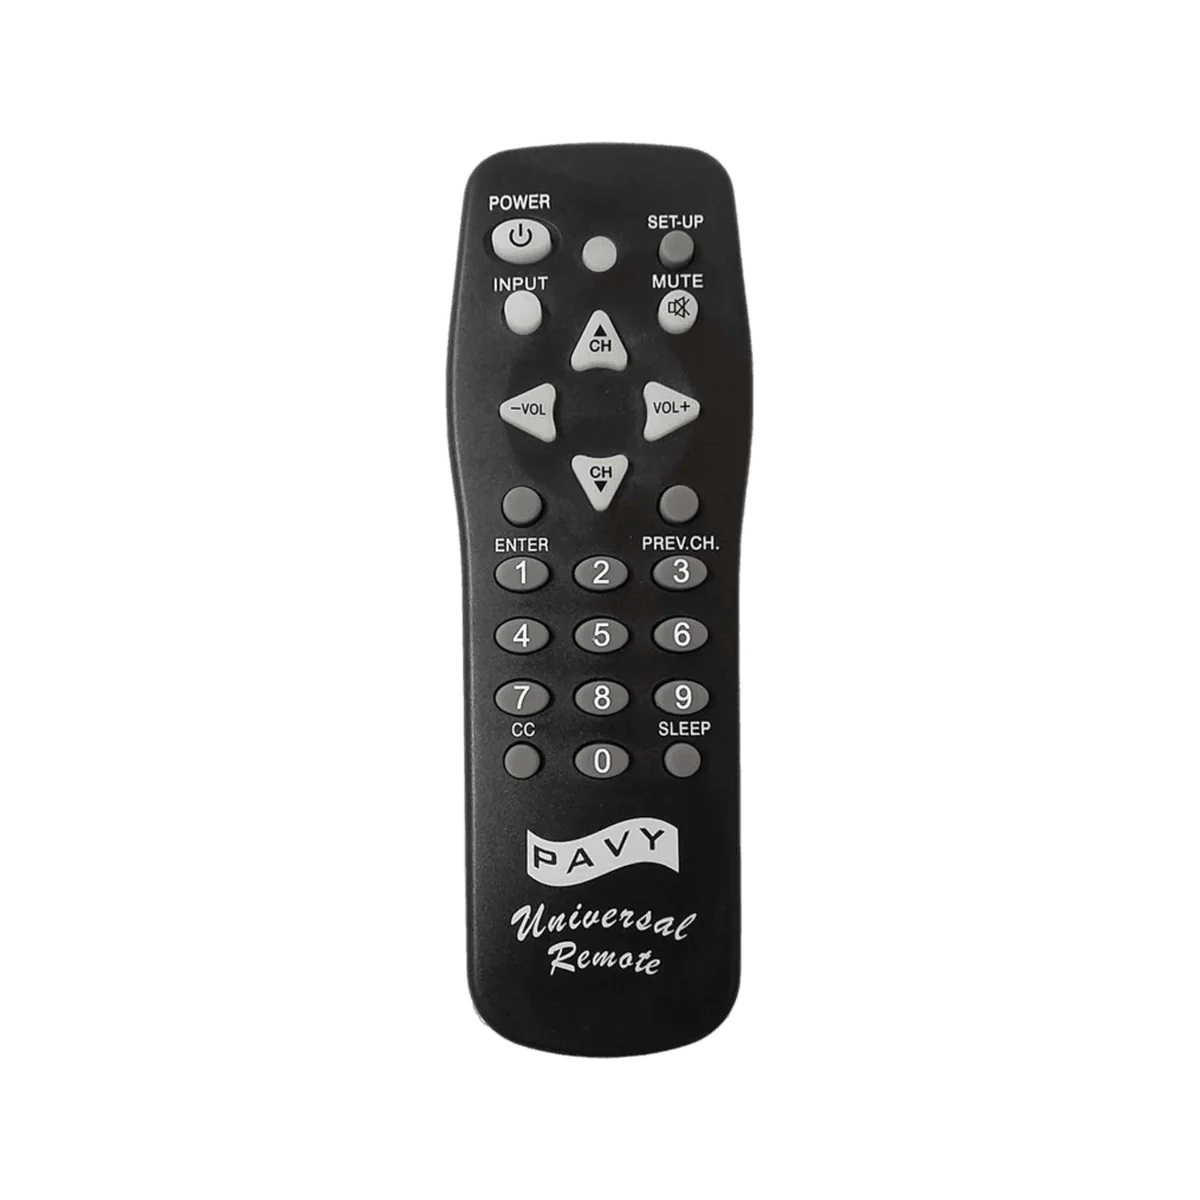
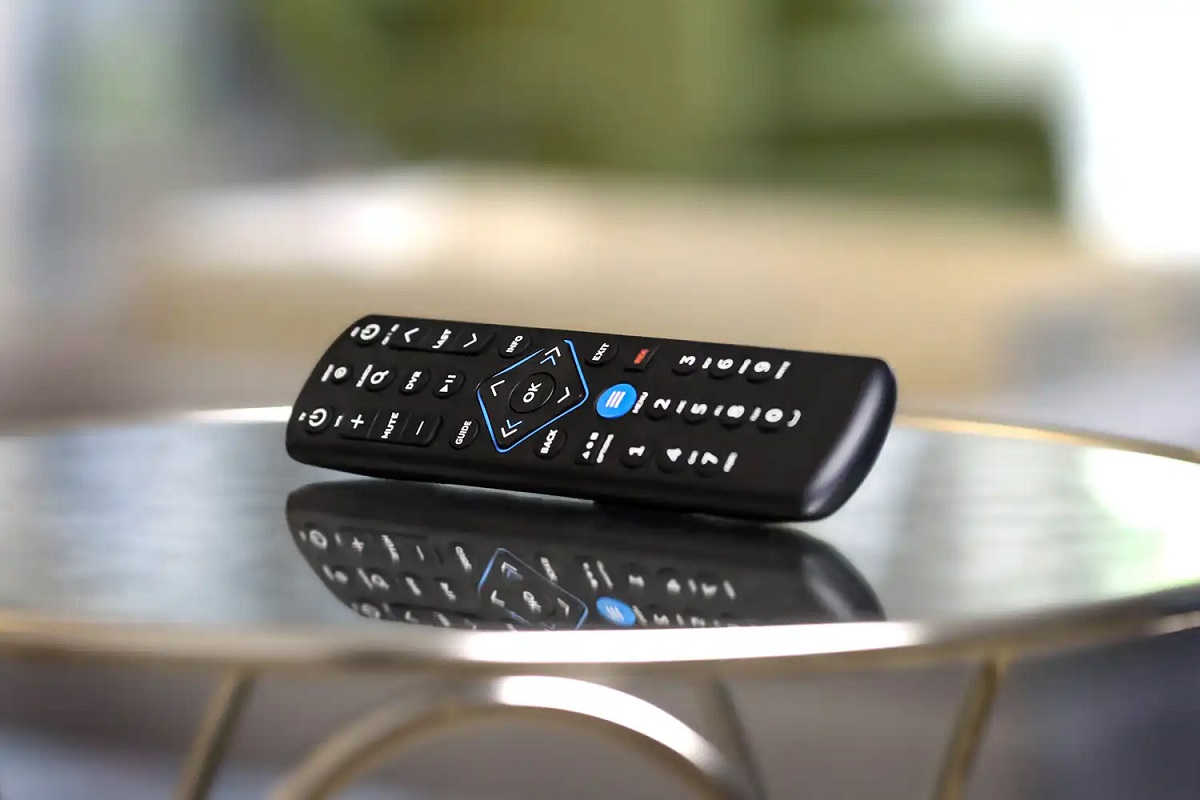
How To Program A Universal Garage Door Remote
Modified: August 24, 2024
Learn how to program a universal garage door remote with our step-by-step articles. Simplify your life with easy access to your garage.
(Many of the links in this article redirect to a specific reviewed product. Your purchase of these products through affiliate links helps to generate commission for Storables.com, at no extra cost. Learn more)
Introduction
The convenience of a garage door remote allows us to easily access and operate our garage doors without the need to manually open or close them. However, what happens when we misplace the original remote or need to replace it with a universal one? Programming a universal garage door remote may seem daunting, but with the right steps and guidance, it can be a straightforward process.
In this article, we will walk you through the necessary steps to program a universal garage door remote. Whether you are replacing a lost remote or looking to streamline your garage door access, our comprehensive guide will help you get your remote up and running smoothly.
Before we dive into the programming process, it’s important to note that not all garage door openers are compatible with universal remotes. Universal remotes are designed to work with a wide range of garage door opener brands, but there are some exceptions. It’s crucial to verify the compatibility of your garage door opener before purchasing a universal remote.
To determine compatibility, check the packaging or product specifications of the universal remote you intend to use. Look for a list of compatible garage door opener brands or model numbers. If your garage door opener is not listed or you are uncertain about its compatibility, it is recommended to consult the manufacturer or seek professional assistance.
Key Takeaways:
- Before programming a universal garage door remote, ensure compatibility with your opener by checking the user manual, manufacturer’s website, or contacting the manufacturer directly. Clearing the opener’s memory is crucial for a successful programming process.
- When programming the universal remote, follow the specific steps for your opener and test its functionality afterward. Troubleshoot common issues such as interference, button functionality, and battery problems to ensure optimal performance.
Step 1: Determine Compatibility with Your Garage Door Opener
Before you begin the programming process, it is essential to confirm that your garage door opener is compatible with a universal remote. While most garage door opener brands are compatible with universal remotes, there are some exceptions. Follow these steps to determine the compatibility:
- Refer to the user manual: Start by checking the user manual of your garage door opener. Look for any references to compatibility with universal remotes. The manual may provide a list of recommended universal remote models or specify the type of remote that is compatible with your opener.
- Check the manufacturer’s website: Visit the manufacturer’s official website and search for information about universal remote compatibility. Manufacturers often provide resources or compatibility charts that can help you determine if your garage door opener is compatible with a universal remote.
- Contact the manufacturer: If you are unable to find the necessary information through the user manual or the manufacturer’s website, reach out to the manufacturer directly. Contact their customer support helpline or send them an email with your garage door opener’s model number and ask about compatibility with universal remotes.
If you determine that your garage door opener is indeed compatible with a universal remote, you can proceed with the programming process. However, if your opener is not compatible, you may need to explore alternative options. These options may include purchasing a replacement remote specifically designed for your garage door opener or consulting a professional for further assistance.
Keep in mind that not all universal remotes are compatible with every garage door opener model. Even if a universal remote is compatible with your opener brand, certain models or features within that brand may still be incompatible. Therefore, it is important to double-check the compatibility information before purchasing a universal remote to ensure a successful programming process.
Step 2: Clear the Memory of Your Garage Door Opener
Before programming a universal garage door remote, it is crucial to clear the memory of your garage door opener to remove any previously programmed remotes or codes. Clearing the memory ensures a clean slate for programming the universal remote. Follow these steps to clear the memory of your garage door opener:
- Locate the “Learn” or “Program” button: The location of this button may vary depending on the brand and model of your garage door opener. Typically, it can be found on the motor unit of the opener, near the antenna wire. Consult your garage door opener’s user manual if you’re having trouble locating the button.
- Press and hold the “Learn” or “Program” button: Once you’ve located the button, press and hold it down. The LED light on the motor unit will usually turn on or blink, indicating that the opener is in programming mode.
- Wait for the LED light to turn off: Keep holding the button until the LED light on the motor unit turns off. This may take a few seconds. Once the light is off, release the button.
- Verify the memory has been cleared: To confirm that the memory has been cleared successfully, test your existing garage door remote or keypad. If they no longer operate the door, the memory has been successfully cleared.
It’s important to note that clearing the memory will remove all previously programmed remotes and keypads. If you have other functioning remotes or devices that you want to continue using, you will need to reprogram them along with the universal remote in the next step.
Clearing the memory is an essential step in the programming process. Failing to clear the memory may result in conflicts or interference between the existing remotes and the universal remote, leading to programming difficulties or malfunctions.
Once you have successfully cleared the memory of your garage door opener, you can proceed to the next step: programming the universal garage door remote.
Step 3: Program the Universal Garage Door Remote
Now that you have cleared the memory of your garage door opener, it’s time to program the universal garage door remote. Follow these steps to successfully program the remote:
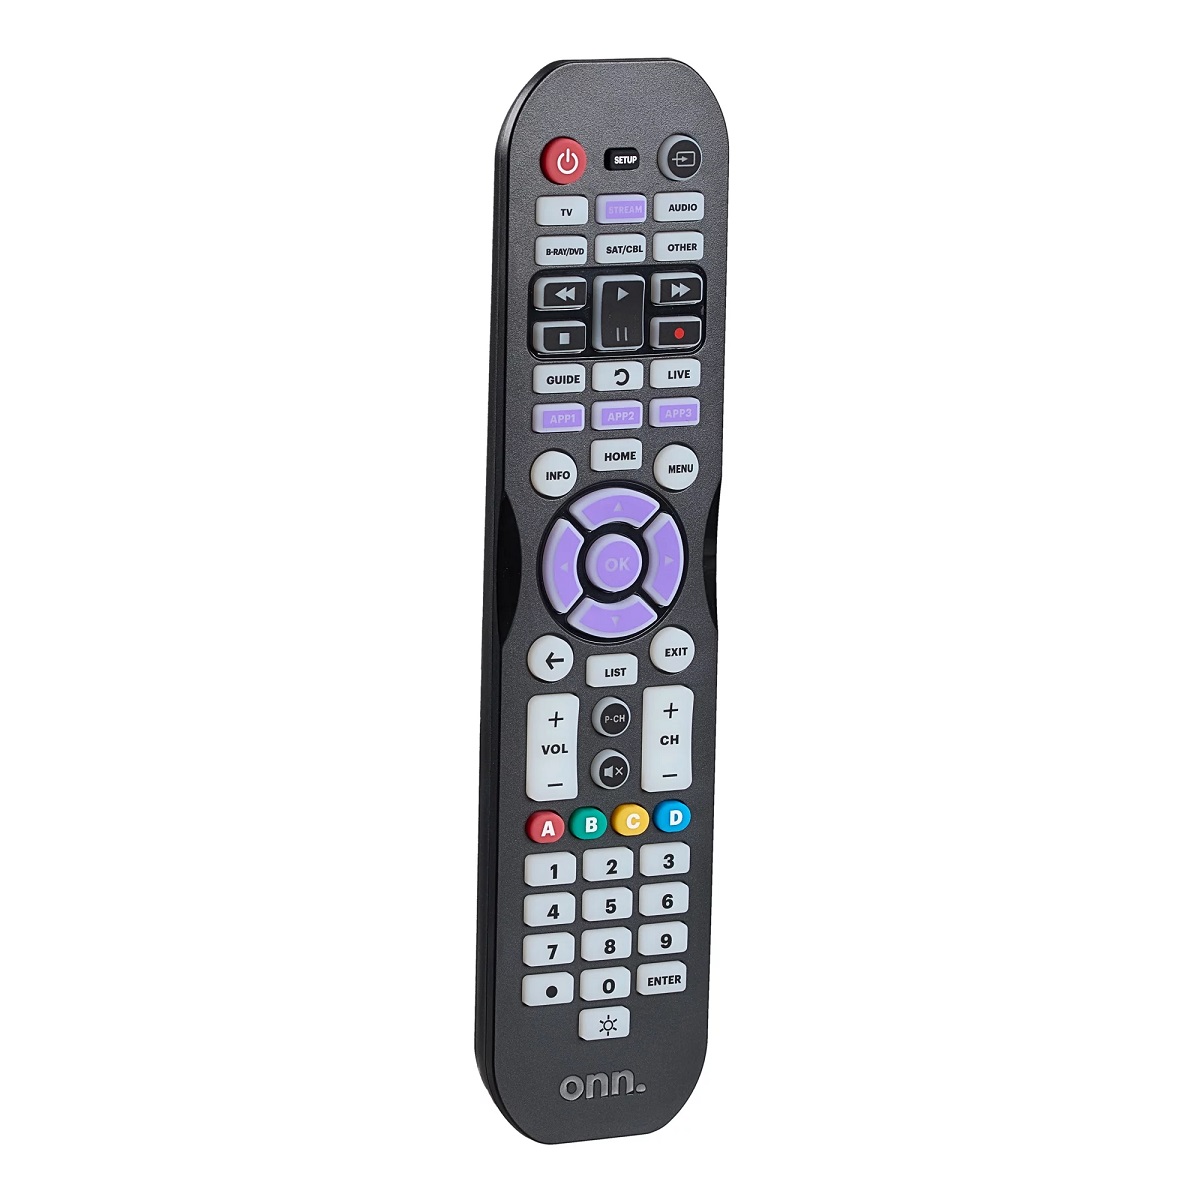
- Locate the programming button on the universal remote: The location of the programming button may vary depending on the brand and model of the universal remote. Consult the remote’s user manual or packaging to find the specific button.
- Press and hold the programming button: Once you’ve located the programming button, press and hold it down. The LED light on the remote will usually turn on or start flashing, indicating that it is in programming mode.
- Enter the programming mode on your garage door opener: This step involves following a specific sequence of actions on your garage door opener to put it into programming mode. The sequence can vary depending on the brand and model of the opener. Common methods include pressing a certain combination of buttons or using the “Learn” or “Program” button. Refer to your garage door opener’s user manual for detailed instructions.
- Program the remote with the opener: Once your garage door opener is in programming mode, you need to quickly press and release the desired button on the universal remote. This action is often accompanied by a light or sound indication on the opener to confirm successful programming.
- Repeat for additional buttons (if applicable): If your universal remote has multiple buttons, repeat the programming process for each button to program them individually. This allows you to control multiple garage doors or functions with a single remote.
- Exit programming mode: After programming all the desired buttons, exit programming mode on both the universal remote and the garage door opener. Follow the specific instructions for your remote and opener to properly exit programming mode.
Once you have completed the programming process, close the battery cover of the universal remote (if applicable) and ensure it is securely in place. The programming should now be complete, and your universal remote should be ready to operate your garage door opener.
If you encounter any issues during the programming process, consult the user manual of your universal remote or contact the manufacturer’s customer support for assistance. They can provide specific troubleshooting steps or recommendations based on the brand and model of your remote.
After programming the universal remote, it’s crucial to test it to ensure its functionality. Let’s move on to the next step: testing the remote.
When programming a universal garage door remote, make sure to follow the specific instructions provided by the manufacturer of the remote and the garage door opener. This may involve locating the “learn” button on the opener and pressing it before programming the remote.
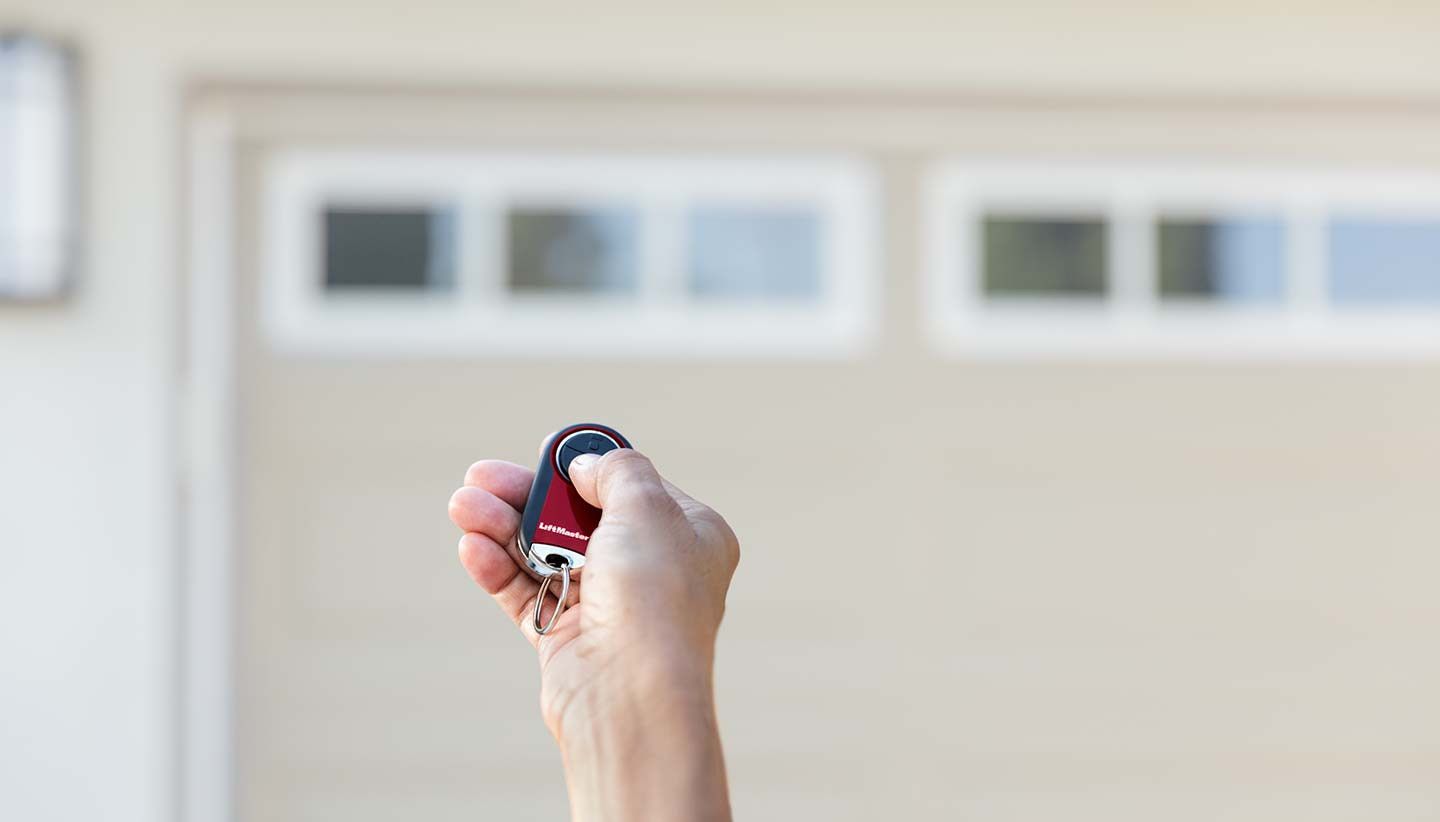
Step 4: Test the Remote to Ensure Successful Programming
After programming the universal garage door remote, it is important to test its functionality to ensure that the programming process was successful. Follow these steps to test the remote:
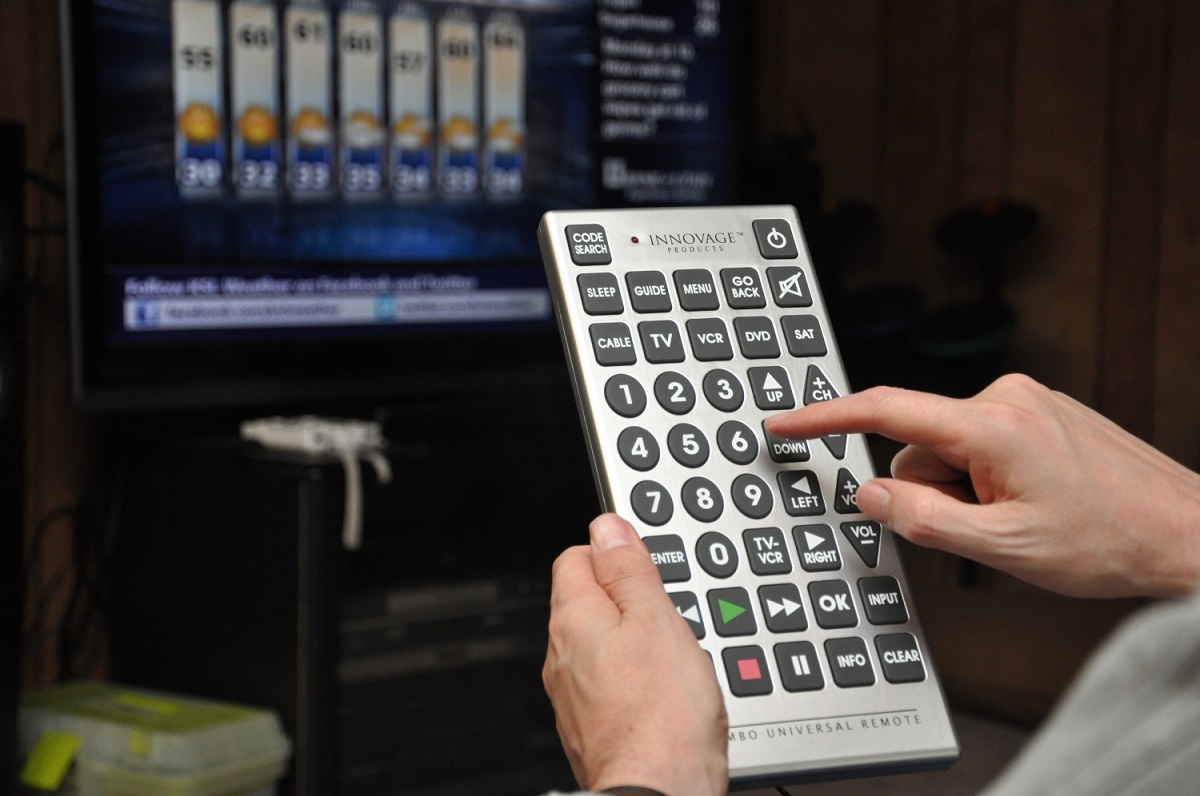
- Stand in close proximity to your garage door opener: To test the remote, stand within a reasonable range of your garage door opener. This will allow you to observe the door’s movement and hear any noises during testing.
- Press the programmed button on the universal remote: Select the button on the universal remote that you programmed to operate your garage door opener. Press and hold the button for a few seconds.
- Observe the behavior of your garage door opener: If the programming was successful, the garage door should start to move. It should open or close depending on the current position of the door. Pay attention to any strange noises or unexpected behavior during this test.
- Release the button and perform additional tests: After opening or closing the door, release the button on the remote. Repeat the process a few times, testing different buttons if available, to ensure consistent and reliable operation of the universal remote.
- Verify compatibility with additional garage doors or functions (if applicable): If your universal remote has multiple buttons and you programmed them for controlling multiple garage doors or functions, repeat the testing process for each programmed button.
If the remote successfully operates the garage door opener without any issues, congratulations! The programming was a success. However, if you encounter any problems during testing, or if the door does not respond as expected, there are a few troubleshooting steps you can try. Let’s move on to the next step: troubleshooting common issues.
Please note that the testing process may vary depending on the brand and model of your garage door opener and universal remote. It’s crucial to refer to the user manuals of both devices for specific instructions and recommendations.
Step 5: Troubleshooting Common Issues
While programming a universal garage door remote is generally a straightforward process, there may be instances when you encounter issues or face challenges. Here are some common problems and troubleshooting steps:
- Remote not working after programming: If the remote does not operate the garage door opener after programming, ensure that you followed the programming steps correctly. Double-check that the remote is compatible with your garage door opener and that you cleared the memory before programming. If the issue persists, try reprogramming the remote using the same steps as before.
- Interference or range issues: If the remote’s range is limited or it frequently fails to operate the garage door from a certain distance, interference may be the culprit. Make sure there are no obstructions, such as walls or metal objects, between the remote and the garage door opener. If interference persists, consider replacing the remote with a higher-quality model that offers better range.
- Buttons not working as intended: If certain buttons on the remote do not perform the desired actions, check the programming. Verify that you correctly programmed each button for the specific garage door or function you intended. If needed, repeat the programming process for the affected buttons.
- Battery issues: If the remote’s battery is low or dead, it may fail to operate the garage door opener. Replace the battery with a fresh one and retest the remote. Ensure that the battery is properly inserted and that the battery contacts are clean and free of corrosion.
- Compatibility issues: If the universal remote does not work with your garage door opener as expected, verify compatibility once again. Refer to the user manuals of both the remote and the opener to confirm compatibility. If they are indeed compatible, contact the manufacturer’s customer support for further assistance and troubleshooting.
- Seek professional assistance: If you have tried all troubleshooting steps and the remote still does not work, or if there are additional issues that you cannot resolve on your own, it may be necessary to seek professional assistance. Contact a reputable garage door technician or the manufacturer’s authorized service center for expert help.
Remember, troubleshooting steps may vary depending on the specific brand and model of your garage door opener and universal remote. Always consult the user manuals and resources provided by the manufacturer for accurate troubleshooting guidance.
By following these troubleshooting steps, you can resolve common issues and ensure the optimal performance of your universal garage door remote.
Conclusion
Programming a universal garage door remote can greatly improve the convenience and accessibility of operating your garage door. By following the steps outlined in this article, you can successfully program a universal remote and enjoy seamless control over your garage door opener.
Remember to always verify the compatibility of your garage door opener with the universal remote before making a purchase. Clearing the memory of your opener is an essential step to ensure a clean slate for programming. Following the programming process and testing the remote will confirm if the programming was successful.
If you encounter any issues during the programming process, consult the user manuals of your garage door opener and universal remote for specific instructions and troubleshooting steps. Additionally, seeking professional assistance may be necessary in certain situations.
With a properly programmed universal garage door remote, you can enjoy the convenience of easy access to your garage without the need for multiple remotes or keypads. It streamlines the operation of your garage door and enhances overall security.
Remember to regularly check the battery of your remote to ensure its reliable functionality. If you ever need to reprogram the remote or add another device, refer back to these steps for guidance.
In conclusion, with the right information and guidance, programming a universal garage door remote can be a straightforward process. By following the steps outlined in this article and troubleshooting common issues, you’ll soon have a fully functional remote that provides convenient control over your garage door opener.
Frequently Asked Questions about How To Program A Universal Garage Door Remote
Was this page helpful?
At Storables.com, we guarantee accurate and reliable information. Our content, validated by Expert Board Contributors, is crafted following stringent Editorial Policies. We're committed to providing you with well-researched, expert-backed insights for all your informational needs.

0 thoughts on “How To Program A Universal Garage Door Remote”