
Articles
How To Put Water In Rowenta Steamer
Modified: February 9, 2024
Learn how to properly fill water in your Rowenta steamer with our informative articles. Get step-by-step instructions and expert tips for optimal performance.
(Many of the links in this article redirect to a specific reviewed product. Your purchase of these products through affiliate links helps to generate commission for Storables.com, at no extra cost. Learn more)
Introduction
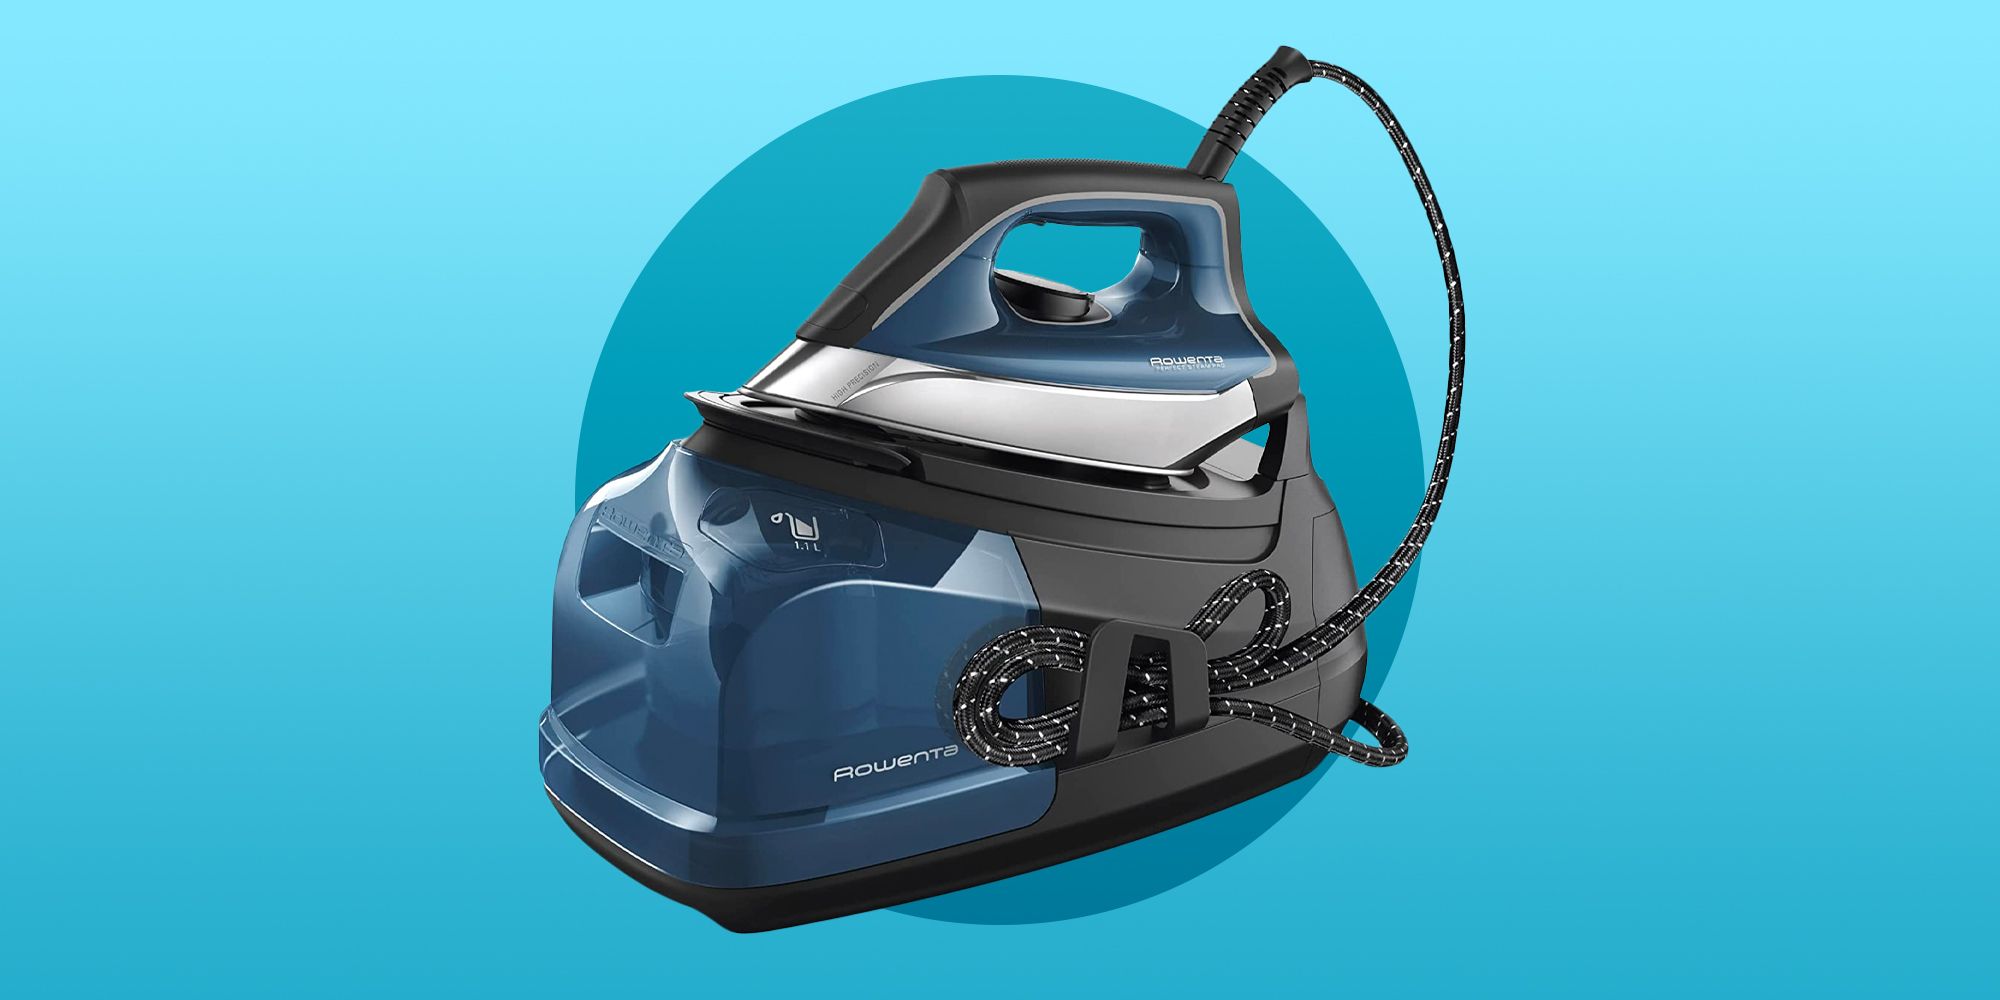
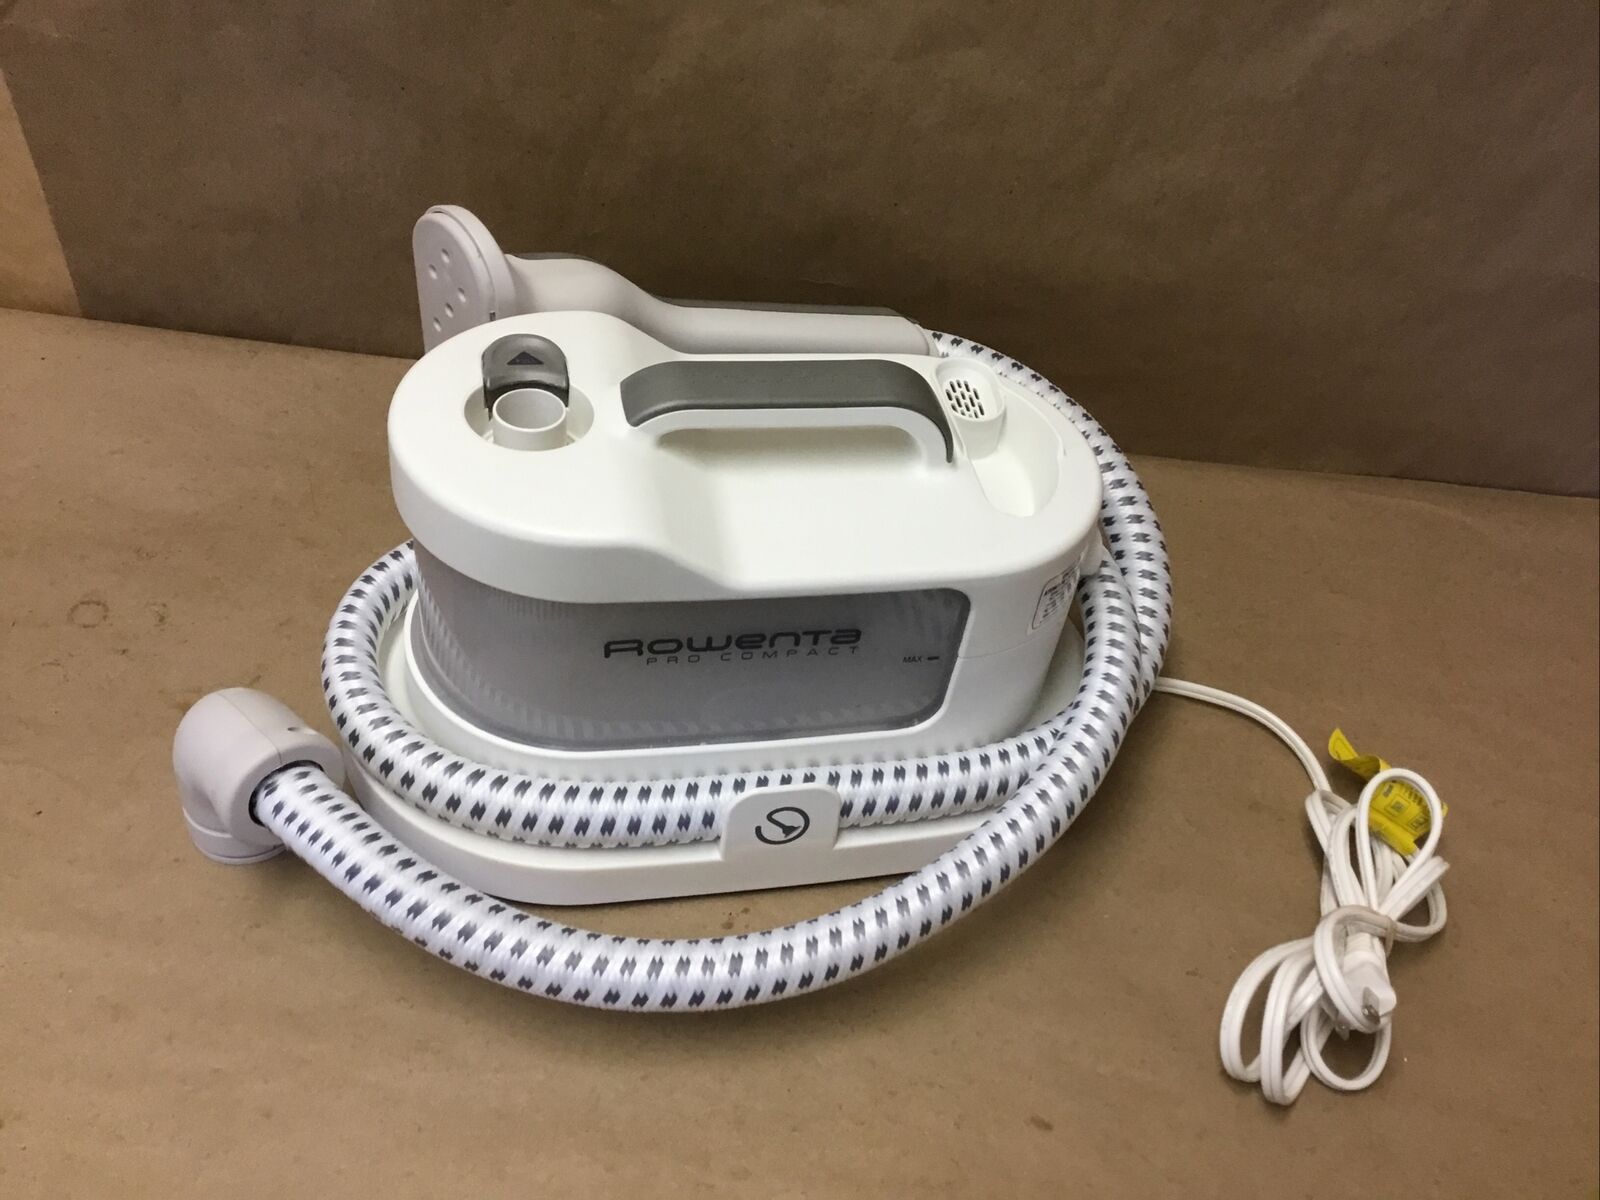
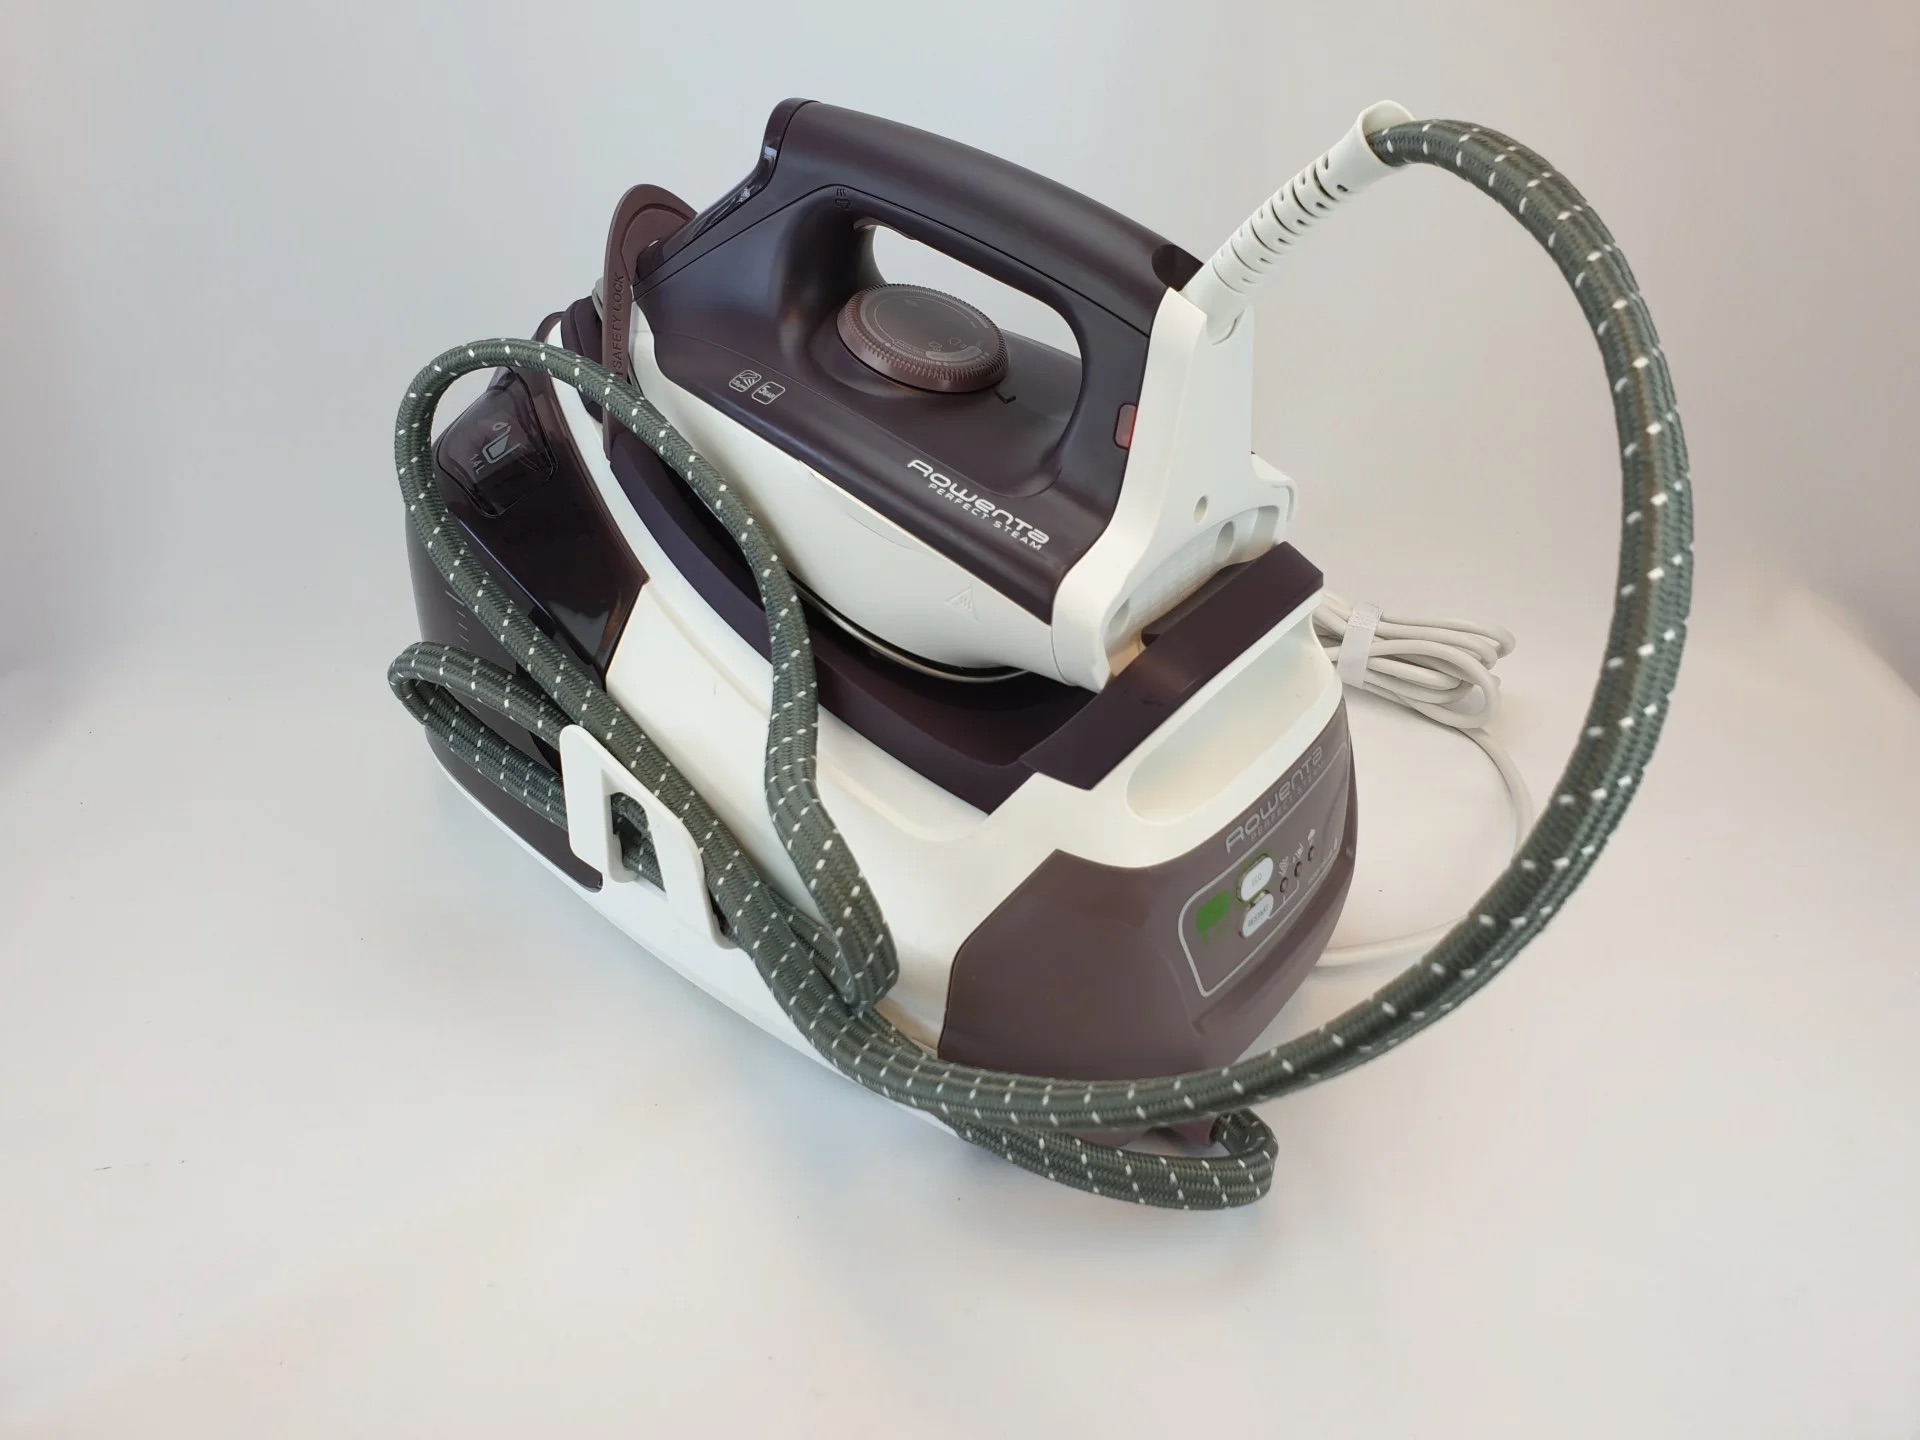
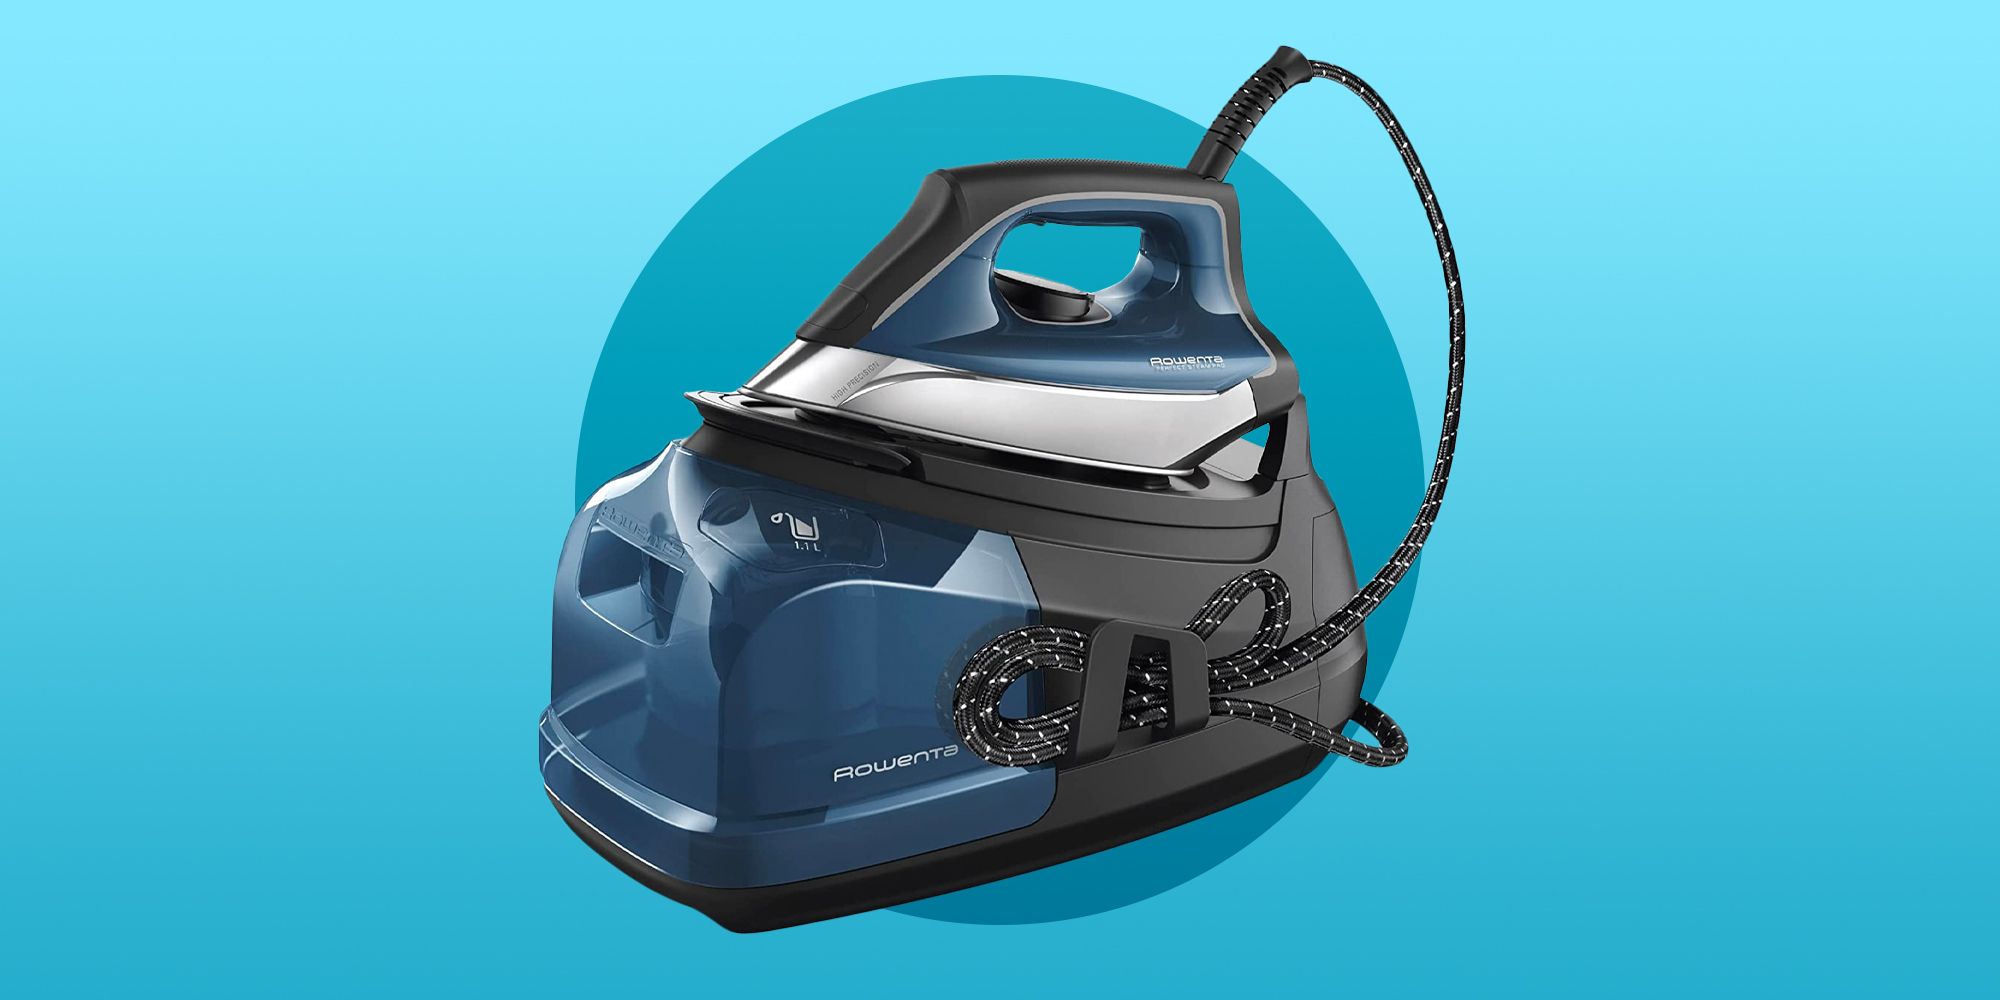
Welcome to this comprehensive guide on how to put water in a Rowenta steamer. Rowenta steamers are popular household appliances that are designed to remove wrinkles and freshen garments, upholstery, and other fabrics. One of the key steps in using a Rowenta steamer is properly filling the water tank to ensure optimal steam production.
In this article, we will take you through the step-by-step process of filling the water tank, connecting it to the steamer, and using the steamer effectively. We will also provide some important safety precautions and troubleshooting tips to help you get the best results from your Rowenta steamer.
Before we dive into the details, it’s important to note that following the manufacturer’s instructions is essential when using any appliance, including a Rowenta steamer. Always consult the user manual provided with your specific model for any specific instructions or precautions that may differ from the general guidelines mentioned here.
With that said, let’s get started with the safety precautions to keep in mind before filling the water tank of your Rowenta steamer.
Key Takeaways:
- Properly filling the water tank of your Rowenta steamer is crucial for safe and effective steaming. Follow safety precautions, check the tank, fill it correctly, and connect it to achieve professional-like results at home.
- Troubleshooting tips for common issues such as insufficient steam and water leakage can help you address problems with your Rowenta steamer. Following the manufacturer’s instructions and regular maintenance will ensure optimal performance and longevity.
Read more: How To Use Rowenta Steamer
Safety Precautions
Before you begin filling the water tank of your Rowenta steamer, it’s important to take certain safety precautions to ensure your well-being and prevent any accidents.
1. Unplug the steamer: Always make sure to unplug the steamer from the power source before starting any maintenance or filling tasks. This will protect you from any potential electrical shocks.
2. Let the steamer cool down: Give your Rowenta steamer some time to cool down if you have been using it recently. Handling a hot appliance can cause burns or other injuries.
3. Use clean, filtered water: Avoid using water that contains impurities or minerals, as they can clog the steamer or leave residue on your fabrics. It is best to use distilled or filtered water to ensure a long lifespan of your steamer.
4. Check for any damage: Before filling the water tank, inspect the steamer for any visible damage or leaks. If you notice any issues, do not proceed with filling the tank and contact Rowenta customer service for assistance.
5. Never overfill the water tank: Be mindful not to overfill the water tank beyond the maximum indicated level. Overfilling can lead to water spillage and damage the steamer or cause electrical hazards.
6. Keep the steamer upright: Ensure that the steamer is placed on a stable, flat surface and kept in an upright position during the filling process. This will help prevent accidental spills or leaks.
7. Allow the steamer to cool before refilling: If you need to refill the water tank while using the steamer, wait for the appliance to cool down before adding more water. Adding water to a hot steamer can cause steam bursts or other accidents.
By following these safety precautions, you can minimize the risk of accidents and ensure a safe and effective experience when putting water in your Rowenta steamer. Now, let’s move on to the next step of checking the water tank.
Checking the Water Tank
Before filling the water tank of your Rowenta steamer, it is important to check the tank for any dirt, debris, or mineral build-up that may affect the performance of the appliance. Follow these steps to ensure a clean and well-maintained water tank.
1. Turn off and unplug the steamer: Ensure that the steamer is turned off and unplugged from the power source before proceeding. This will prevent any potential accidents.
2. Allow the steamer to cool down: If you have been using the steamer, give it some time to cool down before handling it to avoid any burns.
3. Remove the water tank: Refer to your Rowenta steamer’s user manual to locate and remove the water tank. The tank is usually located at the back or side of the steamer and can be detached by gently sliding it out.
4. Inspect the tank for debris: Check the inside of the water tank for any dirt, debris, or mineral deposits that may have accumulated over time. If you notice any build-up, gently clean it with a soft cloth or sponge and mild detergent. Rinse the tank thoroughly with clean water to remove any residue.
5. Check the tank’s condition: While cleaning the tank, also check for any cracks, leaks, or damage. If you notice any issues, it is advisable to contact Rowenta customer service for further assistance and avoid using a damaged tank.
6. Dry the tank: After cleaning and inspecting the tank, make sure it is completely dry before reattaching it to the steamer. Moisture in the tank can affect the steaming process and lead to mold or bacteria growth.
Once you have checked and cleaned the water tank, you are ready to fill it with water. In the next section, we will guide you through the process of filling the tank correctly to ensure optimal steam production.
Filling the Water Tank
Now that you have checked the water tank of your Rowenta steamer and ensured that it is clean and in good condition, let’s proceed with filling the tank with water. Follow these steps to fill the water tank properly:
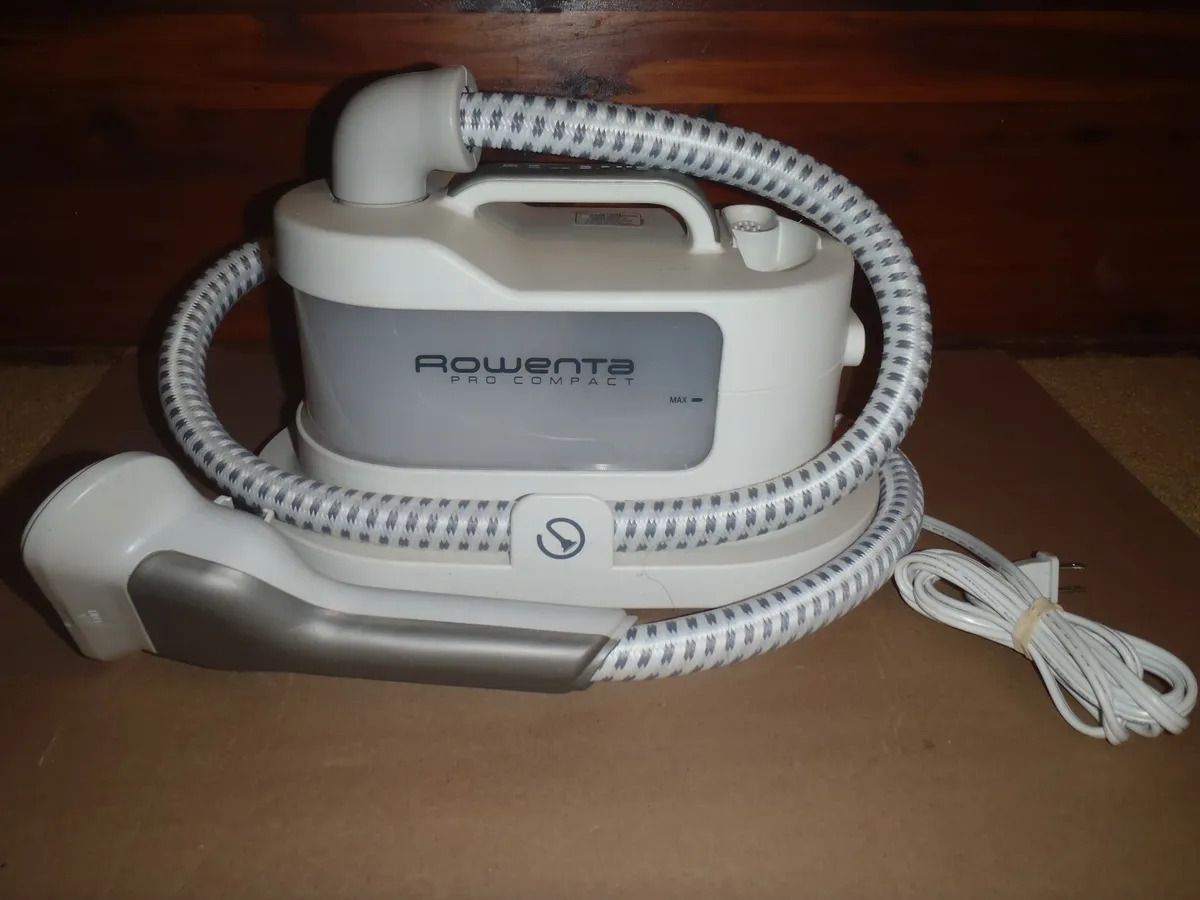
1. Locate the water tank: Depending on the model of your Rowenta steamer, the water tank can be found either at the back or the side of the appliance. Refer to the user manual to locate the specific position of the tank.
2. Remove the water tank from the steamer: If the tank is not already detached, gently slide it out by following the instructions provided in the user manual. Ensure that the steamer is turned off and unplugged before removing the tank.
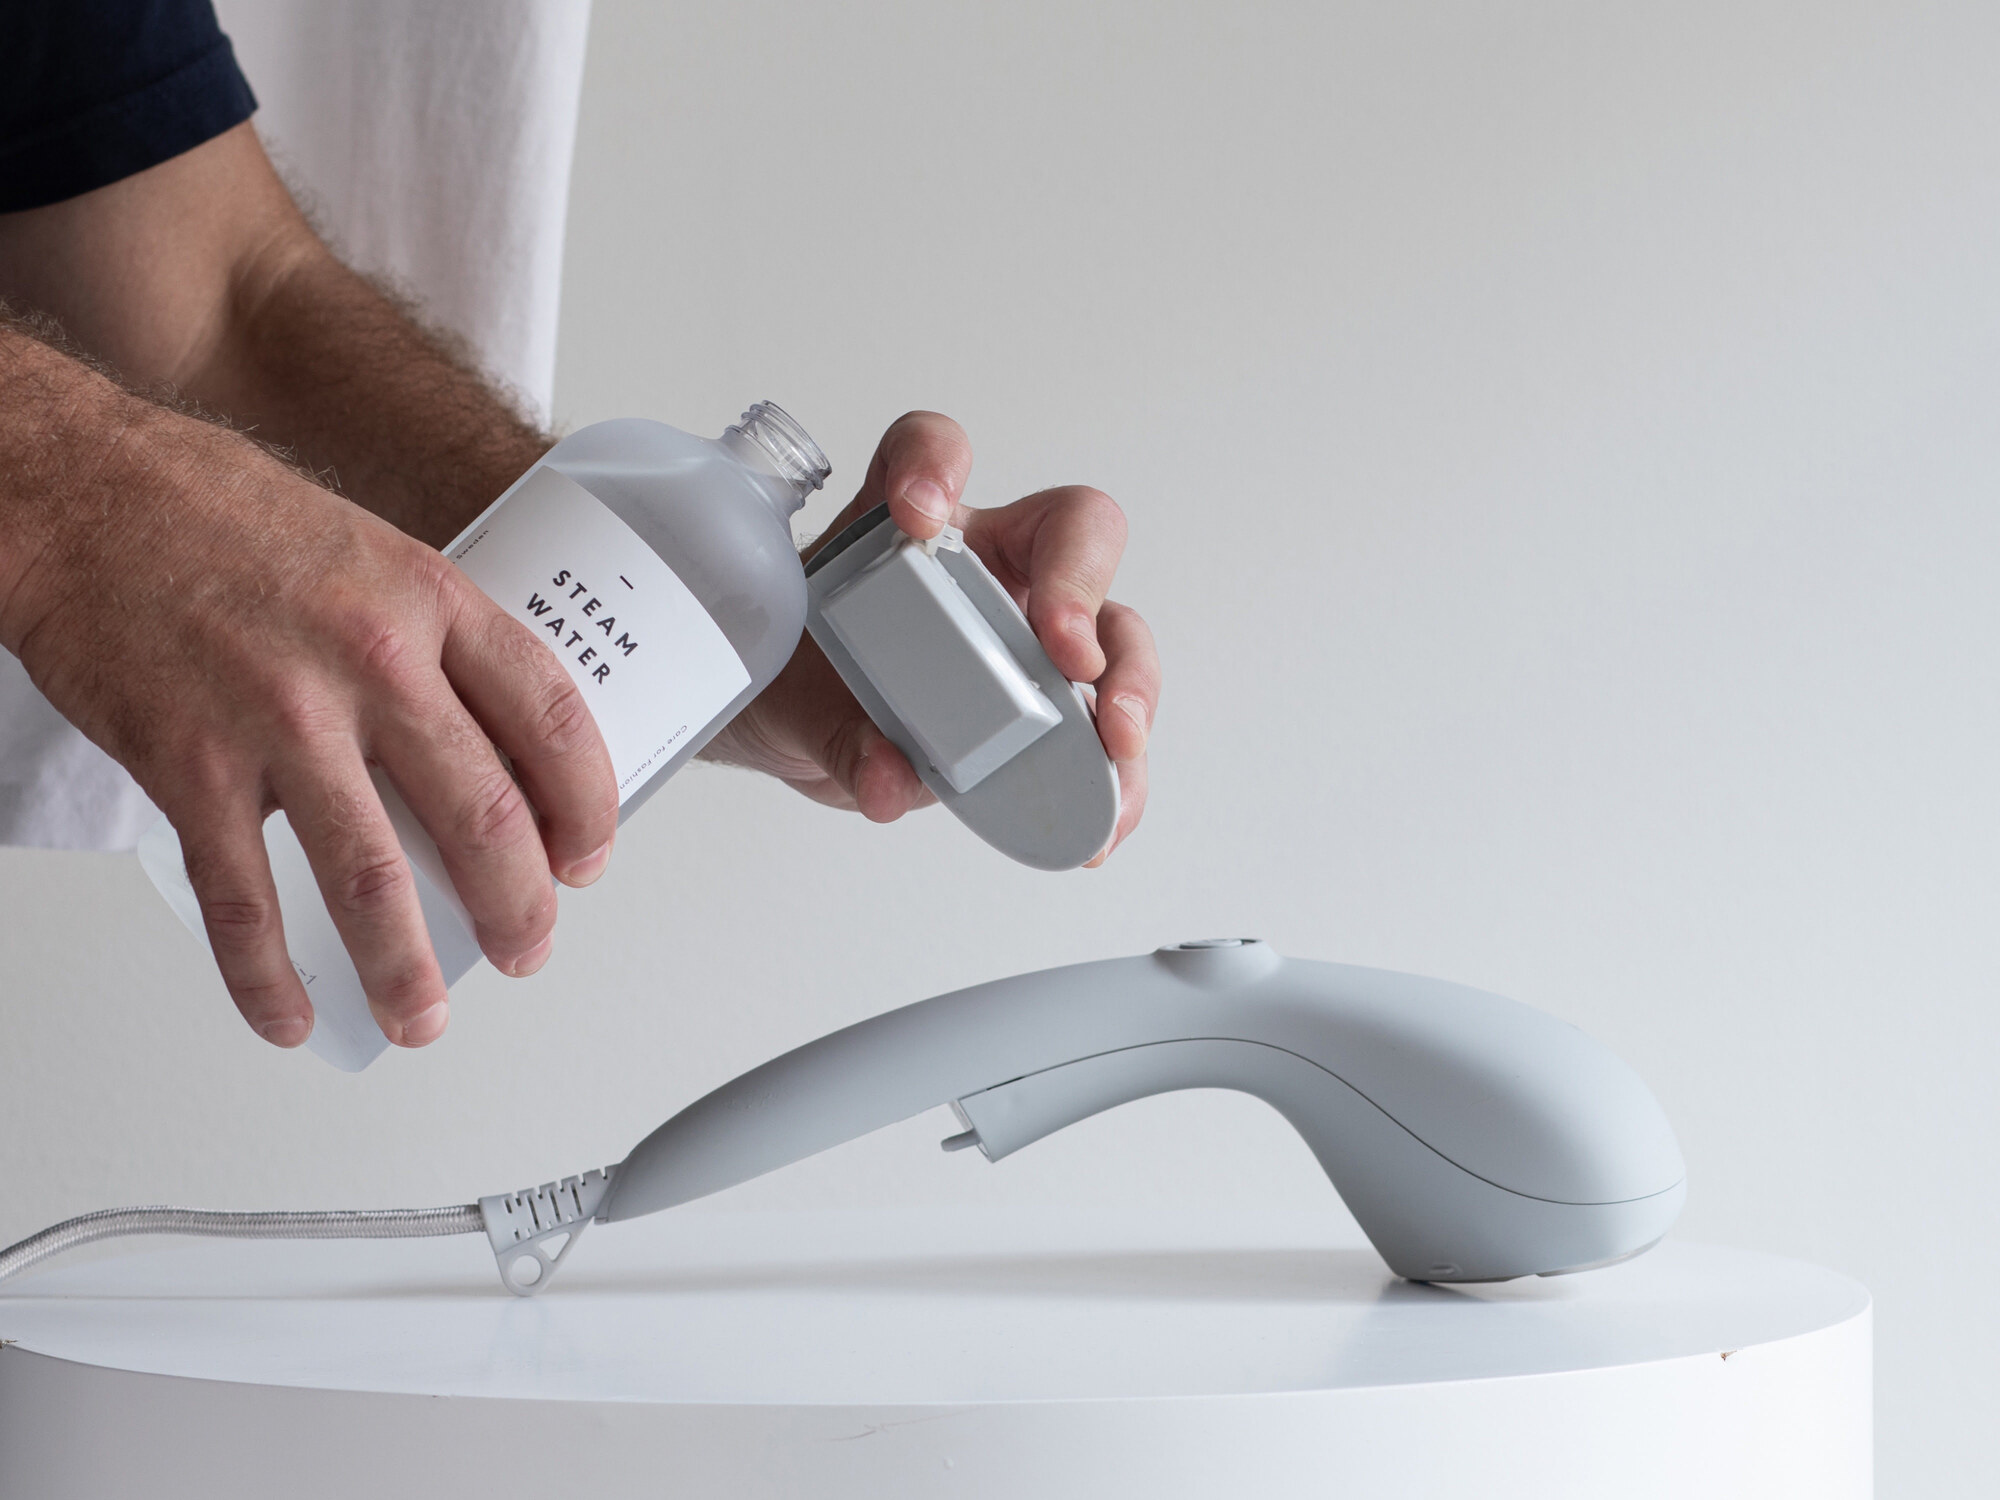
3. Open the water tank cap: Most Rowenta steamers have a cap on the top of the water tank. Twist or unscrew the cap to open it and expose the filling opening.
4. Fill the tank with water: Using a container with a narrow spout or a funnel, pour clean, filtered water into the water tank. Be cautious not to overfill the tank and follow the maximum fill level indicated on the tank or in the user manual. Overfilling may cause water to overflow during the steaming process.
5. Close the water tank cap: Once the tank is filled with water, securely tighten or close the cap to prevent any leaks or spills.
6. Check for any water leakage: Before reattaching the water tank to the steamer, carefully inspect the tank for any signs of water leakage. This is important to avoid any damage to the steamer or its components. If you notice any leakage, make sure the cap is tightly sealed or contact Rowenta customer service for assistance.
7. Reattach the water tank to the steamer: Slide the filled water tank back into its original position on the steamer until it clicks or locks securely. Ensure that the tank is aligned properly and fits snugly in place.
Congratulations! You have successfully filled the water tank of your Rowenta steamer. In the next section, we will guide you through the process of connecting the water tank to the steamer.
Make sure to use distilled water in your Rowenta steamer to prevent mineral buildup and prolong the life of the appliance. Fill the water tank to the recommended level and avoid overfilling to prevent leaks.
Connecting the Water Tank
Now that you have filled the water tank of your Rowenta steamer, the next step is to connect the tank back to the steamer. Properly connecting the water tank ensures a secure fit, allowing for efficient steam production. Follow these steps to connect the water tank to your Rowenta steamer:
1. Ensure the steamer is turned off: Before connecting the water tank, make sure that the steamer is turned off and unplugged from the power source. This will prevent any accidental activation or electrical shocks.
2. Locate the water tank slot: Depending on the model of your Rowenta steamer, the water tank slot can usually be found at the back or the side of the appliance. It is designed to securely hold the water tank in place during operation.
3. Align the water tank: Take the filled water tank and align it with the slot on the steamer. Ensure that the tank is positioned correctly and fits snugly into the slot.
4. Slide the water tank in: Gently slide the water tank into the designated slot until you hear or feel a click, indicating that the tank is securely attached to the steamer. Check for any movement or looseness to confirm a proper fit.
5. Give the tank a gentle shake: After connecting the water tank, give it a gentle shake to ensure that it is stable and properly aligned. If you notice any rattling or movement, remove the tank and repeat the previous steps to ensure a secure connection.
6. Check for any water leakage: After connecting the water tank, visually inspect it for any signs of water leakage. This is crucial to avoid any damage to the steamer or its components. If you notice any leaks, make sure the tank is tightly connected or contact Rowenta customer service for further assistance.
Once the water tank is securely connected to your Rowenta steamer, you are ready to move on to the next step – the steaming process. In the following section, we will guide you through the steps to effectively use your Rowenta steamer to remove wrinkles and freshen garments.
Read more: How To Clean A Rowenta Steamer
Steaming Process
Now that you have filled and connected the water tank of your Rowenta steamer, it’s time to start using it to remove wrinkles and freshen your garments. Follow these simple steps to effectively steam your clothes and fabrics:
1. Prepare the steamer: Ensure that the steamer is turned on and plugged into a power source. Refer to your Rowenta steamer’s user manual for specific instructions on how to power on the appliance.
2. Allow the steamer to heat up: Give the steamer a few minutes to heat up and generate steam. This may vary depending on the model of your Rowenta steamer. Most models have an indicator light that will turn on or change color when the steamer is ready to use.
3. Select the appropriate steam setting: Depending on the type of fabric you are steaming, adjust the steam setting on your Rowenta steamer. Delicate fabrics may require a lower steam setting, while heavier fabrics may need a higher steam setting. Refer to the user manual for guidance on selecting the right setting.
4. Hold the steamer upright: Hold the steamer in an upright position, allowing the steam to flow freely. Avoid tilting the steamer too much, as it may cause water to leak from the tank or steam to be blocked.
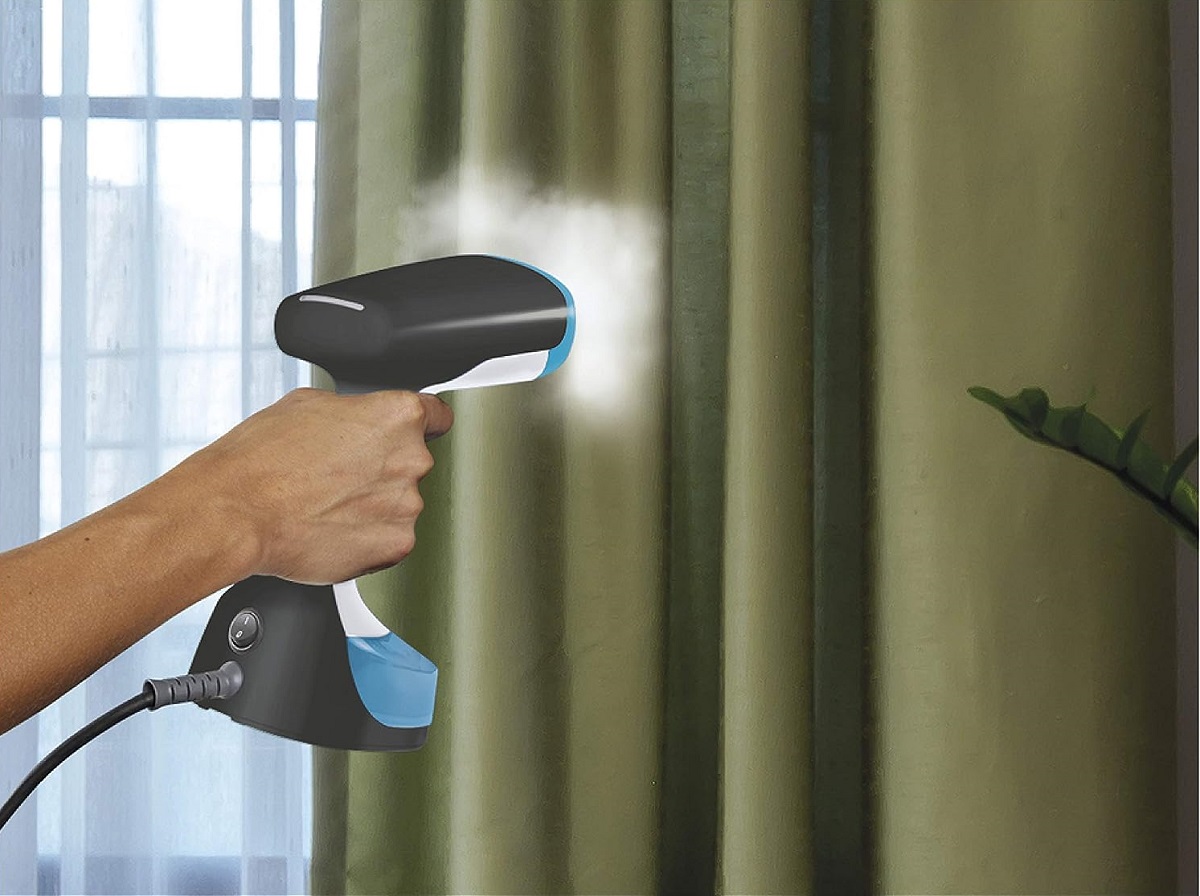
5. Start steaming: Place the garment or fabric you want to steam on a flat surface, such as a hanger or ironing board. Gently move the steamer wand or head over the fabric, keeping a distance of a few inches. Slowly move the steamer in an up-and-down or side-to-side motion to evenly distribute the steam.
6. Focus on stubborn wrinkles: For tougher wrinkles or creases, hold the steamer wand closer to the fabric and focus the steam directly on the problem area. Slowly move the steamer in a circular motion or use short bursts of steam to gradually relax the fabric and remove the wrinkles.
7. Keep the fabric taut: To achieve the best results, gently pull the fabric taut with one hand while steaming with the other. This helps to smooth out wrinkles and allows the steam to penetrate the fabric more effectively.
8. Steam all sides of the garment: Make sure to steam all sides of the garment, including the front, back, and sleeves. Pay extra attention to areas with deep wrinkles or folds.
9. Hang or lay the fabric to dry: After steaming, hang the fabric on a hanger or lay it flat to dry. Avoid touching or manipulating the fabric immediately after steaming, as it may still be damp.
Remember to always follow the manufacturer’s instructions and recommendations for the specific model of your Rowenta steamer. Different models may have additional features or instructions that can enhance your steaming experience.
In the next section, we will provide some troubleshooting tips to help you address common issues that may arise while using your Rowenta steamer.
Troubleshooting Tips
While using your Rowenta steamer, you may encounter some common issues that can affect its performance. Here are some troubleshooting tips to help you address these problems and ensure optimal steaming results:
1. Insufficient steam: If you notice that your steamer is producing less steam than usual, first check the water level in the tank. Make sure the tank is adequately filled, but avoid overfilling it. If the water level is sufficient, the steam vents or nozzles may be clogged. Clean the vents or nozzles according to the instructions in the user manual to remove any obstructions.
2. Water leakage: If you experience water leakage from the steam vents or tank area, check the water tank cap to ensure it is securely tightened. If the leakage persists, inspect the tank for any cracks or damage. If a damaged tank is the issue, contact Rowenta customer service for further assistance.
3. No steam or weak steam: If your steamer is not producing any steam or the steam is weak, start by checking the power connection. Ensure that the steamer is properly plugged in and that the power source is functioning. Additionally, check the steam settings on the steamer to ensure they are correctly adjusted for the fabric you are steaming.
4. Uneven steam distribution: If you notice that the steam is not evenly distributed from the steamer wand or head, first check if the steam vents or nozzles are blocked. Clean them according to the user manual instructions. Additionally, make sure you are moving the steamer slowly and steadily over the fabric, maintaining a consistent distance.
5. Excessive dripping: Excessive water dripping from the steamer wand or head can be a sign of overfilling the water tank or tilting the steamer too much. Ensure the water level in the tank is within the indicated maximum fill level and hold the steamer in an upright position while using it. Avoid over-tilting the steamer, as this can cause water to leak from the tank.
If you have followed these troubleshooting tips and are still experiencing issues with your Rowenta steamer, it is recommended to consult the user manual or contact Rowenta customer service for further assistance. They will be able to provide you with specific solutions based on your steamer model and the nature of the problem.
In the final section, we will conclude this guide with a summary and some closing thoughts.
Conclusion
Congratulations! You have successfully learned how to put water in a Rowenta steamer and use it effectively to remove wrinkles and freshen your garments. By following the safety precautions, checking the water tank, filling it correctly, connecting it to the steamer, and following the steaming process, you can achieve professional-like results in the comfort of your own home.
Remember to always consult the user manual that comes with your Rowenta steamer for specific instructions and recommendations. Each model may have unique features and guidelines that can enhance your steaming experience.
In this comprehensive guide, we covered the importance of safety precautions before filling the water tank, how to check the water tank for debris and damage, the step-by-step process of filling the water tank, connecting it to the steamer, and effectively steaming your garments. We also provided troubleshooting tips to address common issues you may encounter while using your Rowenta steamer.
It is crucial to maintain and care for your Rowenta steamer properly to ensure its longevity and optimal performance. Regularly clean the water tank, check for any damage, and follow the manufacturer’s instructions for maintenance and storage.
We hope that this guide has been informative and helpful in guiding you through the process of putting water in your Rowenta steamer. Enjoy the convenience of wrinkle-free clothes and freshened fabrics with the power of steam!
As always, if you have any specific concerns or issues, it is recommended to contact Rowenta customer service for personalized assistance. Thank you for reading, and happy steaming!
Frequently Asked Questions about How To Put Water In Rowenta Steamer
Was this page helpful?
At Storables.com, we guarantee accurate and reliable information. Our content, validated by Expert Board Contributors, is crafted following stringent Editorial Policies. We're committed to providing you with well-researched, expert-backed insights for all your informational needs.

0 thoughts on “How To Put Water In Rowenta Steamer”