Articles
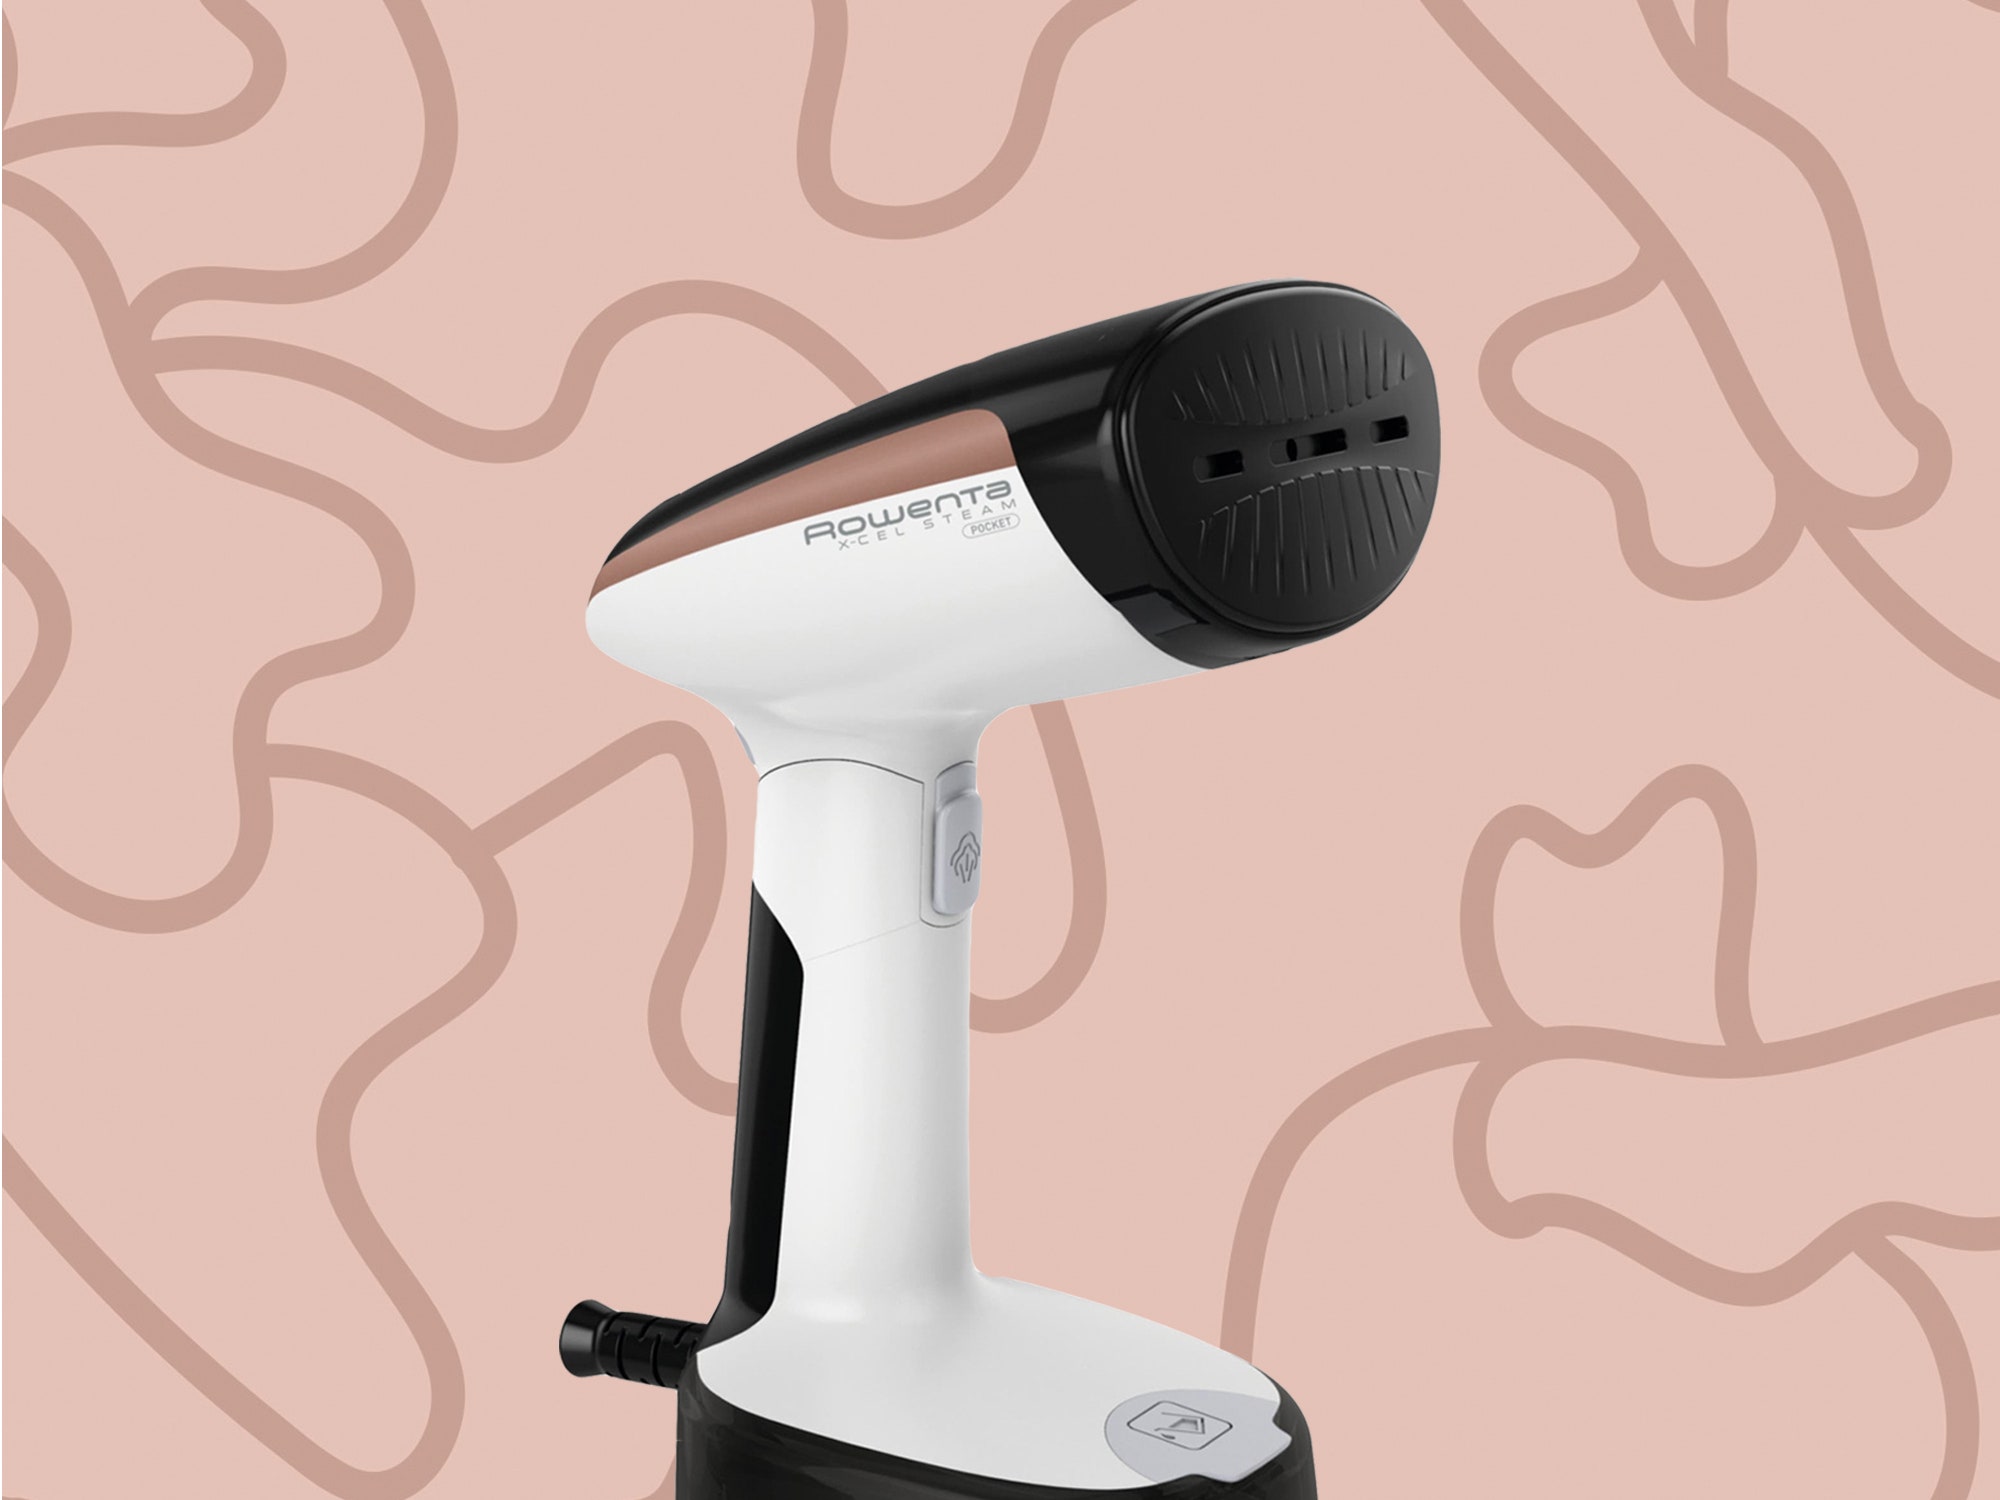
How To Use Rowenta Steamer
Modified: September 1, 2024
Discover the best articles on how to use a Rowenta steamer. Find step-by-step guides, tips, and tricks to achieve wrinkle-free clothes effortlessly.
(Many of the links in this article redirect to a specific reviewed product. Your purchase of these products through affiliate links helps to generate commission for Storables.com, at no extra cost. Learn more)
Introduction
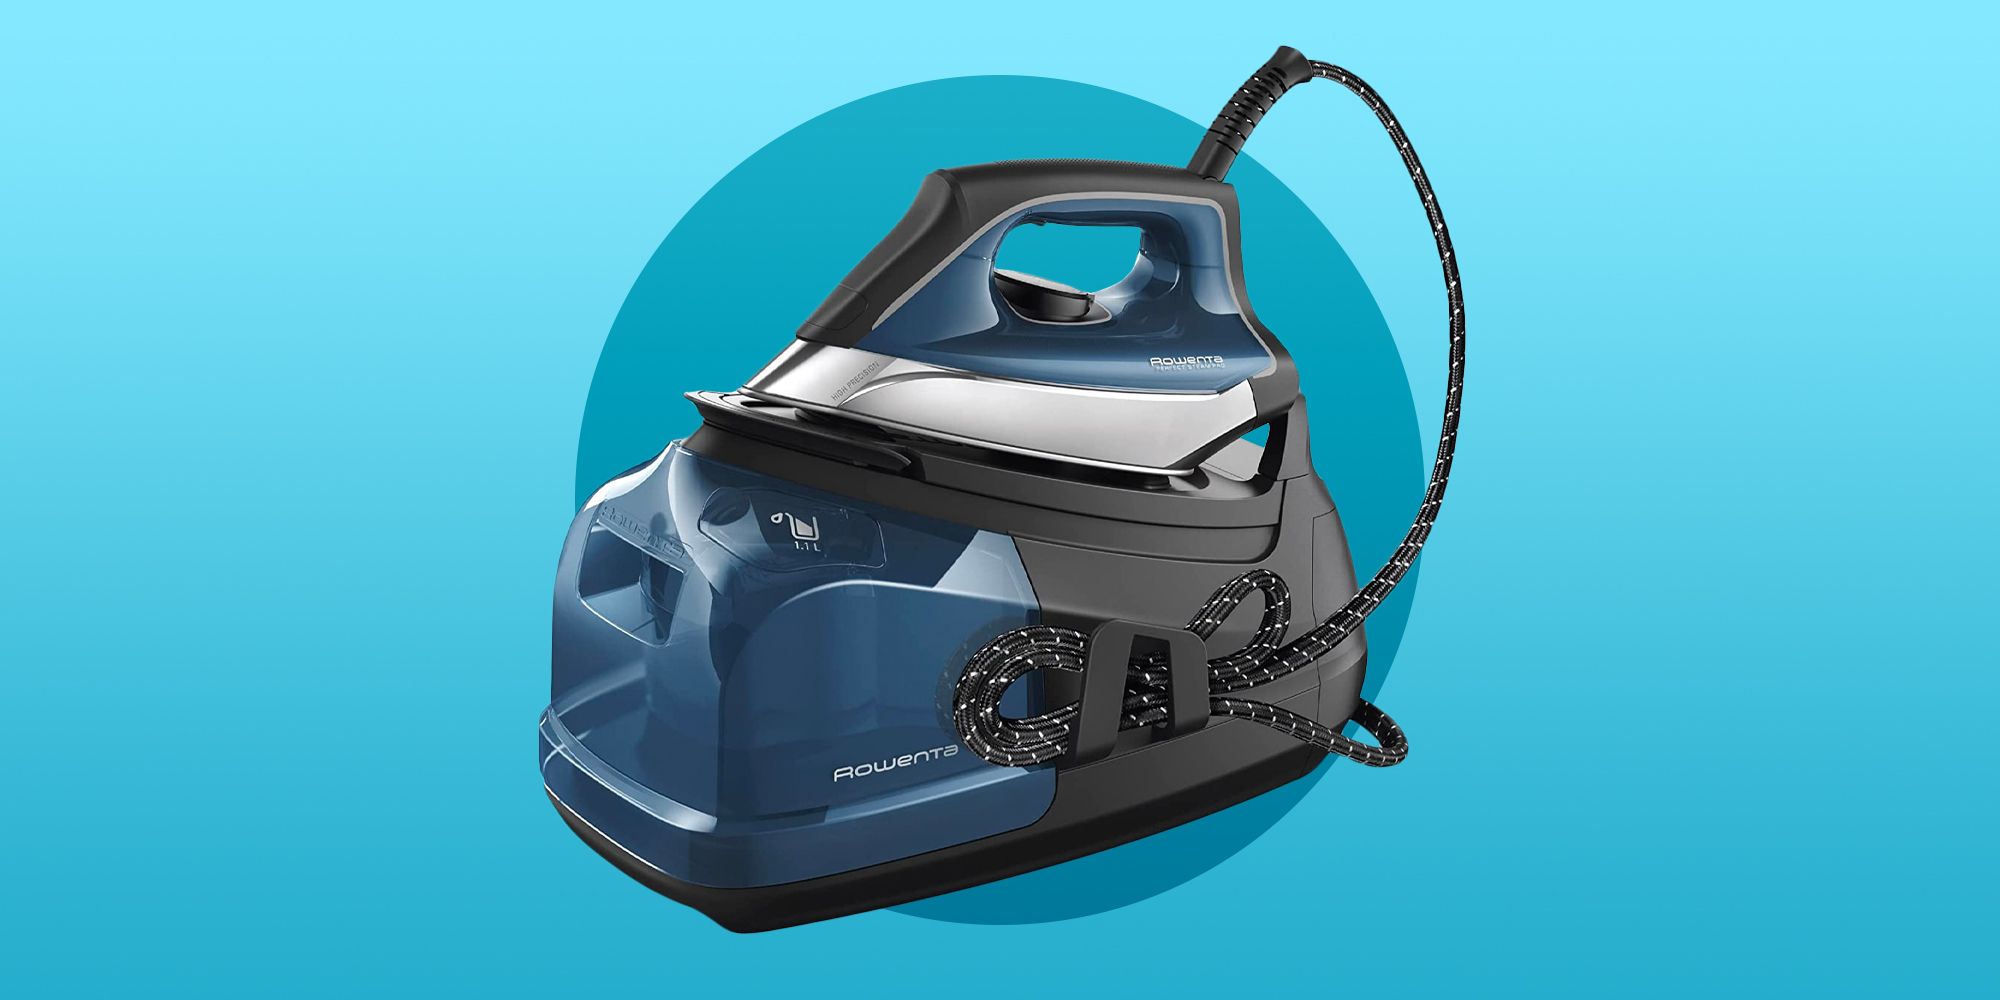
Welcome to this comprehensive guide on how to use the Rowenta steamer. If you’ve ever struggled with stubborn wrinkles on your clothing or wished for an easier way to achieve professional-looking results, then a quality garment steamer like the Rowenta steamer is a game-changer. The Rowenta steamer is a versatile and efficient appliance that makes steaming your clothes quick and effortless.
In this article, we will walk you through each step of the process, from familiarizing yourself with the Rowenta steamer to caring for it properly. Whether you’re a beginner or an experienced user, this guide will provide you with all the information you need to make the most out of your Rowenta steamer and ensure that your clothes are always wrinkle-free and looking their best.
Before we dive into the specifics of using the Rowenta steamer, it’s important to understand why steaming is an excellent alternative to traditional ironing. Unlike ironing, which involves direct contact between a heated iron and the fabric, steaming utilizes hot steam to relax and remove wrinkles from the garments. Steaming is gentler on fabrics, making it suitable for delicate materials and clothing pieces with intricate designs or embellishments.
Furthermore, steamers are much quicker and easier to use compared to irons. They save you time by eliminating the need for an ironing board and the hassle of setting up and adjusting temperature settings. With a Rowenta steamer, you can achieve wrinkle-free results in a fraction of the time it would take with an iron.
Now, let’s move on to the first step in using the Rowenta steamer – familiarizing yourself with the appliance.
Key Takeaways:
- Effortlessly achieve wrinkle-free clothing with the versatile Rowenta steamer. Say goodbye to traditional ironing hassles and hello to professional results in a fraction of the time.
- Proper care and maintenance of your Rowenta steamer are essential for longevity and optimal performance. Follow the manufacturer’s recommendations and enjoy years of efficient steaming.
Read more: How To Clean A Rowenta Steamer
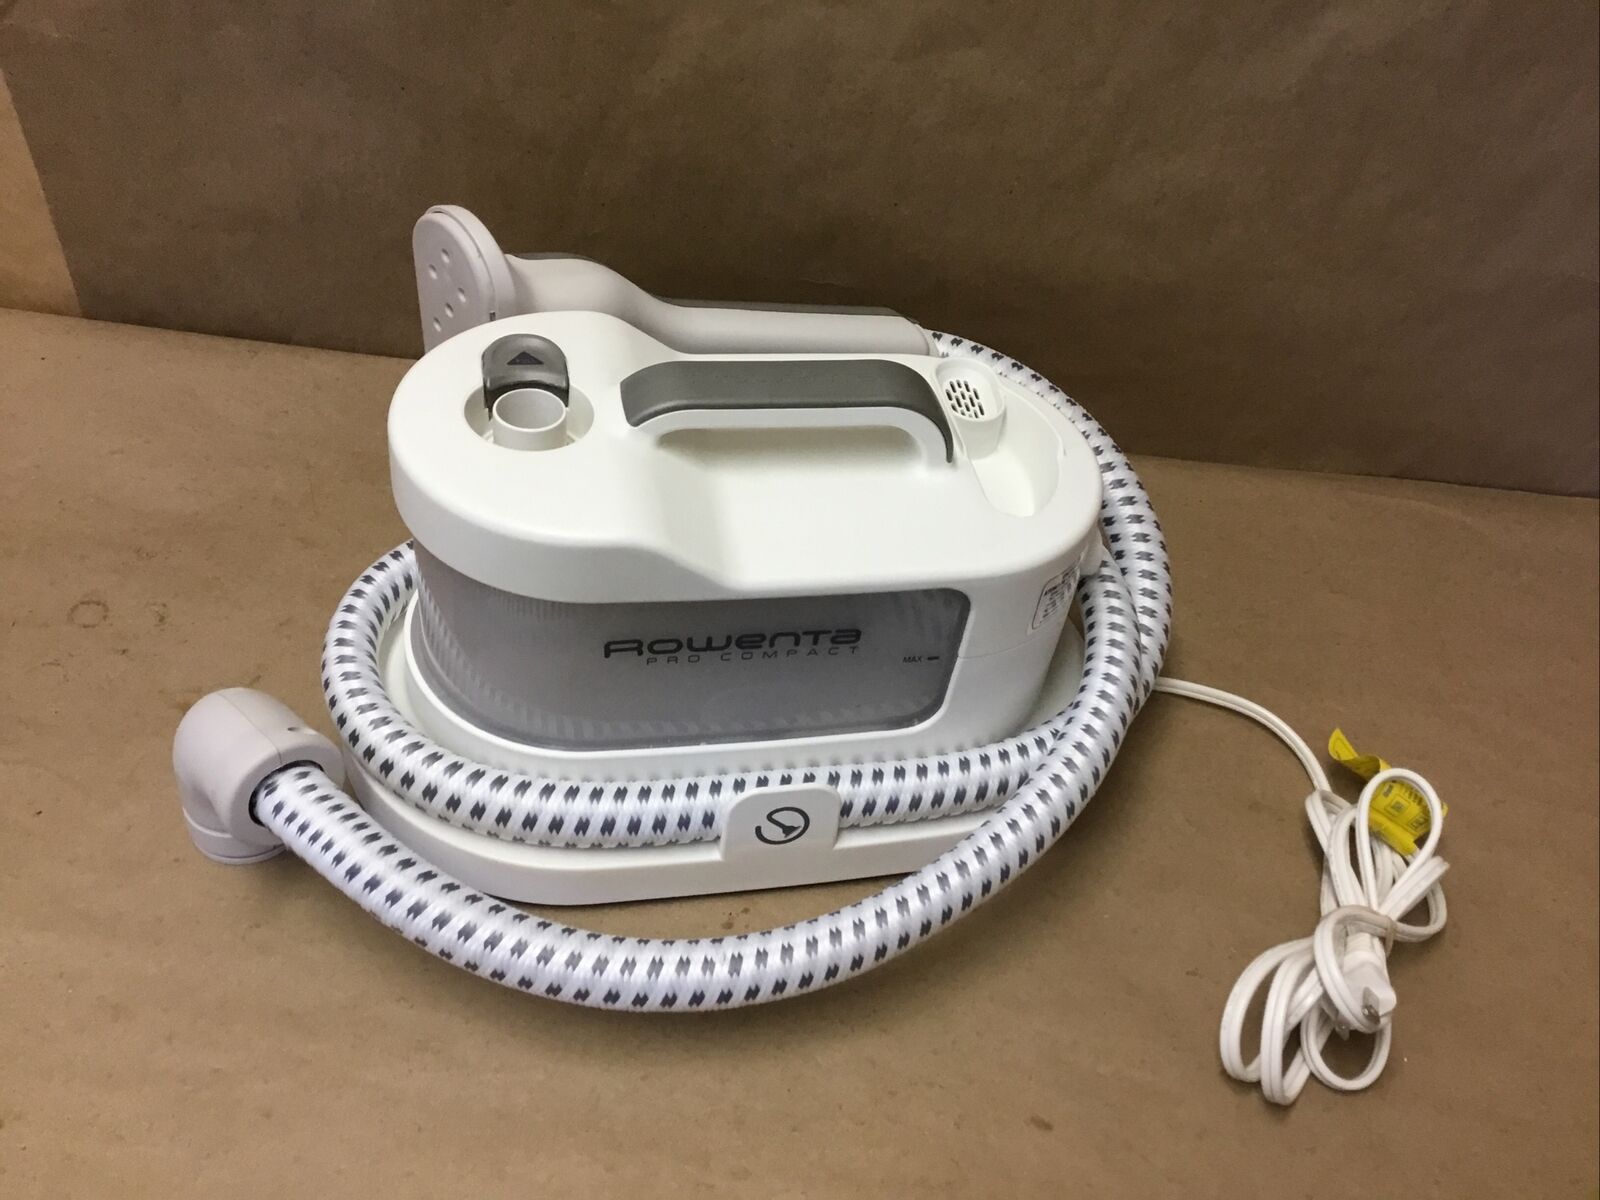
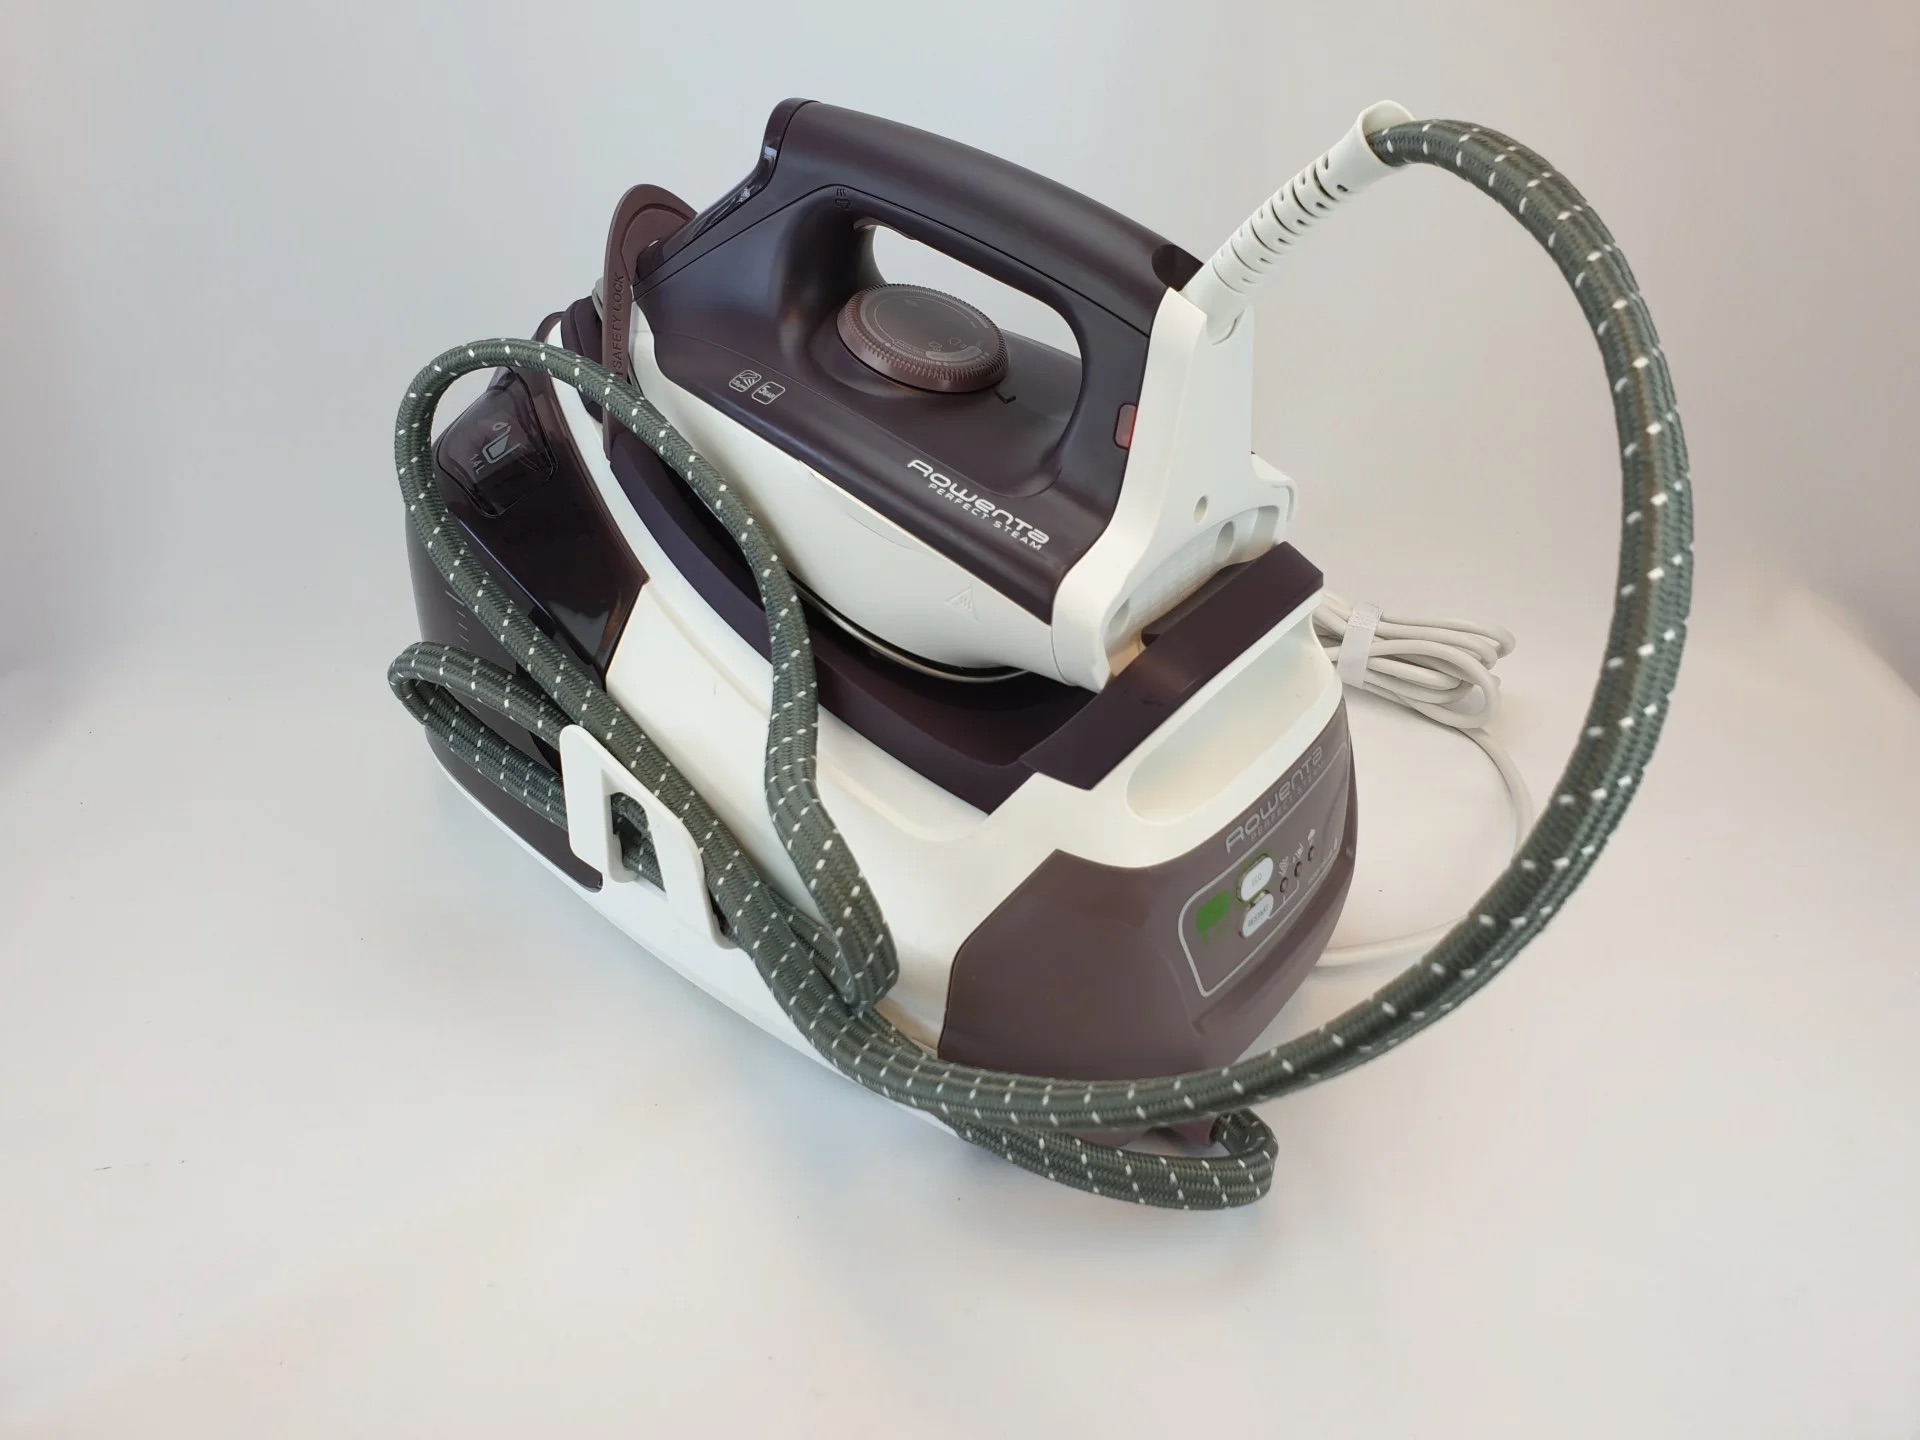
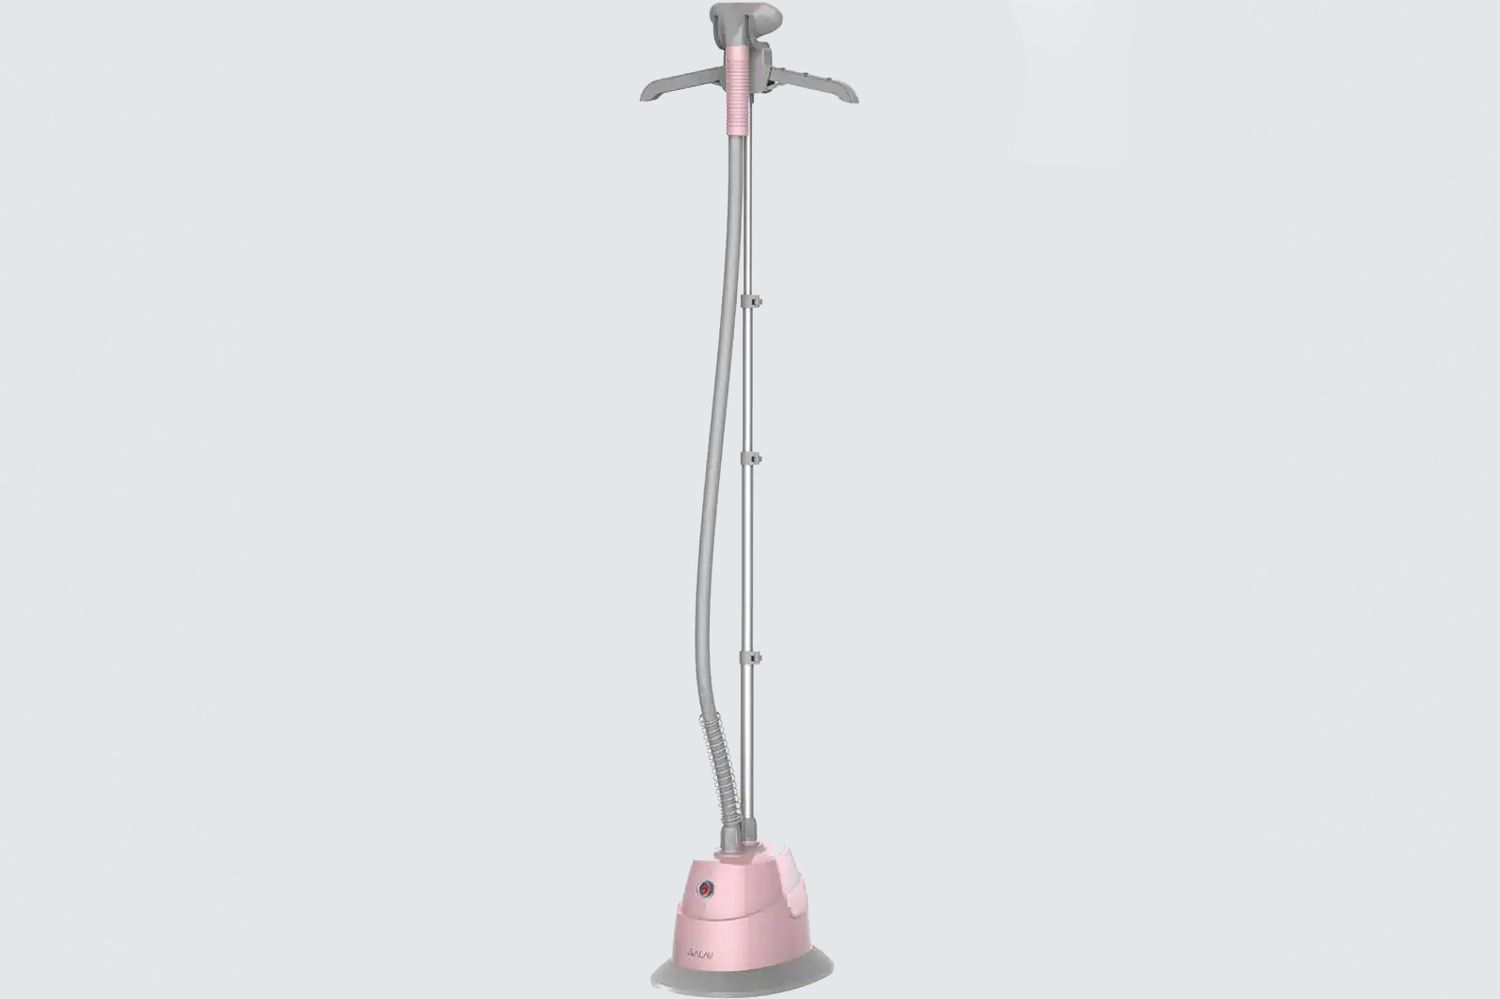
Step 1: Familiarizing Yourself with the Rowenta Steamer
Before you start using your Rowenta steamer, it’s essential to understand its components and features. Familiarizing yourself with the steamer will help you navigate through the usage process more effectively.
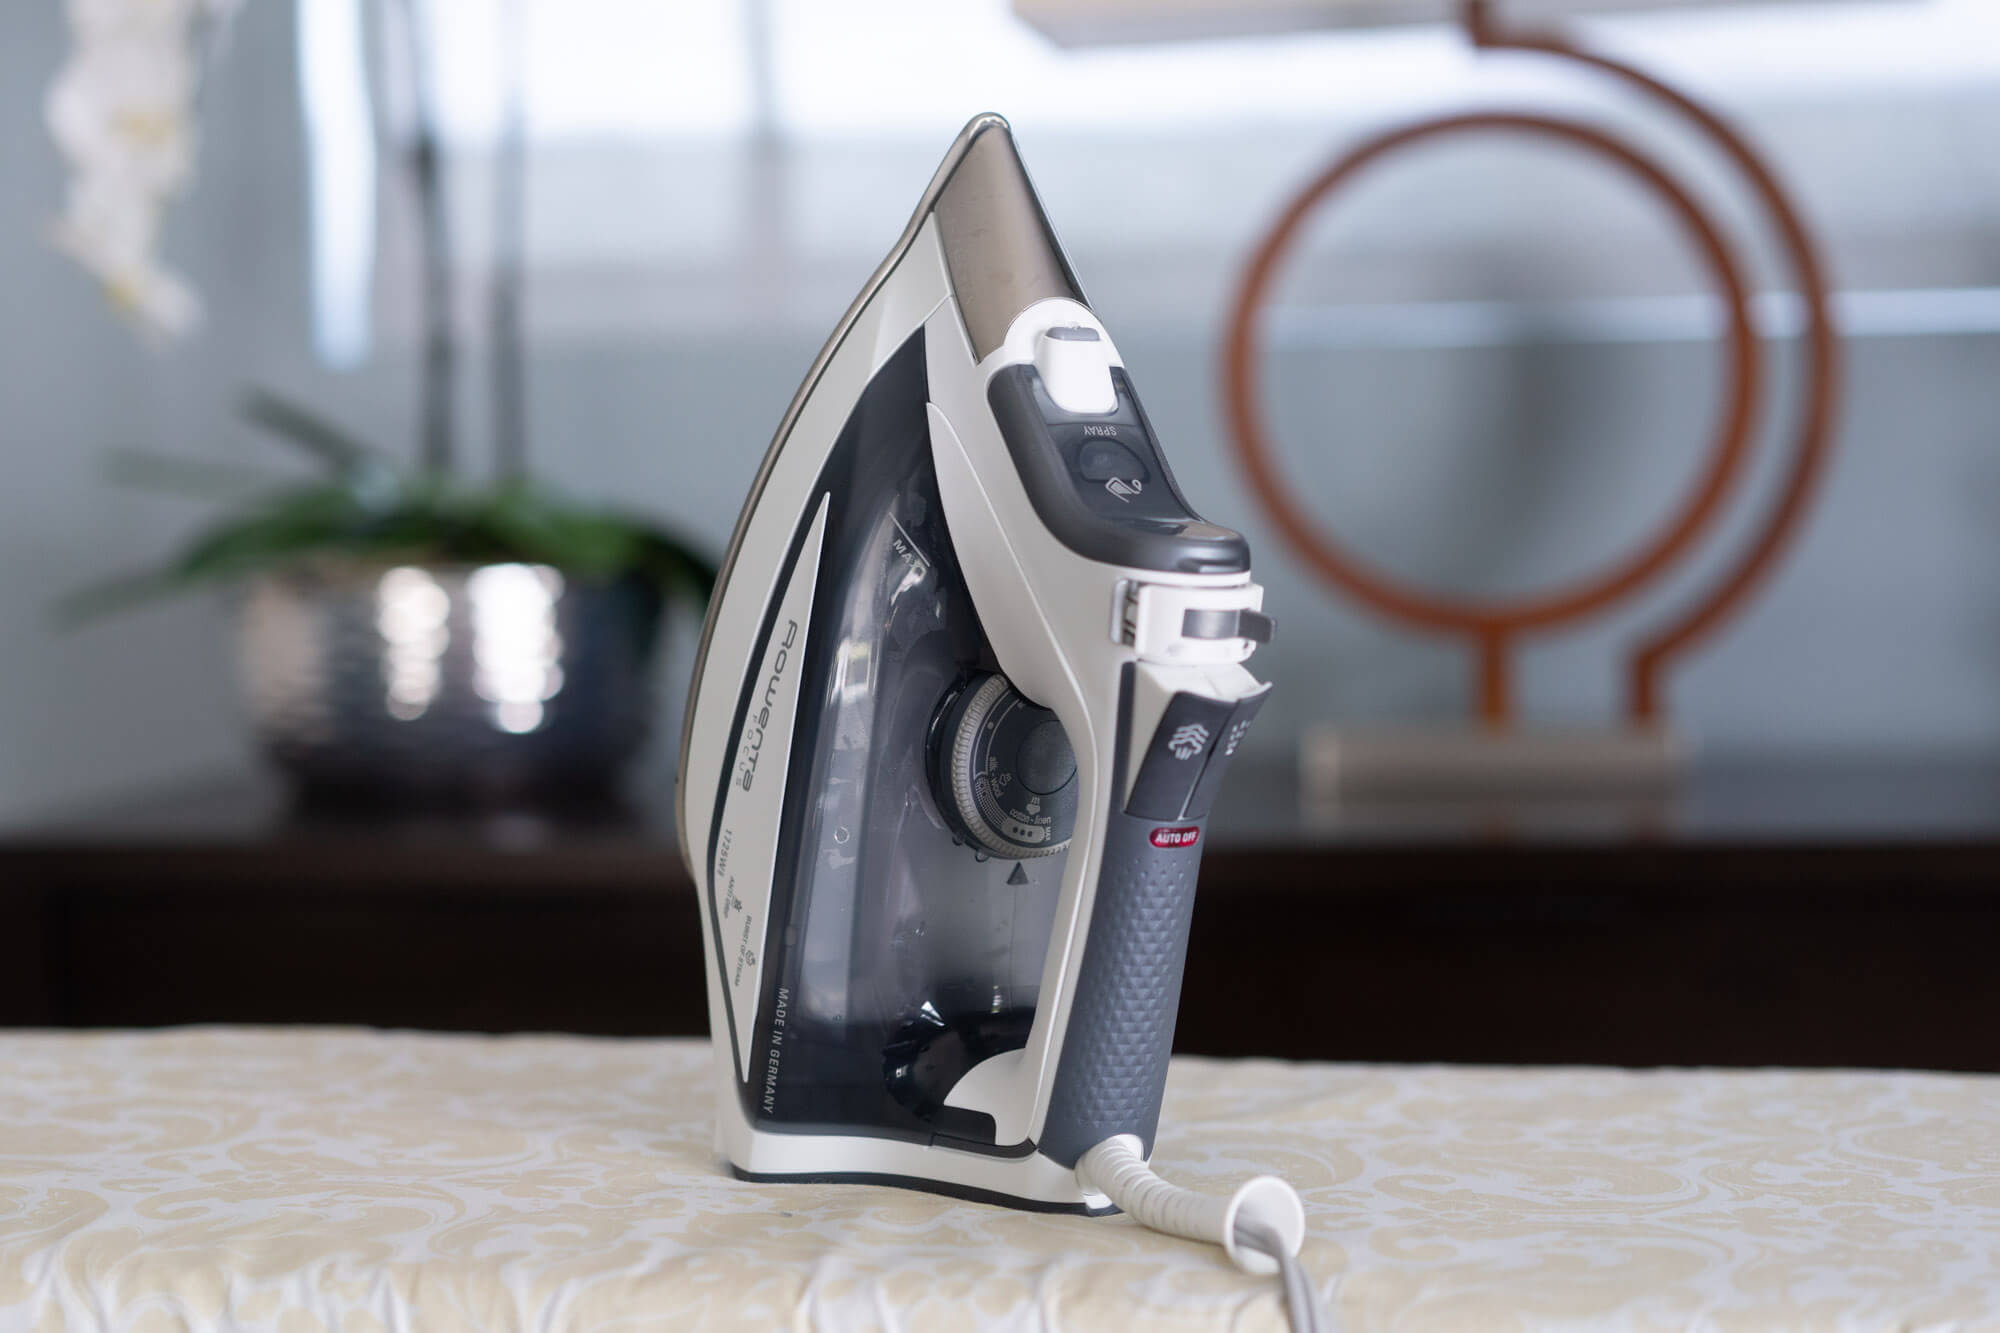
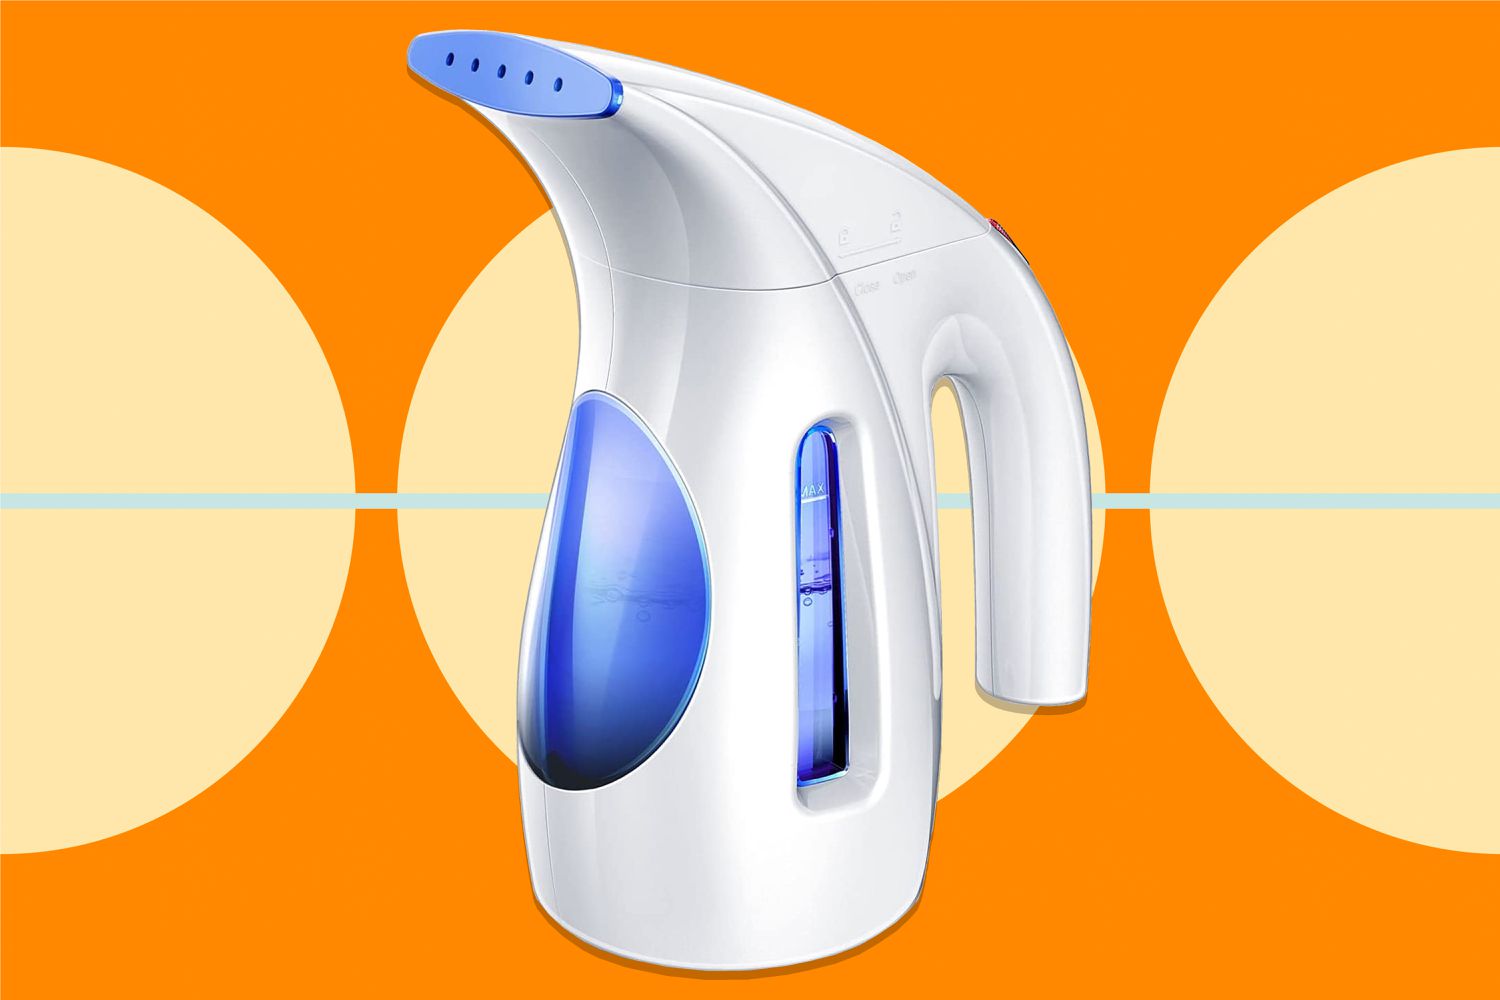
Firstly, take a close look at the main body of the steamer. It usually consists of a water tank, a steam nozzle, a handle, and a power cord. The water tank is where you fill water for generating steam, and the steam nozzle is the part that emits the steam onto your garments. The handle provides a comfortable grip, allowing you to maneuver the steamer effortlessly. The power cord is connected to the main power source and supplies electricity to the steamer.
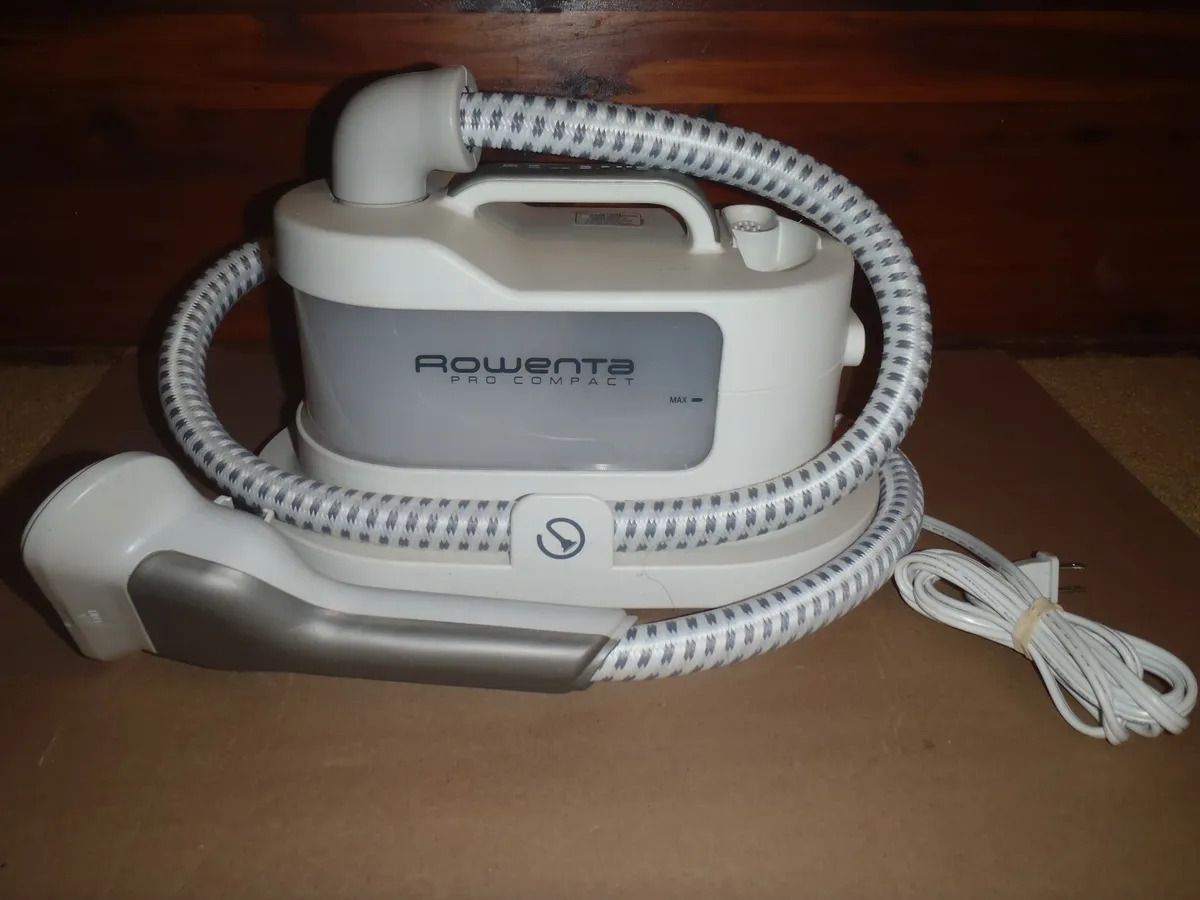
Next, check for any additional attachments that come with your Rowenta steamer. Some models may have garment hangers, fabric brushes, or crease attachments. These accessories can enhance the steaming experience and provide added functionality depending on your needs.
Once you have familiarized yourself with the main components and any additional attachments, it’s time to understand the control settings of your Rowenta steamer. Look for the power button or switch, which turns the steamer on and off. Some models may also have adjustable steam settings, allowing you to customize the intensity and distribution of the steam. Take note of these buttons or dials so you can easily adjust them as needed during the steaming process.
Lastly, it’s crucial to read through the user manual provided by Rowenta. The user manual will provide specific instructions and safety guidelines that are unique to your model of the steamer. It will also outline any maintenance tips or troubleshooting solutions that you may need in the future.
By familiarizing yourself with the Rowenta steamer, understanding its components, and exploring its control settings, you’ll be well-prepared to make the most out of this powerful garment steaming tool.
Step 2: Preparing the Steamer for Use
Now that you’ve familiarized yourself with the Rowenta steamer, it’s time to prepare it for use. Proper preparation ensures that your steamer functions optimally and provides effective results. Follow these steps to get your Rowenta steamer ready:
1. Start by finding a stable surface: Choose a flat and stable surface to place your Rowenta steamer. This can be a tabletop or countertop. Ensure that the surface is heat-resistant and can accommodate the steamer safely.
2. Check the water tank: Take a look at the water tank of your Rowenta steamer. Ensure that it is clean and free from any debris or residue. If you spot any build-up, rinse the tank with water and wipe it dry before proceeding.
3. Fill the water tank: Remove the water tank from the steamer by detaching it according to your model’s instructions. Fill it with fresh, clean water. It’s important to use distilled or demineralized water to prevent limescale buildup, which can lead to reduced performance and damage to the steamer. Follow the maximum fill line indicated on the tank and avoid overfilling.
4. Reattach the water tank: Once filled, securely reattach the water tank to the steamer. Make sure it is properly aligned and locked in place to avoid leaks during use.
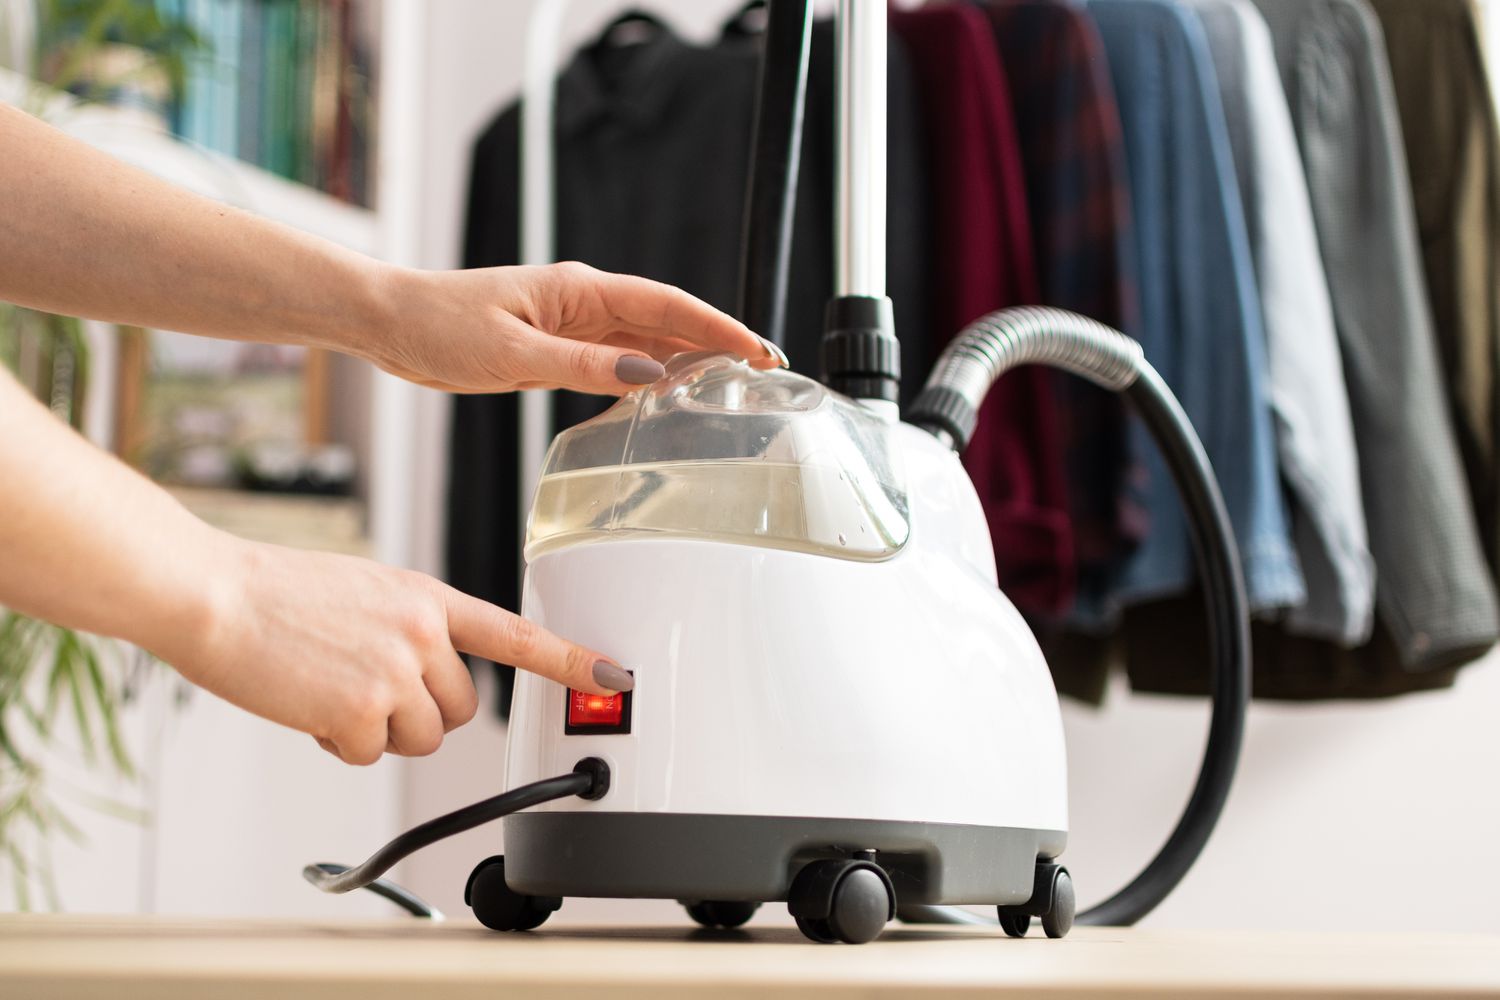
5. Plug in the steamer: Connect the power cord of your Rowenta steamer to a grounded electrical outlet. Ensure that the outlet is compatible with the voltage requirements of your steamer. If there is a power switch or button, turn it on to initiate the heating process.
6. Allow the steamer to heat up: Depending on the model, it may take a few minutes for the steamer to heat up and generate steam. Refer to the user manual for the recommended heating time. During this waiting period, take the opportunity to select the appropriate steam setting, if applicable.
7. Test the steam: Before using the steamer on your clothing, it’s a good practice to test the steam by directing it away from yourself and any delicate surfaces or objects. This helps to ensure that the steam is flowing smoothly and there are no unexpected bursts or drips.
By following these preparation steps, you’ll ensure that your Rowenta steamer is ready to deliver optimal performance and effectively remove wrinkles from your garments. Now that the steamer is prepared for use, let’s move on to the next step – filling the steamer with water.
Step 3: Filling the Steamer with Water
Properly filling the water tank of your Rowenta steamer is crucial for generating steam and achieving effective wrinkle removal. Follow these steps to ensure that your steamer is filled with water correctly:
1. Disconnect the steamer from the power source: Before filling the water tank, it’s essential to unplug the steamer from the electrical outlet. This ensures your safety and prevents any accidental activation of the steamer while handling water.
2. Remove the water tank: Depending on your model, the water tank may be detachable. To remove it, locate the release mechanism, such as a twist-lock or press-button system, and separate the tank from the main body of the steamer.
3. Check the water tank: Inspect the water tank for any remaining water or debris from previous use. If necessary, rinse the tank with clean water and wipe it dry before proceeding.
4. Fill the water tank: Using distilled or demineralized water, fill the tank up to the maximum fill line indicated. It’s important to use this type of water to prevent mineral deposits and limescale build-up, which can affect the performance and longevity of your steamer.
5. Reattach the water tank: Once the tank is filled, securely reattach it to the main body of the steamer. Make sure it is properly aligned and locked in place to avoid any leaks during operation.
6. Check for any leaks: Before reconnecting the steamer to the power source, perform a quick check to ensure that there are no visible leaks from the tank or any other parts of the steamer. A leaking steamer may indicate an improperly attached tank or a faulty component, which should be addressed before use.
7. Plug in the steamer: Once you have confirmed that there are no leaks, connect the power cord of your Rowenta steamer to a grounded electrical outlet. If there is a power switch or button, turn it on to initiate the heating process.
Note: Be cautious not to overfill the water tank, as excess water can cause spillage and affect the steaming process. It’s always better to follow the manufacturer’s instructions and guidelines for filling the water tank.
With the water tank properly filled, your Rowenta steamer is now ready to generate steam and remove wrinkles from your clothing. In the next step, we will cover how to turn on the steamer and adjust the steam settings.
Step 4: Turning On the Steamer
Once you have filled the water tank of your Rowenta steamer, it’s time to turn it on and get ready to start steaming your garments. Follow these steps to ensure a safe and effective operation:
1. Verify that the water tank is securely attached: Before proceeding, double-check that the water tank is properly attached to the steamer. Make sure it is securely aligned and locked in place to avoid any leakage during operation.
2. Locate the power switch or button: Look for the power switch or button on your Rowenta steamer. It is usually located on the main body of the steamer or near the handle. Depending on the model, it may be a simple on/off switch or a push-button.
3. Turn on the steamer: Once you have located the power switch or button, press it or toggle it to the “on” position. This will initiate the heating process and start generating steam.
4. Allow the steamer to heat up: The heating time required may vary based on your specific model. Refer to the user manual for the recommended heating time. During this period, the water in the tank will heat up and transform into steam ready for use.
5. Check the steam indicator: Some Rowenta steamers have a steam indicator light or a visible steam emission. This feature lets you know when the steamer is ready to use. Wait until you see the steam indicator or observe a consistent flow of steam before proceeding.
6. Adjust the steam settings (if applicable): Depending on your model, your Rowenta steamer may offer adjustable steam settings. These settings allow you to control the intensity and distribution of the steam. If your steamer has this feature, consult the user manual to understand how to adjust the steam settings to your preference.
7. Test the steamer: Before using the steamer on your garments, it’s a good idea to perform a quick test. Point the steam nozzle away from yourself and any delicate surfaces and press the steam button or trigger to ensure the steam is flowing smoothly and there are no surprises, such as bursts or drips.
Once you have completed these steps, your Rowenta steamer is now turned on and ready to use. In the next step, we will cover how to steam different types of fabrics effectively.
When using a Rowenta steamer, always start with the lowest setting and gradually increase the heat as needed. This will help prevent any accidental damage to delicate fabrics.
Read more: How To Put Water In Rowenta Steamer
Step 5: Steaming Different Types of Fabrics
One of the advantages of using a Rowenta steamer is its versatility in handling various types of fabrics. Whether you have delicate silk, sturdy cotton, or synthetic materials, the steamer can help remove wrinkles and freshen up your garments. Follow these guidelines to steam different types of fabrics effectively:
1. Check the fabric care label: Before steaming a garment, always check the fabric care label for any specific instructions or warnings. The label provides valuable information about the fabric type and the recommended care method. Make sure steaming is safe for the fabric and proceed accordingly.
2. Hang the garment: Hang the garment you want to steam on a clothing hanger or a garment rack. This allows easy access to all parts of the garment and helps to ensure that the steam can penetrate the fabric evenly.
3. Adjust the steam settings: If your Rowenta steamer offers adjustable steam settings, adjust them according to the fabric type. Delicate fabrics may require lower steam intensity, while heavier fabrics may benefit from higher steam settings. Refer to the user manual or guidelines provided by Rowenta for specific recommendations.
4. Start with an inconspicuous area: To test the steam effect on the fabric, start steaming in an inconspicuous area, such as the inside of a hem or a back seam. This allows you to ensure that the steam does not cause any adverse effects on the fabric, such as watermarks or discoloration.
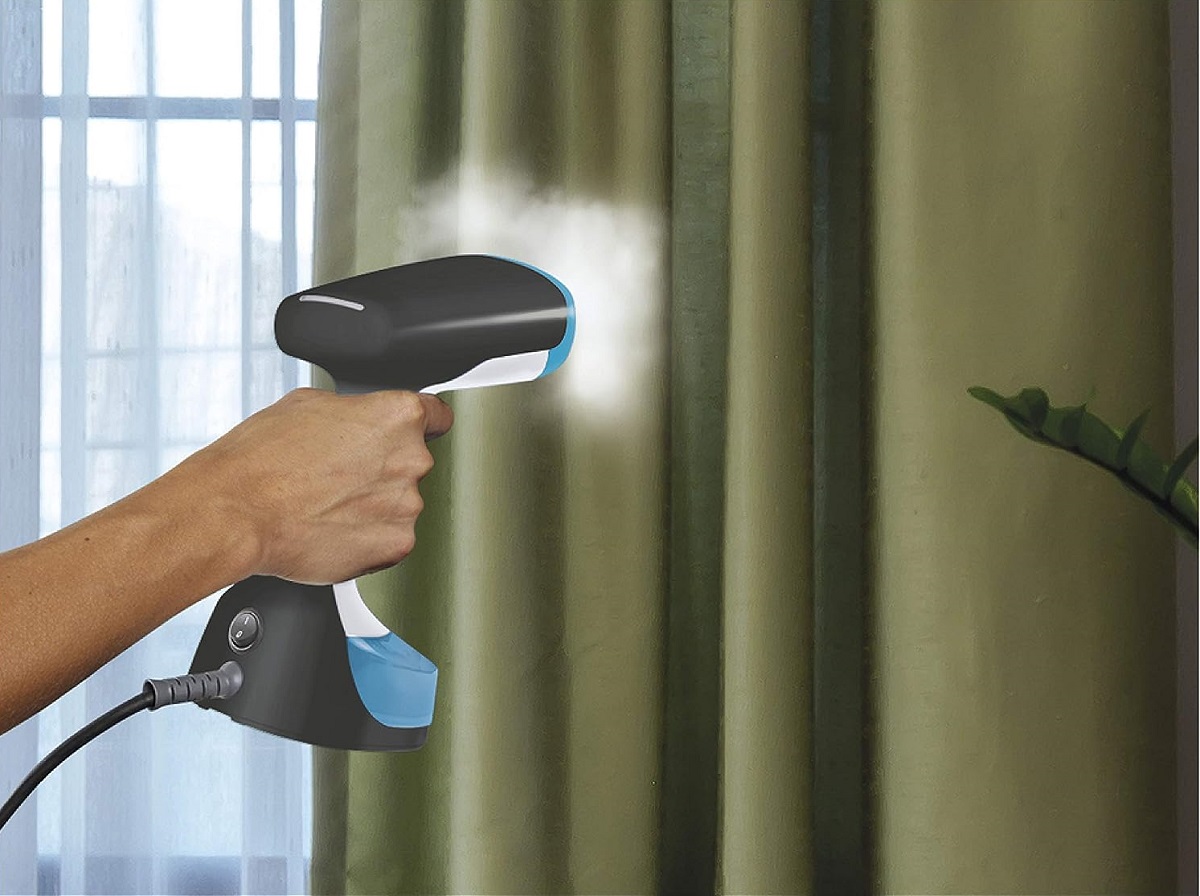
5. Hold the steamer at a distance: Hold the Rowenta steamer approximately 1-2 inches away from the fabric. This allows the steam to gently heat and relax the fibers without causing any damage. Move the steamer slowly and steadily across the fabric, focusing on the wrinkled areas.
6. Steam in downward motions: When steaming, use downward motions with the steamer. This helps the steam to penetrate the fabric effectively and allows the wrinkles to release more easily. Avoid steaming vertically or in upward motions, as this may not yield the desired results.
7. Treat stubborn wrinkles: For stubborn wrinkles, place the steamer directly on the fabric and apply gentle pressure. Move the steamer back and forth over the wrinkled area to target it more directly. Be cautious when using this technique and ensure that the fabric can withstand direct steam contact.
8. Leave the garment to dry: After steaming, allow the garment to hang and air dry for a few minutes. This allows the fabric to cool down, and any residual moisture to evaporate. Once dried, the garment should be smooth and wrinkle-free.
Note: Always exercise caution when steaming delicate fabrics. If you are unsure about whether a fabric can be safely steamed, it’s best to consult a professional cleaner or refer to the manufacturer’s guidelines.
By following these guidelines, you can effectively steam a wide range of fabrics using your Rowenta steamer. In the next step, we will cover the process of removing wrinkles with the Rowenta steamer.
Step 6: Removing Wrinkles with the Rowenta Steamer
Removing wrinkles from your garments is a breeze with the Rowenta steamer. Follow these steps to achieve smooth and wrinkle-free clothing:
1. Hang the garment: Start by hanging the garment on a clothing hanger or a garment rack. Ensure that it is positioned in a way that allows easy access to all areas.
2. Pre-treat stubborn wrinkles: If you encounter stubborn wrinkles, lightly spritz the wrinkled area with water. This helps to loosen the fibers and make them more receptive to the steam. Be careful not to wet the fabric excessively, as this may affect the overall result.
3. Steadily move the steamer: Hold the Rowenta steamer approximately 1-2 inches away from the fabric. Starting from the top of the garment, slowly move the steamer in downward motions, focusing on the wrinkled areas. The steam will relax the fibers and release the wrinkles.
4. Use your other hand: As you steam, use your free hand to gently stretch and smooth the fabric. This combination of steam and manual manipulation helps to ensure that every wrinkle is effectively addressed.
5. Pay attention to details: Move the steamer around cuffs, collars, and other intricate areas of the garment. Direct the steam into these areas to ensure every part is adequately steamed and wrinkle-free.
6. Steam both sides: For multi-layered garments, such as shirts or dresses, steam both the inside and outside layers. This ensures that all wrinkles are removed and gives the garment a more polished appearance.
7. Treat delicate fabrics with care: If you are steaming delicate fabrics, such as silk or chiffon, exercise extra caution. Hold the steamer further away from the fabric and use shorter bursts of steam. Avoid prolonged steam exposure, as it may cause damage.
8. Steaming hanging garments: For curtains, drapes, or other large hanging items, use a garment steaming board or hold a sturdy piece of cardboard behind the fabric. This provides support and ensures that the steam penetrates the fabric evenly.
9. Finishing touches: After steaming, allow the garment to hang and cool down for a few minutes. This gives the fabric time to settle and reduces the risk of new creases forming. Once cooled, give the garment a gentle shake or smooth with your hands to further eliminate any remaining wrinkles.
By following these steps, you can effortlessly remove wrinkles from your garments using the Rowenta steamer. In the final step, we will discuss how to care for your Rowenta steamer to ensure its longevity and optimal performance.
Step 7: Caring for Your Rowenta Steamer
Proper care and maintenance of your Rowenta steamer are essential to keep it in optimal condition and ensure its longevity. Follow these steps to care for your steamer:
1. Regularly clean the water tank: After each use, empty any remaining water from the tank and rinse it with clean water. This helps prevent any mineral deposits or residue from accumulating in the tank. Periodically, you can also use a mixture of vinegar and water to descale the tank and remove any stubborn buildup.
2. Clean the steam nozzle: Over time, the steam nozzle can get clogged with mineral deposits or lint. To ensure proper steam flow, wipe the nozzle with a damp cloth or use a soft brush to remove any blockages. Be careful not to push any debris further into the nozzle.
3. Handle the steamer with care: Always handle your Rowenta steamer with care to avoid accidental damage. When moving or storing the steamer, be mindful of the power cord and avoid pulling or tugging on it. Additionally, do not immerse the steamer in water or use abrasive cleaning agents on its surfaces.
4. Store the steamer properly: When not in use, store your Rowenta steamer in a clean and dry location. Ensure that the water tank is empty to prevent any potential water leakage. Follow the manufacturer’s instructions for any additional storage guidelines specific to your model.
5. Check for any wear or damage: Regularly inspect your steamer for any signs of wear, such as frayed cords or damaged components. If you notice any issues, discontinue use and contact Rowenta customer support or a qualified technician for assistance.
6. Follow the manufacturer’s recommendations: Refer to the user manual provided by Rowenta for any specific care instructions and recommendations. Each model may have slightly different requirements, and it’s important to follow them to ensure the best performance and safety of your steamer.
7. Perform regular maintenance: Depending on your usage frequency and water hardness in your area, it may be necessary to perform regular maintenance tasks, such as descaling or replacing certain parts. Refer to the user manual or contact Rowenta customer support for guidance on the recommended maintenance schedule for your specific model.
By following these care and maintenance steps, you can prolong the lifespan of your Rowenta steamer and ensure that it continues to provide you with efficient and effective steaming results for years to come.
With that, you have now completed all the steps and learned how to use, maintain, and care for your Rowenta steamer effectively. Enjoy the convenience of wrinkle-free clothing and the professional results achieved with your Rowenta steamer!
Conclusion
Congratulations! You have reached the end of this comprehensive guide on how to use the Rowenta steamer. By following the steps outlined in this article, you are on your way to effortlessly removing wrinkles from your garments and achieving a polished, professional look.
The Rowenta steamer offers a convenient and efficient alternative to traditional ironing. With its versatility in handling different types of fabrics and the ease of use, you can say goodbye to the hassle of setting up an ironing board and struggling with stubborn wrinkles.
Remember to familiarize yourself with the components and features of your Rowenta steamer before use. Proper preparation, such as filling the water tank correctly and turning on the steamer, is crucial for generating steam and achieving effective wrinkle removal.
When steaming different types of fabrics, always check the fabric care labels and adjust the steam settings accordingly. Take the time to test the steamer on inconspicuous areas for any adverse effects and use gentle, downward motions to steam the fabric.
Proper care and maintenance of your Rowenta steamer are essential for its longevity and optimal performance. Regularly clean the water tank and steam nozzle, handle the steamer with care, and store it properly when not in use. Following the manufacturer’s recommendations and performing regular maintenance tasks will ensure that your steamer continues to deliver excellent results.
With your newly acquired knowledge and skills, you can confidently use your Rowenta steamer to achieve wrinkle-free clothing and maintain a polished appearance. Say goodbye to wrinkled garments and hello to effortlessly fresh and smooth clothes!
Thank you for choosing the Rowenta steamer and investing in a valuable tool for your garment care routine. Happy steaming!
Frequently Asked Questions about How To Use Rowenta Steamer
Was this page helpful?
At Storables.com, we guarantee accurate and reliable information. Our content, validated by Expert Board Contributors, is crafted following stringent Editorial Policies. We're committed to providing you with well-researched, expert-backed insights for all your informational needs.

0 thoughts on “How To Use Rowenta Steamer”