Articles
How To Remodel A Closet
Modified: September 2, 2024
Discover expert tips on how to remodel your closet and improve your home maintenance. Simplify and organize your space with these DIY hacks and creative ideas.
(Many of the links in this article redirect to a specific reviewed product. Your purchase of these products through affiliate links helps to generate commission for Storables.com, at no extra cost. Learn more)
Introduction
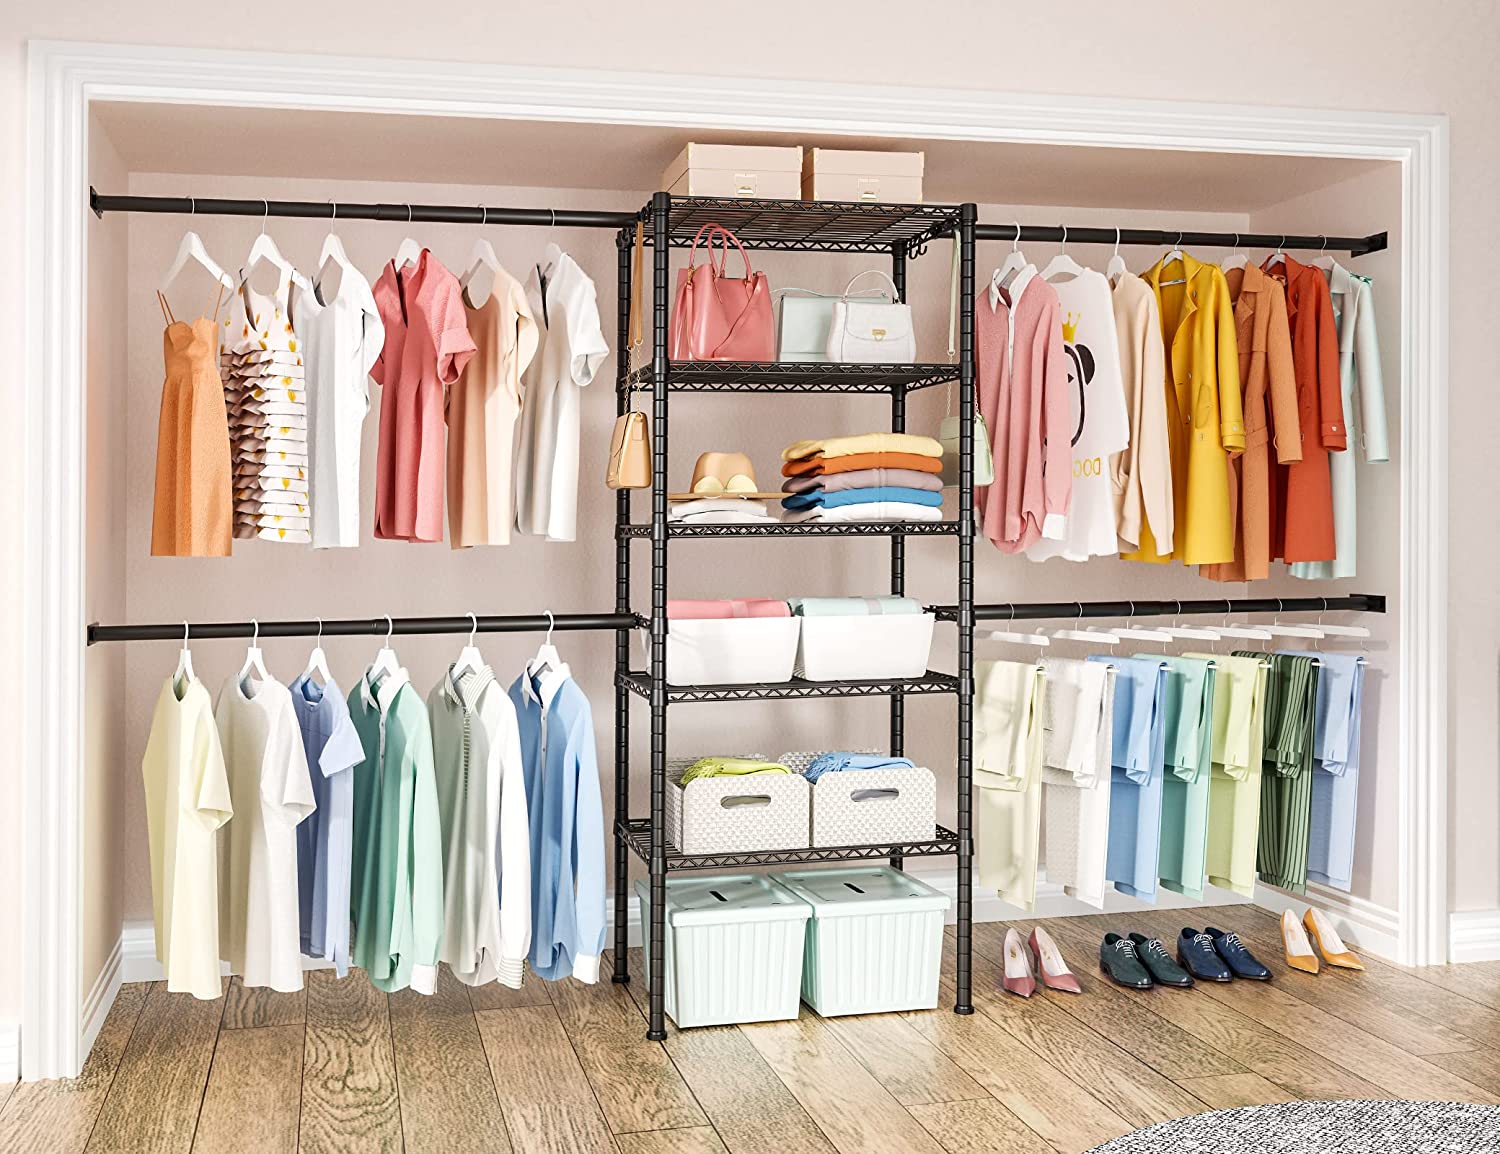
Remodeling a closet can breathe new life into your home, providing you with a functional and organized space to store your belongings. Whether you have a small reach-in closet or a spacious walk-in, a remodel can help maximize the use of the space and make it more aesthetically pleasing. In this article, we will guide you through the process of remodeling your closet, from assessing the space to adding the final touches. So, let’s get started and transform your closet into an organized haven!
Key Takeaways:
- Transform your closet into a functional and organized space by assessing its size, planning the remodel, and installing new shelving and rods. Add lighting fixtures and organize your belongings for maximum efficiency.
- Maintain your newly remodeled closet by implementing regular cleaning schedules, rotating seasonal items, and adapting the organization system as your needs change. Enjoy the benefits of easy access and improved visibility in your well-organized space.
Assessing the Closet Space
Before diving into the remodeling process, it’s important to assess your closet space to determine its current condition and identify any specific needs or challenges. Here are a few key steps to follow:
- Measure the Size – Begin by measuring the dimensions of your closet, including the width, depth, and height. This will help you determine the amount of space available and guide your choices when it comes to shelving and storage solutions.
- Evaluate the Existing Storage – Take stock of the current shelving, rods, and other storage elements in your closet. Determine if they are being used efficiently and if they meet your needs. Consider factors such as height-adjustable shelves, hanging space, and specialized storage areas for shoes, accessories, or folded items.
- Assess the Lighting – Check the lighting situation in your closet. Adequate lighting is crucial to ensure visibility and make it easier to find and organize your belongings. Evaluate if your closet has sufficient natural light or if you need to consider additional lighting fixtures, such as overhead lights or LED strips.
- Consider Your Storage Needs – Think about the types of items you plan to store in your closet. Do you have a lot of garments that require hanging space? Are you in need of more shelf space for folded clothes or accessories? Assess your storage needs and prioritize them accordingly.
- Take Note of Any Obstacles – Look for any obstacles or challenges in your closet space. This could include sloped ceilings, awkward corners, or obtrusive pipes or vents. Identifying these obstacles upfront will help you plan your remodel around them.
By thoroughly assessing your closet space, you will have a clear understanding of its current state and be able to plan a remodel that addresses your specific needs. The next step is to start planning the remodel itself.
Planning the Remodel
With a clear assessment of your closet space, it’s time to start planning the remodel. By carefully considering your goals and objectives, you can create a well-thought-out plan that will guide you through the remodeling process. Here are some essential steps to help you in the planning stage:
- Determine your Budget – Begin by establishing a budget for your closet remodel. Consider factors such as materials, labor costs, and any additional features or accessories you wish to incorporate. Setting a realistic budget will help you make informed decisions during the planning process.
- Design the Layout – Use your measurements and assessment of the space to create a layout for your closet remodel. Decide on the placement of shelving, rods, and any other storage elements. Consider incorporating different zones for specific items, such as separate sections for dresses, shirts, or accessories. Visualize the flow of the space and ensure easy access to all areas.
- Choose Suitable Materials – Select the right materials for your closet remodel. Opt for sturdy and durable options to withstand the weight of your belongings. Consider materials like melamine, wire, or wood for shelves, and choose rods that can support the weight of your clothes. Additionally, select hardware and fixtures that match your aesthetic preferences.
- Explore Storage Solutions – Research and evaluate different storage solutions that align with your needs and budget. Consider options such as adjustable shelves, pull-out drawers, hanging organizers, and shoe racks. Choose solutions that optimize the use of the available space and allow for easy organization and retrieval of items.
- Consider Accessibility – Make sure your closet remodel takes accessibility into account. Create storage solutions that can be easily reached, making it convenient to store and retrieve items. If you have limited mobility, incorporate features such as lower shelves or pull-out baskets for easy access.
- Get Inspired – Browse through design magazines, online platforms, and social media for inspiration. Look for styles and layouts that resonate with you, and incorporate elements that match your personal taste and home decor. Adapt these ideas to suit your specific closet space and needs.
By carefully planning your closet remodel, you can ensure that every step is well thought out and aligned with your objectives and budget. Once you have a solid plan in place, you’re ready to move on to the next phase of the remodeling process, which involves removing old shelving and rods.
Removing Old Shelving and Rods
Before you can start fresh with your closet remodel, you’ll need to remove the old shelving and rods. This step is essential to clear the space and prepare it for the installation of new storage solutions. Here are the steps to follow when removing the old shelving and rods:
- Empty the Closet – Begin by taking out all the items from your closet. It’s important to have a clear workspace while removing the old shelving and rods. Use this opportunity to declutter and organize your belongings, setting aside any items you no longer need or want.
- Remove Brackets and Supports – Take a close look at how the old shelves and rods are fixed to the closet walls. Look for brackets, supports, or screws that are holding them in place. Use a screwdriver or drill to remove these fasteners, carefully taking one piece at a time.
- Unscrew or Unclip the Shelving – If the shelves and rods are screwed into the walls, use a screwdriver or drill to unscrew them. If they are attached with clips or brackets, carefully remove these attachments. Be cautious not to damage the walls during the process.
- Patch and Smooth the Walls – Once you have removed the old shelving and rods, inspect the walls for any holes or damage. Use spackle or putty to fill in any holes, and then sand the walls to create a smooth surface. This step is important to ensure that the new storage elements will be securely installed.
- Clean the Closet – Take the opportunity to clean the closet space thoroughly. Vacuum or sweep the floor, wipe down the walls and shelves, and remove any dust or debris. This will help create a fresh environment for the installation of your new storage solutions.
By carefully removing the old shelving and rods, you can create a blank canvas for your closet remodel. With a clean and empty space, you are now ready to move on to the next phase of the remodeling process, which involves preparing the walls and floor.
Preparing the Walls and Floor
Once the old shelving and rods have been removed from your closet, it’s time to prepare the walls and floor for the installation of new storage solutions. Proper preparation ensures a smooth and secure installation. Here’s how you can prepare the walls and floor:
- Clean the Walls – Start by thoroughly cleaning the walls of your closet. Use a mild detergent and warm water to remove any dirt or dust buildup. This step will ensure that the new storage elements adhere properly to the walls.
- Repair Any Damage – Inspect the walls for any damage, such as cracks or holes. Use spackle or putty to fill in these imperfections. Allow the filler to dry completely, and then sand it down to create a smooth surface. This will ensure a seamless appearance once the new storage elements are installed.
- Paint or Wallpaper – If you want to give your closet a fresh new look, consider painting or wallpapering the walls. Choose colors or patterns that complement your personal style and the overall aesthetic of your home. Allow the paint or wallpaper to dry thoroughly before proceeding.
- Prepare the Floor – Assess the condition of the closet floor. If it is uneven or has any imperfections, consider using self-leveling compound to create a smooth surface. Follow the manufacturer’s instructions for mixing and applying the compound. Allow it to dry and harden completely before moving forward.
- Install a Protective Floor Covering – To protect your closet floor from wear and tear, install a protective covering such as laminate, vinyl, or carpet tiles. Choose a material that is durable and easy to clean. Measure and cut the covering to fit the dimensions of your closet floor, and then install it according to the manufacturer’s instructions.
By taking the time to properly prepare the walls and floor of your closet, you are ensuring a solid foundation for the installation of new storage solutions. With these preparations complete, you are ready to move on to the next phase of the remodeling process, which involves installing new shelving and rods.
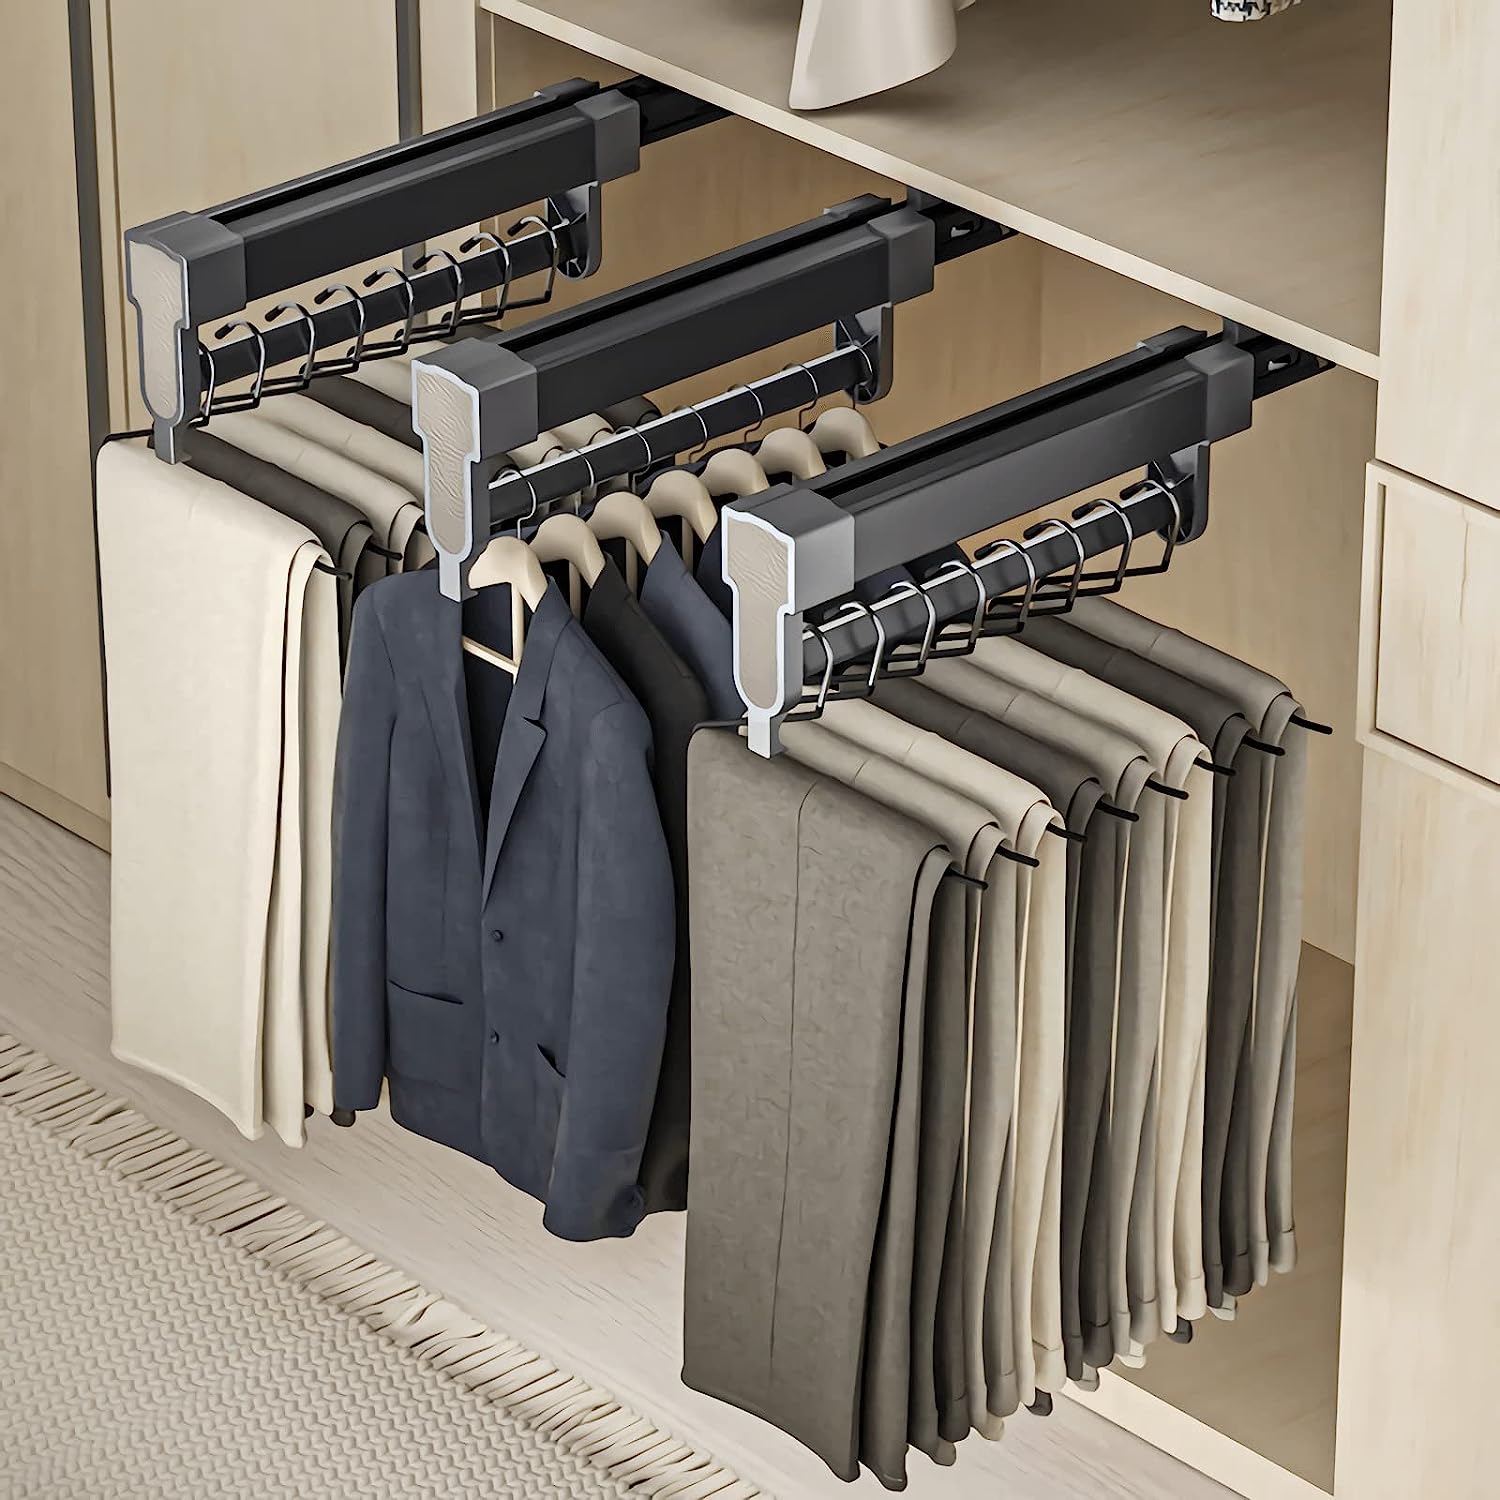
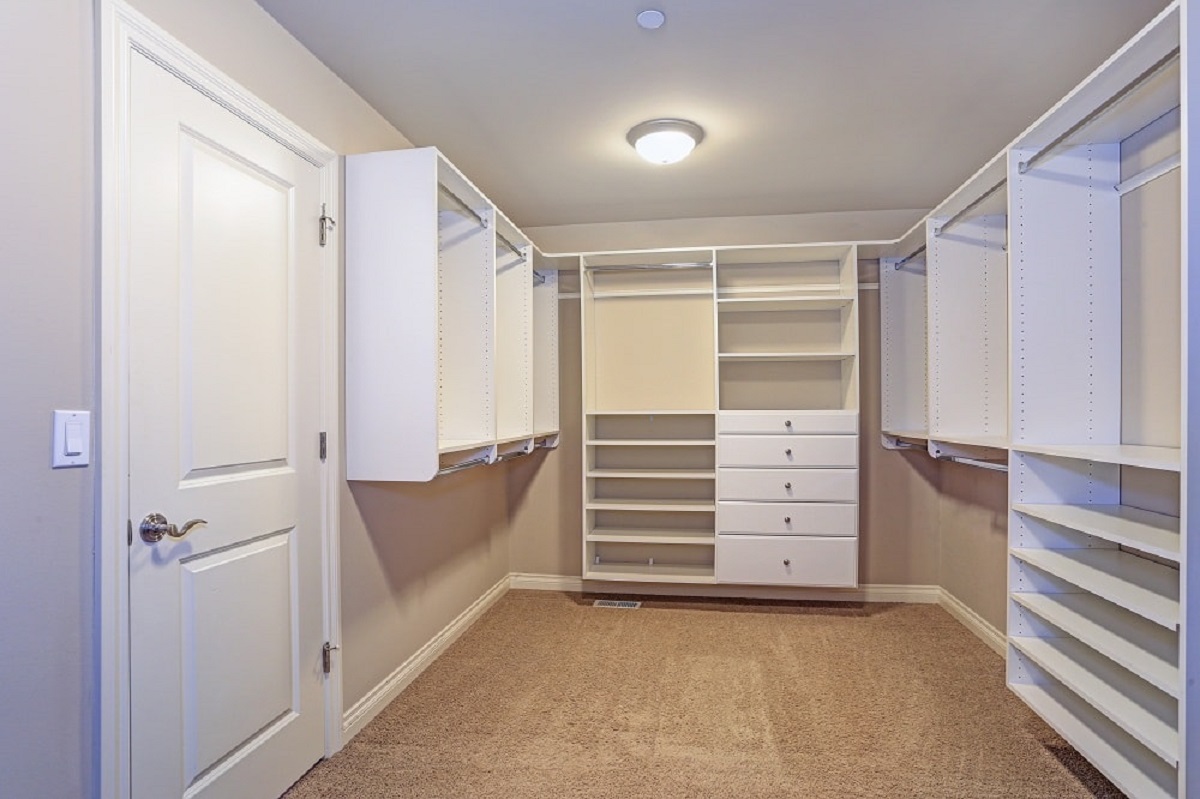
When remodeling a closet, consider adding built-in shelves and drawers to maximize storage space and keep things organized. This can help make the most of the available space and keep the closet clutter-free.
Installing New Shelving and Rods
With the walls and floor of your closet prepared, it’s time to install the new shelving and rods. This phase of the remodeling process will help you create a well-organized and functional space. Follow these steps to install your new storage solutions:
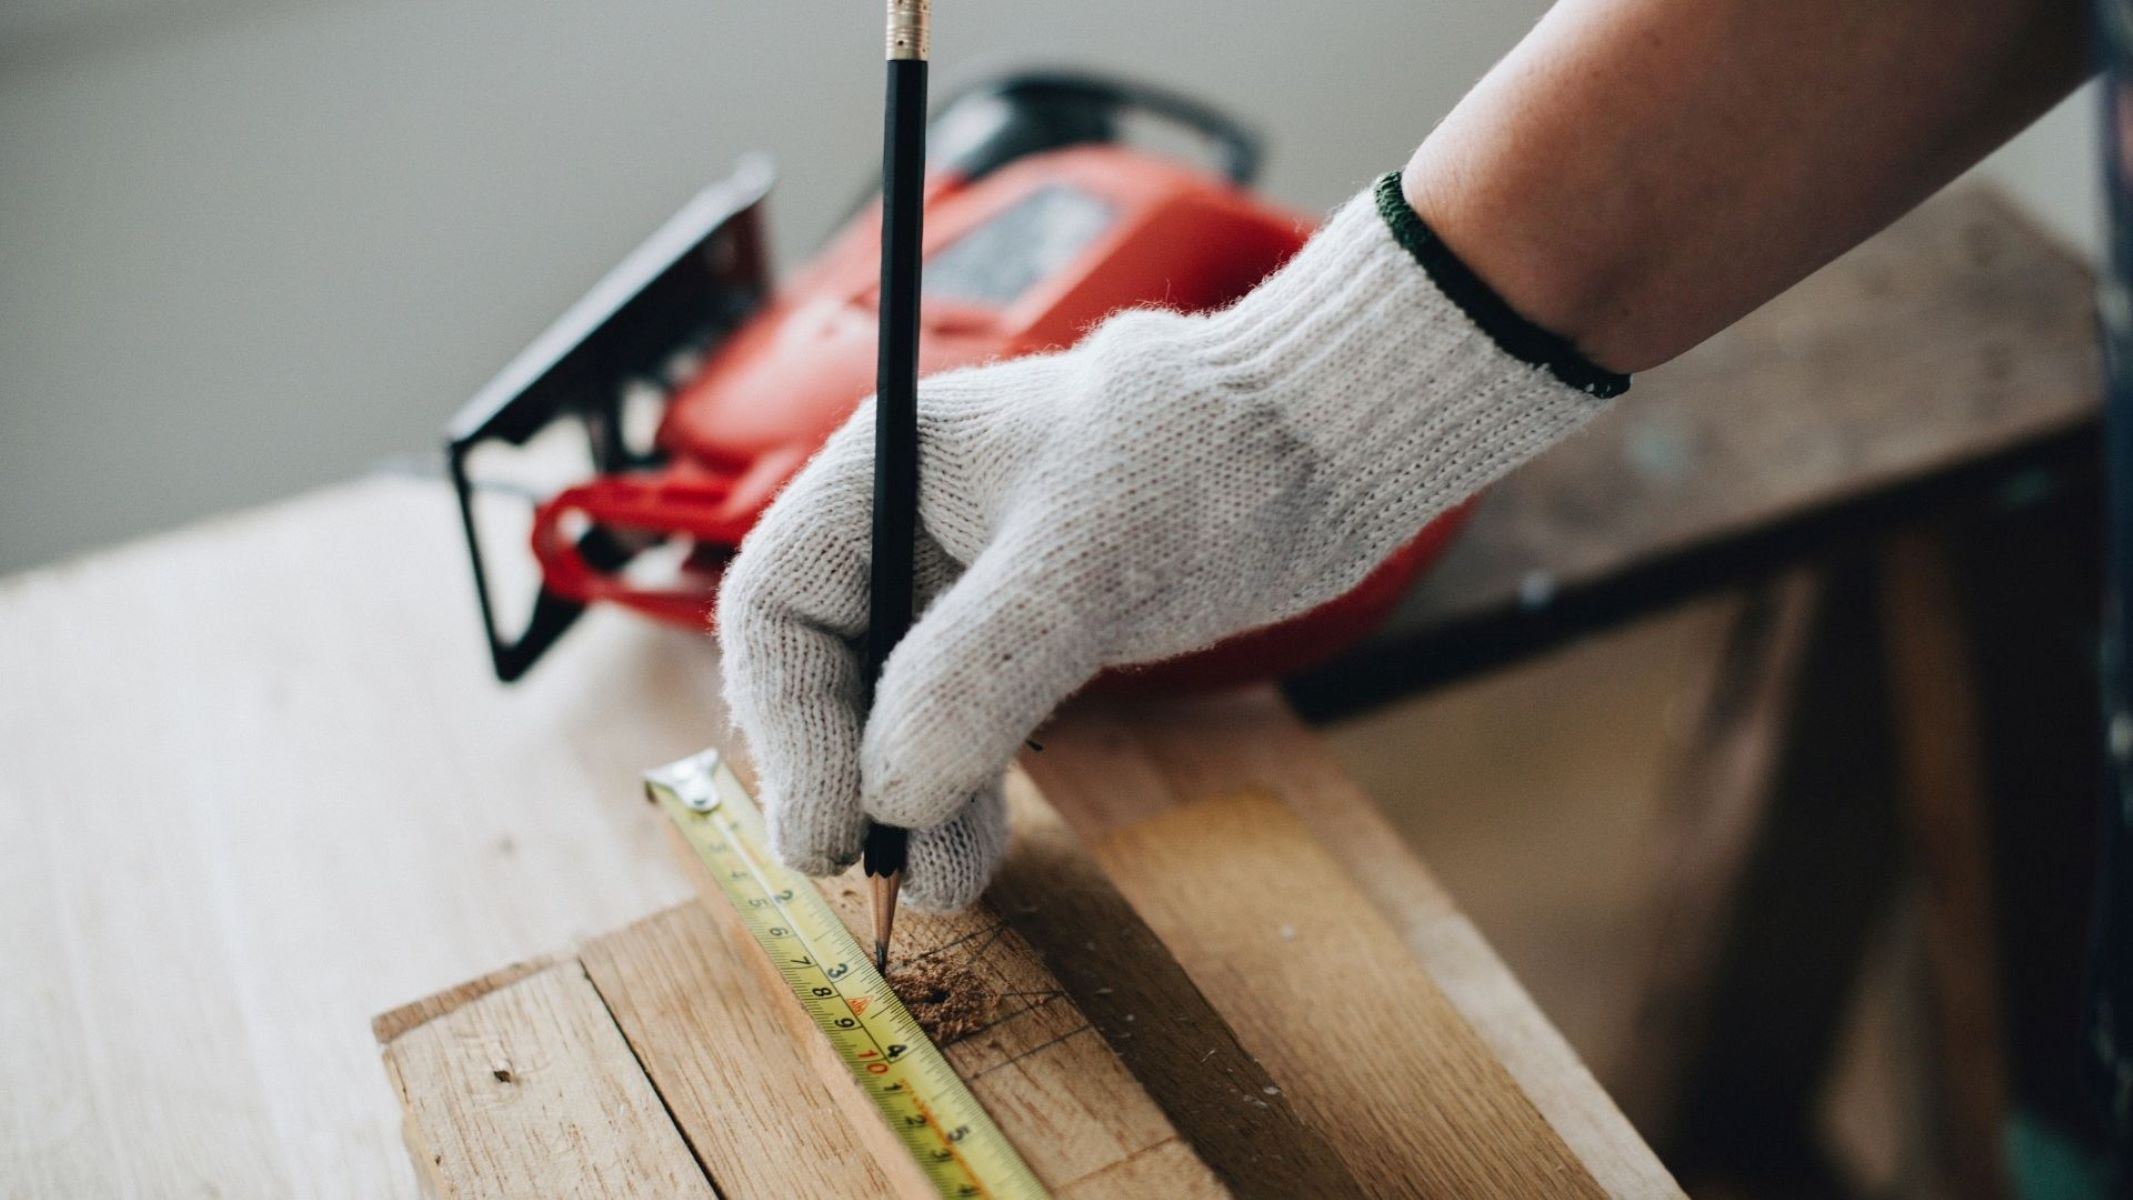
- Measure and Mark – Begin by measuring and marking the desired location of the shelves and rods on the walls. Use a level to ensure that the markings are straight and even. Take into consideration the height of the items you plan to store and adjust the positioning accordingly.
- Mount the Wall Brackets – Install the wall brackets for the shelves and rods. Mark the locations for the bracket screws on the wall, ensuring they align with your previous markings. Use a drill and appropriate screws to secure the brackets firmly into place. Make sure they are level and properly aligned.
- Install the Shelves – Once the wall brackets are in place, proceed with installing the shelves. Depending on the type of shelving system you have chosen, attach the shelves to the brackets using the provided hardware. Ensure they are secure and level. For adjustable shelves, follow the manufacturer’s instructions for proper installation.
- Mount the Rods – After the shelves are installed, move on to mounting the rods. Attach the rod brackets at the desired height, ensuring they align with your previous markings. Slide the rods through the bracket openings and adjust their positioning to your preference. Secure the rods by tightening the screws on the brackets.
- Test the Stability – Once all the shelves and rods are installed, test their stability by gently applying pressure. Make sure they can hold the weight of your belongings without sagging or coming loose. If needed, reinforce the installation with additional screws or brackets for added support.
By following these steps, you can successfully install new shelving and rods in your closet. Now that you have created functional storage solutions, it’s time to move on to the next phase of the remodeling process, which involves adding lighting fixtures to enhance visibility and functionality in your closet.
Adding Lighting Fixtures
Proper lighting is essential to create a well-functioning and visually appealing closet space. Adding lighting fixtures will improve visibility and make it easier to locate and organize your belongings. Follow these steps to add lighting fixtures to your closet:
- Assess the Lighting Needs – Evaluate the existing lighting situation in your closet. Determine if the current lighting is sufficient or if additional fixtures are required. Consider factors such as the size of the closet, the location of shelves and rods, and any dark corners or areas that need extra illumination.
- Select the Lighting Type – Choose the type of lighting that best suits your needs. Options include overhead lights, LED strips, recessed lighting, or track lighting. Consider the brightness, color temperature, and energy efficiency of the selected fixtures.
- Plan the Lighting Layout – Decide on the placement of the lighting fixtures. Optimal lighting positions include above the shelves, below the shelves for accent lighting, and along the sides of the closet for even distribution of light. Plan the layout to minimize shadowing and ensure maximum visibility.
- Install the Fixtures – Following the manufacturer’s instructions, install the chosen lighting fixtures. Mount overhead lights or track lighting according to the provided guidelines. For LED strips or other accent lighting, use adhesive or mounting brackets to secure them in the desired locations.
- Connect Wiring and Power – If the lighting fixtures require electrical connections, follow proper wiring procedures. If needed, seek professional assistance to ensure safety and compliance with electrical regulations. Connect the fixtures to a power source, such as an existing electrical outlet or a dedicated switch for the closet lighting.
- Test the Lighting – After installation, test the lighting fixtures to ensure they are functioning correctly. Verify that the brightness and placement meet your requirements. Make any necessary adjustments or additions if the lighting is insufficient or uneven.
By adding appropriate lighting fixtures to your closet, you will enhance visibility, create an inviting atmosphere, and make it easier to organize your belongings. With the lighting fixtures in place, the next step is to organize your closet effectively for maximum efficiency.
Organizing the Closet
Now that you have completed the remodel and installed the necessary storage solutions and lighting fixtures, it’s time to organize your newly revamped closet. Proper organization is the key to maximizing space and maintaining a clutter-free environment. Follow these steps to effectively organize your closet:
- Purge and Declutter – Start by going through your belongings and decluttering your closet. Remove any items that you no longer need, use, or love. Donate or sell them to free up space and create a more streamlined closet.
- Sort by Category – Categorize your items into groups such as clothing, shoes, accessories, and seasonal items. This will help you identify the best storage solutions and determine where each category should be placed within your closet.
- Allocate Zones – Assign specific zones for different categories within your closet. Designate areas for hanging clothes, folded items, shoes, and accessories. Consider your daily routine and prioritize frequently used items for easy access.
- Utilize Storage Solutions – Implement the storage solutions you installed during the remodel. Utilize shelves, drawers, hanging organizers, and bins to maximize space and keep your belongings organized. Use dividers or baskets to further segment your items within each category.
- Arrange by Function and Frequency of Use – Arrange your items based on their function and frequency of use. Keep frequently worn clothes and frequently used accessories within easy reach. Place seasonal or less frequently used items on higher shelves or in less accessible areas.
- Label and Maintain – Label shelves, bins, and containers to easily identify the contents and maintain order in your closet. Regularly assess and adjust the organization system to accommodate any changes in your wardrobe or storage needs.
By following these organizing steps, you can create a functional and efficient closet space. A well-organized closet will make it easier to find and access your belongings, streamline your daily routines, and maintain a tidy environment. With the organization complete, it’s time to add the final touches and implement maintenance tips.
Final Touches and Maintenance Tips
As you near the completion of your closet remodeling project, it’s important to add the final touches and implement maintenance tips to ensure your newly organized space remains functional and well-maintained. Here are some final touches and maintenance tips to consider:
- Add Decorative Elements – Consider adding decorative elements, such as framed artwork, a rug, or decorative storage boxes, to enhance the aesthetic appeal of your closet. These final touches can add a personal touch and make your closet feel more inviting.
- Create a Cleaning Schedule – Develop a regular cleaning schedule to keep your closet tidy and dust-free. Set aside time every few months to declutter, wipe down surfaces, vacuum or sweep the floor, and review your organization system for any adjustments or improvements.
- Rotate Seasonal Items – To optimize space and keep your closet organized, rotate seasonal items as needed. Store off-season clothes and accessories in labeled containers or vacuum-sealed bags, and place them in a designated storage area to free up space for items you currently need.
- Maintain Proper Lighting – Regularly check and replace light bulbs or LED strips as necessary to ensure proper illumination in your closet. Good lighting is crucial for visibility and efficiently finding items.
- Practice Regular Decluttering – Make decluttering a regular habit to prevent your closet from becoming overcrowded or disorganized. Assess your belongings on a periodic basis and let go of items that are no longer needed or worn. This will help maintain an organized and functional closet space.
- Adapt as Your Needs Change – Be open to adapting your closet organization system as your needs change over time. As you acquire new items or your lifestyle evolves, reassess your storage solutions and make necessary adjustments to ensure maximum efficiency.
By adding these final touches and implementing regular maintenance, you can prolong the effectiveness and organization of your closet remodel. Enjoy your newly revamped space that is not only functional but also aesthetically pleasing.
Conclusion
Congratulations, you have successfully completed the remodeling of your closet! By following the steps outlined in this guide, you have transformed your closet space into a functional and well-organized area that meets your storage needs. From assessing the closet space to adding the final touches, your dedication and effort have paid off.
Throughout the remodeling process, you assessed the dimensions of your closet, evaluated the existing storage, and considered your specific needs and preferences. You removed old shelving and rods, prepared the walls and floor, and installed new storage solutions. By adding lighting fixtures and organizing your items, you have created a closet that is both visually appealing and efficient.
Remember to maintain your newly revamped closet by implementing regular cleaning and decluttering schedules. Keep an eye on the lighting fixtures, rotating seasonal items, and adapting the organization system as your needs change. By following these maintenance tips, you can ensure that your closet remains functional and organized for years to come.
Enjoy the benefits of your newly remodeled closet: easy access to your belongings, improved visibility, and a decluttered space. With your well-organized closet, you will save time getting ready each day and eliminate the frustration of searching for items.
Thank you for embarking on this closet remodeling journey with us. We hope this guide has provided you with valuable insights and inspiration. Now, go ahead and enjoy your beautifully remodeled closet!
Frequently Asked Questions about How To Remodel A Closet
Was this page helpful?
At Storables.com, we guarantee accurate and reliable information. Our content, validated by Expert Board Contributors, is crafted following stringent Editorial Policies. We're committed to providing you with well-researched, expert-backed insights for all your informational needs.


0 thoughts on “How To Remodel A Closet”