Home>Renovation & DIY>Home Renovation Guides>How To Join Solid Granite Surface Countertops When Remodelling Your Home
Home Renovation Guides
How To Join Solid Granite Surface Countertops When Remodelling Your Home
Published: December 21, 2023
Learn how to join solid granite surface countertops in your home renovation project with our comprehensive guides. Upgrade your space with expert tips and techniques.
(Many of the links in this article redirect to a specific reviewed product. Your purchase of these products through affiliate links helps to generate commission for Storables.com, at no extra cost. Learn more)
Introduction
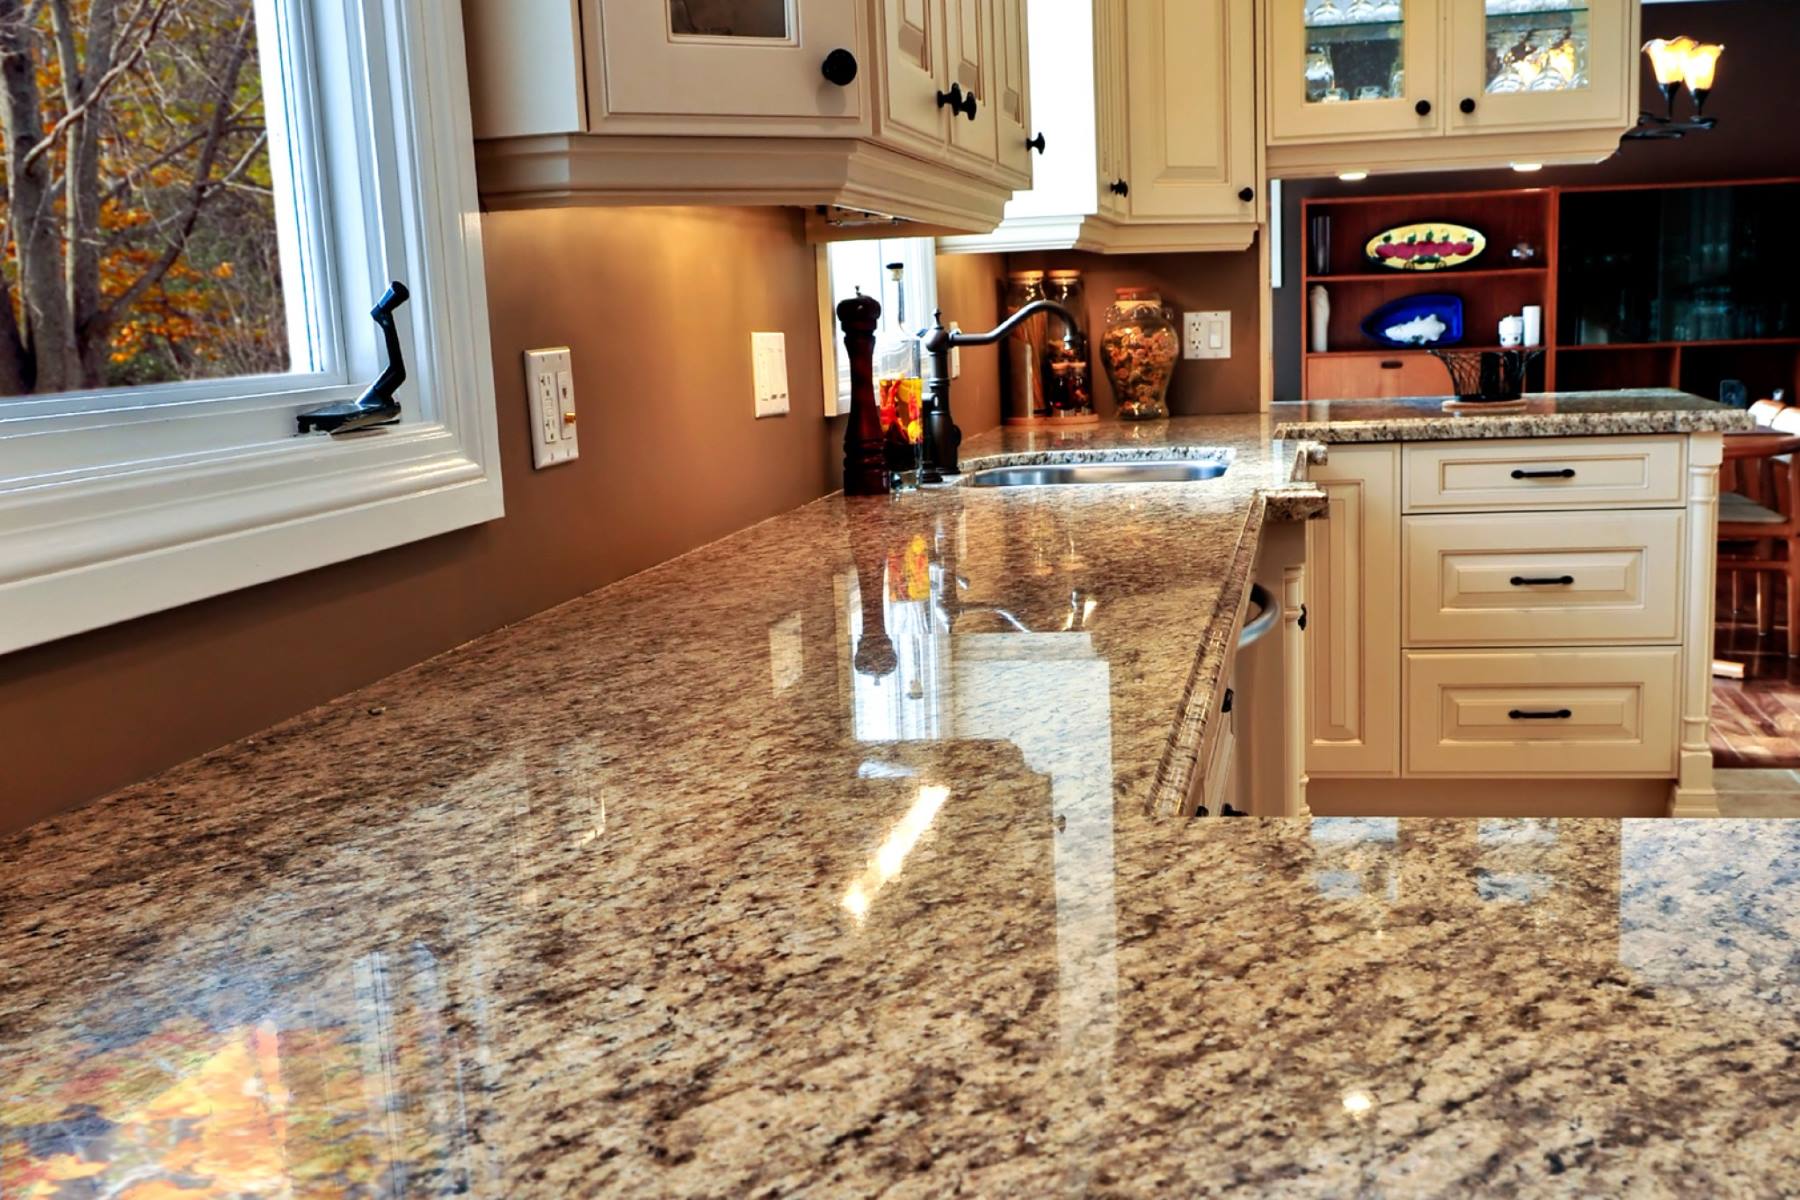
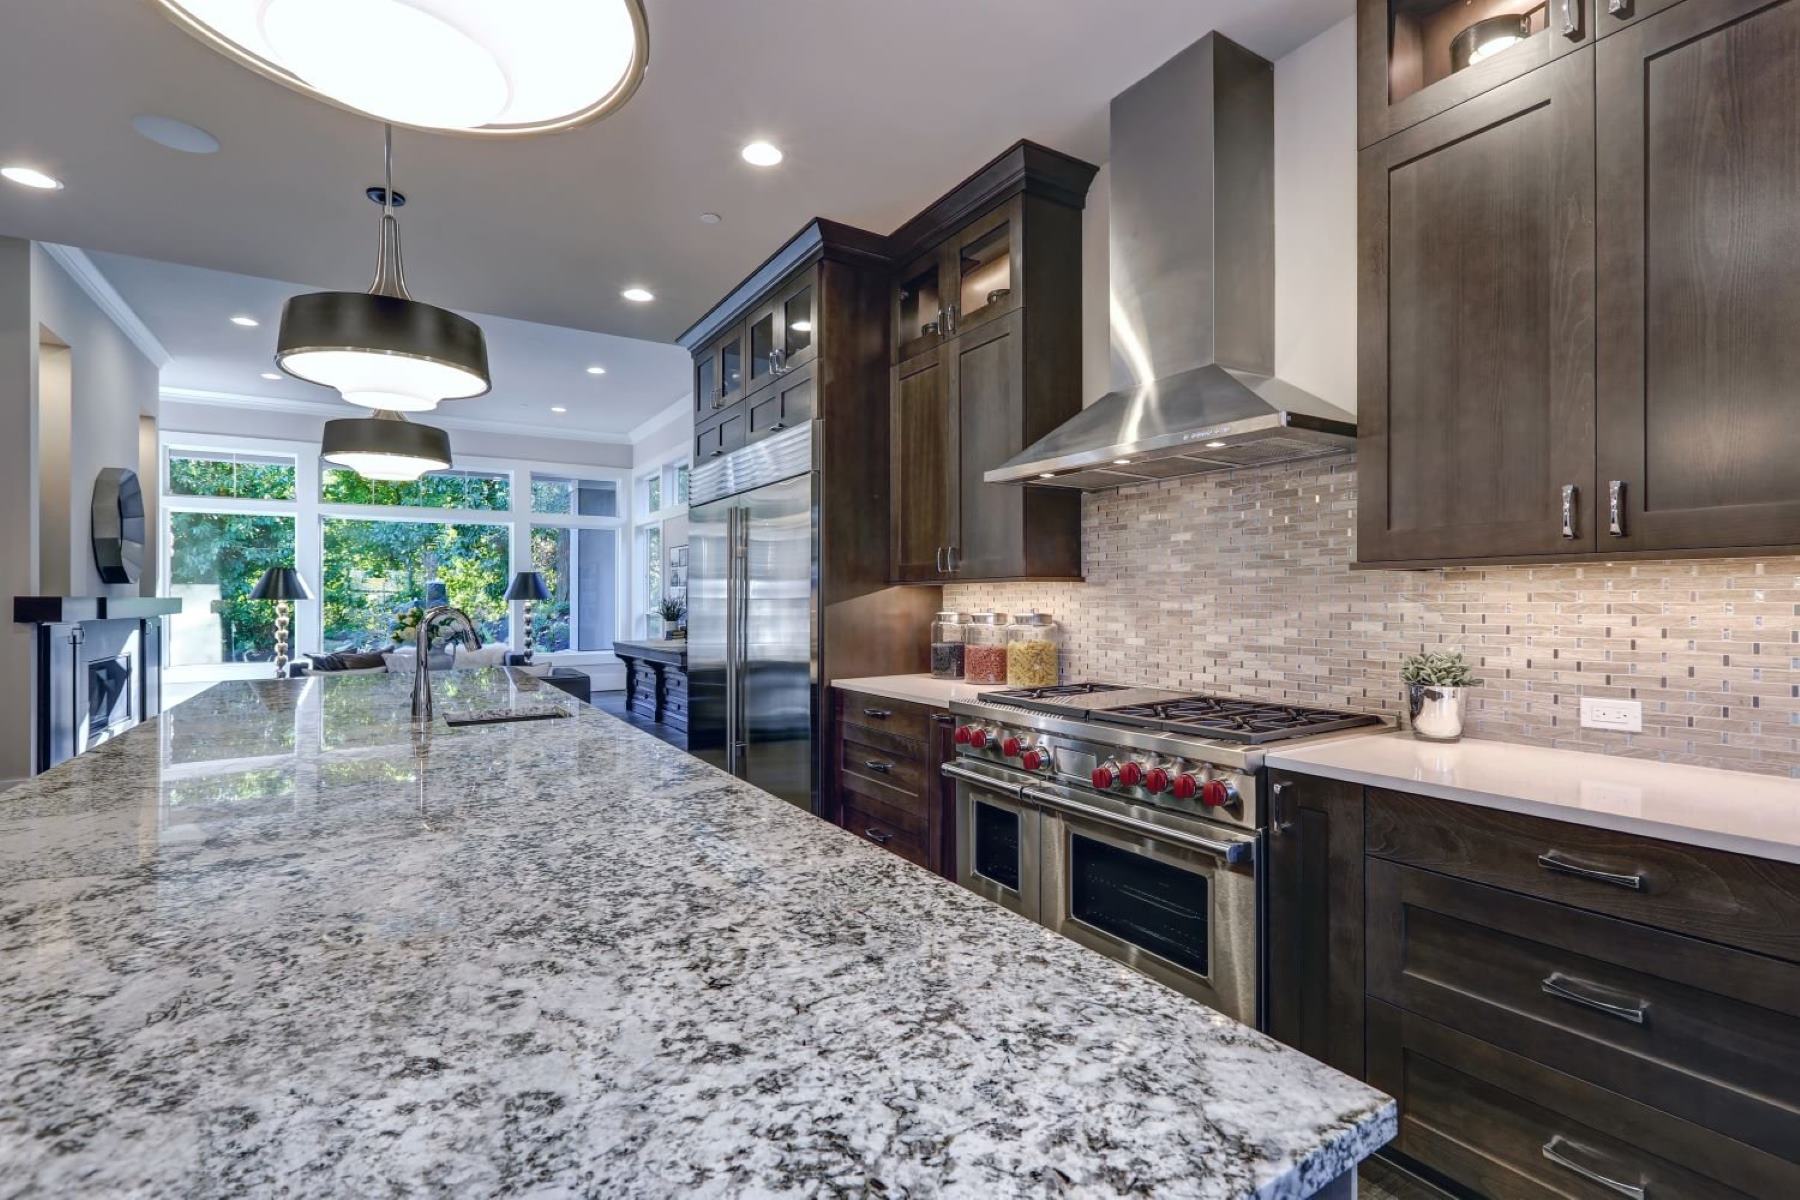
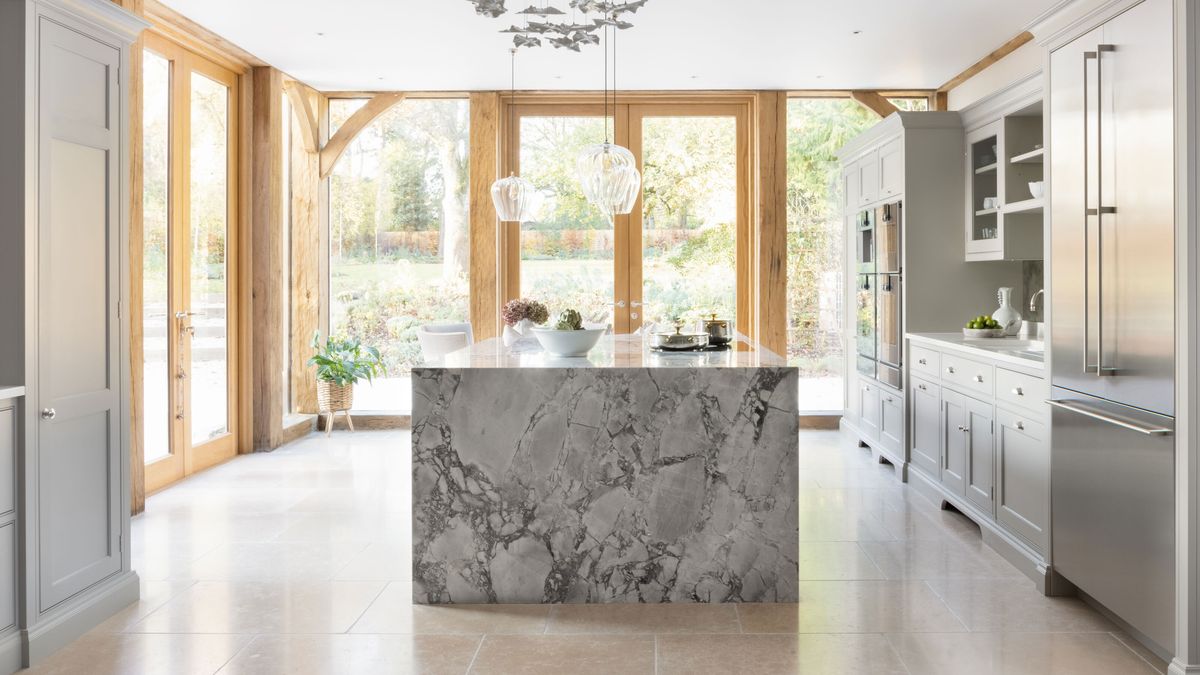
Welcome to the world of home renovation, where the heart of your home can be transformed into a stunning masterpiece. When it comes to revamping your kitchen, one of the most impactful upgrades is the installation of solid granite surface countertops. Not only do these countertops exude elegance and luxury, but they also offer exceptional durability and functionality. However, to achieve a seamless and professional look, it’s crucial to ensure that the individual sections of the countertop are joined with precision and care.
In this comprehensive guide, we will walk you through the process of joining solid granite surface countertops, providing you with the knowledge and confidence to tackle this task with finesse. From understanding the nature of solid granite to the step-by-step procedure for seamless joining, we’ve got you covered. So, roll up your sleeves, gather your tools, and let’s embark on this transformative journey to elevate the aesthetics and functionality of your kitchen space.
Key Takeaways:
- Elevate your kitchen with seamless solid granite surface countertops by understanding the unique properties of granite, meticulous preparation, precise joining, and flawless finishing for a visually stunning and durable result.
- Joining solid granite surface countertops requires precision, care, and attention to detail, resulting in a visually seamless and structurally robust integration that elevates the aesthetics and functionality of your kitchen space.
Read more: How Much Is Solid Surface Countertops
Understanding Solid Granite Surface Countertops
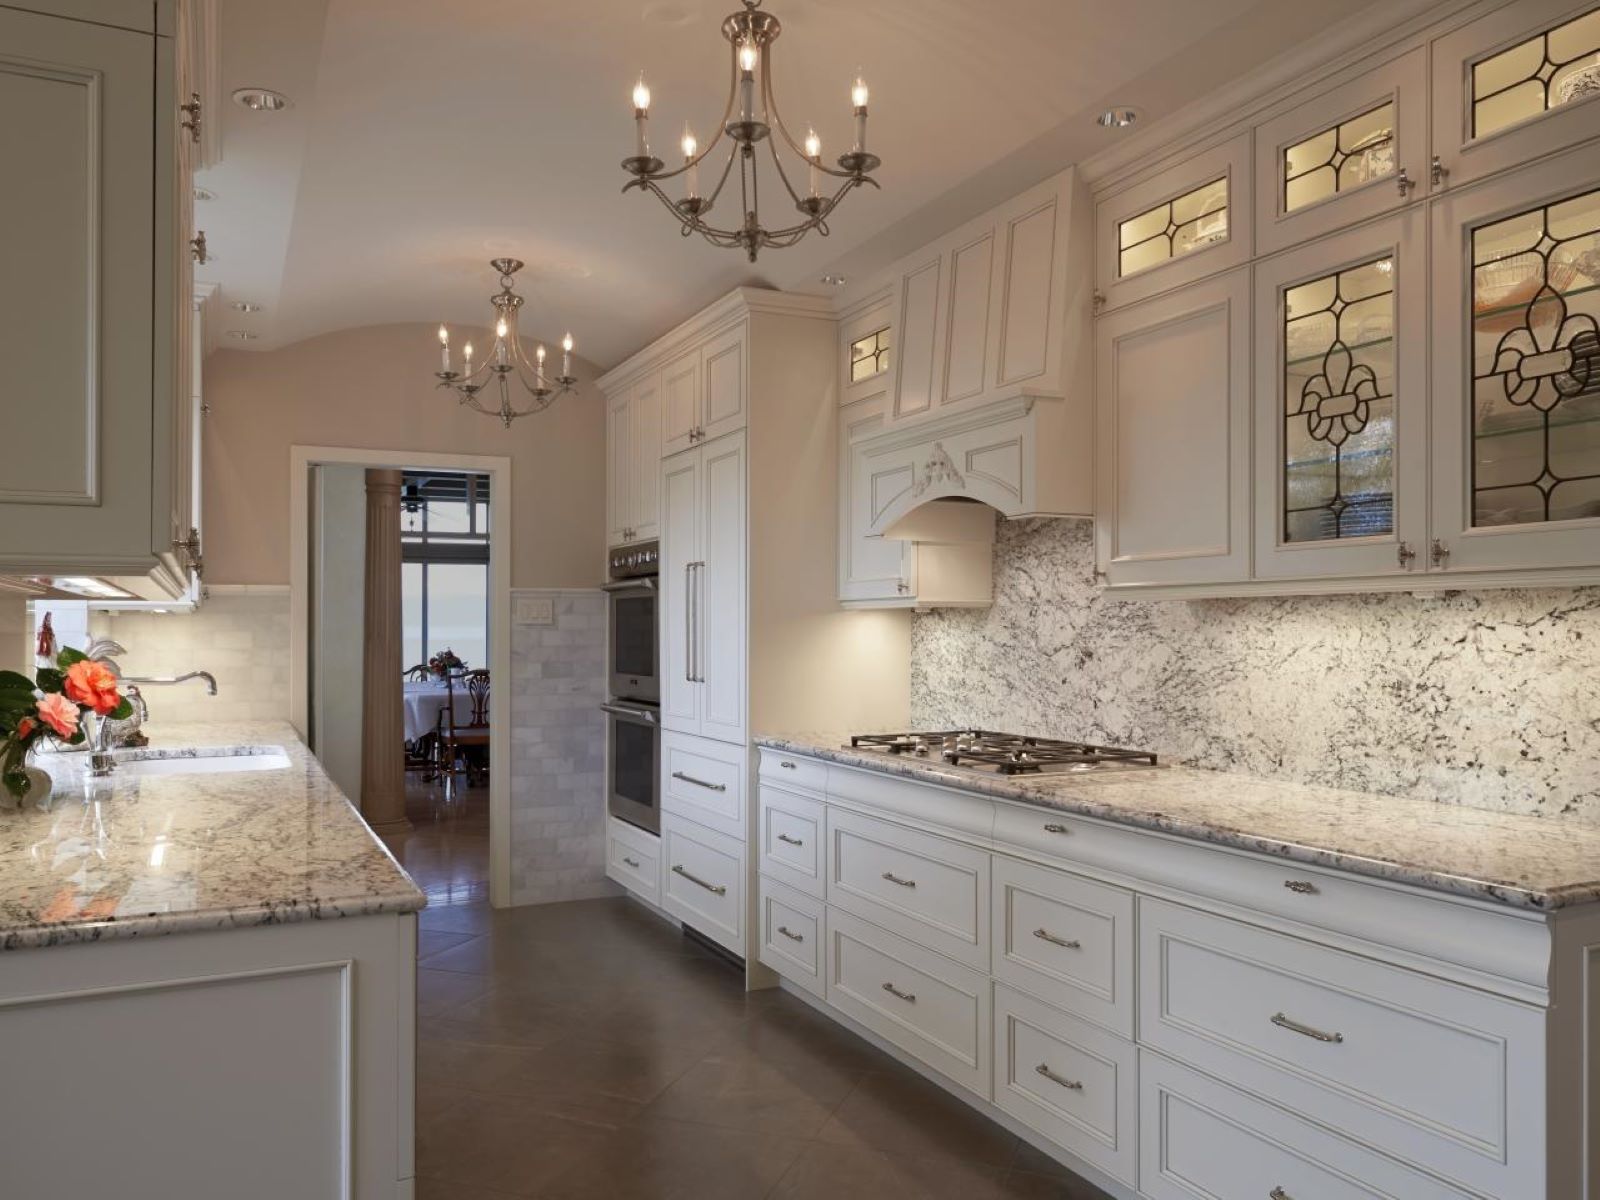
Before delving into the intricacies of joining solid granite surface countertops, it’s essential to grasp the unique characteristics of this exquisite material. Granite, a natural stone formed through the cooling and solidification of molten rock, is renowned for its exceptional strength, resilience, and aesthetic appeal. When harnessed as a countertop surface, granite infuses a touch of timeless elegance into any kitchen, making it a popular choice among homeowners and designers alike.
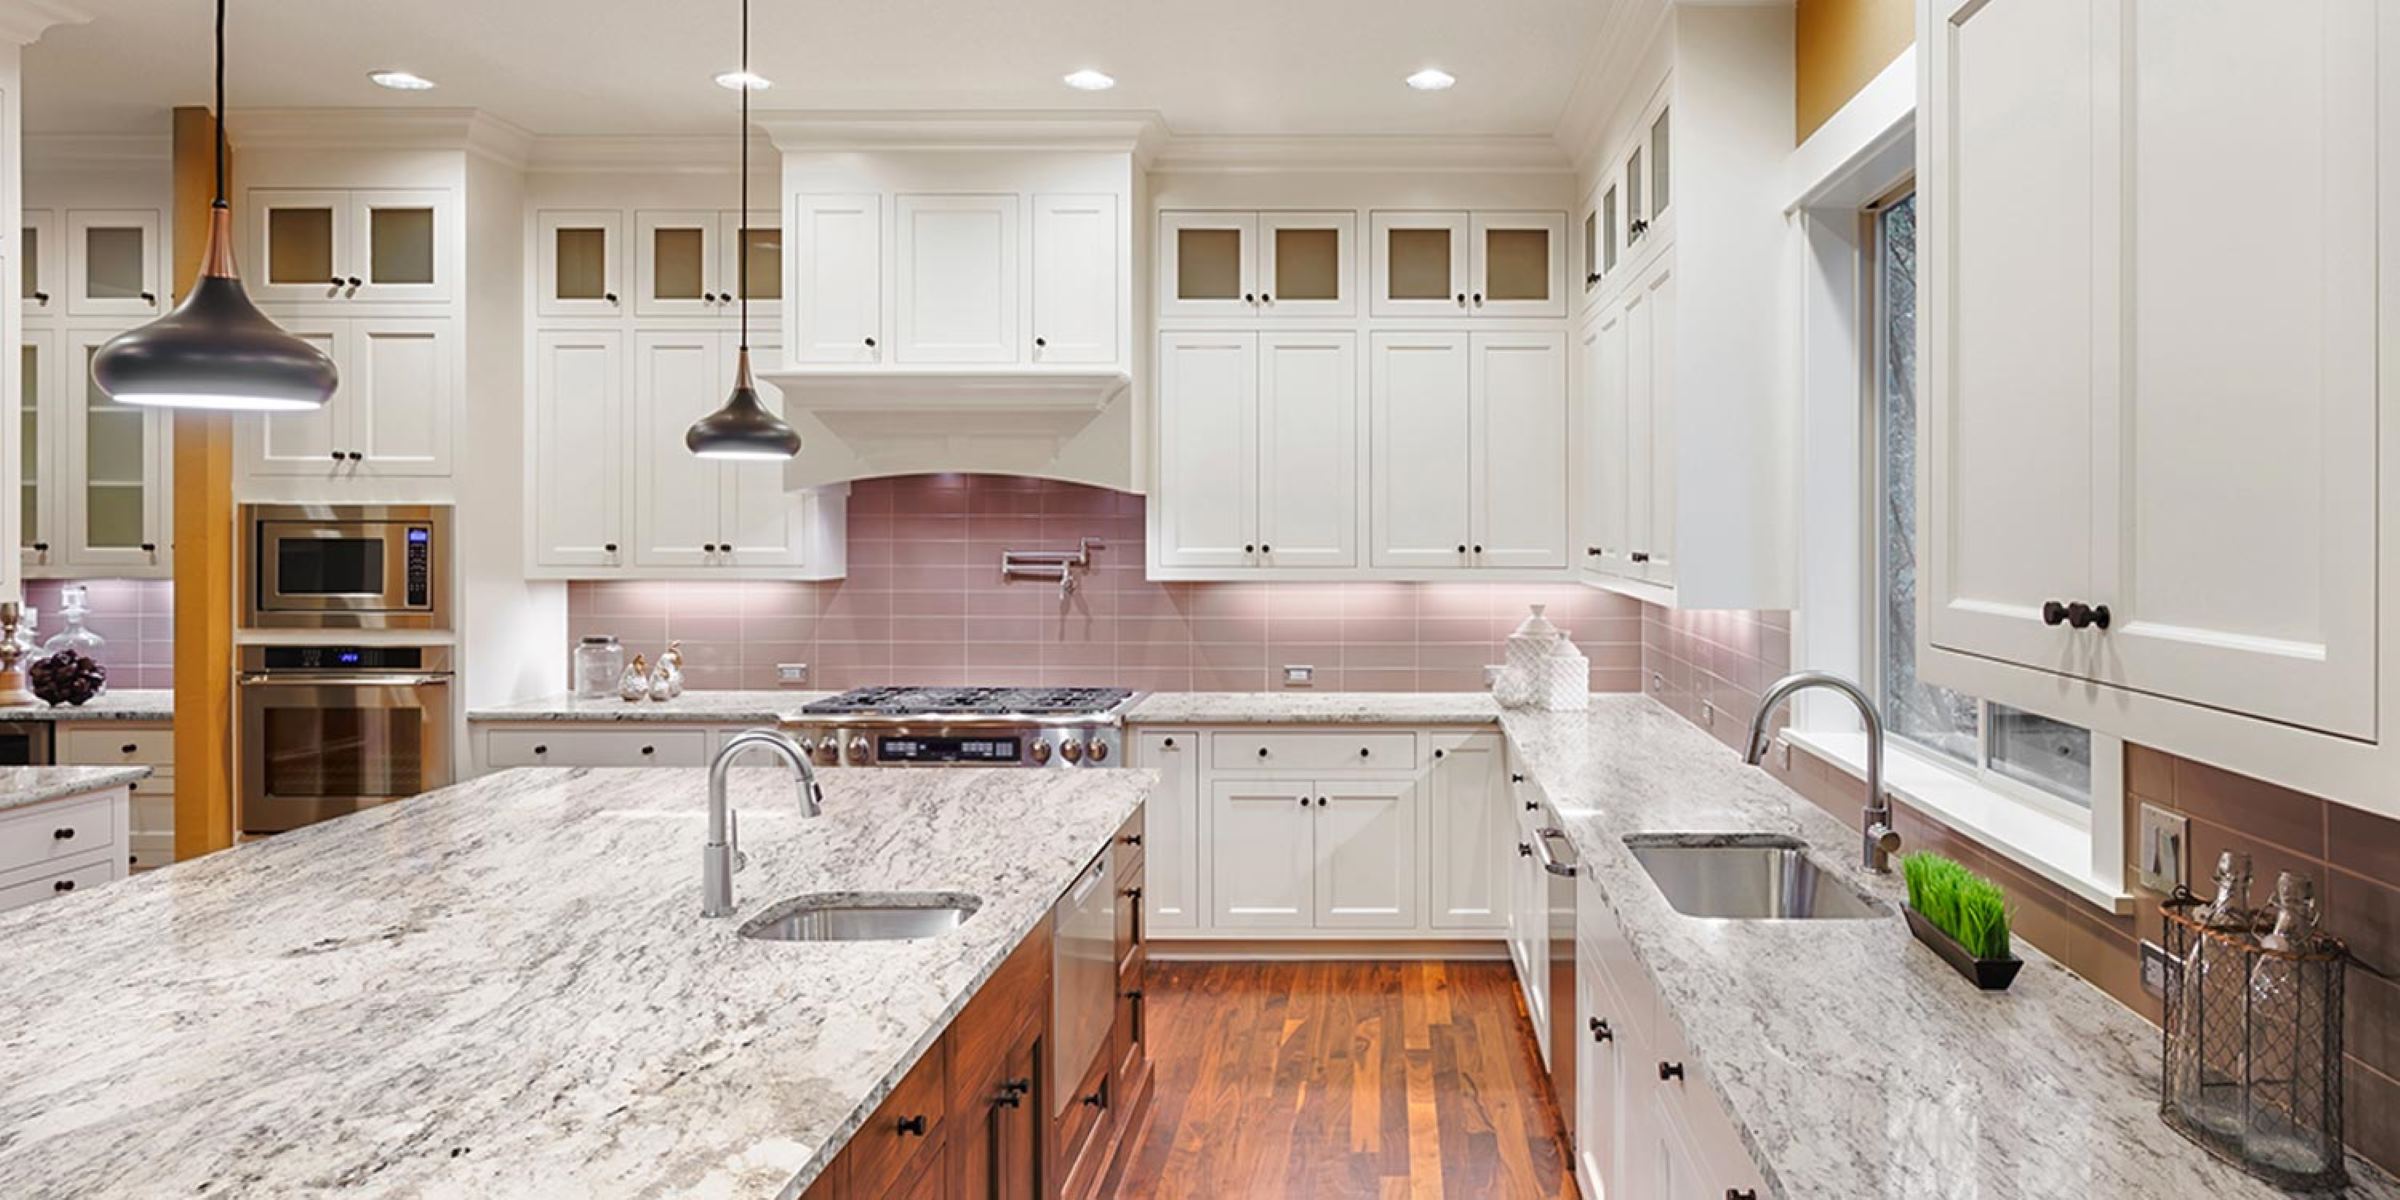
One of the primary advantages of solid granite surface countertops is their remarkable durability. Granite is highly resistant to scratches, heat, and stains, making it an ideal surface for bustling kitchen environments. Additionally, the natural variations in color and veining patterns ensure that each granite slab is one-of-a-kind, adding a distinctive charm to your kitchen space.
When it comes to maintenance, solid granite surface countertops are relatively low-maintenance, requiring simple cleaning and periodic resealing to preserve their luster and protective properties. Furthermore, the inherent strength of granite lends itself to accommodating heavy loads and enduring daily wear and tear without compromising its integrity.
Understanding the unique properties of solid granite surface countertops is crucial when it comes to joining them seamlessly. By comprehending the characteristics of this natural stone, you can approach the joining process with the necessary care and precision, ensuring that the end result is not only visually stunning but also structurally sound.
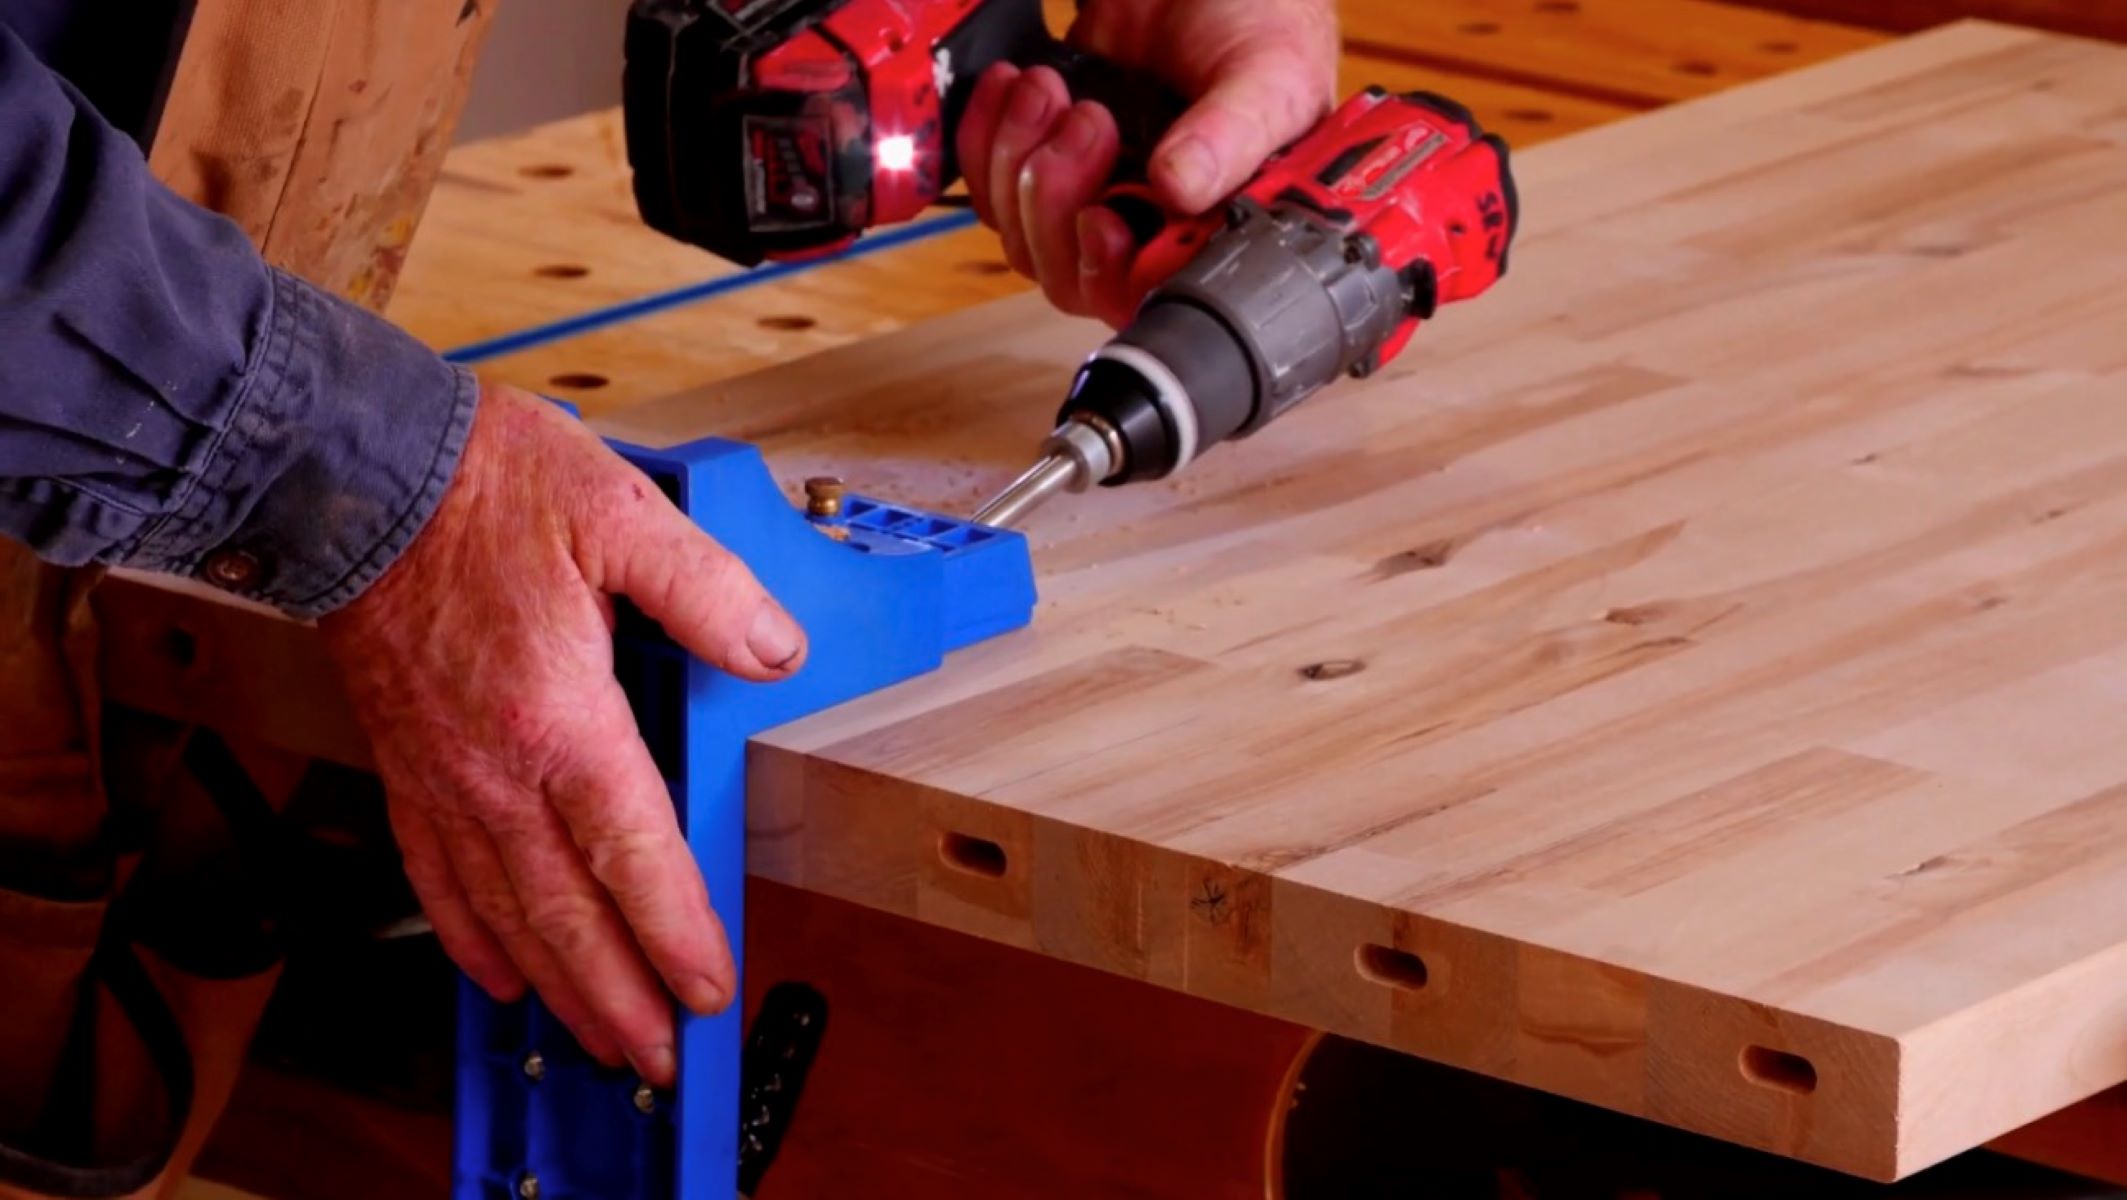
Tools and Materials Needed for Joining Solid Granite Surface Countertops
Before embarking on the process of joining solid granite surface countertops, it’s essential to gather the necessary tools and materials to ensure a smooth and efficient workflow. Here’s a comprehensive list of items you’ll need:
- Clamps: Heavy-duty clamps are essential for holding the countertop sections in place during the joining process.
- Diamond-Tipped Blade: A diamond-tipped blade designed for cutting granite will be required to trim the edges of the countertops with precision.
- Level: A reliable level is crucial for ensuring that the joined countertops are perfectly aligned and flush.
- Color-Matched Epoxy Adhesive: High-quality epoxy adhesive specifically formulated for granite is necessary to create a strong and seamless bond between the countertop sections.
- Painter’s Tape: Painter’s tape will help protect the surrounding areas from adhesive spills and smudges during the joining process.
- Polishing Pads: Specialized polishing pads designed for granite will be used to smooth and refine the joined seams, achieving a flawless finish.
- Silicone Caulk: A color-matched silicone caulk will be applied to the seams after joining to create a water-tight and aesthetically pleasing transition between the countertop sections.
- Protective Gear: Safety goggles, gloves, and a dust mask are essential for personal protection during the cutting and joining processes.
Additionally, you will need the following materials:
- Granite Countertop Sections: The individual sections of solid granite surface countertops that are to be joined.
- Denatured Alcohol: Denatured alcohol will be used to clean the countertop edges before applying the adhesive.
- Lint-Free Cloths: Lint-free cloths are necessary for cleaning and preparing the countertop edges for joining.
- Stone Sealer: A high-quality stone sealer will be used to seal the joined seams, providing added protection and enhancing the appearance of the countertops.
By ensuring that you have all the required tools and materials on hand, you can proceed with confidence, knowing that you are well-equipped to carry out the joining process effectively and efficiently.
Step 1: Preparing the Countertop Edges
Before joining the solid granite surface countertops, meticulous preparation of the countertop edges is essential to ensure a seamless and durable bond. Here’s a detailed breakdown of the preparatory process:
1. Clean the Edges: Begin by thoroughly cleaning the edges of the countertop sections that are to be joined. Use denatured alcohol and lint-free cloths to remove any dust, debris, or residue, ensuring that the surfaces are impeccably clean and free from contaminants that could compromise the adhesive bond.
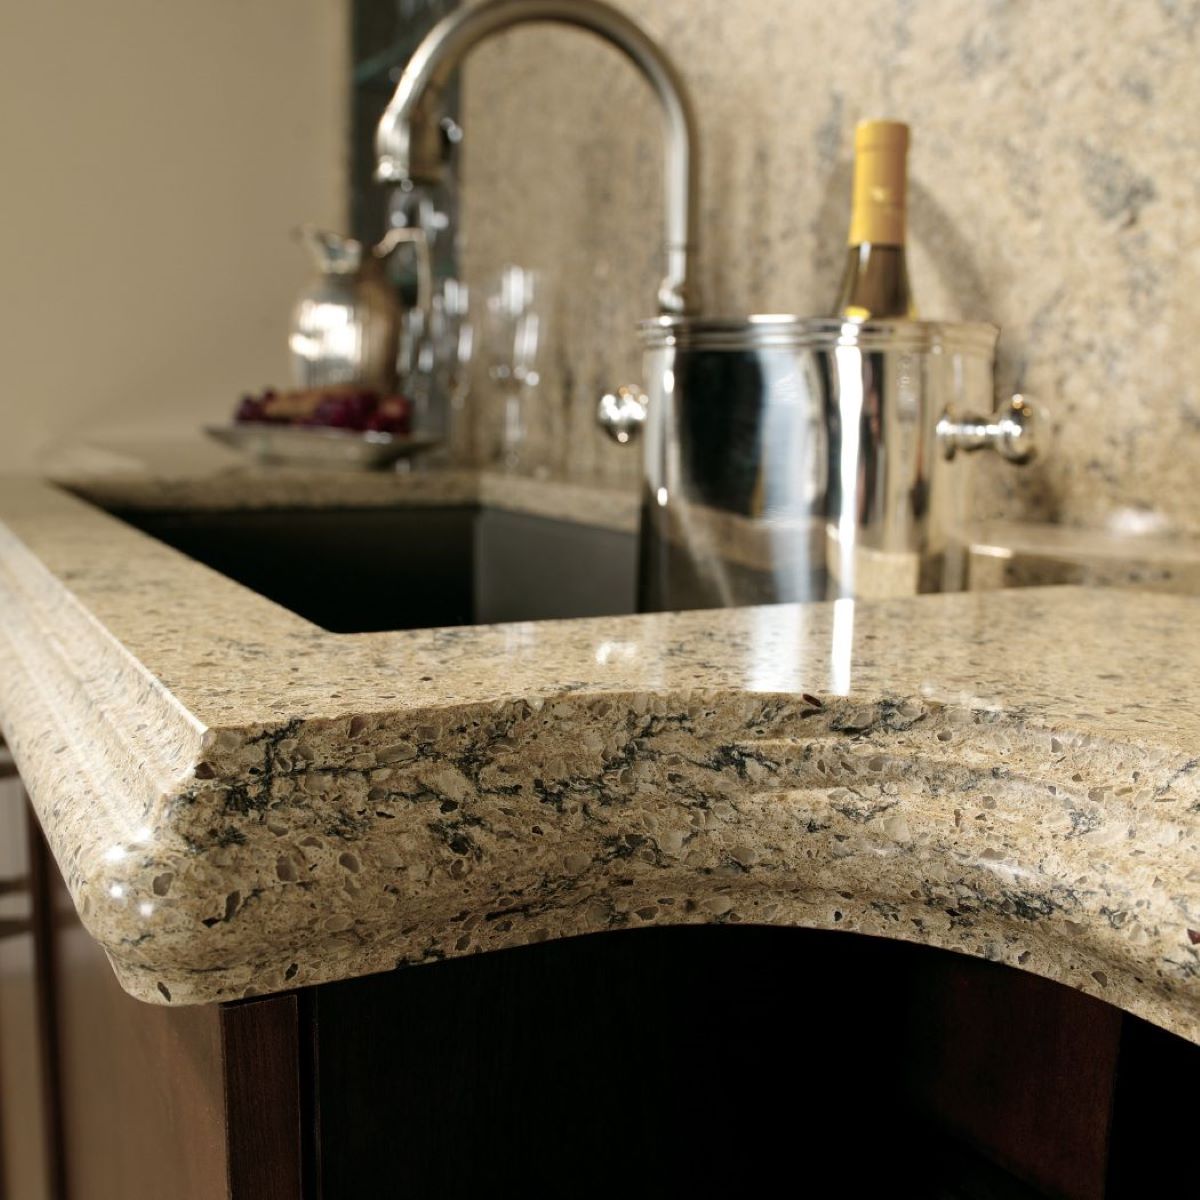
2. Trim and Shape the Edges: Using a diamond-tipped blade specifically designed for cutting granite, carefully trim and shape the edges of the countertops to create a precise and snug fit. It’s crucial to achieve a tight seam with minimal gaps to facilitate a strong and visually seamless join.
3. Dry-Fit the Countertop Sections: Once the edges are cleaned and shaped, perform a dry-fitting of the countertop sections to verify the accuracy of the cuts and ensure that the seams align perfectly. This step allows you to make any necessary adjustments before proceeding to the adhesive application.
4. Apply Painter’s Tape: To protect the surrounding areas and minimize the risk of adhesive spills or smudges, apply painter’s tape along the edges of the countertops, leaving a small gap where the adhesive will be applied. This precautionary measure helps maintain a clean and tidy workspace during the joining process.
By meticulously preparing the countertop edges, you set the stage for a successful joining process, laying the foundation for a robust and visually seamless union between the individual sections of the solid granite surface countertops.
When joining solid granite surface countertops during a home remodel, use a high-quality epoxy adhesive specifically designed for granite. Make sure to clean and dry the surfaces thoroughly before applying the adhesive for a strong and durable bond.
Step 2: Applying the Adhesive
Once the countertop edges are meticulously prepared, the next crucial step in joining solid granite surface countertops is the precise application of high-quality adhesive. Here’s a detailed guide on how to apply the adhesive for a strong and seamless bond:
1. Choose the Right Adhesive: Select a color-matched epoxy adhesive specifically formulated for granite surfaces. It’s essential to use an adhesive that not only creates a robust bond but also blends seamlessly with the natural color of the granite, ensuring a visually cohesive join.
2. Mix the Adhesive: Follow the manufacturer’s instructions to prepare the epoxy adhesive. Ensure that the components are thoroughly mixed to activate the adhesive’s bonding properties effectively.
3. Apply the Adhesive: Using a small, pointed trowel or a specialized adhesive application tool, carefully apply a thin and even layer of adhesive to the prepared edges of the countertop sections. Take care to cover the entire bonding surface while avoiding excess adhesive that could seep out and mar the surrounding areas.
4. Join the Countertop Sections: With the adhesive applied, gently maneuver the countertop sections into position, aligning the edges precisely to create a seamless seam. Use shims or spacers as needed to maintain an even gap along the seam, ensuring a consistent adhesive bond throughout.
5. Secure with Clamps: Once the countertop sections are aligned, secure them in place with heavy-duty clamps. Position the clamps strategically along the seam to exert uniform pressure, promoting a strong and uniform bond as the adhesive cures.
6. Clean Excess Adhesive: Promptly remove any excess adhesive that may have squeezed out along the seam using a clean, damp cloth. It’s crucial to eliminate any adhesive residue before it hardens to achieve a pristine finish.
By methodically applying the adhesive and ensuring a precise and uniform bond between the countertop sections, you pave the way for a visually seamless and structurally robust join, elevating the aesthetics and functionality of your kitchen space.
Read more: Best Granite Composite Sink For Your Kitchen
Step 3: Securing the Countertop Seams
With the adhesive applied and the countertop sections aligned, the next critical phase in joining solid granite surface countertops involves securing the seams to ensure a strong and uniform bond. Here’s a comprehensive guide to securing the countertop seams with precision and care:
1. Verify Alignment: Before proceeding, double-check the alignment of the countertop sections to ensure that the seams are flush and even. Use a reliable level to confirm that the joined sections are perfectly aligned both horizontally and vertically.
2. Adjust Clamps as Needed: If necessary, make minor adjustments to the positioning of the clamps to exert uniform pressure along the entire length of the seam. This step is crucial for promoting a consistent and robust bond as the adhesive cures.
3. Allow for Curing Time: Refer to the manufacturer’s guidelines to determine the recommended curing time for the adhesive. It’s essential to allow the adhesive to cure undisturbed, ensuring that the bond achieves its full strength and stability.
4. Check for Excess Adhesive: Periodically inspect the seam for any residual adhesive that may have oozed out during the securing process. Promptly remove any excess adhesive using a clean, damp cloth to maintain a clean and polished appearance.
5. Fine-Tune the Alignment: As the adhesive cures, periodically inspect the seam and make minor adjustments to the alignment if necessary. Ensuring that the seam remains perfectly aligned throughout the curing process is essential for achieving a visually seamless join.
6. Remove Clamps Carefully: Once the adhesive has fully cured, carefully remove the clamps, taking care not to jar or disturb the joined sections. Exercise caution to avoid inadvertently compromising the integrity of the bond.
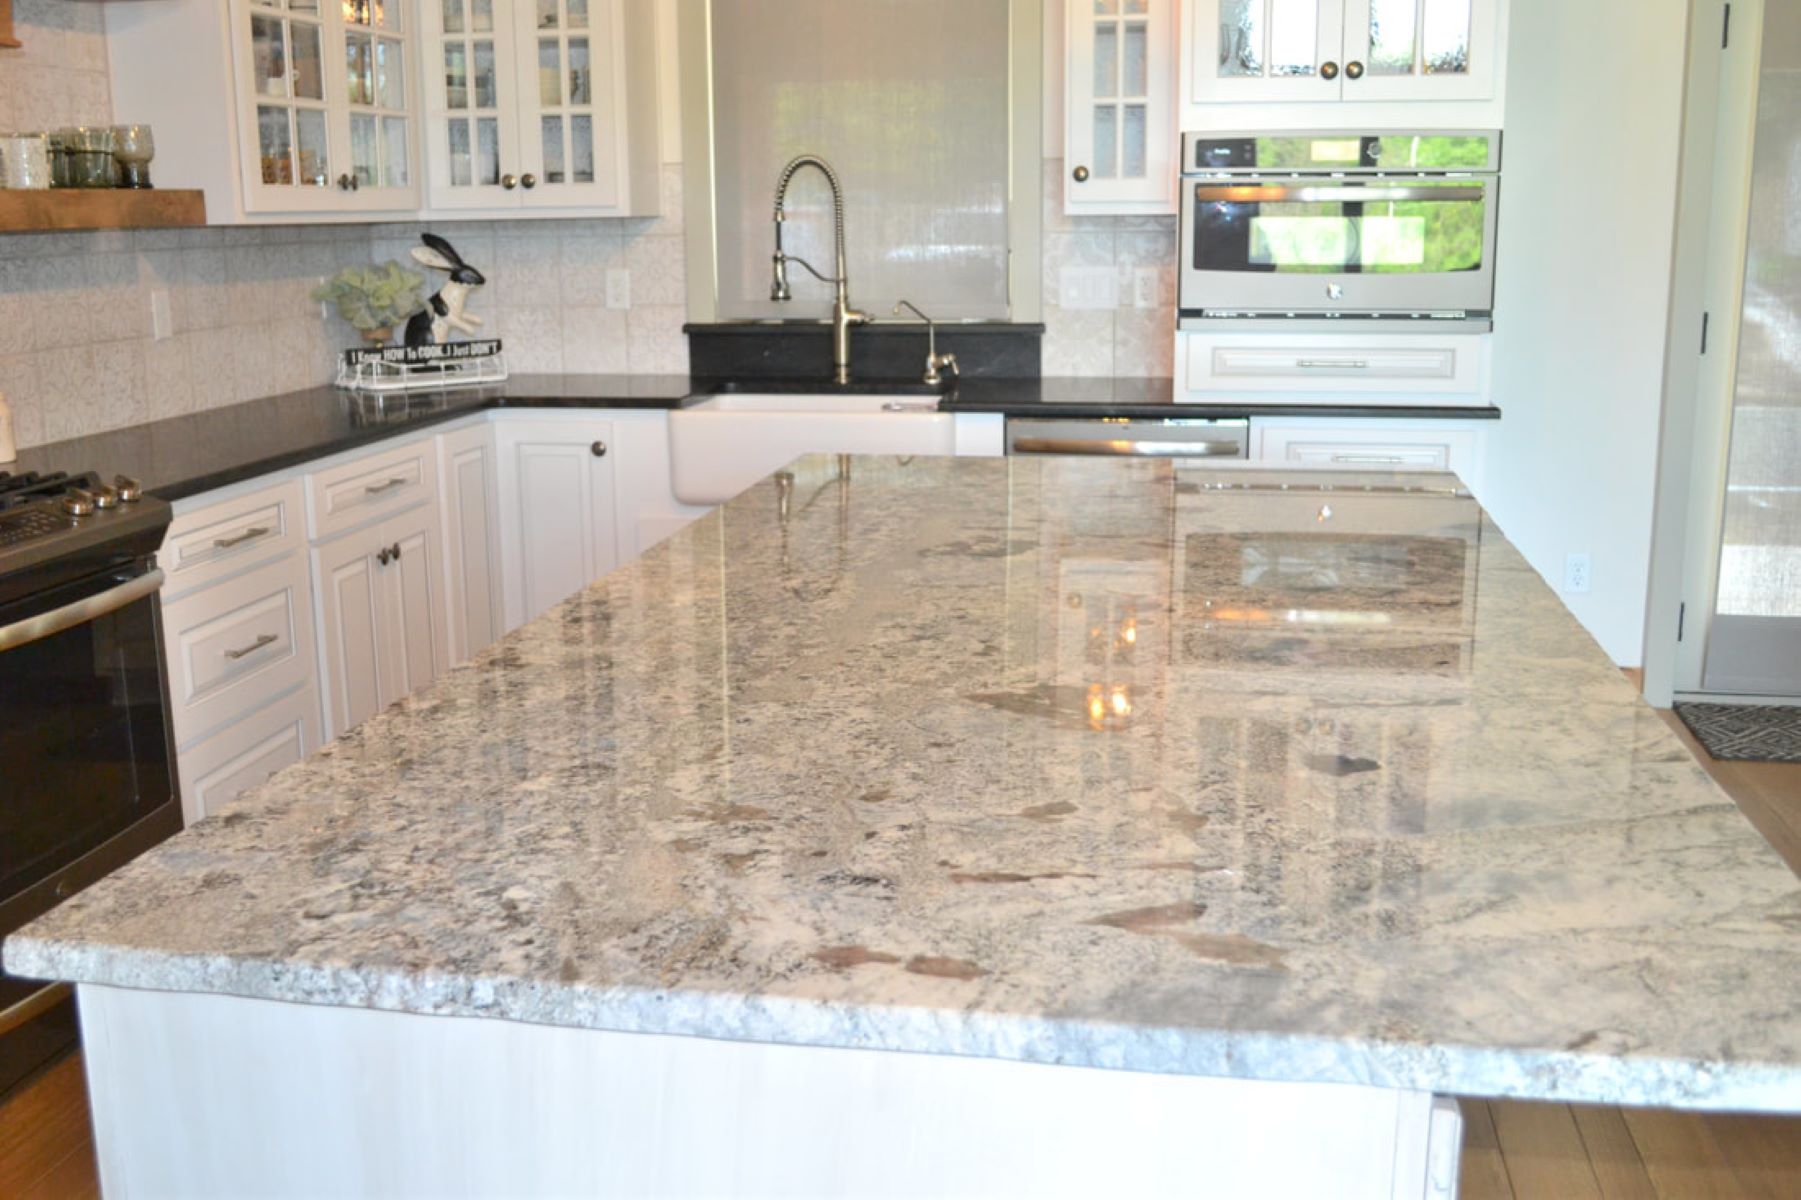
By meticulously securing the countertop seams and allowing the adhesive to cure undisturbed, you can achieve a flawless and resilient join, elevating the aesthetics and functionality of your kitchen with the timeless allure of solid granite surface countertops.
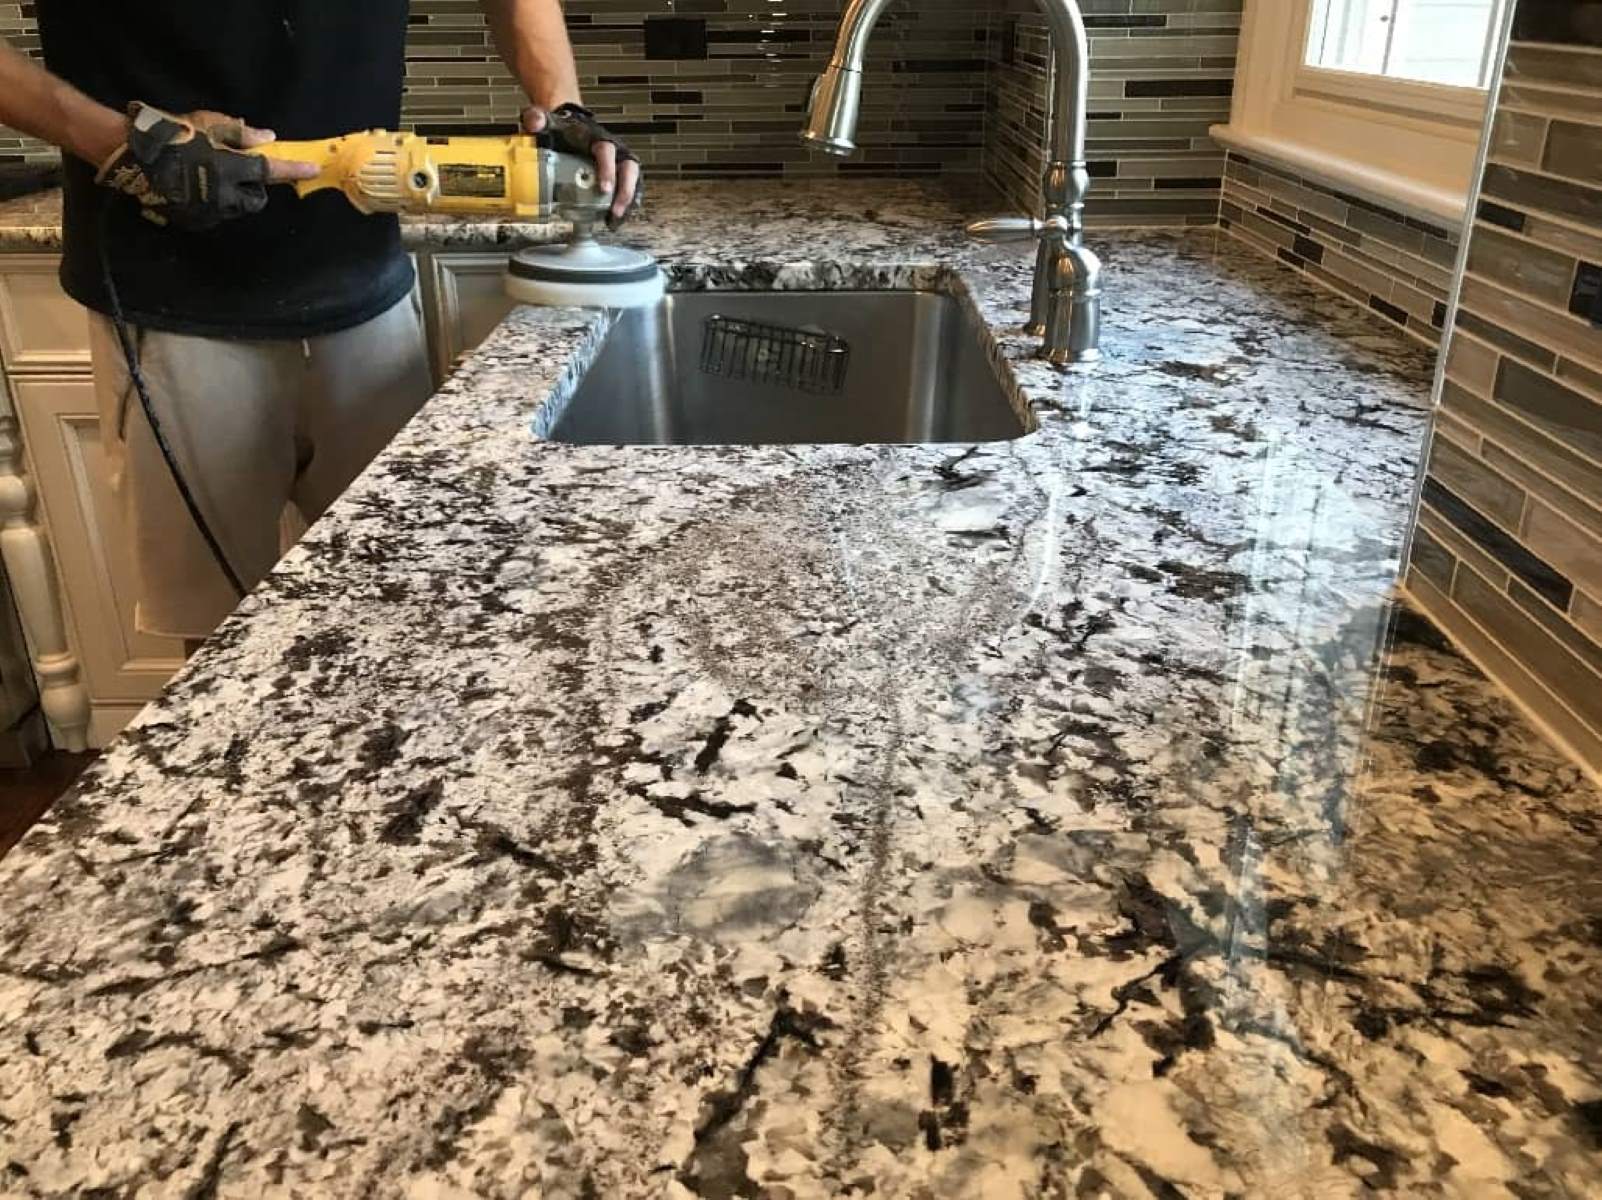
Step 4: Finishing and Polishing the Seams
After securing the seams of the solid granite surface countertops, the final step involves the meticulous process of finishing and polishing the seams to achieve a flawless and visually seamless integration. Here’s a comprehensive guide to the finishing and polishing phase:
1. Remove Painter’s Tape: Begin by carefully removing the painter’s tape that was applied to protect the surrounding areas during the joining process. Take care to peel off the tape gently to avoid dislodging the adhesive or causing any damage to the countertop surfaces.
2. Clean the Seams: Using a lint-free cloth and denatured alcohol, carefully clean the joined seams to remove any residual adhesive or debris. Ensuring that the seams are impeccably clean sets the stage for the subsequent polishing process.
3. Select Polishing Pads: Choose the appropriate grit of polishing pads designed for granite surfaces. Beginning with a coarser grit and progressing to finer grits, the polishing pads will refine the seams and achieve a smooth, uniform finish.
4. Polish the Seams: With the polishing pads, gently and methodically polish the seams, moving in circular motions to ensure an even and consistent finish. Pay close attention to achieving a seamless transition between the countertop sections, refining the edges to create an imperceptible join.
5. Inspect and Refine: Periodically inspect the seams as you polish, making any necessary adjustments to ensure that the join is visually seamless and free from imperfections. Take your time to achieve a flawless and polished finish that seamlessly integrates with the natural beauty of the granite.
6. Apply Stone Sealer: Once the seams are meticulously polished, apply a high-quality stone sealer to the joined areas. The sealer not only enhances the luster of the granite but also provides added protection, ensuring that the seams remain resilient and resistant to moisture and stains.
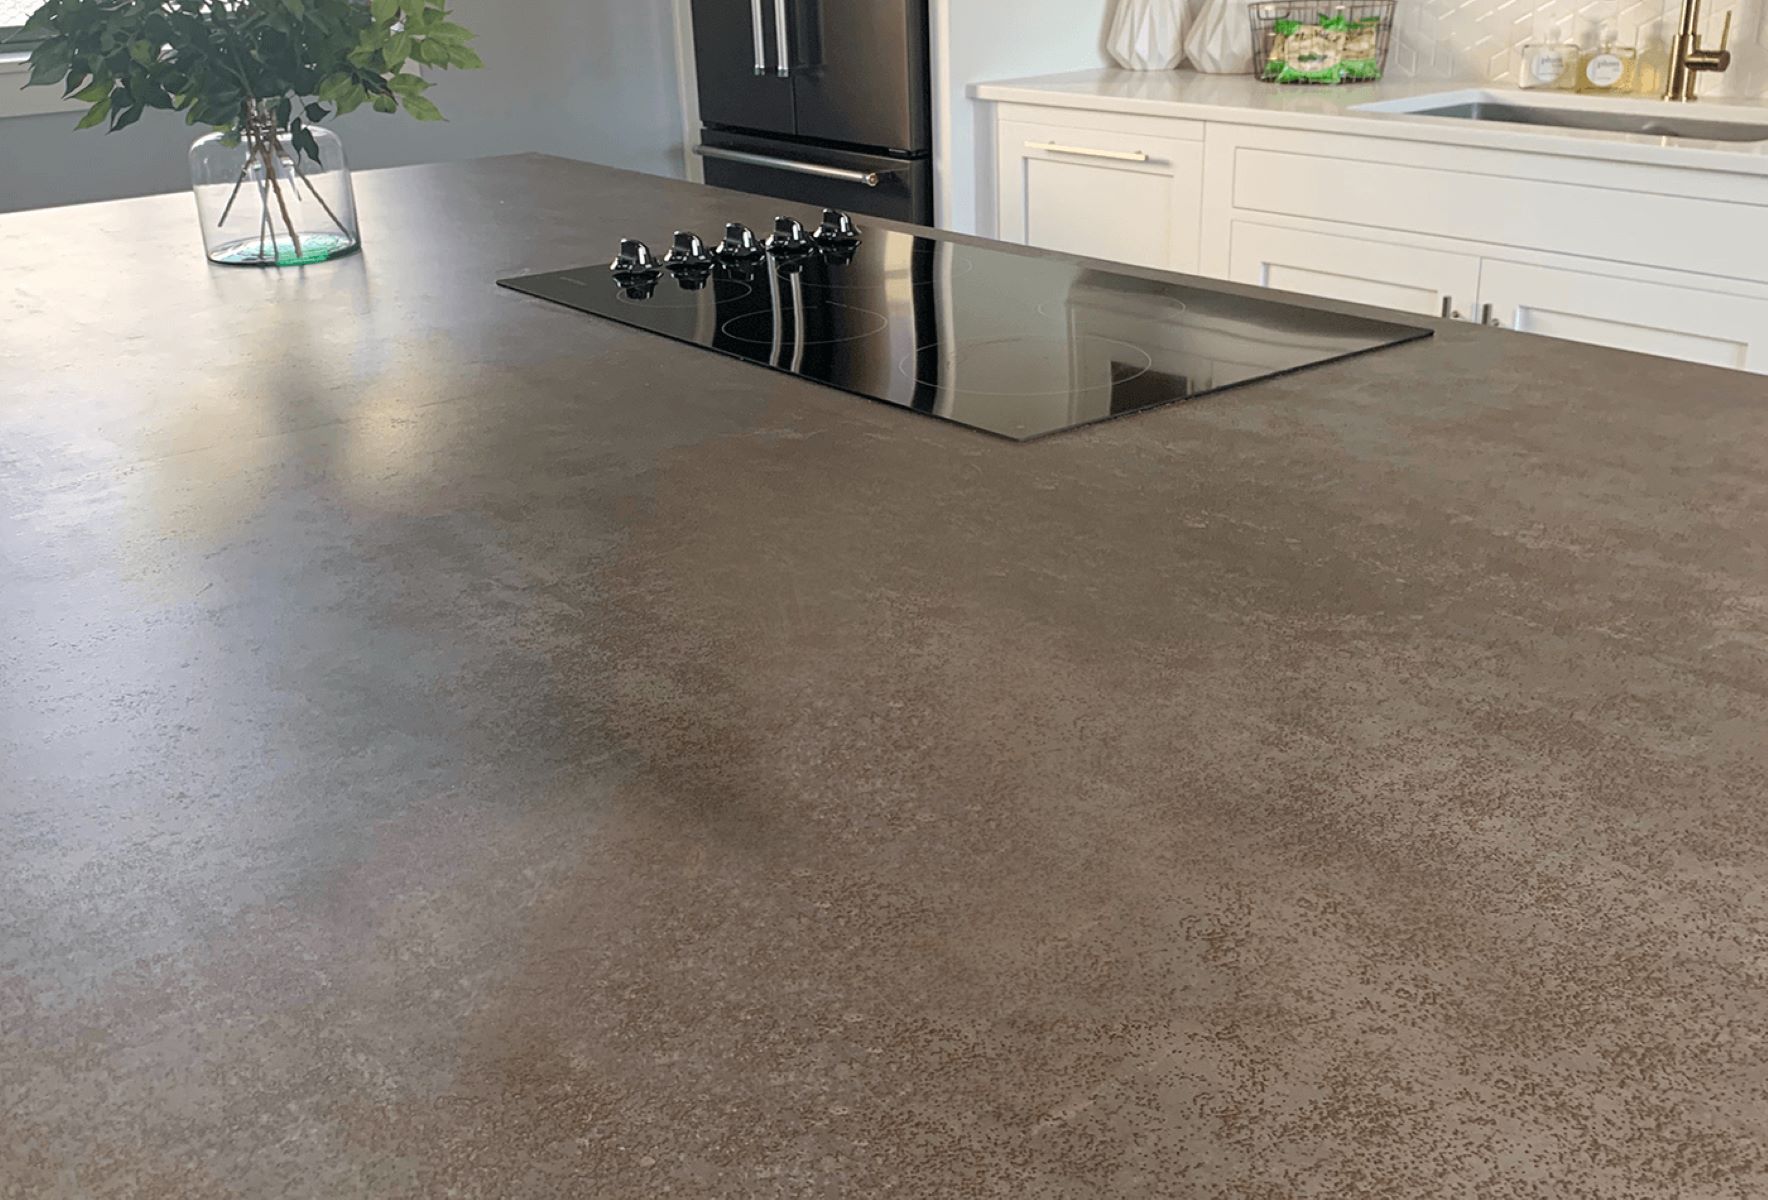
By diligently finishing and polishing the seams of the solid granite surface countertops, you can achieve a flawless and visually seamless integration, elevating the overall aesthetics of your kitchen space while celebrating the timeless allure of natural granite.
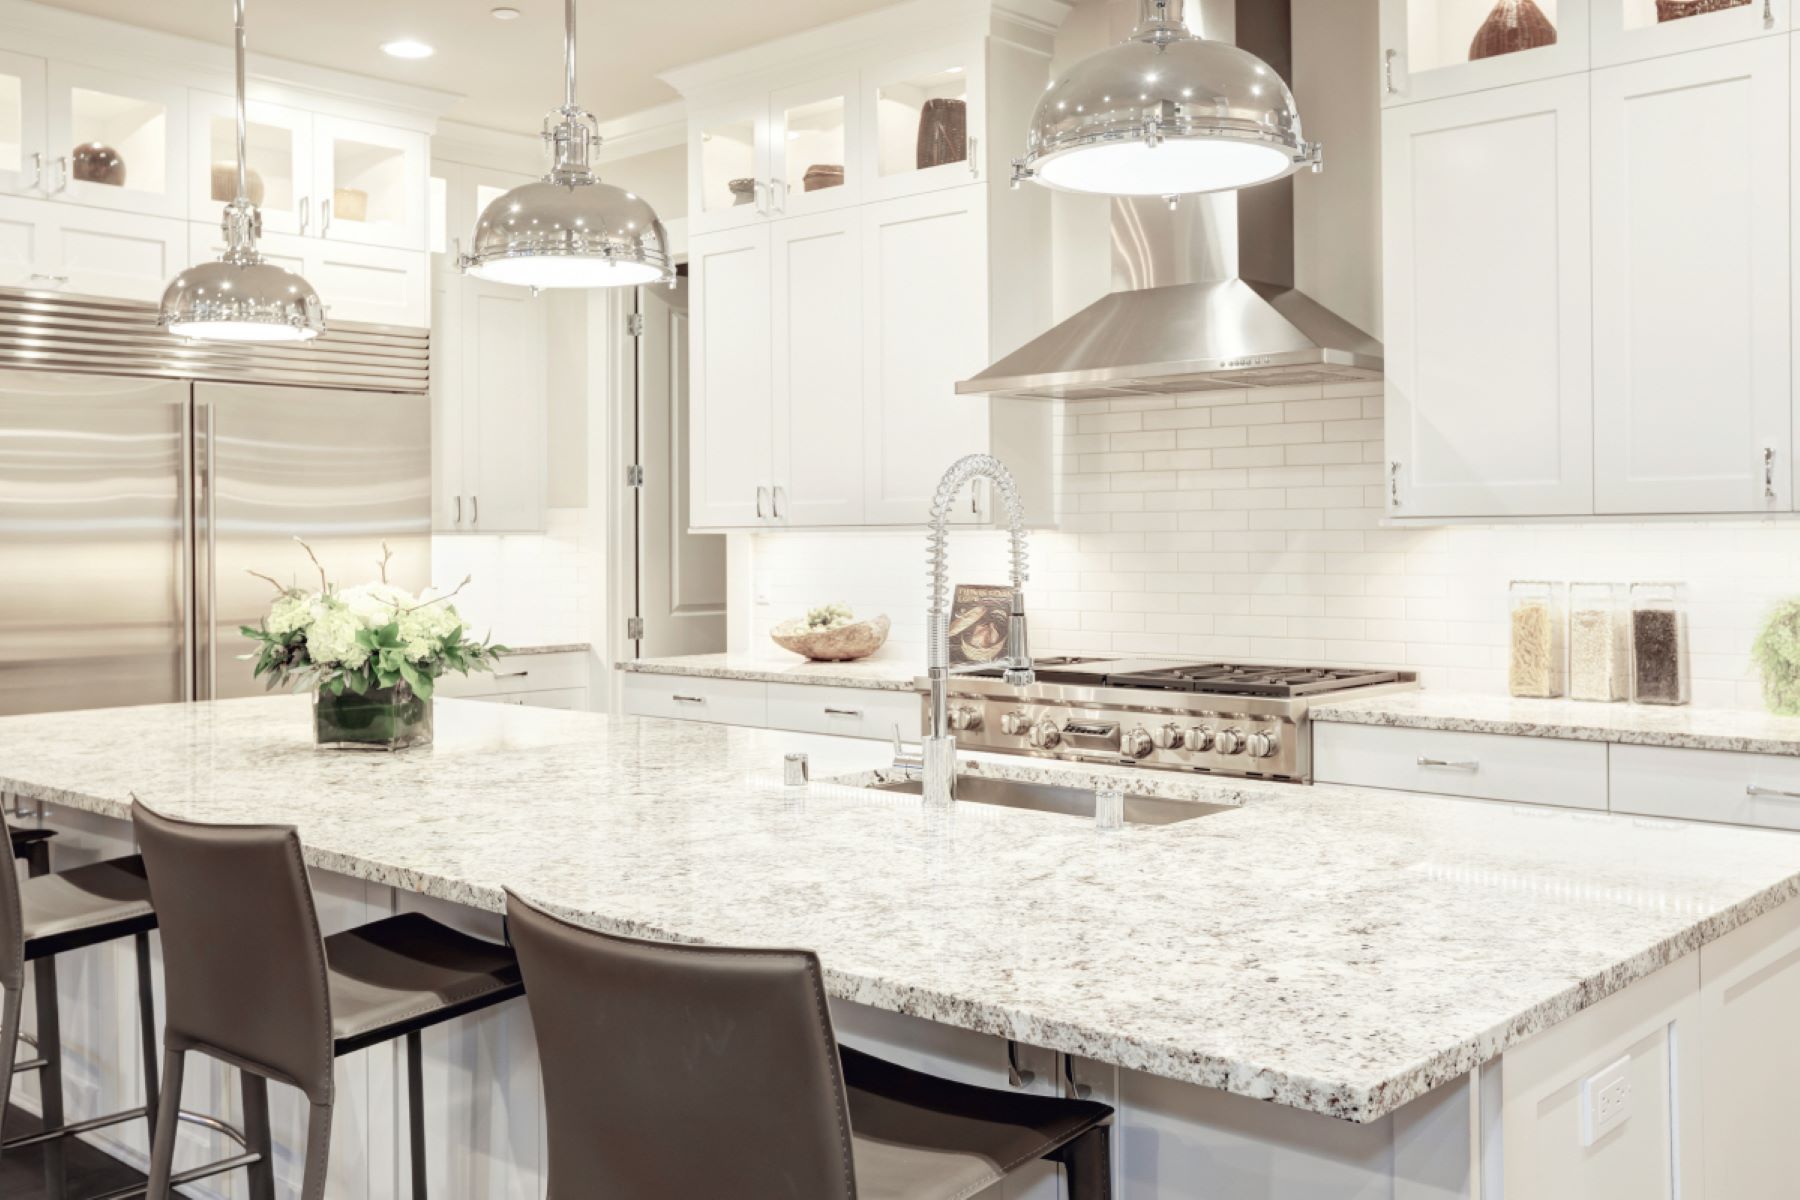
Conclusion
Congratulations! You’ve embarked on a transformative journey to elevate the aesthetics and functionality of your kitchen by joining solid granite surface countertops with precision and care. Throughout this comprehensive guide, we’ve delved into the intricate process of preparing, joining, and finishing the countertops, ensuring a seamless and visually stunning integration. By understanding the unique characteristics of solid granite and following the step-by-step procedures, you’ve gained the knowledge and confidence to undertake this rewarding home renovation project.
From meticulously preparing the countertop edges to applying the adhesive with precision, securing the seams, and meticulously finishing and polishing the join, you’ve embraced the artistry and craftsmanship required to seamlessly integrate individual sections of solid granite surface countertops. The result is a kitchen space exuding timeless elegance and enduring resilience, where the natural beauty of granite takes center stage.
As you stand back and admire the flawless union of the granite sections, you can take pride in the craftsmanship and attention to detail that have culminated in a visually seamless and structurally robust integration. The seamless join not only enhances the aesthetics of your kitchen but also embodies the enduring allure and durability of solid granite, adding a touch of luxury to your culinary haven.
Whether you’re savoring quiet moments with a cup of coffee or bustling with culinary creativity, the joined solid granite surface countertops stand as a testament to your dedication to creating a space that seamlessly blends beauty and functionality. As the heart of your home is transformed into a captivating showcase of elegance and craftsmanship, the joined granite countertops serve as a reminder of the enduring appeal and timeless charm of natural stone.
So, revel in the beauty of your newly joined solid granite surface countertops, and let this transformative project stand as a testament to your commitment to creating a space that exudes sophistication, resilience, and enduring beauty.
Frequently Asked Questions about How To Join Solid Granite Surface Countertops When Remodelling Your Home
Was this page helpful?
At Storables.com, we guarantee accurate and reliable information. Our content, validated by Expert Board Contributors, is crafted following stringent Editorial Policies. We're committed to providing you with well-researched, expert-backed insights for all your informational needs.
0 thoughts on “How To Join Solid Granite Surface Countertops When Remodelling Your Home”