Articles
How To Use A Drill
Modified: May 6, 2024
Looking for articles on how to use a drill? Explore our comprehensive guide to gain valuable insight and become a drilling pro in no time!
(Many of the links in this article redirect to a specific reviewed product. Your purchase of these products through affiliate links helps to generate commission for Storables.com, at no extra cost. Learn more)
Introduction
Welcome to the world of DIY projects and home improvements! If you’re looking to tackle tasks like hanging shelves, installing fixtures, or even building furniture, having a drill in your toolkit is essential. A drill is a versatile power tool that can make your projects easier and more efficient.
In this article, we’ll guide you through the basics of using a drill. Whether you’re a beginner or have some experience, we’ll provide you with the knowledge and tips you need to operate a drill safely and effectively.
Before we dive into the details of using a drill, it’s crucial to prioritize safety. Power tools can be dangerous if not properly handled, so let’s start by discussing some important safety precautions.
Key Takeaways:
- Mastering proper safety precautions, understanding different drill types, selecting the right drill bit, and employing various drilling techniques are essential for safe and effective drilling experiences.
- Regular maintenance, such as cleaning, inspecting, and tightening loose bits, will help keep your drill in excellent working condition and extend its lifespan.
Read more: How To Use Ryobi Drill
Safety Precautions
When working with power tools like drills, safety should always be your top priority. Here are some important safety precautions to follow:
- Read the manual: Before using a drill, thoroughly read and understand the instruction manual provided by the manufacturer. Familiarize yourself with the tool’s features, safety guidelines, and operating procedures.
- Wear protective gear: Always wear appropriate safety gear, including safety glasses, gloves, and ear protection. This will shield you from any potential hazards like flying debris or excessive noise.
- Secure your workpiece: Make sure your workpiece is securely clamped or held in place before drilling. This will prevent any unintended movements that could result in injury.
- Check for damage: Before using a drill, inspect it for any signs of damage or wear. Ensure that the power cord or battery pack is in good condition and free from cuts or frays.
- Avoid loose clothing: Wear fitted clothing and avoid wearing any loose accessories, such as jewelry or scarves, that could get entangled in the drill.
- Unplug when not in use: When changing drill bits or taking a break, always unplug the drill or remove the battery pack to prevent accidental starts.
- Use the right drill bit: Using the correct drill bit for the material you’re working with is essential. Using the wrong bit can cause the drill to slip or break, potentially causing injury.
- Take breaks: Drilling can be physically demanding, particularly when working on larger projects. Take regular breaks to rest and avoid overexertion.
- Keep a clean workspace: Maintain a clean and clutter-free workspace. This reduces the risk of tripping and allows you to maneuver the drill more effectively.
- Keep fingers away from the drill bit: Always keep your fingers clear of the drill bit when it is in operation. Never attempt to touch or adjust the bit while the drill is running.
By following these safety precautions, you can ensure a safer and more enjoyable drilling experience. Remember, it’s always better to take the time to prioritize safety than to risk unnecessary accidents or injuries.
Understanding Different Types of Drills
Drills come in a variety of types, each designed for specific tasks and materials. Understanding the different types of drills will help you choose the right one for your project. Here are some common types of drills:
- Standard (Corded) Drill: The most basic type of drill, a standard drill is powered by electricity and requires a power outlet. It offers versatility and is suitable for a wide range of drilling tasks.
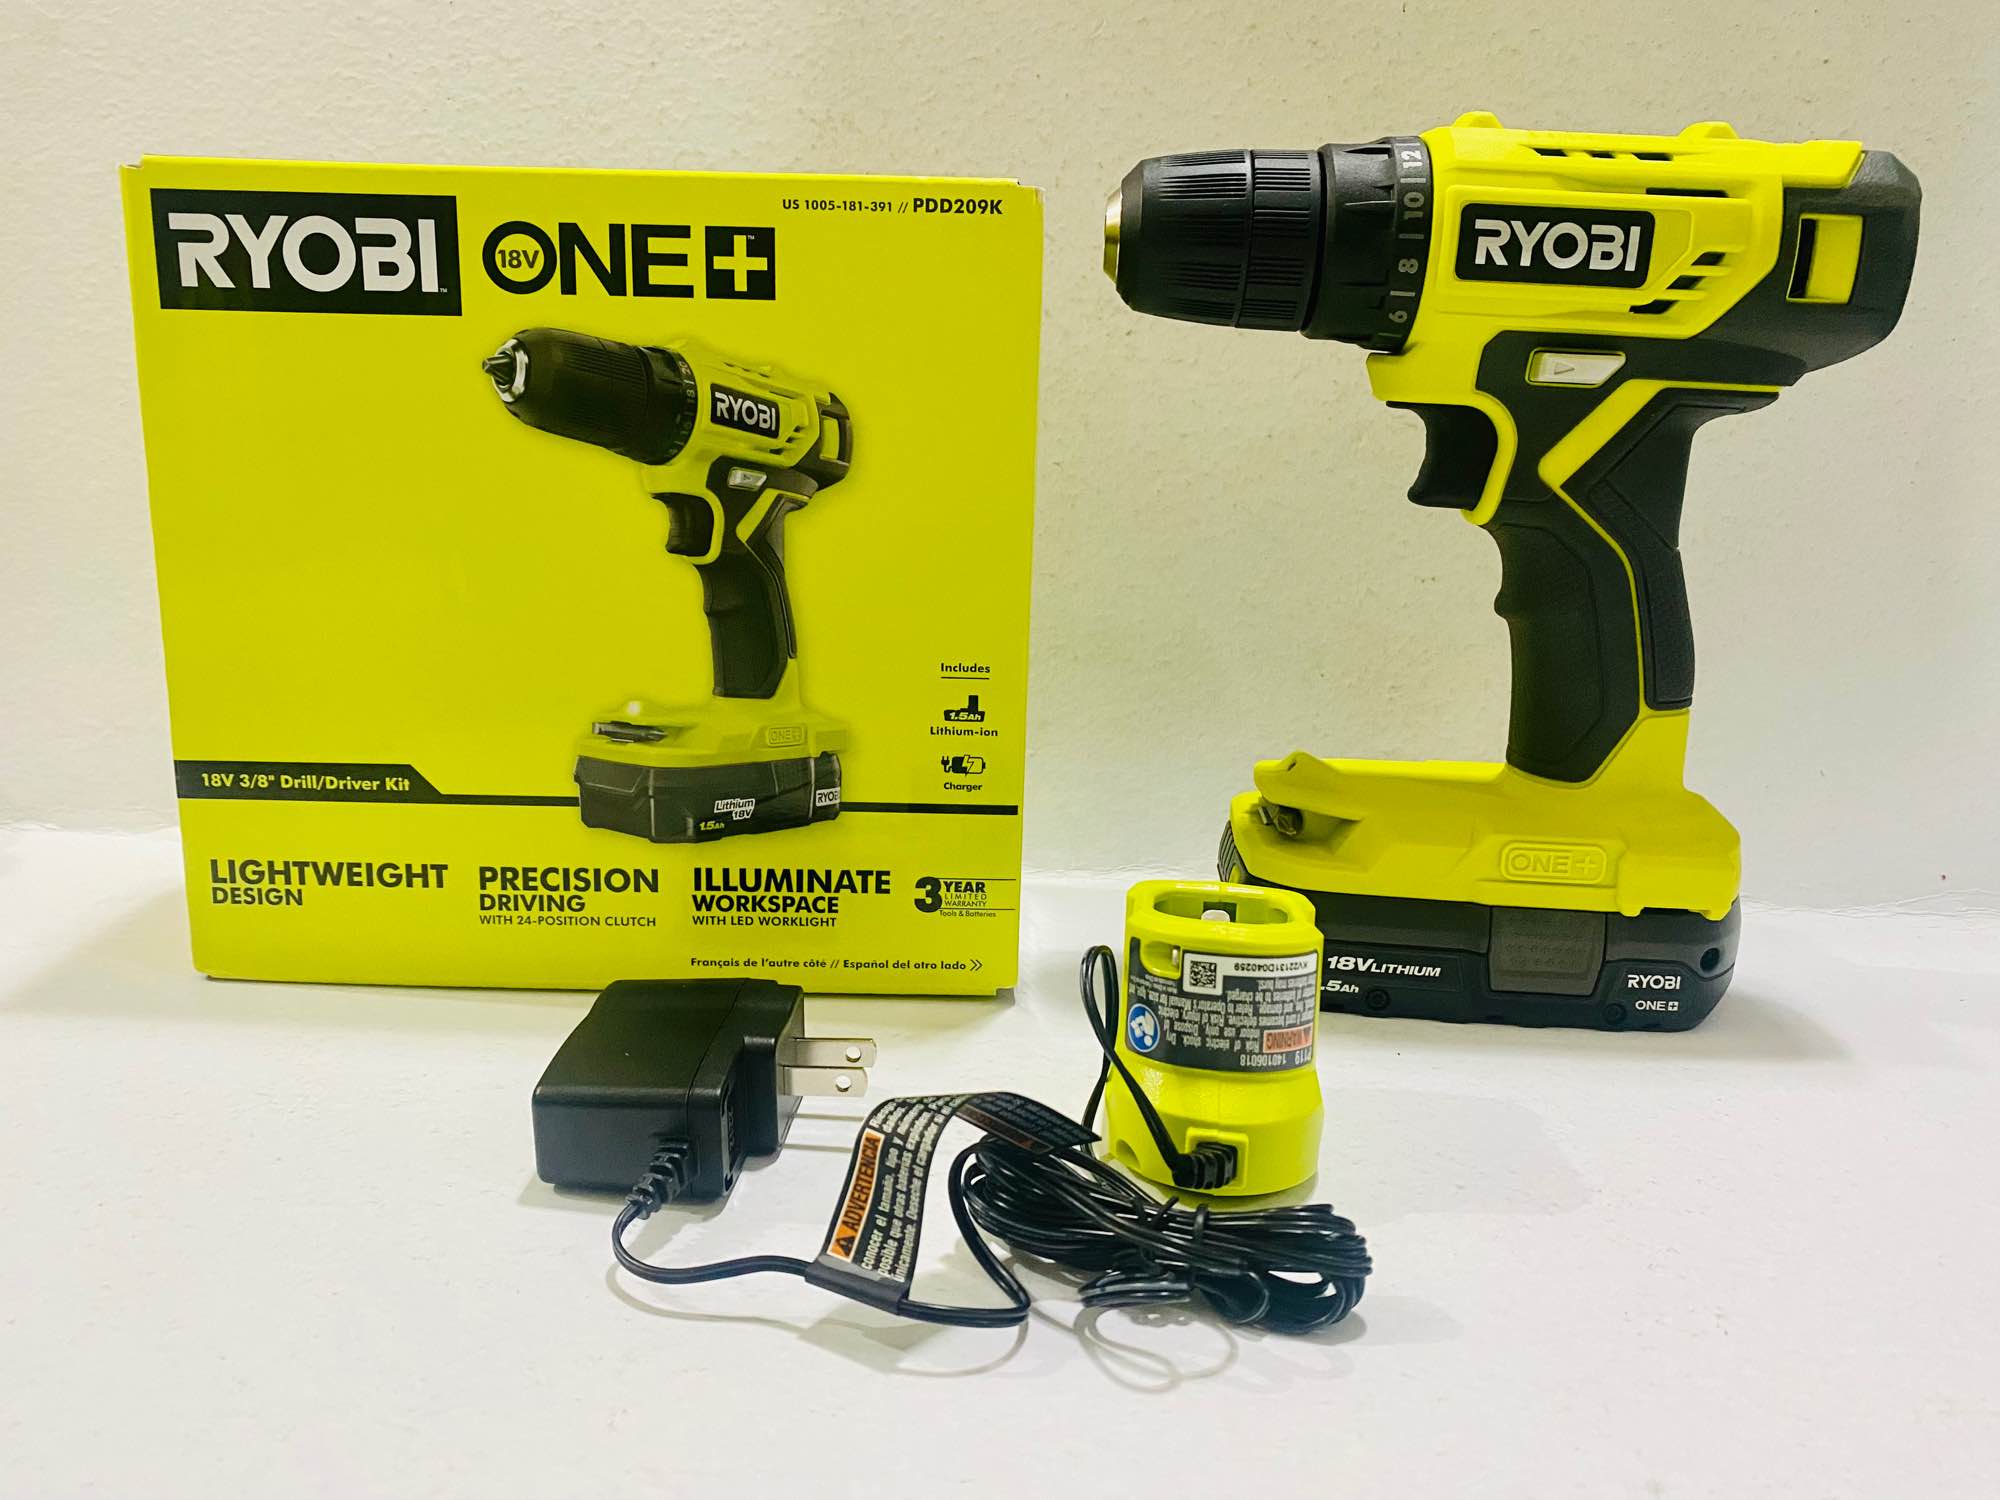
- Cordless Drill: Cordless drills are powered by rechargeable batteries, providing greater portability and flexibility. They are suitable for projects where access to a power outlet is limited or inconvenient.
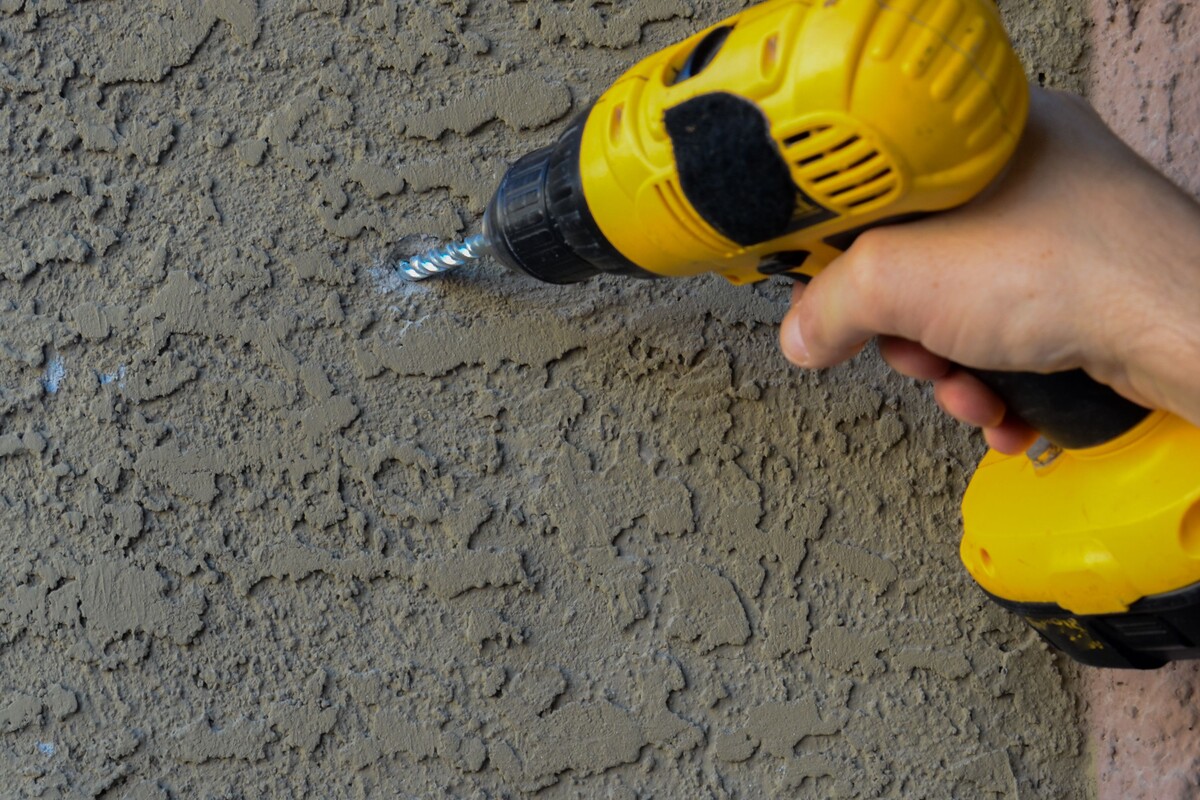
- Hammer Drill: Hammer drills are designed for drilling into masonry and concrete. They feature a hammering action that helps break through tough materials. They can also be used as a standard drill for other materials.
- Impact Driver: Impact drivers are primarily used for driving screws and fasteners. They deliver a high amount of torque, making it easier to drive screws into hard surfaces. Some models also have drilling capabilities.
- Right Angle Drill: Right angle drills have a unique design with a 90-degree angled head. This allows for drilling and driving in tight spaces where a standard drill won’t fit. They are commonly used in plumbing and electrical applications.
- Rotary Hammer Drill: Rotary hammer drills are heavy-duty tools used for drilling into hard materials like concrete, stone, or brick. They utilize a hammering and rotation motion to provide faster and more efficient drilling in tough materials.
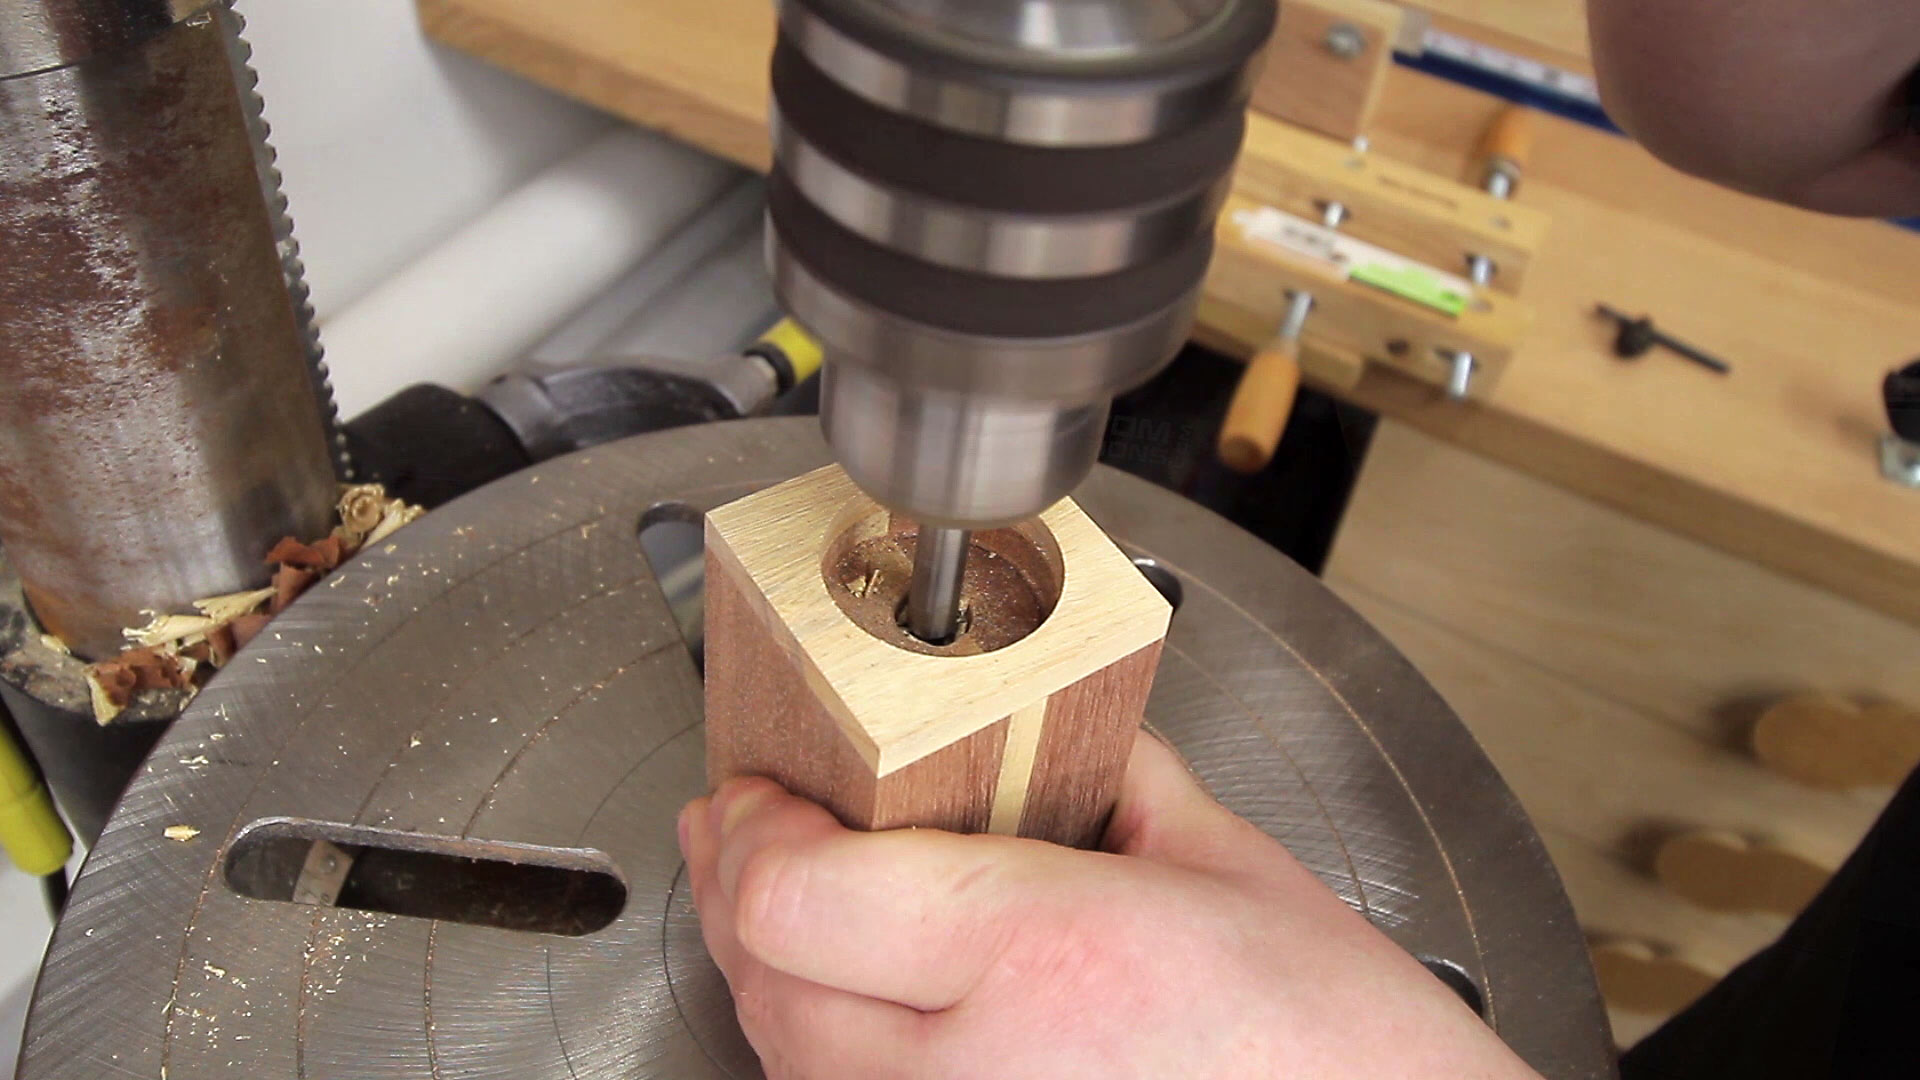
- Drill Press: Drill presses are stationary drills mounted on a stand or workbench. They provide greater accuracy and control for precise drilling. They are often used in woodworking and metalworking applications.
Choosing the right drill depends on the specific project and the materials you’ll be working with. Consider factors such as the power source, the type of material, and the desired level of portability when selecting a drill for your needs.
Next, let’s dive into the importance of selecting the right drill bit for your drilling tasks.
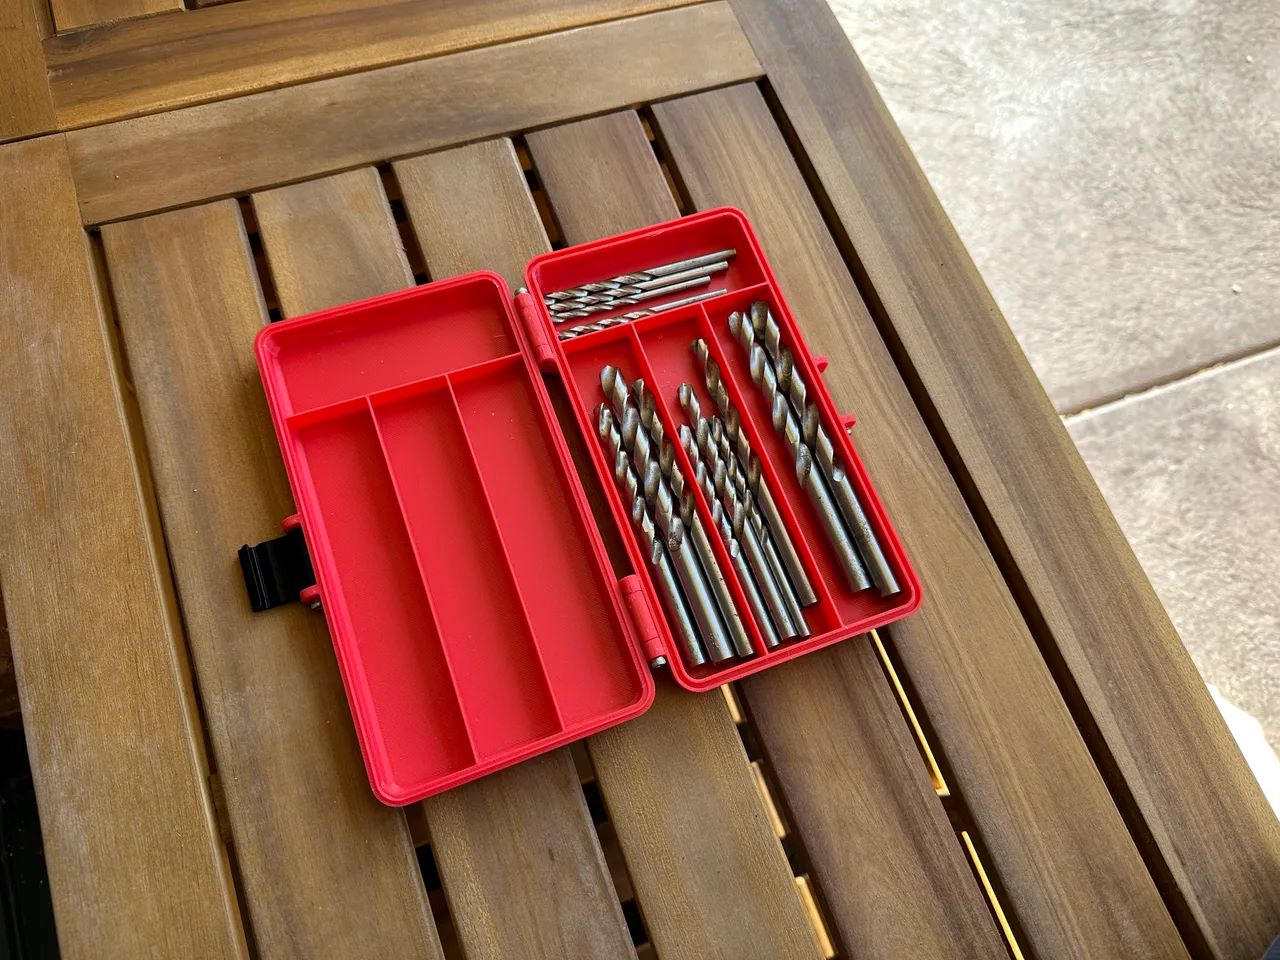
Selecting the Right Drill Bit
Choosing the right drill bit is essential for achieving accurate and clean holes in your workpiece. The type of material you’ll be drilling into will determine the appropriate drill bit to use. Here are some common drill bit types:
- Twist Drill Bits: Twist drill bits are the most commonly used type of drill bits. They have a spiral-shaped flute that helps evacuate chips, making them suitable for drilling into wood, plastic, and soft metals.
- Masonry Drill Bits: Masonry drill bits are designed for drilling into concrete, brick, stone, and other masonry materials. They have a carbide tip that can withstand the hardness of these materials and provide clean and precise holes.
- Spade Bits: Spade bits, also known as paddle bits, are used for drilling larger diameter holes in wood. They have a flat, paddle-shaped cutting tip and are commonly used in applications like rough carpentry and drilling holes for plumbing or electrical work.
- Forstner Bits: Forstner bits are ideal for drilling flat-bottomed holes with smooth sides. They are commonly used in woodworking for drilling holes for hinges, dowels, and other precise joinery work.
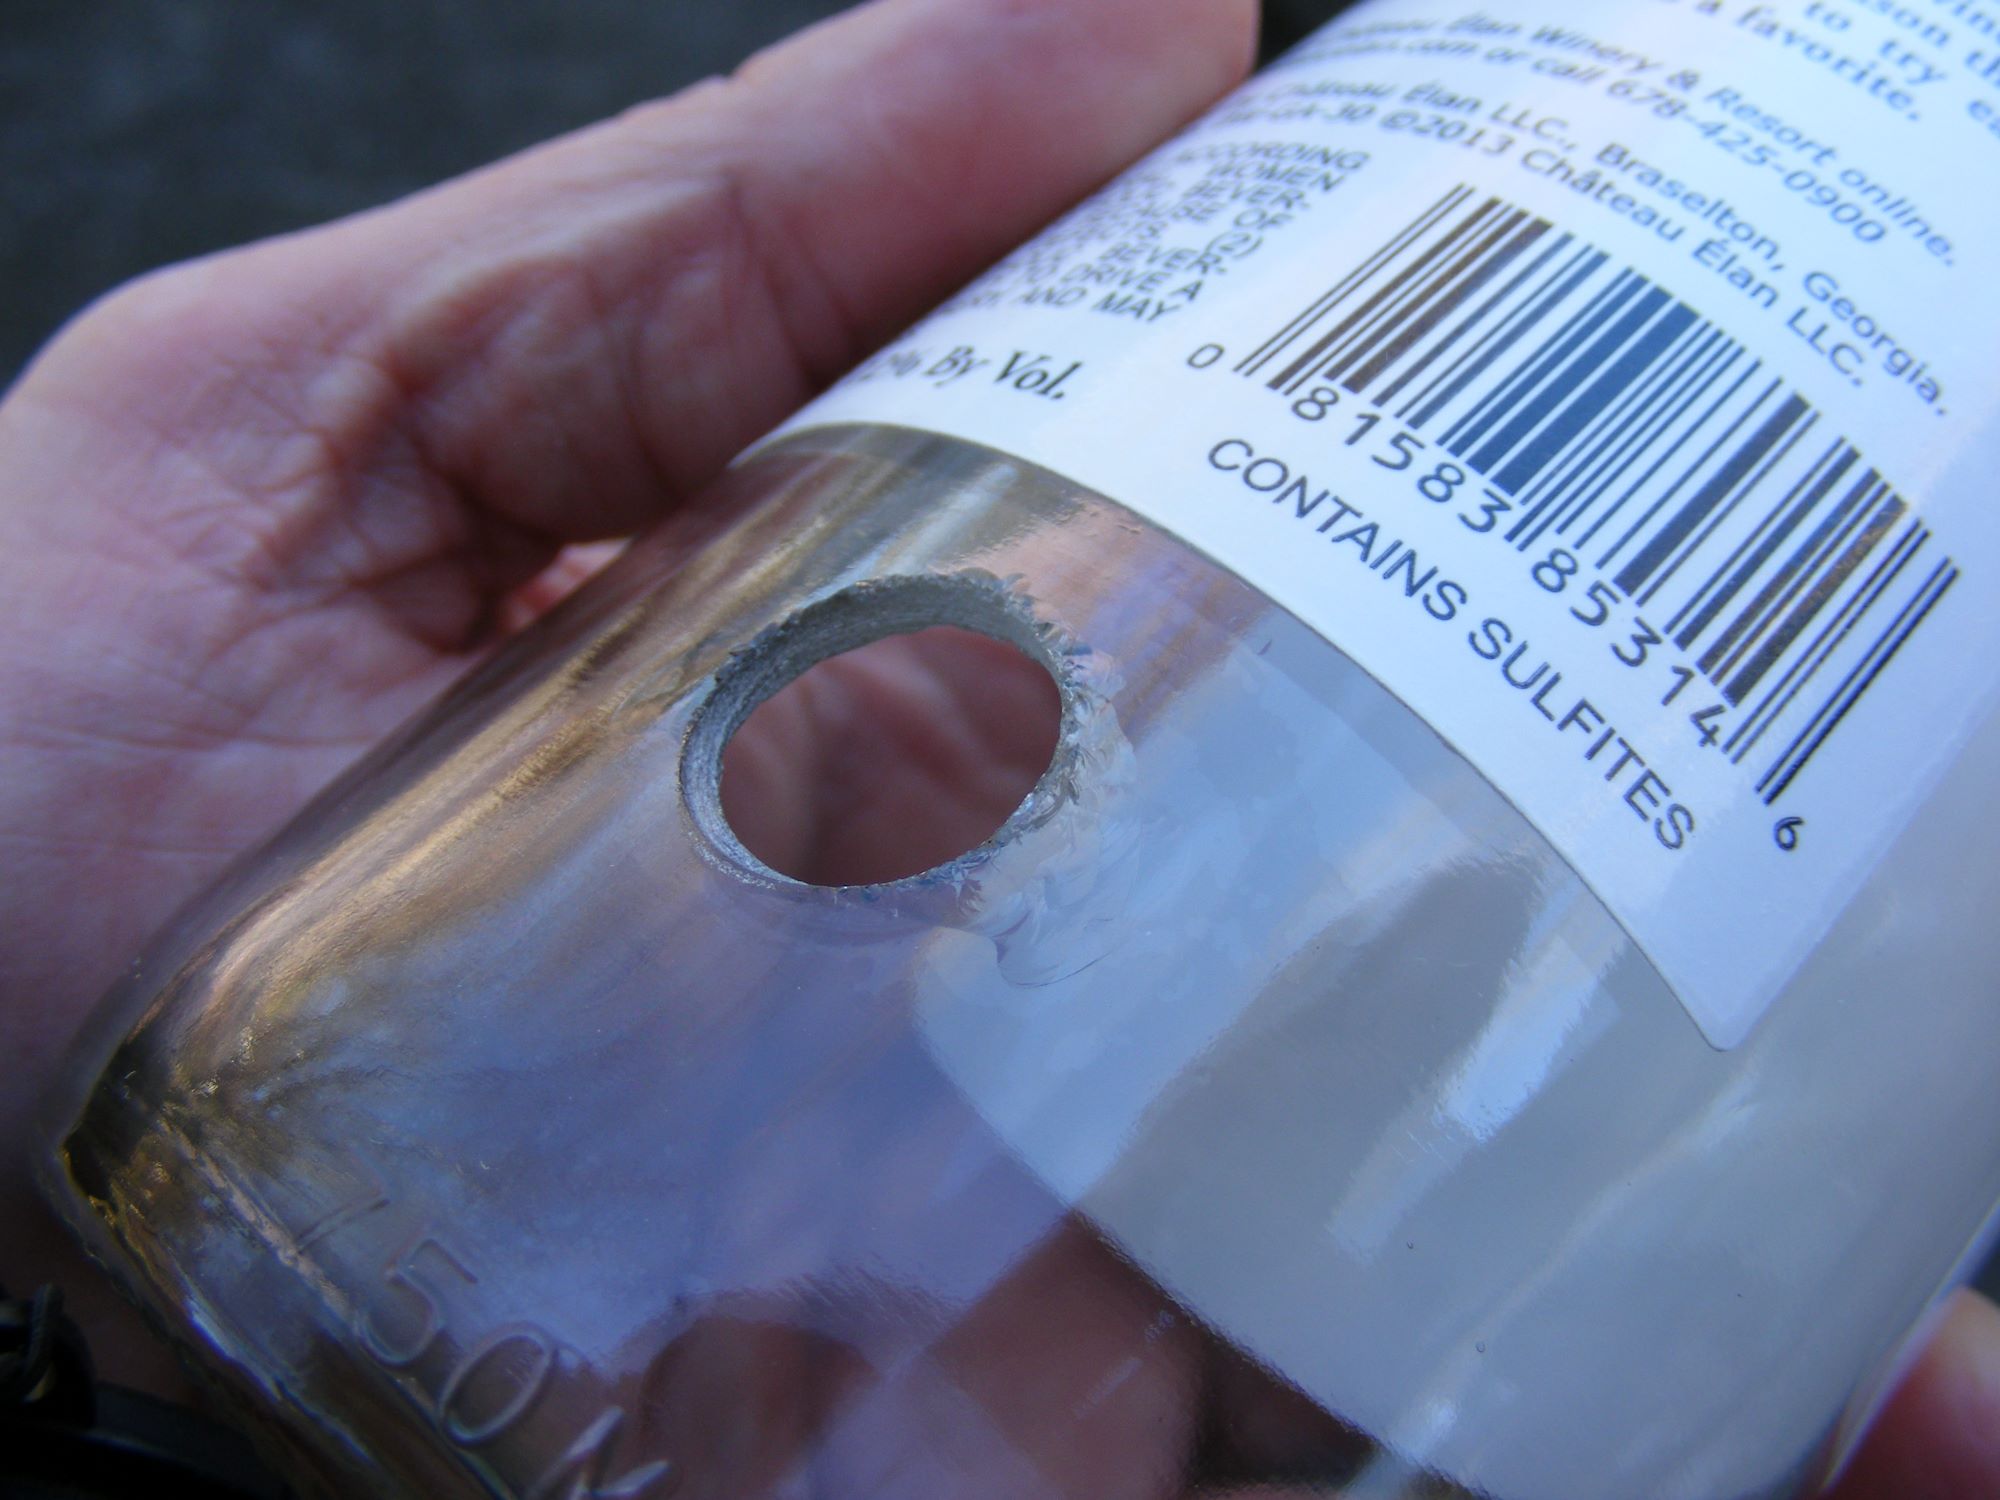
- Hole Saw Bits: Hole saw bits are used for drilling large diameter holes in materials like wood, plastic, and metal. They consist of a cylindrical saw blade with teeth and a center pilot bit. They are commonly used in applications like installing doorknobs or creating holes for pipes.
- Countersink Bits: Countersink bits are used to drill a hole with a conical shape that allows screws or bolts to sit flush with the surface. They are commonly used for woodworking projects where a neat and professional finish is desired.
When selecting a drill bit, consider the hardness of the material you’re drilling, the desired hole size, and the specific application. It’s also important to use sharp and properly sized drill bits to ensure clean and precise holes.
Now that you understand how to select the right drill bit, let’s move on to setting up the drill for your drilling tasks.
Setting Up the Drill
Before you begin drilling, it’s important to properly set up your drill for the task at hand. Here are some steps to follow when setting up your drill:
- Choose the appropriate drill bit: Select the drill bit that matches the material you’ll be drilling into. Refer to the previous section on selecting the right drill bit for guidance.
- Insert the drill bit: Depending on the type of drill you’re using, insert the drill bit into the chuck. For keyless chucks, simply twist the chuck to open it, insert the bit, and tighten by hand. For keyed chucks, use the chuck key to loosen and tighten the jaws to secure the drill bit in place.
- Adjust the drilling speed: Many drills have adjustable speed settings. For softer materials, use a higher speed setting, while slower speeds are better for harder materials. Refer to the drill’s instruction manual for guidance on adjusting the speed settings.
- Secure your workpiece: Ensure that the workpiece is securely clamped or held in place. This will prevent it from moving or rotating during drilling, allowing for more accurate and controlled drilling.
- Position the drill: Hold the drill with a firm grip, keeping your hands away from the drill bit and the area you’ll be drilling. Position the drill perpendicular to the workpiece, applying gentle and steady pressure.
- Adjust the depth: If you need to drill to a specific depth, you can adjust the depth stop or use a piece of tape on the drill bit to mark the desired depth. This will help you achieve consistent hole depths across multiple holes.
- Secure your workspace: Ensure that your workspace is clean and free of any obstacles or trip hazards. Make sure there is ample room for you to maneuver the drill safely.
- Double-check everything: Before turning on the drill, double-check that your setup is correct. Ensure the drill bit is securely tightened, the drilling speed is appropriate for the material, and the workpiece is clamped securely.
Once you’ve completed these setup steps, you’re ready to start operating the drill. In the next section, we’ll guide you through the proper techniques for operating the drill.
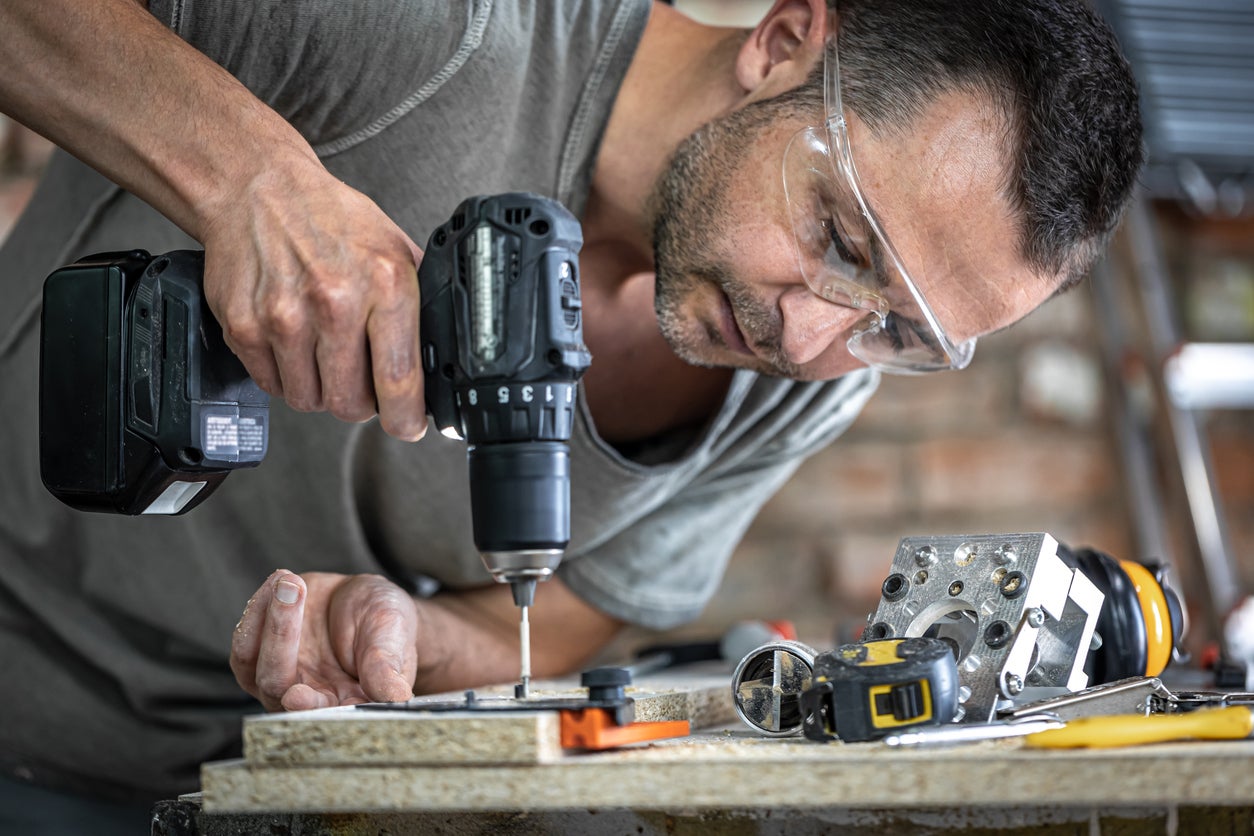
When using a drill, always wear safety goggles to protect your eyes from debris. This is especially important when drilling into hard materials like metal or concrete.
Read more: What Was The Seed Drill Used For
Operating the Drill
Operating a drill is fairly straightforward, but it’s important to use proper techniques to ensure safety and achieve the desired results. Follow these steps when operating a drill:
- Grip the drill: Hold the drill with a firm grip, ensuring that your hands are positioned away from the drill bit and any moving parts. Maintain a comfortable and secure grip to have full control over the drill.
- Align the drill bit: Position the drill bit at the desired starting point on the workpiece. Make sure it is aligned properly before you start drilling.
- Start slowly: Before applying full pressure, start the drill at a low speed to create a small pilot hole. This helps to guide the drill bit and prevents slipping or walking during the initial drilling.
- Apply steady pressure: Once the pilot hole is established, gradually increase the drilling speed while maintaining a firm and steady pressure on the drill. Avoid excessive force, as this can cause the drill to bind or the bit to break.
- Control the drill: Keep the drill steady and perpendicular to the workpiece as you continue drilling. Maintain a consistent speed and pressure for smooth and accurate drilling.
- Clear debris: Occasionally, stop drilling and lift the drill bit out of the hole to clear away any debris that may have accumulated in the flutes. This helps to maintain the efficiency of the drill bit and prevent overheating.
- Monitor the drill: Keep an eye on the drill and the progress of the hole. If you notice any signs of overheating, such as smoke or excessive heat, stop drilling and allow the drill to cool down before resuming.
- Check the depth: Periodically check the depth of the hole to ensure it matches your desired measurements. Adjust the drilling depth if necessary to achieve consistent hole depths.
- Finish drilling: Once you have reached the desired depth or completed the drilling task, release the trigger or switch to turn off the drill. Allow the drill bit to come to a complete stop before removing it from the workpiece.
By following these operating techniques, you can ensure safe and effective drilling, achieving clean and precise holes in your workpiece.
Next, let’s explore some common drilling techniques that can be useful for various projects.
Drilling Techniques
Mastering drilling techniques can help you achieve more precise and efficient results in your projects. Here are some common drilling techniques to enhance your drilling skills:
- Pilot Holes: For drilling into harder materials or when using larger drill bits, it’s often helpful to start with a small pilot hole. This helps guide the larger drill bit and reduces the risk of the bit slipping or wandering off course.
- Cross-Drilling: Cross-drilling involves drilling multiple intersecting holes, often used in woodworking projects. This technique is commonly used when creating dowel joints or when drilling holes for decorative purposes.
- Countersinking: Countersinking is the process of creating a conical recess that allows the head of a screw or bolt to sit flush with the surface. It’s a common technique used to ensure a neat and professional finish, particularly in woodworking projects.
- Reaming: Reaming is the process of widening an existing hole using a reamer bit. This technique is often used in metalworking applications to achieve a precise and smooth hole diameter.
- Backcutting: Backcutting involves slightly pulling the drill bit backward before completely removing it from the material. This helps to create a cleaner exit hole and prevents splintering or breakout on the material’s surface.
- Step Drilling: Step drilling is a technique used when gradually increasing the size of a hole. It involves starting with a smaller drill bit and incrementally moving up to larger drill bits to achieve the desired hole diameter.
- Depth Control: Achieving consistent hole depths is essential for professional-looking results. To improve depth control, you can use depth stop collars or mark the desired depth on the drill bit using a piece of tape as a guide.
- Cooling and Lubrication: When drilling into materials like metal or hard plastics, it can be helpful to use cutting oil or apply a coolant to reduce friction and heat buildup. This can prolong the life of the drill bit and improve drilling efficiency.
Remember to practice these drilling techniques on scrap materials before using them on your actual project. With time and experience, you’ll become more proficient in utilizing these techniques to achieve the best drilling results.
Now that you’re familiar with various drilling techniques, let’s explore some common applications where drills come in handy.
Common Drill Applications
Drills are incredibly versatile tools that can be used for a wide range of applications. Here are some common tasks and projects where drills come in handy:
- Woodworking: Drills are essential for woodworking projects such as building furniture, installing shelves, or creating joinery. They can be used to drill pilot holes, create dowel joints, or countersink screws for a professional finish.
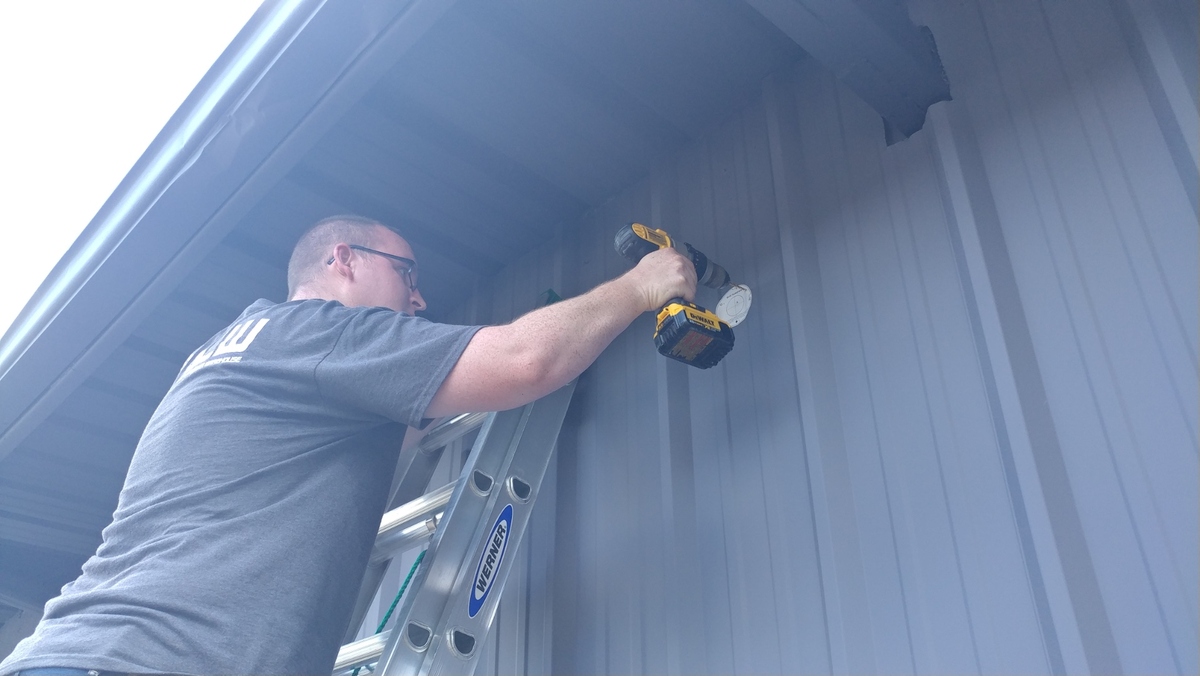
- Home Improvement: When it comes to home improvement projects, drills are indispensable. From hanging curtains and blinds to installing light fixtures or mounting shelves, a drill makes these tasks quick and effortless.
- Electrical Projects: Drills are often used for electrical work, such as creating holes for running wires or installing electrical boxes. They help make precise and clean openings in walls or other surfaces to accommodate electrical components.
- Plumbing Projects: Whether it’s installing faucets, pipes, or drainage systems, drills are essential for plumbing projects. They can be used to create holes in various materials like tiles, wood, or metal for pipe fittings and connections.
- Assembly and Disassembly: Drills are handy for assembling and disassembling furniture, cabinets, and other items. They simplify the process of inserting or removing screws, making furniture assembly and repair projects much more efficient.
- DIY Crafts: If you enjoy DIY crafts, a drill opens up endless possibilities. You can create unique projects like homemade signs, hanging planters, or custom-made jewelry. Drills can be used to drill holes in various materials like wood, acrylic, or metal for these creative endeavors.
- Automotive Maintenance: In automotive maintenance and repairs, drills are often used to remove or install bolts and screws. They expedite tasks such as changing tires, repairing metal bodywork, or installing accessories like roof racks.
- Outdoor Projects: Drills are also handy for outdoor projects like building decks, fences, or pergolas. They are used for drilling pilot holes, securing screws, or assembling outdoor furniture or structures.
- Art and Sculpture: Artists and sculptors often use drills to carve, shape, and add intricate details to their creations. Drills equipped with special carving or engraving bits allow for precise and intricate designs on various materials like wood, stone, or metal.
- General Repairs and Maintenance: From fixing loose hinges to repairing household appliances, drills play a crucial role in general repairs and maintenance around the house. They make tasks like tightening screws, drilling holes for mounting brackets, or replacing hardware much easier.
These are just a few examples of the many applications where drills prove to be invaluable tools. Their versatility and functionality make them a staple in any DIY enthusiast or homeowner’s toolkit.
Now that you have a good understanding of common drill applications, let’s discuss some essential tips for troubleshooting and maintaining your drill.
Troubleshooting and Maintenance
Regular maintenance and troubleshooting can prolong the life of your drill and ensure optimal performance. Here are some important tips for troubleshooting and maintaining your drill:
- Cleaning: Regularly clean your drill to remove dirt, dust, or debris that may accumulate over time. Use a soft brush or cloth to wipe down the exterior, and gently blow away any debris from the vent openings.
- Inspecting the Power Cord: If your drill has a cord, check it regularly for any signs of damage or wear. Look for frayed areas, cuts, or exposed wires. If you notice any issues, it’s essential to replace the cord or have it repaired before using the drill again.
- Battery Maintenance: If you have a cordless drill, pay attention to the battery. Follow the manufacturer’s recommendations for charging and storage. Avoid overcharging or leaving the battery completely drained for extended periods, as this can affect its lifespan.
- Sharpening Drill Bits: Over time, drill bits can become dull, leading to slower drilling and poor results. Invest in a drill bit sharpener or utilize professional sharpening services to keep your bits in optimal condition.
- Tightening Loose Bits: During use, drill bits may loosen. Regularly check and tighten the chuck to ensure that the bit is securely held in place. This will prevent slippage and ensure accurate drilling.
- Lubrication: Some moving parts of your drill may require lubrication to maintain smooth operation. Refer to the manufacturer’s instructions for the recommended lubricants and apply them to the appropriate locations as necessary.
- Checking the Chuck: Inspect the chuck regularly for any signs of damage or misalignment. If you notice any issues, have it serviced or replaced by a professional to avoid safety hazards or poor performance.
- Keeping the Drill Dry: Avoid exposing your drill to moisture or damp environments. Moisture can damage the internal components of the drill and compromise its functionality. Store your drill in a dry and secure place.
- Following the Manufacturer’s Guidelines: Always refer to the drill’s instruction manual for specific maintenance instructions and troubleshooting tips. The manufacturer’s recommendations are tailored to your specific drill model and will help ensure safe and proper operation.
- Seeking Professional Help: If you encounter any significant issues with your drill that you’re unable to troubleshoot or repair yourself, it’s best to seek professional assistance. Don’t attempt to disassemble or repair complex issues if you’re not experienced.
By following these maintenance tips and addressing any issues promptly, you can keep your drill in excellent working condition and extend its lifespan. Regular maintenance will also contribute to safer and more efficient drilling experiences.
Now that you’re equipped with troubleshooting and maintenance knowledge, it’s time to conclude our comprehensive guide on using a drill.
Remember, proper safety precautions, understanding different types of drills, selecting the right drill bit, setting up the drill correctly, using the appropriate operating techniques, and maintaining the drill are all essential for safe and effective drilling. With practice and experience, you’ll become more proficient in using a drill for a wide range of projects and tasks.
Read more: What Bit To Use To Drill Into Brick
Conclusion
Congratulations! You’ve now learned the ins and outs of using a drill effectively and safely. From understanding the different types of drills to selecting the right drill bit, setting up the drill correctly, and employing various drilling techniques, you’re well-equipped to tackle a wide range of projects with confidence.
Remember, safety always comes first when using power tools like drills. Prioritize wearing protective gear, securing your workpiece, and following the manufacturer’s instructions to ensure a safe working environment.
By mastering proper operating techniques and troubleshooting common issues, you can maximize the performance and lifespan of your drill. Regular maintenance, such as cleaning, inspecting and tightening loose bits, and keeping your drill dry, will help keep it in excellent working condition for years to come.
Whether you’re a seasoned DIY enthusiast or a beginner starting your DIY journey, a drill is an indispensable tool that opens up endless possibilities for creativity and project execution. From woodworking and home improvement to electrical work and automotive maintenance, a drill is a versatile companion that can make your projects easier, faster, and more precise.
Now it’s time to put your newfound knowledge into practice! Grab your drill, choose the right drill bit, and take on your next project with confidence. Always remember to start with small pilot holes, apply steady pressure, and maintain control throughout the drilling process.
Happy drilling!
Now that you've mastered the art of using a drill, why not broaden your DIY skills by learning about other essential tools? Our next article delves into various power tools, offering insights on which ones are worth investing in for your projects. Whether you're looking to upgrade your toolkit or just starting out, understanding different power tools will definitely enhance your home improvement abilities.
Frequently Asked Questions about How To Use A Drill
Was this page helpful?
At Storables.com, we guarantee accurate and reliable information. Our content, validated by Expert Board Contributors, is crafted following stringent Editorial Policies. We're committed to providing you with well-researched, expert-backed insights for all your informational needs.


0 thoughts on “How To Use A Drill”