Articles
How To Remove A Dishwasher
Modified: October 19, 2024
Learn how to remove a dishwasher with these helpful articles. Follow step-by-step guides and expert tips for a smooth removal process.
(Many of the links in this article redirect to a specific reviewed product. Your purchase of these products through affiliate links helps to generate commission for Storables.com, at no extra cost. Learn more)
Introduction
Have you decided to upgrade your kitchen appliances or maybe you’re remodeling and need to remove your existing dishwasher? Removing a dishwasher may seem like a daunting task, but with the right knowledge and tools, it can be done easily and safely. Whether you’re a seasoned DIY enthusiast or a beginner, this step-by-step guide will walk you through the process of removing a dishwasher.
Before you begin the removal process, it’s important to take some safety precautions. Make sure to wear protective gloves and goggles to prevent any injuries. Additionally, ensure that you have a well-lit workspace and sufficient space to maneuver around the dishwasher.
Now that we’ve covered the essential safety precautions, let’s take a look at the tools and materials you’ll need for this project.
Key Takeaways:
- Safely and Efficiently Remove Your Dishwasher
Follow these step-by-step instructions and safety precautions to easily remove your dishwasher. Prioritize safety, gather the right tools, and disconnect electrical, water, and drainage connections. - Prioritize Safety and Proper Disconnection
Wear protective gear, gather essential tools, and disconnect power, water, and drainage connections. Safely slide out and lift the dishwasher, ensuring a smooth and efficient removal process.
Safety Precautions
Removing a dishwasher involves working with electrical connections, water supply lines, and potentially sharp objects. It’s important to prioritize safety to avoid any accidents or damage. Here are some safety precautions to keep in mind:
- Turn off the power: Before you begin, make sure to shut off the power supply to the dishwasher. This can usually be done by flipping the corresponding circuit breaker in your electrical panel. Double-check that the power is off by testing the dishwasher controls.
- Shut off the water supply: Locate the hot water shut-off valve under the sink and turn it clockwise to shut off the water supply. This will prevent any potential leaks or water damage during the removal process.
- Wear protective gear: Always wear gloves and protective goggles to prevent any injuries, especially if you’re dealing with sharp objects or rusty connections. Safety gear will provide an extra layer of protection.
- Protect the flooring: Place a protective covering, such as a drop cloth or cardboard, on the floor in front of the dishwasher to protect it from any scratches, dents, or water damage during removal.
- Use proper lifting techniques: Dishwashers can be heavy, so it’s crucial to lift with your legs and not your back to avoid strains or injuries. If needed, ask for assistance from a friend or family member to help with the lifting.
- Disconnect the power supply: Ensure that the power supply to the dishwasher is completely disconnected before proceeding with any further steps. This will prevent any accidental electrical shocks or damage.
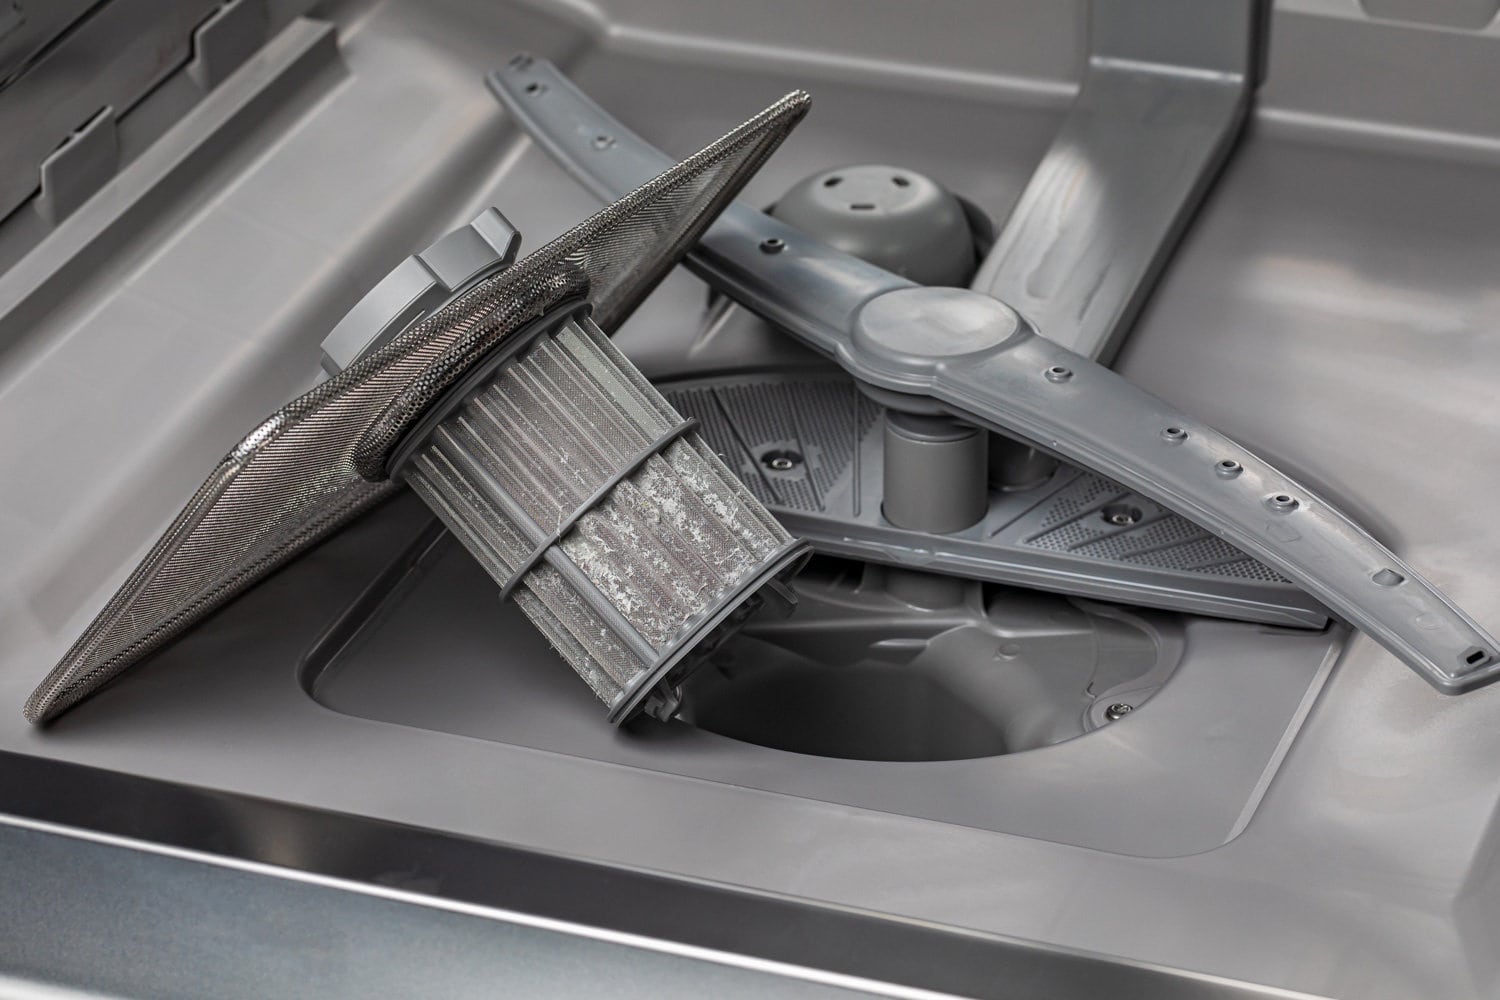
- Take caution with sharp objects: Be mindful of any sharp edges or objects inside the dishwasher during the removal process. Use caution and handle these objects with care to avoid any cuts or injuries.
By following these safety precautions, you can ensure a safer and smoother removal process for your dishwasher. Now let’s move on to the tools and materials you’ll need for the task.
Tools and Materials Needed
Before you begin the process of removing a dishwasher, it’s important to gather the necessary tools and materials. Having these items on hand will make the task much easier and efficient. Here’s a list of what you’ll need:
- Screwdriver: A screwdriver is essential for removing screws and fasteners that hold the dishwasher in place. Depending on the model, you may need a Phillips or flat-head screwdriver.
- Pliers: Pliers are useful for loosening and disconnecting various connections, such as hose clamps and wire connectors.
- Adjustable wrench: An adjustable wrench is handy for loosening and disconnecting the water supply line’s compression fitting.
- Bucket or towels: Have a bucket or towels nearby to catch any water that may spill out during the removal process.
- Utility knife: A utility knife can be used to cut through any caulk or adhesive that may be securing the dishwasher to the countertop.
- Electrical tester: An electrical tester will help you verify that the power is indeed disconnected to the dishwasher before proceeding.
- Protective gloves and goggles: As mentioned before, protective gloves and goggles are essential for your safety during the removal process.
- Plastic bags or containers: Use plastic bags or containers to store small screws and parts that you remove during the process, ensuring they don’t get lost or misplaced.
- Container for water supply line: If you have a water supply line connected to the dishwasher, have a container ready to catch any remaining water in the line.
By gathering these tools and materials beforehand, you’ll have everything you need to tackle the task of removing your dishwasher. Now that you’re equipped, let’s move on to the step-by-step process of disconnecting and removing the dishwasher.
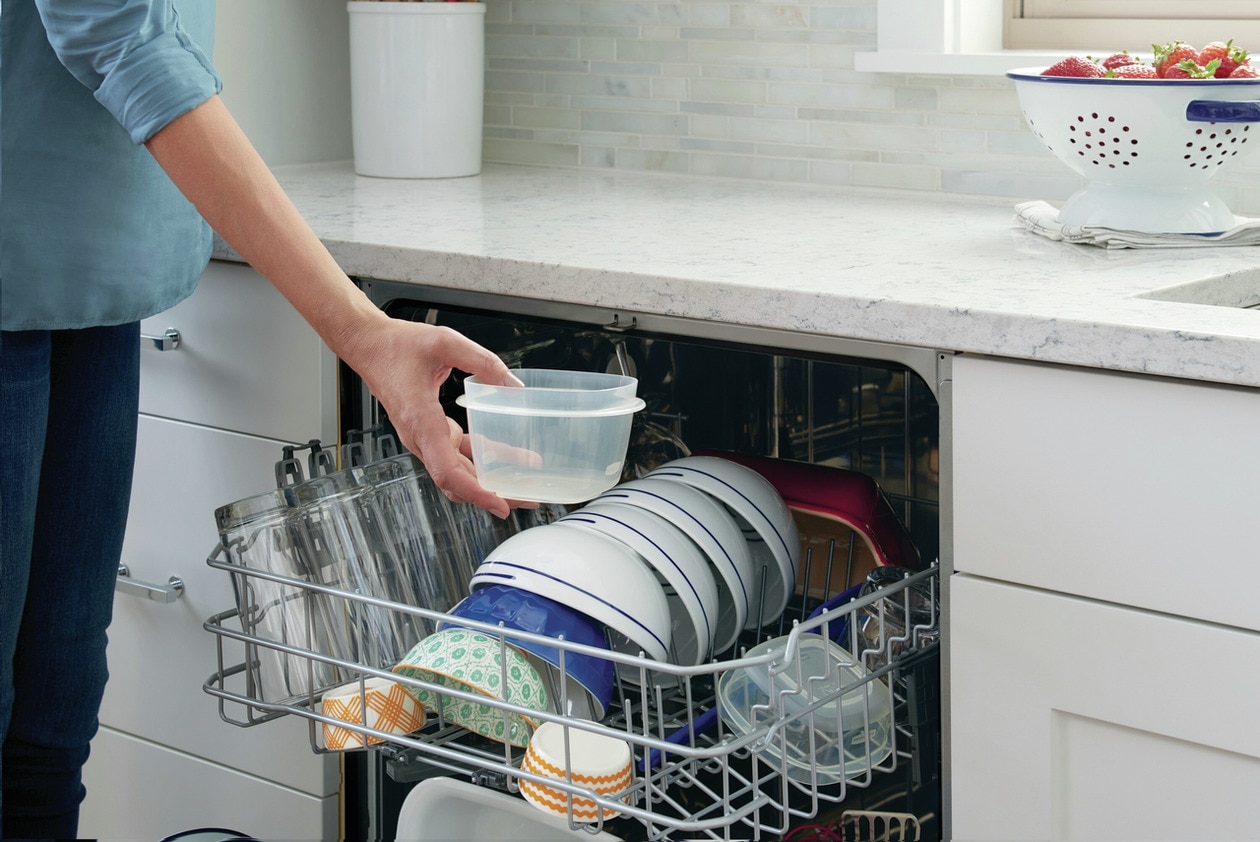
Step 1: Disconnecting the Dishwasher
The first step in removing a dishwasher is disconnecting it from any external connections. This includes the power supply, water supply line, and the drain hose. Follow these steps to ensure a proper disconnection:
- Turn off the water supply: Locate the hot water shut-off valve under the sink and turn it clockwise to shut off the water supply. This will prevent any leaks or water damage during the removal process.
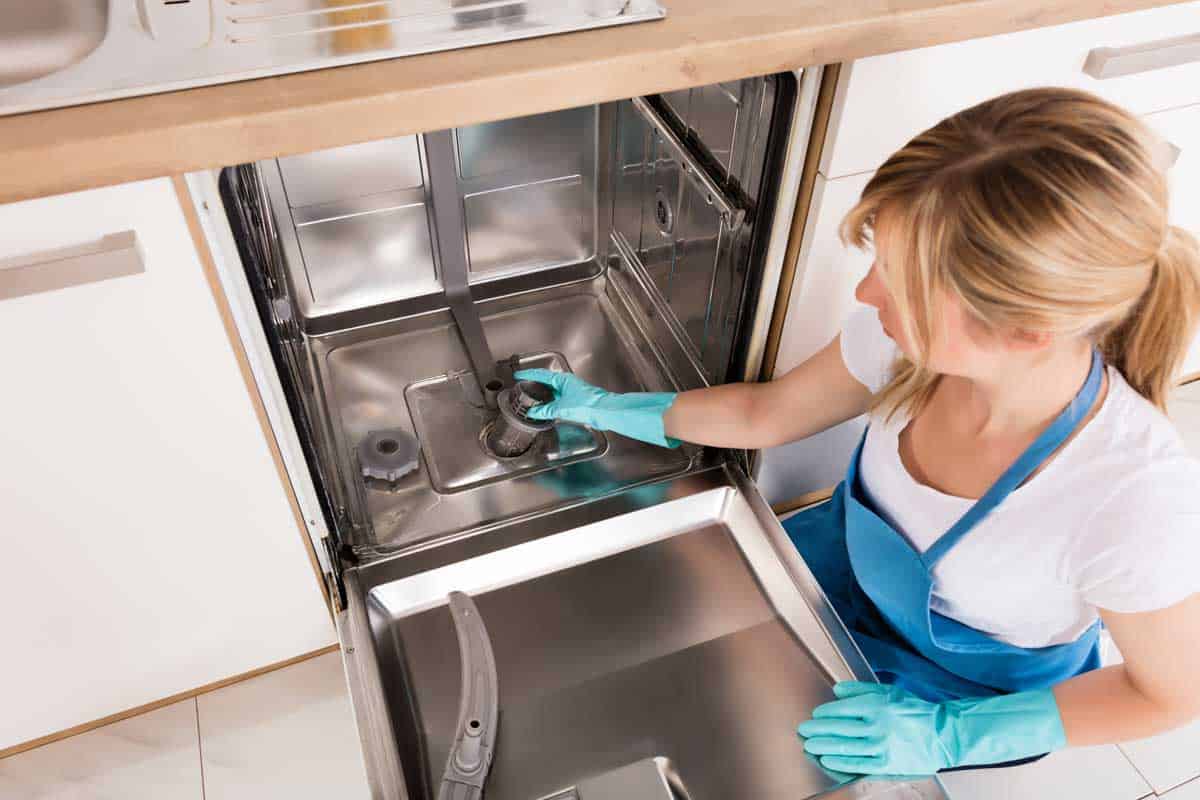
- Remove the lower access panel: Using a screwdriver, loosen and remove the screws holding the lower access panel in place. This panel is located at the bottom front of the dishwasher.
- Disconnect the water supply line: Using an adjustable wrench, loosen the compression fitting that connects the water supply line to the dishwasher. Place a bucket or towels underneath to catch any water that may spill out.
- Disconnect the drain hose: If your dishwasher is connected to a garbage disposal unit, remove the hose clamp securing the drain hose to the disposal’s inlet. If it’s connected to a drain pipe, loosen the hose clamp and carefully remove the drain hose.
By properly disconnecting the dishwasher, you’ll ensure a smooth removal process without any complications. Now, let’s move on to Step 2: shutting off the power supply.
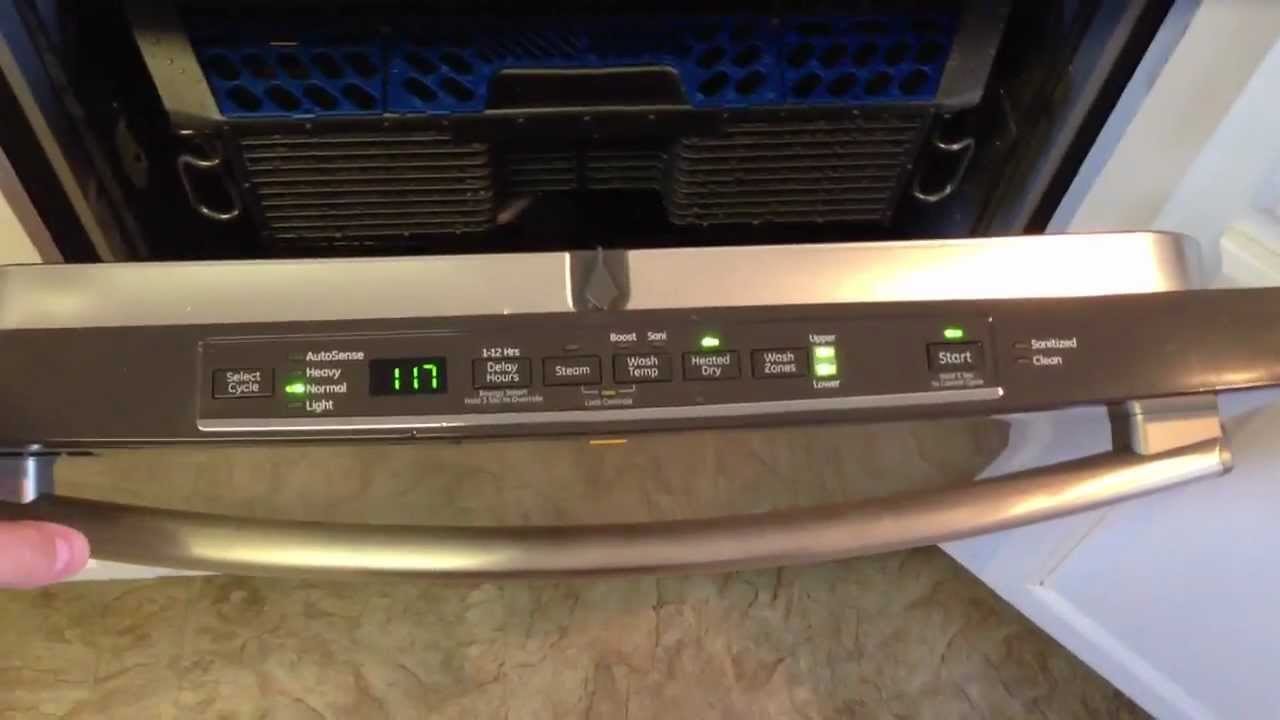
Step 2: Shut Off the Power
Before attempting any further disconnections or removal, it’s crucial to shut off the power supply to the dishwasher. This step will ensure your safety and prevent any electrical mishaps. Follow these steps to shut off the power:
- Locate the circuit breaker panel: Find the electrical panel in your home where all the circuit breakers are located. It is usually found in the basement, utility room, or garage.
- Identify the correct breaker: Look for the circuit breaker that controls the dishwasher. It is usually labeled as “Dishwasher” or “Appliances” on the circuit breaker panel. If you’re unsure, you can try switching off each breaker one by one to identify the correct one.
- Turn off the breaker: Once you have identified the correct breaker, switch it off by flipping it to the “Off” position. This will shut off the power supply to the dishwasher.
- Test the dishwasher controls: To ensure the power is successfully disconnected, go to the dishwasher and try to turn it on. If the controls do not respond, then the power is properly shut off.
It’s important to double-check and ensure that the power is truly shut off before proceeding with the removal process. This will eliminate any risk of electrical shock or damage. Now that you’ve shut off the power, let’s move on to Step 3: disconnecting the water supply.
Step 3: Disconnecting the Water Supply
With the power supply turned off, it’s time to disconnect the water supply line from the dishwasher. Follow these steps to disconnect the water supply:
- Locate the water supply line: Look for the small copper or flexible stainless steel tubing that connects the dishwasher to the hot water shut-off valve under the sink.
- Using an adjustable wrench: Place the adjustable wrench on the compression fitting connecting the water supply line to the dishwasher.
- Loosen the compression fitting: Turn the adjustable wrench counterclockwise to loosen the compression fitting. If the fitting is tight, you might need to use some force to break it loose.
- Remove the water supply line: Once the compression fitting is loosened, carefully pull the water supply line out of the dishwasher. Be prepared for any remaining water in the line; you can catch it with a container or towel.
- Inspect for any leaks or damage: After the water supply line is disconnected, inspect it for any signs of leaks or damage. If necessary, replace the line before reinstalling the dishwasher.
By disconnecting the water supply line, you’ll ensure a smooth removal process without any water leaks. Now that the water supply is disconnected, let’s move on to Step 4: disconnecting the drain hose.
Before removing a dishwasher, make sure to turn off the power and water supply. Disconnect the water and drain hoses, then carefully slide the dishwasher out from its space. Be cautious of any sharp edges or potential obstacles.
Step 4: Disconnecting the Drain Hose
Now that the water supply line is disconnected, it’s time to disconnect the drain hose from the dishwasher. Follow these steps to properly disconnect the drain hose:
- Locate the drain hose: Look for a flexible plastic or rubber hose connected to the dishwasher. It is usually located at the back of the dishwasher near the bottom.
- Check for a hose clamp: Inspect the connection between the drain hose and the drain pipe or garbage disposal unit. If there is a hose clamp securing the connection, you’ll need to loosen it.
- Loosen the hose clamp: If there is a hose clamp, use pliers to loosen it by squeezing the tabs and sliding it down the hose.
- Disconnect the drain hose: Once the hose clamp is loosened, carefully pull the drain hose out of the connection. Be prepared for any residual water in the hose; you can catch it with a container or towel.
- Inspect the drain hose: After the drain hose is disconnected, inspect it for any signs of clogs or damage. Clean or replace the hose if necessary before reinstalling the dishwasher.
By properly disconnecting the drain hose, you’ll ensure a smooth removal process without any drainage issues. Now that the drain hose is disconnected, let’s move on to Step 5: removing the mounting brackets.
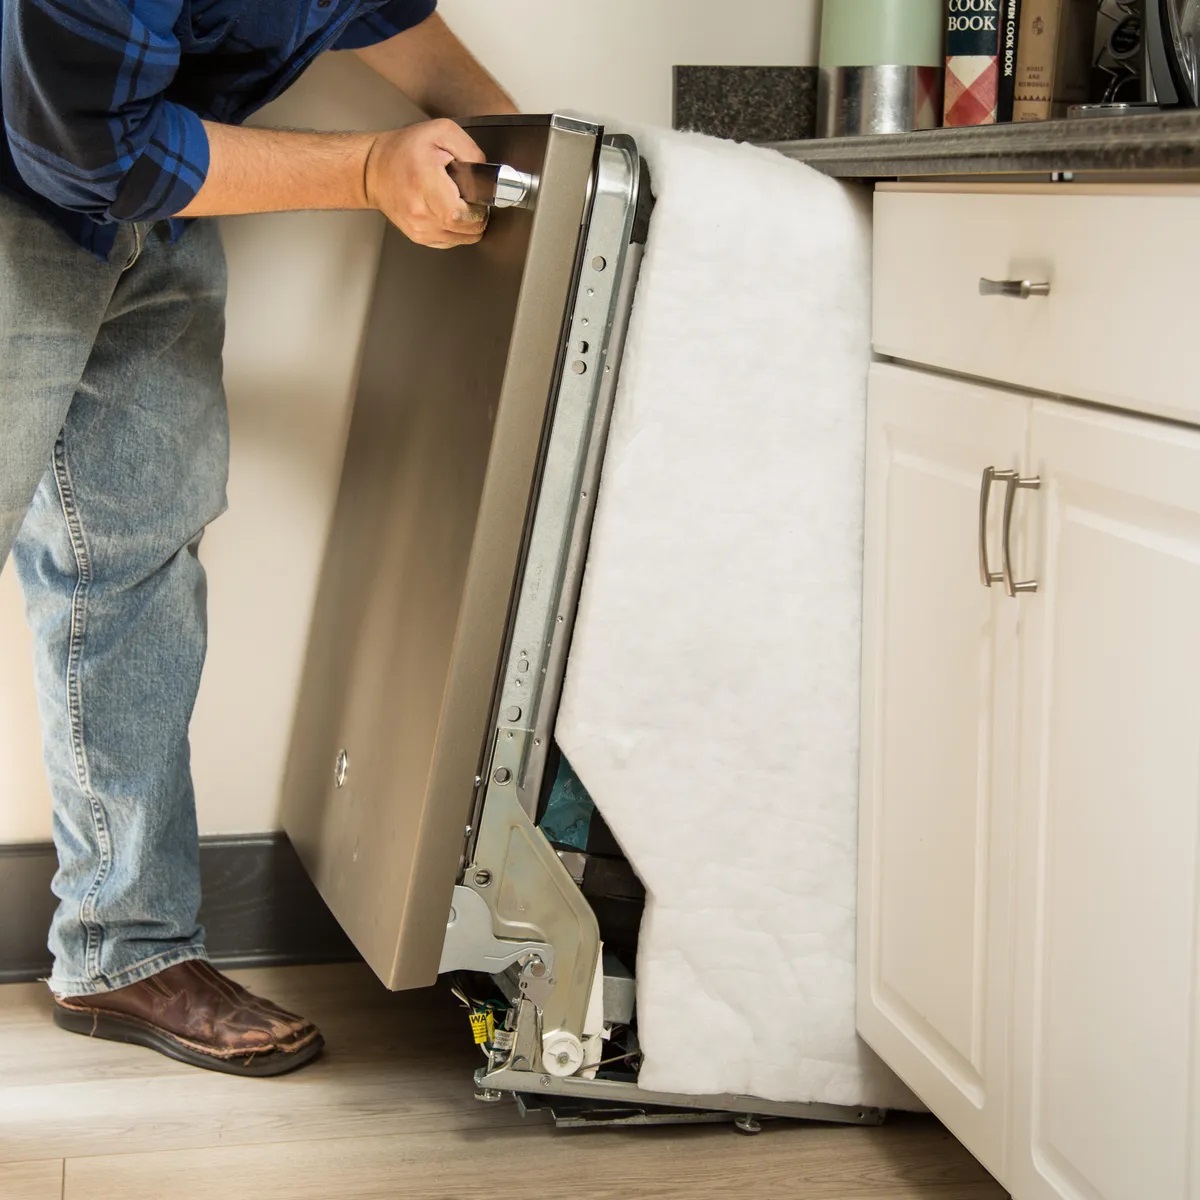
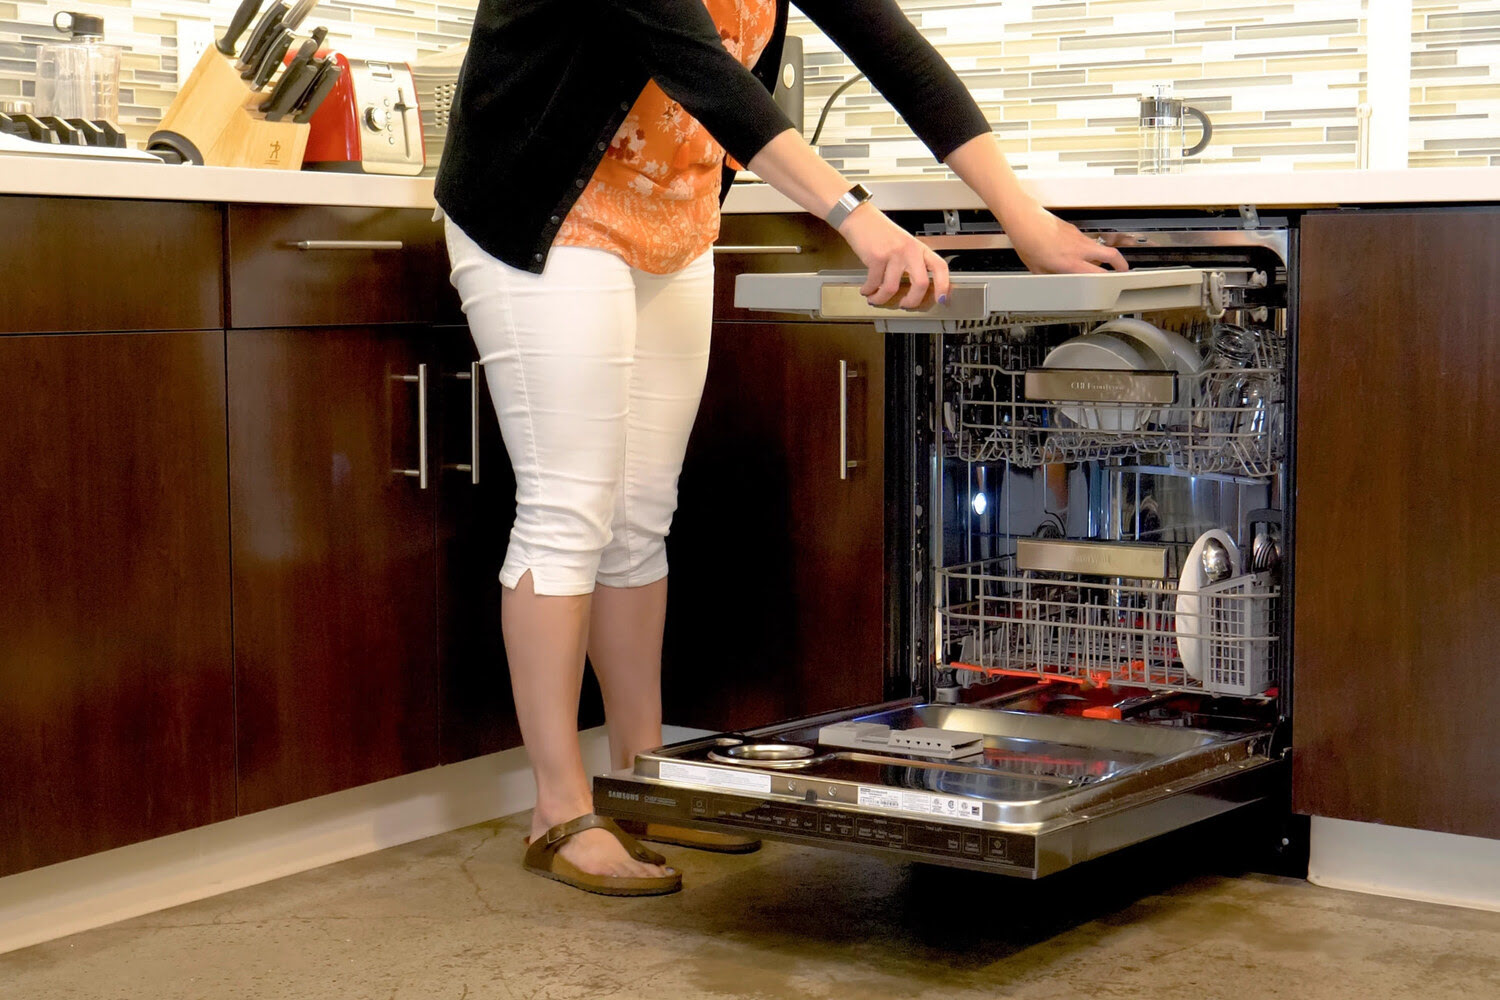
Step 5: Removing the Mounting Brackets
With the water supply and drain hose disconnected, it’s time to remove the mounting brackets that secure the dishwasher in place. Follow these steps to remove the mounting brackets:
- Locate the mounting brackets: Look for metal brackets that are attached to the sides of the dishwasher and secured to the countertop or cabinet.
- Remove the screws: Use a screwdriver to loosen and remove the screws that secure the mounting brackets to the countertop or cabinet. Depending on the model, there may be multiple screws on each bracket.
- Support the dishwasher: Once the screws are removed, it’s important to support the dishwasher to prevent it from falling forward. You can use wedges or have someone help you hold it in place.
- Slide the dishwasher out: Carefully slide the dishwasher out from its current position. Take caution to avoid scratching the floor or damaging the surrounding area.
By removing the mounting brackets, you’ll free the dishwasher from its secured position, allowing you to proceed with the removal process. Now that the mounting brackets are removed, let’s move on to Step 6: sliding out the dishwasher.
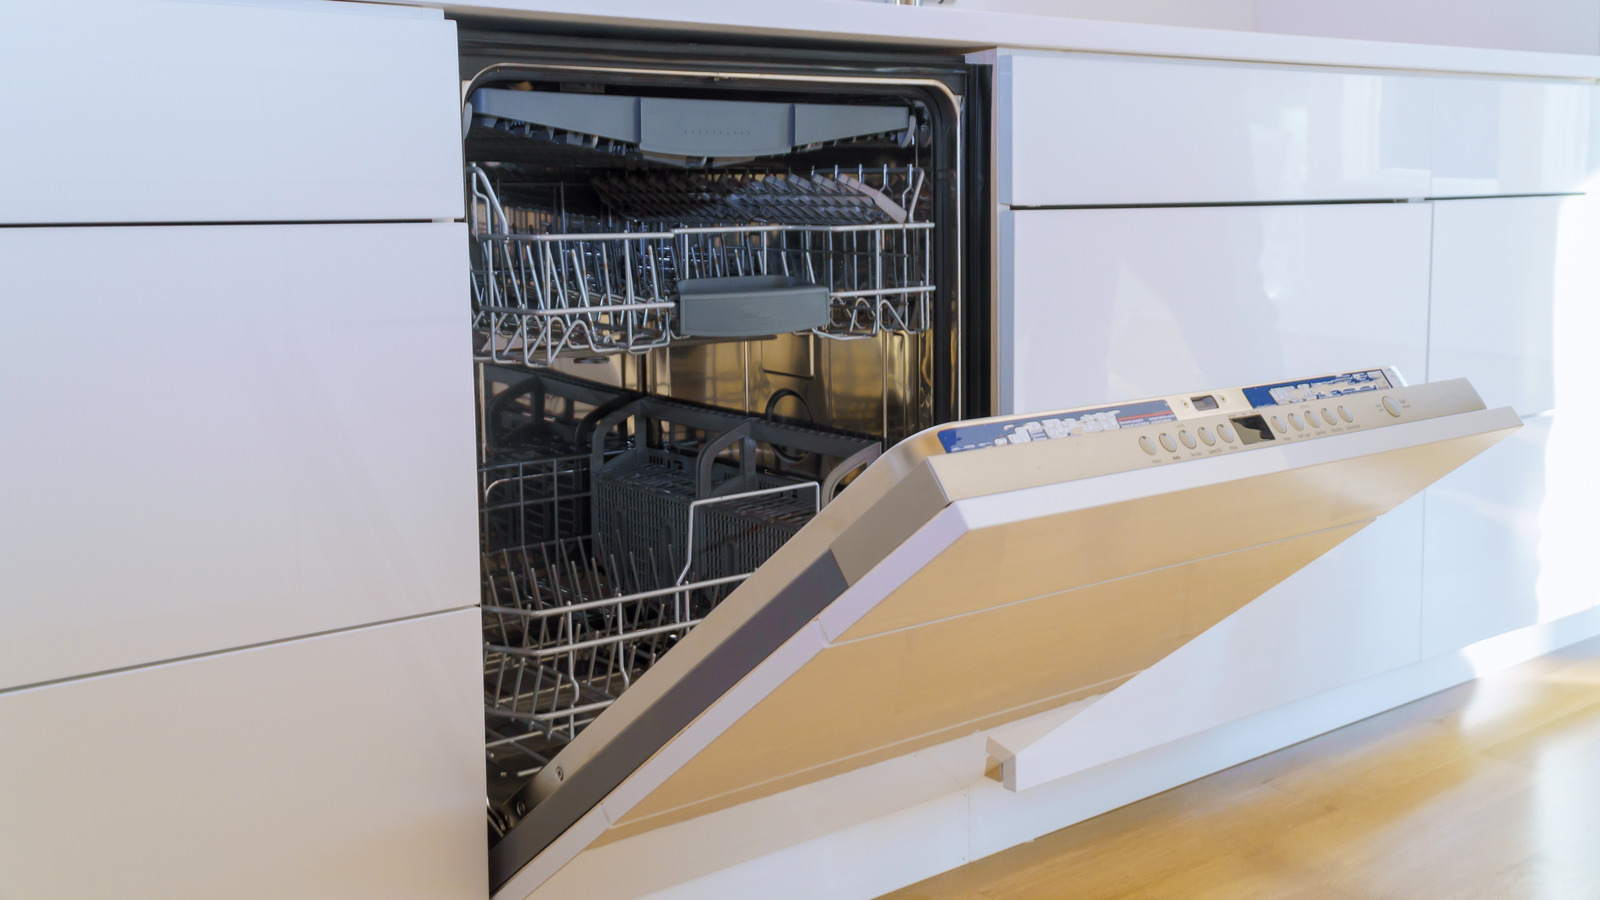
Step 6: Sliding out the Dishwasher
Now that the mounting brackets are removed, you can proceed to slide out the dishwasher from its current position. Follow these steps to safely slide out the dishwasher:
- Disconnect the electrical plug: If there is an electrical plug attached to the dishwasher, disconnect it from the wall outlet. This will ensure that you can slide out the dishwasher without any obstructions.
- Check for any remaining connections: Inspect the back of the dishwasher for any remaining connections such as water or electrical lines. If there are any, carefully disconnect them as necessary.
- Slowly slide out the dishwasher: With the help of your partner or by yourself, slowly and carefully slide the dishwasher out from its spot. If there is resistance or it feels stuck, double-check for any overlooked connections or obstructions.
- Keep the dishwasher level: As you slide out the dishwasher, make sure to keep it level to avoid any tipping or damage to the appliance or surrounding areas.
- Set the dishwasher down: Once you have successfully slid out the dishwasher, gently set it down on the protected surface you have prepared earlier. Take care not to damage the flooring or countertop.
By following these steps, you’ll be able to safely slide out the dishwasher from its position, allowing you to proceed with the next steps of the removal process. Now that the dishwasher is slid out, let’s move on to Step 7: disconnecting the electrical wiring.
Read more: How To Wash Hats In The Dishwasher
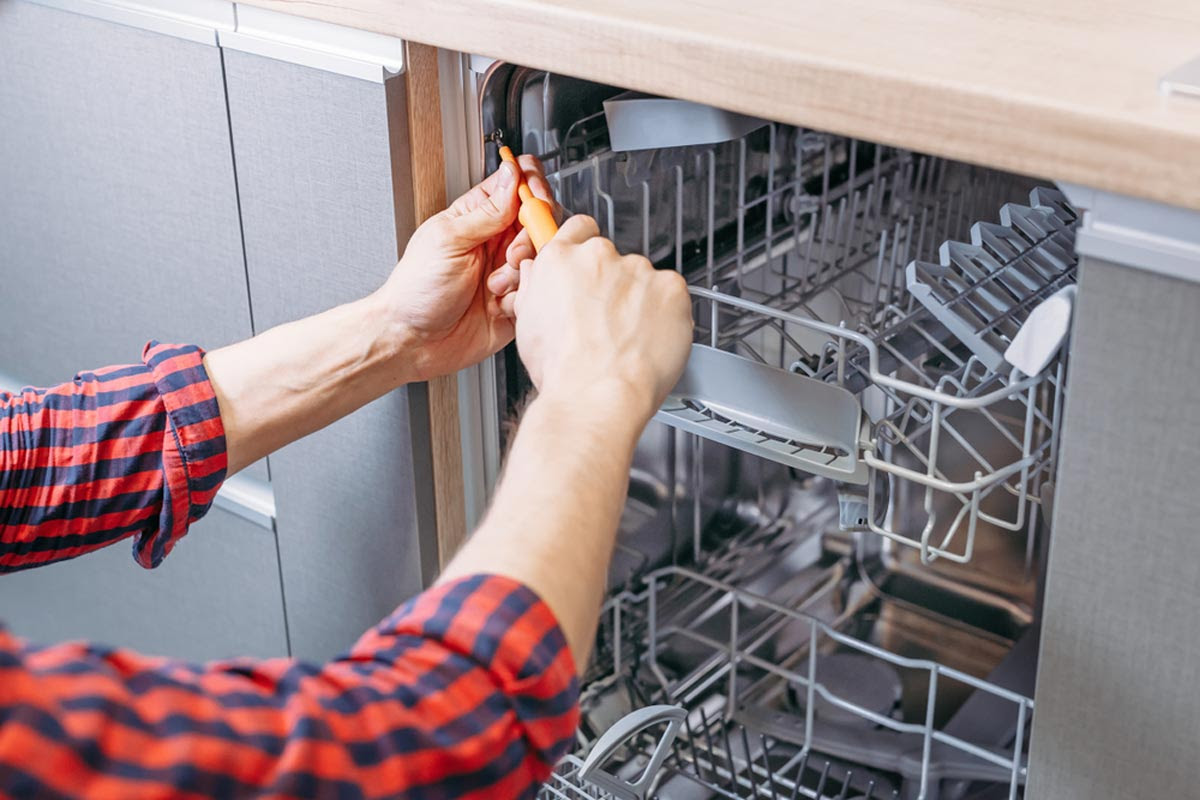
Step 7: Disconnecting the Electrical Wiring
With the dishwasher slid out and secured on a protected surface, it’s time to disconnect the electrical wiring. Follow these steps to safely disconnect the electrical connections:
- Double-check the power is off: Ensure that the power supply to the dishwasher is still turned off by verifying that the corresponding breaker in the electrical panel is in the off position.
- Locate the electrical junction box: Look for a small plastic or metal box attached to the back of the dishwasher. This is where the electrical wiring is connected.
- Remove the cover: Using a screwdriver, remove the screws securing the cover of the electrical junction box. Set the cover aside in a safe place.
- Inspect the wiring connections: Inside the junction box, you will find electrical wires connected with wire nuts or terminal screws. Take a moment to familiarize yourself with the wiring connections.
- Disconnect the wiring: Carefully loosen the wire nuts or unscrew the terminal screws to disconnect the electrical wires. Keep the wires separated and prevent them from touching any metal parts.
- Secure the disconnected wires: Use electrical tape or wire connectors to secure the exposed ends of the disconnected electrical wires. This will prevent any accidental contact or short circuits.
By following these steps, you’ll be able to safely disconnect the electrical wiring from the dishwasher. Now that the electrical wiring is disconnected, let’s move on to Step 8: removing the dishwasher completely.
Step 8: Removing the Dishwasher Completely
Now that all the necessary disconnections have been made, it’s time to remove the dishwasher completely. Follow these steps to safely remove the dishwasher from your kitchen:
- Check for any remaining attachments: Inspect the dishwasher for any remaining attachments, such as brackets or screws, that may still be holding it in place. Remove them if necessary.
- Prepare a safe lifting area: Choose a safe and spacious area where you can lift and maneuver the dishwasher without obstacles. Clear the area of any potential tripping hazards.
- Use proper lifting techniques: Enlist the help of a partner and use proper lifting techniques to avoid strain or injury. Bend your knees and lift with your legs, not your back. Keep your back straight while lifting.
- Lift the dishwasher: Position yourselves on opposite sides of the dishwasher and lift it together, ensuring a balanced and controlled lift.
- Remove the dishwasher from the kitchen: Carefully carry the dishwasher out of the kitchen and place it in a suitable area. Be cautious of doorways, corners, and any tight spaces.
- Clean up the area: Take a moment to clean up any debris or water that may have accumulated during the removal process. Wipe down the surrounding areas as needed.
By following these steps, you will have successfully removed the dishwasher from your kitchen. Take care to lift and maneuver it safely to avoid any damage or accidents. Now that the dishwasher is removed, you can either install a new dishwasher or proceed with your remodeling plans. Congratulations on completing the removal process!
Conclusion
Removing a dishwasher may seem like a daunting task, but with the right knowledge and tools, it can be done easily and safely. By following the step-by-step guide outlined in this article, you can successfully remove a dishwasher from your kitchen.
Throughout the process, it is important to prioritize safety. Take the necessary precautions, such as wearing protective gear and shutting off the power supply, to prevent injuries or accidents. Additionally, be mindful of any sharp objects or potential hazards while disconnecting the dishwasher.
Gathering the appropriate tools and materials beforehand will make the process smoother and more efficient. Having a screwdriver, pliers, adjustable wrench, and other necessary items on hand will enable you to disconnect the dishwasher’s various components effectively.
Following the step-by-step process, you will disconnect the dishwasher from its water supply, drainage system, and electrical wiring. Removing the mounting brackets and sliding out the dishwasher will allow for easy access to these connections.
Once the dishwasher is fully disconnected, ensure that it is safely maneuvered out of the kitchen with the help of a partner and by using proper lifting techniques. Take care not to damage any surrounding surfaces or doorways during this part of the process.
Finally, clean up the area and assess if any repairs or replacements are needed before proceeding with your next steps, whether it be installing a new dishwasher or continuing with your remodeling plans.
Remember, if you are unsure about any step of the process or encounter difficulties, it is always recommended to consult a professional to ensure the task is completed properly and safely.
By following these guidelines, you have successfully removed your dishwasher, allowing for future upgrades or remodeling projects. Good job!
Frequently Asked Questions about How To Remove A Dishwasher
Was this page helpful?
At Storables.com, we guarantee accurate and reliable information. Our content, validated by Expert Board Contributors, is crafted following stringent Editorial Policies. We're committed to providing you with well-researched, expert-backed insights for all your informational needs.
0 thoughts on “How To Remove A Dishwasher”