Home>Storage Ideas>Kitchen Storage>How To Clean A Dishwasher To Remove Buildup And Soap Scum
Kitchen Storage
How To Clean A Dishwasher To Remove Buildup And Soap Scum
Modified: August 20, 2024
Learn how to clean your dishwasher and remove buildup and soap scum with these effective kitchen storage ideas.
(Many of the links in this article redirect to a specific reviewed product. Your purchase of these products through affiliate links helps to generate commission for Storables.com, at no extra cost. Learn more)
Introduction
Having a clean and well-maintained dishwasher is essential for ensuring that your dishes come out spotless after every cycle. Over time, dishwashers can accumulate buildup and soap scum, which can affect their performance and leave dishes looking grimy. To avoid this, regular cleaning is necessary to keep your dishwasher running efficiently and effectively.
In this article, we will guide you through the process of cleaning your dishwasher to remove buildup and soap scum. We will provide step-by-step instructions, along with tips and tricks to help you achieve the best results. By following these guidelines, you can maintain a clean and hygienic dishwasher that will leave your dishes sparkling clean.
Before we dive into the cleaning process, let’s explore why cleaning your dishwasher is so important.
Key Takeaways:
- Regularly cleaning your dishwasher is crucial for spotless dishes, preventing odors, extending its lifespan, and promoting energy efficiency. It also maintains a hygienic kitchen environment, ensuring clean and safe cookware and tableware.
- To clean your dishwasher effectively, gather essential tools and materials, follow a step-by-step cleaning process, and implement preventative measures. Regular maintenance and good dishwasher habits are key to enjoying clean and sparkling dishes every time!
Read more: How To Remove Soap Scum From Glass
Importance of Cleaning a Dishwasher
Cleaning your dishwasher regularly is crucial for multiple reasons. First and foremost, a clean dishwasher ensures that your dishes are thoroughly cleaned and sanitized. Over time, residue from food particles, soap, and hard water minerals can build up inside the dishwasher, leading to a less effective cleaning process. This buildup can leave behind a film or residue on your dishes, making them appear dull and dirty even after a cycle.
Furthermore, a clean dishwasher helps prevent unpleasant odors from developing. As food particles and residue accumulate, they can create a breeding ground for bacteria and mold, leading to a foul smell emanating from the dishwasher. Cleaning your dishwasher eliminates these odors, leaving your kitchen smelling fresh.
Regular cleaning also helps extend the lifespan of your dishwasher. Buildup and grime can cause components of the dishwasher, such as the spray arms and filter, to become clogged or damaged. This not only affects the dishwasher’s performance but can also lead to costly repairs or the need for a replacement.
Additionally, a clean dishwasher contributes to energy efficiency. When the internal components of the dishwasher are clean, they can function optimally, resulting in more energy-efficient cycles. This not only saves you money on your energy bill but also reduces your environmental footprint.
Lastly, cleaning your dishwasher is an essential part of maintaining a hygienic kitchen. Dishwashers that aren’t properly cleaned can harbor bacteria and germs, which can transfer to your dishes and utensils. Regular cleaning ensures that your dishwasher remains a clean and safe environment for your cookware and tableware.
Now that we understand the importance of cleaning your dishwasher, let’s move on to the tools and materials you will need for the cleaning process.
Tools and Materials Needed
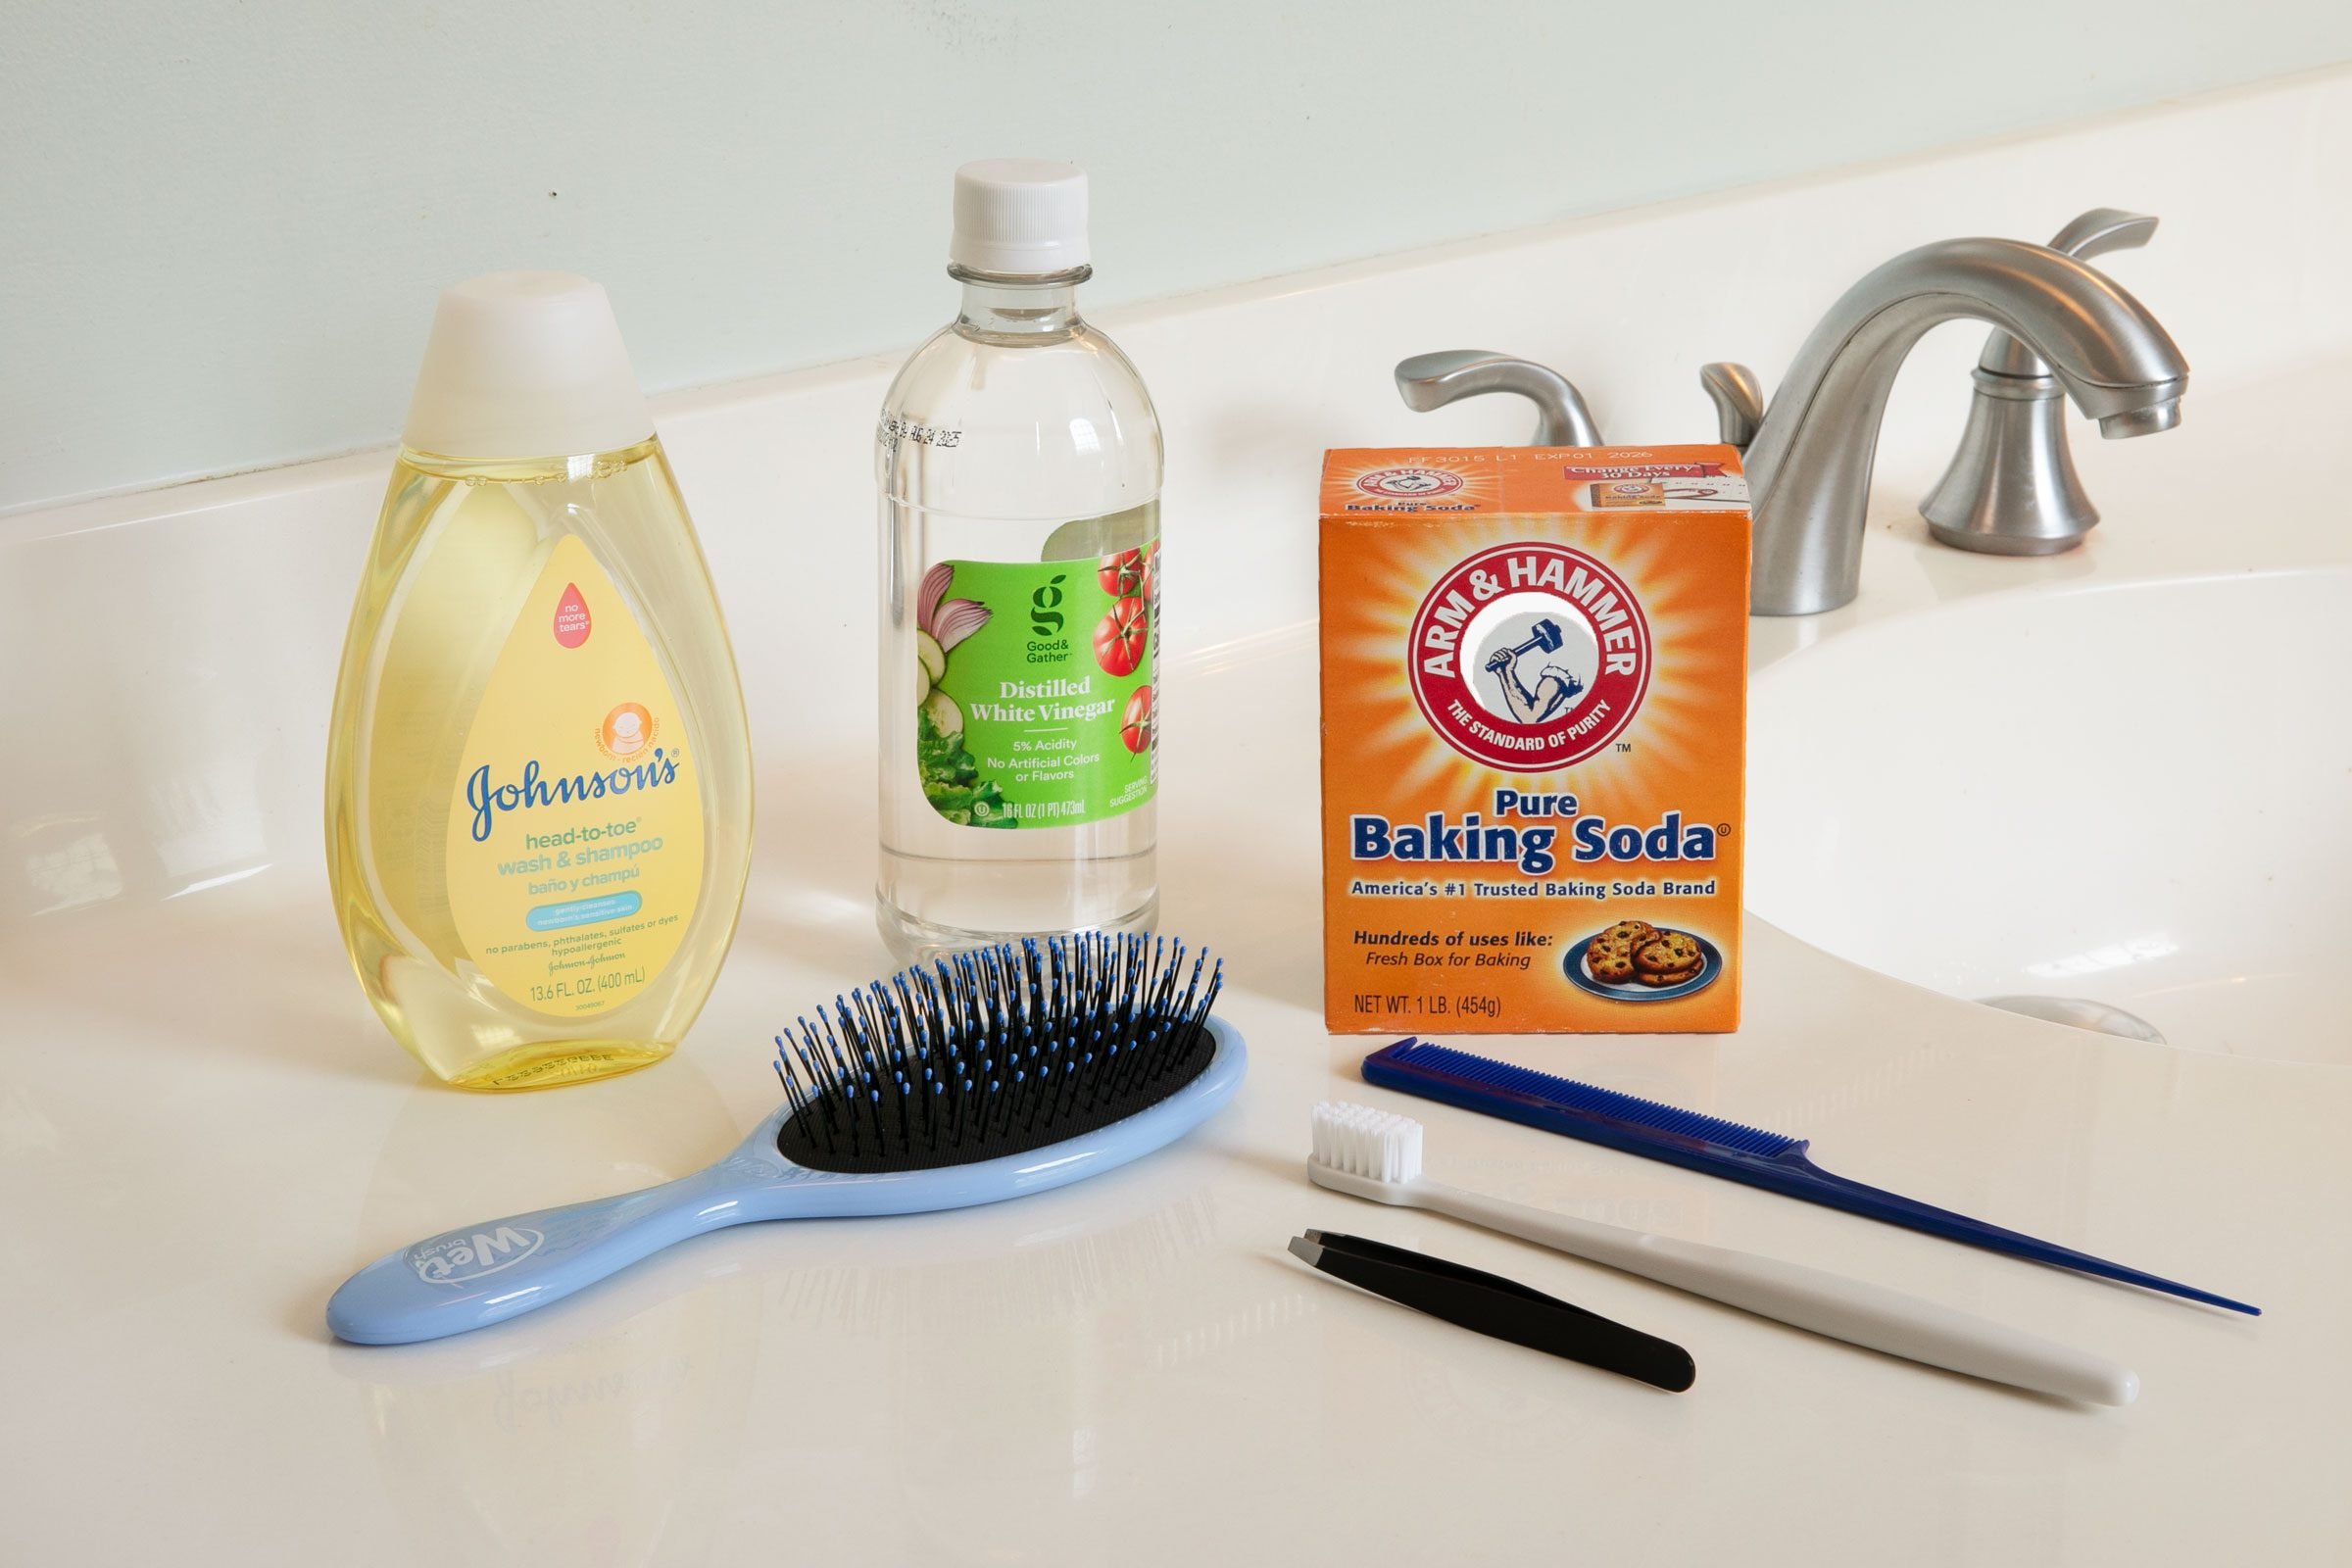
Before you begin cleaning your dishwasher, gather the following tools and materials:
- Dish soap or dishwasher cleaner: You will need a cleaning agent to help remove grease, grime, and soap scum from the interior of the dishwasher.
- Baking soda and vinegar: These natural ingredients can be used as an alternative to commercial dishwasher cleaners if you prefer a more eco-friendly approach.
- Toothbrush or small brush: A toothbrush or small brush will help you access hard-to-reach areas, such as the spray arms and corners of the dishwasher.
- Clean cloth or sponge: Use a cloth or sponge to wipe down the interior walls and racks of the dishwasher.
- Hot water: Hot water is essential for effective cleaning and rinsing of the dishwasher’s interior components.
- White vinegar: Vinegar can be used as a natural rinse aid to help remove spots and residue from glassware and dishes.
- Soft, dry cloth: Use a soft cloth to dry the interior and exterior of the dishwasher after cleaning.
Having these tools and materials on hand will make the cleaning process more efficient and effective. Now that you’re prepared, let’s move on to the step-by-step process of cleaning your dishwasher.
Step 1: Empty the Dishwasher
Before you begin cleaning your dishwasher, start by emptying out any dishes, utensils, or other items inside. It’s important to have a clear and empty dishwasher to ensure that you can access all the nooks and crannies without any obstructions. Remove any removable racks or accessories and set them aside.
Check the bottom of the dishwasher for any large food debris or objects that may have accumulated. Clear out any visible debris to ensure a thorough cleaning. This step is important as it prevents any loose debris from interfering with the cleaning process or causing potential clogs in the dishwasher.
Once you have emptied the dishwasher and cleared out any debris, you are ready to move on to the next step: removing and cleaning the filter.
Step 2: Remove and Clean the Filter
The filter is an essential component of the dishwasher that helps prevent larger food particles from clogging the drain. Over time, the filter can become clogged with debris, affecting the dishwasher’s performance. Cleaning the filter regularly ensures that the dishwasher can effectively drain water and operate efficiently.
To remove the filter, locate it at the bottom of the dishwasher, usually near the back. The filter may be round or rectangular, depending on the dishwasher model. Gently turn the filter counterclockwise or lift it out, depending on the type of filter, to release it from its position.
Rinse the filter under hot running water to remove any food particles or debris. Use a small brush or toothbrush to scrub away stubborn residue. Be thorough in your cleaning to ensure that the filter is completely free from buildup.
Inspect the filter for any signs of damage. If the filter is torn or has holes, it’s important to replace it with a new one to ensure proper filtration and prevent further issues with your dishwasher.
Once you have cleaned and inspected the filter, reinsert it back into its original position. Make sure it is securely fitted and locked in place. This step is crucial to ensure that the filter functions correctly and helps maintain the dishwasher’s performance.
Now that you have cleaned the filter, it’s time to move on to cleaning the spray arms, which play a key role in distributing water and detergent for a thorough cleaning cycle.
Read more: How To Clean Soap Scum Off Glass
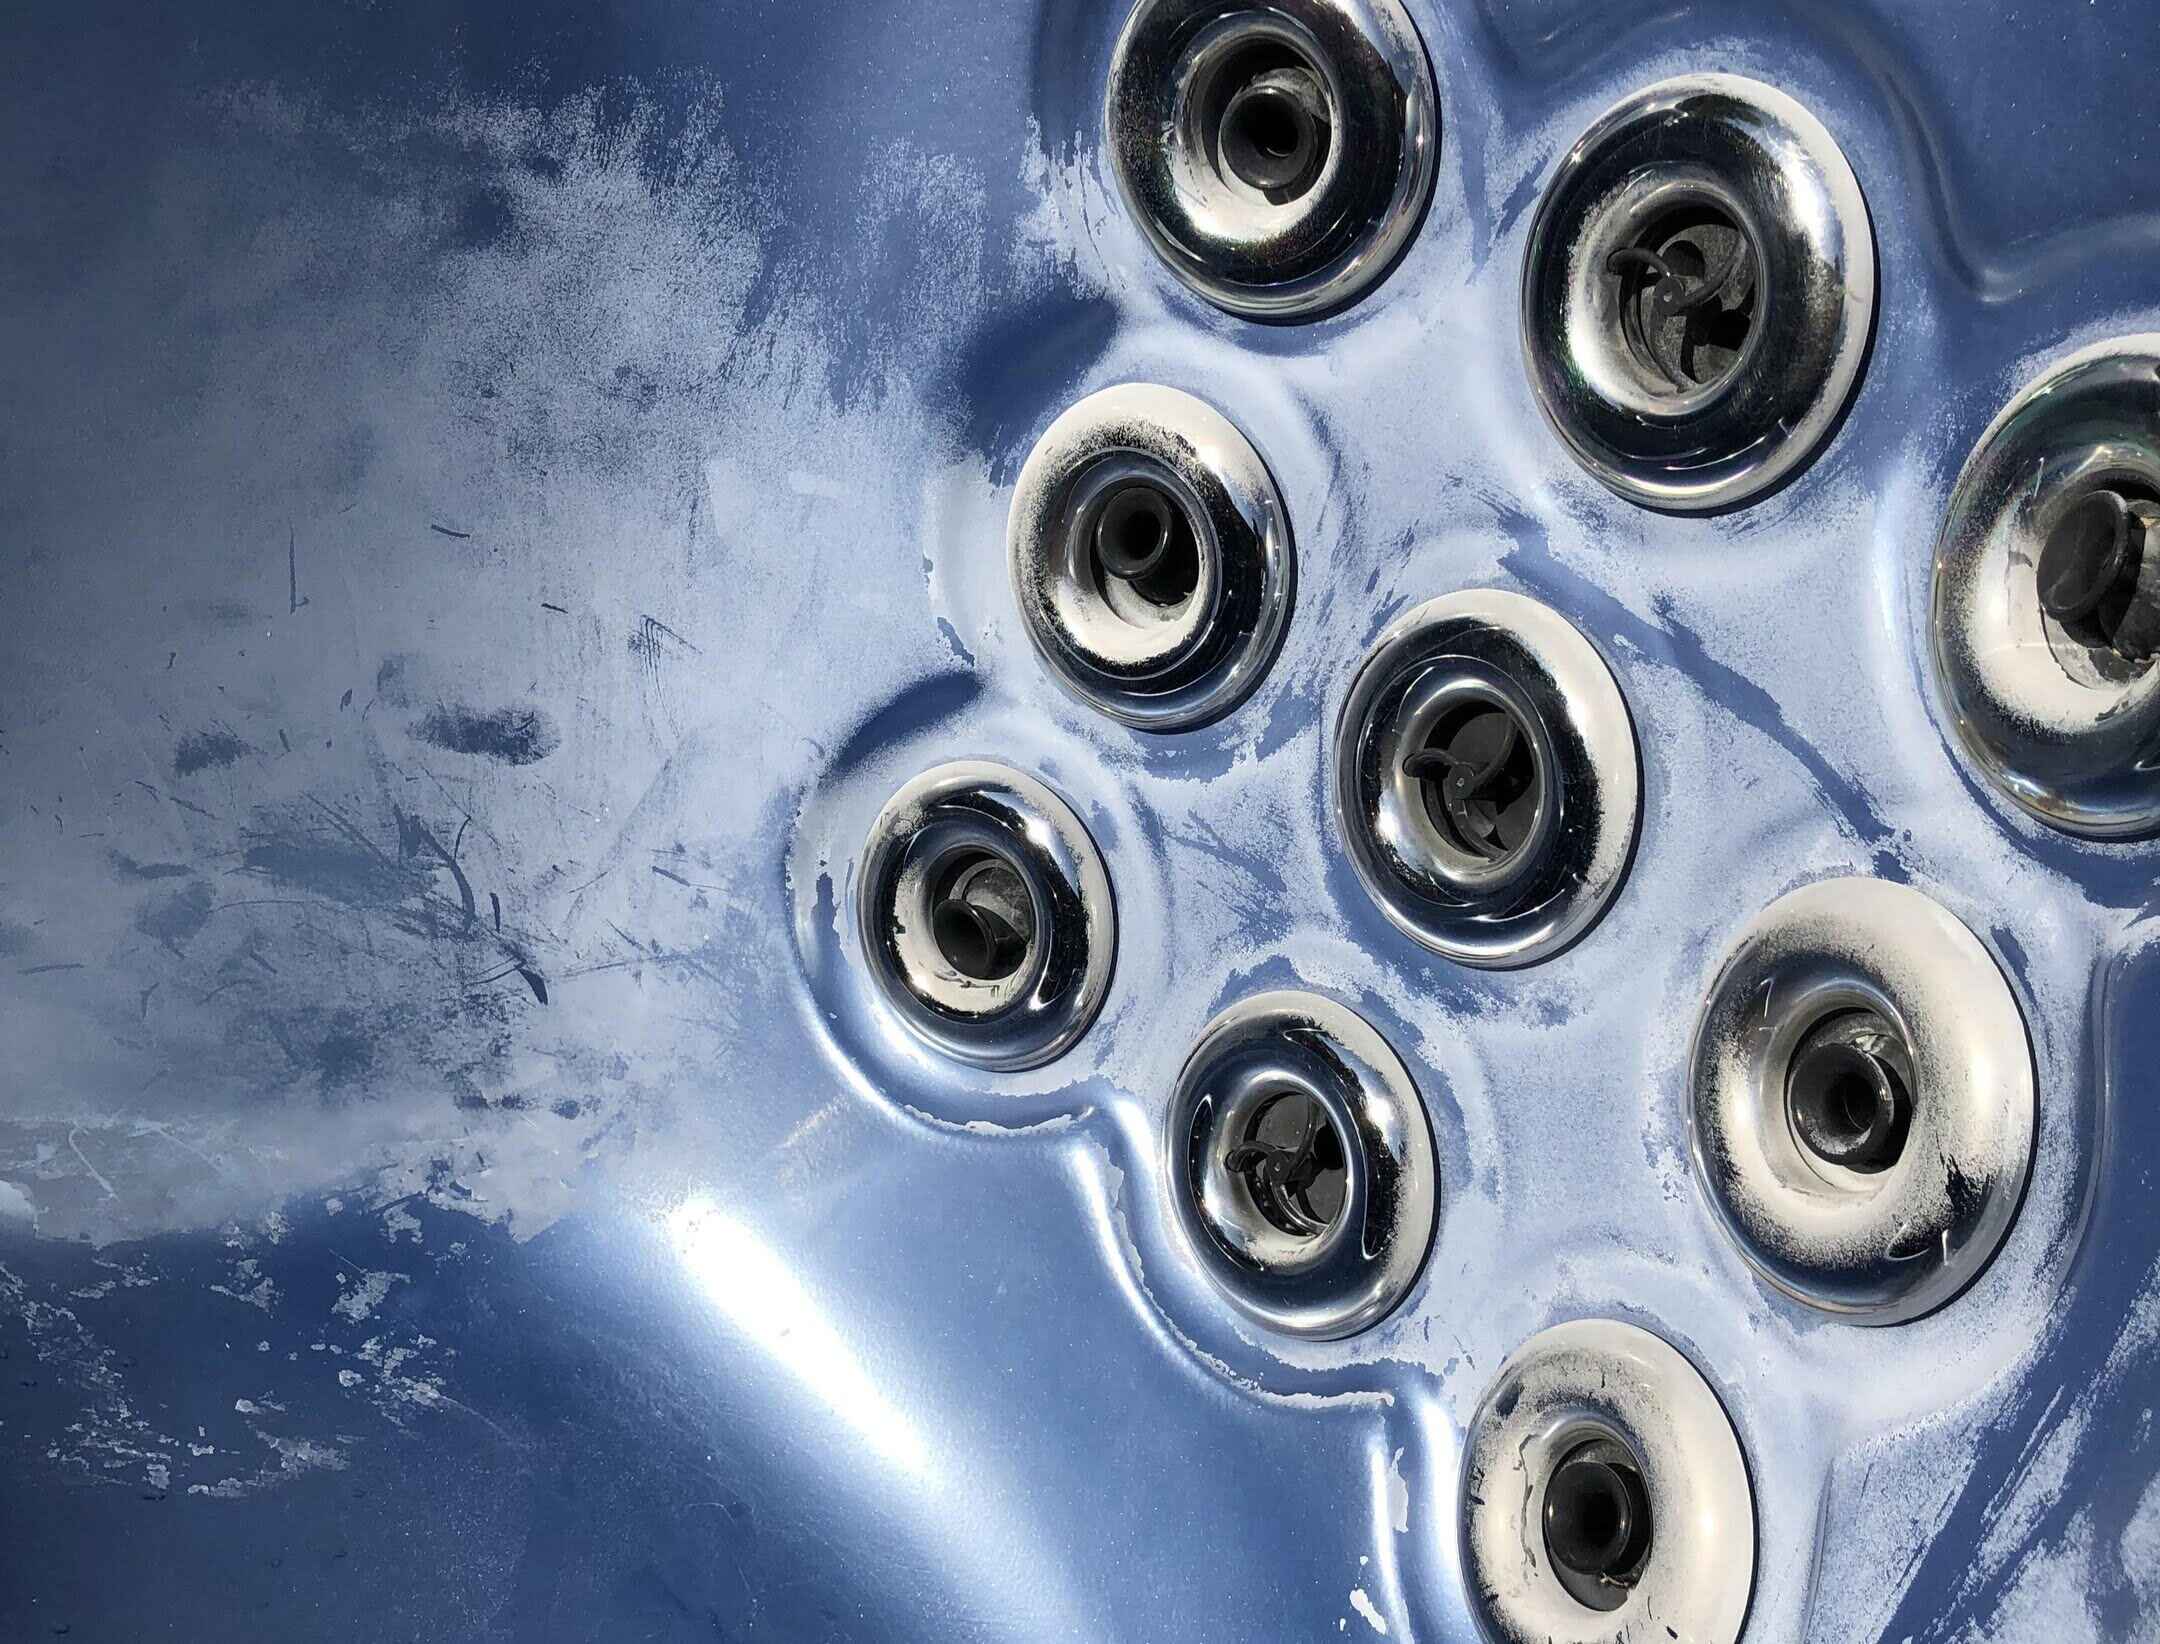
Step 3: Clean the Spray Arms
The spray arms in your dishwasher are responsible for distributing water and detergent to effectively clean your dishes. Over time, they can become clogged with debris, affecting their performance. Cleaning the spray arms is crucial for maintaining a properly functioning dishwasher.
Start by locating the spray arms, which are typically located at the bottom and top of the dishwasher. Some dishwashers may have additional spray arms in the middle or on the sides. Remove the spray arms by gently twisting or lifting them, depending on the model of your dishwasher.
Inspect the spray arms for any visible clogs or debris. Use a small brush or toothbrush to scrub away any buildup or residue. Pay special attention to the spray holes or nozzles and make sure they are free from any obstruction.
For stubborn clogs or mineral deposits, you can soak the spray arms in a mixture of warm water and vinegar. Allow them to soak for about 20-30 minutes to loosen any residue. After soaking, give them a gentle scrub with a brush to remove the loosened debris.
Rinse the spray arms thoroughly under running water to ensure all the debris and vinegar mixture is removed. Check that the spray arms are completely clear and clean before reattaching them to the dishwasher.
Once the spray arms are clean, carefully reinsert them into their respective positions. Ensure they are securely tightened or locked in place to prevent any leaks during the dishwasher’s operation.
With the spray arms cleaned and reinstalled, it’s now time to move on to wiping down the interior walls and door of the dishwasher.
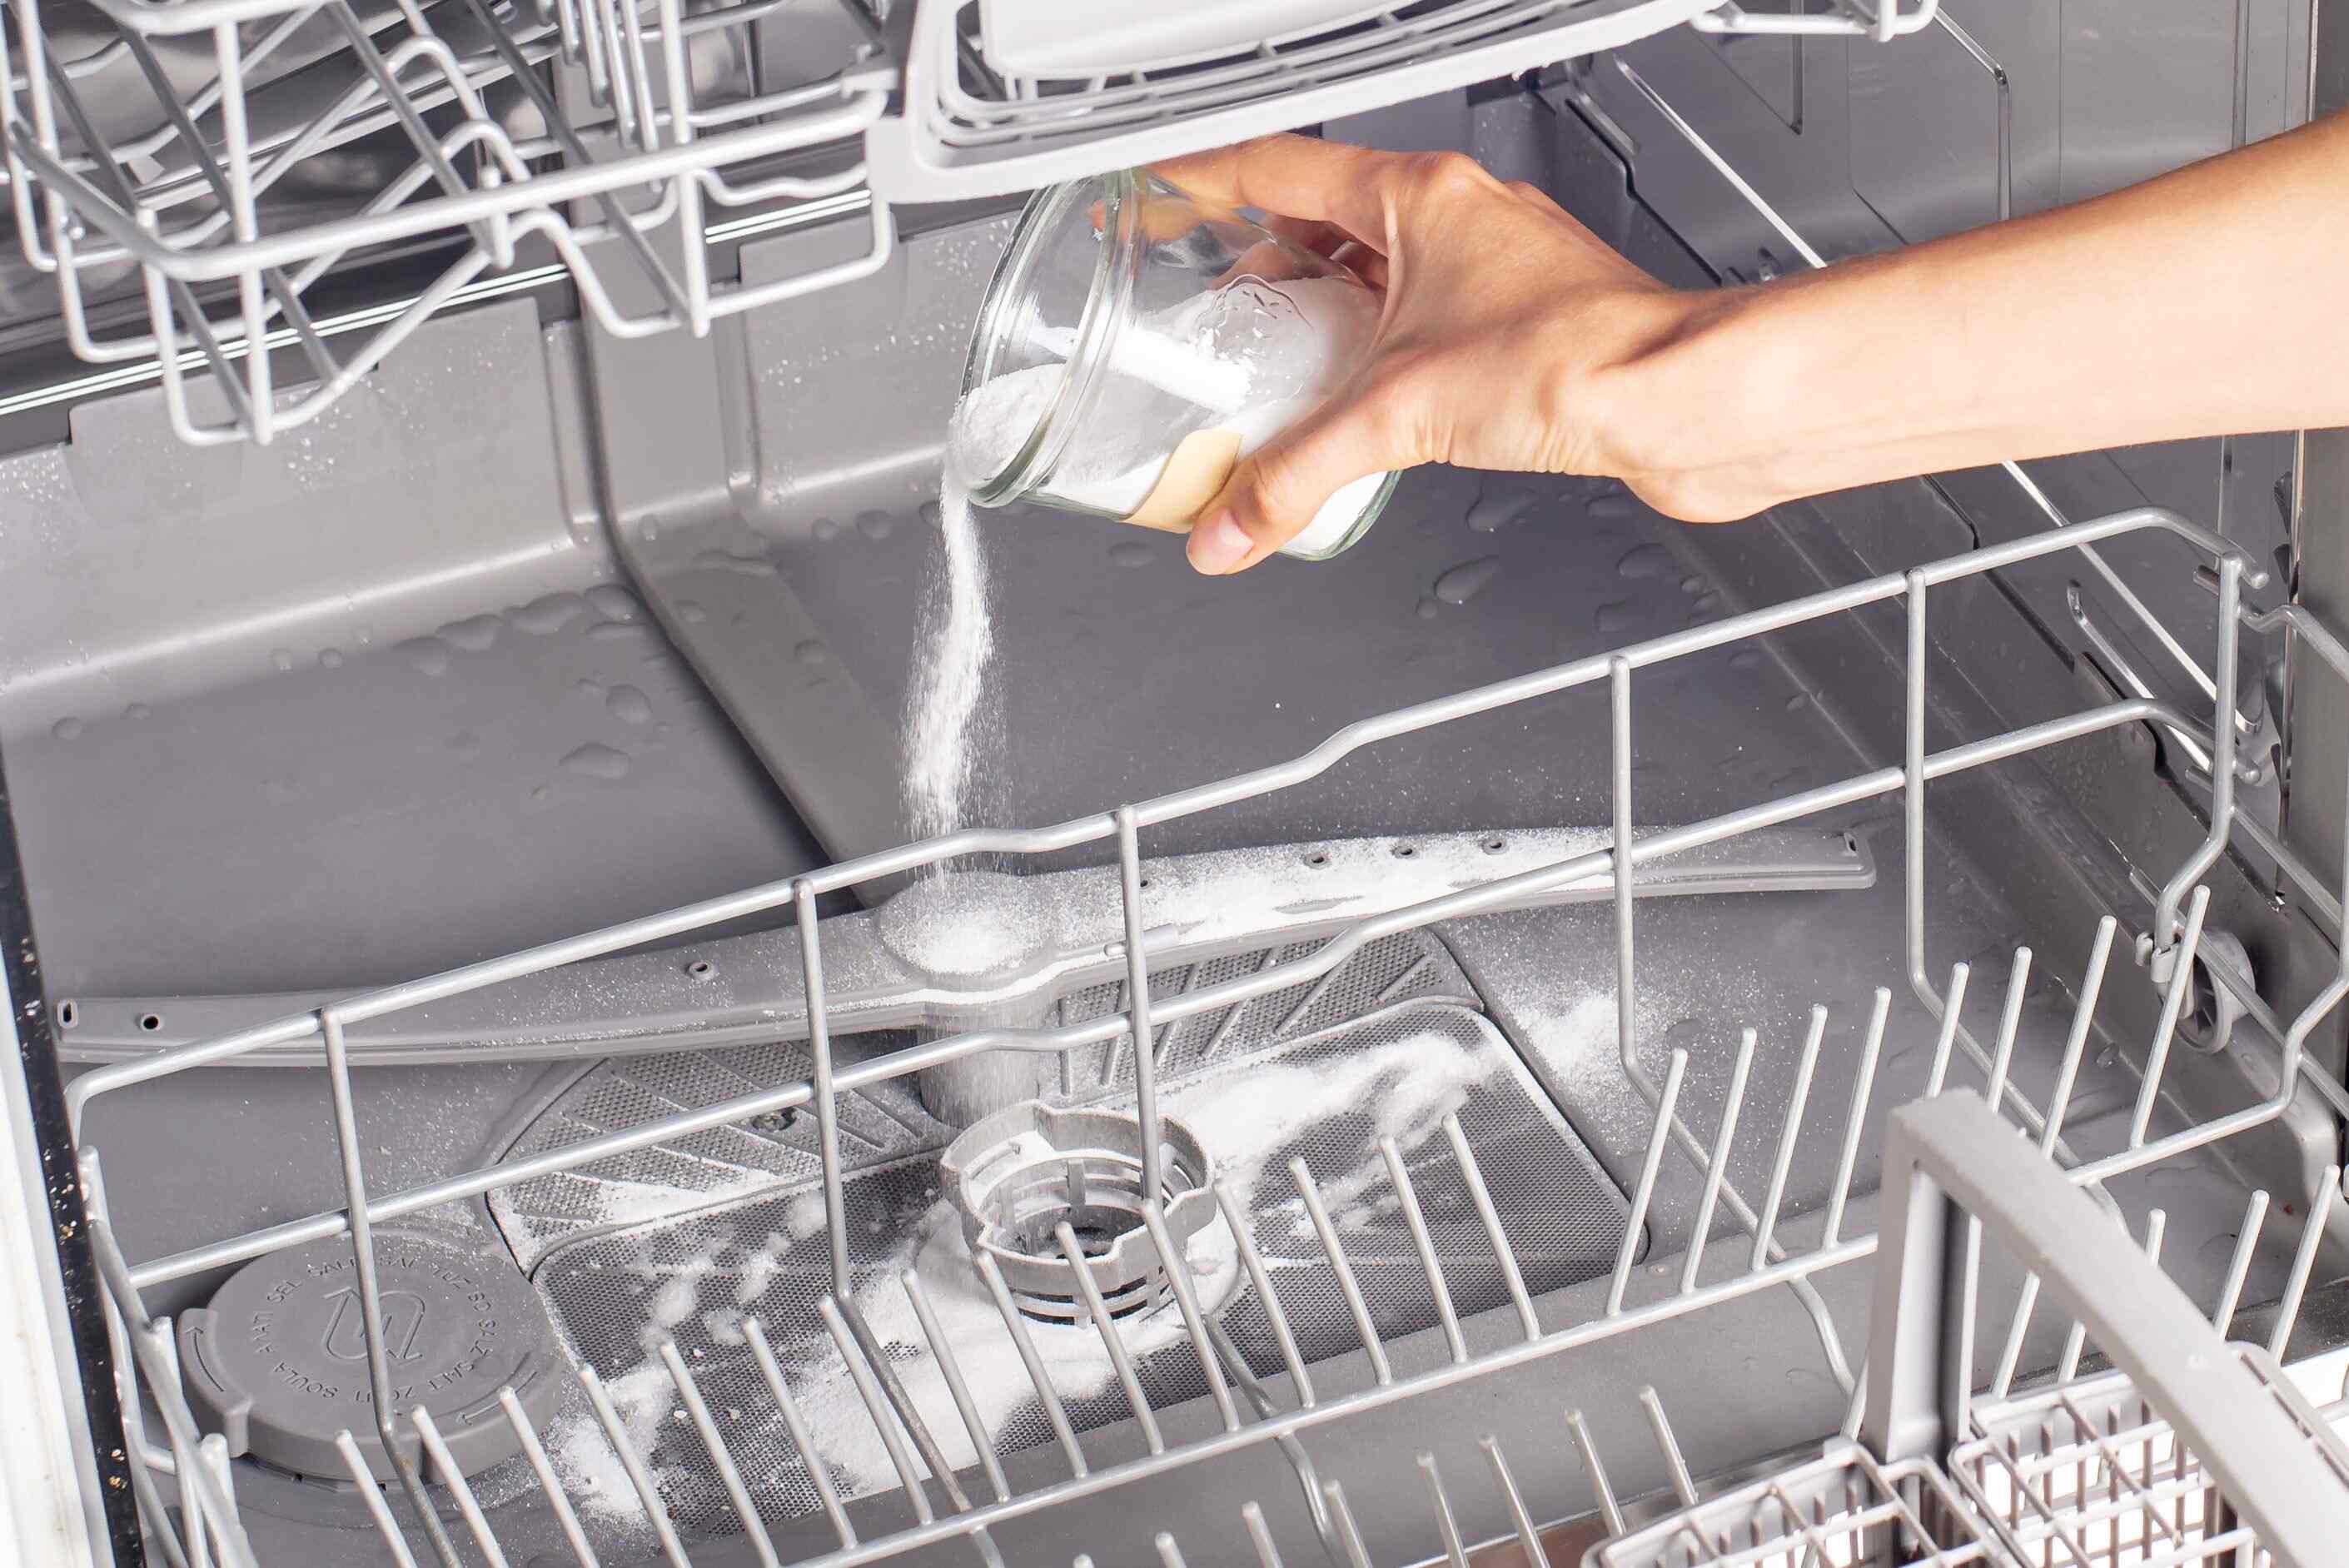
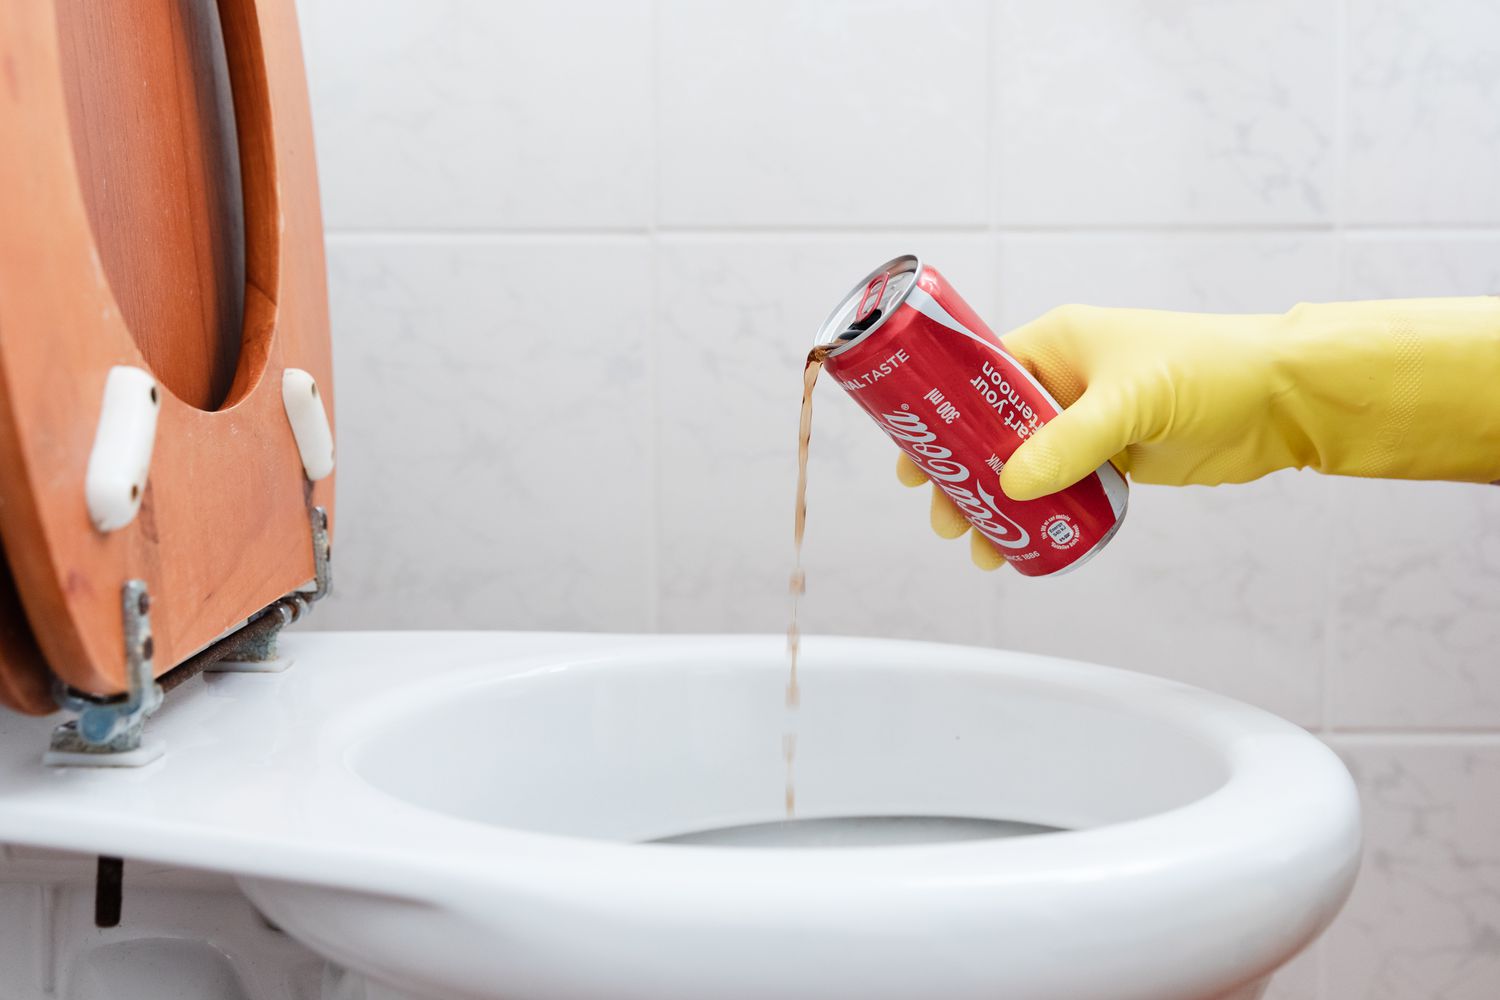
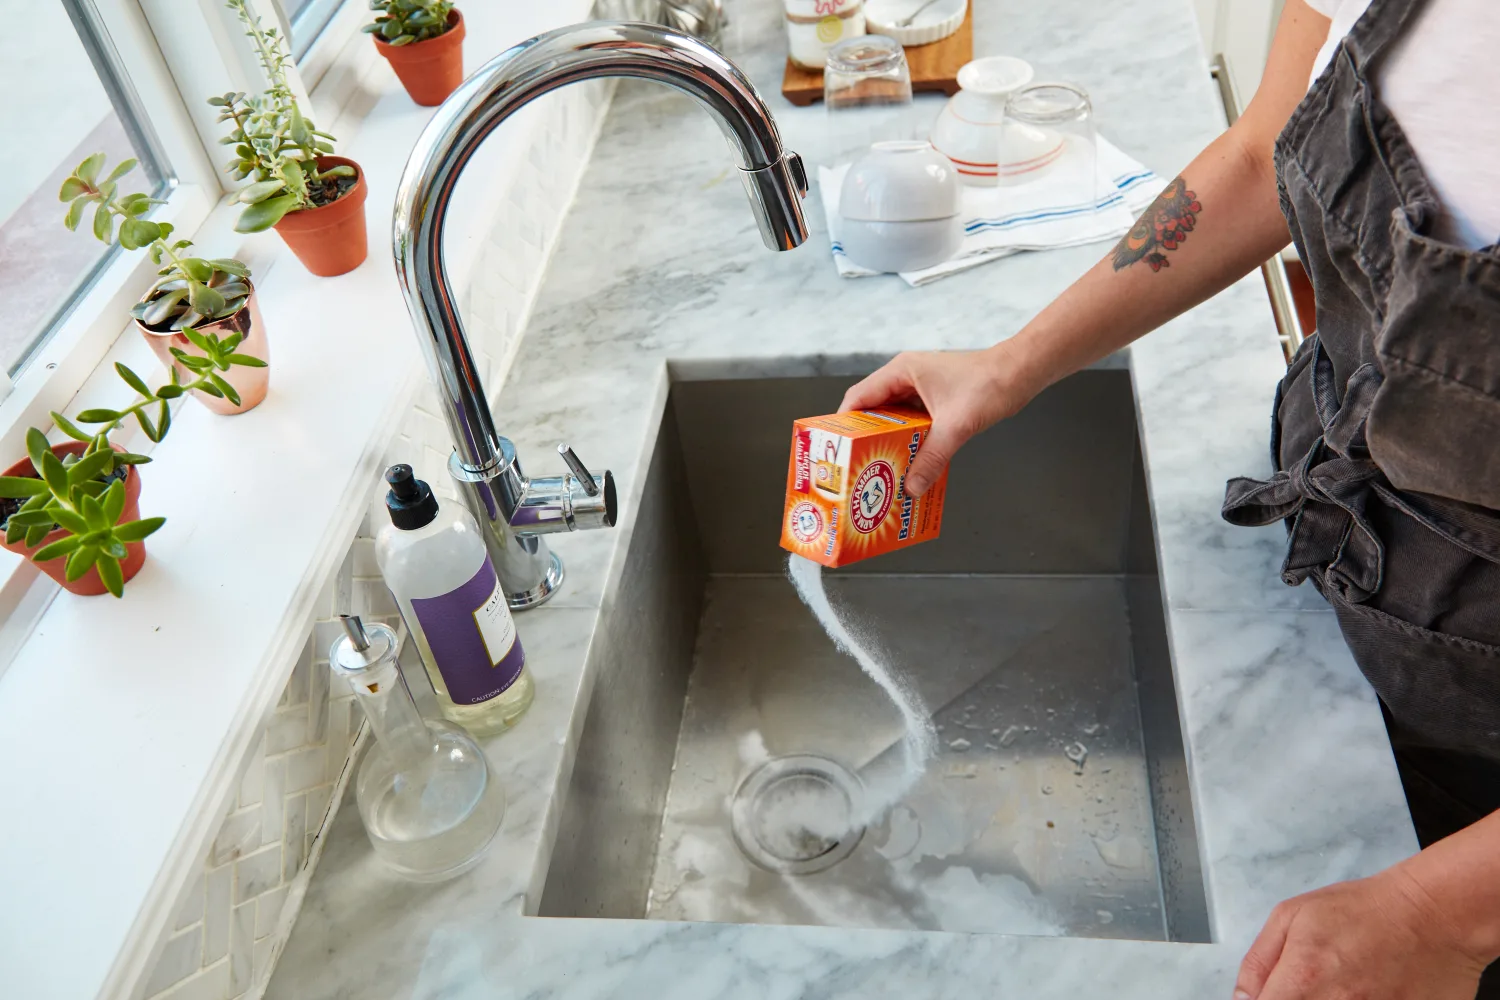
Run a cycle with a cup of white vinegar to remove buildup and soap scum from your dishwasher. Then sprinkle baking soda on the bottom and run another cycle for a fresh and clean dishwasher.
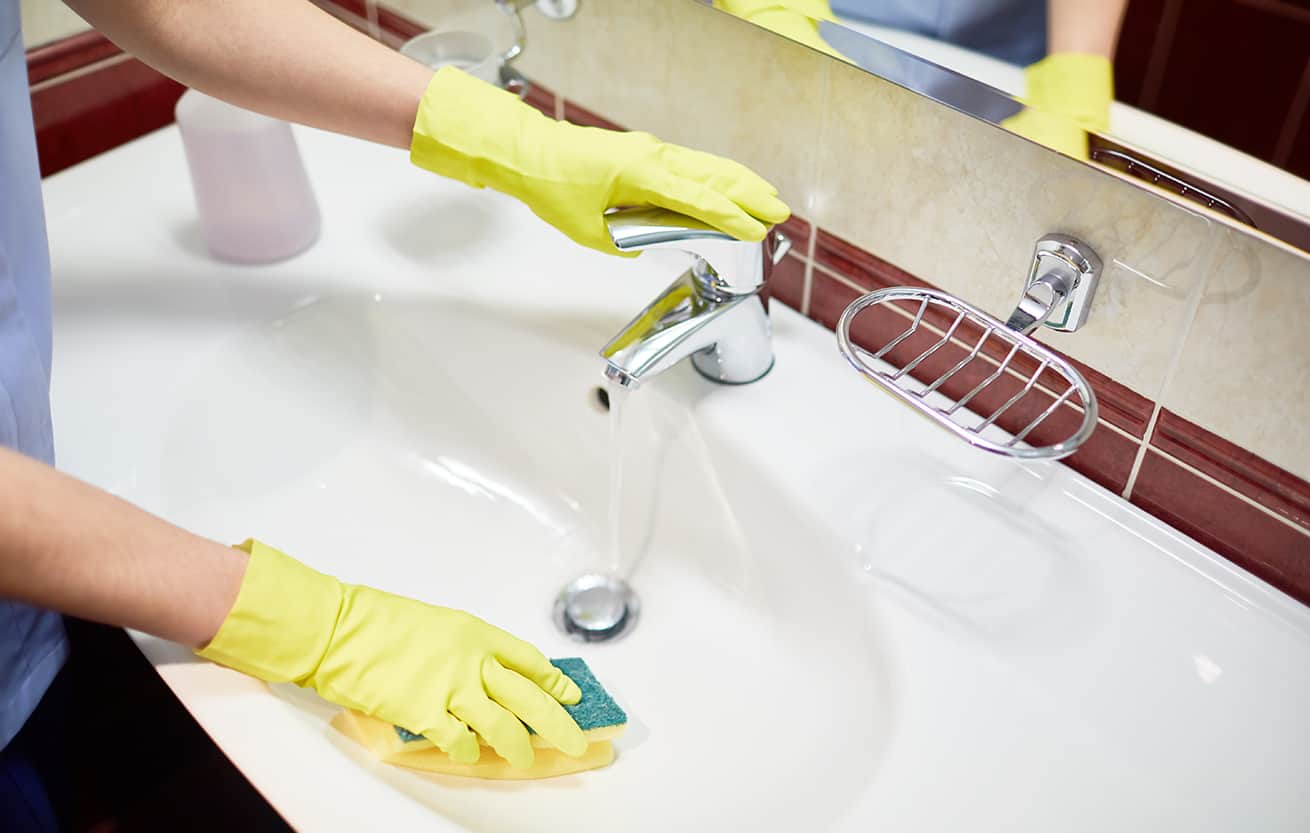
Step 4: Wipe Down the Interior Walls and Door
Now that you have cleaned the filter and spray arms, it’s time to tackle the interior walls and door of the dishwasher. Over time, these areas can accumulate grime, soap scum, and residue from previous cleaning cycles.
Start by dampening a clean cloth or sponge with warm water. You can also add a small amount of dish soap to create a soapy solution for more stubborn stains or residue.
Gently wipe down the interior walls of the dishwasher, paying attention to areas that tend to collect buildup, such as the sides, corners, and around the door seals. Use circular motions to loosen any grime or residue. For hard-to-reach areas, you can use a toothbrush or small brush to scrub away any stubborn dirt.
Next, move on to the door of the dishwasher. Wipe down both the interior and exterior surfaces, being thorough in removing any stains or residue. Pay attention to the edges and crevices of the door where residue can accumulate.
For any stubborn stains or residue that won’t come off with a basic wipe-down, you can create a paste of baking soda and water. Apply the paste to the affected areas and let it sit for a few minutes before scrubbing with a cloth or brush.
After thoroughly cleaning the interior walls and door, rinse the cloth or sponge and go over the surfaces again to remove any remaining soap or cleaning solution. This step ensures that no residue is left behind.
Now that the interior of the dishwasher is clean and fresh, it’s time to move on to cleaning the detergent dispenser and rinse aid cap.
Step 5: Clean the Detergent Dispenser and Rinse Aid Cap
The detergent dispenser and rinse aid cap are essential components of your dishwasher that ensure proper dispensing of cleaning agents during the wash cycle. Over time, these areas can become clogged or dirty, affecting their functionality. Cleaning them regularly is important to maintain optimal performance.
Start by inspecting the detergent dispenser and rinse aid cap for any visible residue or buildup. If you notice any, use a damp cloth or sponge to wipe away the residue. Pay attention to the corners and edges of the dispenser to ensure a thorough cleaning.
For any stubborn residue or buildup, you can use a small brush or toothbrush to gently scrub the affected areas. Be careful not to damage the dispenser or cap in the process.
If the detergent or rinse aid compartments are removable, take them out and rinse them under warm water. Use a brush or toothbrush to scrub away any residue that may have accumulated.
Once you have cleaned the dispenser and cap, make sure they are completely dry before reattaching or refilling them. Residual water or moisture can affect the performance of the cleaning agents.
Now that the detergent dispenser and rinse aid cap are clean, it’s time to move on to the next step: running a cleaning cycle.
Step 6: Run a Cleaning Cycle
Running a cleaning cycle in your dishwasher is an effective way to remove any remaining debris, residue, or odors. This step ensures that your dishwasher is thoroughly cleaned and ready to provide optimal performance for future cycles.
To run a cleaning cycle, make sure the dishwasher is empty and all removable components, such as racks and utensil holders, are in place.
Start by selecting a suitable cleaning agent for your dishwasher. You can use a commercial dishwasher cleaner or create a natural cleaning solution using a mixture of baking soda and vinegar.
If using a commercial dishwasher cleaner, follow the instructions on the packaging for the appropriate amount to use. For a natural cleaning solution, sprinkle a cup of baking soda in the bottom of the dishwasher and pour a cup of vinegar into a dishwasher-safe bowl or cup. Place the bowl or cup on the top rack of the dishwasher.
Select a heavy-duty or cleaning cycle on your dishwasher’s control panel. Make sure the water temperature is set to hot, as higher temperatures help dissolve and remove stubborn residue.
Start the cleaning cycle and allow it to run its complete duration. The cleaning agent will break down any remaining residue and remove any odors from the dishwasher. This thorough cleaning cycle ensures that the dishwasher’s internal components are properly cleaned, including hard-to-reach areas.
Once the cleaning cycle is complete, open the dishwasher door and let it cool down for a few minutes. Then, use a clean cloth or sponge to wipe away any dirt or residue that may have loosened during the cycle. Pay attention to any areas that may require extra cleaning.
With the cleaning cycle completed and any remaining residue wiped away, your dishwasher is now fresh and ready to use. However, we’re not done yet! In the next step, we will focus on cleaning the exterior of the dishwasher.
Read more: How To Clean Soap Scum Off A Shower Tile
Step 7: Clean the Exterior of the Dishwasher
While the interior of your dishwasher might be sparkling clean, don’t forget about the exterior! Cleaning the exterior not only improves the overall appearance of your dishwasher but also helps to maintain its longevity.
Start by preparing a solution of warm water and mild dish soap in a bucket or basin. Dip a clean cloth or sponge into the soapy water and wring out any excess moisture.
Gently wipe down the exterior surfaces of the dishwasher, including the front panel, sides, and top. Pay attention to any buttons, knobs, or controls, ensuring that they are thoroughly cleaned. Use a toothbrush or small brush to reach any crevices or edges.
If there are any stubborn stains or adhesive residue on the exterior, you can use a gentle cleaner specifically formulated for stainless steel or the material of your dishwasher. Follow the manufacturer’s instructions for application and cleaning.
Once you have cleaned the exterior of the dishwasher, rinse the cloth or sponge in clean water and go over the surfaces again to remove any lingering soap residue.
Next, use a soft, dry cloth to wipe down and dry the exterior of the dishwasher. This step helps to prevent water spots and ensures a streak-free finish.
Finally, take a moment to inspect the exterior of the dishwasher for any signs of damage or wear. If you notice any issues, such as scratches or loose parts, address them accordingly.
Now that you have cleaned the interior and exterior of your dishwasher, it’s time to move on to the final step: tips for preventing future buildup and maintaining a clean dishwasher.
Step 8: Tips for Preventing Future Buildup
Now that you have gone through the process of cleaning your dishwasher, it’s important to implement some preventative measures to avoid future buildup and keep your dishwasher in optimal condition. Here are some tips to help you maintain a clean and efficient dishwasher:
- Scrape off food debris: Before loading your dishes into the dishwasher, make sure to scrape off any large food particles. This will help prevent clogs and minimize the amount of residue that can accumulate in your dishwasher.
- Rinse dishes before loading: If you have dishes with stubborn or dried-on food, it’s a good idea to rinse them before placing them in the dishwasher. This will help prevent food particles from dislodging during the wash cycle and potentially clogging the filter or spray arms.
- Run hot water before starting a cycle: Before starting a wash cycle, turn on your kitchen faucet and let hot water run for a few seconds. This ensures that the dishwasher starts with hot water, which helps dissolve detergent and clean your dishes more effectively.
- Use the right amount of detergent: Follow the manufacturer’s recommendations and use the appropriate amount of dishwasher detergent. Using too little can result in inadequate cleaning, while using too much can cause excessive suds and potentially clog your dishwasher.
- Maintain the proper water hardness: If your area has hard water, use a water softener or add a water softening agent to prevent mineral buildup in your dishwasher. This will help maintain its performance and prevent unsightly residue on your dishes.
- Clean the dishwasher regularly: Make it a habit to clean your dishwasher at least once a month, or more frequently if you notice any buildup or odors. Regular maintenance will help prevent the accumulation of residue and keep your dishwasher running smoothly.
- Check and clean the drain: Periodically check the dishwasher drain to ensure it is free from any obstructions. Remove any debris or buildup that may have collected to prevent clogs and maintain proper drainage.
- Avoid overloading the dishwasher: In order for your dishwasher to clean effectively, it’s important not to overload it. Overcrowding can hinder the water spray from reaching all the dishes, leading to subpar cleaning results and potential residue buildup.
By following these preventative measures, you can ensure that your dishwasher remains clean, efficient, and long-lasting. Remember, regular maintenance and good dishwasher habits are key to enjoying clean and sparkling dishes every time!
Now that you have completed all the steps and learned the tips for maintaining a clean dishwasher, you are ready to enjoy the benefits of a well-maintained kitchen appliance.
Happy dishwashing!
Conclusion
Cleaning your dishwasher on a regular basis is an important task to ensure its optimal performance and maintain clean and spotless dishes. By following the step-by-step process outlined in this guide, you can effectively remove buildup, soap scum, and odors from your dishwasher and prevent future issues.
We started by highlighting the importance of cleaning your dishwasher, including its impact on dish cleanliness, odor prevention, and energy efficiency. We then provided a comprehensive list of the tools and materials needed for the cleaning process, ensuring you have everything at hand to get the job done.
The step-by-step instructions covered everything, from emptying the dishwasher and cleaning the filter to tackling the spray arms and wiping down the interior walls and door. We also addressed the cleaning of the detergent dispenser, rinse aid cap, the importance of running a cleaning cycle, and provided helpful tips for preventing future buildup.
Implementing these tips and incorporating regular maintenance into your routine will keep your dishwasher operating efficiently, extend its lifespan, and ensure clean and sanitary dishes every time. Remember, a clean dishwasher not only saves you time and effort but also helps to maintain a healthy and hygienic kitchen environment.
So take the time to clean your dishwasher regularly and enjoy the benefits of a smoothly running and reliable kitchen appliance. With just a little effort, you can maintain a clean and efficient dishwasher that will make your dishwashing experience a breeze.
Now it’s time to put these tips into action and give your dishwasher the cleaning it deserves. Happy cleaning!
Frequently Asked Questions about How To Clean A Dishwasher To Remove Buildup And Soap Scum
Was this page helpful?
At Storables.com, we guarantee accurate and reliable information. Our content, validated by Expert Board Contributors, is crafted following stringent Editorial Policies. We're committed to providing you with well-researched, expert-backed insights for all your informational needs.


0 thoughts on “How To Clean A Dishwasher To Remove Buildup And Soap Scum”