Articles
How To Remove Kitchenaid Mixer Attachment
Modified: January 5, 2024
Discover effective methods and techniques for removing Kitchenaid mixer attachments with our informative articles. Learn how to easily detach and clean your mixer accessories for optimal performance.
(Many of the links in this article redirect to a specific reviewed product. Your purchase of these products through affiliate links helps to generate commission for Storables.com, at no extra cost. Learn more)
Introduction
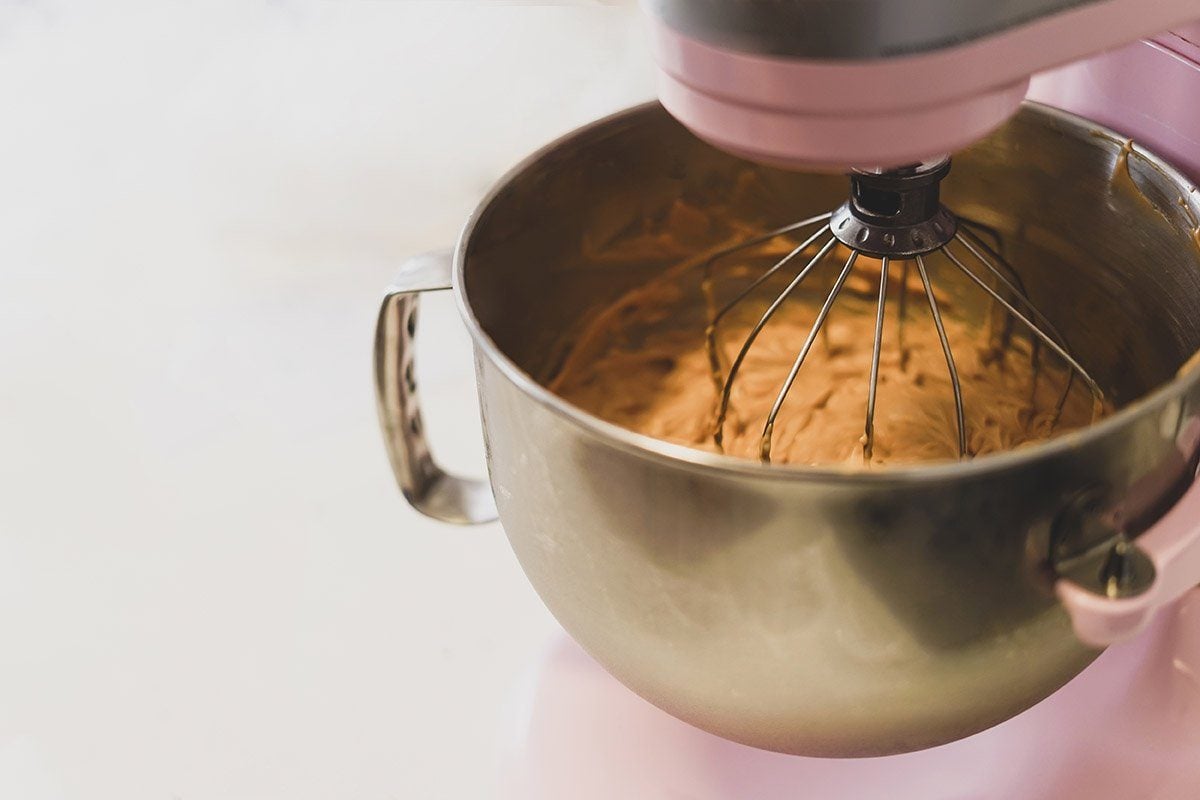
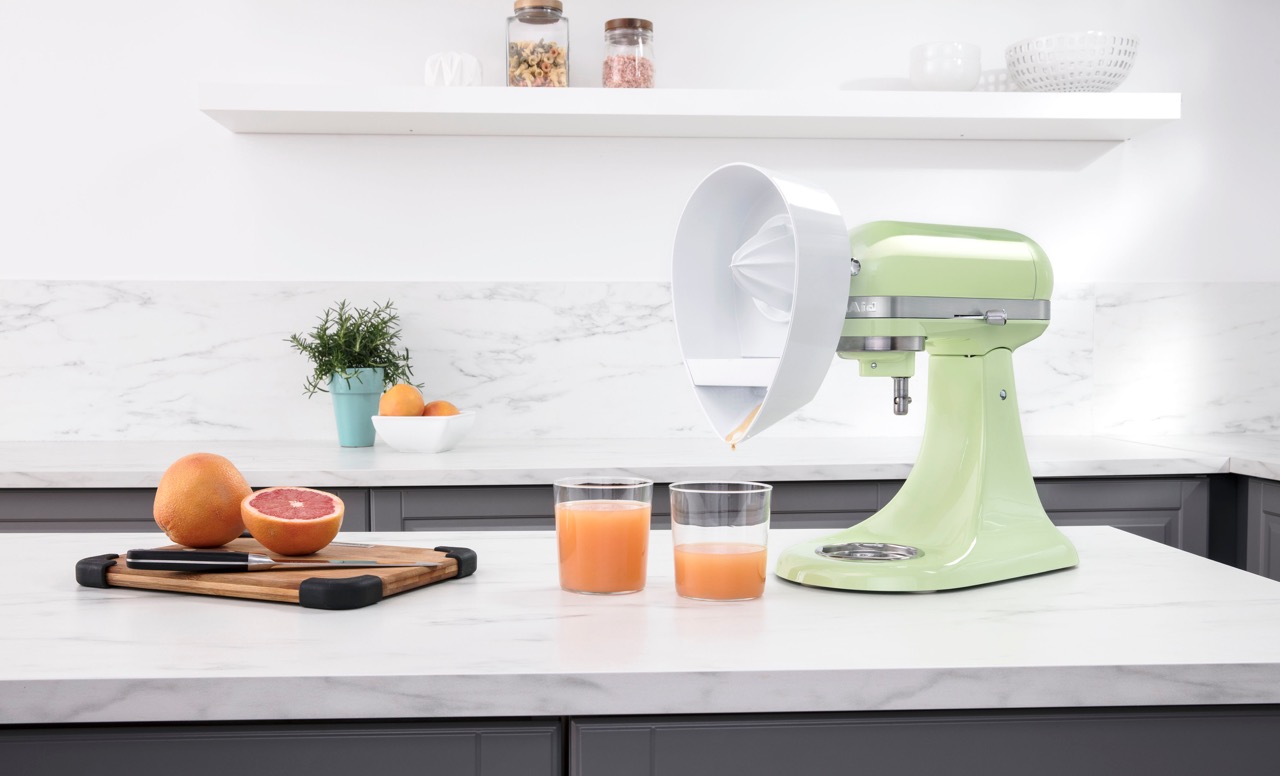
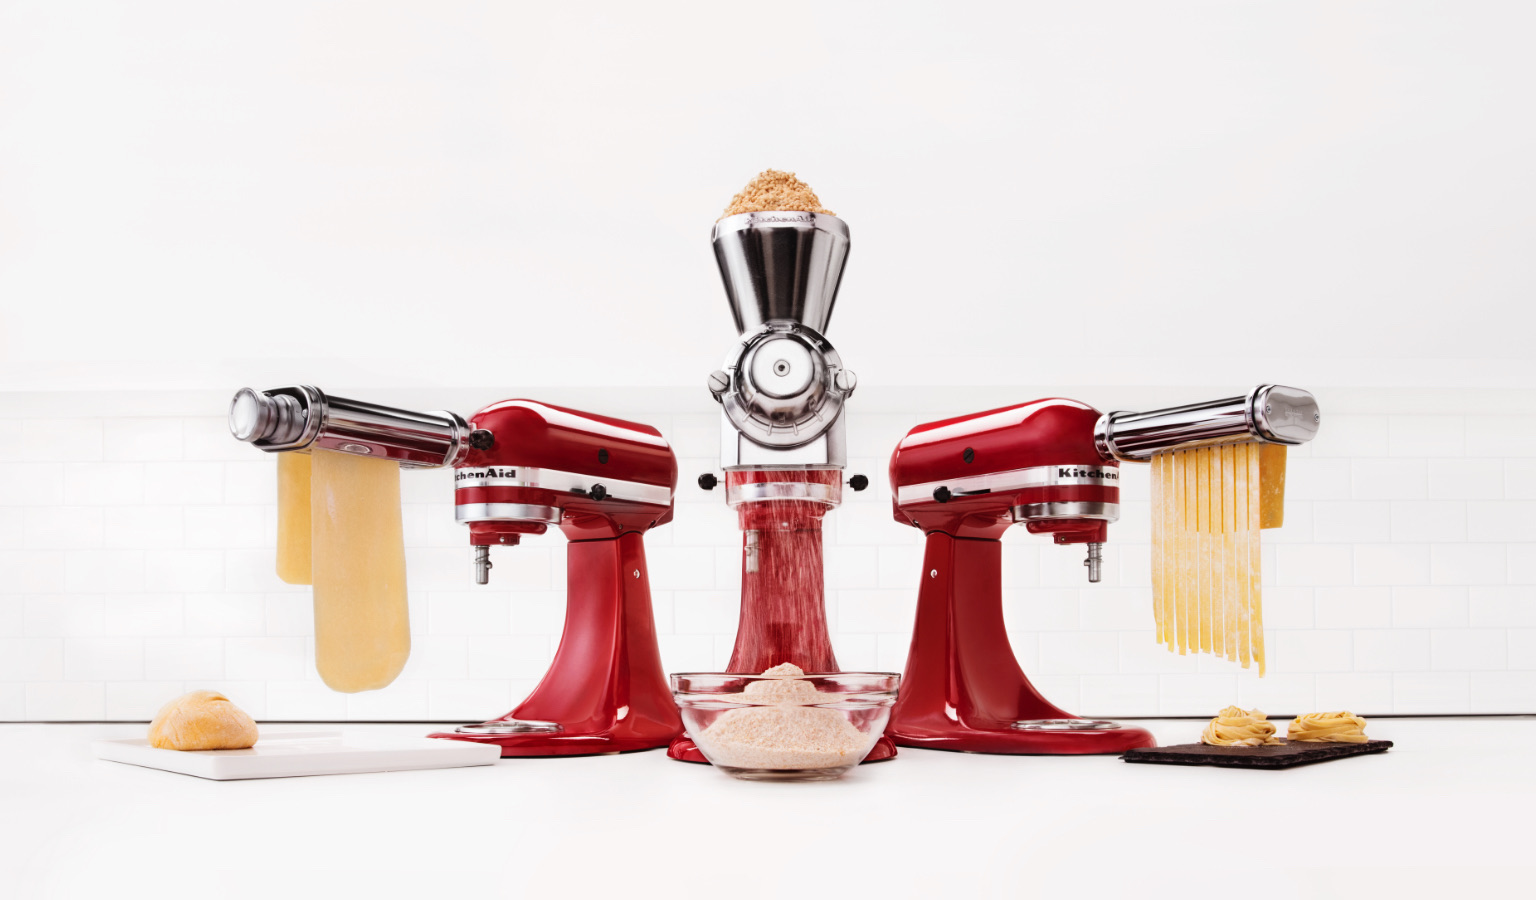
Having a Kitchenaid mixer at your disposal can make cooking and baking a breeze. With a variety of attachments available, you can easily transform your mixer into a versatile tool for various kitchen tasks. However, there may come a time when you need to remove an attachment from your Kitchenaid mixer, whether it’s to clean it or switch to a different attachment.
In this article, we will guide you through the step-by-step process of safely removing a Kitchenaid mixer attachment. We will also provide some tips on cleaning and storing the attachment properly. So, let’s get started!
Key Takeaways:
- Safely remove KitchenAid mixer attachments by unplugging the mixer, releasing the locking mechanism, and gently twisting the attachment. Clean and store attachments to maintain optimal performance and prolong their lifespan.
- Prioritize safety and proper maintenance when removing KitchenAid mixer attachments. Follow step-by-step guidance to ensure a hassle-free process and enjoy the convenience and versatility of your mixer in the kitchen.
Tools and Equipment Needed
Before you begin removing the attachment from your Kitchenaid mixer, make sure you have the following tools and equipment handy:
- A clean towel or cloth
- A bowl of warm soapy water
- A soft brush or sponge
- A dry towel
These basic tools and equipment will help you with the cleaning process once you have successfully removed the attachment from your Kitchenaid mixer.
Step 1: Unplug the Mixer
Before you begin removing the attachment from your Kitchenaid mixer, it is crucial to ensure that the mixer is unplugged from the power source. This step is important for your safety and to prevent any accidental start-ups of the mixer while you are working on it.
Locate the power cord of your Kitchenaid mixer and unplug it from the electrical outlet. Double-check to confirm that the mixer is completely disconnected from the power supply.
Always prioritize safety when working with electrical appliances, and never attempt to remove an attachment from a mixer that is still plugged in.
Once you have unplugged the mixer, you can proceed to the next step with confidence.
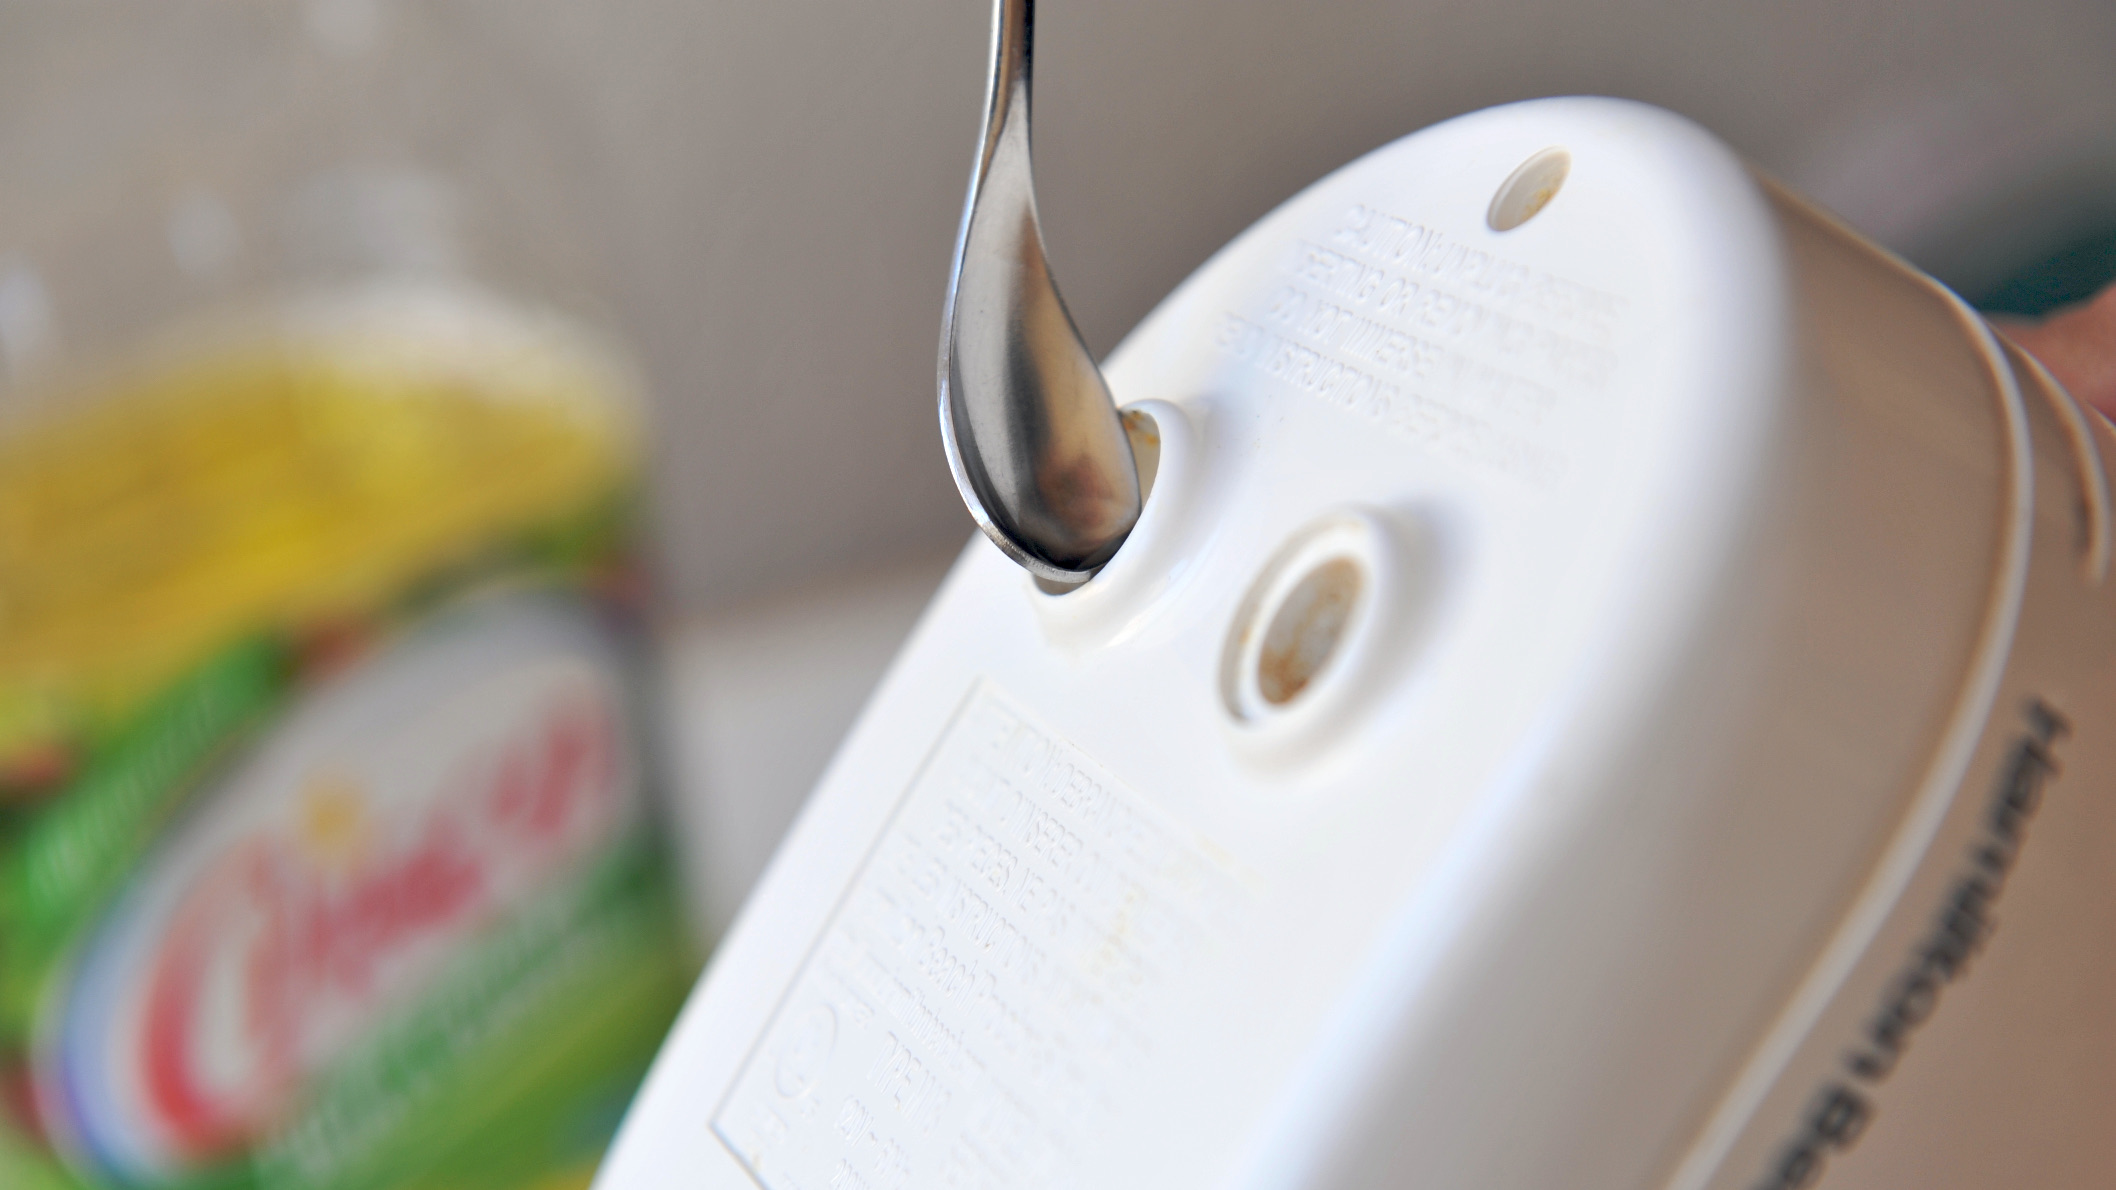
Step 2: Release the Locking Mechanism
After ensuring that the Kitchenaid mixer is unplugged, the next step is to release the locking mechanism that holds the attachment in place. The locking mechanism is designed to secure the attachment to the mixer and prevent it from coming loose during operation.
Look for the release lever or button on the side or the back of your Kitchenaid mixer. This lever is typically labeled with an arrow or a lock symbol. Press or lift the lever to release the locking mechanism.
As you press or lift the release lever, you may feel some resistance. This is normal and a sign that the locking mechanism is being disengaged. Keep applying gentle pressure until you hear a click or feel the lock release. Once this happens, the attachment will be ready to be removed.
It’s important to note that the location and design of the release lever may vary slightly depending on the model of your Kitchenaid mixer. Always consult your mixer’s user manual if you’re unsure about the exact location or operation of the locking mechanism.
Now that the locking mechanism has been released, you can proceed to the next step to actually remove the attachment from the mixer.
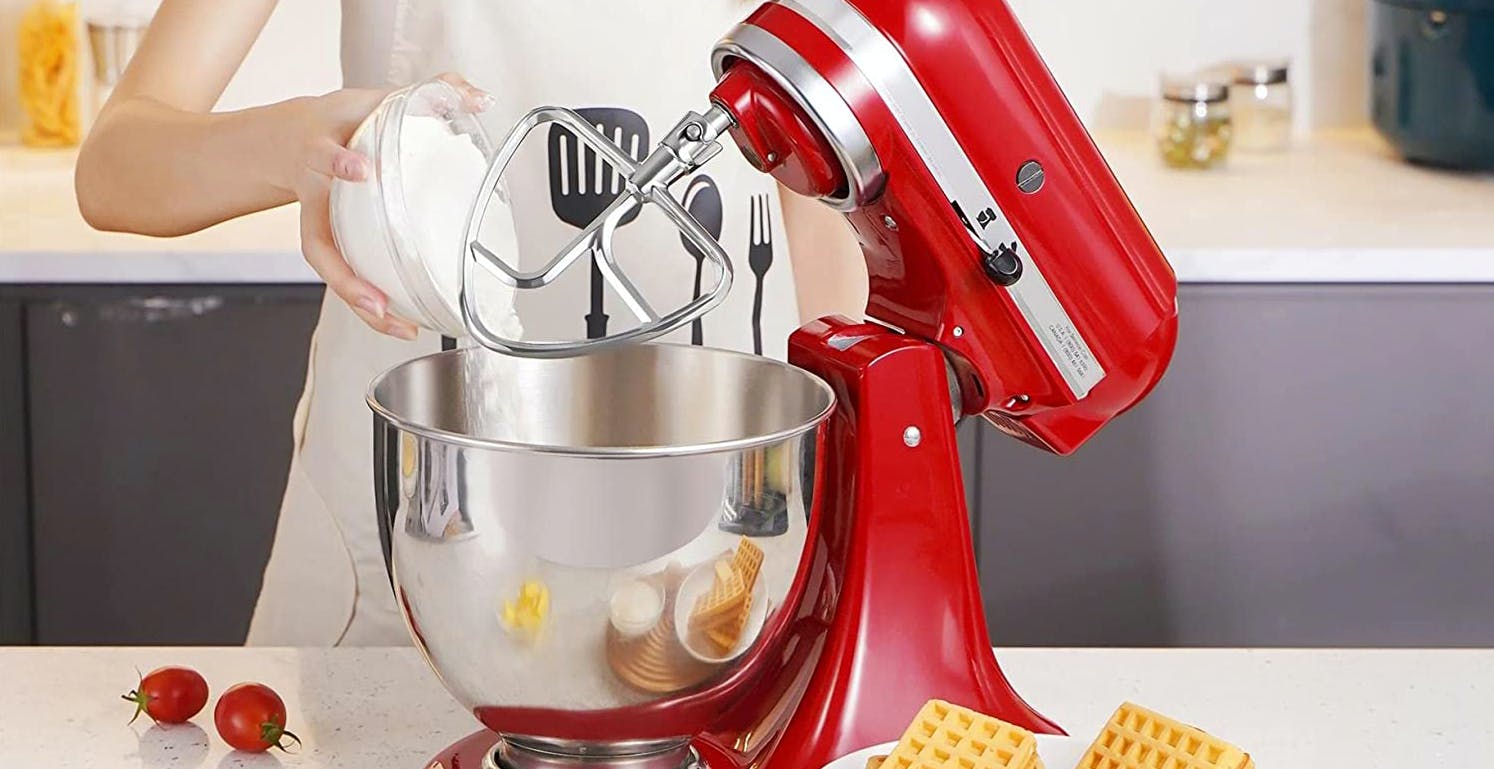
When removing a KitchenAid mixer attachment, make sure the mixer is turned off and unplugged. Hold the attachment firmly and twist it counterclockwise to release it from the hub.
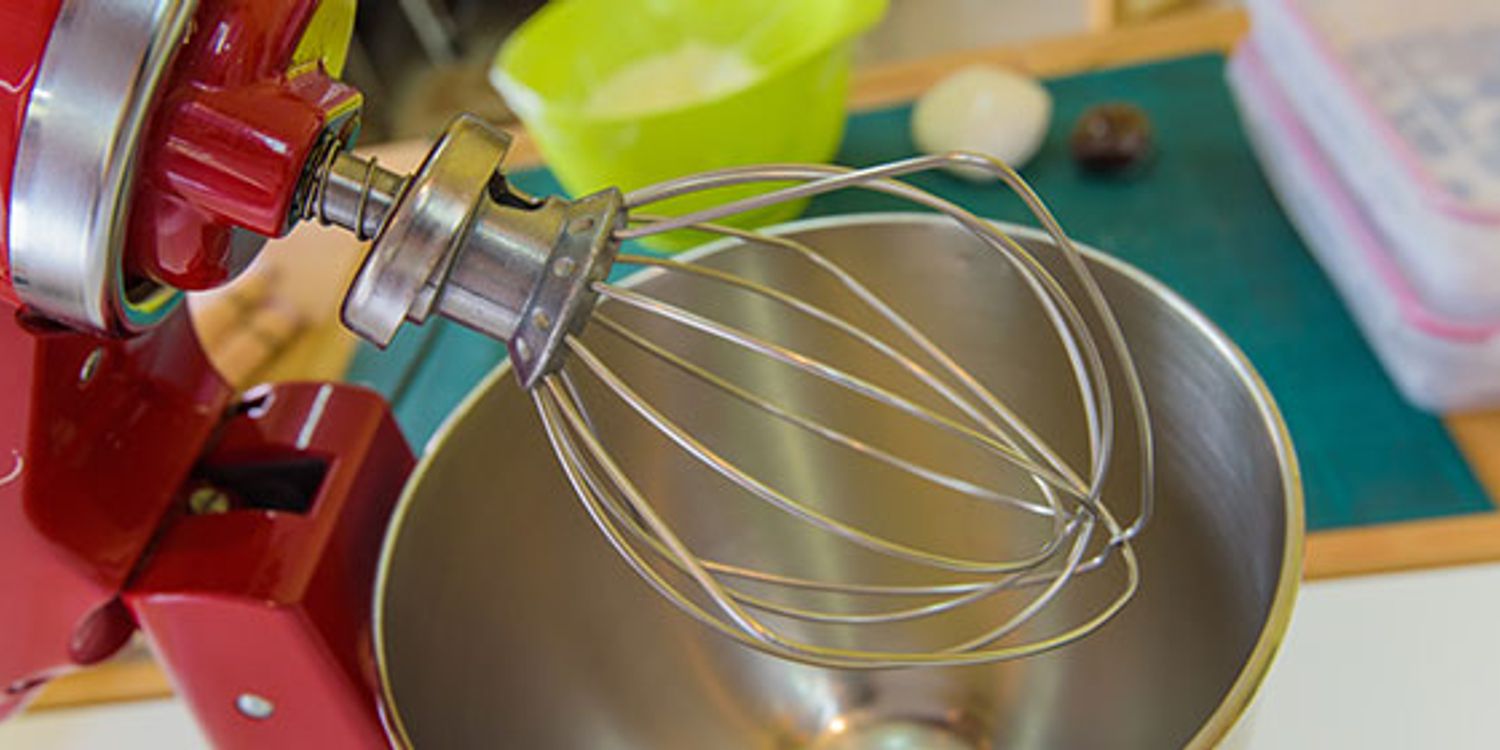
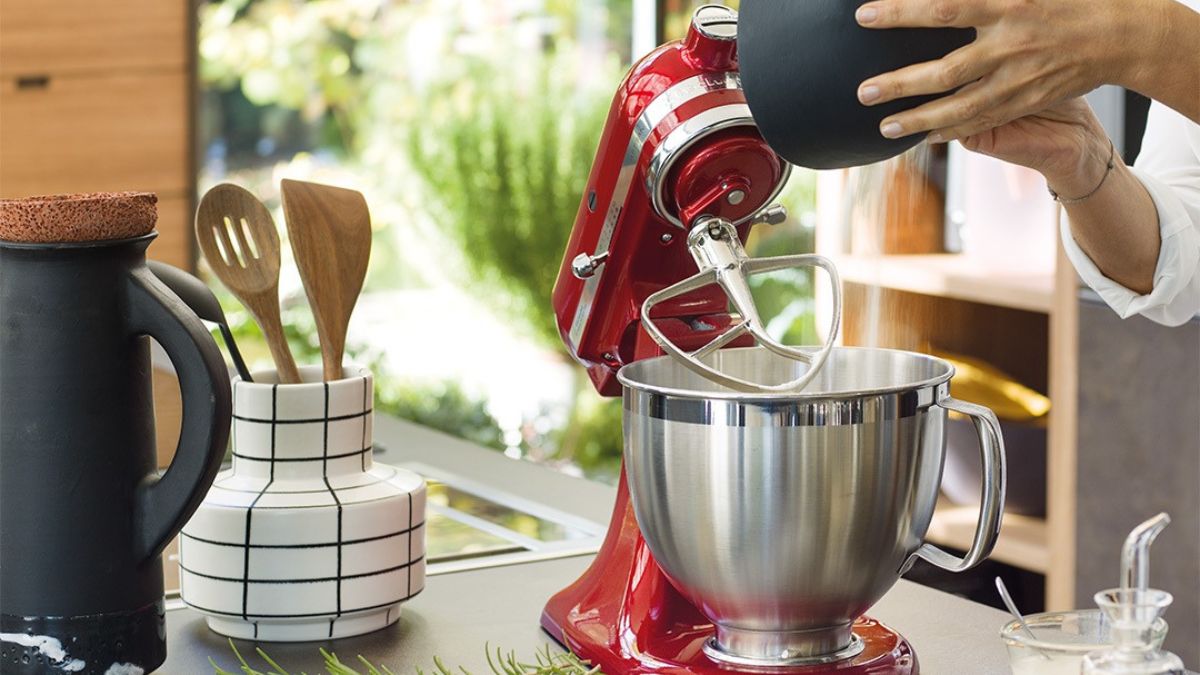
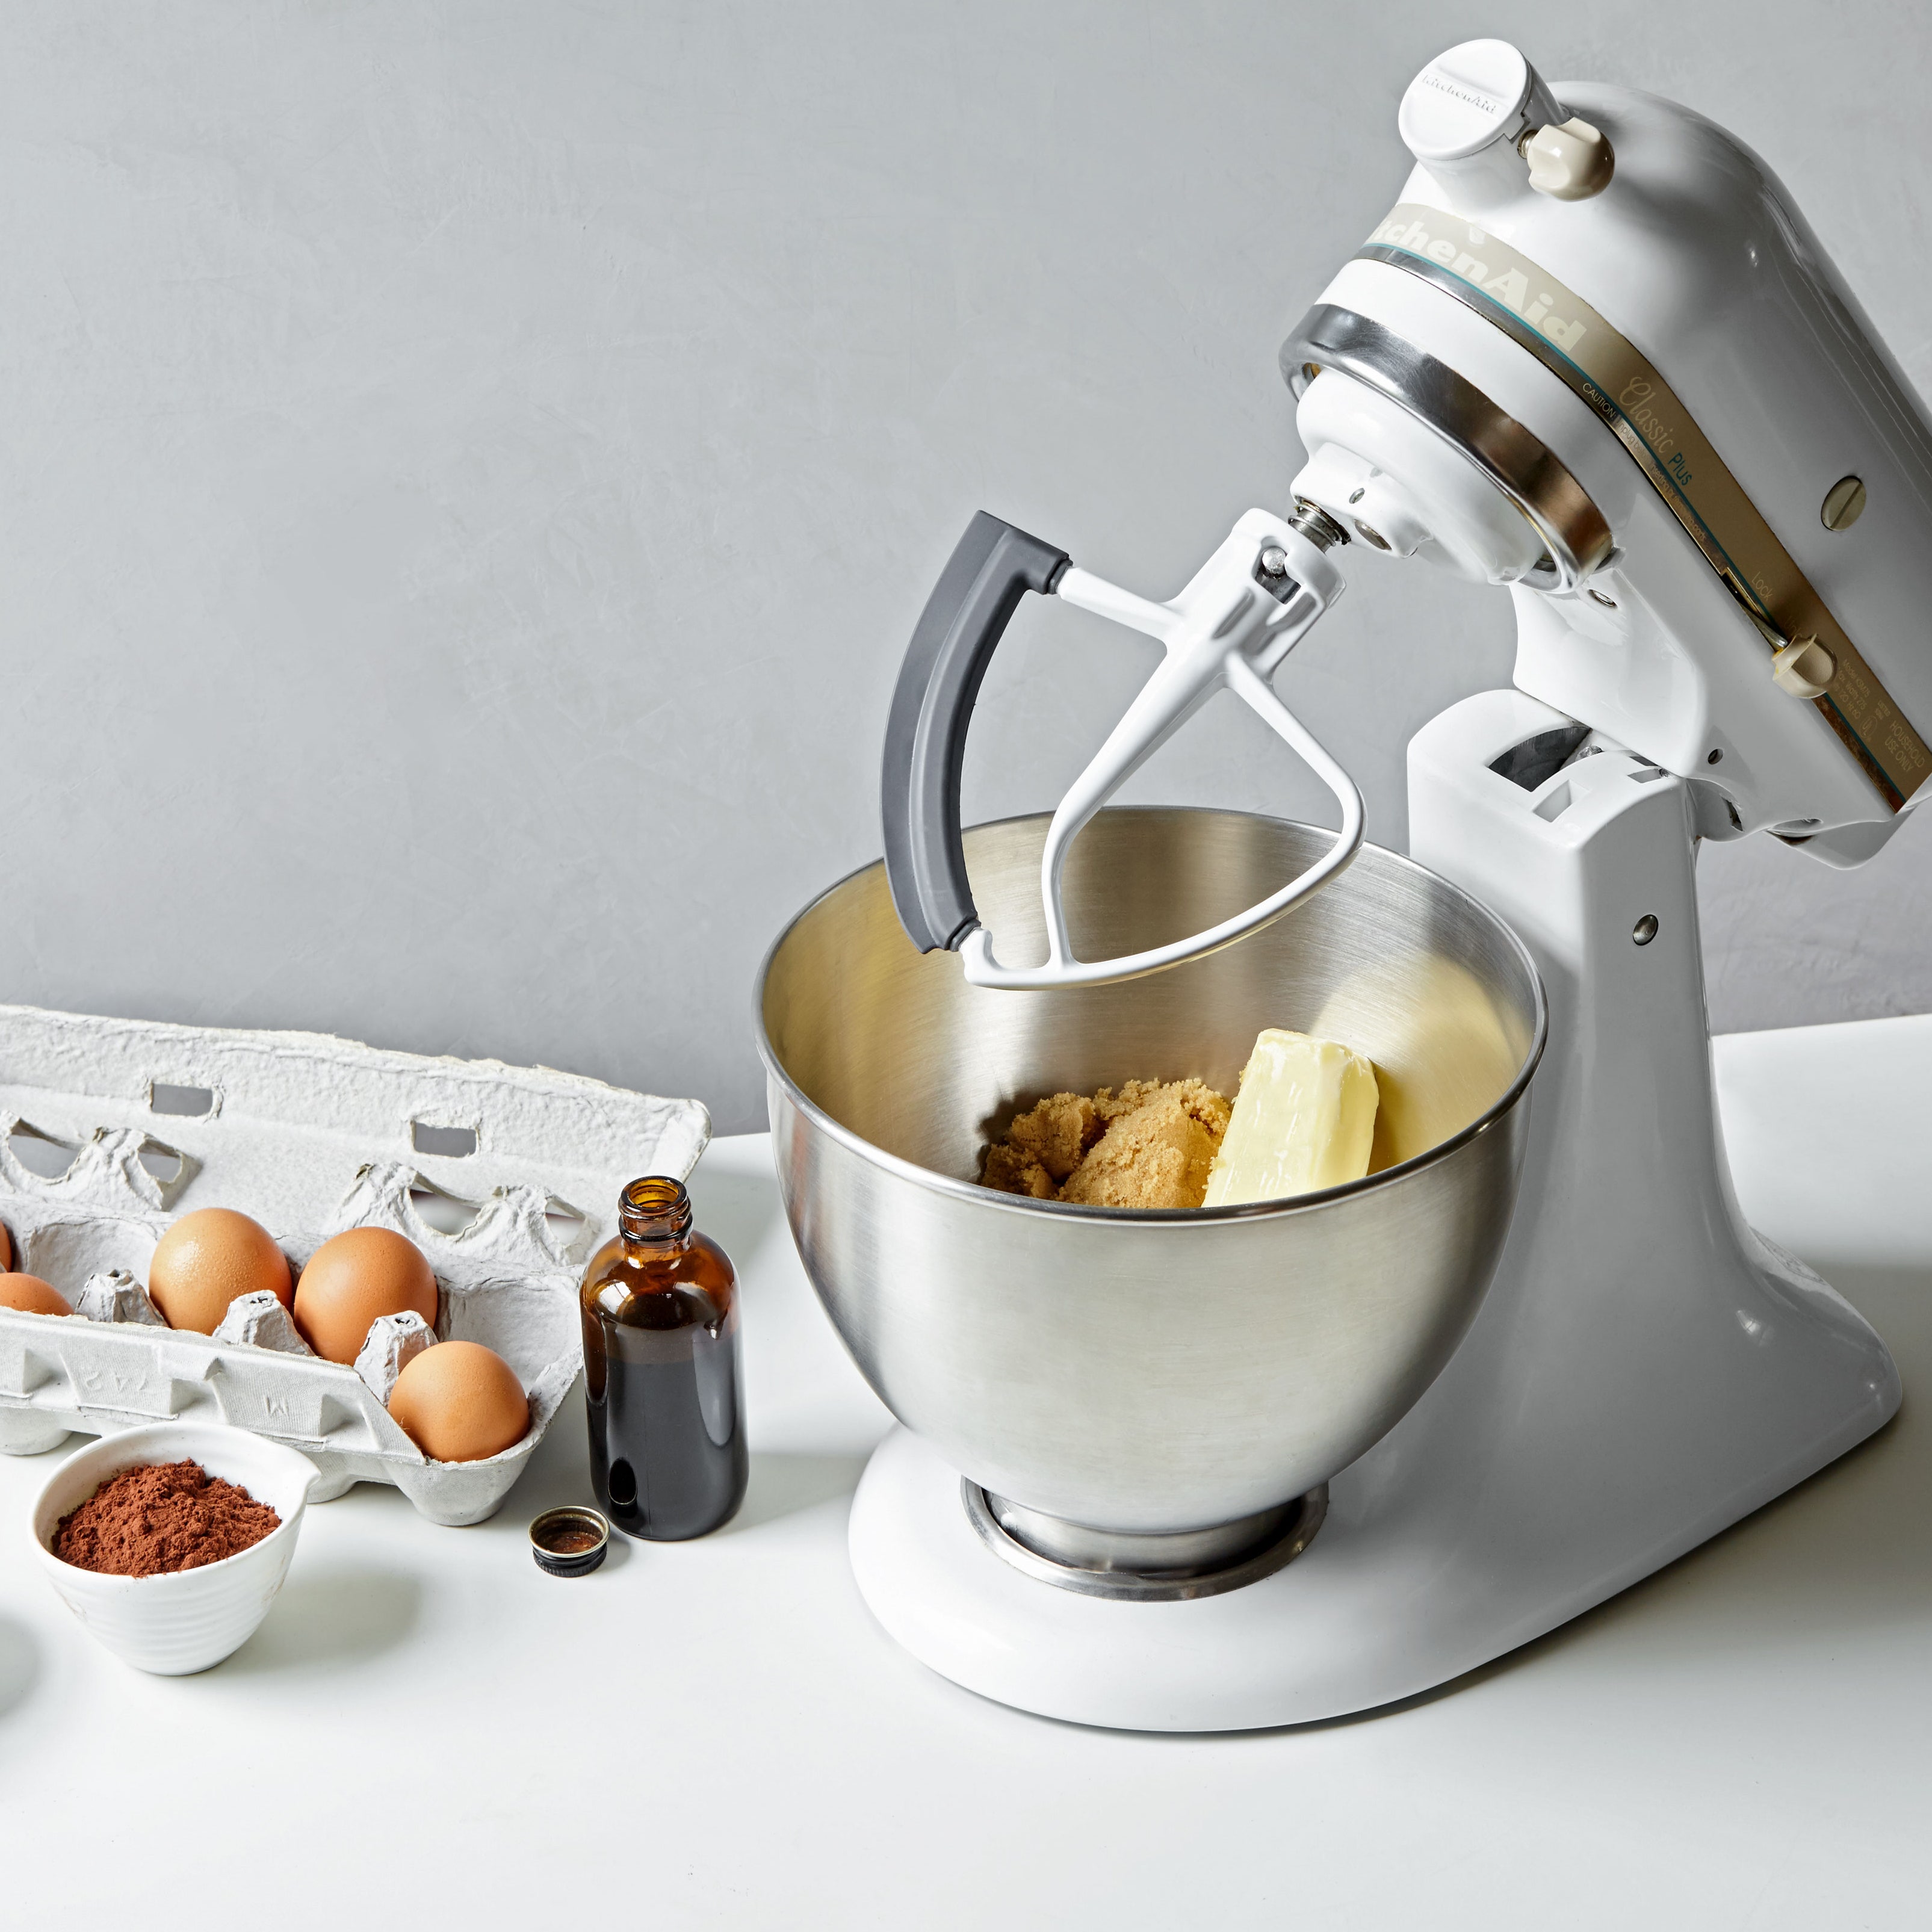
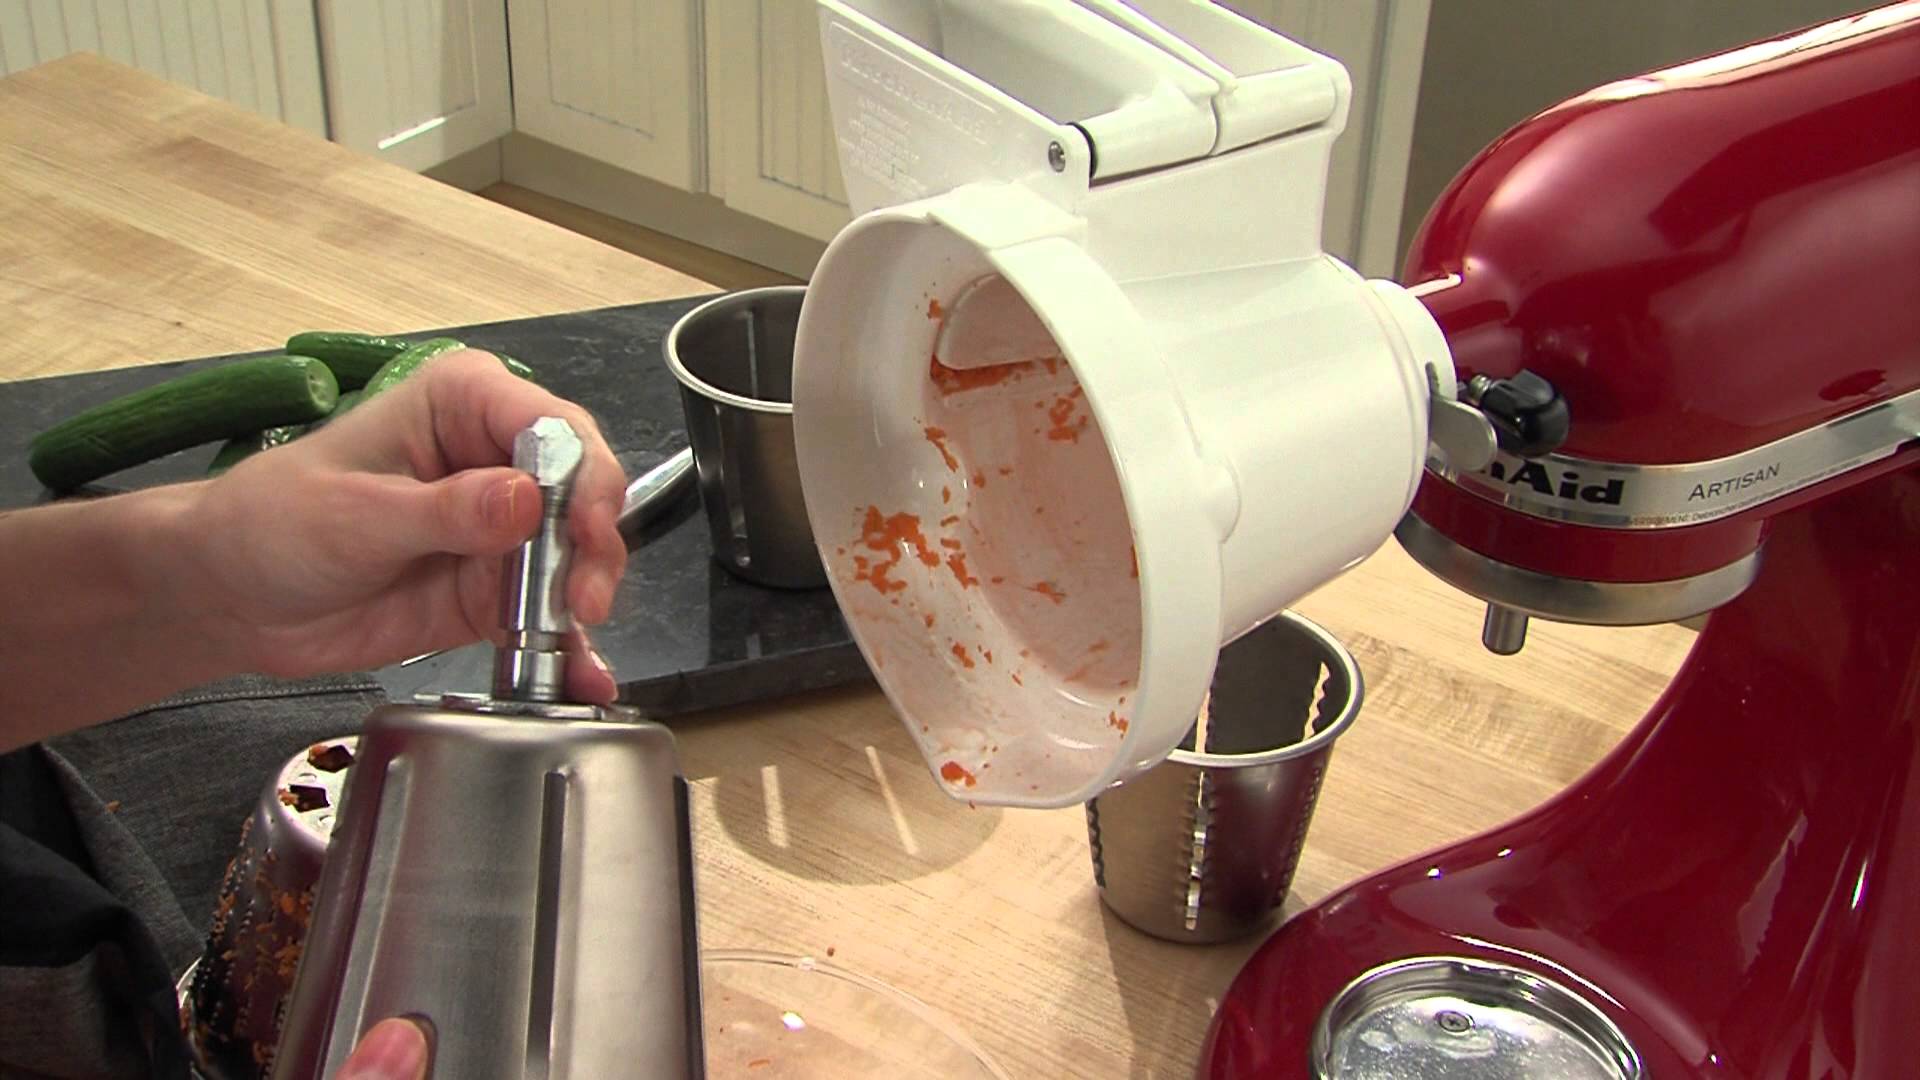
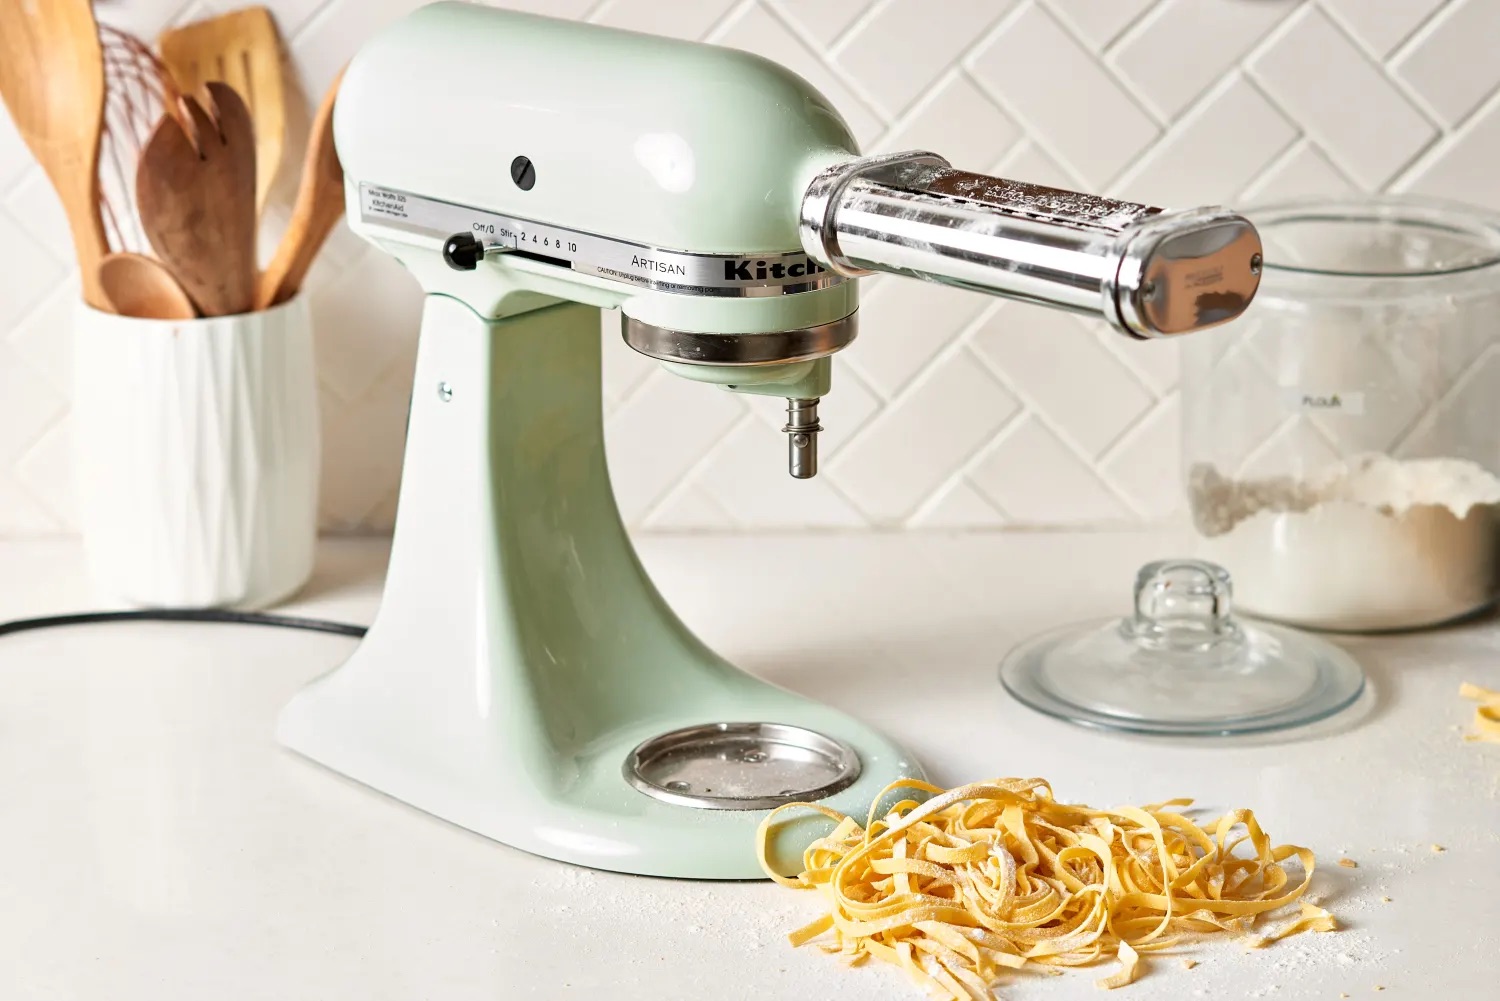
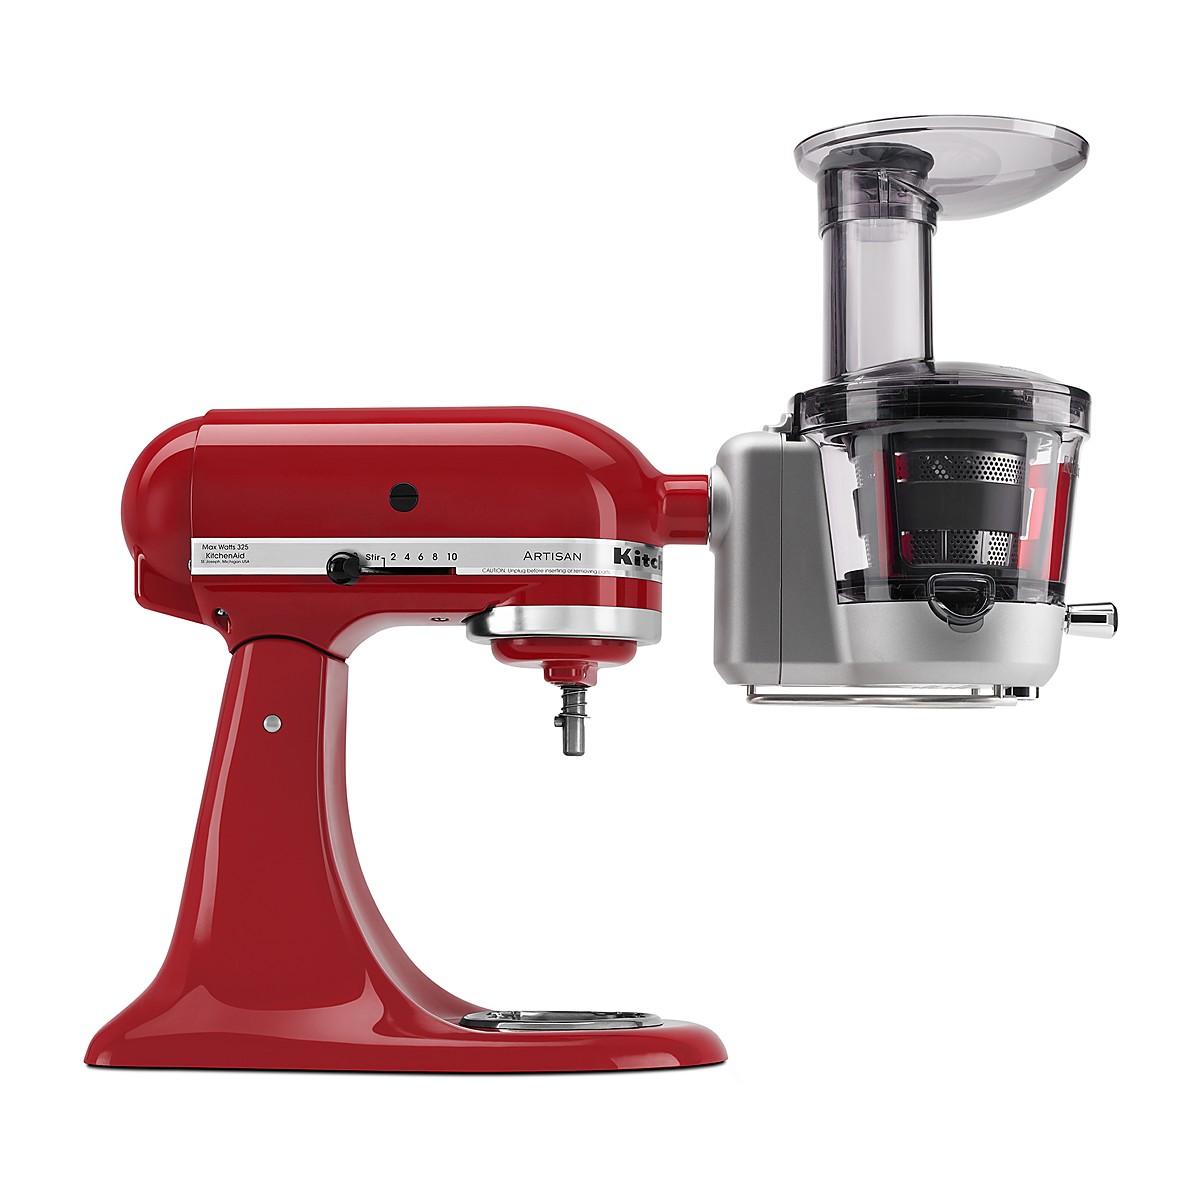
Step 3: Remove the Attachment
With the locking mechanism released, you are now ready to remove the attachment from your KitchenAid mixer. Follow these steps:
- Grasp the attachment firmly with one hand while supporting the mixer with your other hand. This will help provide stability and prevent any accidental movement or damage to the mixer.
- Gently twist or rotate the attachment counterclockwise to loosen it. Be careful not to force it or apply excessive pressure, as this may cause damage.
- Continue twisting until the attachment comes free from the mixer. You may need to wiggle it slightly to fully disengage it from the mounting hub.
- Once the attachment is removed, set it aside in a safe place, away from the edge of the countertop, to prevent any accidental falls.
Repeat these steps for any additional attachments you wish to remove from the KitchenAid mixer.
If you encounter any difficulty in removing the attachment, double-check if the locking mechanism is fully released. Sometimes, residual tension can prevent the attachment from coming off smoothly. Try pressing or lifting the release lever again and ensure that it is properly disengaged before attempting to remove the attachment.
Now that the attachment is removed, you can move on to the final step to clean and store it properly.
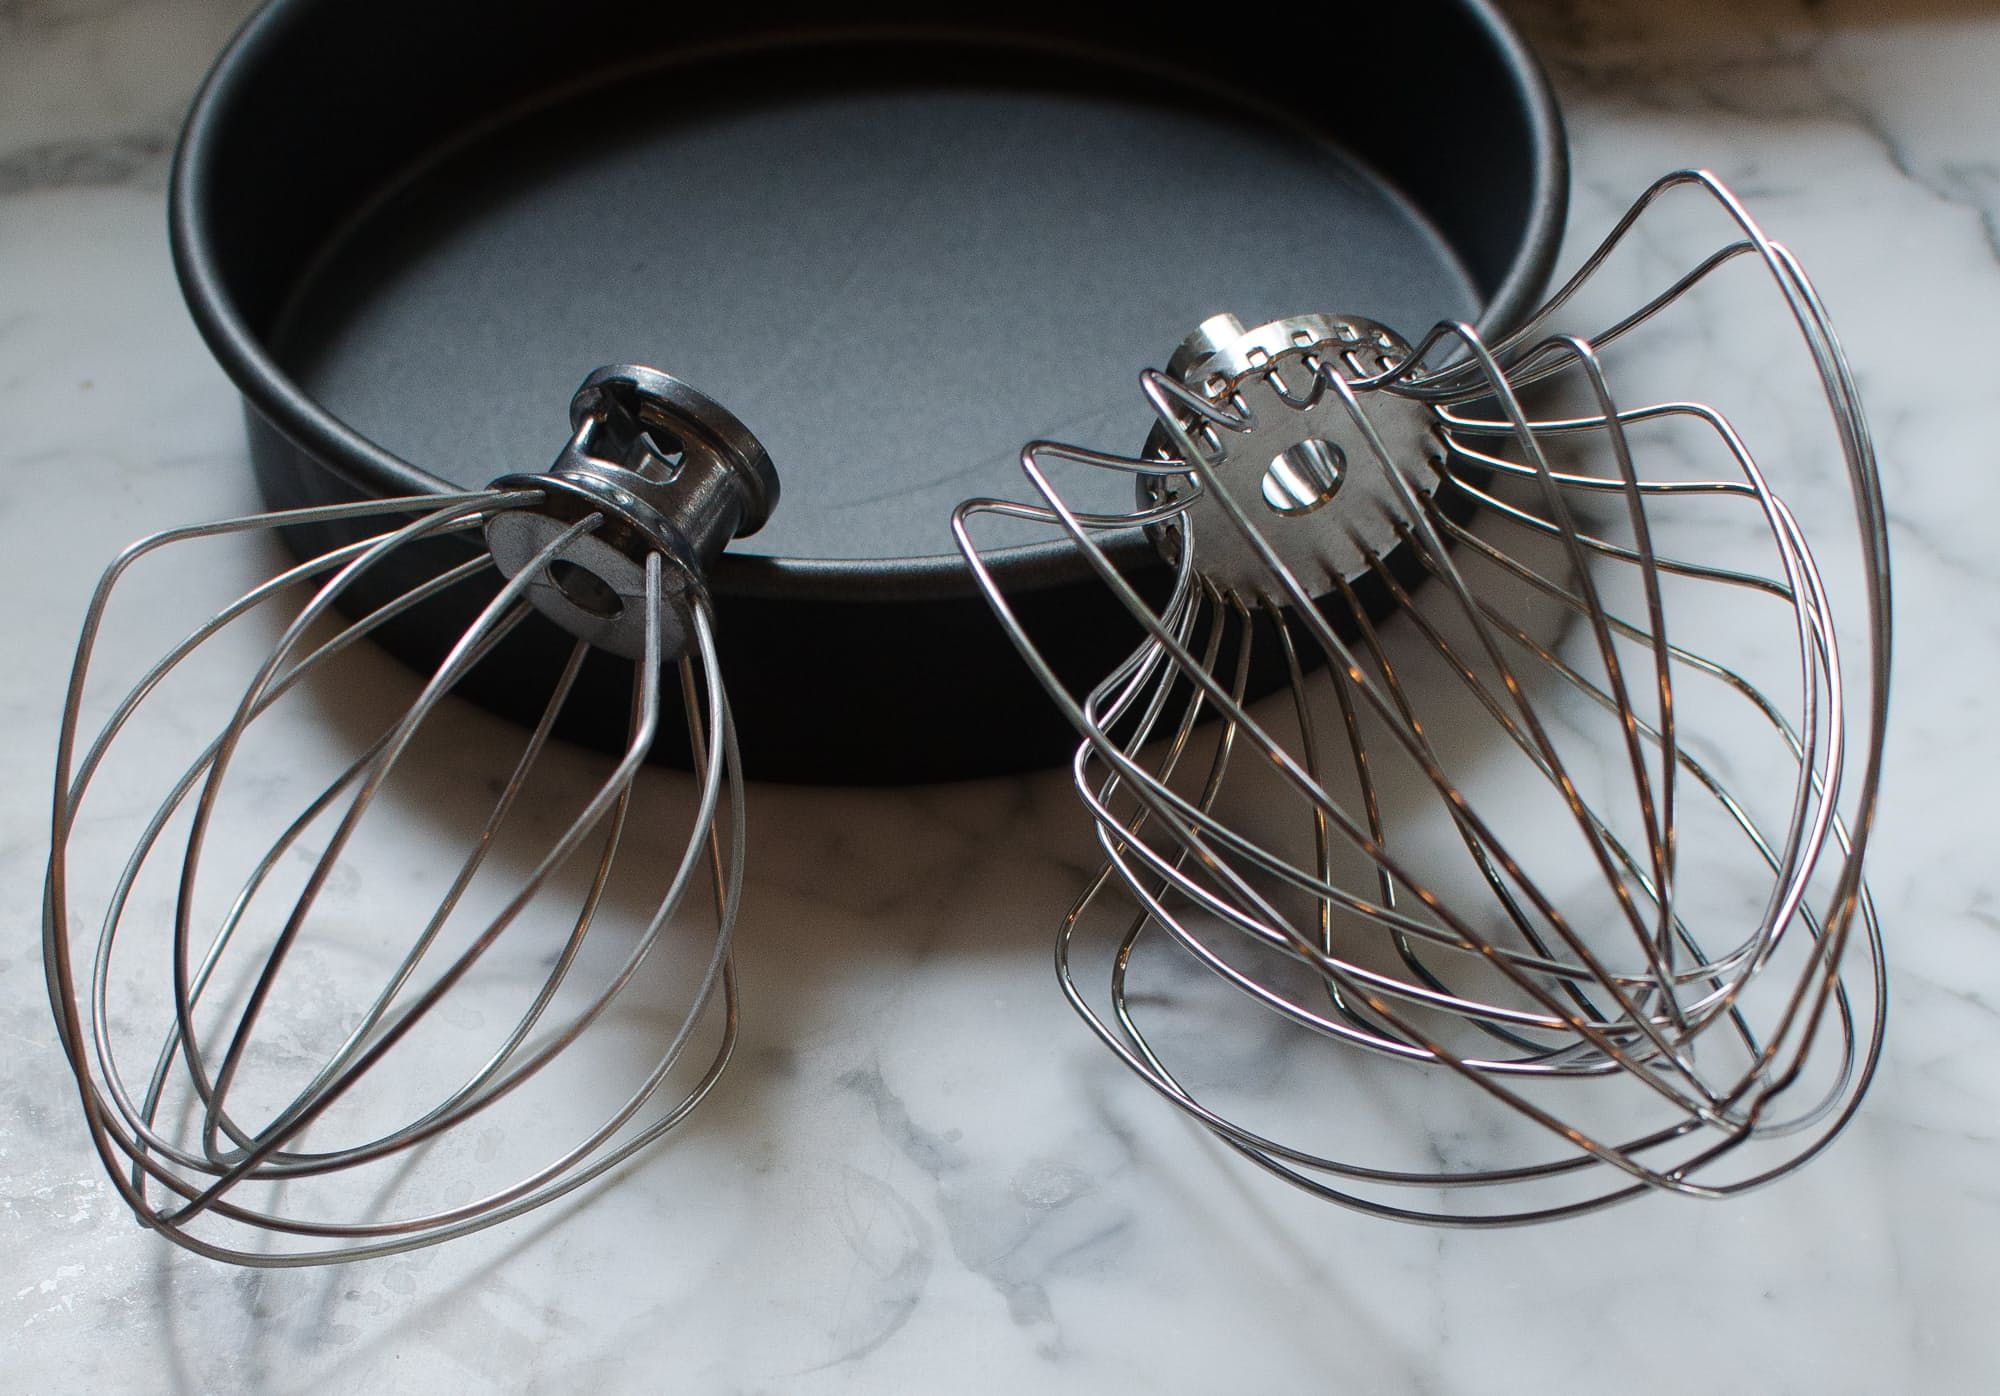
Step 4: Clean and Store the Attachment
Once you have successfully removed the attachment from your KitchenAid mixer, it’s essential to clean and store it properly to maintain its performance and prolong its lifespan. Follow these steps:
- Using a clean towel or cloth, wipe off any excess food or debris from the attachment. Make sure to remove any residue that may have accumulated during use.
- Prepare a bowl of warm soapy water. Dip a soft brush or sponge into the soapy water and gently scrub the attachment to remove any stubborn stains or residue. Take care not to scrub too vigorously to avoid damaging the attachment’s surface.
- Rinse the attachment thoroughly with clean water to remove any soap residue. Ensure that all soap has been rinsed off to prevent any unwanted flavors or odors in future use.
- Use a dry towel to pat the attachment dry. Make sure it is completely dry before storing it to prevent the growth of mold or bacteria.
- Store the attachment in a clean, dry place. If possible, use the original packaging or a dedicated container to protect it from dust or accidental damage.
It’s a good practice to clean your KitchenAid mixer attachments after each use, even if they are not visibly dirty. This helps maintain their quality and ensures that no residues or contaminants are left behind.
By following these steps, you will ensure that your KitchenAid mixer attachment remains in optimal condition and ready for your next culinary adventure.
Conclusion
Removing a KitchenAid mixer attachment may seem like a daunting task at first, but with the right steps and precautions, it can be done safely and efficiently. By following the step-by-step guide provided in this article, you can easily remove, clean, and store your KitchenAid mixer attachments without any hassle.
Remember to always prioritize safety by unplugging the mixer before attempting to remove any attachments. Take your time to release the locking mechanism and gently twist and remove the attachment from the mixer. Once removed, clean the attachment thoroughly with warm soapy water, rinse, and dry it before storing it in a safe place.
Proper maintenance and storage of your KitchenAid mixer attachments will not only help extend their lifespan but also ensure their optimal performance during your culinary endeavors.
So, the next time you need to remove a KitchenAid mixer attachment, simply follow the steps outlined in this article and enjoy the convenience and versatility that your KitchenAid mixer offers in the kitchen.
Happy cooking and baking!
Frequently Asked Questions about How To Remove Kitchenaid Mixer Attachment
Was this page helpful?
At Storables.com, we guarantee accurate and reliable information. Our content, validated by Expert Board Contributors, is crafted following stringent Editorial Policies. We're committed to providing you with well-researched, expert-backed insights for all your informational needs.


0 thoughts on “How To Remove Kitchenaid Mixer Attachment”