Articles
How To Remove Beater From Kitchenaid Mixer
Modified: August 17, 2024
Learn how to easily remove the beater from your Kitchenaid mixer with this helpful article. Discover step-by-step instructions and expert tips to make the process effortless.
(Many of the links in this article redirect to a specific reviewed product. Your purchase of these products through affiliate links helps to generate commission for Storables.com, at no extra cost. Learn more)
Introduction
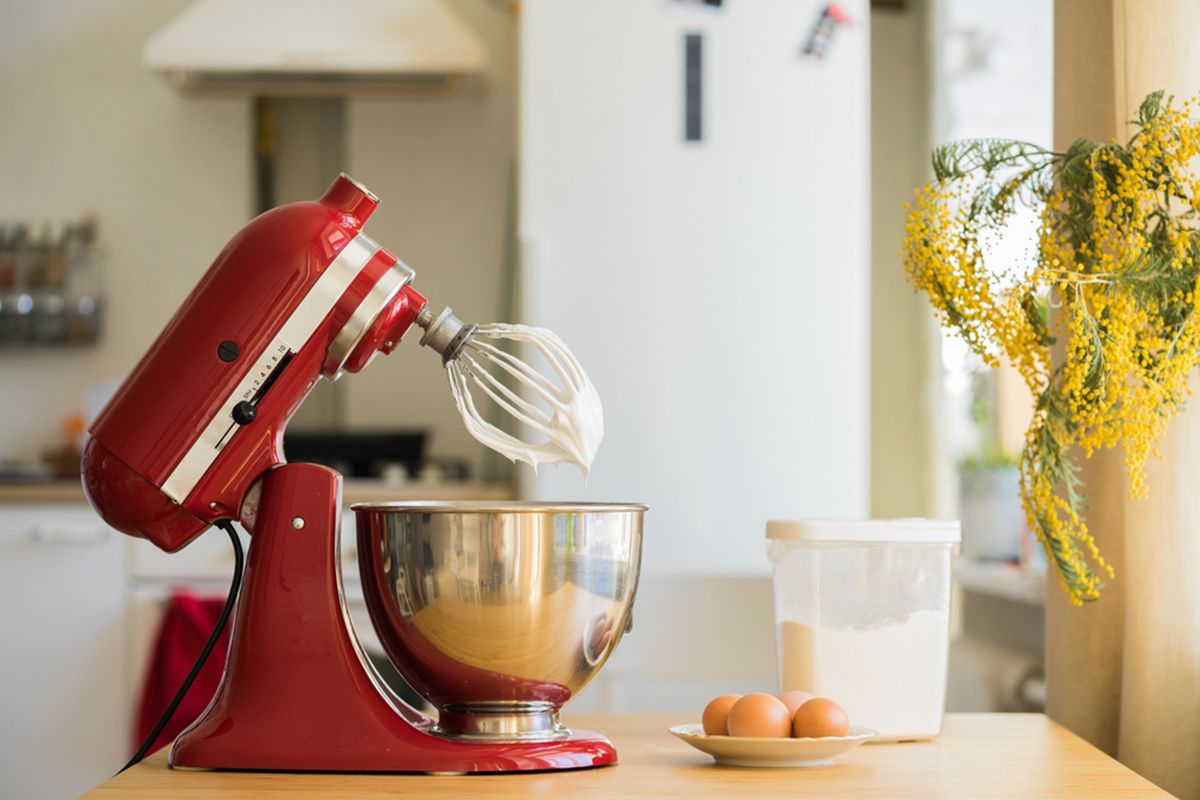
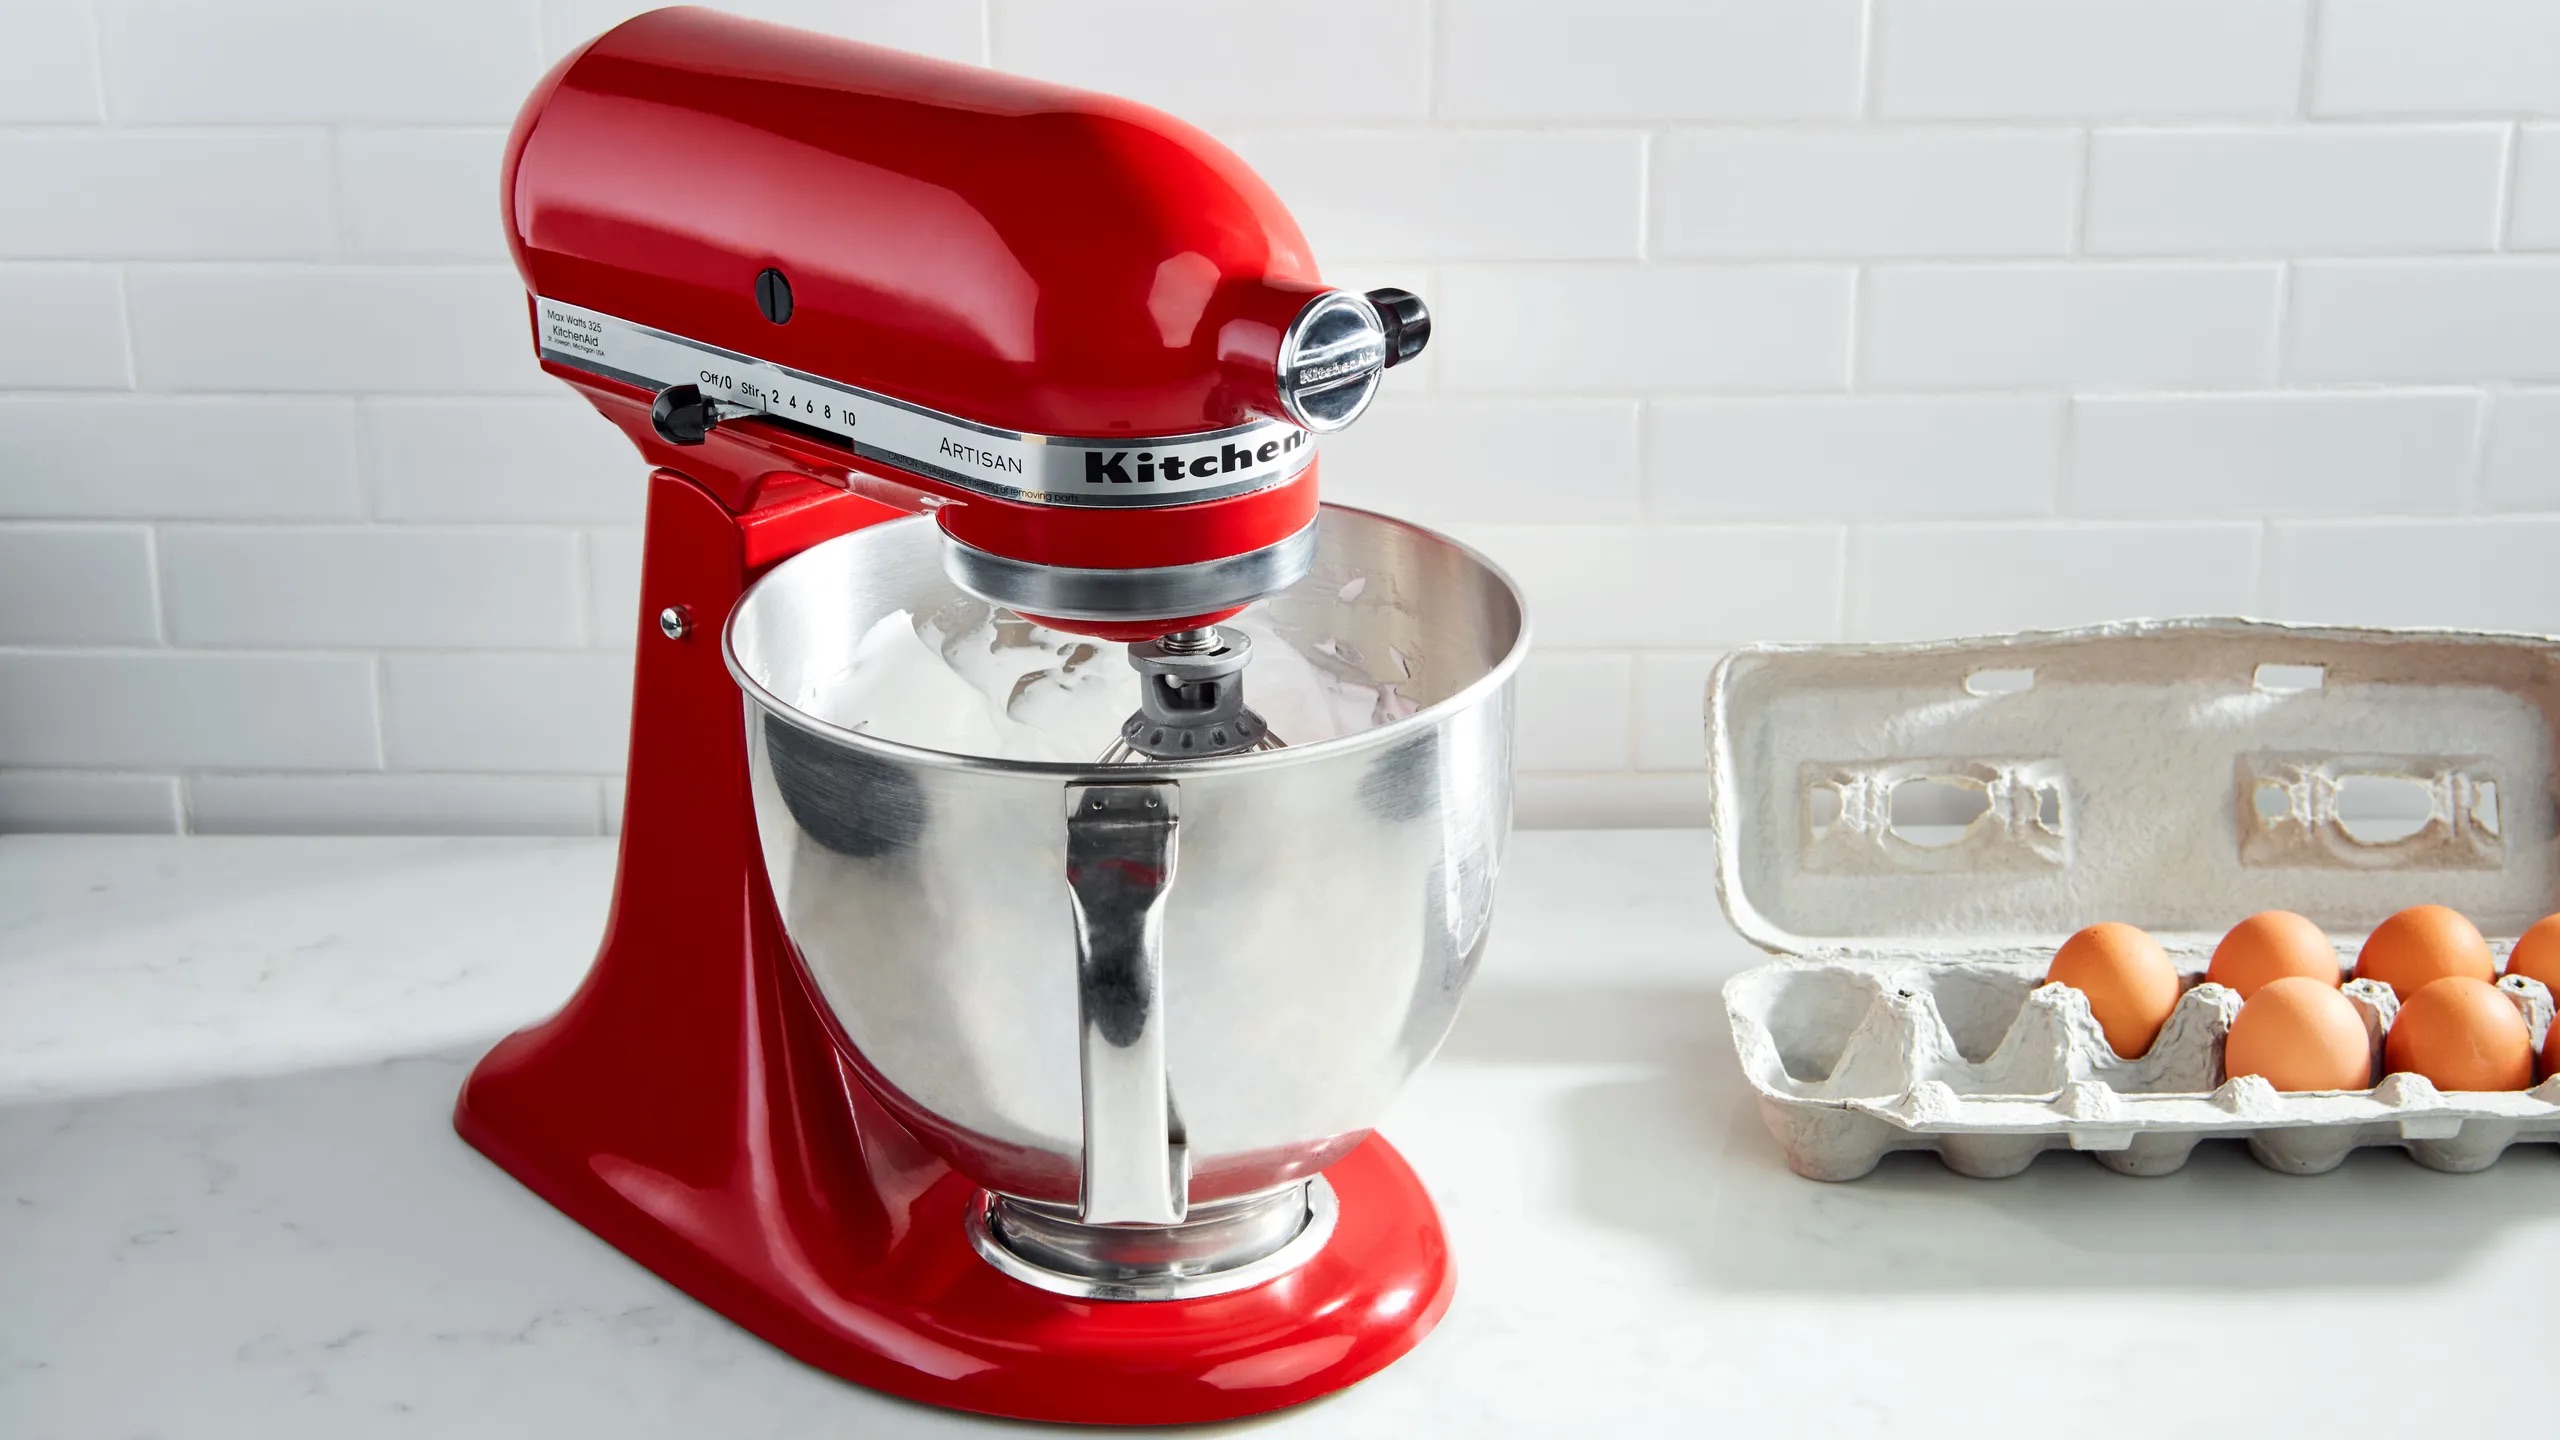
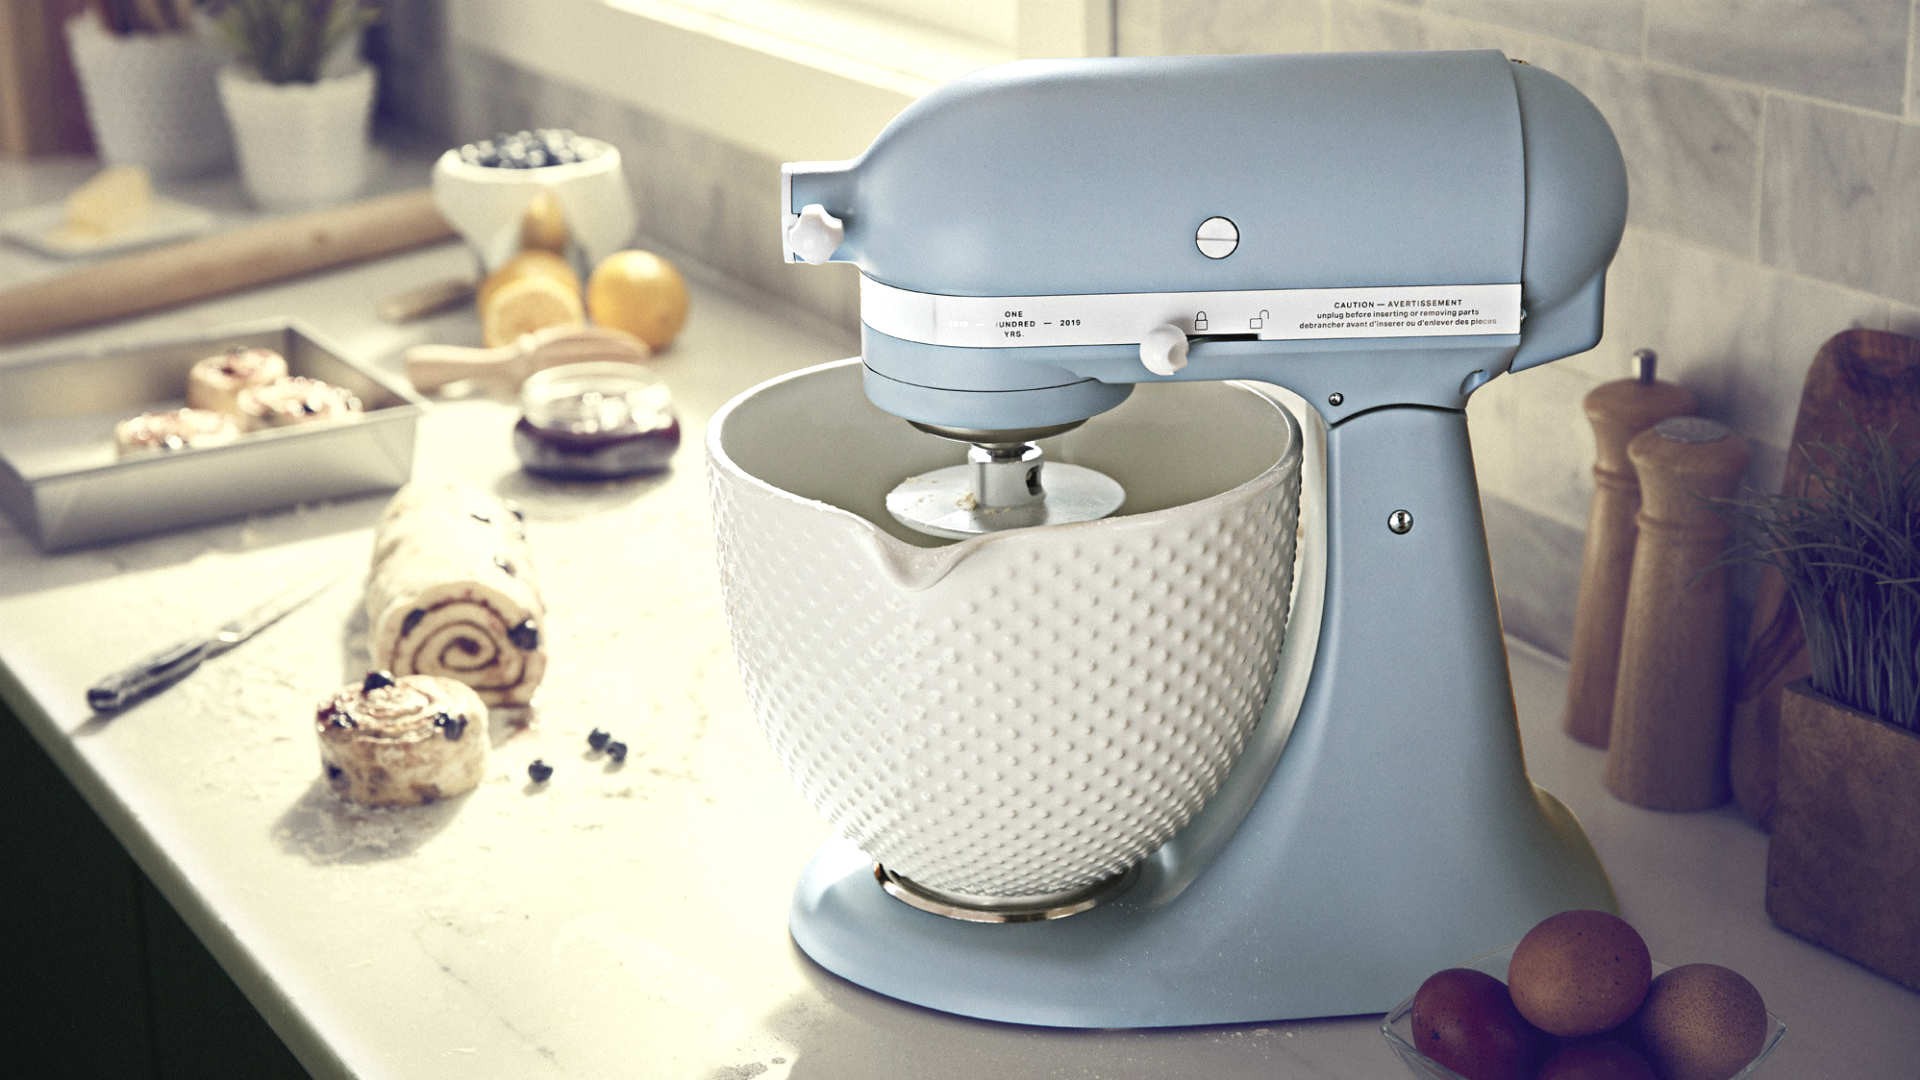
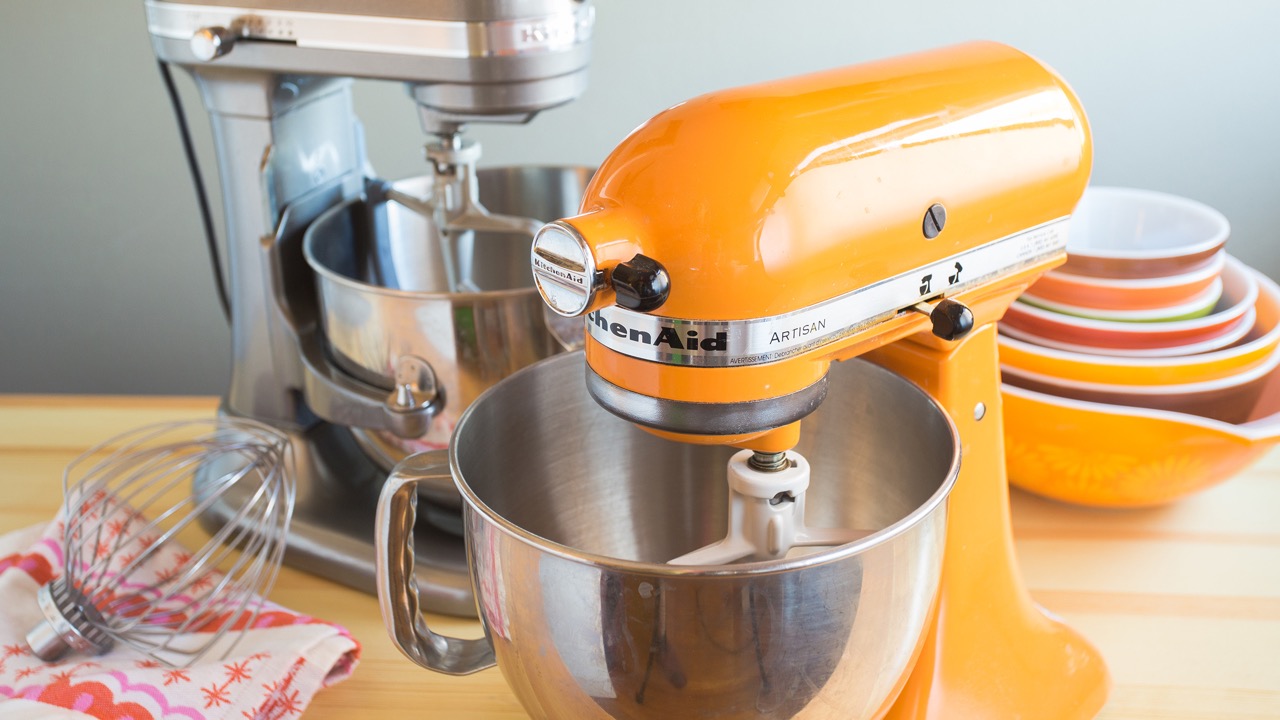
Whether you’re an avid baker or occasionally whip up some goodies in the kitchen, chances are you’ve used a KitchenAid mixer. Renowned for their durability and versatility, KitchenAid mixers have become a staple in many households. One of the key features of these mixers is the removable beater attachment, which makes it easy to switch between different mixing tasks.
However, if you’re new to using a KitchenAid mixer or simply curious about how to remove the beater, this article is here to guide you through the process. In just a few simple steps, you’ll be able to detach the beater from your KitchenAid mixer, making cleaning and maintenance a breeze.
Before we dive into the details, it’s important to note that this guide is applicable to most KitchenAid stand mixers. However, depending on the model, there may be slight variations in the design or method of removing the beater. Always refer to your specific mixer’s user manual for any model-specific instructions or precautions.
With that said, let’s get started on how to remove the beater from your KitchenAid mixer!
Key Takeaways:
- Easily remove and clean your KitchenAid mixer’s beater by following simple steps. Prioritize safety, gather necessary tools, and store the beater properly for optimal performance and hygiene.
- Tilt, unlock, and gently remove the beater to maintain your KitchenAid mixer’s functionality. Thorough cleaning and proper storage ensure a reliable baking companion for future use.
Read more: How To Remove Beaters From Hand Mixer
Step 1: Gather the necessary tools
Before you begin removing the beater from your KitchenAid mixer, it’s essential to gather the necessary tools. Having these tools on hand will ensure a smooth and hassle-free process:
- A small bowl or container
- A soft cloth or sponge
- Warm soapy water
Having these tools ready will not only make it easier to clean the beater afterward but also help maintain the overall hygiene of your mixer.
If you’re concerned about any residue or stuck-on batter, having warm soapy water and a soft cloth or sponge nearby will allow you to clean the beater immediately after removal. This will ensure that your beater is ready to use for your next baking adventure.
Once you have gathered these tools, you’re ready to move on to the next step: turning off and unplugging your KitchenAid mixer.
Step 2: Turn off and unplug the KitchenAid mixer
Safety should always be a priority when working with any kitchen appliance, including your KitchenAid mixer. Before attempting to remove the beater, make sure that the mixer is turned off and unplugged from the power source.
This simple step may seem obvious, but it is crucial to prevent any accidental start-ups or injuries. By turning off the mixer and removing its power source, you can confidently work on removing the beater without any concerns.
Once you have verified that the mixer is turned off and unplugged, you can proceed to the next step: tilting the mixer head back.
Step 3: Tilt the mixer head back
With the KitchenAid mixer turned off and unplugged, it’s time to tilt the mixer head back. This step will give you better access to the beater for easy removal.
Start by locating the lever or knob near the base of the mixer head. This lever or knob is specifically designed to control the tilt function of the mixer head. Gently hold onto it and lift the mixer head upwards.
As you tilt the mixer head back, you will notice that it locks into place. This position allows you to work comfortably and ensures that the mixer head remains stable throughout the beater removal process.
Keep in mind that the exact mechanism for tilting the mixer head may vary depending on the model of your KitchenAid mixer. Some mixers have a lever that you push or pull, while others may have a knob that you twist. Refer to your mixer’s user manual for specific instructions if you encounter any difficulties in tilting the mixer head back.
Once the mixer head is securely in the tilted position, you’re ready to move on to the next step: locating the beater attachment.
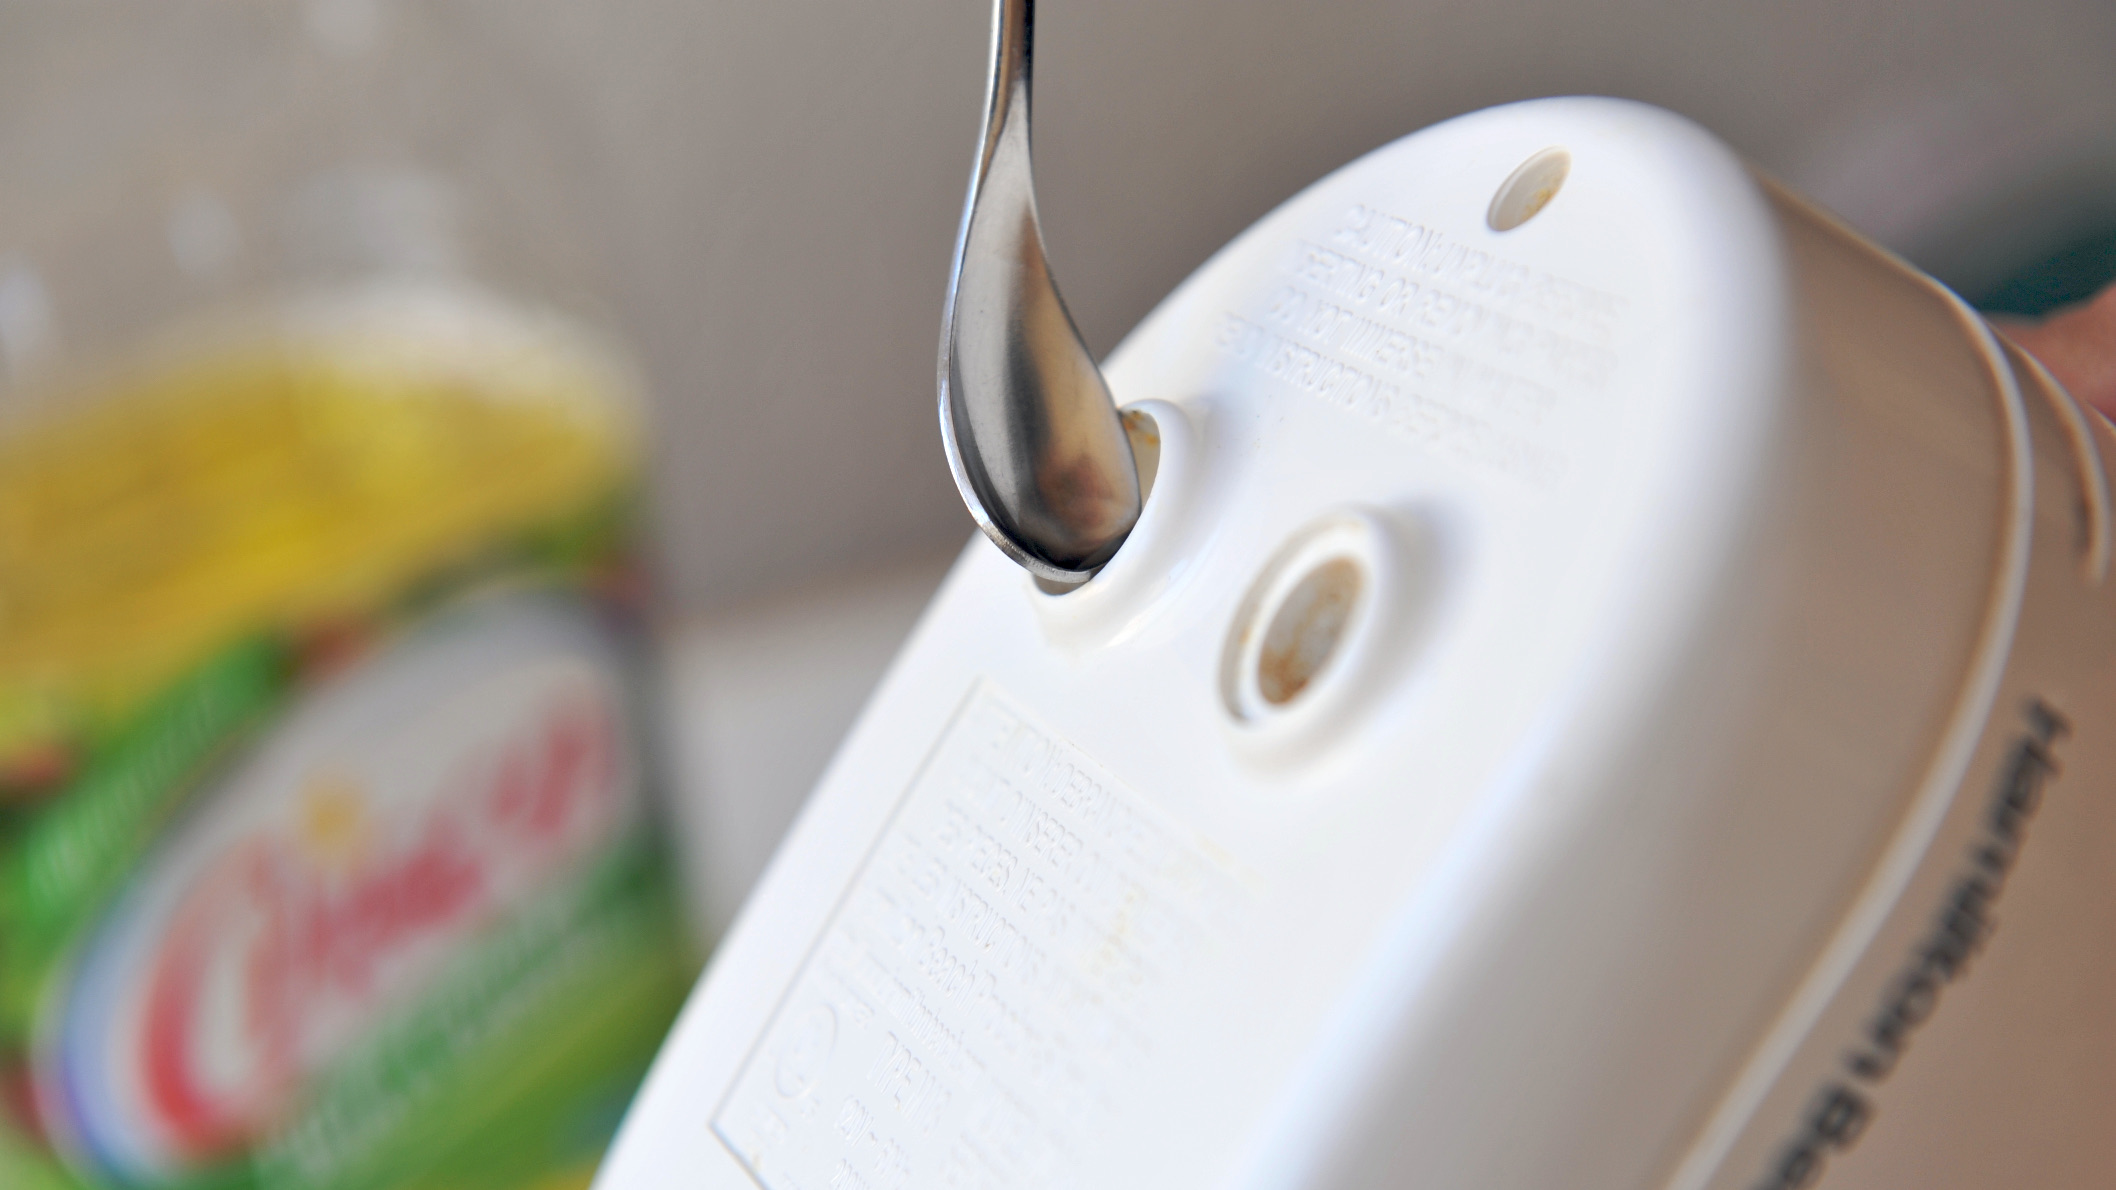
Step 4: Locate the beater attachment
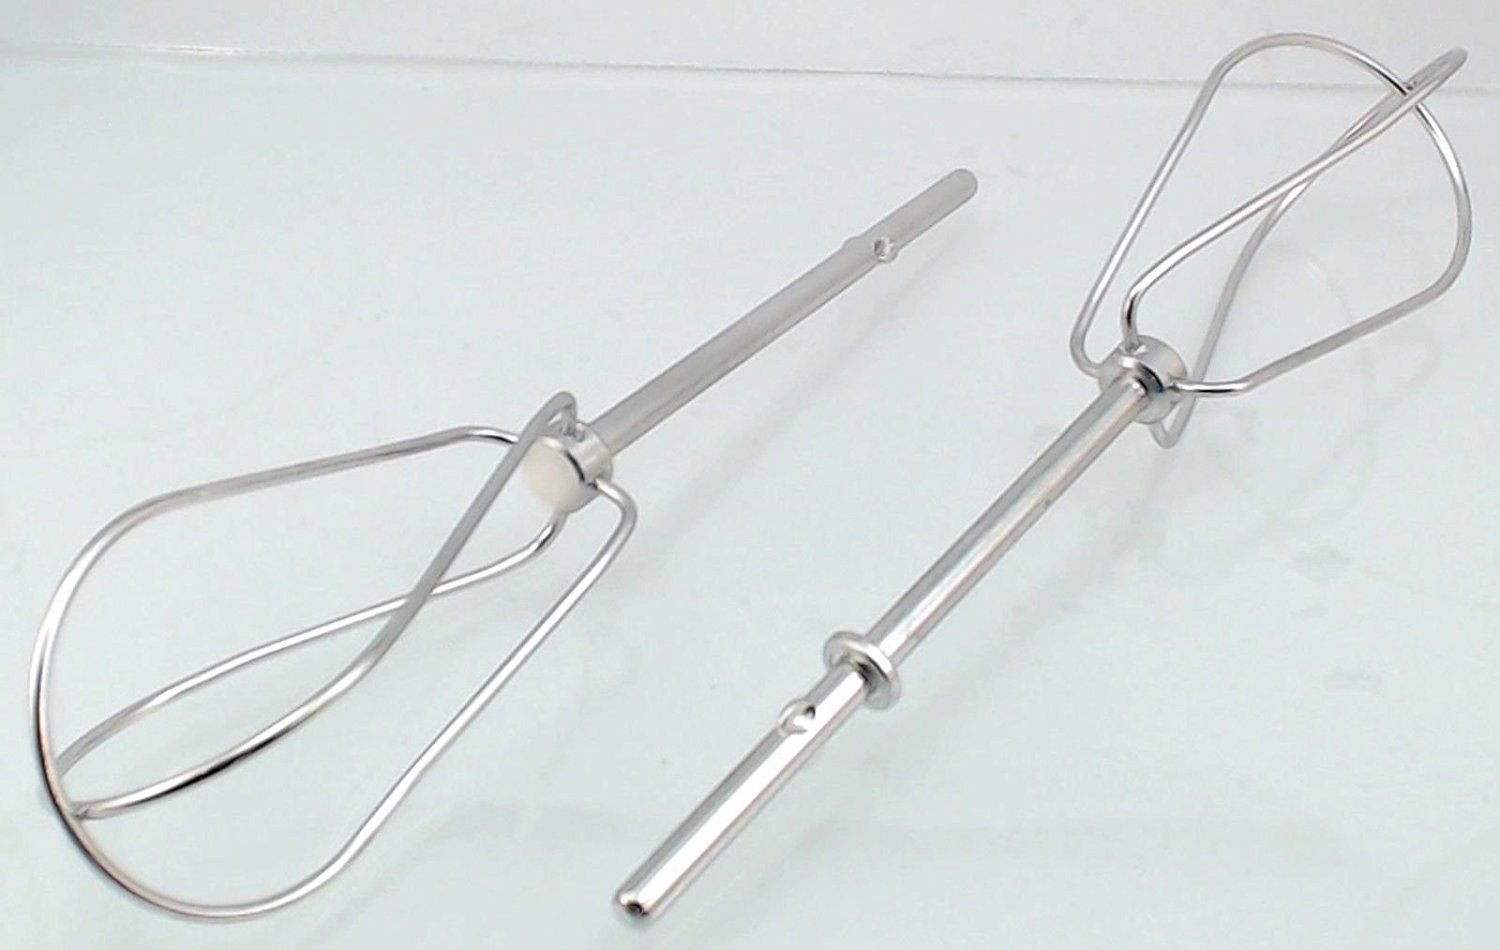
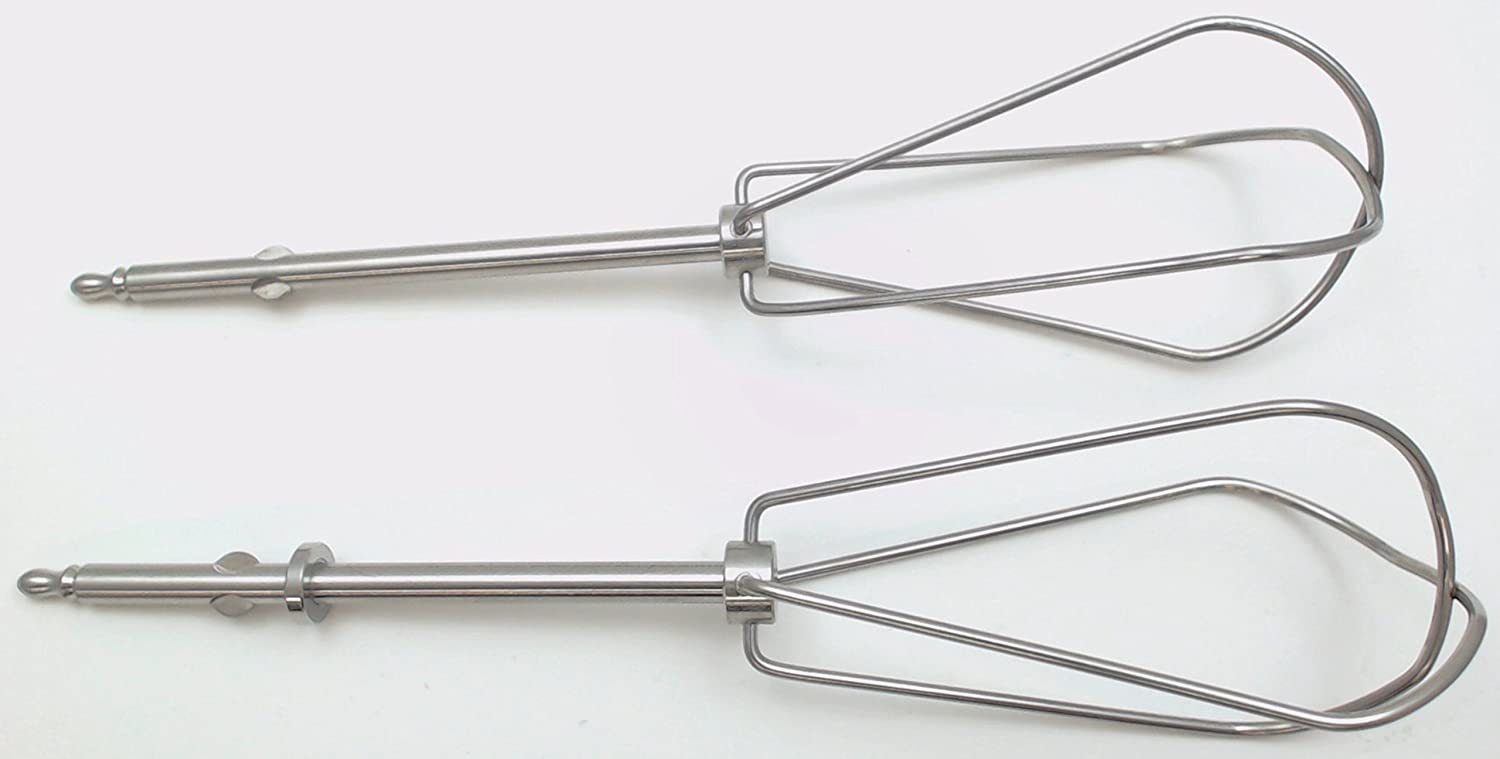
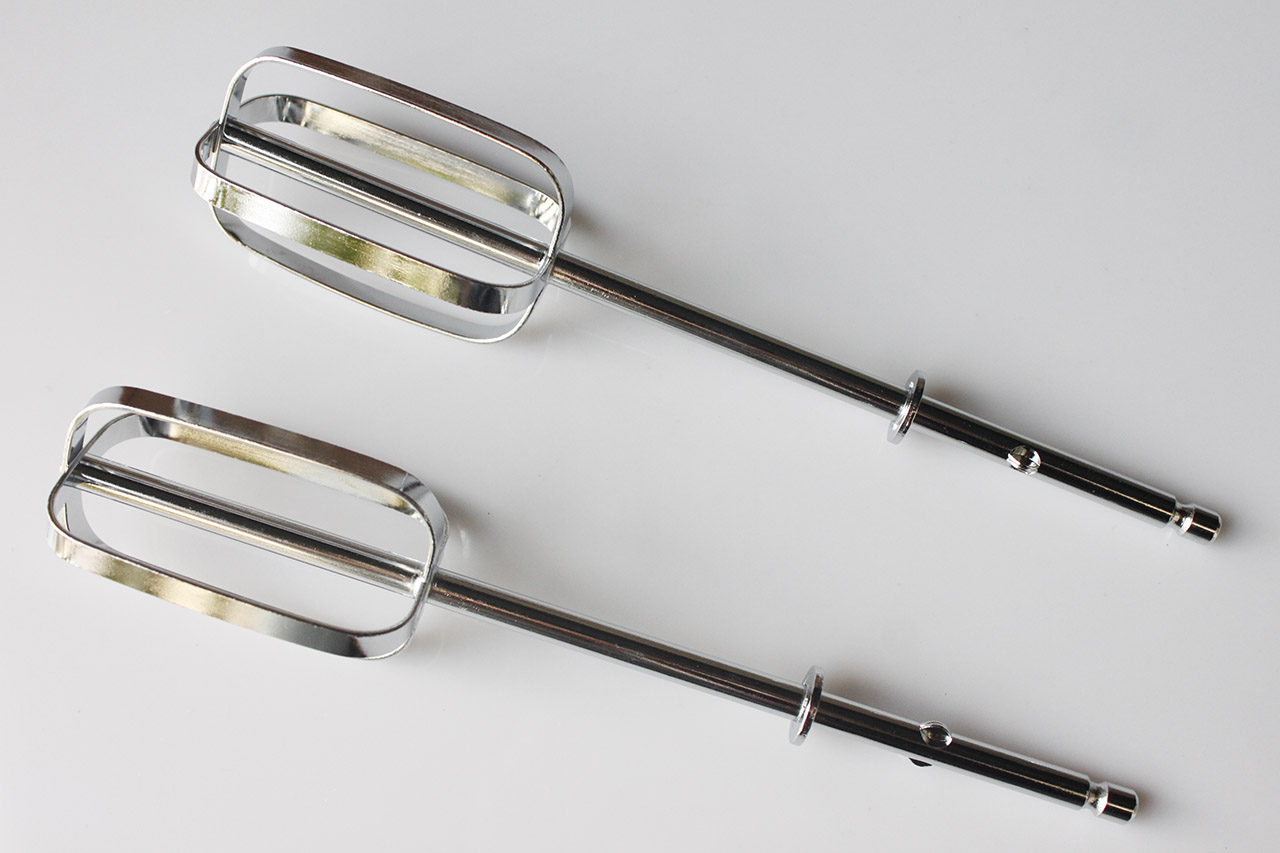
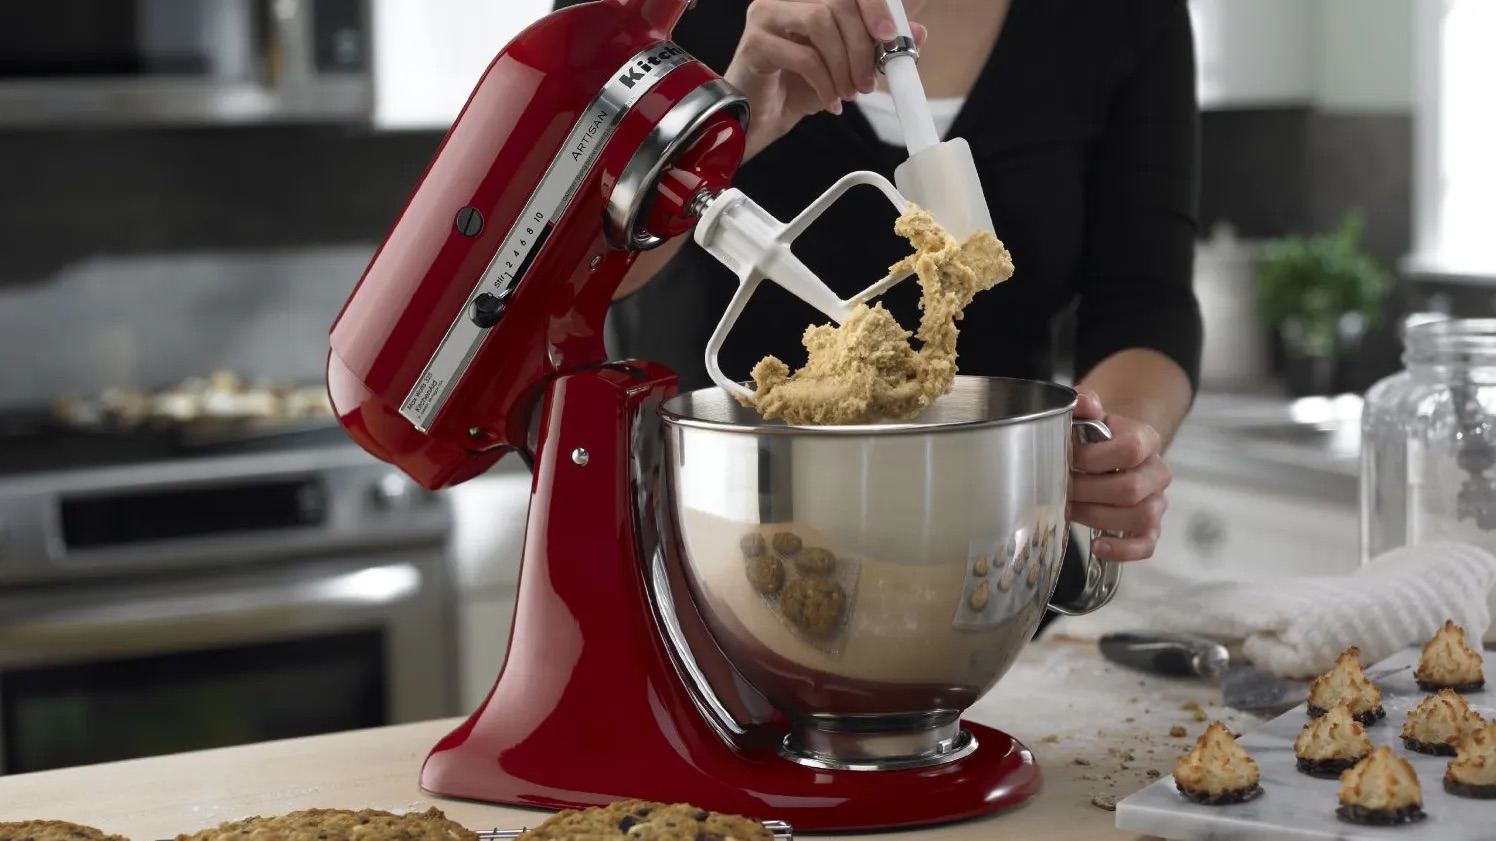
Now that the mixer head is tilted back, it’s time to locate the beater attachment. The beater is the mixing tool that attaches to the mixer’s drive shaft and rotates to mix your ingredients.
The beater attachment is typically located at the bottom of the mixer head, near the center. Look for a circular opening or socket where the beater is inserted and secured.
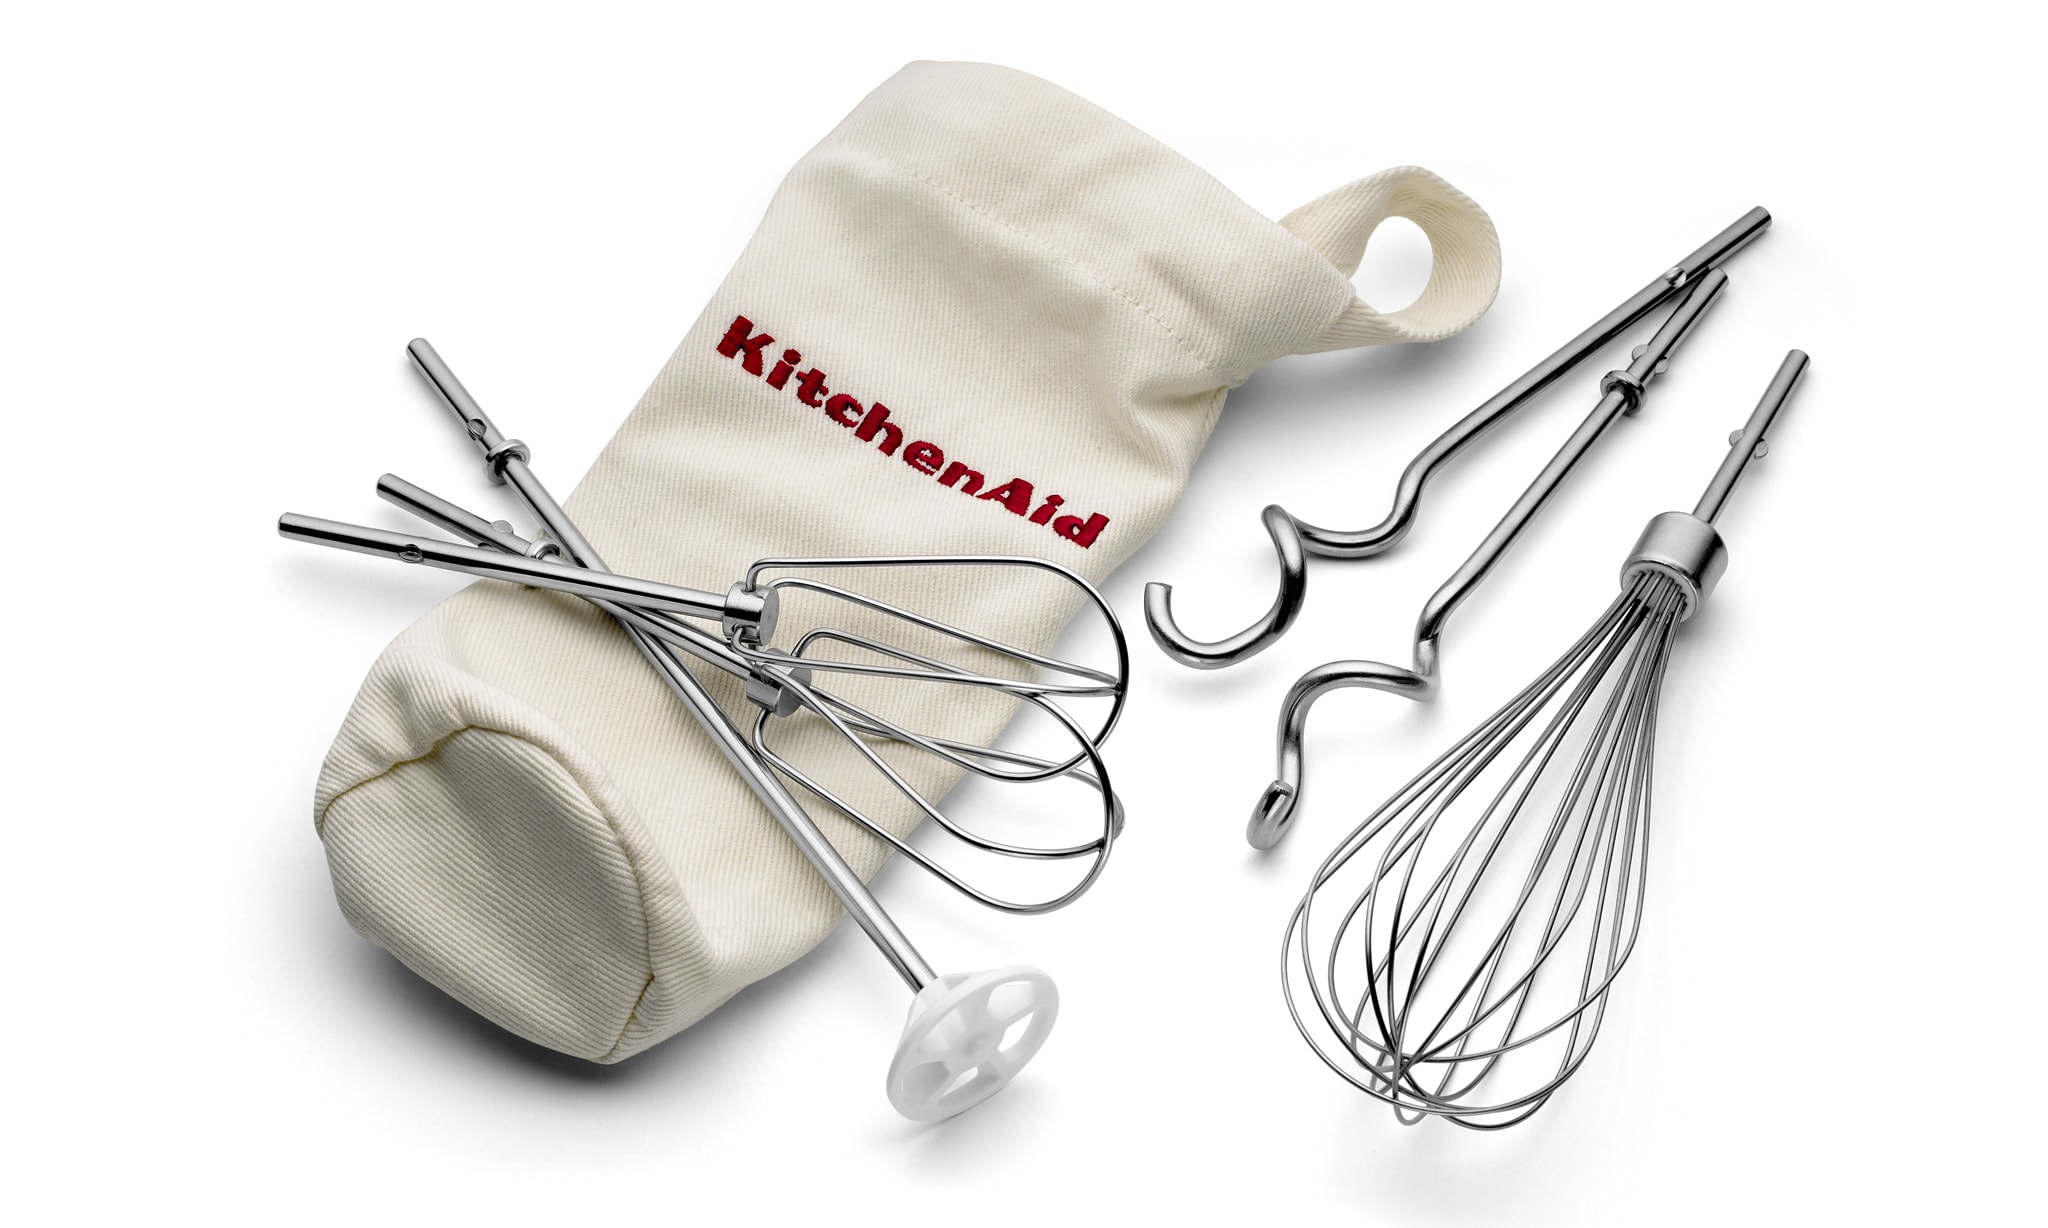
Depending on your KitchenAid mixer model, there may be different types of beaters available, such as the standard flat beater, the wire whisk, or the dough hook. Make sure you identify the specific beater you want to remove.
It’s also worth noting that some KitchenAid mixers have a button or release mechanism near the beater attachment area that needs to be engaged to remove the beater. Consult your mixer’s user manual to understand if your model has any additional steps or considerations for removing the beater attachment.
Once you have located the beater attachment, you’re ready to move on to the next step: unlocking the beater attachment.
Before removing the beater from your KitchenAid mixer, make sure the mixer is turned off and unplugged for safety. Then, simply press the beater release button and gently pull the beater out of the mixer.
Read also: 12 Amazing Kitchenaid Mixer Beater for 2025
Step 5: Unlock the beater attachment
Before you can remove the beater from your KitchenAid mixer, you need to unlock the beater attachment. This step involves disengaging the locking mechanism that holds the beater in place.
Look for a release lever, button, or switch near the beater attachment area. The exact placement of this release mechanism may vary depending on the model of your KitchenAid mixer. Refer to your mixer’s user manual for specific instructions on how to unlock the beater attachment.
Once you’ve located the release mechanism, use your thumb or finger to engage it. This action will release the lock and allow you to remove the beater.
Take care not to force the release mechanism or apply excessive pressure while unlocking. Most release mechanisms are relatively easy to operate, requiring a simple press or slide to disengage the lock.
If you’re having trouble locating or operating the release mechanism, refer to your mixer’s user manual or contact KitchenAid customer support for further assistance.
Once the beater attachment is unlocked, you’re ready to move on to the next step: removing the beater from the mixer.
Step 6: Remove the beater from the mixer
With the beater attachment unlocked, you can now proceed to remove the beater from your KitchenAid mixer. This step involves gently pulling the beater out of the mixer’s attachment area.
Hold onto the base of the beater, nearest to the attachment area, with one hand. With your other hand, carefully pull the beater straight out from the mixer. Avoid twisting or jerking motions, as these can damage the attachment mechanism or cause the beater to become stuck.
If the beater feels resistant or difficult to remove, double-check that you have properly disengaged the release mechanism. Ensure that you have fully unlocked the beater attachment before attempting to remove it again.
With a gentle pull, the beater should come free from the attachment area, allowing you to completely remove it from the mixer.
Set the removed beater aside in a safe place, ready for cleaning or storage. If you’re planning to immediately clean the beater, refer to the next step for guidance on how to do this effectively.
Now that you have successfully removed the beater, you’re ready to tackle the final steps of cleaning and maintaining your KitchenAid mixer.
Step 7: Clean and store the beater properly
After removing the beater from your KitchenAid mixer, it’s important to give it a thorough cleaning before storing it. This will ensure that the beater remains in good condition and ready for your next baking endeavor.
Start by rinsing the beater under warm running water to remove any excess batter or residue. If there are stubborn stains or dried-on food particles, you can use a soft sponge or brush to gently scrub the surface. Avoid using abrasive cleaners or harsh chemicals, as these may damage the beater’s finish.
If necessary, you can also soak the beater in warm soapy water for a few minutes to loosen any stubborn residue. After soaking, rinse the beater thoroughly and dry it with a clean cloth or towel.
Once the beater is clean and dry, store it in a safe place. Many KitchenAid mixers come with a storage case or accessory pouch where you can keep the beater and other attachments together. If you don’t have a dedicated storage solution, you can wrap the beater in a clean cloth or place it in a sealable plastic bag to protect it from dust and damage.
Remember to store the beater in a dry location away from extreme temperatures or direct sunlight. This will help prolong its lifespan and ensure it remains in good working condition.
By properly cleaning and storing the beater, you’ll not only maintain its performance but also promote a hygienic and well-functioning KitchenAid mixer.
With the beater cleaned and stored, you have successfully completed the process of removing, cleaning, and maintaining your KitchenAid mixer’s beater attachment.
Conclusion
Removing the beater from your KitchenAid mixer is a simple process that allows for easy cleaning and customization of your mixing tasks. By following the steps outlined in this guide, you can confidently remove the beater attachment and ensure that your mixer stays in optimal condition.
Remember to gather the necessary tools before starting, including a small bowl or container, a soft cloth or sponge, and warm soapy water. Taking this step will ensure that you can clean the beater immediately after removal, maintaining its hygiene and readiness for future use.
Taking care to turn off and unplug your mixer is crucial for safety purposes. Always prioritize your well-being when working with any kitchen appliance.
Tilting the mixer head back gives you better access to the beater attachment. Take your time to locate the beater and understand any specific release mechanisms for unlocking it. With a gentle pull, the beater should come free from the mixer with ease.
After removing the beater, make sure to clean it thoroughly, rinsing off any residue and gently scrubbing if necessary. Store the beater in a safe place to protect it from damage and keep it in good working condition for the next time you need it.
Keep in mind that while this guide provides general steps for removing the beater from a KitchenAid mixer, there may be slight variations depending on the specific model you own. Always refer to the user manual for your mixer if you have any doubts or concerns.
By following these simple steps, you can maintain your KitchenAid mixer and ensure that it continues to be a reliable companion in your baking adventures. So, go ahead and confidently remove that beater, knowing that you have the knowledge to do it safely and effectively.
Frequently Asked Questions about How To Remove Beater From Kitchenaid Mixer
Was this page helpful?
At Storables.com, we guarantee accurate and reliable information. Our content, validated by Expert Board Contributors, is crafted following stringent Editorial Policies. We're committed to providing you with well-researched, expert-backed insights for all your informational needs.


0 thoughts on “How To Remove Beater From Kitchenaid Mixer”