Articles
How To Remove The Bowl From Kitchenaid Mixer
Modified: August 16, 2024
Learn how to remove the bowl from your Kitchenaid mixer with ease! Our informative articles provide step-by-step instructions and helpful tips for this essential task.
(Many of the links in this article redirect to a specific reviewed product. Your purchase of these products through affiliate links helps to generate commission for Storables.com, at no extra cost. Learn more)
Introduction
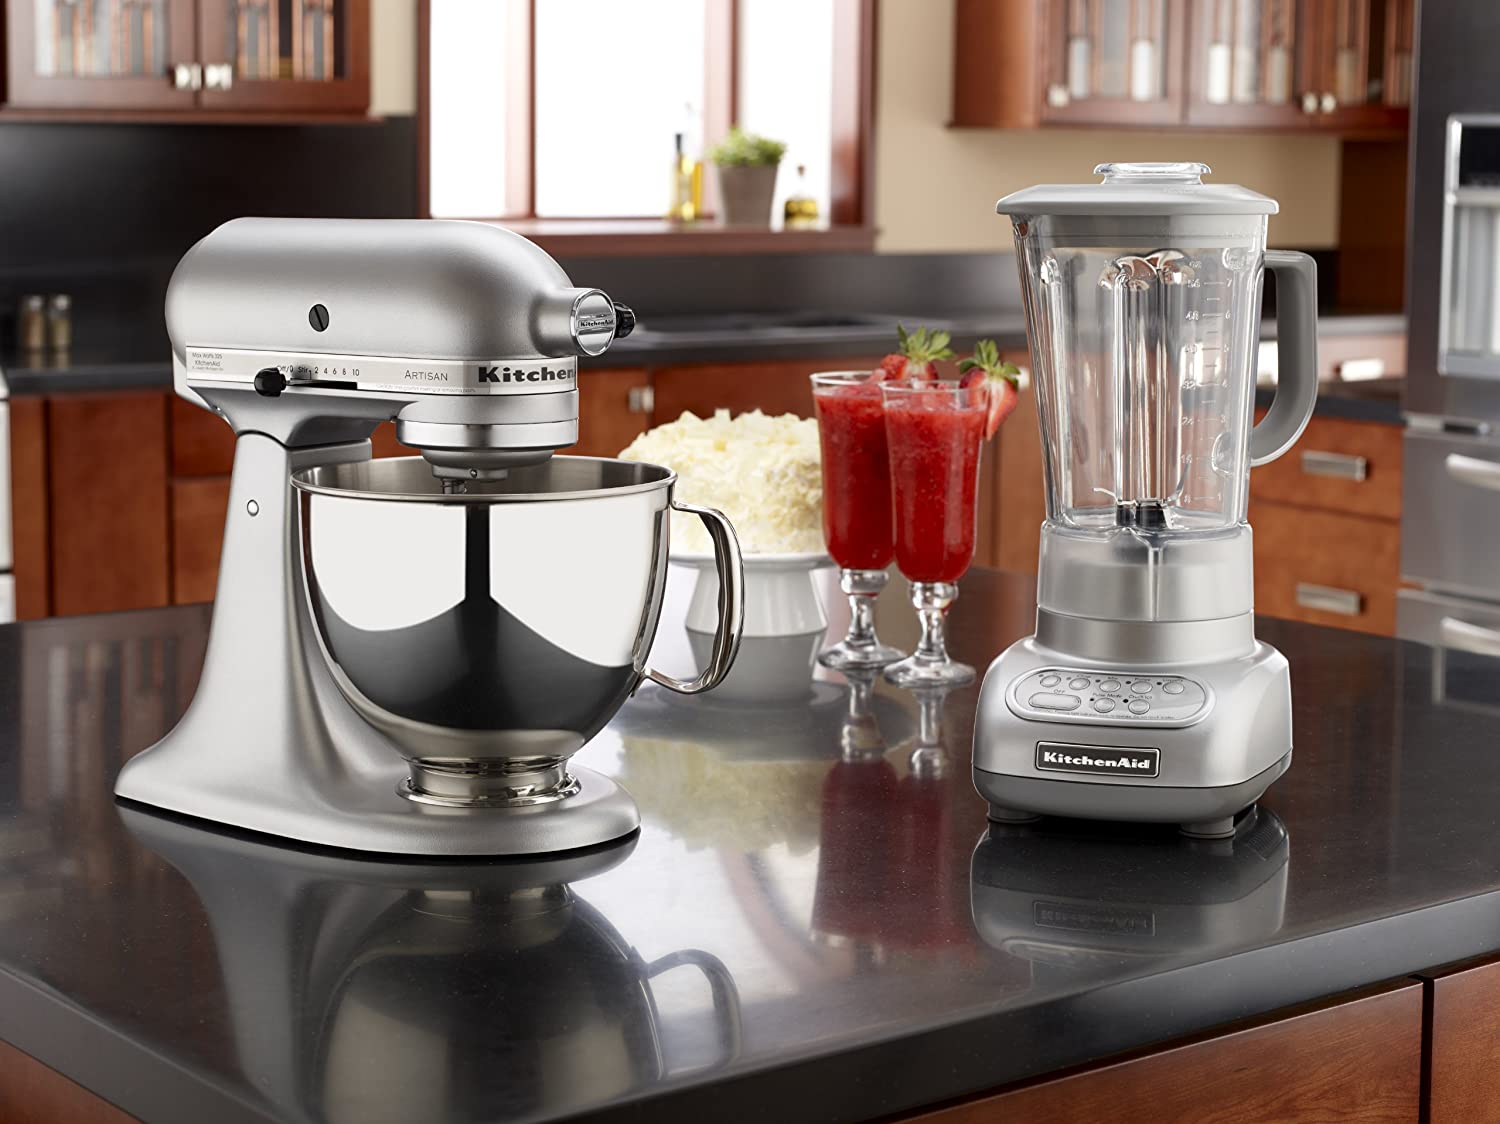
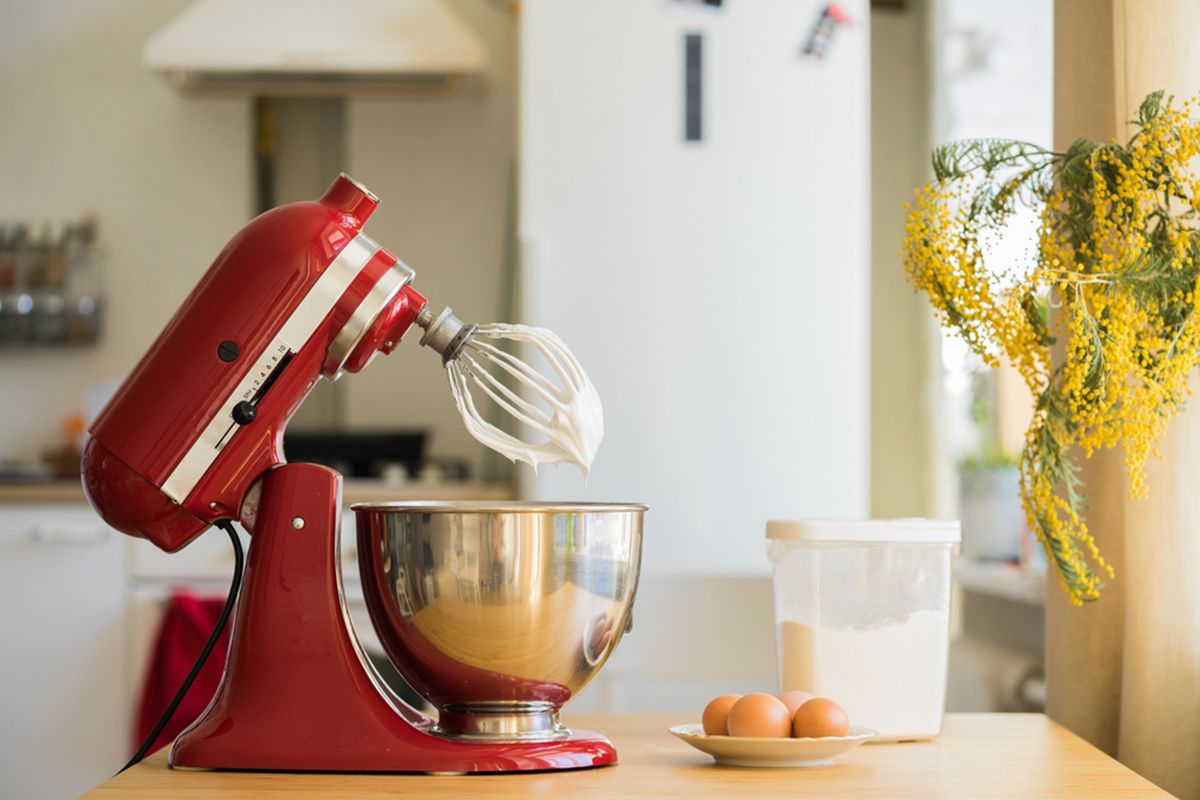
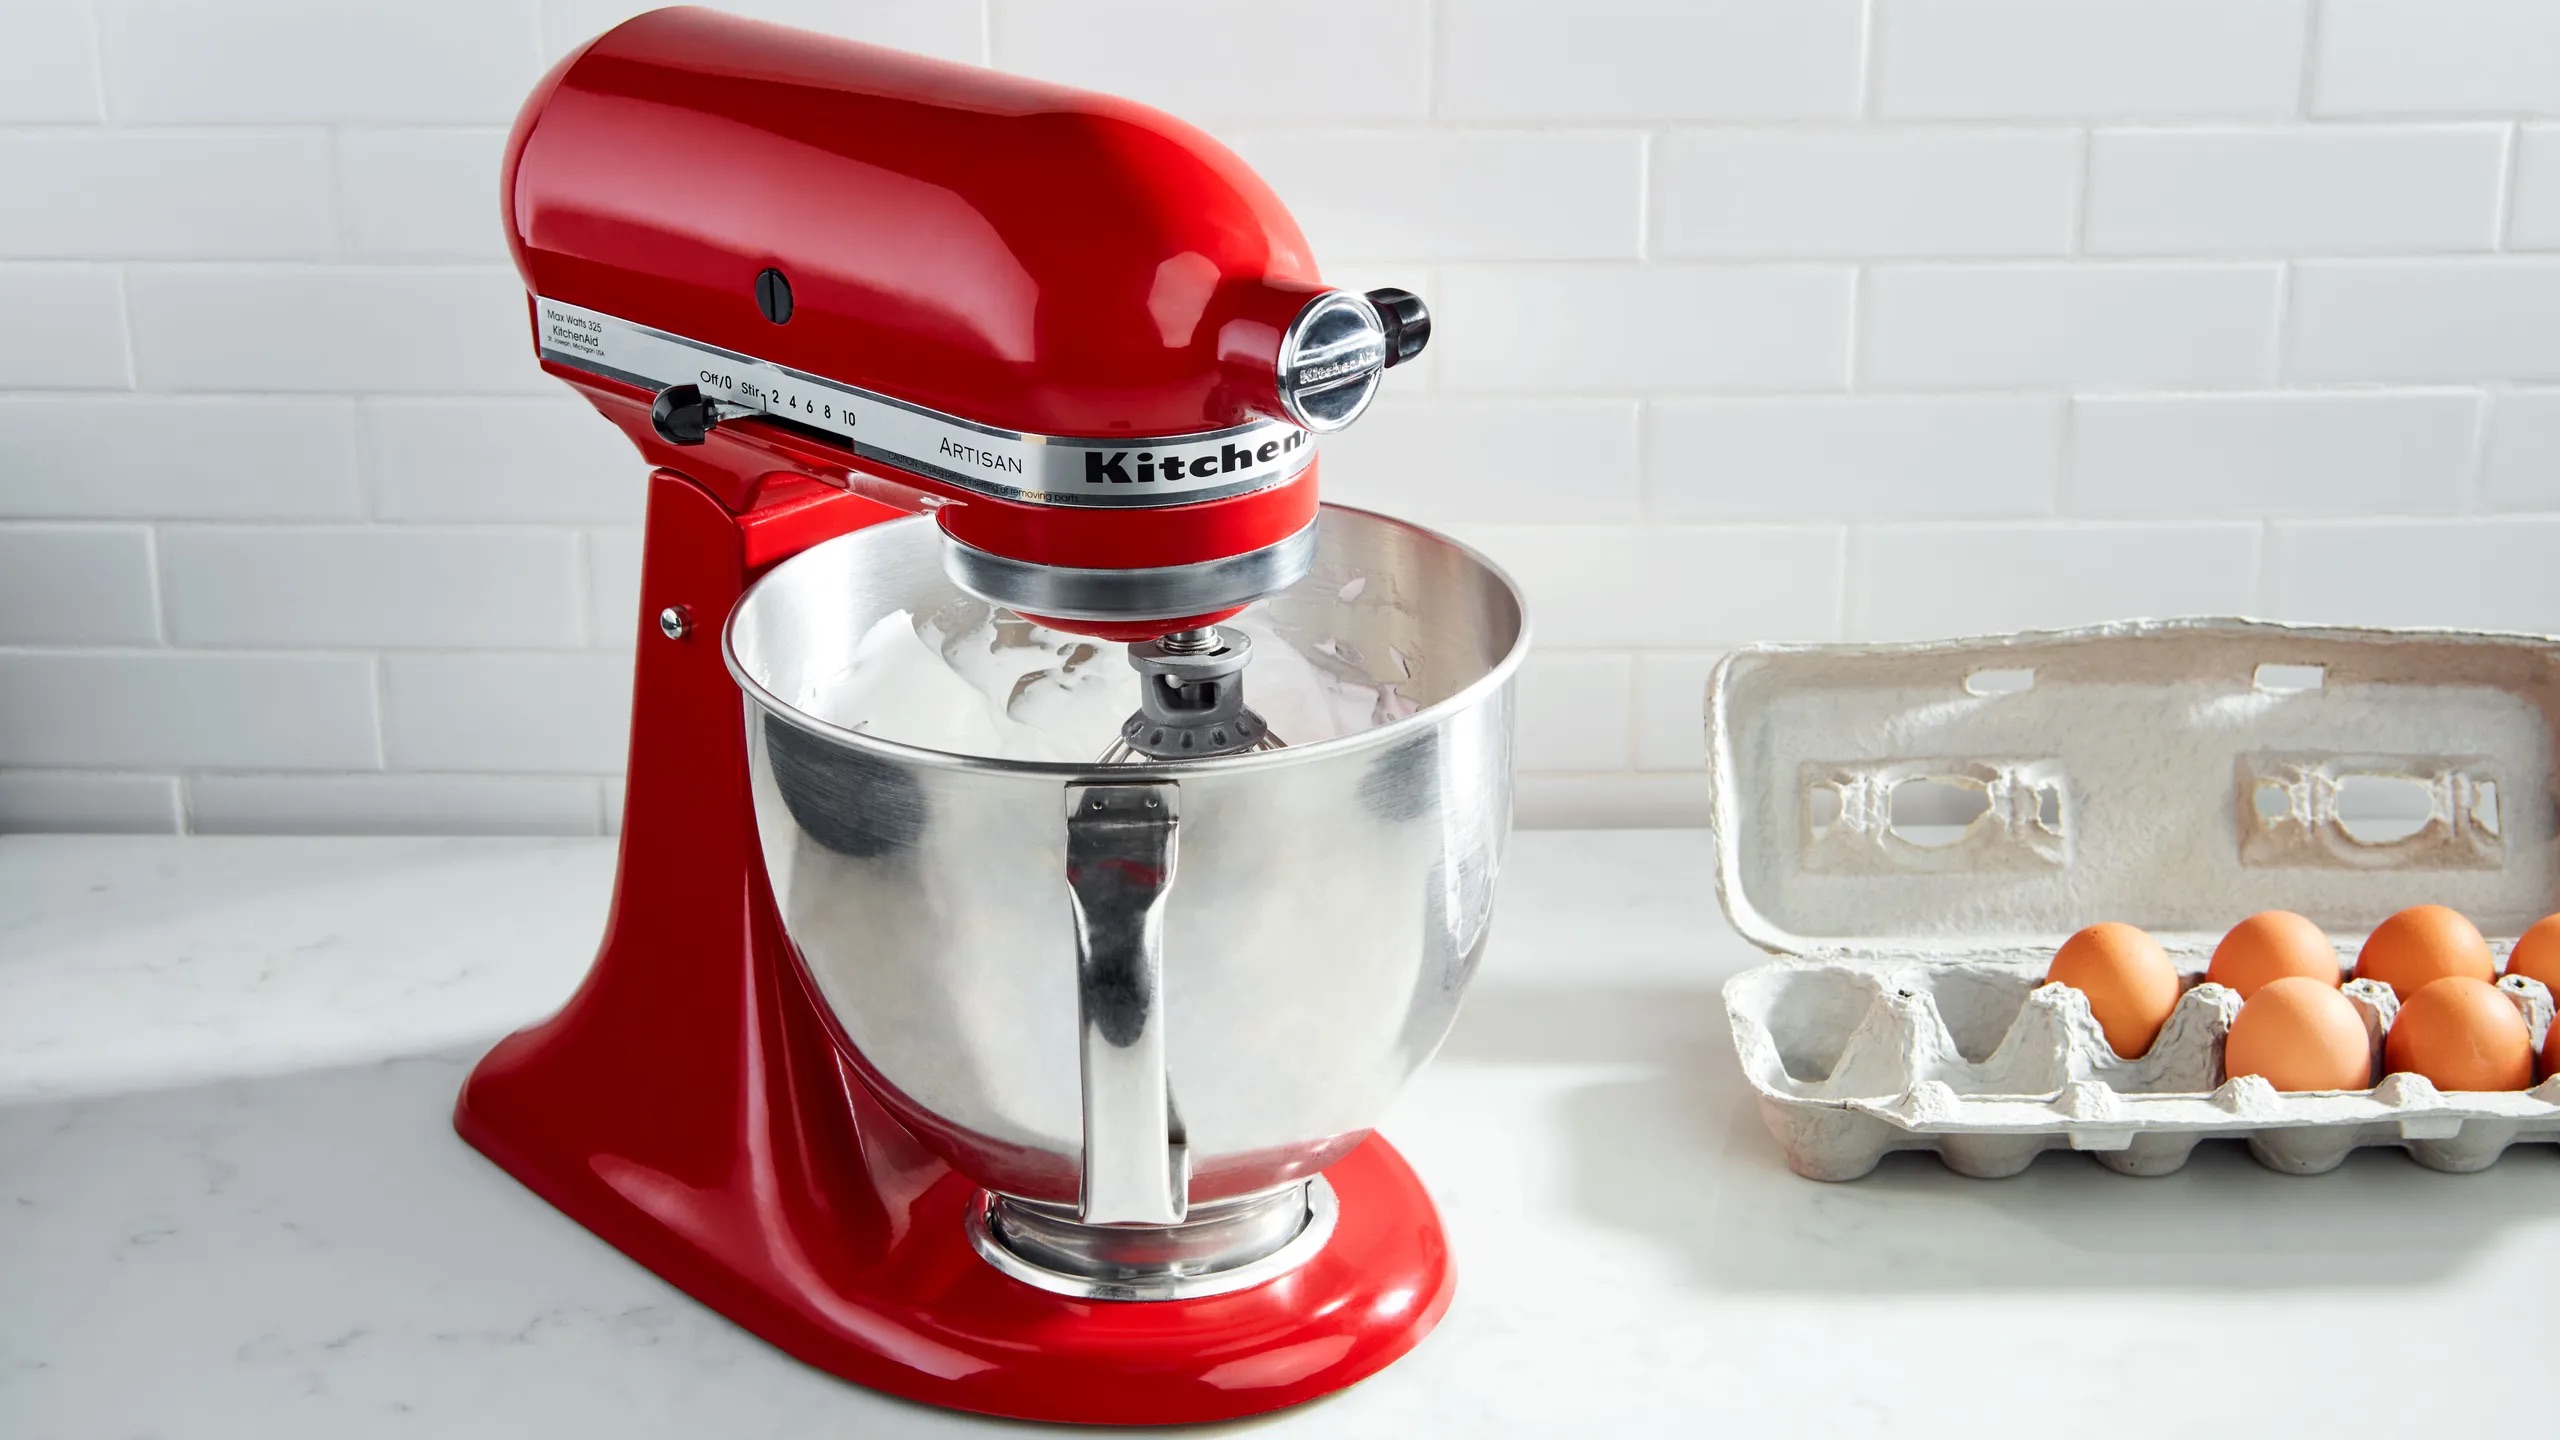
Having a Kitchenaid mixer in your kitchen is a game-changer when it comes to baking and cooking. Its powerful motor and versatile attachments make it a beloved appliance for many home cooks and professional chefs alike. However, there may come a time when you need to remove the bowl from your Kitchenaid mixer for cleaning, maintenance, or storage purposes. In this article, we will guide you through the steps on how to safely and easily remove the bowl from your Kitchenaid mixer.
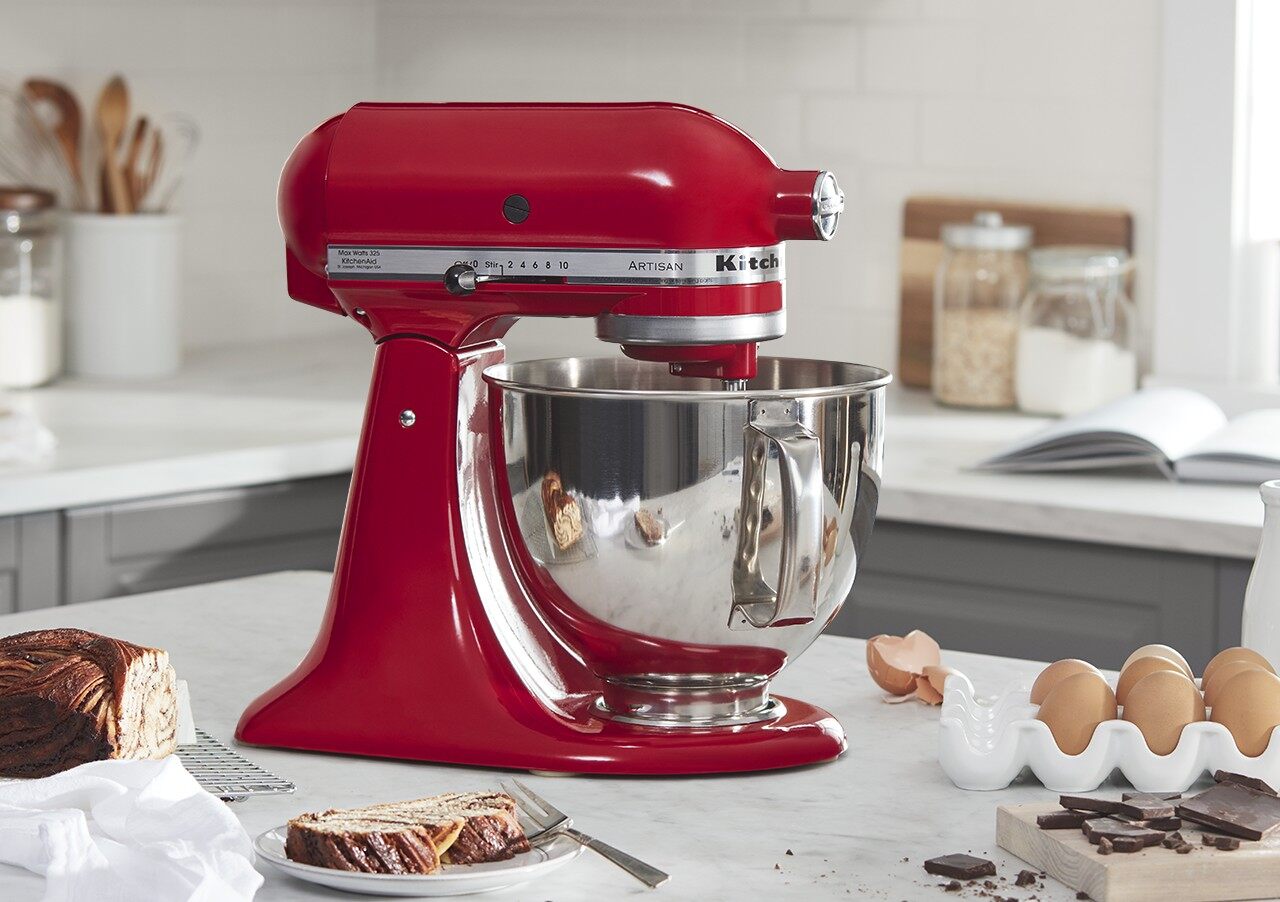
Before we dive into the step-by-step process, it is important to note that the instructions provided here are specific to the tilt-head models of Kitchenaid mixers. These models include the Classic, Artisan, and Professional series. If you have a bowl-lift model, the removal process may differ. Make sure to consult your user manual or the manufacturer’s website for instructions that are specific to your model.
Now, let’s gather the necessary tools and get started with removing the bowl from your Kitchenaid mixer!
Key Takeaways:
- Safely remove and reattach the bowl from your Kitchenaid mixer by following simple steps, ensuring optimal performance and longevity for your beloved appliance.
- Thoroughly clean and maintain your Kitchenaid mixer bowl using gentle methods to preserve its condition and enhance your culinary experience.
Read more: How To Remove Beater From Kitchenaid Mixer
Step 1: Gather the necessary tools
Before attempting to remove the bowl from your Kitchenaid mixer, it is important to have the right tools on hand. Here are the essential items you will need:
- A clean and dry kitchen towel or cloth
- A small brush or toothbrush for cleaning
- Warm soapy water or a mild cleaning solution
Having these tools ready will ensure a smooth and efficient process while keeping your mixer and bowl in pristine condition.
Step 2: Unplug the Kitchenaid mixer
Before starting any maintenance or removal process, it is crucial to ensure the safety of both yourself and the appliance. To do this, make sure to unplug your Kitchenaid mixer from the power source. This will prevent any accidental starting of the mixer while you are working on removing the bowl.
Once you have unplugged the mixer, double-check to ensure it is disconnected from the power supply to avoid any potential accidents. Safety should always be a priority when working with electrical appliances.
After verifying that the mixer is unplugged, you can continue to the next step of the process.
Step 3: Tilt the mixer head back
With the mixer unplugged, it’s time to tilt the mixer head back into the locked position. This will expose the bowl and allow you to access the bowl release lever, which is essential for removing the bowl.
Start by firmly gripping the mixer head with one hand and using the other hand to hold the base of the mixer. Gently tilt the mixer head back until it locks into place. You will feel a slight resistance, indicating that the head is securely tilted back.
Ensuring that the mixer head is tilted back and locked in place will provide stability and prevent any accidental movements or damage while removing the bowl. Take a moment to make sure that the head is securely locked before proceeding to the next step.
Once you have successfully tilted the mixer head back, you are ready to move on to the next step of the bowl removal process.
Step 4: Locate the bowl release lever
Now that the mixer head is tilted back, you can easily locate the bowl release lever. This lever is an essential component for removing the bowl from your Kitchenaid mixer.
Look for a small lever located on the right side of the mixer head, near where the bowl and the head meet. The lever is typically red or gray and may have a graphic or text indicating its purpose. It is designed to release the bowl from the mixer base, allowing you to remove it easily.
Take a moment to familiarize yourself with the location and appearance of the bowl release lever. This will ensure that you can confidently operate it when the time comes to release the bowl from the mixer.
Once you have located the bowl release lever, it’s time to proceed to the next step of the process.
Before removing the bowl from your KitchenAid mixer, make sure the mixer is turned off and unplugged for safety. Then, tilt the head of the mixer back and lift the bowl straight up and off the base.
Read more: How To Put Bowl In Kitchenaid Mixer
Step 5: Release the bowl from the mixer base
With the bowl release lever located, it’s time to release the bowl from the mixer base. This step allows you to detach the bowl from the mixer, making it easier to clean, maintain, or store.
To release the bowl, simply push the bowl release lever away from you. This action will disengage the bowl from the mixer base, allowing it to be lifted off.
While pushing the bowl release lever, you may feel some resistance at first. This is normal as the lever needs to overcome the locking mechanism that holds the bowl in place. Continue pushing until you feel the lever move smoothly and the bowl becomes disengaged from the base.
Once the bowl is released, you can stop pushing the lever and the bowl will be free to remove.
It’s important to note that the bowl release lever may not be located in the exact same position on every Kitchenaid mixer model. Some models may have the lever on the left side or in a slightly different location. Refer to your user manual or the manufacturer’s instructions for the specific positioning of the bowl release lever on your mixer.
Now that the bowl is released from the mixer base, it’s time to move on to the next step of the process: lifting the bowl off the mixer.
Step 6: Lift the bowl off the mixer
Now that the bowl is released from the mixer base, it’s time to lift it off the mixer. This step allows you to completely separate the bowl from the appliance for cleaning or any other required maintenance.
To lift the bowl off the mixer, place one hand on the handle of the bowl and the other hand on the bottom of the mixer. Gently lift the bowl straight up, keeping it level to avoid any spills or accidents.
As you lift the bowl, you may notice that there is some resistance due to the weight of the attachments or ingredients inside. It’s important to lift the bowl with care, ensuring a firm grip and no sudden movements to prevent any spills or mishaps.
If you find that the bowl is not lifting easily, double-check that the bowl release lever is fully engaged and try lifting again. Sometimes, the bowl can be slightly stuck due to the locking mechanism, but with a little gentle force, it should release.
Once you have successfully lifted the bowl off the mixer, you can set it aside for cleaning, maintenance, or storage.
Remember to handle the bowl with care to avoid any damage and ensure that it is placed in a safe and secure location until you are ready to reattach it to the mixer.
Now that the bowl is lifted off, we will move on to the next step: cleaning and maintenance tips for the bowl.
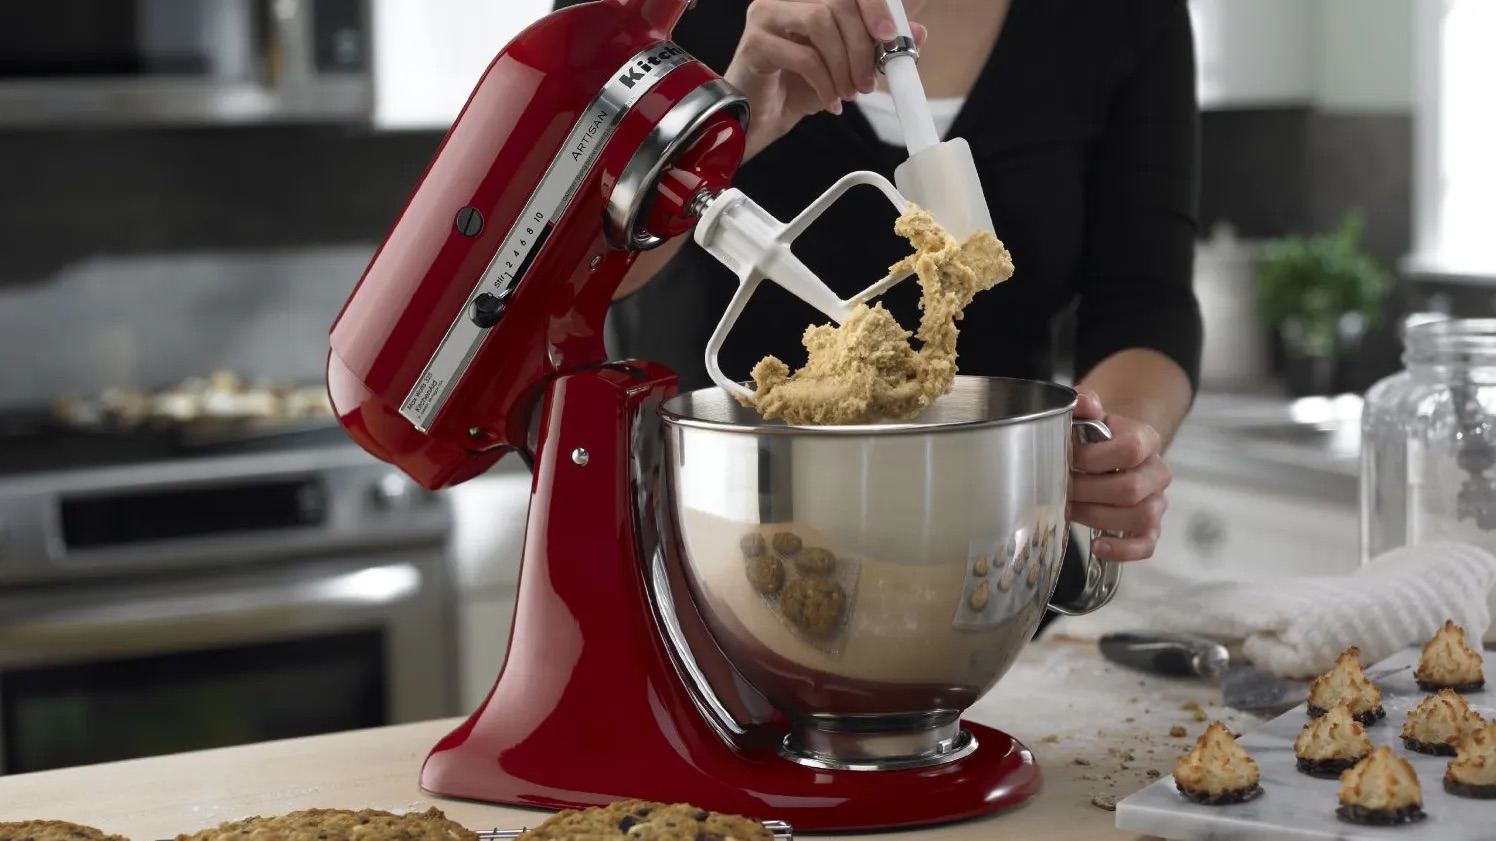
Step 7: Cleaning and maintenance tips for the bowl
After lifting the bowl off the mixer, it’s important to give it a thorough cleaning to keep it in optimal condition. Here are some cleaning and maintenance tips for your Kitchenaid mixer bowl:
- Hand wash with warm soapy water: Fill your sink or a basin with warm water and a mild dish soap. Submerge the bowl and use a sponge or cloth to clean the inside and outside surfaces. Pay special attention to any residue or stains and gently scrub them away.
- Avoid harsh abrasives: Do not use abrasive cleaners, scouring pads, or steel wool on the bowl, as they can scratch the surface. Stick to non-abrasive cleaning tools to preserve the bowl’s finish.
- Dry thoroughly: After washing, make sure to dry the bowl thoroughly with a clean towel or allow it to air dry. Moisture left on the bowl can lead to rust or damage over time.
- Remove stubborn stains: If you encounter stubborn stains or residue, you can try using a baking soda paste. Mix baking soda with water to create a thick consistency and apply it to the stains. Let it sit for a few minutes before rinsing and cleaning as usual.
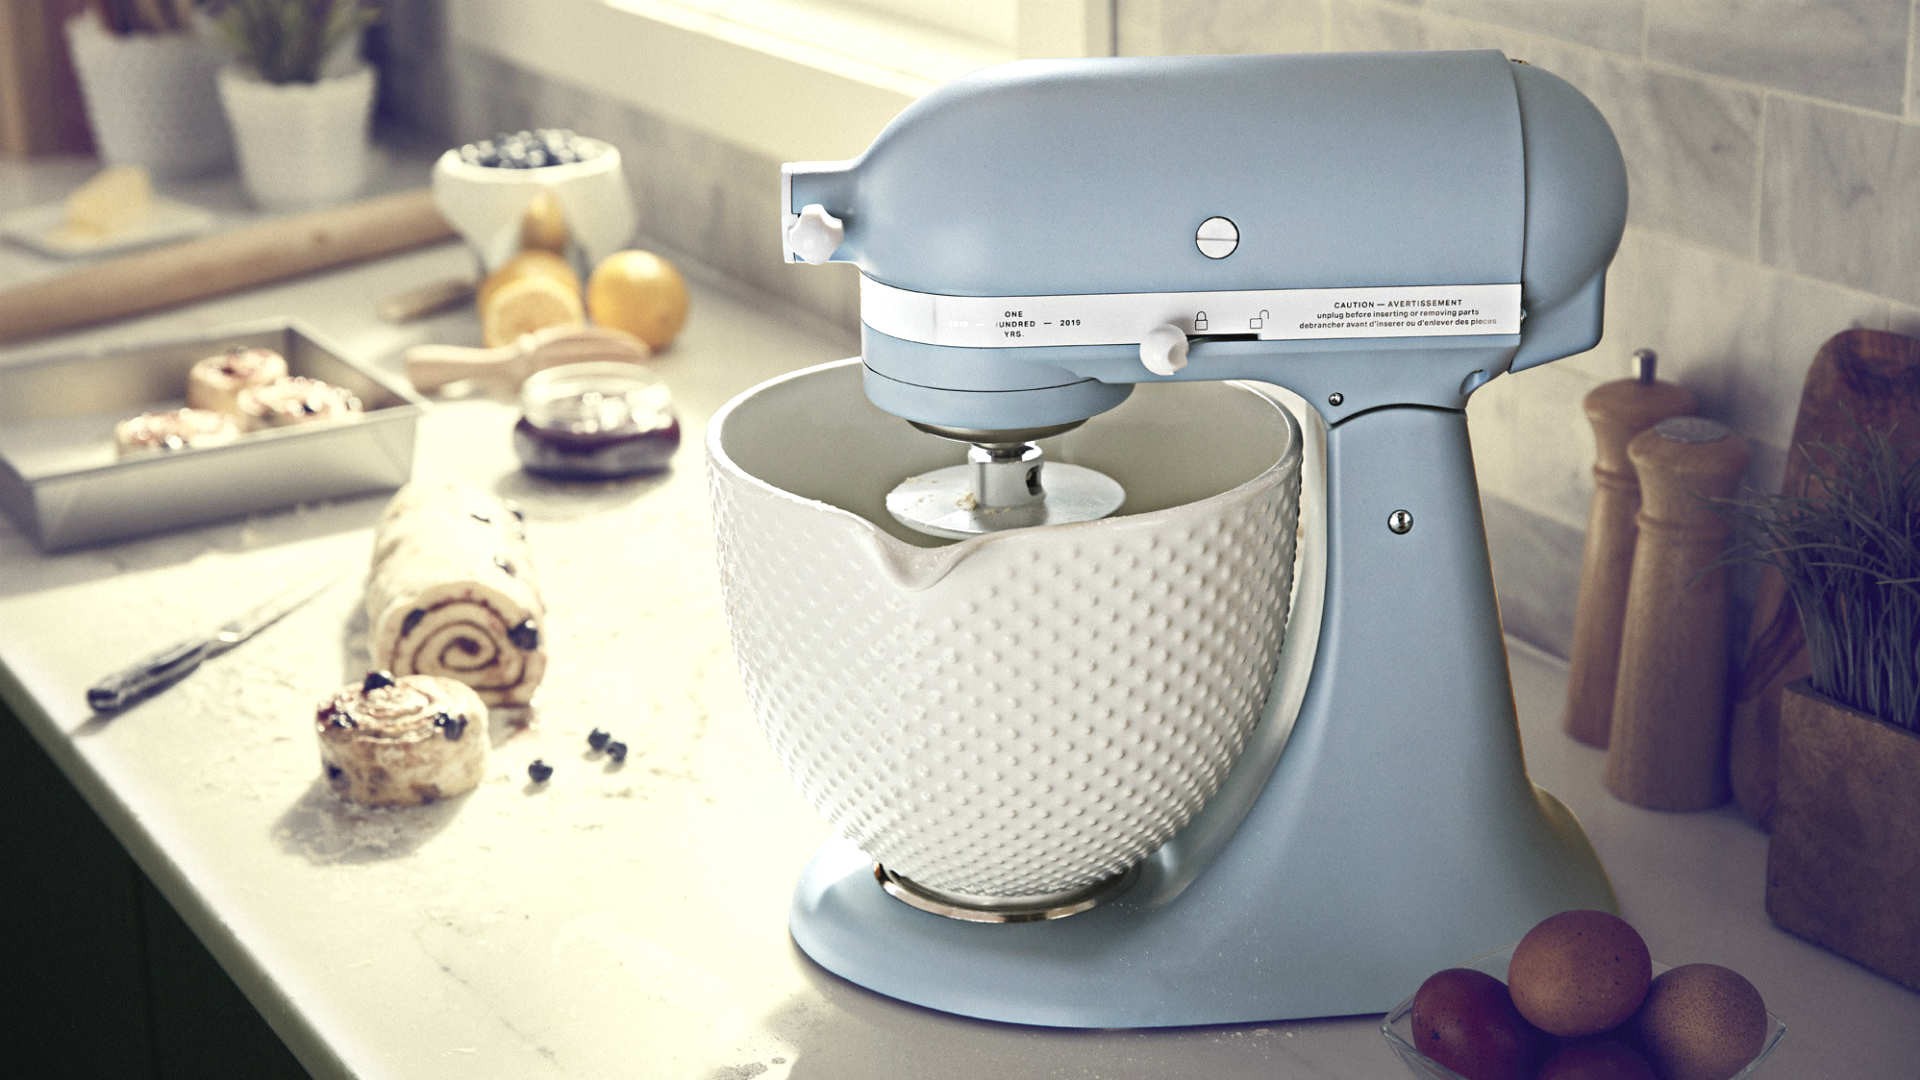
- Maintain the coating: Depending on the type of bowl you have, it may have a nonstick or ceramic coating. Follow the manufacturer’s instructions for cleaning and maintenance to ensure the longevity of the coating.
- Inspect for damage: Regularly inspect the bowl for any signs of wear, cracks, or damage. If you notice any issues, contact the Kitchenaid customer service or consult a professional for assistance.
By following these cleaning and maintenance tips, you can keep your Kitchenaid mixer bowl in great condition, ensuring consistent performance and longevity.
Once you have cleaned and inspected the bowl, you can move on to the next step: reattaching the bowl to the Kitchenaid mixer.
Step 8: Reattaching the bowl to the Kitchenaid mixer
After cleaning and maintaining your Kitchenaid mixer bowl, it’s time to reattach it to the mixer so you can continue creating delicious recipes. Follow these steps to securely reattach the bowl:
- Hold the bowl with one hand, ensuring a firm grip on the handle.
- With the other hand, position the bowl on the mixer base, aligning the bowl base with the corresponding slots on the mixer.
- Lower the bowl onto the base, making sure it fits snugly into place.
- Rotate the bowl slightly in either direction to engage the locking mechanism. You should feel a click or a slight locking indication.
- Once the bowl is securely attached, give it a gentle tug to confirm that it is locked in place.
It’s essential to ensure that the bowl is properly attached before using the mixer. A securely attached bowl prevents any accidents or mishaps while the mixer is in operation.
Now that the bowl is reattached to the Kitchenaid mixer, you are ready to plug the mixer back in and continue using it for your culinary adventures!
Remember, always refer to your user manual or the manufacturer’s instructions for specific guidance on reattaching the bowl to your particular model of Kitchenaid mixer.
Congratulations! You have successfully learned how to remove and reattach the bowl from your Kitchenaid mixer. With this knowledge, you can confidently maintain and clean your mixer, ensuring its longevity and optimal performance.
Happy mixing and baking!
Read more: How To Remove Kitchenaid Mixer Attachment
Conclusion
Removing the bowl from your Kitchenaid mixer may seem like a daunting task at first, but by following the step-by-step process outlined in this article, you can easily and safely remove and reattach the bowl as needed. Whether it’s for cleaning, maintenance, or storage purposes, knowing how to remove the bowl allows you to effectively care for your Kitchenaid mixer.
Remember to gather the necessary tools, including a clean cloth or towel, a small brush for cleaning, and warm soapy water. Unplug the mixer before starting the process to ensure your safety. Tilt the mixer head back, locate the bowl release lever, and release the bowl from the mixer base by pushing the lever away from you. Lift the bowl off the mixer with care, ensuring a firm grip and no sudden movements.
After removing the bowl, take the time to clean it thoroughly with warm soapy water, avoiding abrasive cleaners or tools that may damage the surface. Dry the bowl completely to prevent rust or damage. Inspect the bowl for any signs of wear or damage and address them promptly.
To reattach the bowl, hold it with one hand and align the bowl base with the slots on the mixer. Lower the bowl onto the base, rotate it slightly to engage the locking mechanism, and give it a gentle tug to confirm that it is securely attached.
By following these steps, you can confidently remove and reattach the bowl from your Kitchenaid mixer, ensuring its longevity and optimal performance. Regular maintenance and cleaning will not only keep your mixer in great condition but also contribute to the success of your culinary creations.
Remember to consult your user manual or the manufacturer’s instructions for any specific guidance related to your model of Kitchenaid mixer. With these skills and knowledge in hand, you are ready to embark on your next culinary adventure with your trusty Kitchenaid mixer by your side.
Frequently Asked Questions about How To Remove The Bowl From Kitchenaid Mixer
Was this page helpful?
At Storables.com, we guarantee accurate and reliable information. Our content, validated by Expert Board Contributors, is crafted following stringent Editorial Policies. We're committed to providing you with well-researched, expert-backed insights for all your informational needs.


0 thoughts on “How To Remove The Bowl From Kitchenaid Mixer”