Home>Articles>How To Remove Pods From Lavazza Coffee Machine
Articles
How To Remove Pods From Lavazza Coffee Machine
Modified: May 6, 2024
Learn how to remove pods from your Lavazza coffee machine with our step-by-step guide. Read more articles for useful tips and tricks.
(Many of the links in this article redirect to a specific reviewed product. Your purchase of these products through affiliate links helps to generate commission for Storables.com, at no extra cost. Learn more)
Introduction
Welcome to the ultimate guide on how to remove pods from your Lavazza coffee machine. Whether you’re a coffee enthusiast or a casual coffee drinker, knowing how to properly remove the used pods from your machine is essential for ensuring a clean and efficient brewing process. In this article, we will guide you through each step of the process, along with some important safety precautions to keep in mind.
Using coffee pods or capsules is a convenient and mess-free way to enjoy a delicious cup of coffee. Lavazza, a renowned Italian coffee company, offers a wide range of coffee machines that are compatible with their specially designed pods. However, as with any brewing process, it is important to practice proper maintenance and cleaning to keep your coffee machine in optimal condition.
Removing the pods from your Lavazza coffee machine involves a few simple steps, but it is crucial to follow them correctly to avoid any accidents or damage to the machine. By taking the time to properly remove the used pods and clean the machine, you can ensure a great tasting cup of coffee every time.
To begin, let’s go over some important safety precautions before we proceed with the pod removal process. It’s always better to be safe than sorry!
Key Takeaways:
- Safely remove pods from your Lavazza coffee machine by following step-by-step instructions and essential safety precautions. Proper maintenance ensures a clean and efficient brewing process, leading to a great tasting cup of coffee every time.
- Dispose of used pods responsibly, clean the pod basket, and reassemble your Lavazza coffee machine for a flawless brewing experience. Prioritize safety and maintenance to enjoy the full flavor and aroma of your favorite coffee blends.
Read more: How To Use Lavazza Coffee Machine
Safety Precautions
Before you begin the process of removing the pods from your Lavazza coffee machine, it is important to ensure your safety and the safety of the machine. Here are some essential safety precautions to keep in mind:
- Switch off the machine: Before you start handling the coffee machine, make sure that it is completely powered off and disconnected from the electrical outlet. This will prevent any accidental burns or electric shocks.
- Allow the machine to cool down: Give your coffee machine some time to cool down before attempting to remove the pods. Coffee machines can get hot during the brewing process, and handling hot surfaces can cause burns.
- Use oven mitts or gloves: To protect your hands from any hot surfaces, it is recommended to wear oven mitts or heat-resistant gloves. This will minimize the risk of burns while handling the machine.
- Read the manufacturer’s instructions: Every Lavazza coffee machine comes with a user manual that provides specific guidelines for pod removal and maintenance. Take the time to read and understand the instructions before proceeding.
- Be cautious of steam: When opening the lid or top cover of the coffee machine, be mindful of any escaping steam. Steam can cause burns if it comes into contact with your skin. Open the lid slowly and at a safe distance.
- Avoid using force: Do not use excessive force when removing the pod basket or any other components of the coffee machine. If you encounter resistance, carefully check for any obstructions or misalignments before proceeding.
- Keep children and pets away: During the pod removal process, it is important to keep children and pets away from the machine. Hot surfaces and moving parts can pose a risk to their safety. Ensure a safe environment before proceeding.
- Unplug the machine for maintenance: If you need to perform any maintenance or cleaning tasks beyond pod removal, always unplug the coffee machine from the electrical outlet. This will prevent any accidental injuries from occurring.
By following these safety precautions, you can minimize the risk of accidents and ensure a safe and smooth pod removal process. Now that we’ve covered the safety guidelines, let’s dive into the step-by-step process of removing the pods from your Lavazza coffee machine.
Step 1: Power off the Lavazza Coffee Machine
The first step in removing pods from your Lavazza coffee machine is to ensure that the machine is completely powered off and disconnected from the electrical outlet. This is important for your safety and the protection of the machine.
To power off the machine, locate the power button or switch, usually located on the side or back of the coffee machine. Press the power button or switch to turn off the machine. Verify that the machine is no longer displaying any lights or indicators that indicate it is in operation.
Next, unplug the coffee machine from the electrical outlet. This will prevent any accidental start-ups or electrical hazards while you are handling the machine.
It is important to note that some Lavazza coffee machines may have different power-off procedures. Refer to your machine’s user manual for specific instructions on how to power off your particular model.
Once you have successfully powered off and unplugged the coffee machine, you can proceed to the next step of the pod removal process.
Remember, always prioritize safety when working with electrical appliances. Double-check that the machine is completely powered off and disconnected before proceeding with the pod removal process. Safety should always be the top priority.
Step 2: Open the Lid or Top Cover
With the Lavazza coffee machine powered off and unplugged, it’s time to open the lid or top cover of the machine. This will give you access to the pod basket and allow you to remove the used pods.
The location and method of opening the lid or top cover may vary depending on the model of your Lavazza coffee machine. In most cases, there will be a latch or release mechanism that needs to be activated to open the lid or top cover.
Refer to your machine’s user manual for specific instructions on how to open the lid or top cover of your particular model. It is important to follow the manufacturer’s guidelines to avoid damaging the machine during this step.
Once you have located the latch or release mechanism, use your fingers or a tool, if necessary, to open the lid or top cover. Take caution as you lift the lid, as there might be hot surfaces or steam inside the machine. Open the lid slowly and at a safe distance from your face and hands.
When the lid or top cover is fully open, you will have a clear view of the pod basket and the used pods inside it. The pod basket is the component that holds the pods during the brewing process. It is usually located in the center or front of the machine.
Now that you have successfully opened the lid or top cover of your Lavazza coffee machine, you are ready to proceed to the next step of the pod removal process.
Remember to be cautious when opening the lid or top cover, and always refer to the manufacturer’s instructions for your specific Lavazza coffee machine model.
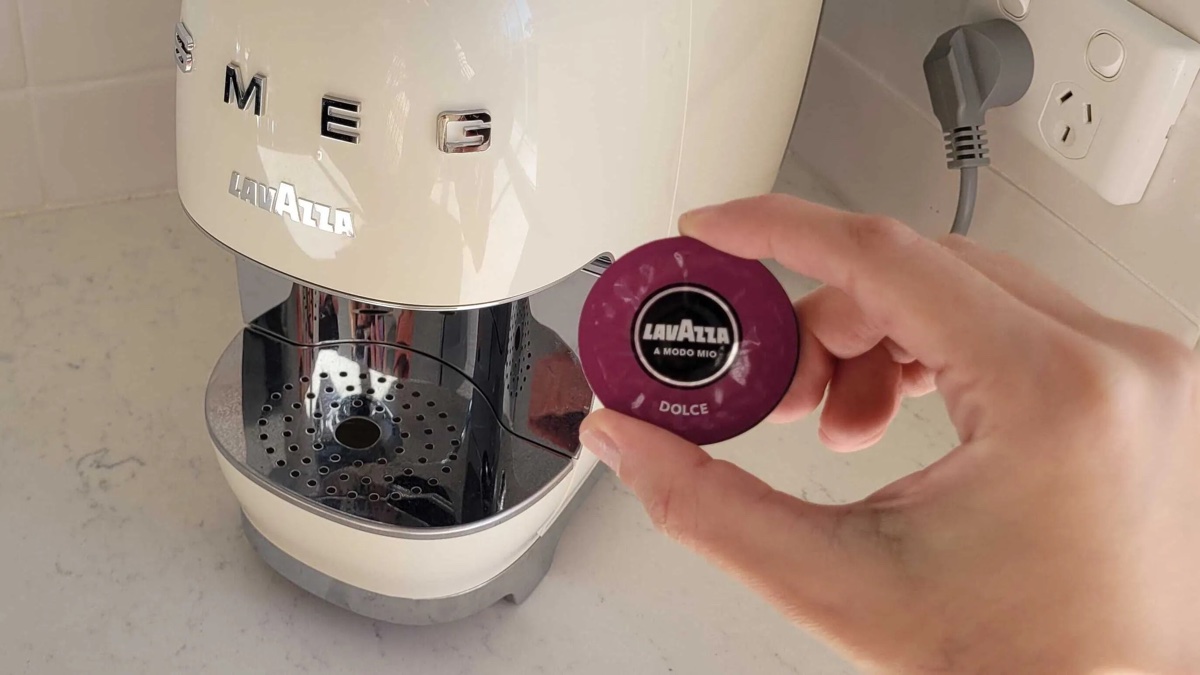
Step 3: Locate and Remove the Used Pod Basket
Now that you have opened the lid or top cover of your Lavazza coffee machine, it’s time to locate and remove the used pod basket. The pod basket is the component that holds the used pods after brewing.
Take a moment to locate the pod basket inside the machine. It is usually located in the center or front of the machine, directly under where the water is heated and dispensed.
Once you have located the pod basket, you can proceed to remove it. Depending on your specific Lavazza coffee machine model, there may be different methods for removing the pod basket.
In some machines, the pod basket may be secured with a latch or locking mechanism. To remove the basket, release the latch or unlock the mechanism using your fingers or a tool, if necessary.
In other machines, the pod basket may simply require a gentle pull or twist to detach it from the machine. Carefully grip the pod basket and pull it towards you to remove it from its housing.
As you remove the used pod basket, be cautious of any hot surfaces or residual steam that may be present. Use oven mitts or heat-resistant gloves to protect your hands.
Once you have successfully removed the pod basket, you will have the used pods in your hand. These pods can now be properly disposed of, which we will cover in the next step.
Remember to handle the pod basket with care and follow the specific instructions for your Lavazza coffee machine model when removing it. Now that you have removed the pod basket, let’s move on to the next step.
To remove pods from a Lavazza coffee machine, open the pod compartment and gently lift the used pod out. Dispose of the pod properly and close the compartment before brewing another cup.
Read more: How To Use Coffee Machine With Pods
Step 4: Dispose of the Used Pods Properly
Now that you have removed the used pod basket from your Lavazza coffee machine, it’s time to properly dispose of the used pods. It is important to dispose of them responsibly and in an environmentally-friendly manner.
The used coffee pods can be quite hot after brewing, so it is recommended to allow them to cool down for a few minutes before handling them. This will prevent any burns or injuries.
Once the pods have cooled down, there are a few different ways you can dispose of them. Here are some options:
- Recycling: Check if the coffee pods are recyclable in your area. Lavazza offers certain recycling programs that allow you to send back used coffee pods for recycling. Alternatively, some recycling facilities accept aluminum or plastic coffee pods.
- Composting: If the coffee pods are made from biodegradable materials, such as compostable coffee pods, you can add them to your compost pile. They will break down and contribute to the nutrient-rich soil.
- Landfill: If recycling or composting options are not available, you can dispose of the coffee pods in the regular trash. Make sure to separate the coffee grounds from the pods, as the grounds can be used for other purposes, such as fertilizer or composting.
Remember to check the packaging of your coffee pods to determine if they are recyclable or compostable. Some Lavazza coffee pods are designed to be eco-friendly and can be disposed of in a more sustainable way.
It is worth noting that there are also reusable coffee pods available on the market that can be filled with your choice of ground coffee. These pods offer a more sustainable option as they can be used multiple times, eliminating the need for single-use pods.
By properly disposing of your used coffee pods, you are contributing to environmental preservation and reducing waste. Now that you have disposed of the pods, let’s move on to the next step of the pod removal process.
Step 5: Clean the Pod Basket and Surrounding Area
Cleaning the pod basket and the surrounding area of your Lavazza coffee machine is an important step in maintaining hygiene and ensuring the best possible brewing experience. By regularly cleaning these components, you can prevent the buildup of coffee residue and maintain the optimal flavor of your coffee.
To clean the pod basket and surrounding area, follow these steps:
- Remove any remaining coffee grounds: Before cleaning, make sure to remove any remaining coffee grounds or debris from the pod basket. You can use a spoon or brush to easily remove them.
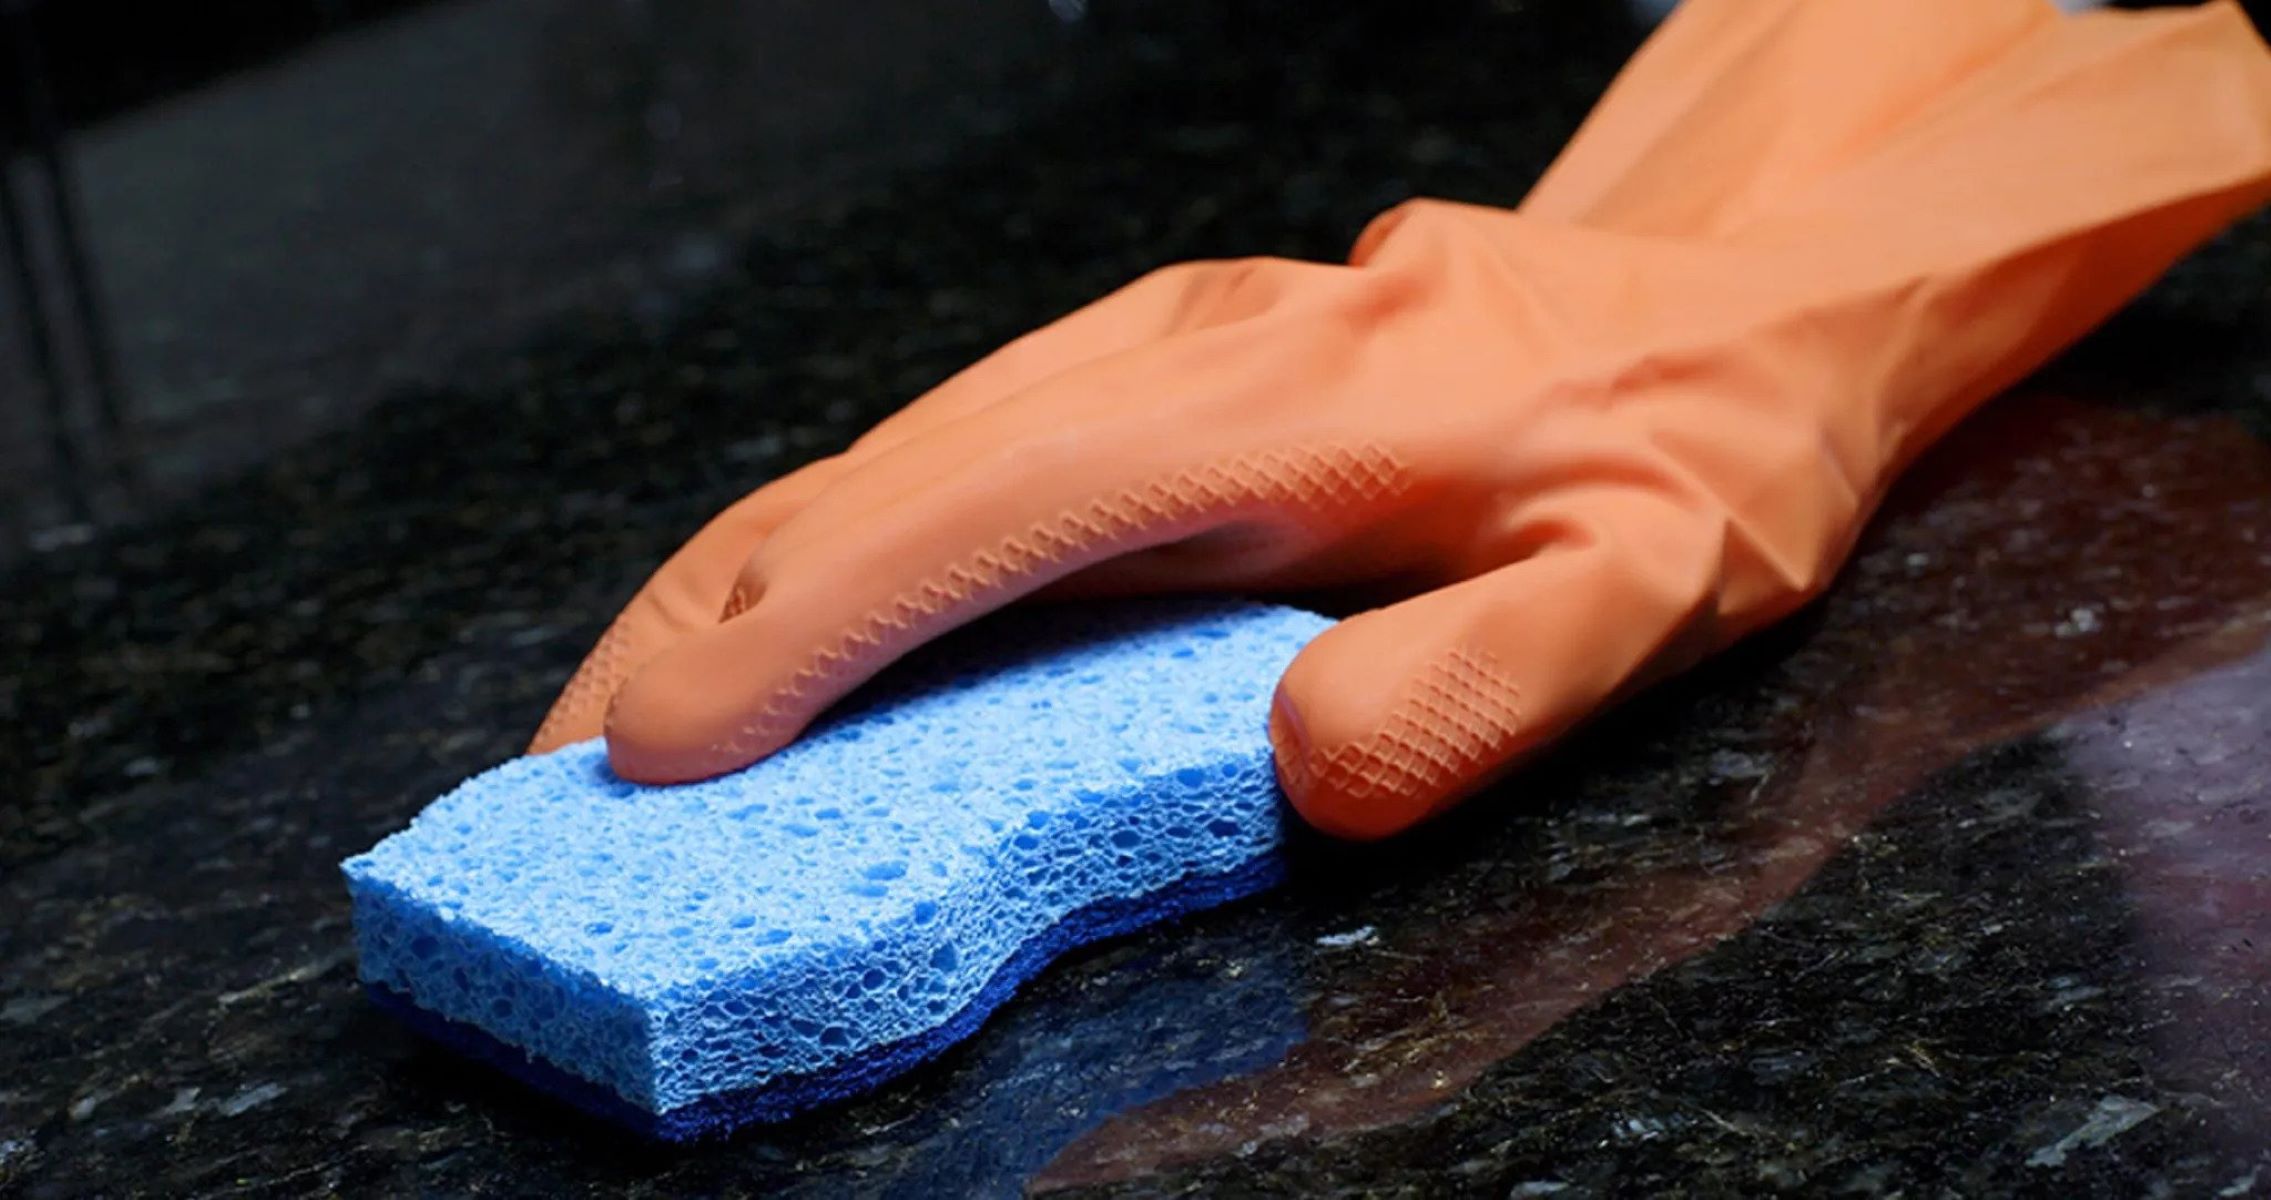
- Wash the pod basket: Fill a sink or basin with warm soapy water. Submerge the pod basket in the water and gently scrub it with a soft sponge or brush. Pay attention to any hard-to-reach areas or crevices. Rinse the basket thoroughly with clean water to remove any soap residue.
- Wipe the surrounding area: Use a damp cloth or sponge to wipe the surrounding area where the pod basket is placed. This includes the sides and bottom of the machine. Pay attention to any spills or stains that may have occurred during the brewing process.
- Dry the pod basket and surrounding area: After cleaning, make sure to dry the pod basket and surrounding area completely. This will prevent any water residue or moisture buildup that can lead to mold or odors. Use a clean towel or allow them to air dry naturally.
- Reassemble the coffee machine: Once the pod basket and the surrounding area are clean and dry, you can reassemble the coffee machine. Make sure that the pod basket is securely placed back into its housing and aligned properly.
By regularly cleaning the pod basket and surrounding area, you can maintain the cleanliness and functionality of your Lavazza coffee machine. This will result in a better-tasting cup of coffee and a longer lifespan for your machine.
Now that you have cleaned the pod basket and surrounding area, let’s move on to the next step of the pod removal process.
Step 6: Reassemble the Coffee Machine
Now that you have cleaned the pod basket and the surrounding area of your Lavazza coffee machine, it’s time to reassemble the machine. Properly reassembling the coffee machine is essential to ensure its smooth operation and brewing functionality.
To reassemble the coffee machine, follow these steps:
- Ensure the pod basket is dry: Before reassembling, double-check that the pod basket is completely dry. Excess moisture can affect the quality of your coffee and potentially damage the machine.
- Align the pod basket: Place the pod basket back into its housing, ensuring that it is properly aligned and seated securely. It should fit snugly into its designated spot, without any gaps or loose connections.
- Close the lid or top cover: After the pod basket is reassembled, close the lid or top cover of the coffee machine. Make sure it is aligned properly and securely closed. This will prevent any coffee grounds or spillage during the brewing process.
- Double-check the machine’s components: Take a moment to inspect the machine to ensure that all components are in their correct positions. This includes any accessory trays, filters, or water reservoirs. Confirm that everything is in place and properly fitted.
By following these steps and reassembling the coffee machine correctly, you can ensure that it functions properly and brews your coffee to perfection.
Now that the coffee machine is properly reassembled, it’s time to move on to the final step of the pod removal process.
Step 7: Power on the Lavazza Coffee Machine
After reassembling the coffee machine, the final step is to power it back on and get ready to brew a fresh cup of coffee. Powering on the Lavazza coffee machine is an essential step to ensure that it is ready for use.
To power on the coffee machine, follow these steps:
- Ensure the machine is securely plugged in: Double-check that the coffee machine is properly plugged into a power outlet and that the power cord is not damaged. Make sure there are no loose connections that could pose a safety risk.
- Press the power button or switch: Locate the power button or switch, which is typically located on the side or back of the machine. Press the button or flip the switch to turn on the coffee machine. You should see indicators or lights that indicate the machine is powered on.
- Allow the machine to heat up: Once the coffee machine is powered on, it will begin the heating process. This may take a few minutes, depending on your specific Lavazza coffee machine model. Pay attention to any indicators that signal the machine is ready for brewing.
- Verify the readiness: Refer to your machine’s user manual to confirm the proper indicators or signs that indicate the machine is ready for use. This may include a specific light or symbol that signals it is warmed up and ready to brew.
Once the coffee machine is powered on and heated up, it is ready for you to brew your next cup of delicious Lavazza coffee. Follow the brewing instructions specific to your Lavazza coffee machine, such as selecting the desired coffee strength or size, and enjoy a fresh and flavorful cup of coffee.
Now that you have successfully powered on the Lavazza coffee machine, you have completed the final step of the pod removal process. Happy brewing!
Conclusion
Congratulations! You have successfully learned how to remove pods from your Lavazza coffee machine. By following the step-by-step process and safety precautions outlined in this guide, you can ensure a clean and efficient pod removal process, leading to a better brewing experience and a great tasting cup of coffee.
Remember, always prioritize safety by powering off the coffee machine and unplugging it before removing the pods. Take caution when opening the lid or top cover to avoid any steam or hot surfaces. Dispose of the used pods responsibly, considering recycling or composting options if available.
Cleaning the pod basket and the surrounding area is crucial for maintaining hygiene and the optimal functionality of your coffee machine. Ensure proper reassembly of the machine by aligning the pod basket and securely closing the lid or top cover. Lastly, power on the coffee machine and wait for it to heat up before brewing your next delicious cup of coffee.
By practicing these pod removal techniques and regularly cleaning and maintaining your Lavazza coffee machine, you can enjoy the full flavor and aroma of your favorite coffee blends. Now, go ahead and savor every sip of that perfect cup of coffee!
Now that you've mastered removing pods from your Lavazza coffee machine, keeping that device in top shape is next on the agenda. Regular maintenance not only ensures the best tasting brews but also extends the lifespan of your equipment. Dive into our comprehensive guide on keeping your coffee maker pristine. You'll discover practical tips for daily upkeep and deep cleaning that will keep your machine running smoothly. So, what are you waiting for? Get started today and enjoy flawless coffee every time!
Frequently Asked Questions about How To Remove Pods From Lavazza Coffee Machine
Was this page helpful?
At Storables.com, we guarantee accurate and reliable information. Our content, validated by Expert Board Contributors, is crafted following stringent Editorial Policies. We're committed to providing you with well-researched, expert-backed insights for all your informational needs.


0 thoughts on “How To Remove Pods From Lavazza Coffee Machine”