Home>Home Appliances>Laundry Appliances>How To Remove The Agitator From A Maytag Washing Machine
Laundry Appliances
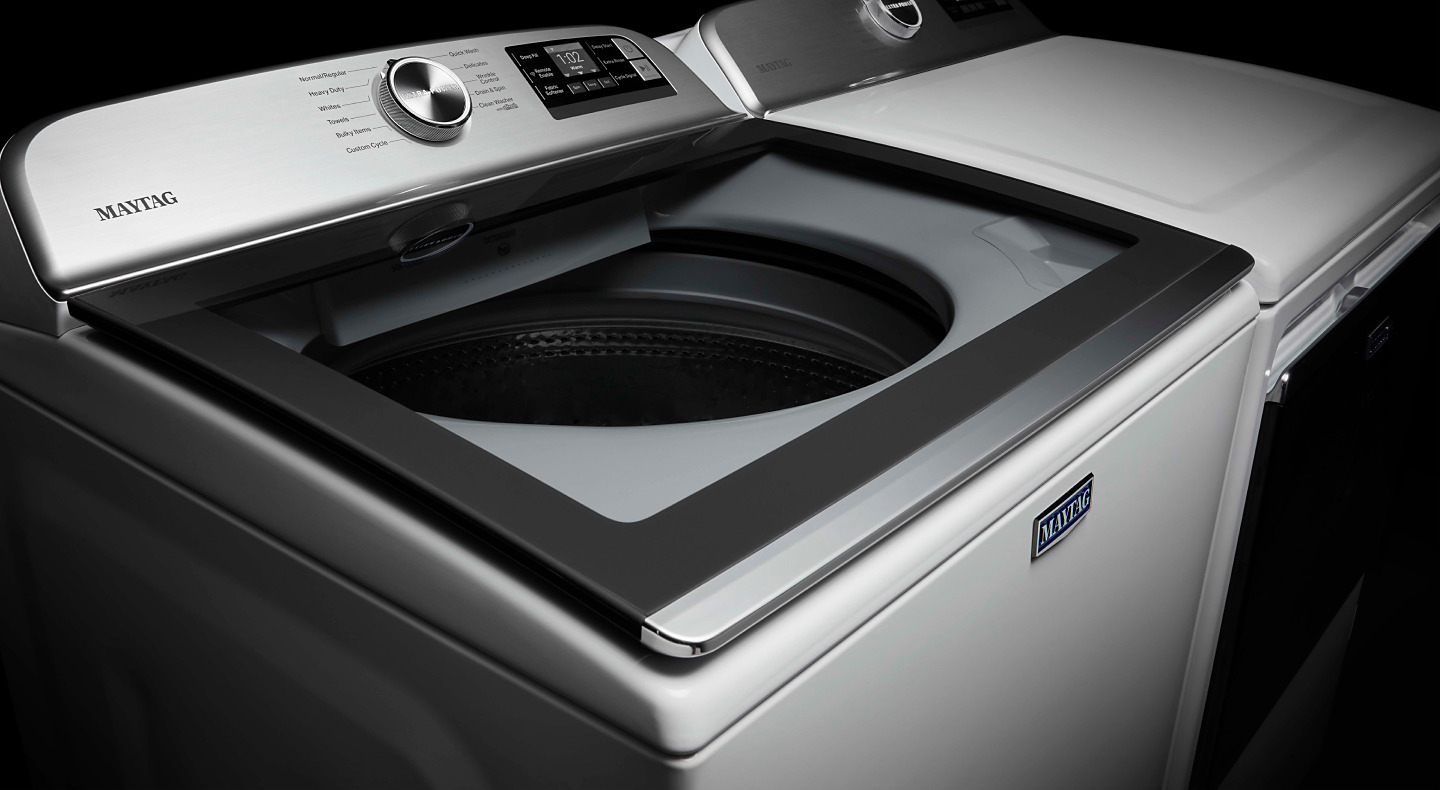
How To Remove The Agitator From A Maytag Washing Machine
Modified: August 27, 2024
Learn how to easily remove the agitator from your Maytag washing machine with our step-by-step guide. Keep your laundry appliances in top condition with our expert tips.
(Many of the links in this article redirect to a specific reviewed product. Your purchase of these products through affiliate links helps to generate commission for Storables.com, at no extra cost. Learn more)
Introduction
Removing the agitator from a Maytag washing machine may become necessary to address various issues such as cleaning, maintenance, or repair. The agitator, a vital component responsible for the tumbling and scrubbing action within the washer, can accumulate dirt, lint, or other debris over time, affecting its performance. By understanding the process of removing the agitator, you can effectively maintain and troubleshoot your Maytag washing machine, ensuring optimal functionality and longevity.
Whether you are a seasoned DIY enthusiast or a novice looking to delve into appliance maintenance, this guide will walk you through the step-by-step process of removing the agitator from your Maytag washing machine. With the right tools, a methodical approach, and a willingness to get your hands a little dirty, you can successfully complete this task and keep your washing machine in top condition.
In the following sections, we will outline the tools and materials you will need, as well as the detailed steps to remove the agitator from your Maytag washing machine. By following these instructions, you can gain a deeper understanding of your appliance and feel empowered to tackle maintenance tasks with confidence. Let's dive into the process and equip ourselves with the knowledge and skills to maintain our Maytag washing machines effectively.
Key Takeaways:
- Removing the agitator from a Maytag washing machine is essential for keeping it clean and working well. With the right tools and careful steps, you can maintain your washer and make it last longer.
- By following the step-by-step guide, you can confidently remove the agitator, clean the machine, and address any issues. This empowers you to take care of your Maytag washer and ensure it runs smoothly.
Read more: Maytag Washer How To Remove Agitator
Tools and Materials Needed
Before embarking on the process of removing the agitator from your Maytag washing machine, it's essential to gather the necessary tools and materials. Having the right equipment at your disposal will streamline the task and ensure a smooth and efficient removal process. Here's a comprehensive list of the tools and materials you'll need:
Tools:
- Socket Wrench: A socket wrench with an extension will be indispensable for accessing and loosening the agitator bolt located beneath the agitator cap.
- Flathead Screwdriver: This tool will aid in prying off the agitator cap, providing access to the agitator bolt.
- Pliers: Pliers will come in handy for gripping and maneuvering various components during the agitator removal process.
- Bucket: Keep a bucket or container nearby to store small components such as the agitator bolt and cap, preventing them from getting misplaced.
- Cleaning Brush: A small cleaning brush or toothbrush can be used to remove any accumulated debris or grime from the agitator and its components.
Materials:
- Protective Gloves: It's advisable to wear protective gloves to shield your hands from sharp edges and potential dirt or grime within the washing machine.
- Cleaning Solution: Prepare a mild cleaning solution, such as a mixture of water and mild detergent, to clean the agitator and its surrounding components once removed.
- Soft Cloth: Have a soft cloth or rag on hand to wipe down the agitator and interior of the washing machine after the removal process.
- Replacement Parts (Optional): Depending on the maintenance or repair needs of your washing machine, you may require replacement agitator components. It's helpful to have these on standby if necessary.
By ensuring that you have these tools and materials readily available, you can approach the agitator removal process with confidence and preparedness. With everything in place, you'll be well-equipped to navigate each step of the removal procedure, maintaining the efficiency and functionality of your Maytag washing machine.
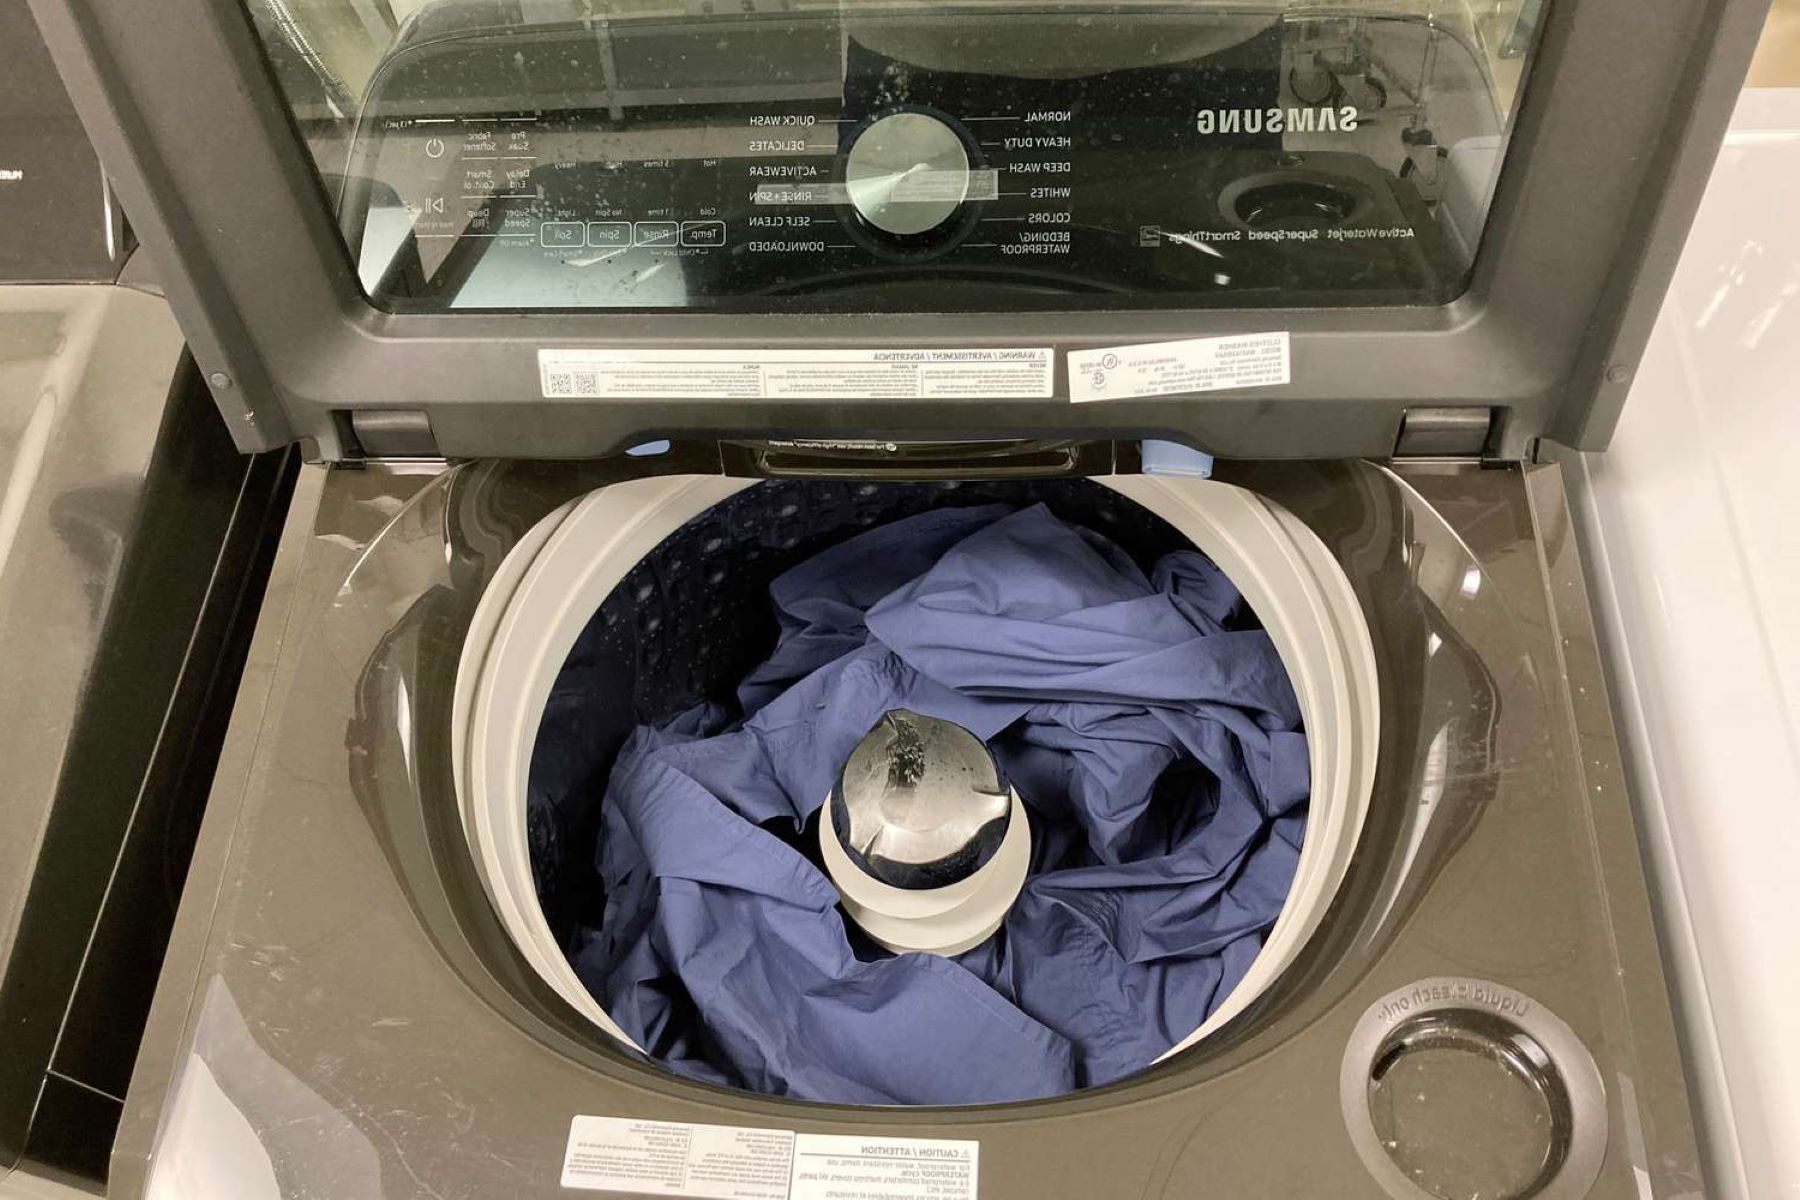
Step 1: Prepare the Washing Machine
Before delving into the process of removing the agitator from your Maytag washing machine, it's crucial to prepare the appliance to ensure a safe and efficient removal procedure. Proper preparation will not only facilitate access to the agitator but also minimize the risk of damage to the washing machine's components. Here's a detailed breakdown of the essential steps to prepare the washing machine for agitator removal:
-
Unplug the Washing Machine: Begin by unplugging the Maytag washing machine from the power source to eliminate the risk of electrical shock during the removal process. Safety should always be a top priority when working on any appliance, and disconnecting the power supply is a fundamental precaution.
-
Clear the Surrounding Area: Create a clear and unobstructed workspace around the washing machine. Remove any nearby objects or obstacles that may hinder your access to the agitator or impede your movement during the removal process. This will provide ample space to maneuver and carry out the necessary steps effectively.
-
Open the Washer Lid: Lift the lid of the washing machine to gain access to the agitator and its surrounding components. Keeping the lid open will allow for better visibility and ease of reach as you progress through the removal steps.
-
Inspect for Damage or Wear: Take a moment to visually inspect the agitator and its components for any signs of damage, wear, or excessive buildup of debris. This initial assessment can provide valuable insights into the condition of the agitator, guiding you on whether additional maintenance or replacement may be necessary.
-
Secure Small Components: If there are any loose items or small components within the washing machine, such as coins or buttons, remove them to prevent interference during the agitator removal process. Ensuring that the interior of the washer is free from obstructions will contribute to a smooth and hassle-free removal experience.
By meticulously preparing the washing machine using these steps, you establish a solid foundation for the subsequent stages of agitator removal. This thoughtful preparation sets the stage for a successful and efficient removal process, allowing you to address maintenance or repair needs with confidence and precision.
Read more: How To Remove Agitator From Ge Washer
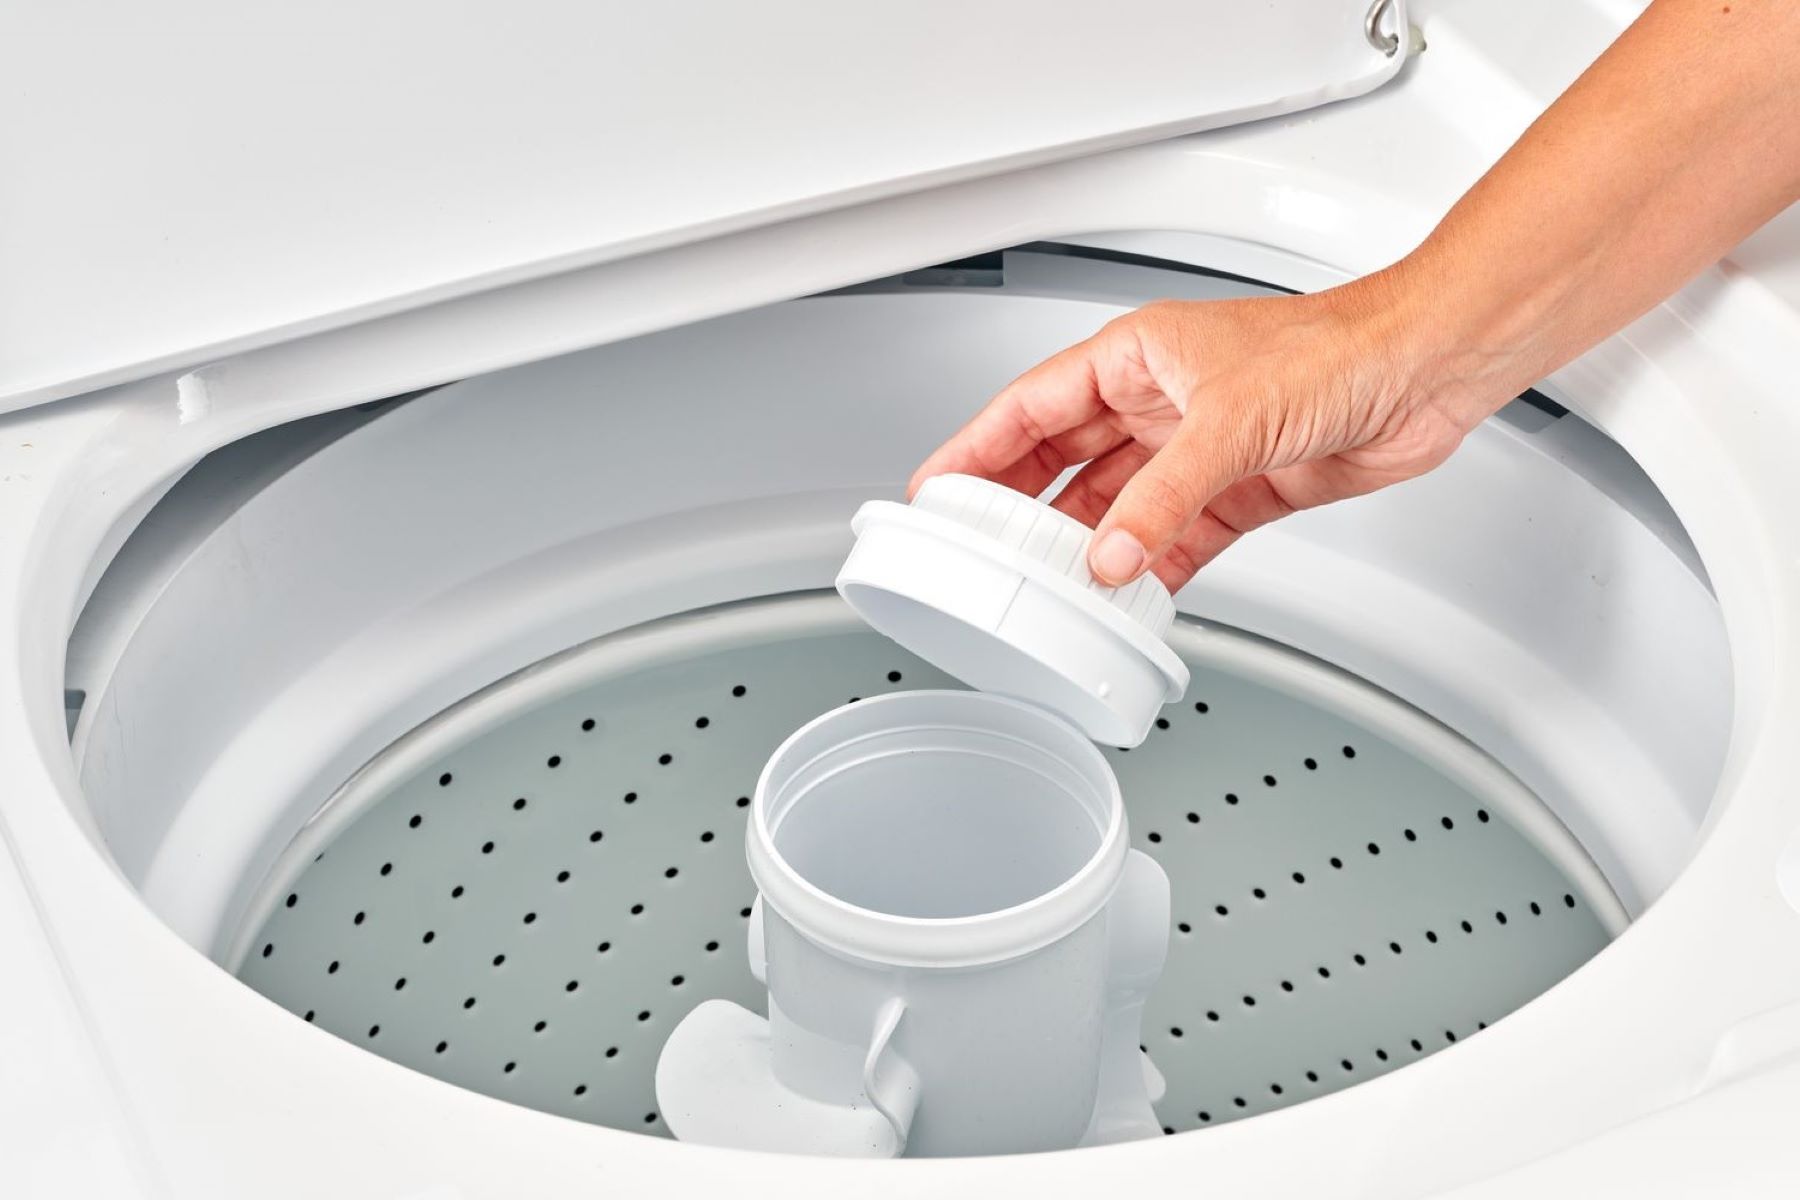
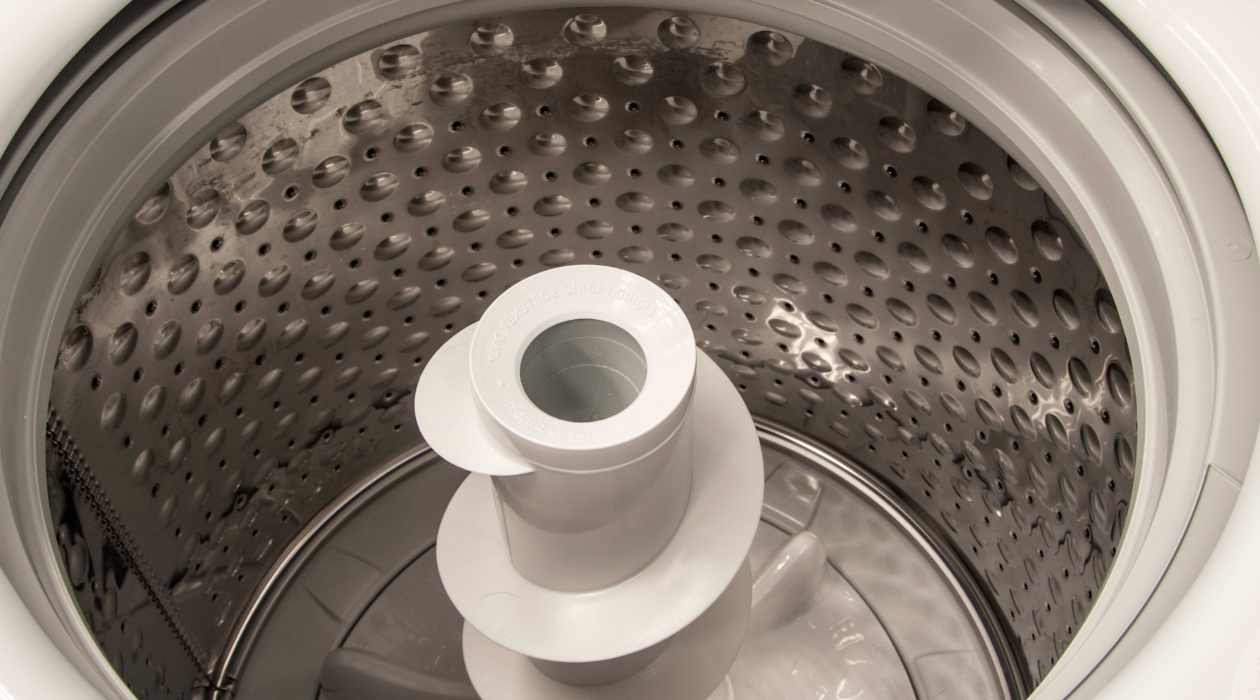
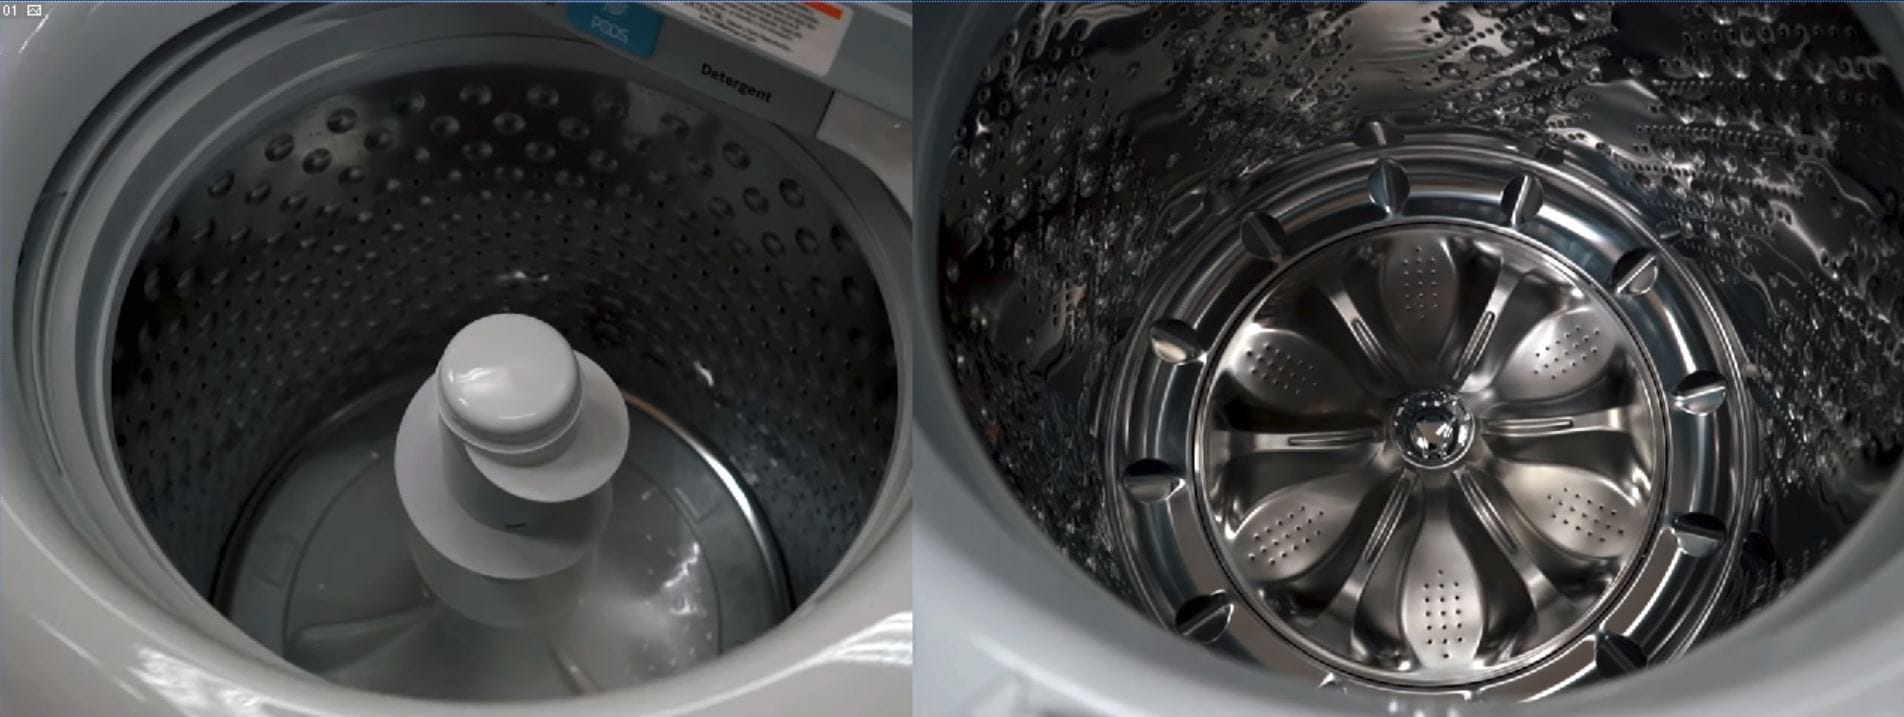
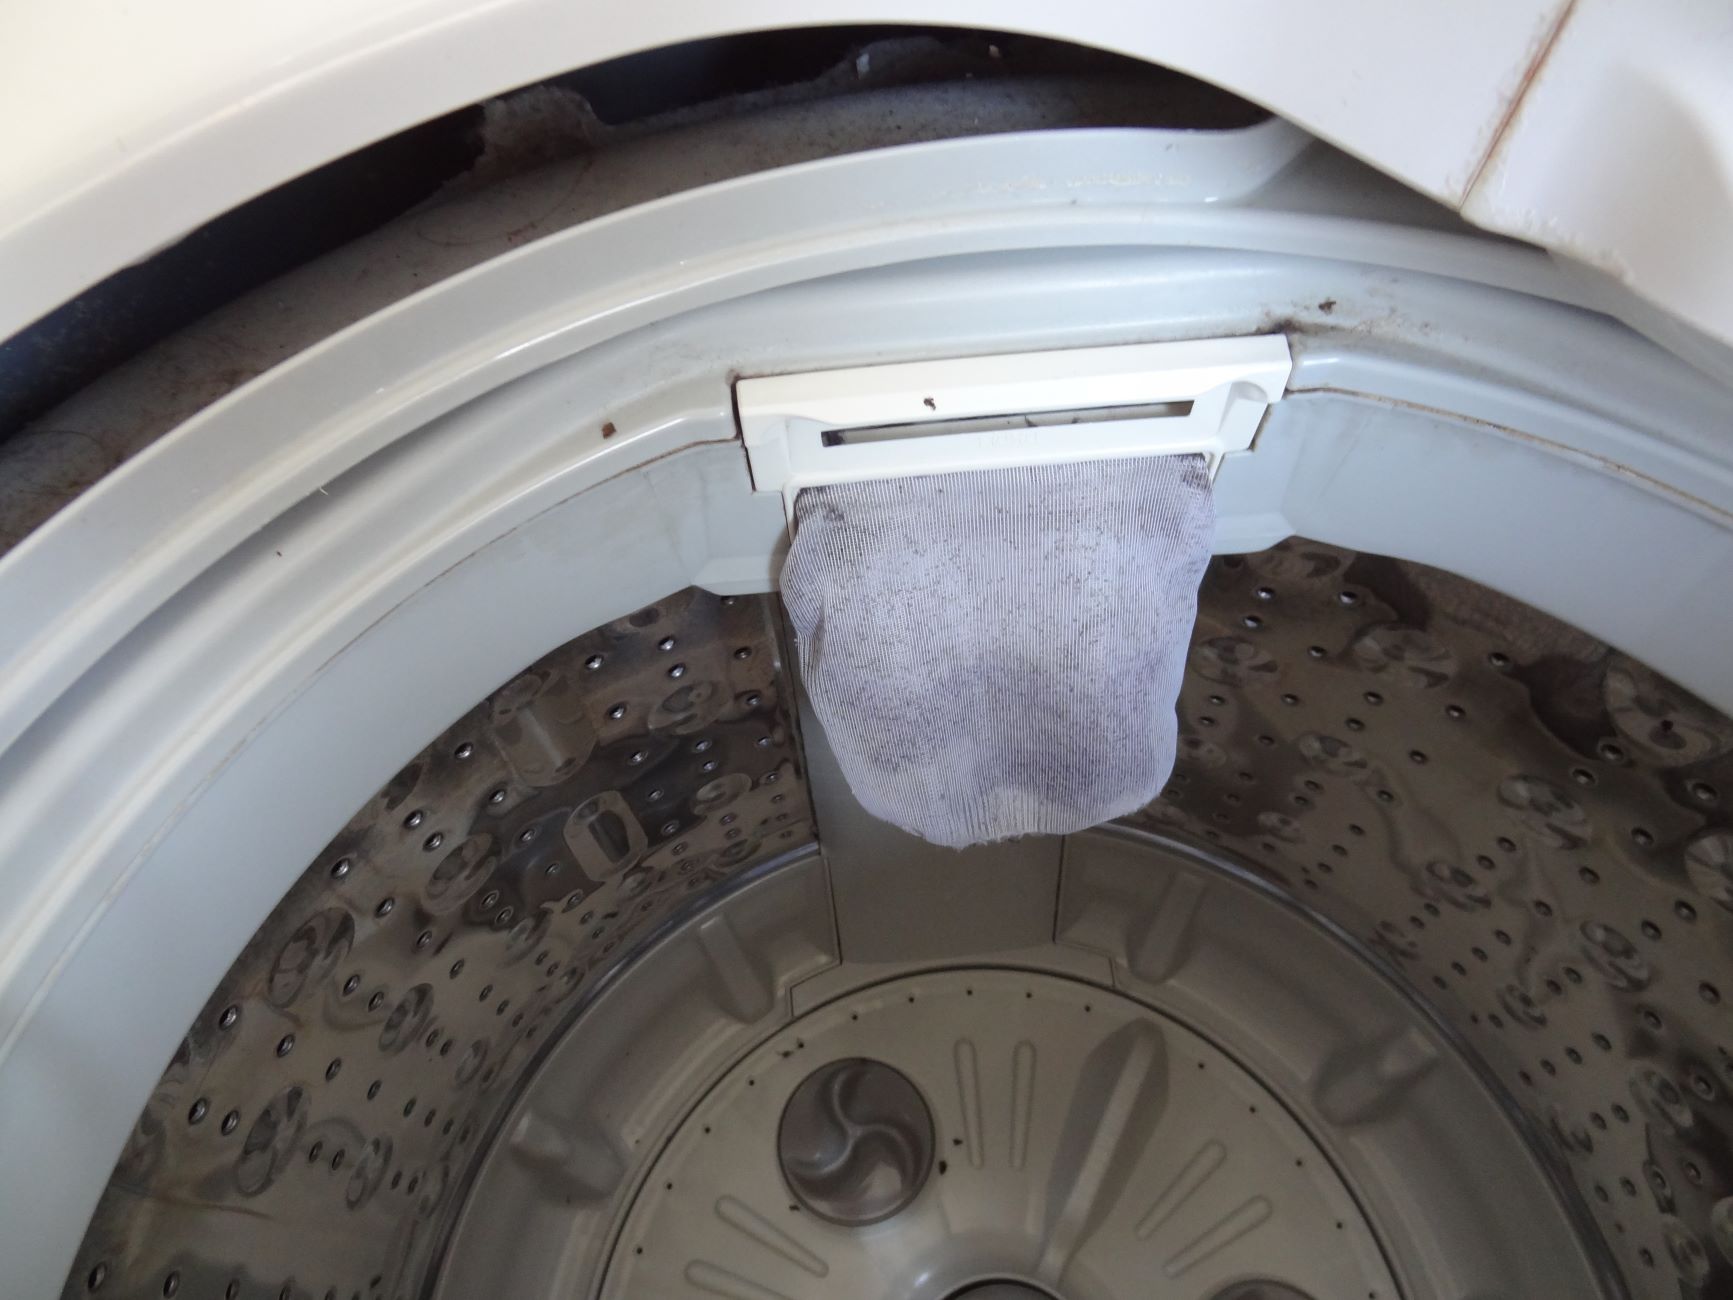
Step 2: Remove the Fabric Softener Dispenser
The fabric softener dispenser, a common feature in many washing machines, is often located atop the agitator. Before proceeding with the removal of the agitator itself, it is necessary to remove the fabric softener dispenser to access the underlying components. This step requires careful handling to prevent damage to the dispenser and ensure a smooth transition to the subsequent stages of agitator removal.
To remove the fabric softener dispenser from your Maytag washing machine, follow these detailed steps:
-
Locate the Dispenser: Identify the fabric softener dispenser on the agitator assembly. It is typically a removable component positioned on the top of the agitator, often secured in place by friction or a locking mechanism.
-
Gently Lift the Dispenser: With a firm yet gentle grip, lift the fabric softener dispenser from its position on the agitator. Apply even pressure to avoid any abrupt or forceful movements that could potentially damage the dispenser or its attachment points.
-
Inspect for Residue: Upon removing the dispenser, take a moment to inspect its interior and the surrounding area for any residual fabric softener or debris. Cleaning any accumulated residue at this stage will contribute to maintaining the overall cleanliness of the agitator assembly.
-
Set Aside the Dispenser: Once the fabric softener dispenser has been successfully removed, place it in a safe and easily accessible location. This ensures that it remains free from damage and ready for reinstallation after the agitator removal process is complete.
By carefully executing these steps, you can effectively remove the fabric softener dispenser from your Maytag washing machine, paving the way for seamless access to the agitator and its underlying components. This preparatory stage sets the stage for the subsequent steps in the agitator removal process, allowing for a methodical and well-coordinated approach to maintaining or repairing your washing machine.
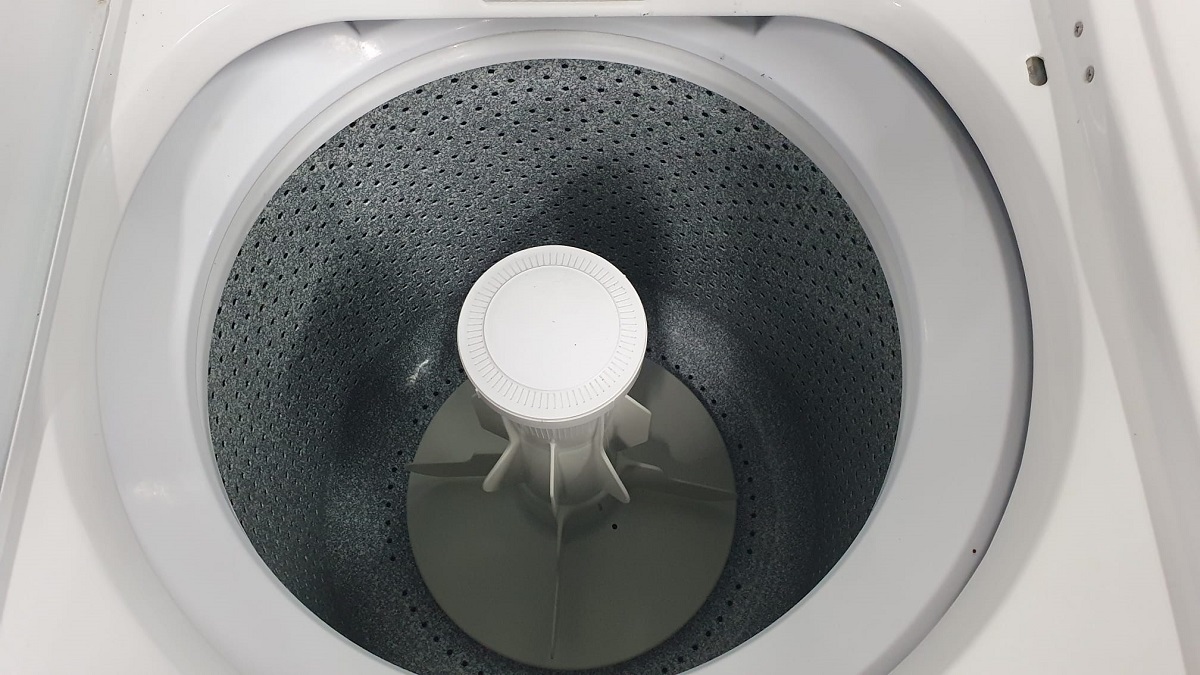
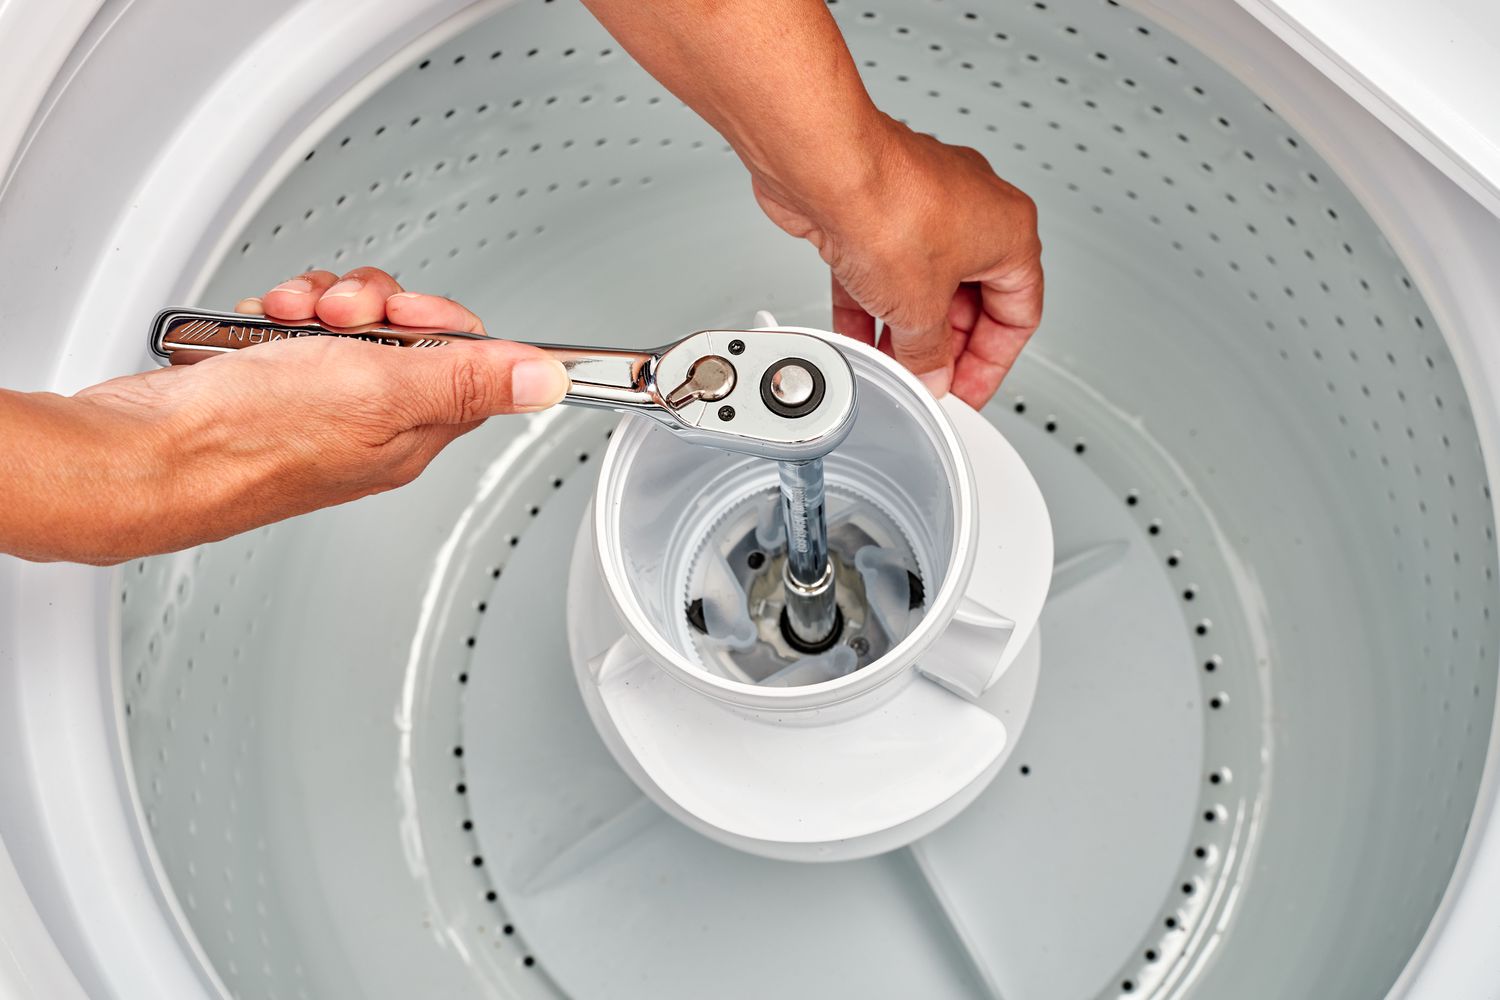
Step 3: Loosen the Agitator Bolt
With the fabric softener dispenser successfully removed, the next critical step in the process of removing the agitator from your Maytag washing machine involves loosening the agitator bolt. This bolt secures the agitator to the driveshaft and must be carefully loosened to facilitate the subsequent removal of the agitator itself. Here's a detailed breakdown of the essential steps to effectively loosen the agitator bolt:
-
Locate the Agitator Bolt: Beneath the area where the fabric softener dispenser was positioned, you will find the agitator bolt. It is typically nestled within the agitator assembly and may be partially concealed by the agitator cap or surrounding components.
-
Prepare the Socket Wrench: Equip the socket wrench with an extension to ensure adequate reach and maneuverability. The extension will enable you to access the agitator bolt comfortably, even within the confines of the washing machine's interior.
-
Position the Socket Wrench: Insert the socket wrench with the extension onto the agitator bolt, ensuring a secure and snug fit. The proper positioning of the wrench is crucial for applying controlled force to the bolt without slippage or misalignment.
-
Apply Even Pressure: With a firm grip on the socket wrench, apply steady and even pressure in a counterclockwise direction to loosen the agitator bolt. It's essential to maintain a consistent and controlled motion to gradually release the bolt without causing damage to the surrounding components.
-
Monitor the Bolt Loosening: As you turn the socket wrench, pay close attention to the gradual loosening of the agitator bolt. The bolt may initially offer resistance due to accumulated debris or previous tightening, so exercising patience and diligence is key to achieving a successful loosening process.
-
Remove the Agitator Bolt: Once the agitator bolt is sufficiently loosened, carefully remove it from its position within the agitator assembly. Place the bolt in a designated container or secure location to prevent misplacement and facilitate easy retrieval during reassembly.
By meticulously following these steps to loosen the agitator bolt, you pave the way for the subsequent and final stage of lifting out the agitator from your Maytag washing machine. This methodical approach ensures that the agitator removal process is executed with precision and care, setting the stage for effective maintenance or repair of your appliance.
To remove the agitator from a Maytag washing machine, first, remove the fabric softener dispenser. Then, locate the bolt or nut at the top of the agitator and use a socket wrench to loosen and remove it. Finally, lift the agitator out of the machine.
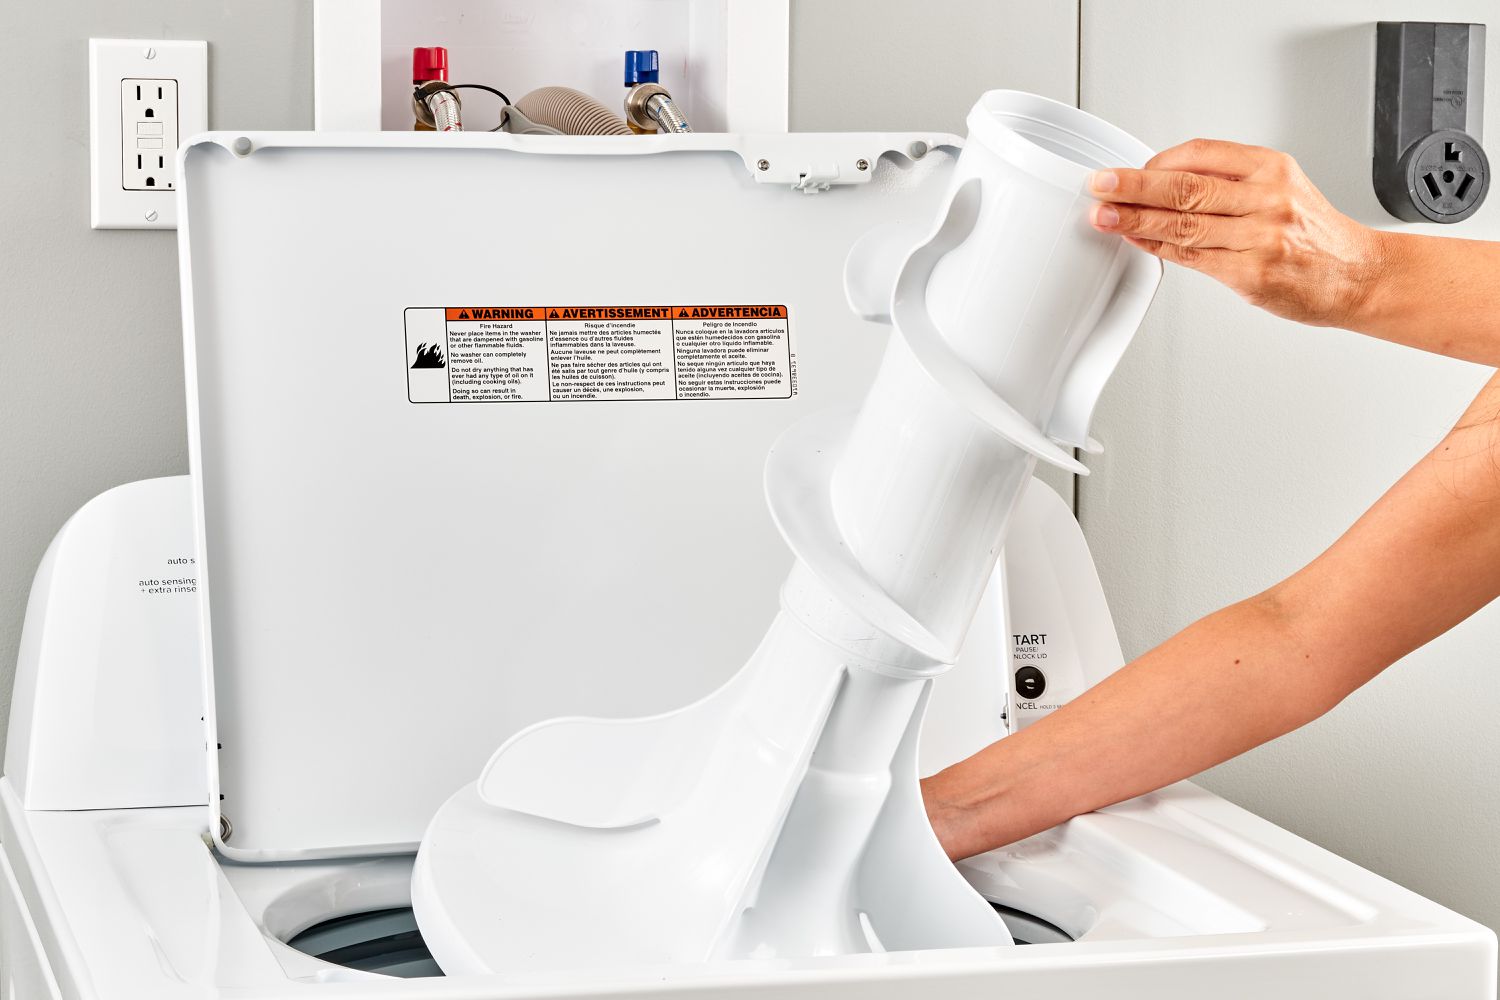
Step 4: Lift Out the Agitator
With the agitator bolt successfully loosened and removed, the final stage of the agitator removal process involves lifting out the agitator from your Maytag washing machine. This step requires careful maneuvering and attention to detail to ensure the safe and effective extraction of the agitator. Here's a comprehensive breakdown of the essential steps to lift out the agitator:
-
Position Yourself for Access: Stand in a comfortable and balanced position in front of the washing machine, ensuring that you have clear visibility and access to the agitator assembly. Maintaining a stable stance will facilitate controlled movements during the agitator removal process.
-
Grip the Agitator: Reach into the washing machine and firmly grip the agitator near its base. It's essential to establish a secure hold on the agitator to prevent slippage or instability during the lifting process.
-
Apply Upward Force: With a steady and controlled motion, begin applying upward force to the agitator, gradually lifting it from its position within the washing machine. Exercise caution to avoid sudden or jerky movements that could potentially damage the agitator or surrounding components.
-
Inspect for Resistance: As you lift the agitator, be attentive to any resistance or obstruction that may impede its smooth removal. If you encounter resistance, pause and reassess your grip and lifting technique to address any potential challenges.
-
Clear the Driveshaft: Once the agitator is lifted to a sufficient height, carefully maneuver it to clear the driveshaft and disengage it from the washing machine's interior. This step requires gentle and deliberate movements to ensure that the agitator is freed from its mounting position.
-
Set Aside the Agitator: Once successfully lifted out, place the agitator in a secure and designated location, ensuring that it remains free from damage and ready for any necessary maintenance, cleaning, or inspection.
By meticulously following these steps to lift out the agitator, you conclude the removal process with confidence and precision. This methodical approach ensures that the agitator is extracted safely and effectively, allowing you to address any maintenance or repair needs with ease. With the agitator removed, you gain valuable access to the interior of your Maytag washing machine, empowering you to carry out necessary tasks and uphold the appliance's optimal functionality.
Conclusion
In conclusion, the process of removing the agitator from a Maytag washing machine is a fundamental aspect of appliance maintenance and repair. By following the step-by-step guide outlined in this article, you can effectively address various issues such as cleaning, maintenance, or replacement of agitator components. The careful preparation of the washing machine, including the removal of the fabric softener dispenser and the systematic loosening and lifting out of the agitator, sets the stage for successful maintenance and troubleshooting.
Once the agitator is removed, you gain valuable access to the interior of the washing machine, allowing for thorough cleaning, inspection of components, and potential replacement of worn or damaged parts. This level of access empowers you to maintain the optimal functionality of your Maytag washing machine, ensuring that it continues to deliver reliable performance for years to come.
Furthermore, the removal of the agitator provides an opportunity to address any underlying issues that may affect the washing machine's performance, such as excessive debris accumulation, wear and tear on agitator components, or the need for thorough cleaning. By taking proactive steps to maintain and care for your appliance, you contribute to its longevity and efficiency, ultimately saving time and resources in the long run.
It's important to note that while the removal process outlined in this guide is comprehensive, reinstallation of the agitator and associated components should be carried out with equal care and attention to detail. Ensuring that all components are securely reassembled and that the agitator is properly aligned and fastened is crucial for the continued smooth operation of the washing machine.
In essence, the process of removing the agitator from a Maytag washing machine is a valuable skill that empowers homeowners to take an active role in maintaining their appliances. By understanding and executing this process, you can extend the lifespan of your washing machine, troubleshoot issues effectively, and ensure that it continues to meet your household's laundry needs with reliability and efficiency.
Frequently Asked Questions about How To Remove The Agitator From A Maytag Washing Machine
Was this page helpful?
At Storables.com, we guarantee accurate and reliable information. Our content, validated by Expert Board Contributors, is crafted following stringent Editorial Policies. We're committed to providing you with well-researched, expert-backed insights for all your informational needs.


0 thoughts on “How To Remove The Agitator From A Maytag Washing Machine”