
Articles
How To Remove Agitator From Ge Washer
Modified: August 25, 2024
Learn how to remove the agitator from your GE washer with our informative articles. Find step-by-step instructions and helpful tips to make the process easier.
(Many of the links in this article redirect to a specific reviewed product. Your purchase of these products through affiliate links helps to generate commission for Storables.com, at no extra cost. Learn more)
Introduction
Welcome to the world of home appliance maintenance! Today, we’ll be tackling a common household chore – removing the agitator from your GE washer. The agitator is a vital component in your washing machine that helps to agitate the water and clothes, ensuring a thorough and effective cleaning process. However, over time, debris, fabric softener, and other grime can build up in the agitator, compromising its performance and leaving your clothes less clean than they should be.
Fortunately, removing the agitator from your GE washer is a relatively straightforward process that you can tackle on your own, without the need for expensive professional help. With a few simple steps and some basic tools, you’ll have your agitator removed and ready for a deep cleaning in no time.
Key Takeaways:
- Easily maintain your GE washer by following simple steps to remove, clean, and reassemble the agitator. Enjoy cleaner laundry and extend the lifespan of your appliance with regular maintenance.
- With basic tools and careful steps, you can remove the agitator from your GE washer, clean it thoroughly, and reassemble the washer for optimal performance. Regular maintenance ensures efficient and effective laundry results.
Read more: How To Remove Agitator From Kenmore Washer
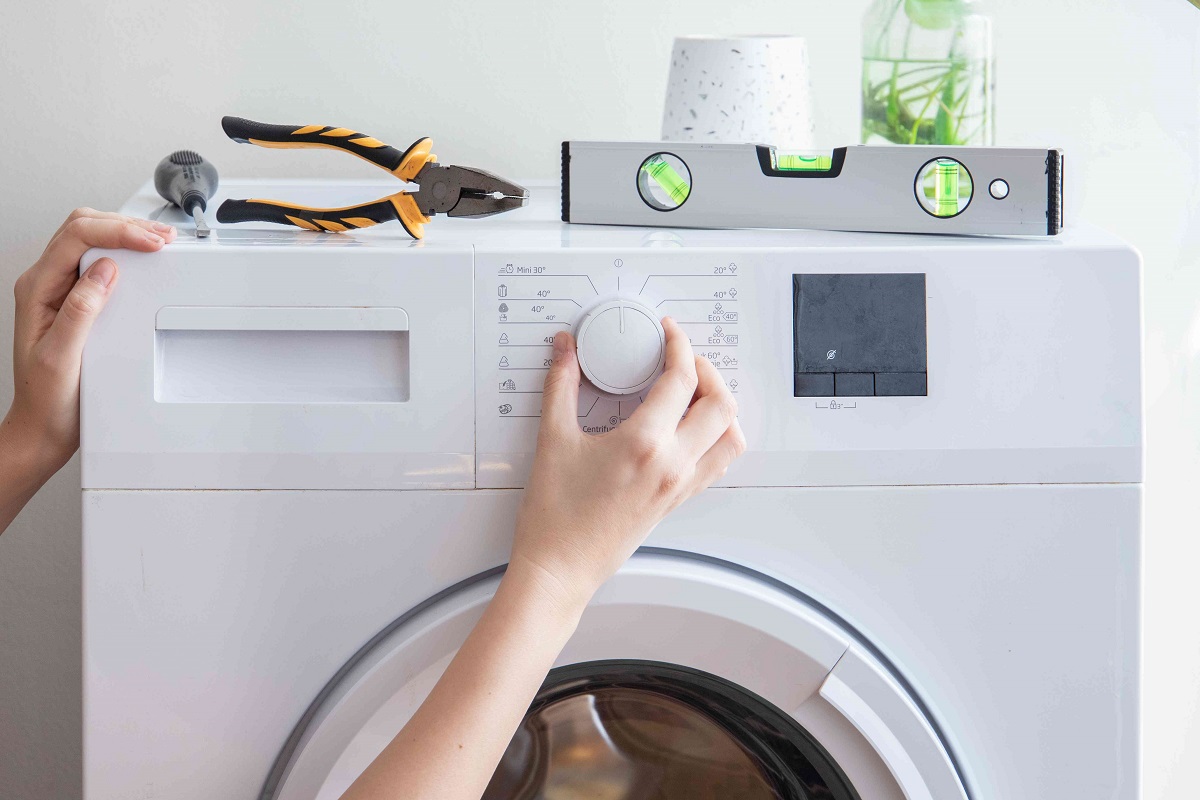
Step 1: Prepare the washer for agitator removal
Before we begin, it’s important to ensure that your washer is prepared for the agitator removal process. Start by disconnecting the power supply to the washer to avoid any accidents. This can usually be done by unplugging the power cord from the wall outlet or switching off the circuit breaker if it’s hard-wired.
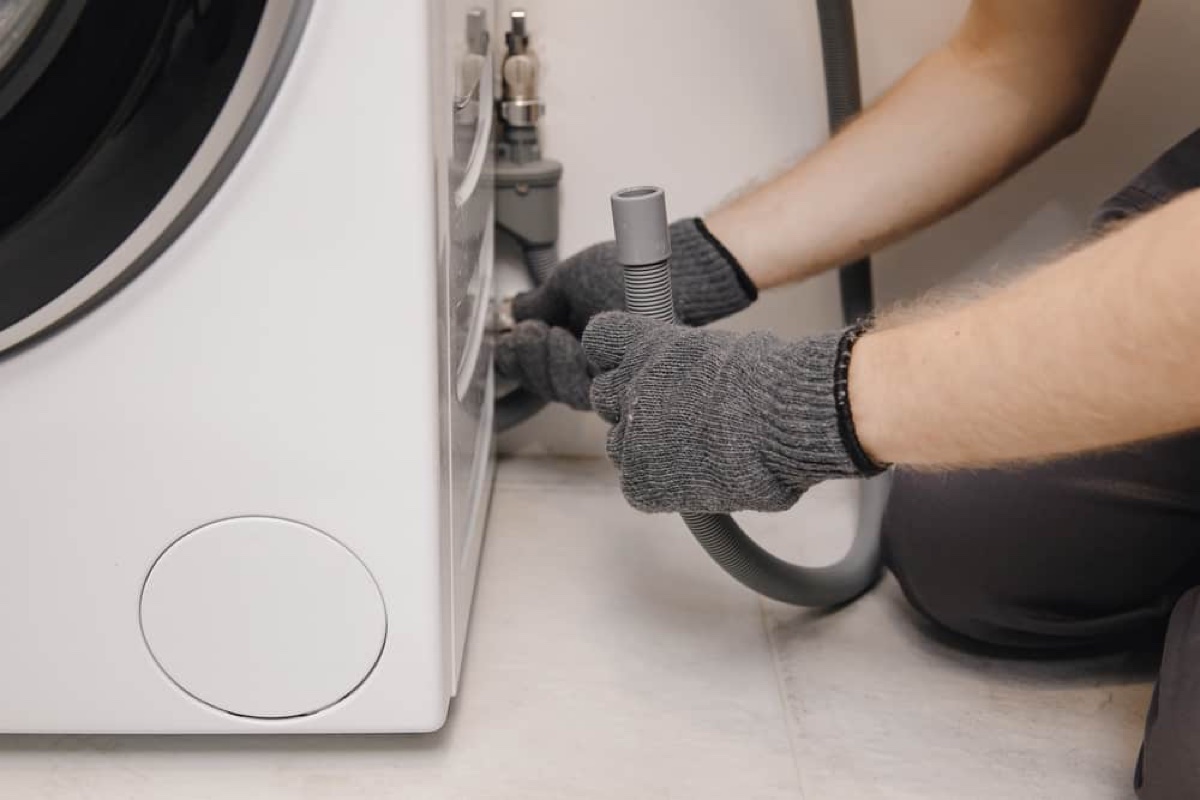
Next, turn off the water supply to the washer by shutting off the water valves or disconnecting the hoses. This is crucial to prevent any water leakage or spillage during the agitator removal process.
Once the power and water supply have been turned off, open the washer lid to access the inside of the machine. Take a moment to inspect the agitator to identify any visible damage or obstruction that may require additional repairs or replacement.
Now, let’s gather the necessary tools for the agitator removal process. You’ll typically need a socket wrench or a screwdriver, depending on the type of agitator in your GE washer. Refer to your washer’s manual or consult the manufacturer’s website for specific instructions on the tool required for your model.
With the necessary tools at hand and the washer prepared, you’re ready to move on to the next steps in the agitator removal process. Don’t worry, it’s a fairly simple procedure that anyone can handle with a little patience and attention to detail. So, let’s move on to Step 2: Remove the fabric softener dispenser.
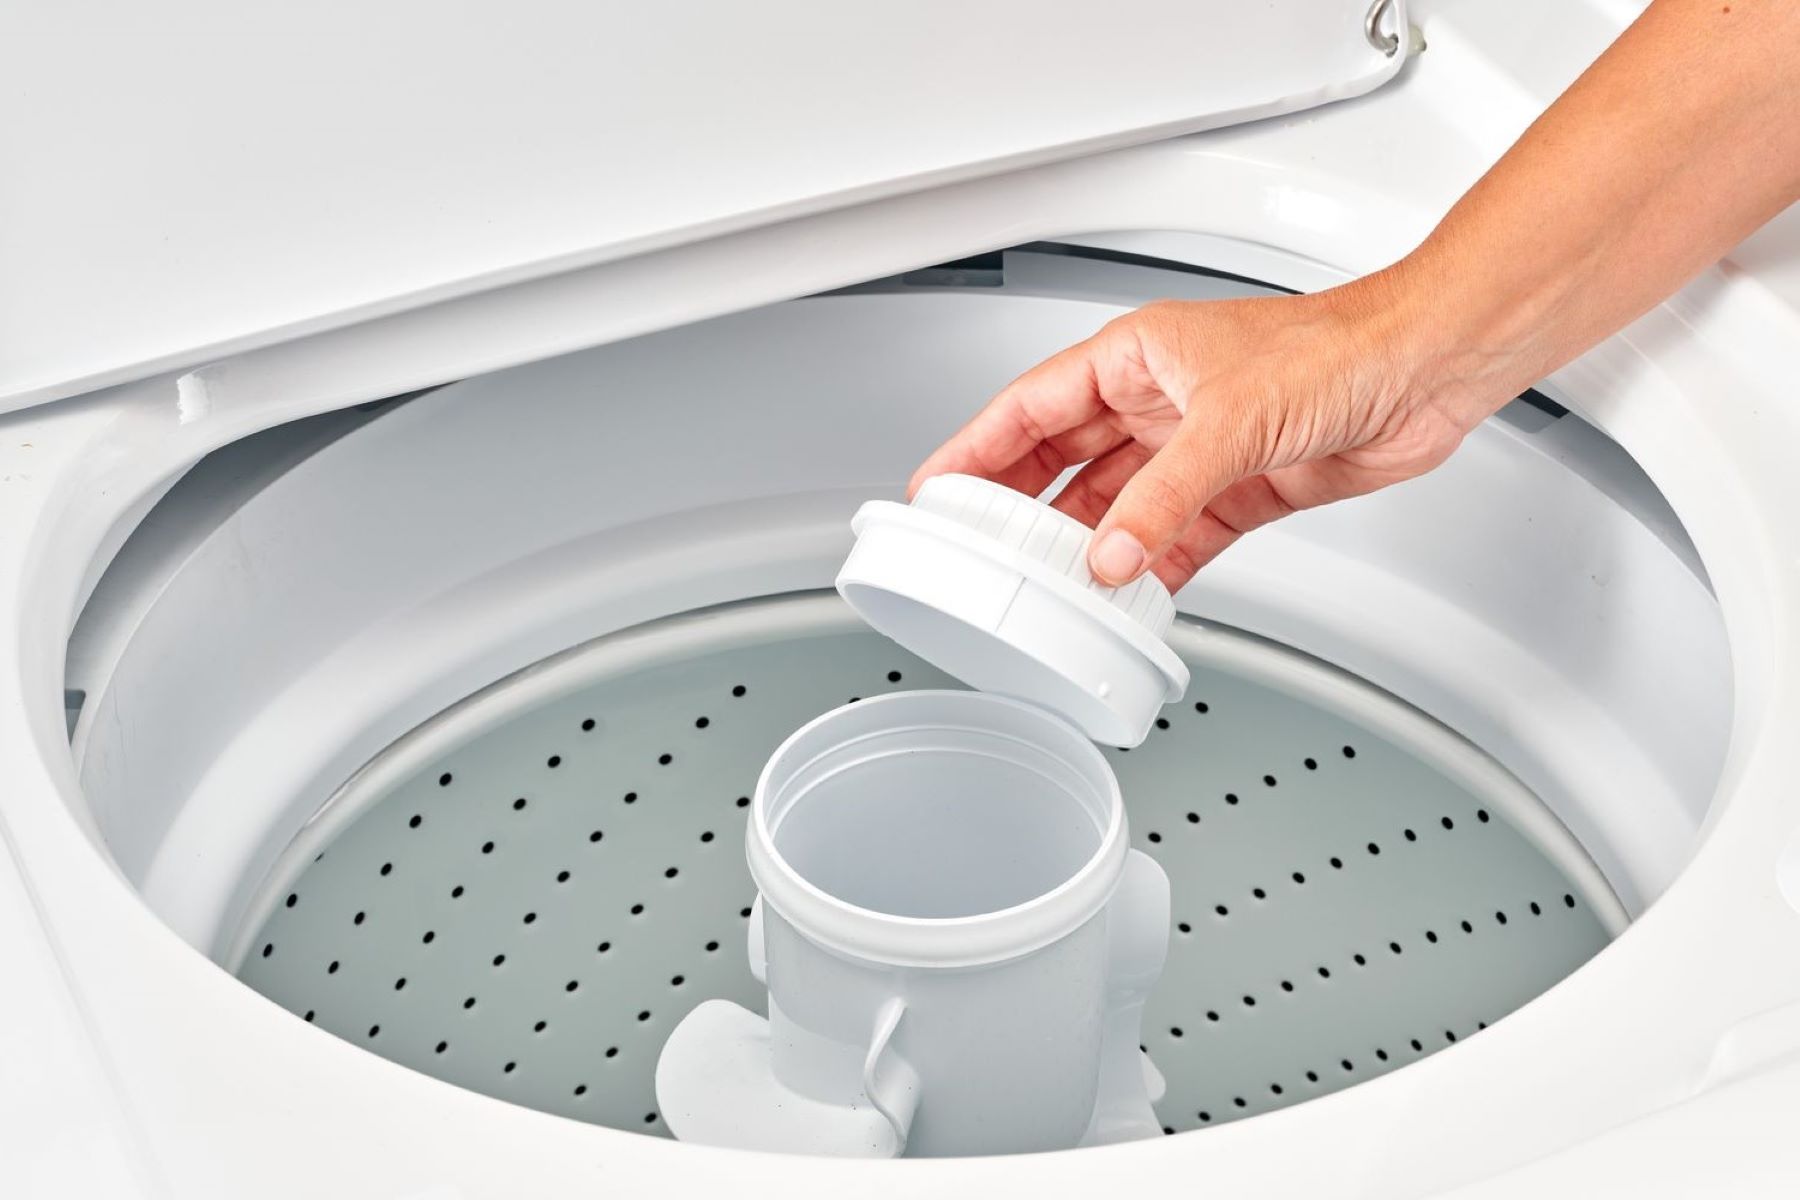
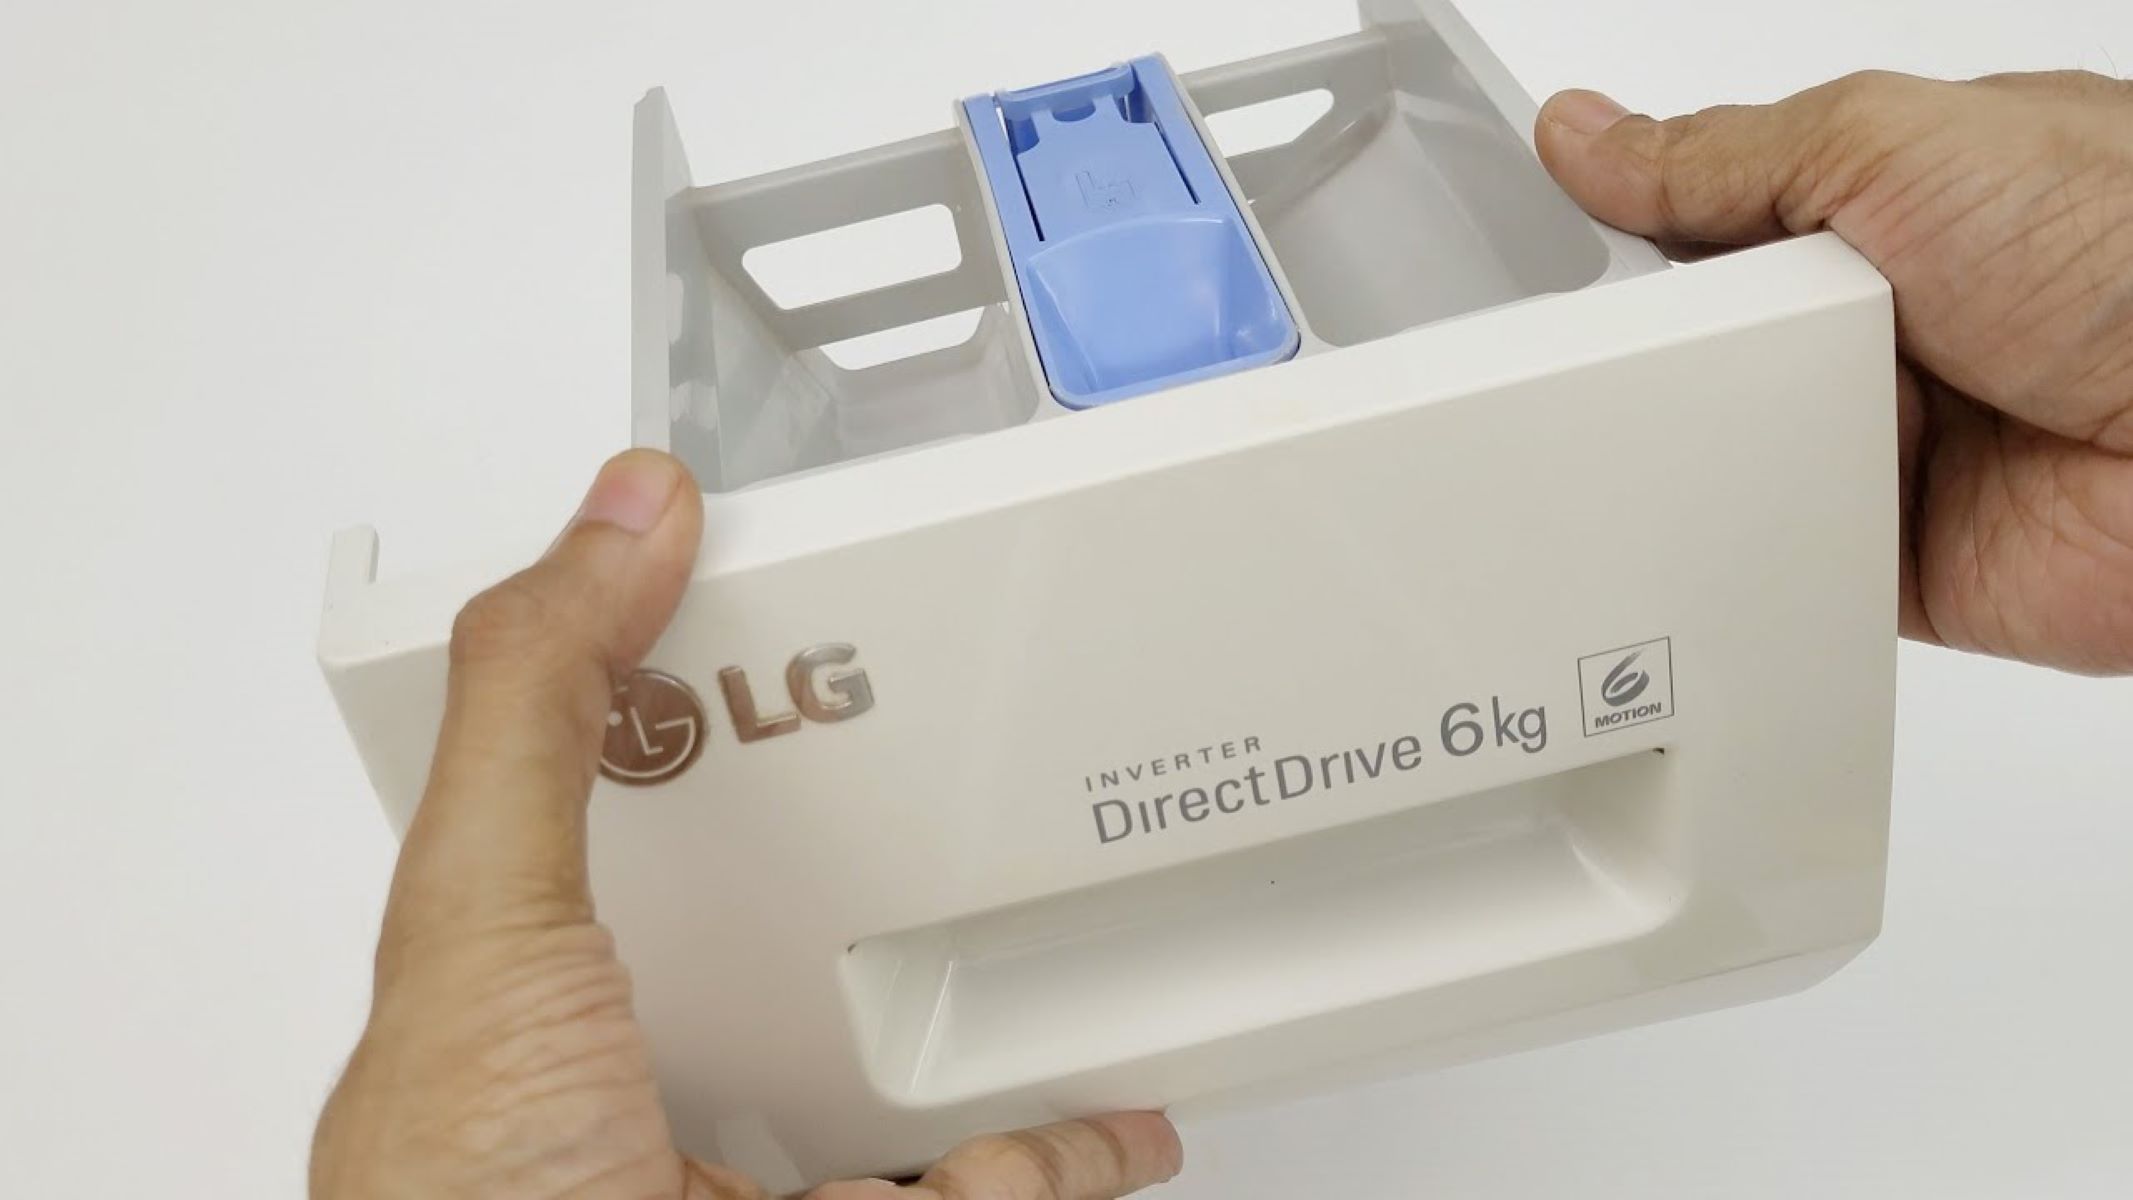
Step 2: Remove the fabric softener dispenser
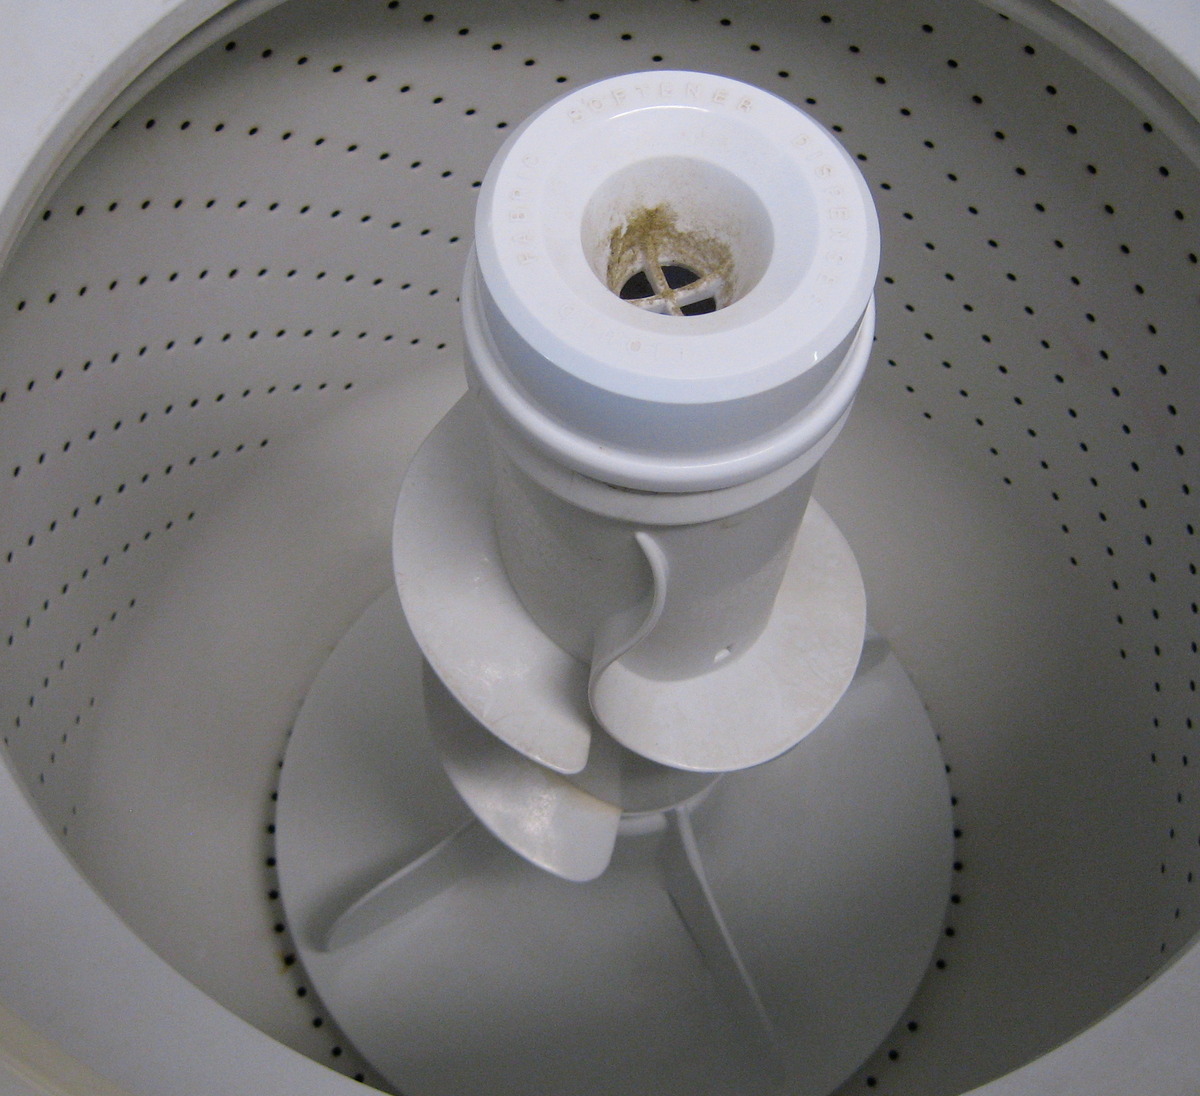
Removing the fabric softener dispenser is an essential step in accessing the agitator for removal. The fabric softener dispenser is often located on top of the agitator and needs to be removed before proceeding.
Start by locating the fabric softener dispenser on your GE washer. It is typically a small cup or compartment located in the center of the agitator. Keep in mind that the design may vary depending on the model of your washer, so consult your washer’s manual for specific instructions.
Once you have located the fabric softener dispenser, gently pull it upwards to release it from the agitator. Some dispensers may be attached with clips or snaps, while others may simply slide off. Be careful not to use excessive force to avoid damaging the dispenser.
After removing the fabric softener dispenser, set it aside and inspect it for any residue or build-up. Clean it thoroughly using warm water and a mild detergent to ensure optimal performance when you reassemble the washer.
Now that the fabric softener dispenser has been removed, we can move on to the next step in the agitator removal process. In Step 3, we will loosen the agitator bolt to further prepare for the agitator’s removal. So, let’s get started!
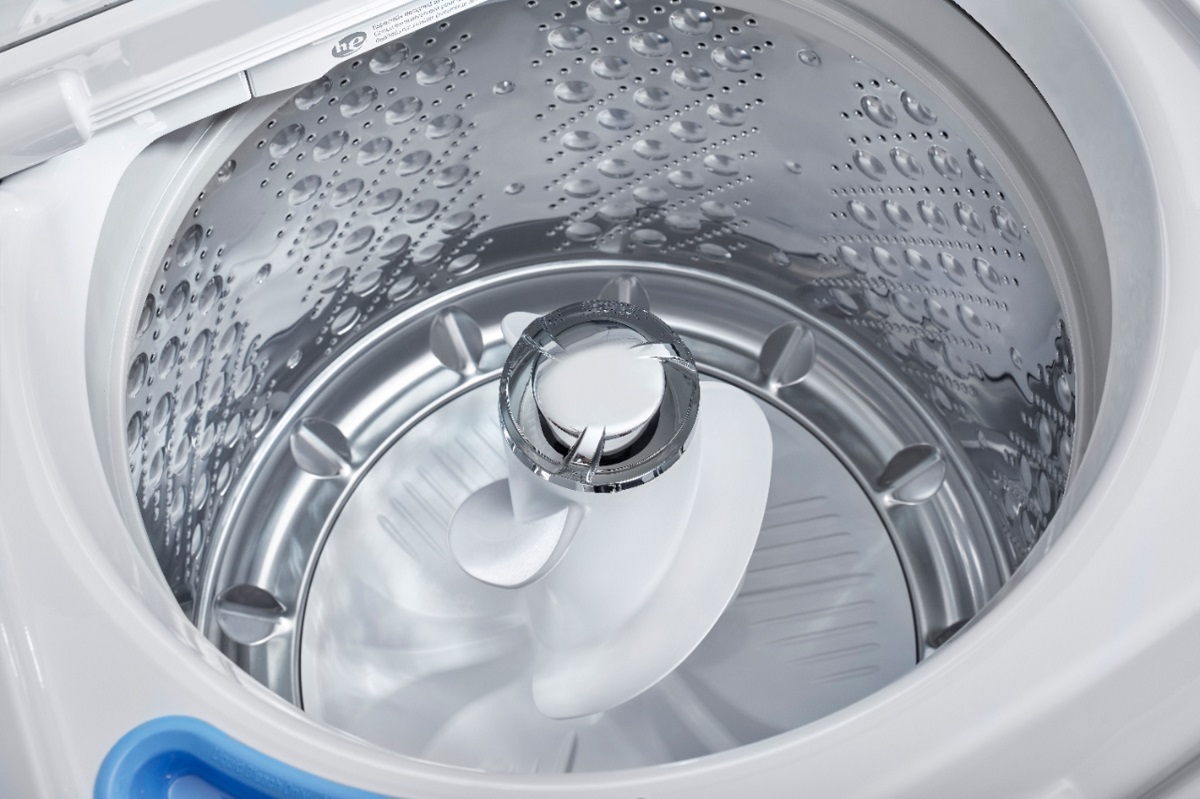
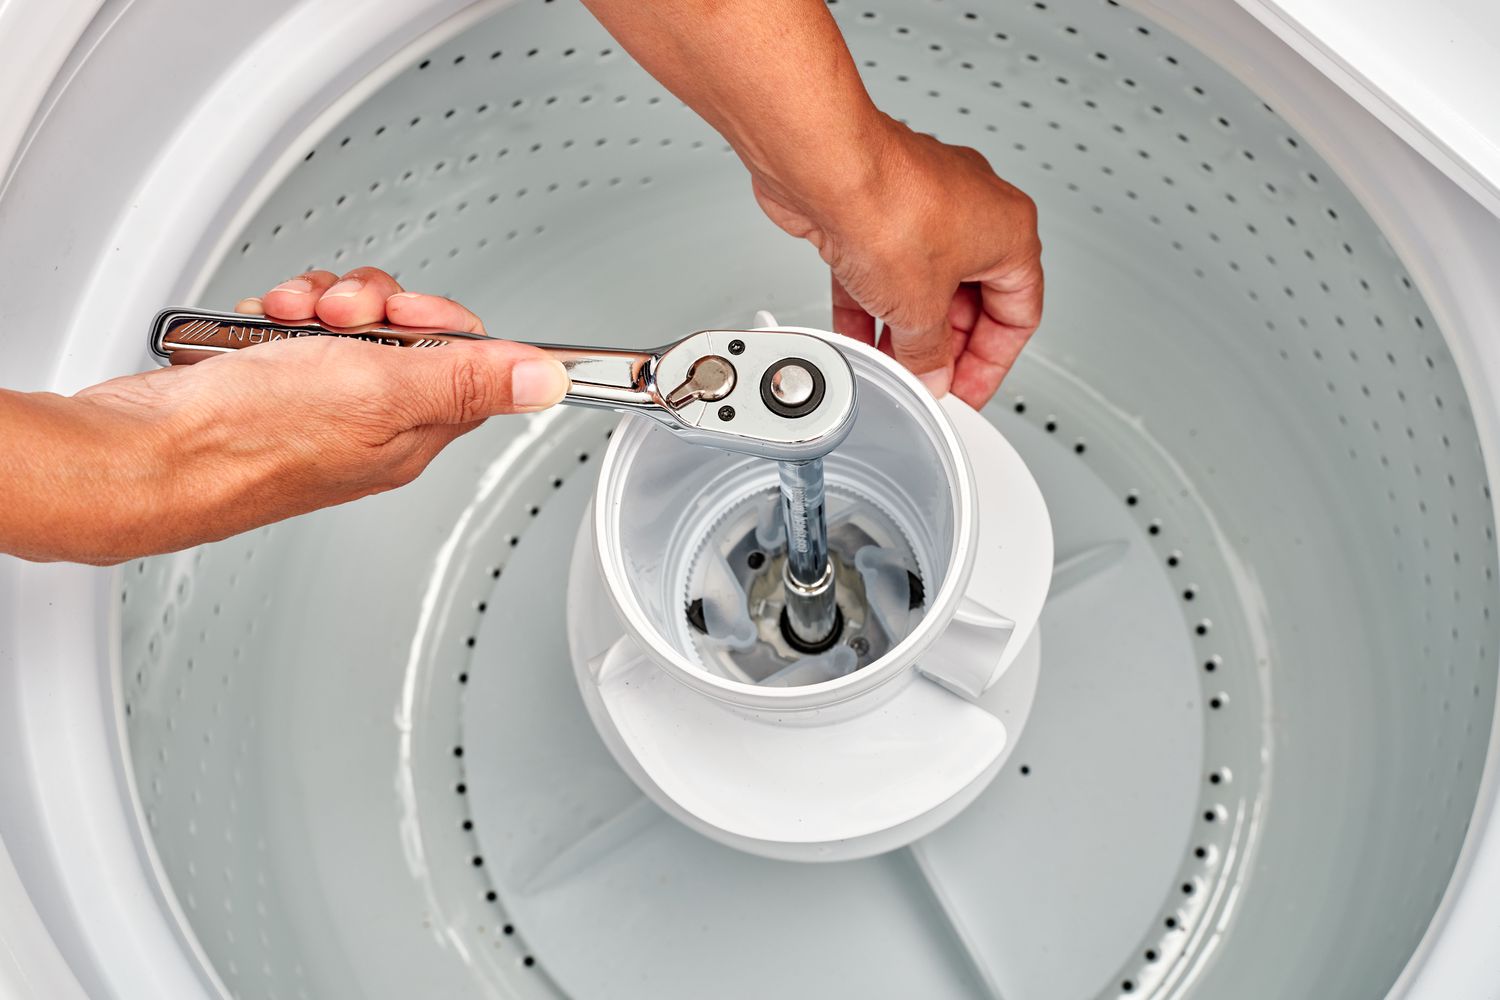
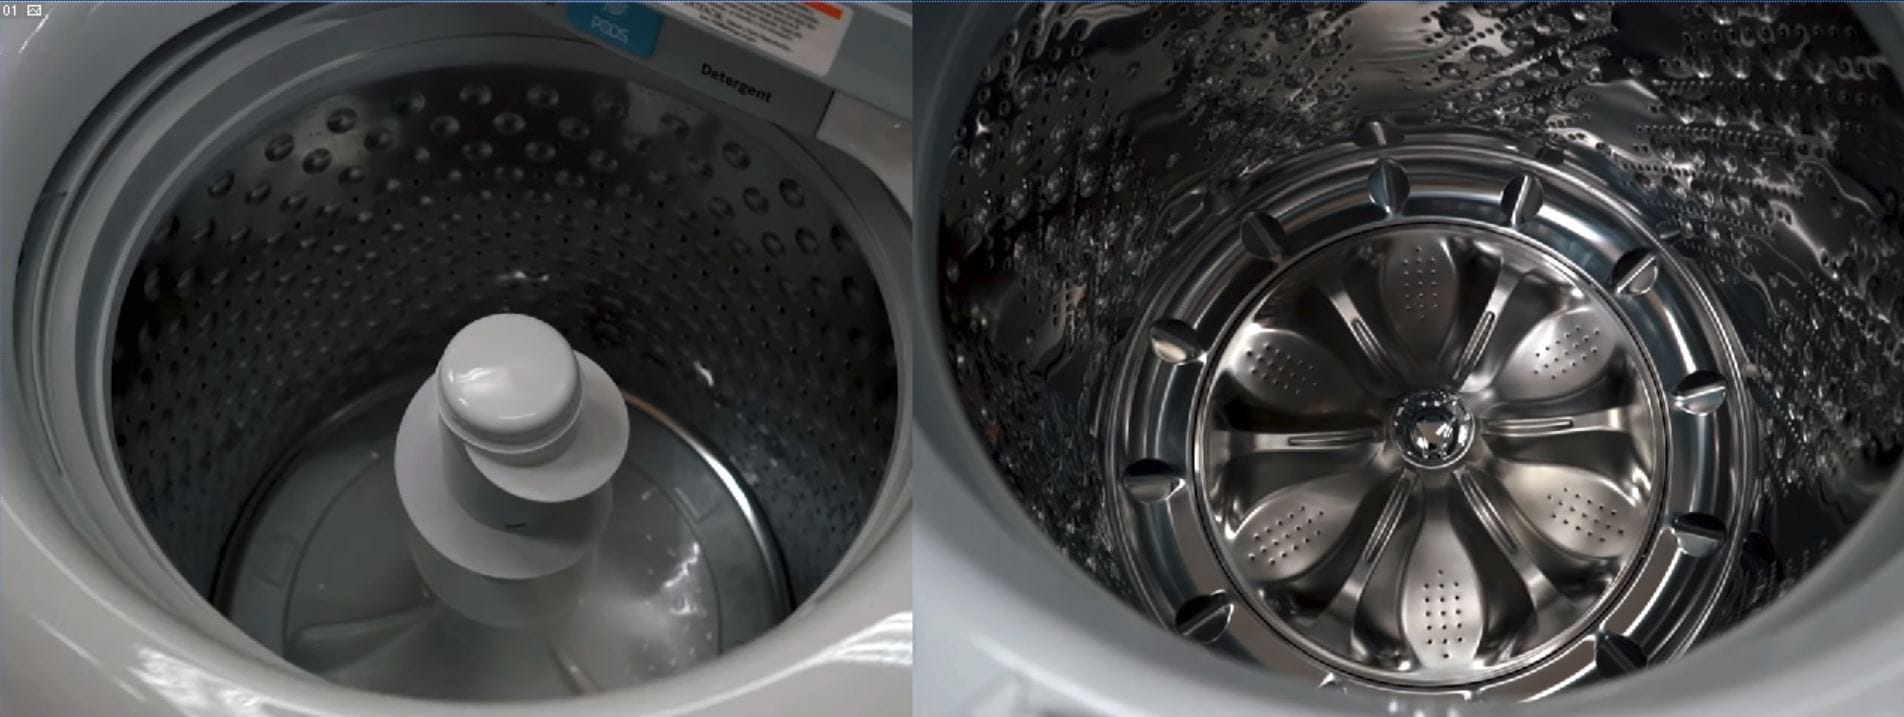
Step 3: Loosen the agitator bolt
Now that the fabric softener dispenser has been removed, we can focus on loosening the agitator bolt. This bolt secures the agitator in place and needs to be loosened before the agitator can be lifted out of the washer.
Start by locating the agitator bolt on your GE washer. It is usually situated at the center of the agitator, underneath where the fabric softener dispenser was located. The bolt may be covered with a plastic cap or a small removable cover, so you may need to gently pry it off with a flathead screwdriver.
Once you have exposed the agitator bolt, use a socket wrench or a suitable screwdriver to loosen it in a counterclockwise direction. Remember to hold onto the agitator with your other hand to prevent it from moving while you’re loosening the bolt.
If the bolt is tight and difficult to loosen, you can try using some penetrating oil or a mixture of vinegar and water to help lubricate it. Allow the lubricant to sit for a few minutes before attempting to loosen the bolt again. Be patient and gentle to avoid damaging the bolt or the agitator.
Continue loosening the bolt until it is completely removed. Set the bolt aside in a safe place, as you will need it later when reassembling the washer.
Now that the agitator bolt has been loosened, we can move on to the exciting part – removing the agitator itself! In Step 4, we will guide you through the process of removing the agitator from your GE washer. So, let’s proceed!
To remove the agitator from a GE washer, first, remove the fabric softener dispenser. Then, locate the bolt or nut at the center of the agitator and use a socket wrench to loosen and remove it. Finally, lift the agitator out of the washer.
Step 4: Remove the agitator
With the agitator bolt loosened, it’s time to remove the agitator from your GE washer. This step requires a bit of strength and finesse, but with proper technique, you’ll have the agitator out in no time.
Start by placing your hands firmly on opposite sides of the agitator near the top. Gently and steadily pull upwards on the agitator, using even pressure on both sides. The agitator may be snugly fitted onto the drive shaft, so it may require a bit of force to lift it out.
If the agitator doesn’t budge, you can try wiggling it back and forth while pulling upwards to help loosen it. Avoid using excessive force or jerking motions, as this may cause damage to the washer or the agitator.
As you continue to lift the agitator, you may encounter resistance from the agitator dogs or ratchet mechanism, depending on your specific model of washer. These components are designed to allow the agitator to move in one direction during the wash cycle and lock in the opposite direction.
To overcome this resistance, continue pulling upwards with a steady force while rotating the agitator back and forth. This motion will help disengage the agitator dogs or ratchet mechanism, allowing you to lift the agitator completely out of the washer.
Once the agitator is removed, take a moment to inspect it for any signs of damage or wear. Clean the agitator thoroughly using warm water and a mild detergent to remove any accumulated debris or grime.
Now that the agitator has been successfully removed, we’re ready to move on to Step 5: cleaning the agitator and drum. This step is crucial for maintaining optimal performance and cleanliness of your washer. So, let’s dive right in!
Read more: Maytag Washer How To Remove Agitator
Step 5: Clean the agitator and drum
Now that the agitator has been removed, it’s time to give it and the drum a thorough cleaning. Over time, dirt, grime, and detergent residue can accumulate on these components, affecting the efficiency and cleanliness of your washer.
Start by taking the agitator to a sink or tub and rinsing it with warm water. Use a scrub brush or sponge to gently scrub away any stubborn stains or residue. For more stubborn stains or odors, you can create a cleaning solution using equal parts water and vinegar. Apply this solution to the agitator and let it sit for a few minutes before scrubbing again.
As for the drum, you can use a damp cloth or sponge to wipe away any visible dirt or residue. Pay close attention to the inner edges of the drum where debris can accumulate. If there are any stubborn stains or build-up, you can create a paste using baking soda and water. Apply this paste to the affected areas and scrub gently with a cloth or sponge.
After cleaning both the agitator and drum, rinse them thoroughly with clean water to remove any cleaning solution or residue. It’s essential to ensure that no cleaning products are left behind as they can interfere with the effectiveness of your next wash cycle.
Once both components are clean and rinsed, allow them to air dry completely before reassembling the washer. This will prevent any moisture from causing unpleasant odors or mold growth in the washer.
Cleaning the agitator and drum is an important maintenance step that should be performed regularly to keep your washer in optimal condition. It not only helps to remove dirt and grime but also prevents the transfer of stains and odors onto your clothes during the wash cycle. So, take the time to clean these components thoroughly, and you’ll enjoy cleaner and fresher laundry results.
Now that you’ve completed the cleaning process, let’s move on to Step 6: reassembling the washer and putting everything back together. So, let’s get started!
Step 6: Reassemble the washer
Now that you’ve cleaned the agitator and drum, it’s time to put everything back together and reassemble your GE washer. Follow these steps carefully to ensure a proper and secure reassembly.
Start by aligning the agitator with the drive shaft in the center of the washer. Gently lower the agitator onto the drive shaft, ensuring that it sits flush and secure.
If your washer has a locking mechanism or agitator dogs, make sure they are properly engaged before proceeding. Rotate the agitator back and forth to ensure it’s locked in place and won’t move during the wash cycle.
Next, grab the agitator bolt or screw that you set aside earlier. Insert it into the agitator bolt hole and rotate it clockwise to tighten it. Use your socket wrench or screwdriver to ensure that the bolt is securely fastened, but be careful not to overtighten.
Once the agitator bolt is tightened, it’s time to reinstall the fabric softener dispenser. Simply slide it back into place on top of the agitator, ensuring that it sits securely. If your dispenser has any clips or snaps, make sure they are properly engaged to hold it in place.
With the agitator and fabric softener dispenser back in place, it’s time to reconnect the power and water supply to the washer. Plug in the power cord or switch on the circuit breaker, and reconnect the water hoses or open the water valves.
Finally, close the washer lid and double-check that everything is securely reassembled. Give the agitator a gentle tug to ensure it’s properly locked in place.
With the washer reassembled, you’re now ready to enjoy clean and fresh laundry once again!
Remember, if you encounter any difficulties or have concerns during the reassembly process, consult your GE washer’s manual or contact the manufacturer for assistance. Safety should always be the top priority, so if you’re unsure about any steps, it’s best to seek professional help.
Congratulations! You’ve successfully removed and cleaned the agitator from your GE washer. By regularly maintaining your washer’s components, you can ensure optimal performance and extend the lifespan of your appliance.
Thank you for following along with this step-by-step guide. Happy washing!
Conclusion
Removing the agitator from your GE washer may seem like a daunting task, but with the right tools and guidance, it can be a relatively simple process. By following the step-by-step instructions provided in this guide, you can successfully remove the agitator, clean it, and reassemble your washer.
Maintaining a clean and functional agitator is essential for ensuring effective and thorough cleaning of your laundry. Over time, debris, grime, and detergent residue can build up, affecting the agitator’s performance. By regularly cleaning and maintaining your washer’s agitator, you can extend its lifespan and enjoy cleaner and fresher laundry results.
Remember to exercise caution and follow safety guidelines throughout the process. Always disconnect the power supply and turn off the water before attempting any maintenance or repairs on your washer. If you are unsure about any steps or encounter difficulties, consult your GE washer’s manual or seek professional assistance.
By taking the time to properly maintain your washer and its components, you can ensure the longevity and efficiency of your appliance. Regular cleaning and maintenance not only improve the performance of your washer but also contribute to energy efficiency and cost savings.
We hope this guide has been helpful in guiding you through the process of removing and cleaning the agitator from your GE washer. With a little effort and attention to detail, you can keep your washer running smoothly and enjoy clean and fresh laundry for years to come.
Thank you for reading, and happy washing!
Frequently Asked Questions about How To Remove Agitator From Ge Washer
Was this page helpful?
At Storables.com, we guarantee accurate and reliable information. Our content, validated by Expert Board Contributors, is crafted following stringent Editorial Policies. We're committed to providing you with well-researched, expert-backed insights for all your informational needs.


0 thoughts on “How To Remove Agitator From Ge Washer”