Home>Home Appliances>Laundry Appliances>How To Remove Agitator From A Whirlpool Washing Machine
Laundry Appliances
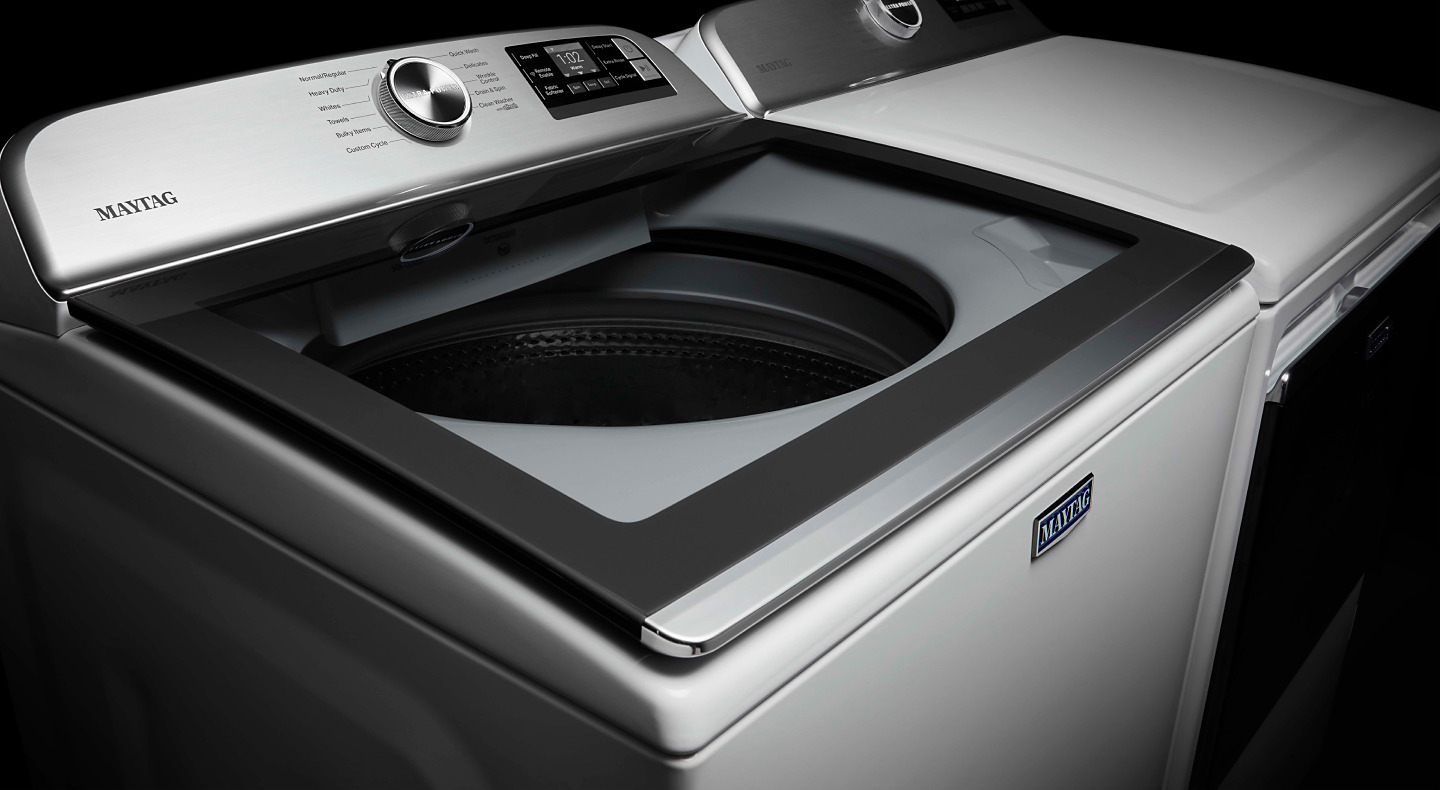
How To Remove Agitator From A Whirlpool Washing Machine
Modified: August 27, 2024
Learn how to easily remove the agitator from your Whirlpool washing machine with our step-by-step guide. Keep your laundry appliances in top condition with our expert tips.
(Many of the links in this article redirect to a specific reviewed product. Your purchase of these products through affiliate links helps to generate commission for Storables.com, at no extra cost. Learn more)
Introduction
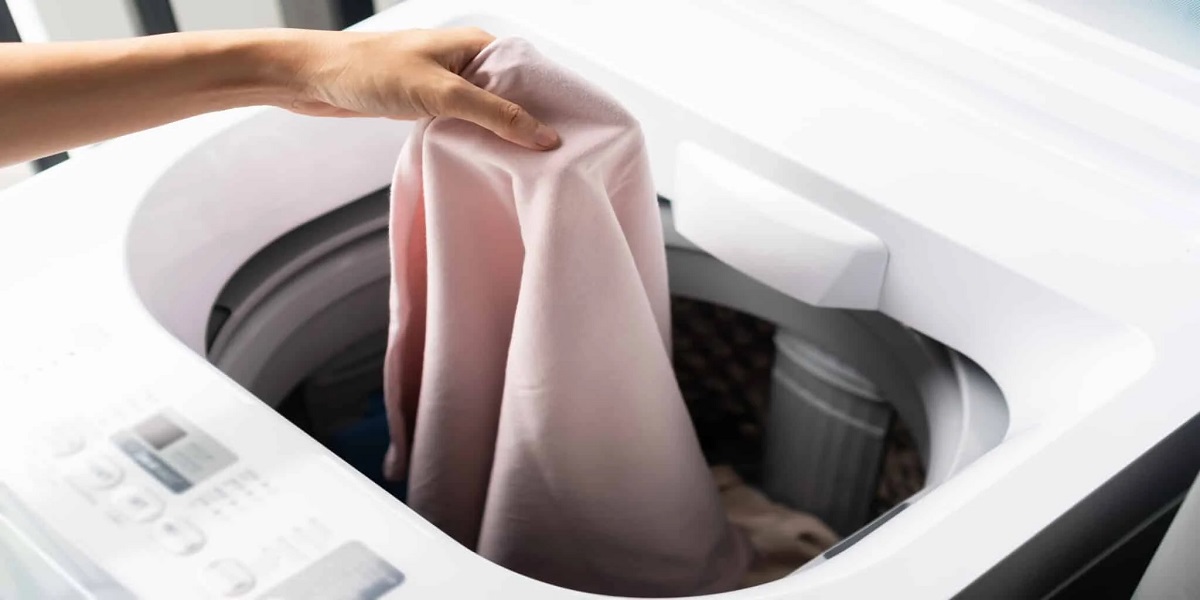
Removing the agitator from a Whirlpool washing machine may seem like a daunting task, but with the right tools and a clear understanding of the process, it can be accomplished with ease. Whether you need to clean the agitator or access other components of the washing machine, knowing how to remove the agitator is a valuable skill for any appliance owner.
The agitator plays a crucial role in the washing process, as it is responsible for moving the clothes around in the drum, ensuring a thorough and effective wash. Over time, the agitator may accumulate dirt, lint, or other debris, leading to a decline in washing performance. By learning how to remove the agitator, you can maintain the efficiency of your Whirlpool washing machine and prolong its lifespan.
In this comprehensive guide, we will walk you through the step-by-step process of removing the agitator from your Whirlpool washing machine. You will gain valuable insights into the tools and materials needed, as well as a detailed breakdown of each essential step. By following this guide, you will be equipped with the knowledge and confidence to tackle this maintenance task and keep your washing machine in optimal condition.
Now, let's dive into the process of removing the agitator from your Whirlpool washing machine and empower you to take control of your appliance maintenance.
Key Takeaways:
- Removing the agitator from your Whirlpool washing machine is a manageable task with the right tools and preparation. Regular maintenance keeps your machine running smoothly and extends its lifespan.
- By following the step-by-step process, you can confidently clean, inspect, or replace the agitator. Taking proactive care of your appliance saves money and ensures top-notch performance.
Read more: How To Remove Agitator From Ge Washer
Tools and Materials Needed
Before embarking on the task of removing the agitator from your Whirlpool washing machine, it's essential to gather the necessary tools and materials. Having the right equipment at your disposal will streamline the process and ensure a smooth and efficient execution. Here's a detailed list of the tools and materials you will need:
Tools:
- Socket Wrench: A socket wrench, preferably with an extension, is crucial for loosening the bolt that secures the agitator in place. Ensure that the socket size matches the bolt on your specific Whirlpool washing machine model.
- Flathead Screwdriver: This tool will be used to pry off the fabric softener dispenser, providing access to the agitator bolt beneath.
- Pliers: Pliers will come in handy for gripping and maneuvering certain components during the agitator removal process.
- Towel or Rag: Keeping a towel or rag nearby will help in cleaning any accumulated dirt or grime within the agitator assembly.
Materials:
- Protective Gloves: It's advisable to wear protective gloves to shield your hands from any sharp edges or potential debris within the washing machine.
- Cleaning Solution: Depending on the condition of your agitator, having a mild cleaning solution or detergent on hand can aid in removing stubborn stains or residues.
- Replacement Parts (Optional): If you intend to replace the agitator or any associated components, ensure that you have the new parts readily available.
By ensuring that you have these tools and materials prepared before initiating the agitator removal process, you can proceed with confidence, knowing that you are equipped to handle the task effectively. With these essentials at your disposal, you are ready to move on to the next step in the process: preparing the washing machine for agitator removal.
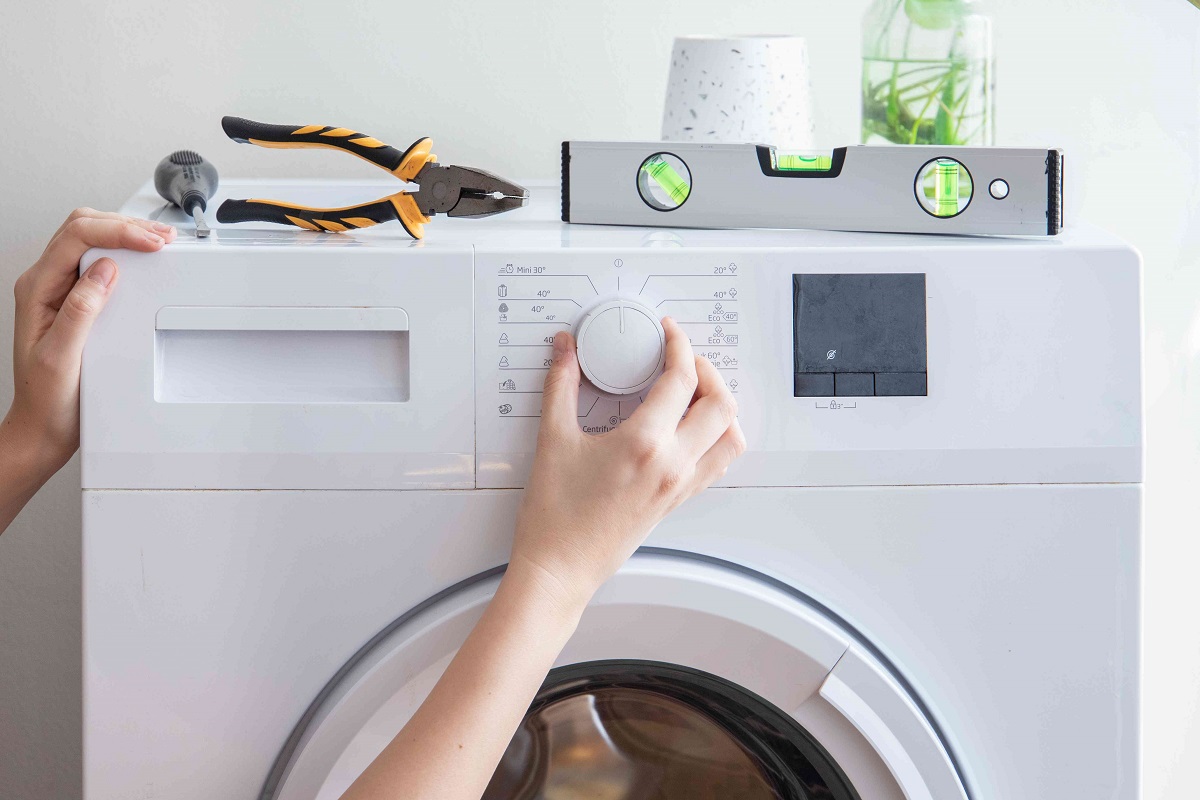
Step 1: Prepare the Washing Machine
Before delving into the process of removing the agitator from your Whirlpool washing machine, it's crucial to prepare the appliance for this maintenance task. Proper preparation will not only facilitate a smoother removal process but also contribute to a safer and more efficient experience. Here's a detailed breakdown of the essential steps to prepare your washing machine:
-
Unplug the Washing Machine: Safety should always be a top priority when working on any appliance. To ensure your safety and prevent any electrical mishaps, start by unplugging the washing machine from the power source. This step is critical in eliminating the risk of electric shock during the agitator removal process.
-
Clear the Surrounding Area: Create a clear and unobstructed workspace around the washing machine. Remove any nearby objects or obstacles that may impede your access to the agitator or cause inconvenience during the removal process. Having ample space around the appliance will allow for better maneuverability and ease of movement as you work on the agitator.
-
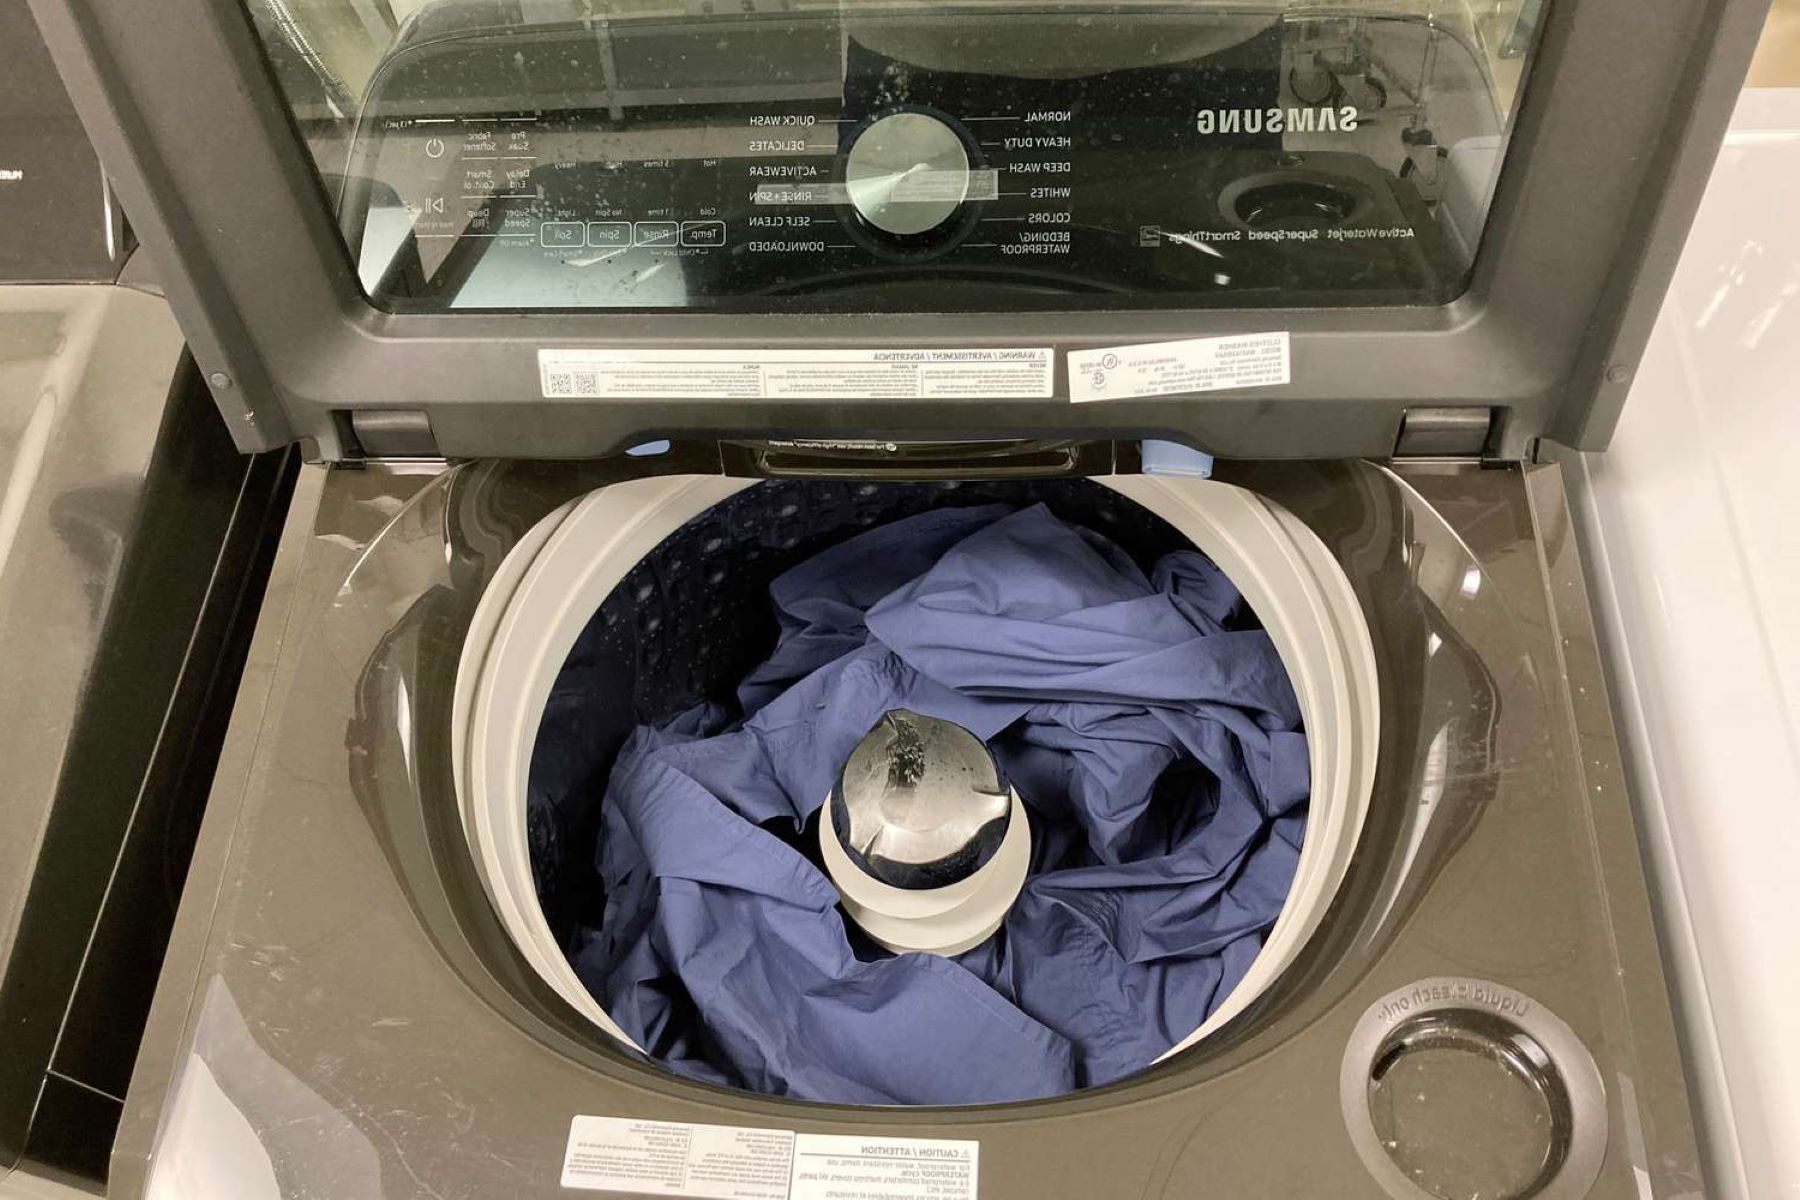
Access the Agitator Area: Depending on the specific model of your Whirlpool washing machine, you may need to open the top panel or lid to gain access to the agitator assembly. Follow the manufacturer's instructions or consult the user manual to determine the appropriate method for accessing the agitator area. In some cases, this may involve removing screws or releasing clips to lift the top panel.
-
Inspect for Any Obstructions: Take a moment to visually inspect the agitator area for any obstructions or debris that may hinder the removal process. Clearing away any visible dirt, lint, or foreign objects will make it easier to access and work on the agitator. Use a towel or rag to wipe down the area and ensure that it is clean and free from any potential impediments.
By meticulously preparing the washing machine using these steps, you set the stage for a successful agitator removal process. This preparation not only streamlines the task at hand but also contributes to a safer and more organized working environment. With the washing machine adequately prepared, you are now ready to proceed to the next step: removing the fabric softener dispenser to access the agitator bolt.
Read more: How To Remove Agitator From Kenmore Washer
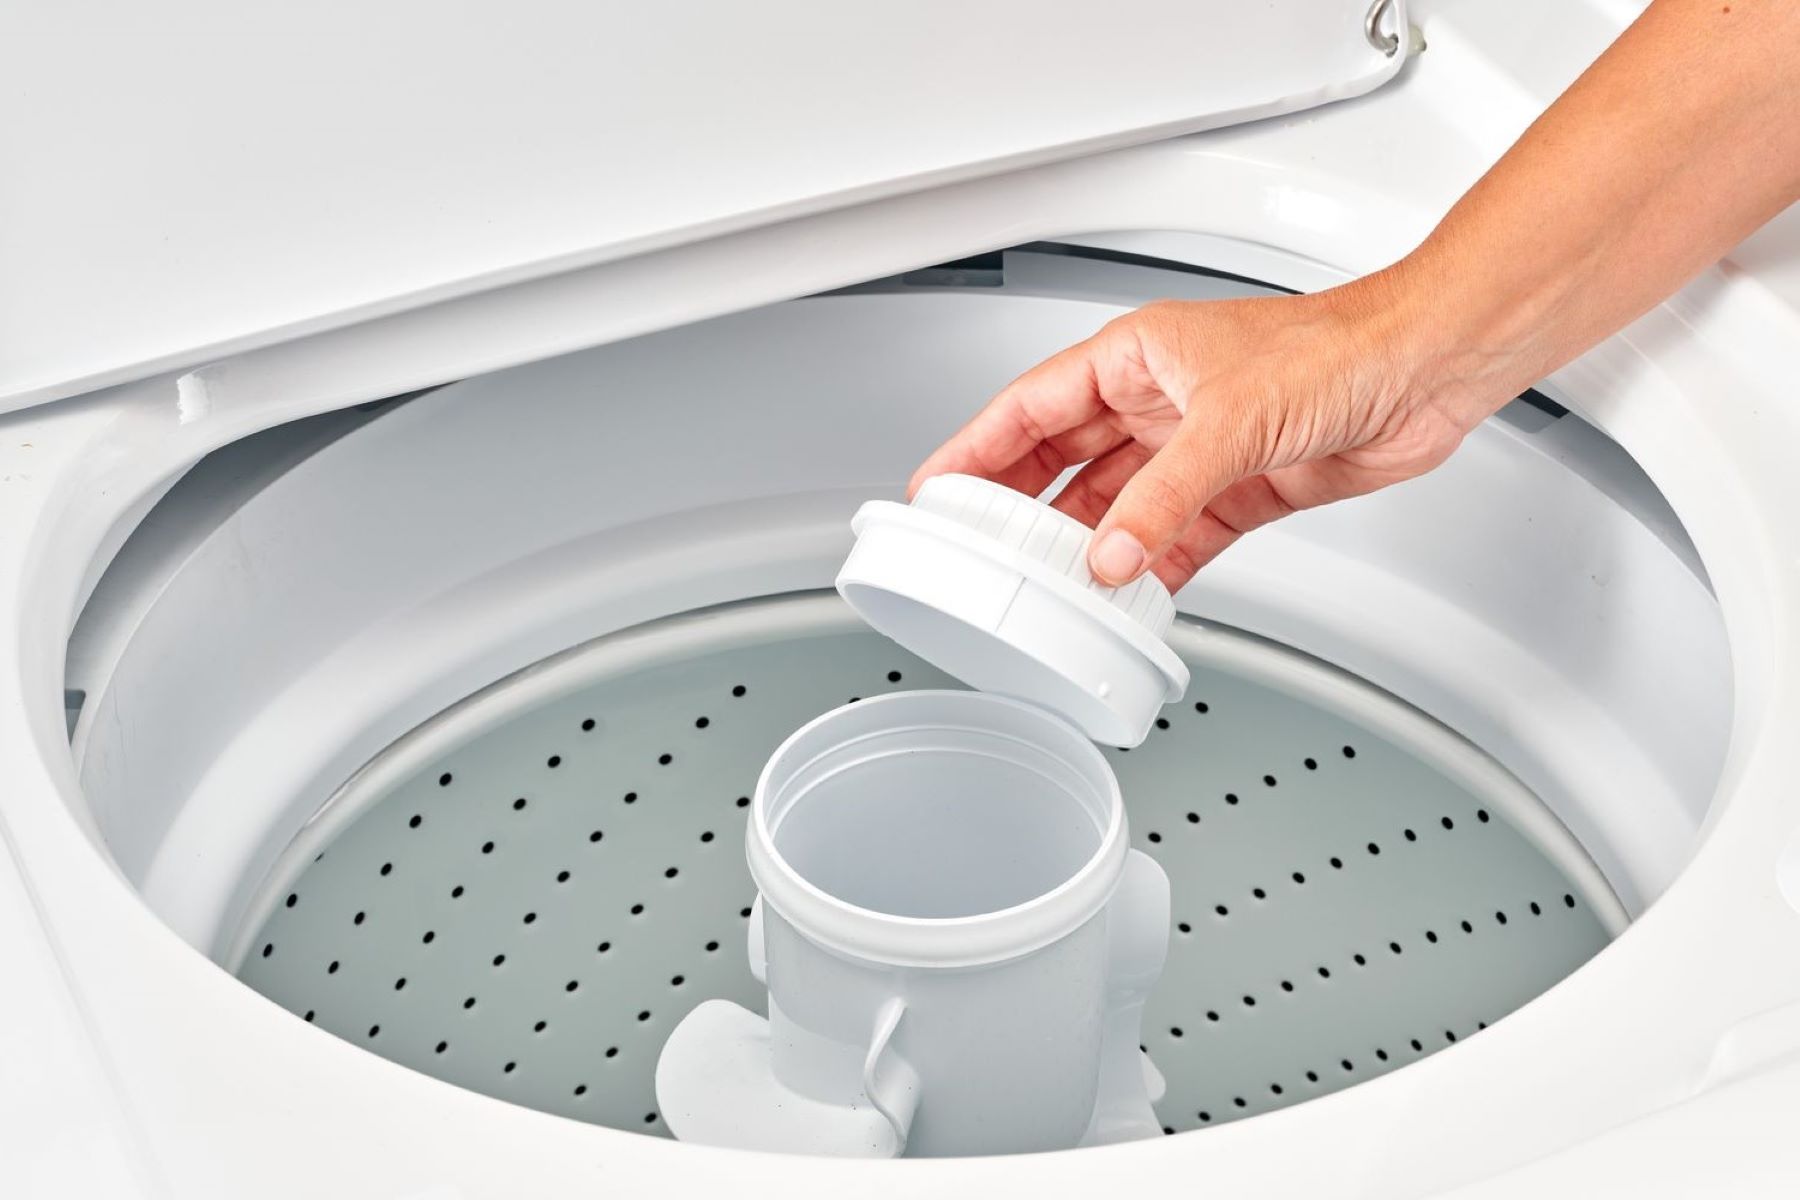
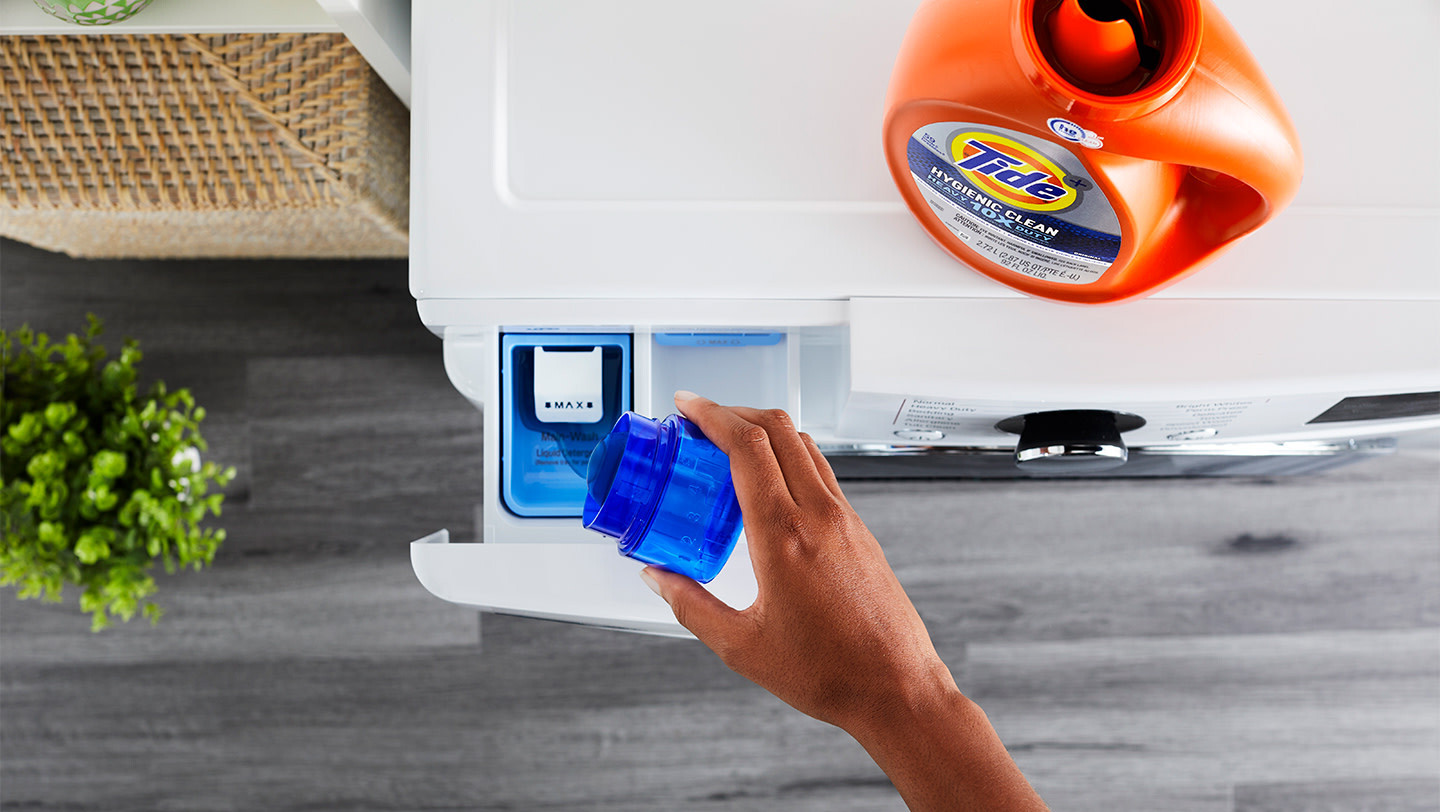
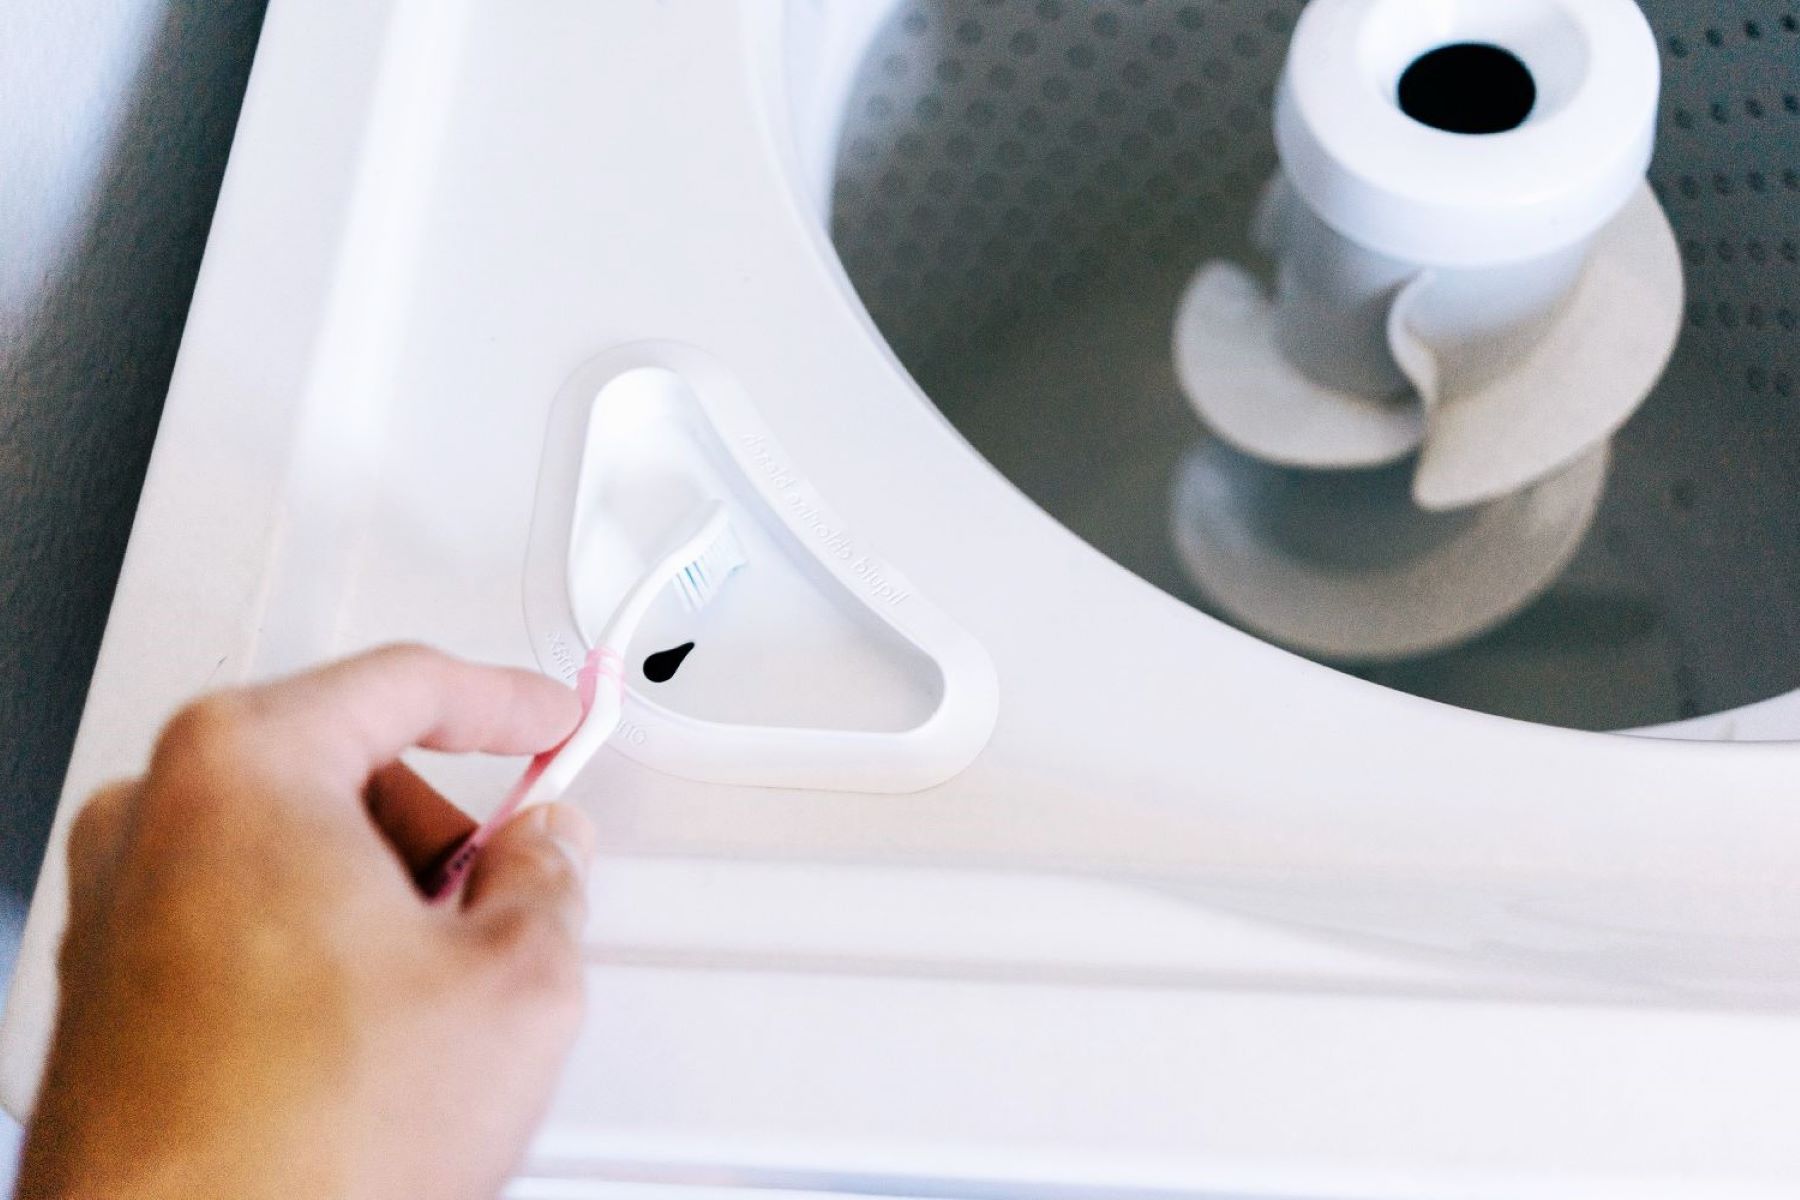
Step 2: Remove the Fabric Softener Dispenser
Removing the fabric softener dispenser is a crucial step in gaining access to the agitator bolt, which is essential for the subsequent removal of the agitator itself. Here's a detailed breakdown of the process to remove the fabric softener dispenser from your Whirlpool washing machine:
-
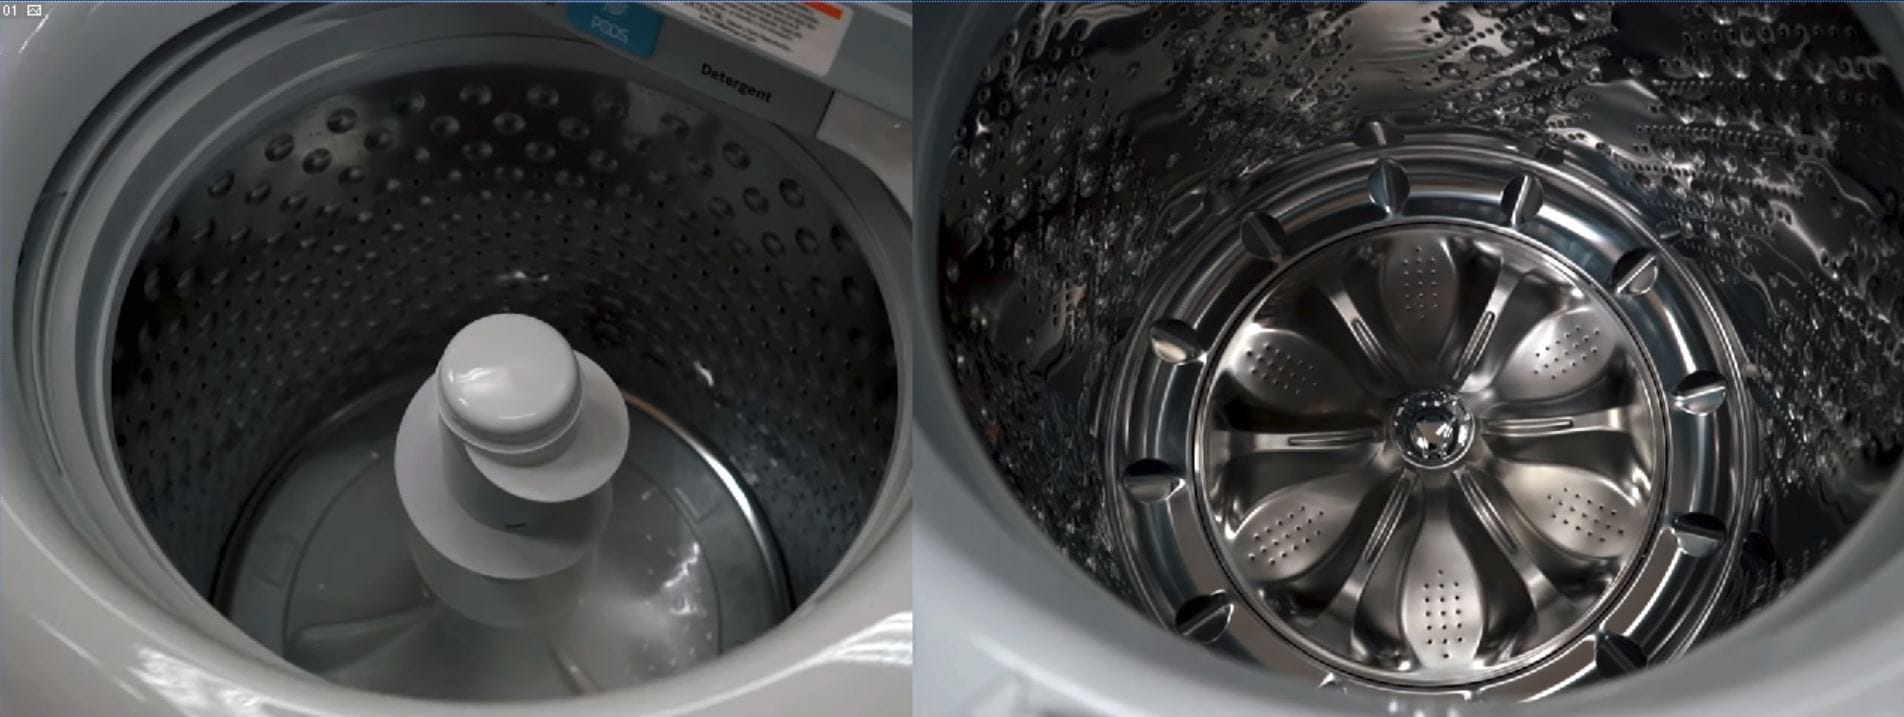
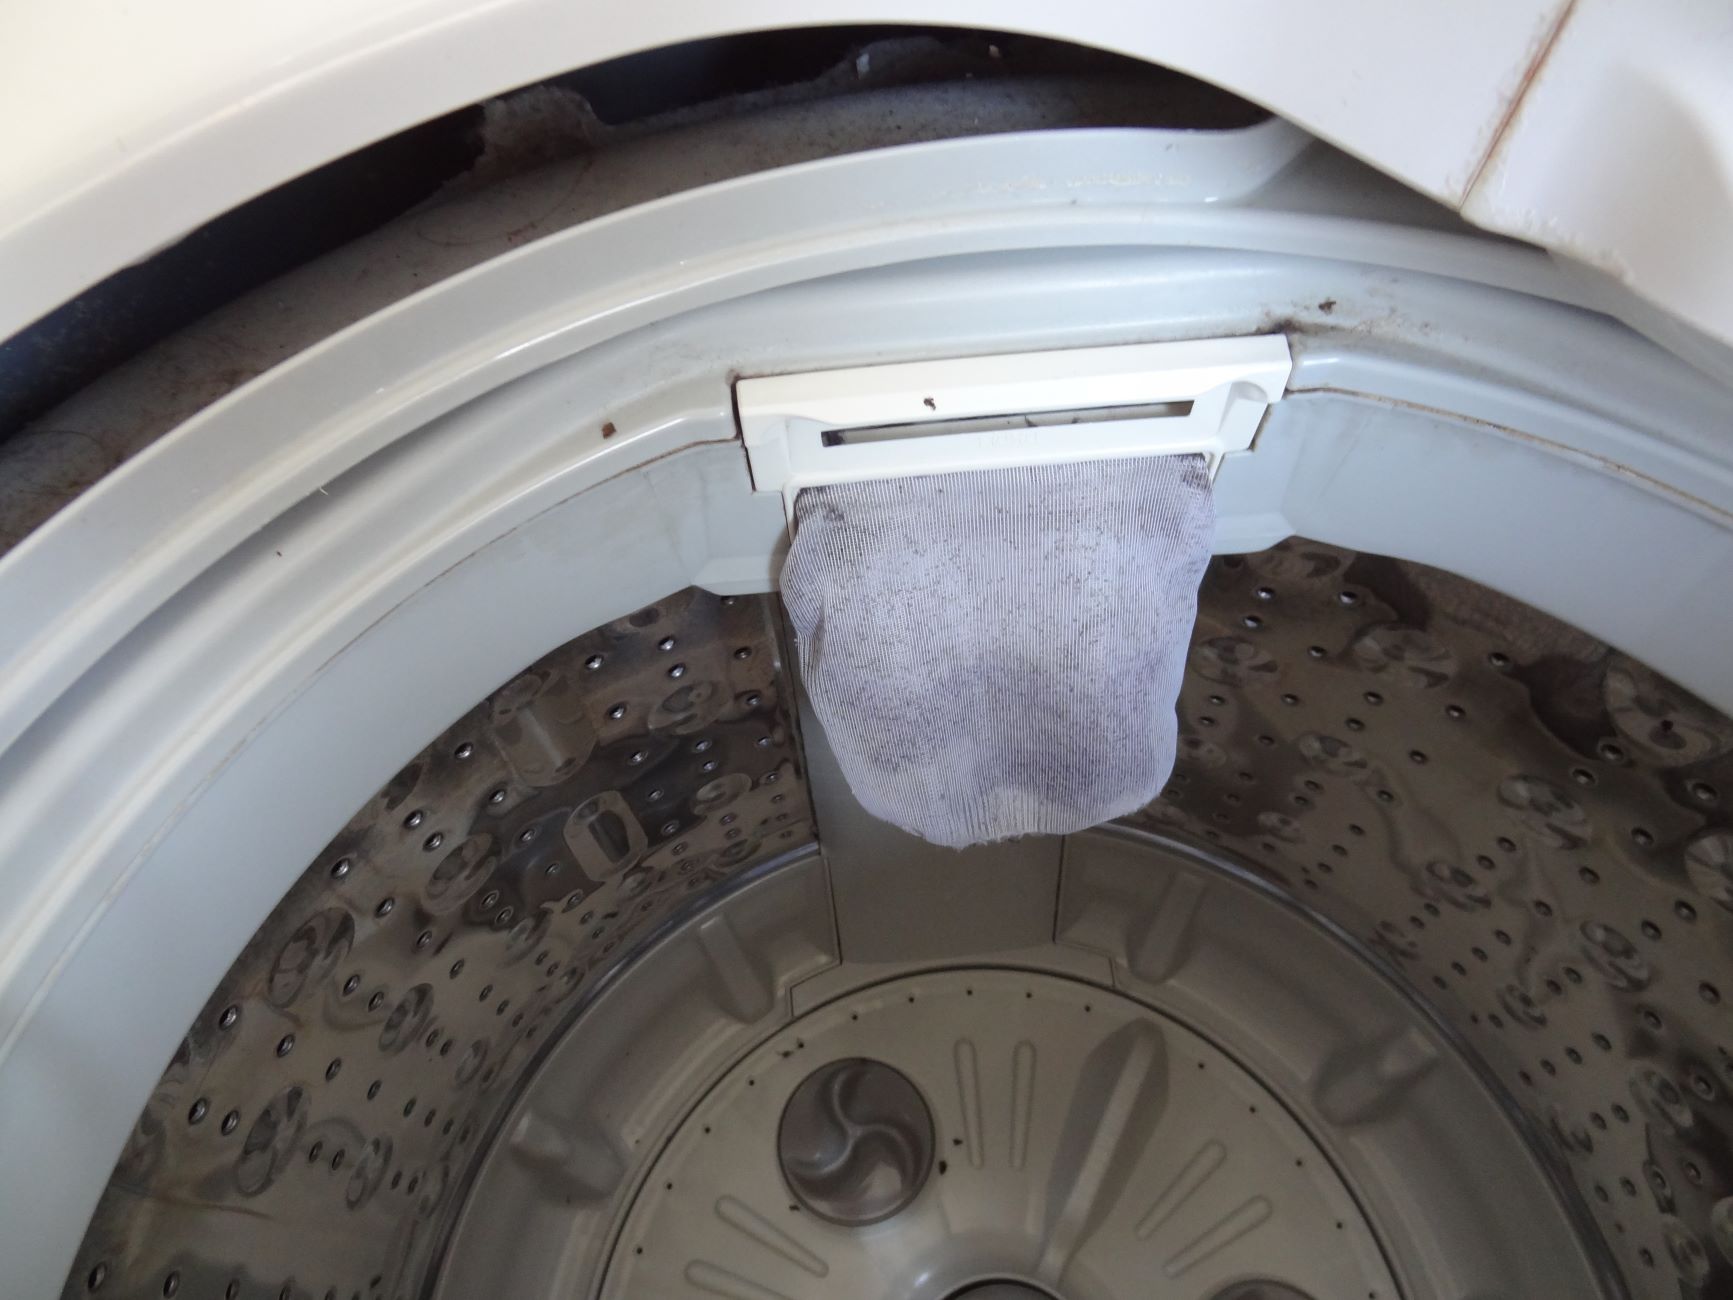
Locate the Fabric Softener Dispenser: The fabric softener dispenser is typically located on the top of the agitator. It is a small cup-like component that is often removable for cleaning and maintenance purposes.
-
Identify the Release Mechanism: Depending on the specific model of your Whirlpool washing machine, the fabric softener dispenser may be secured in place by a locking mechanism or simply placed snugly on top of the agitator. Carefully examine the dispenser to determine the type of securing mechanism it utilizes.
-
Release the Locking Mechanism: If the fabric softener dispenser is equipped with a locking mechanism, follow the manufacturer's instructions or consult the user manual to understand the proper method for releasing it. This may involve pressing a release button, turning the dispenser in a specific direction, or gently prying it with a flathead screwdriver.
-
Gently Remove the Dispenser: Once the locking mechanism is disengaged, gently lift the fabric softener dispenser from the agitator. Take care not to force it or apply excessive pressure, as this may cause damage to the dispenser or the agitator.
-
Inspect and Clean the Dispenser: With the fabric softener dispenser removed, take a moment to inspect it for any accumulated residue or blockages. Clean the dispenser thoroughly using a mild cleaning solution and a soft brush to ensure that it is free from any obstructions that may affect its functionality.
By successfully removing the fabric softener dispenser, you have now cleared the path to the agitator bolt, setting the stage for the subsequent steps in the agitator removal process. This essential preparatory step paves the way for a seamless and efficient agitator removal experience, allowing you to address maintenance tasks with confidence and precision.
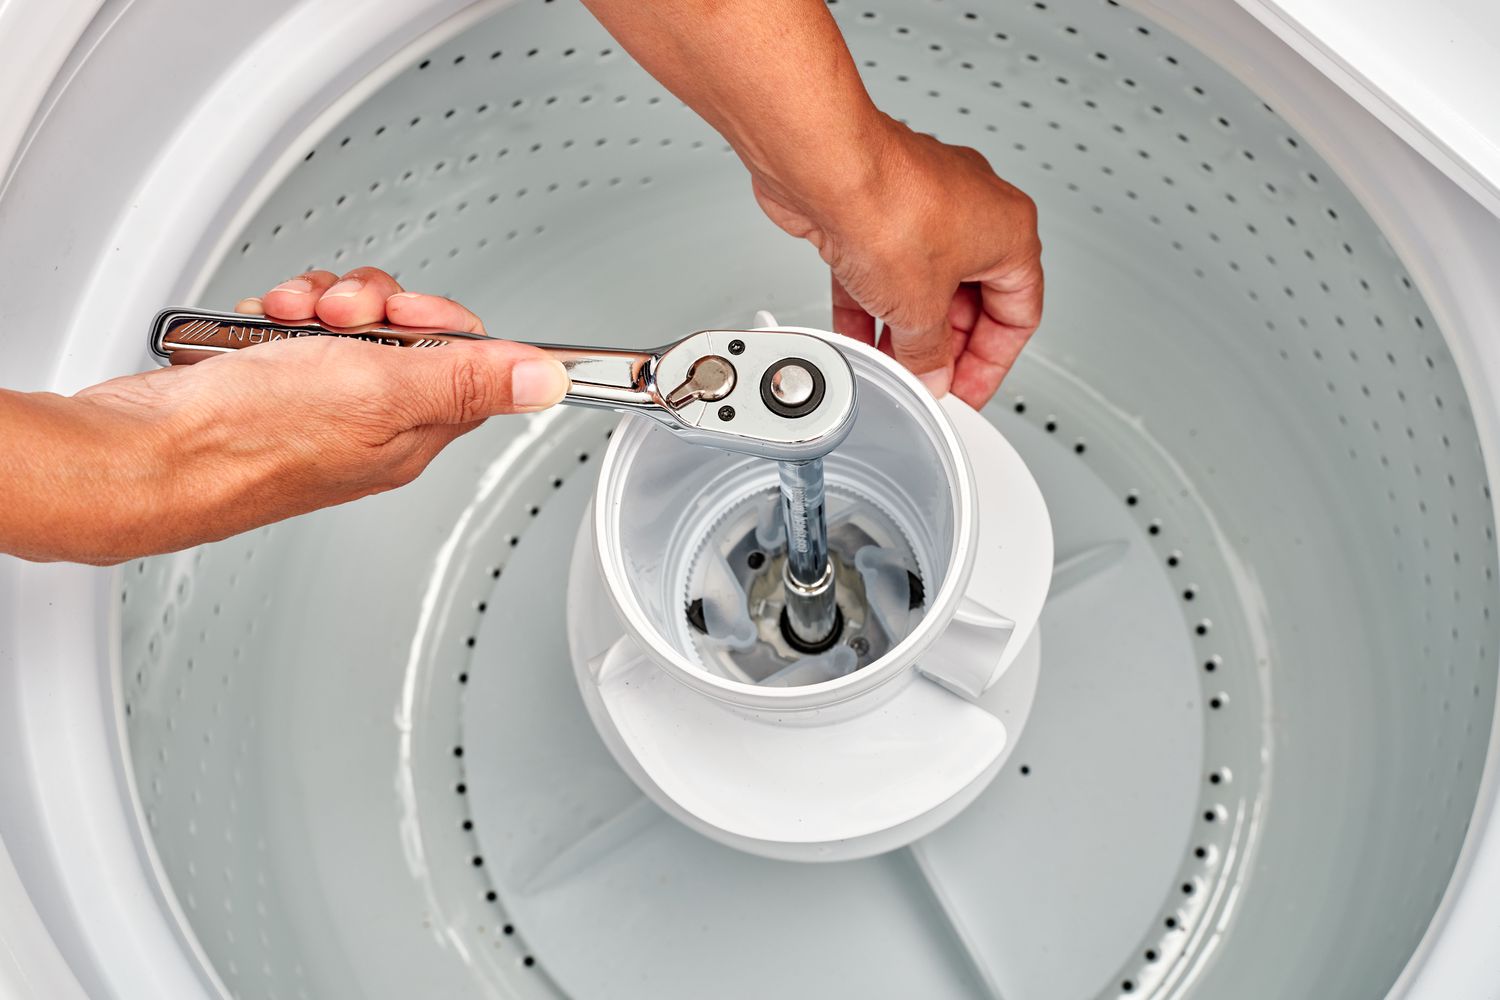
Step 3: Loosen the Agitator
With the fabric softener dispenser successfully removed, the next critical step in the process of removing the agitator from your Whirlpool washing machine is to loosen the agitator itself. This step requires precision and the use of the appropriate tools to effectively disengage the agitator from its secured position within the washing machine. Here's a detailed breakdown of the process to loosen the agitator:
-
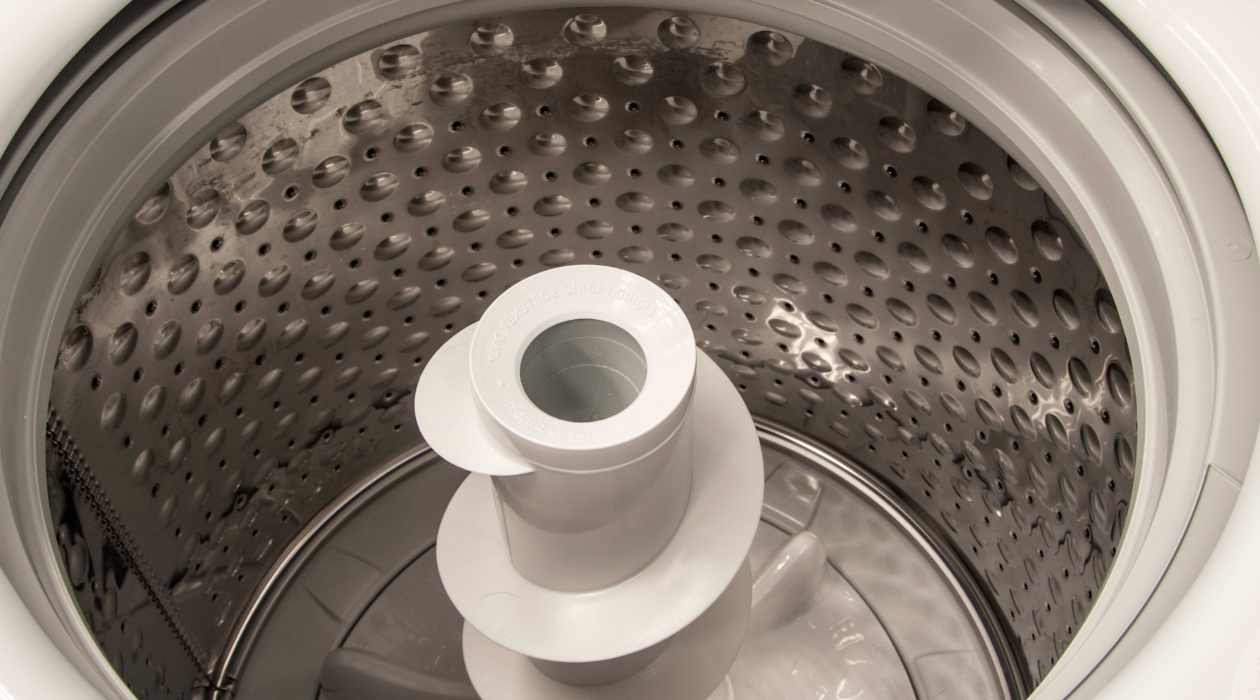
Locate the Agitator Bolt: Within the agitator assembly, there is a bolt that secures the agitator to the driveshaft. This bolt is typically located beneath the area where the fabric softener dispenser was positioned. Use a flashlight to illuminate the interior of the agitator assembly and locate the bolt.
-
Prepare the Socket Wrench: Equip the socket wrench with the appropriate socket size that matches the bolt on your specific Whirlpool washing machine model. If necessary, attach an extension to the socket wrench to ensure that you have adequate reach and maneuverability within the agitator assembly.
-
Position the Socket Wrench: Carefully insert the socket wrench into the agitator assembly, ensuring that it securely engages with the bolt. Position yourself in a way that allows for comfortable and controlled operation of the socket wrench within the confined space of the washing machine.
-
Apply Counter-Clockwise Force: With a firm grip on the socket wrench, apply steady and controlled counter-clockwise force to loosen the agitator bolt. It's essential to exercise caution and avoid excessive force, as this may cause damage to the bolt or the surrounding components.
-
Monitor the Bolt Loosening: As you turn the socket wrench, pay close attention to the sensation and sound of the bolt loosening. You may encounter initial resistance, especially if the bolt has not been loosened in a long time. Proceed with patience and gradual force to gradually release the bolt.
-
Complete the Loosening Process: Continue turning the socket wrench until the agitator bolt is fully loosened from the driveshaft. Once the bolt is disengaged, carefully remove it from the agitator assembly and set it aside in a secure location for safekeeping.
By successfully loosening the agitator bolt, you have overcome a crucial phase in the process of removing the agitator from your Whirlpool washing machine. This step sets the stage for the final phase of lifting and removing the agitator, allowing you to proceed with confidence and precision as you work towards maintaining and servicing your appliance.
Before removing the agitator from your Whirlpool washing machine, make sure to unplug the machine and turn off the water supply. Then, follow the manufacturer’s instructions for removing the agitator, which may involve unscrewing or pulling it out.
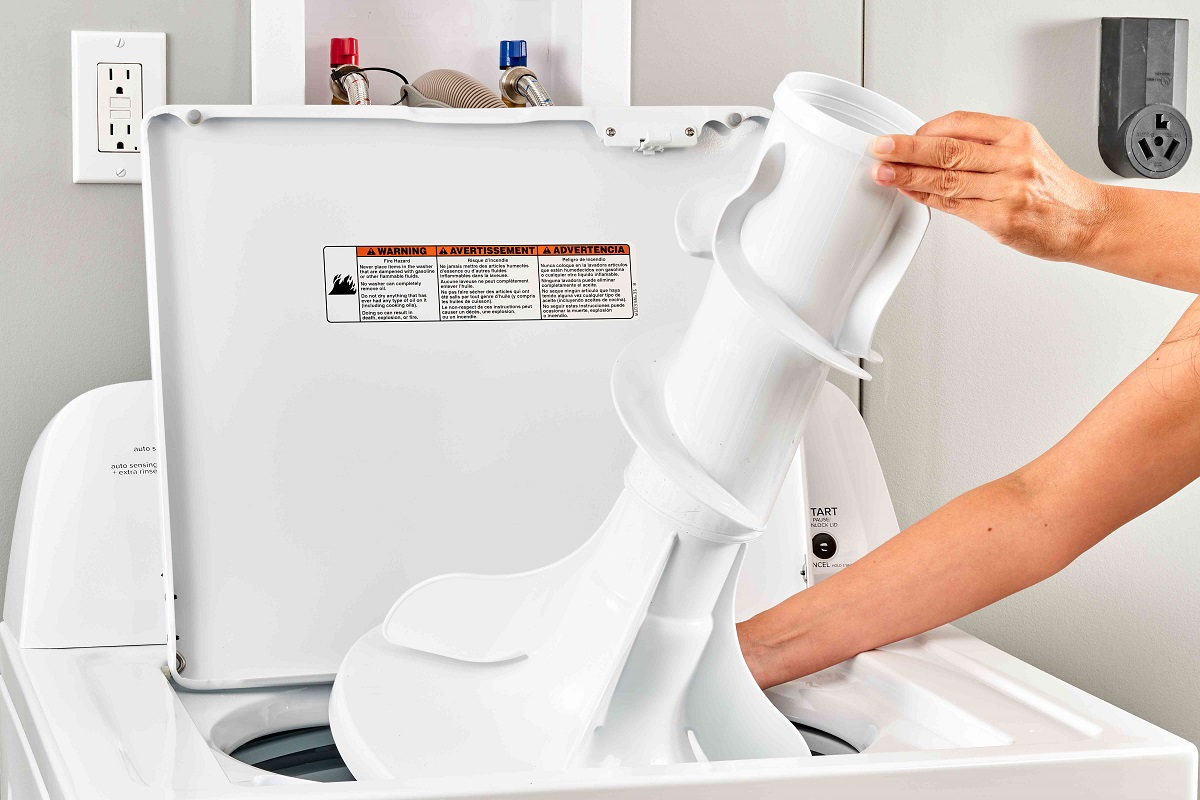
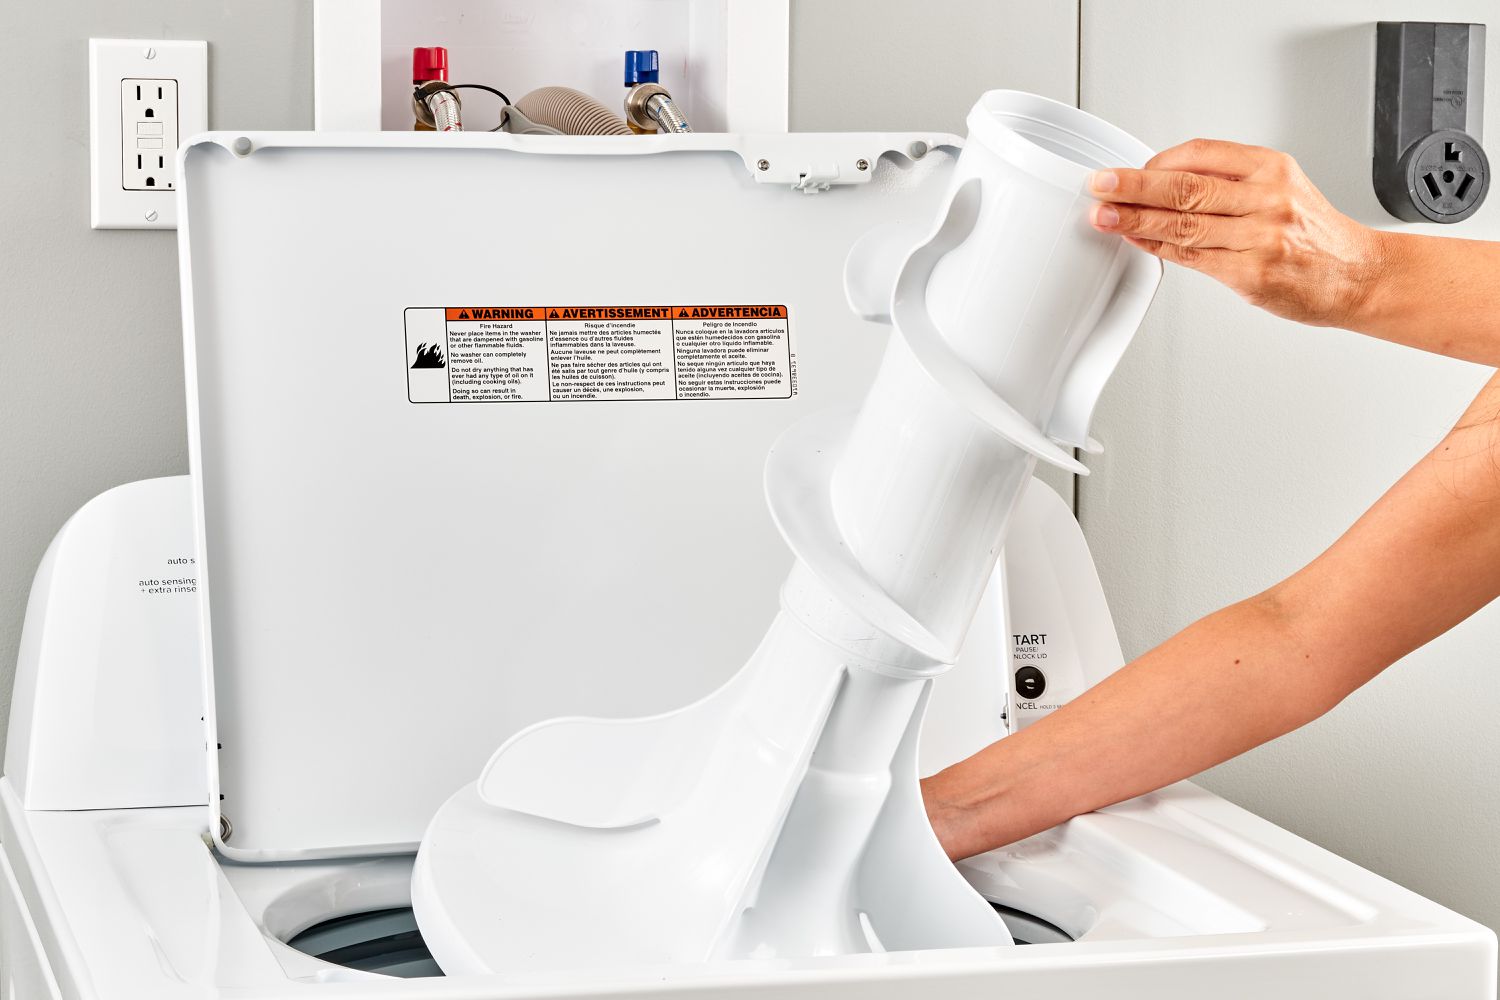
Step 4: Lift and Remove the Agitator
With the agitator bolt successfully loosened, the final phase of the agitator removal process involves lifting and removing the agitator from your Whirlpool washing machine. This step requires careful maneuvering and attention to detail to ensure a smooth and efficient removal experience. Here's a detailed breakdown of the process to lift and remove the agitator:
-
Position Yourself for Access: With the agitator bolt loosened, position yourself in a way that allows for unobstructed access to the agitator. Ensure that you have ample space to maneuver and lift the agitator without any hindrances.
-
Grip the Agitator: Reach into the agitator assembly and firmly grip the base of the agitator. Depending on the design of your specific Whirlpool washing machine model, the agitator may have ridges or handles that provide a suitable gripping point.
-
Apply Upward Force: With a steady and controlled motion, apply upward force to the agitator, gradually lifting it from its position within the washing machine. It's essential to exercise caution and avoid sudden jerking motions to prevent damage to the agitator or surrounding components.
-
Inspect for Resistance: As you lift the agitator, pay attention to any resistance or sticking points. If the agitator encounters significant resistance, gently rock it from side to side while continuing to lift, as this may help dislodge it from any remaining grip on the driveshaft.
-
Lift the Agitator Clear: Continue lifting the agitator until it is completely clear of the driveshaft and free from the agitator assembly. Take care to maintain a firm grip and support the weight of the agitator to prevent any accidental dropping or damage.
-
Inspect the Agitator Assembly: With the agitator removed, take a moment to inspect the interior of the agitator assembly. Look for any accumulated debris, dirt, or residues that may have collected beneath the agitator. Use a towel or rag to clean the area, ensuring that it is free from any obstructions.
By successfully lifting and removing the agitator from your Whirlpool washing machine, you have completed the essential steps in the agitator removal process. Whether you are performing maintenance, cleaning, or replacing the agitator, this accomplishment empowers you to effectively address the needs of your appliance and maintain its optimal functionality.
Conclusion
Congratulations on successfully navigating the process of removing the agitator from your Whirlpool washing machine! By following the comprehensive steps outlined in this guide, you have gained valuable insights into the essential maintenance task of agitator removal. This accomplishment not only empowers you to maintain and service your appliance but also contributes to the overall efficiency and longevity of your washing machine.
As you conclude the agitator removal process, take a moment to reflect on the knowledge and skills you have acquired. You now possess the confidence and capability to address various maintenance needs, whether it involves cleaning the agitator, accessing other components within the washing machine, or even replacing the agitator if necessary. This newfound proficiency positions you as a proactive and resourceful appliance owner, capable of preserving the optimal performance of your Whirlpool washing machine.
Furthermore, the successful completion of the agitator removal process underscores your commitment to appliance care and maintenance. By investing time and effort into understanding and executing essential maintenance tasks, you demonstrate a proactive approach to appliance ownership. This proactive stance not only enhances the functionality of your washing machine but also contributes to cost savings by mitigating the need for extensive repairs or replacements in the future.
As you move forward, consider integrating regular maintenance tasks, including agitator inspection and cleaning, into your appliance care routine. By staying proactive and attentive to the needs of your washing machine, you can ensure that it continues to deliver exceptional performance and reliability for years to come. Additionally, the knowledge and skills you have gained through the agitator removal process can be applied to other maintenance tasks, further enhancing your ability to care for your appliances effectively.
In conclusion, the successful removal of the agitator from your Whirlpool washing machine marks a significant achievement in your journey as a proactive and capable appliance owner. By embracing the principles of maintenance and care, you are poised to enjoy the enduring benefits of a well-maintained and optimally functioning washing machine. Your dedication to appliance maintenance sets a commendable standard for proactive ownership and serves as a testament to your commitment to preserving the longevity and performance of your valuable appliances.
Successfully removed the agitator from your Whirlpool washer? Great job! Now, why stop there? If you've got a Maytag machine gathering dust, our next guide can help with that too. Dive into our detailed instructions on agitator removal for Maytag washers. With clear steps and essential tips, maintaining your laundry appliances has never been simpler. Keep them running smoothly and extend their lifespan with a bit of DIY prowess. Ready for another round of handy appliance fixes? Check out our next tutorial.
Frequently Asked Questions about How To Remove Agitator From A Whirlpool Washing Machine
Was this page helpful?
At Storables.com, we guarantee accurate and reliable information. Our content, validated by Expert Board Contributors, is crafted following stringent Editorial Policies. We're committed to providing you with well-researched, expert-backed insights for all your informational needs.

0 thoughts on “How To Remove Agitator From A Whirlpool Washing Machine”