Articles
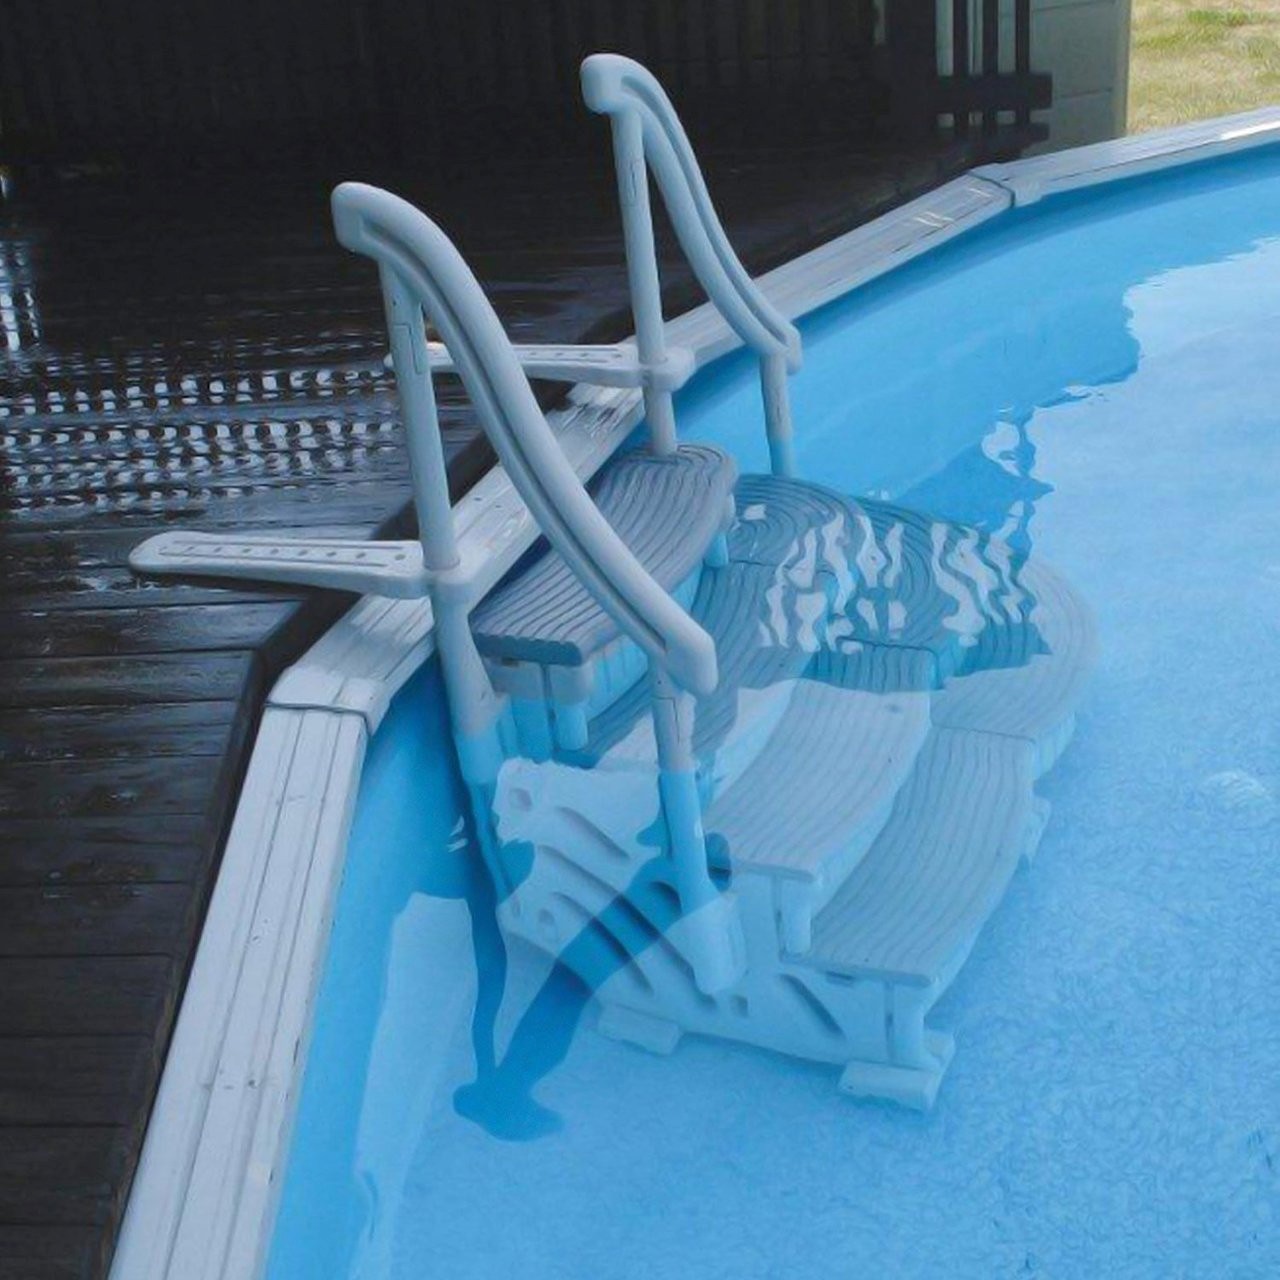
How To Remove Pool Ladder
Modified: October 28, 2024
Learn how to remove a pool ladder with our informative articles. Follow our step-by-step guide for easy removal and maintenance tips.
(Many of the links in this article redirect to a specific reviewed product. Your purchase of these products through affiliate links helps to generate commission for Storables.com, at no extra cost. Learn more)
Introduction
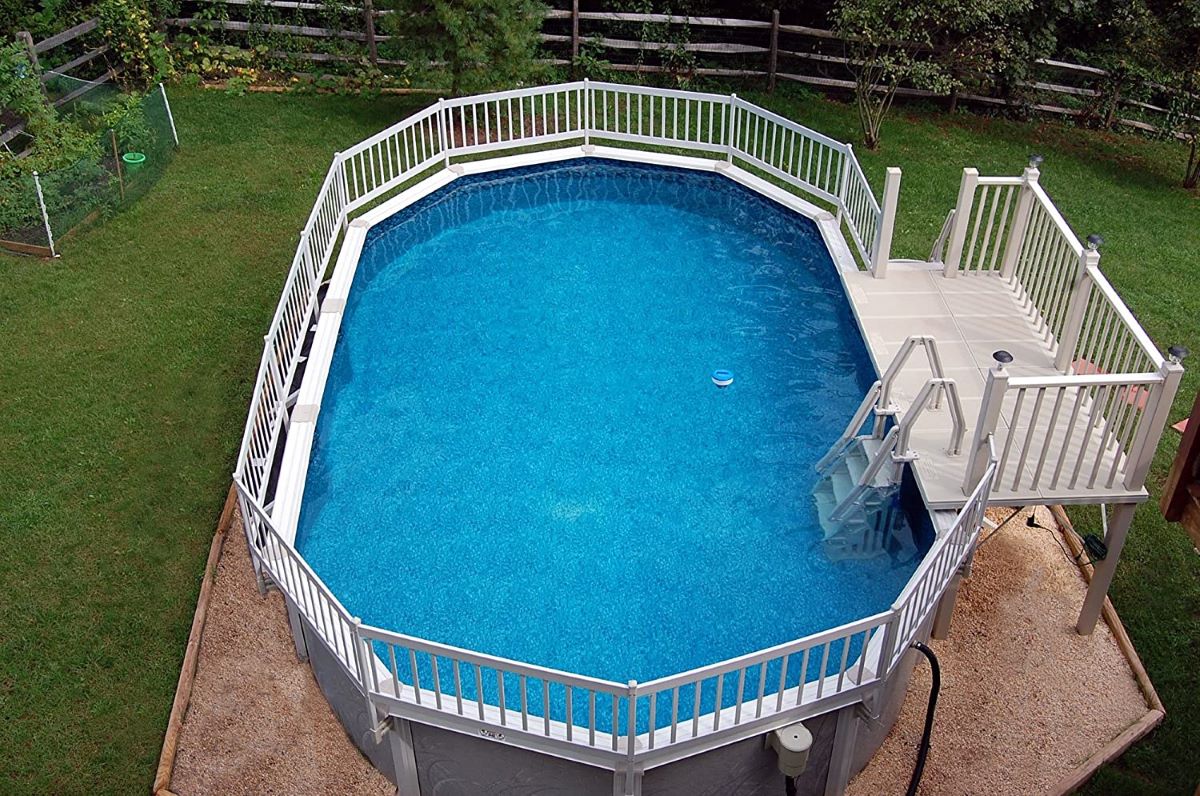
Having a pool ladder is a convenient and safe way to access your swimming pool. However, there may come a time when you need to remove the pool ladder. It could be due to maintenance, repairs, or simply because it’s no longer needed. Whatever the reason, removing a pool ladder can be a simple process with the right tools and steps.
In this article, we will guide you through the step-by-step process of removing a pool ladder. We will cover everything from gathering the necessary tools and materials to storing the ladder properly after removal. By following these instructions, you can successfully remove your pool ladder and ensure a smooth swimming experience.
Key Takeaways:
- Safely and efficiently remove your pool ladder by following step-by-step instructions, from gathering tools to proper storage, ensuring a smooth swimming experience and hassle-free removal process.
- Partially drain the pool, remove ladder anchors, steps, and rails, and store the ladder properly to maintain its longevity and ensure easy reassembly for future use.
Read more: How To Build Pool Ladder
Step 1: Gather Necessary Tools and Materials
Before you begin the process of removing a pool ladder, it’s important to gather all the necessary tools and materials. This ensures that you have everything you need within reach, making the process efficient and seamless.
The tools and materials you’ll need may vary depending on the type of pool ladder you have and its installation method. However, here are some common items you may need:
- Screwdriver or Allen wrench: These tools are typically used to loosen and remove screws or bolts that hold the ladder in place.
- Adjustable wrench: You may need an adjustable wrench to loosen and remove any nuts or bolts that secure the ladder to the pool.
- Pliers: Pliers can come in handy if you need to grip and loosen any tight fittings or connectors.
- Bucket or container: It’s useful to have a bucket or container nearby to place any loose screws, nuts, or bolts so that you don’t lose them during the removal process.
- Ladder removal kit (if applicable): Some pool ladders come with a specific removal kit that includes tools designed for that particular ladder model. Check the manufacturer’s instructions or the ladder’s packaging to see if such a kit is required.
- Protective gloves: It’s always a good idea to wear protective gloves while handling any tools or parts to prevent injury.
By ensuring you have all the necessary tools and materials beforehand, you can proceed with confidence to the next step of removing your pool ladder.
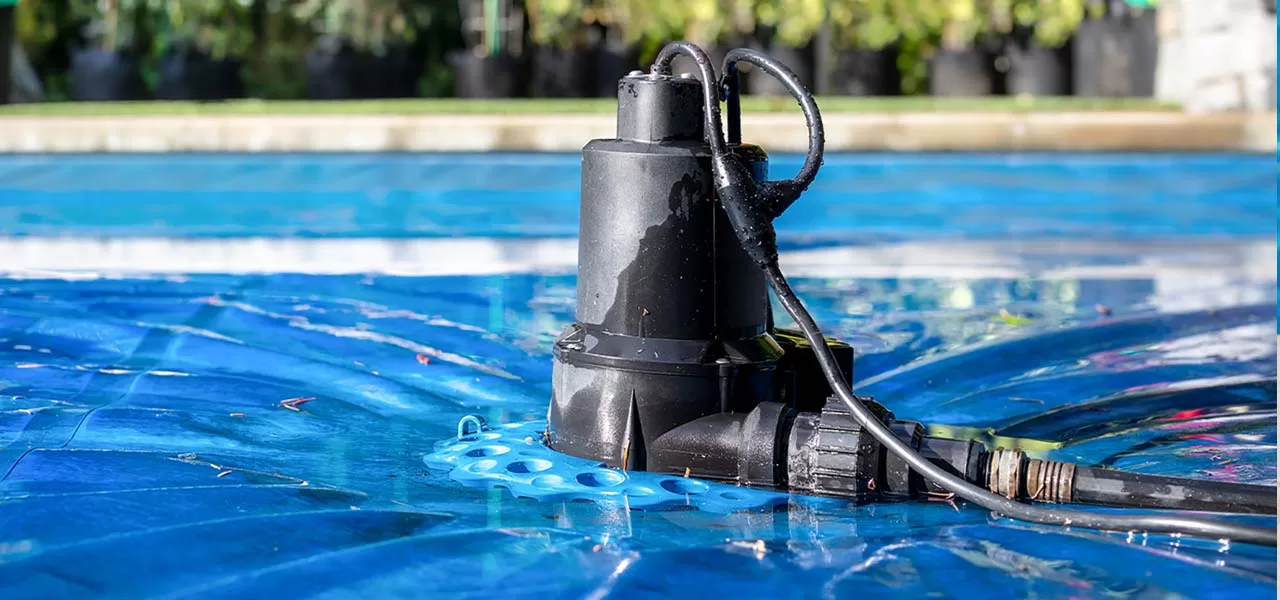
Step 2: Drain the Pool Partially
Before you can safely remove the pool ladder, it’s important to partially drain the pool. This step reduces the water level, making it easier to access and remove the ladder without getting water everywhere.
Here’s a step-by-step guide on how to drain the pool partially:
- Turn off the pool’s filtration system: Before proceeding with draining the pool, ensure that the filtration system is turned off. This prevents any potential damage to the system during the process.
- Observe the water level: Take note of the current water level in the pool to determine how much water needs to be drained. Ideally, you should aim to lower the water level just below the ladder’s bottom step.
- Locate the pool’s drain valve: Depending on your pool’s design, the drain valve may be located at the bottom of the pool or on the side. Identify the valve and ensure you have access to it.
- Connect a garden hose to the drain valve: Attach a garden hose to the drain valve and securely tighten it. Ensure that the other end of the hose is placed in an appropriate drainage area, such as a nearby gutter or a sloped area away from the pool.
- Open the drain valve: Slowly open the drain valve to allow water to flow out of the pool. Monitor the water level as it drains, making sure it reaches the desired level just below the ladder’s bottom step.
- Close the drain valve: Once you’ve reached the desired water level, promptly close the drain valve to stop the water flow. Remove the garden hose and store it away.
By following these steps, you can safely and effectively drain the pool to a suitable level for removing the ladder. This will help avoid any potential water damage or unnecessary spills during the ladder removal process.
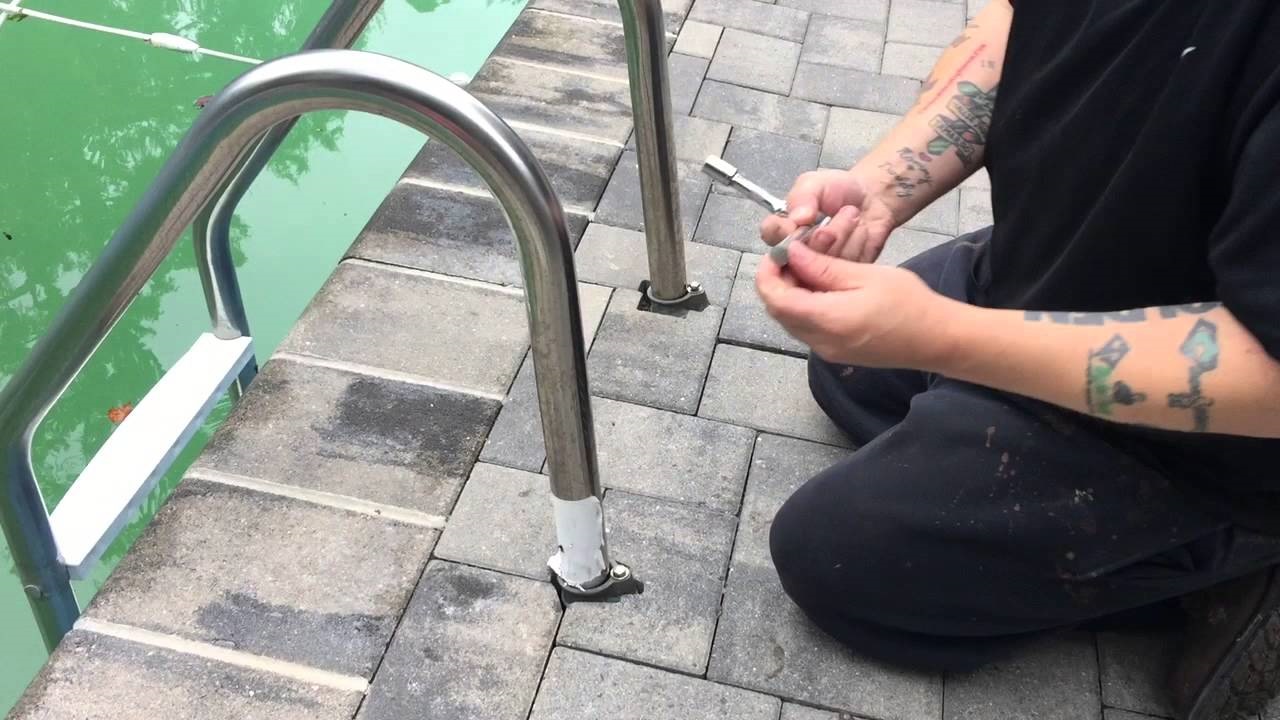
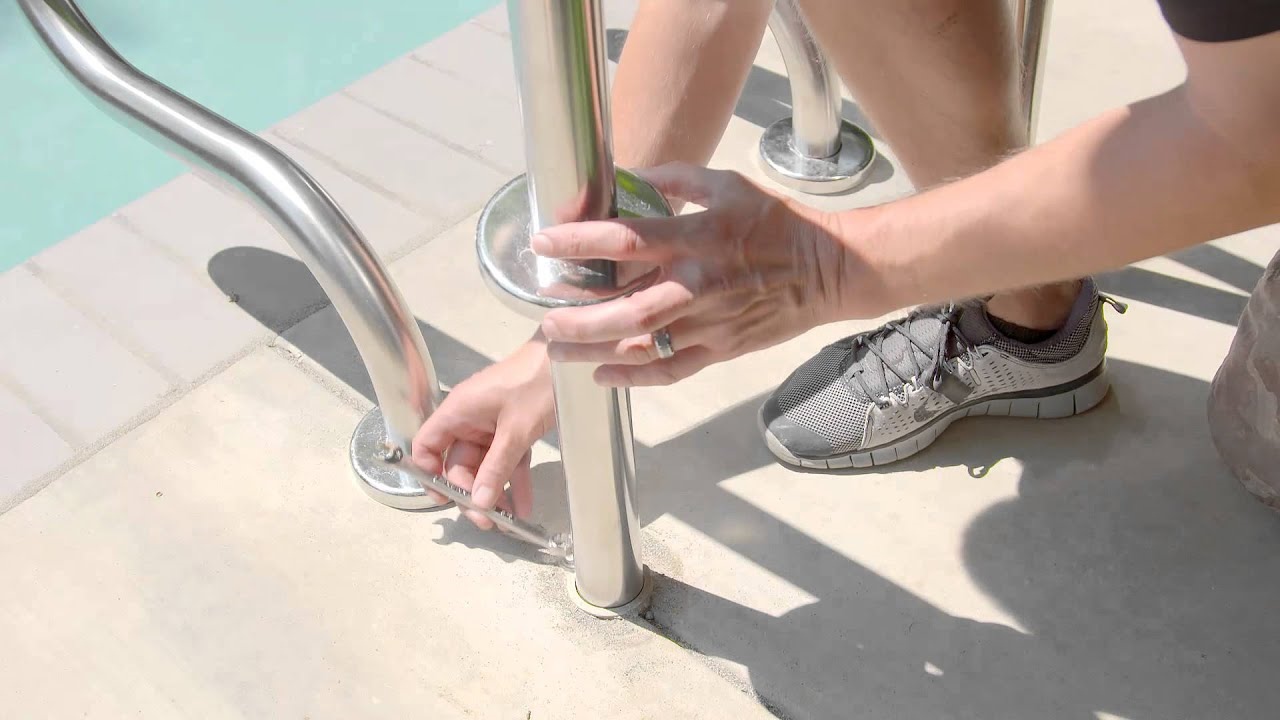
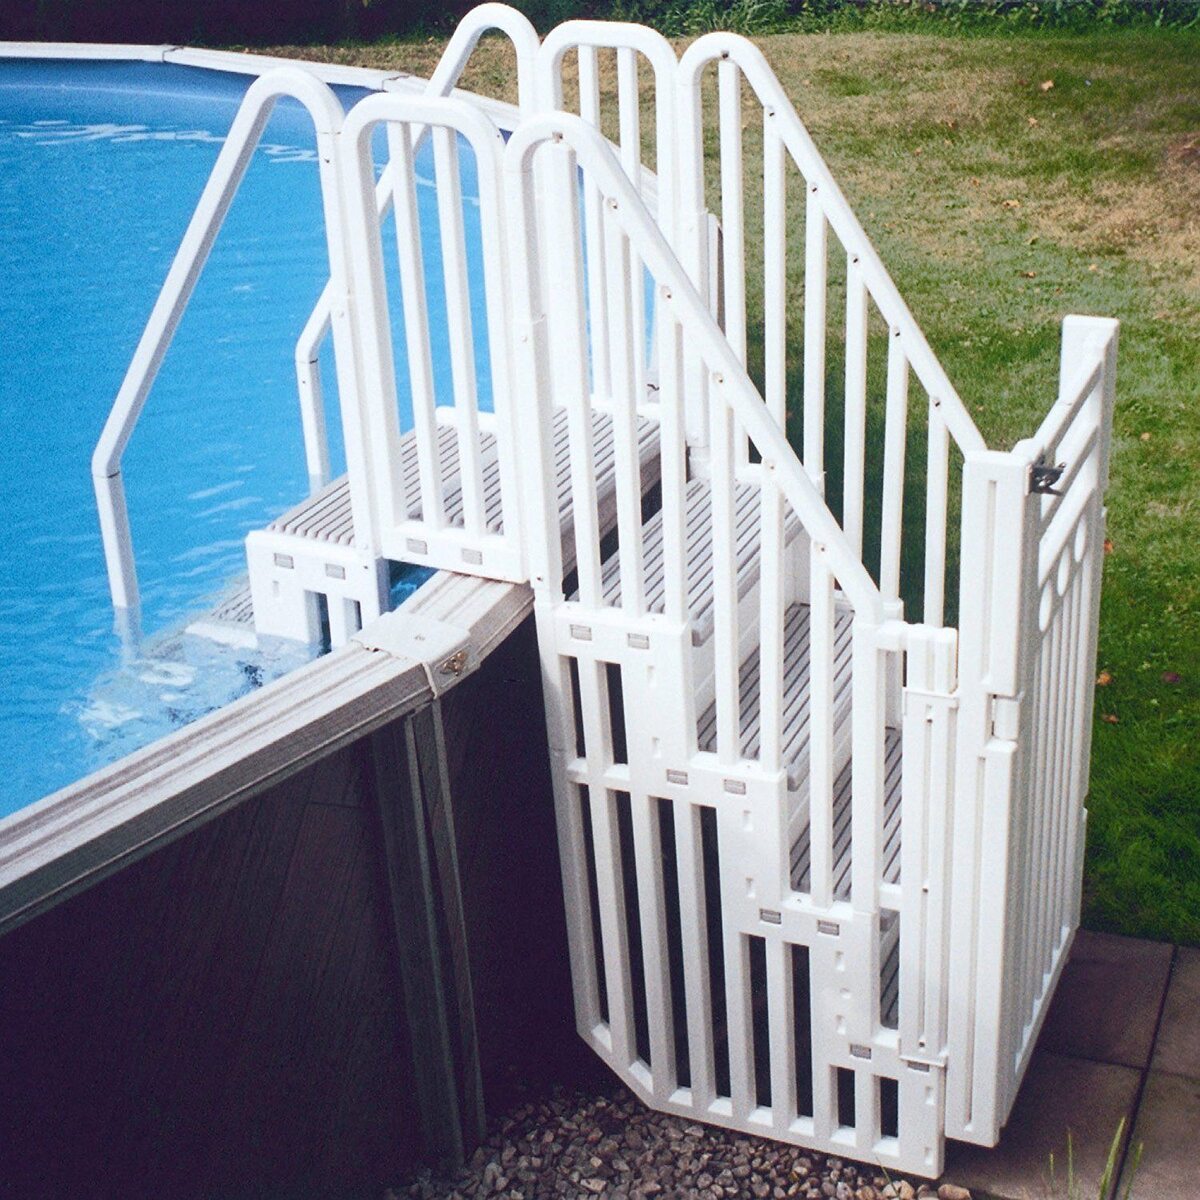
Step 3: Remove the Ladder Anchors
After draining the pool, the next step in removing the pool ladder is to remove the ladder anchors. These are the fittings that secure the ladder to the pool deck or wall. The method for removing the anchors may vary depending on the ladder’s design, so it’s important to refer to the manufacturer’s instructions for specific guidance. However, here are some general steps to follow:
- Inspect the ladder anchors: Take a close look at the ladder anchors to identify the type and method of attachment. They may be in the form of plates, flanges, or brackets that are bolted or screwed into the pool deck or wall.
- Prepare the necessary tools: Depending on the anchor type, you may need a screwdriver, socket wrench, Allen wrench, or other appropriate tools. Make sure you have the tools readily available before proceeding.
- Loosen and remove the anchor fasteners: Carefully loosen and remove the fasteners that secure the ladder anchors to the pool deck or wall. It’s important to do this step gently to avoid damaging the pool’s surface or the ladder itself.
- Detach the ladder anchor plates: Once the fasteners are removed, detach the ladder anchor plates from the pool deck or wall. Again, use caution to prevent any damage during this process.
- Inspect and clean the anchor areas: After removing the ladder anchors, inspect the areas where they were attached. Clean any debris or dirt that may have accumulated to ensure a smooth surface for future installations or attachments.
Remember to follow any additional instructions or precautions provided by the ladder manufacturer. By proceeding carefully and methodically, you can successfully remove the ladder anchors and prepare for the next steps of removing the ladder steps and rails.
Before removing the pool ladder, make sure to drain the pool water below the ladder level. Then, use a wrench to loosen and remove the ladder anchors from the pool deck. Finally, carefully lift the ladder out of the pool.
Step 4: Unscrew and Remove Ladder Steps
With the ladder anchors removed, it’s time to unscrew and remove the ladder steps. The steps are the individual rungs or platforms that make up the ladder and provide the steps for climbing in and out of the pool. Here’s a step-by-step guide on how to remove the ladder steps:
- Inspect the ladder steps: Examine the ladder steps to familiarize yourself with their attachment method and any screws or bolts that may be securing them.
- Prepare the necessary tools: Depending on the ladder’s design, you may need a screwdriver, Allen wrench, or socket wrench to unscrew the steps. Ensure you have the appropriate tools readily available.
- Identify the screws or bolts: Locate the screws or bolts that secure the ladder steps to the ladder rails or side support bars. These fasteners may be visible from the top or underside of the steps.
- Unscrew the fasteners: Using the appropriate tool, carefully unscrew the fasteners that secure the ladder steps. Keep track of the removed screws or bolts and place them in a safe container, such as the bucket or container mentioned earlier.
- Remove the ladder steps: Once the fasteners are loosened or removed, you can gently pull or slide the ladder steps out of their attachment points. If any resistance is encountered, double-check for any remaining fasteners and remove them before proceeding.
Take note of the order and arrangement of the ladder steps for reassembly purposes, especially if the steps are different sizes or have specific orientations. Storing the ladder steps safely and securely during the removal process will also help prevent any damage or misplacement.
By following these steps, you can effectively unscrew and remove the ladder steps, getting closer to completing the process of removing the pool ladder.
Read more: Where To Buy A Pool Ladder
Step 5: Detach the Ladder Rails from the Pool Wall
With the ladder steps removed, the next step is to detach the ladder rails from the pool wall. These are the vertical bars or rails that provide structural support and stability to the ladder. Depending on the ladder design, the rails may be attached to the pool wall using various methods, such as brackets or hooks. Here’s a step-by-step guide on how to detach the ladder rails:
- Inspect the ladder rails: Take a close look at the ladder rails to identify how they are connected to the pool wall and any fasteners or fittings used for attachment.
- Prepare the necessary tools: Depending on the attachment method, you may need a screwdriver, socket wrench, or other appropriate tools. Make sure you have the necessary tools readily available.
- Loosen the rail fasteners: Using the appropriate tool, carefully loosen the fasteners that secure the ladder rails to the pool wall. This may involve unscrewing bolts or removing hooks, depending on the design.
- Detach the ladder rails: Once the fasteners are loosened or removed, gently pry or slide the ladder rails away from the pool wall. Depending on the design and attachment method, you may need to lift or angle the rails to release them fully.
- Inspect and clean the attachment area: After removing the ladder rails, inspect the areas of the pool wall where they were attached. Clean any debris or dirt to ensure a smooth surface and to prepare for future installations or attachments.
Remember to follow any additional instructions or guidelines provided by the ladder manufacturer. Take care not to damage the pool wall or the ladder rails during the detachment process. By proceeding systematically and attentively, you can successfully detach the ladder rails and complete the process of removing the pool ladder.
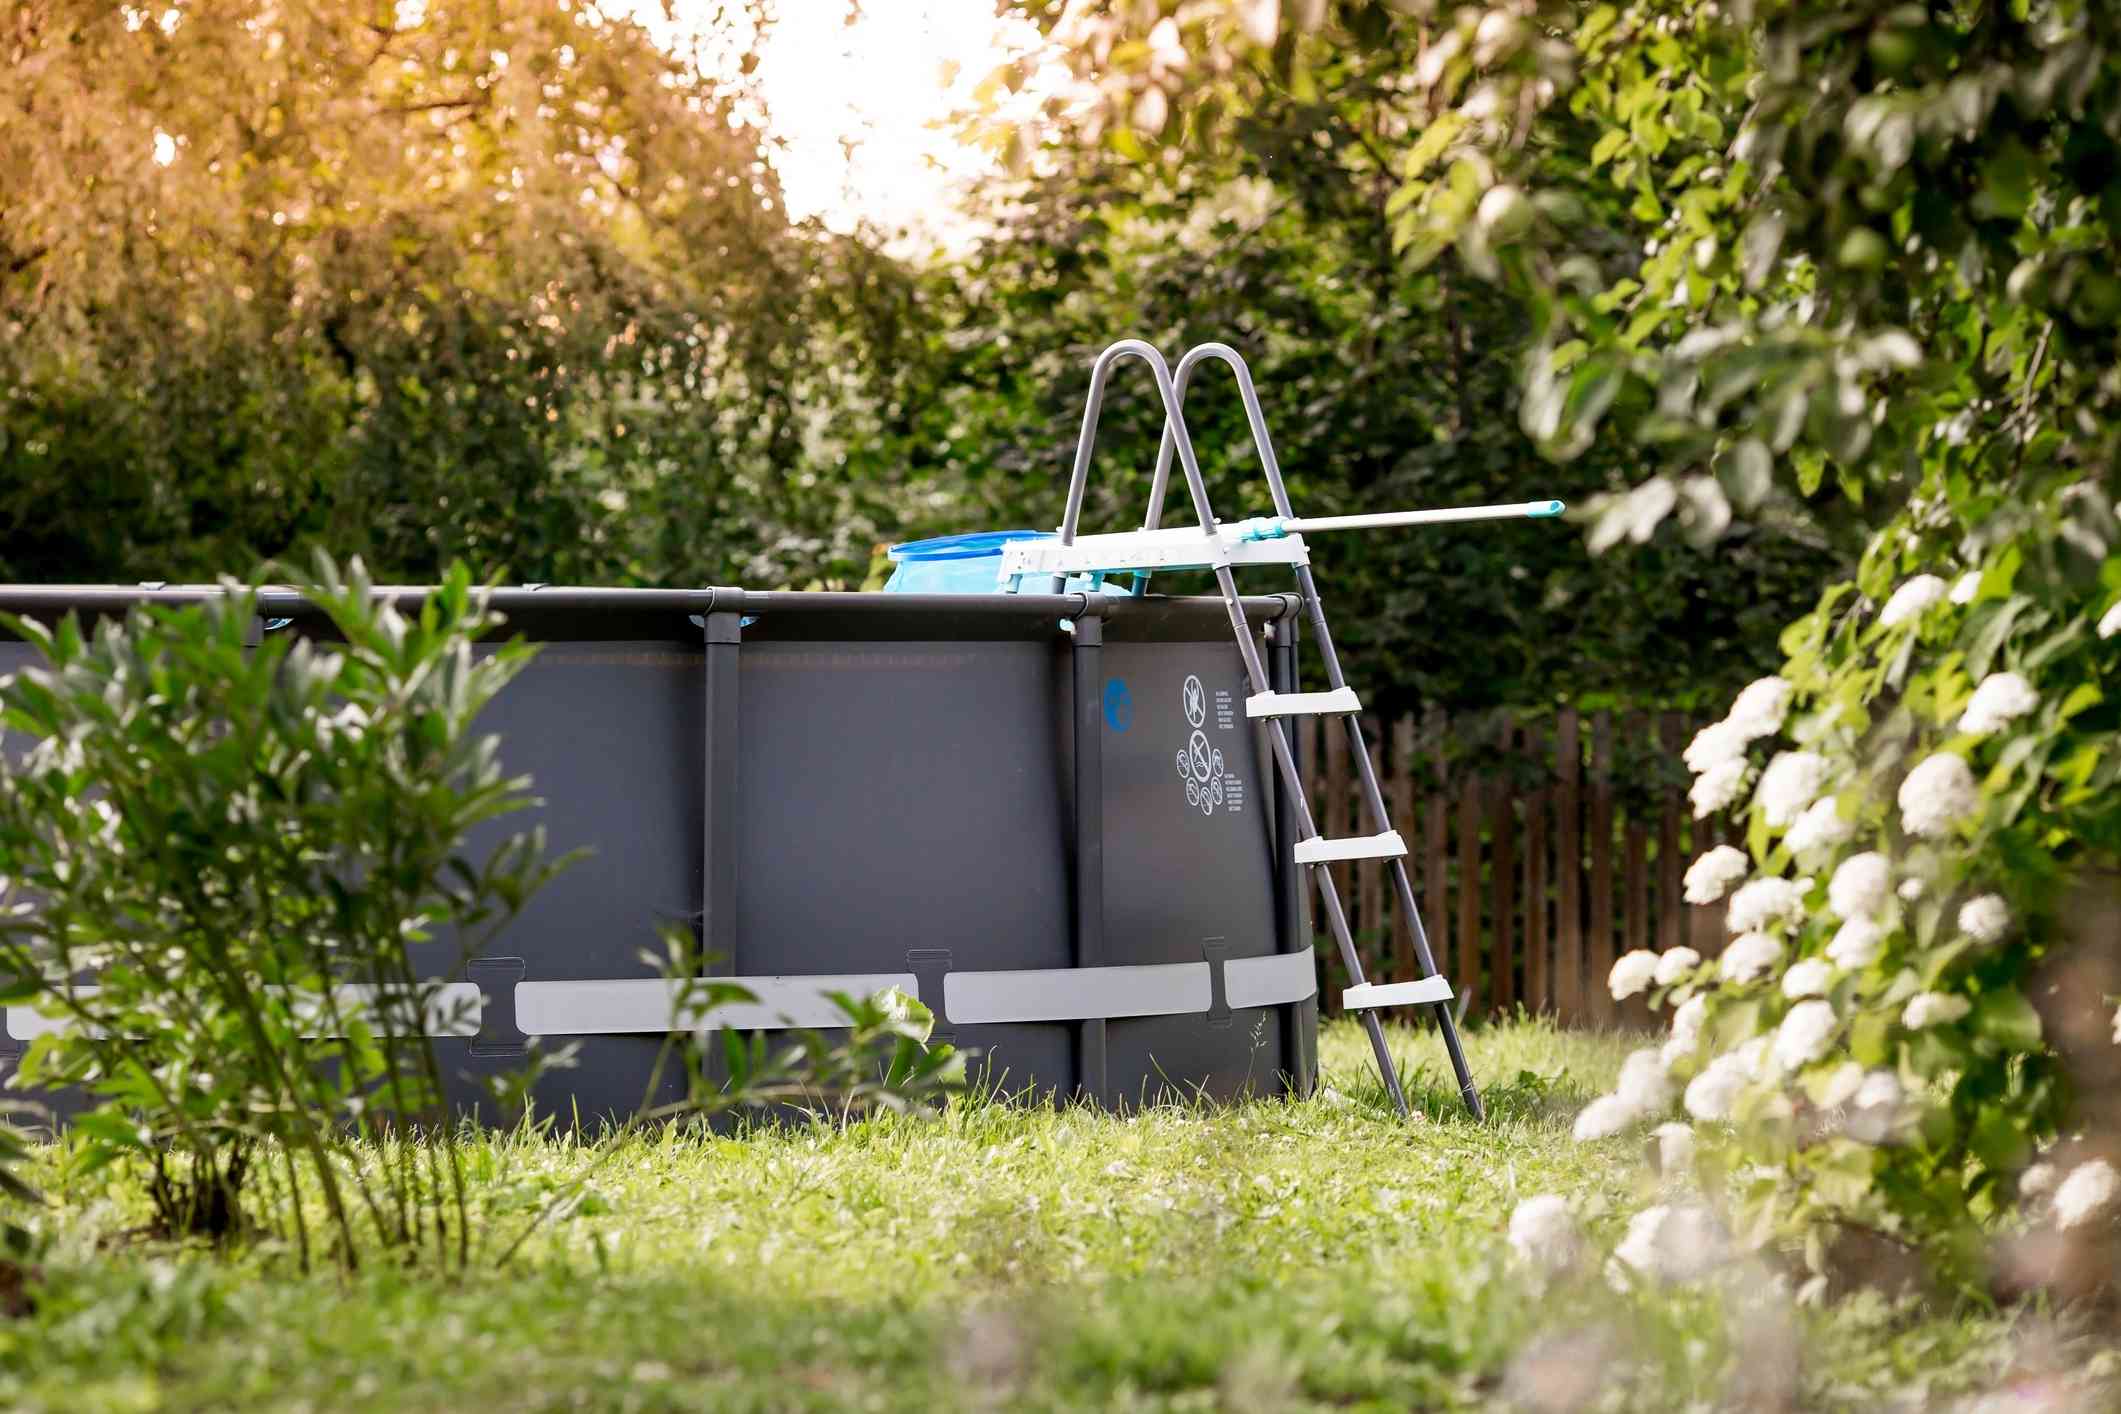
Step 6: Store the Ladder Properly
After successfully removing the pool ladder, it’s important to store it properly to ensure its longevity and keep it in good condition. Proper storage not only protects the ladder from damage but also ensures that it’s easily accessible when needed. Here are some guidelines for storing your pool ladder:
- Clean the ladder: Before storing the ladder, give it a thorough cleaning to remove any dirt, debris, or residue. Use a mild detergent and water to scrub the ladder, paying attention to all the nooks and corners.
- Inspect for damage: While cleaning the ladder, take the opportunity to inspect it for any damage or wear. Check for loose parts, rust, or corrosion. If any issues are detected, address them before storing the ladder.
- Disassemble, if necessary: If your ladder is designed to be disassembled for storage, follow the manufacturer’s instructions to dismantle it into smaller, manageable parts. This helps save space and makes storage more efficient.
- Find a suitable storage location: Choose a storage location that is dry, cool, and protected from extreme temperatures. Ideally, storing the ladder indoors or in a dedicated storage shed or garage is preferable to keep it safe from the elements.
- Protective covering: Consider using a protective covering, such as a tarp or a ladder cover, to shield the ladder from dust, sunlight, and potential scratches or dings during storage. Ensure the covering is securely fastened to prevent it from blowing away or shifting.
- Secure storage: If storing the ladder vertically, make sure it is stable and won’t topple over. If storing horizontally, stack the ladder parts carefully and secure them with straps or bungee cords to prevent them from shifting or falling.
- Label and organize: If you have multiple ladders or ladder parts, it’s helpful to label them or keep them organized for easy identification and retrieval in the future. This way, you’ll know exactly where each piece belongs when it’s time to reassemble or use the ladder again.
By following these storage tips, you can ensure that your pool ladder remains in good condition and ready for use whenever you need it again. Properly stored ladders are less prone to damage and offer extended durability.
Conclusion
Removing a pool ladder may seem like a daunting task, but with the right tools and step-by-step guidance, it can be a straightforward process. By following the steps outlined in this article, you can safely and efficiently remove your pool ladder, whether it’s for maintenance, repairs, or simply to make way for a different installation.
Remember to gather all the necessary tools and materials before you begin, and drain the pool partially to create a suitable working environment. Take care to remove the ladder anchors, unscrew and remove the ladder steps, detach the ladder rails from the pool wall, and store the ladder properly after removal.
Proper storage of the ladder is essential to ensure its longevity and keep it in good condition for future use. Clean the ladder, inspect for any damage, and disassemble it if required. Find a suitable storage location, protect it from the elements with a covering, and secure it in place to prevent any accidents or damage.
By following these steps and taking the necessary precautions, you can successfully remove your pool ladder and complete the process without any hassle. Always refer to the manufacturer’s instructions and guidelines specific to your ladder model for additional guidance.
Now that you have the knowledge and confidence to remove your pool ladder, you can begin the process and enjoy a well-maintained swimming pool. Whether you’re preparing for renovations or simply changing up your pool area, this guide will help you navigate the ladder removal process with ease.
Frequently Asked Questions about How To Remove Pool Ladder
Was this page helpful?
At Storables.com, we guarantee accurate and reliable information. Our content, validated by Expert Board Contributors, is crafted following stringent Editorial Policies. We're committed to providing you with well-researched, expert-backed insights for all your informational needs.


0 thoughts on “How To Remove Pool Ladder”