Home>Articles>How To Install Pool Ladder Anchors In Concrete
Articles
How To Install Pool Ladder Anchors In Concrete
Modified: October 22, 2024
Discover step-by-step articles on how to properly install pool ladder anchors in concrete. Ensure secure and durable anchoring for your pool ladder.
(Many of the links in this article redirect to a specific reviewed product. Your purchase of these products through affiliate links helps to generate commission for Storables.com, at no extra cost. Learn more)
Introduction
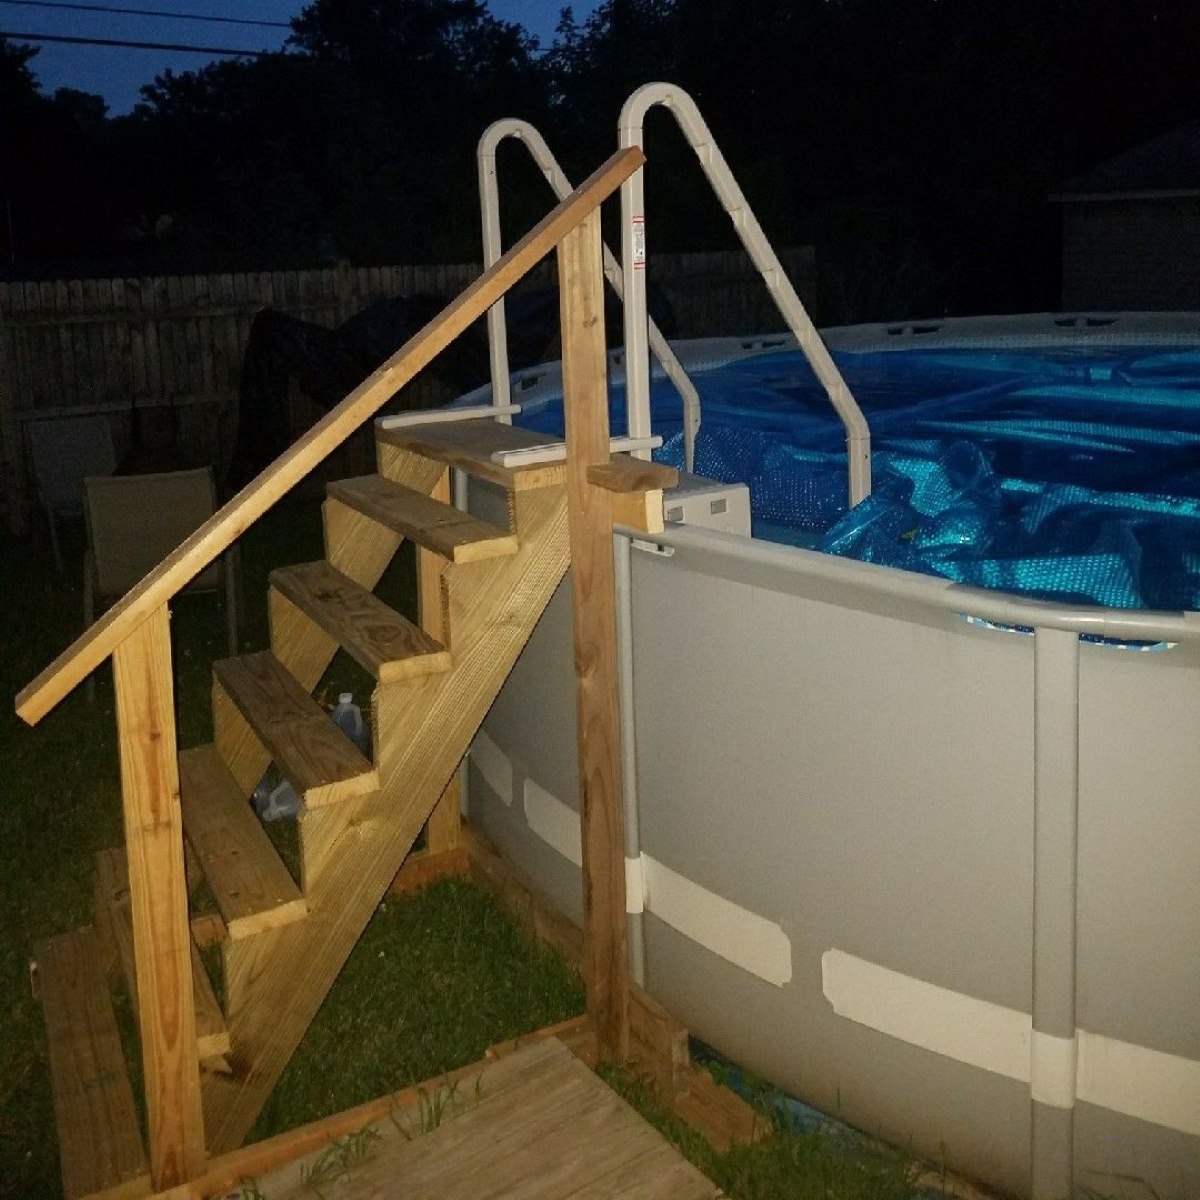
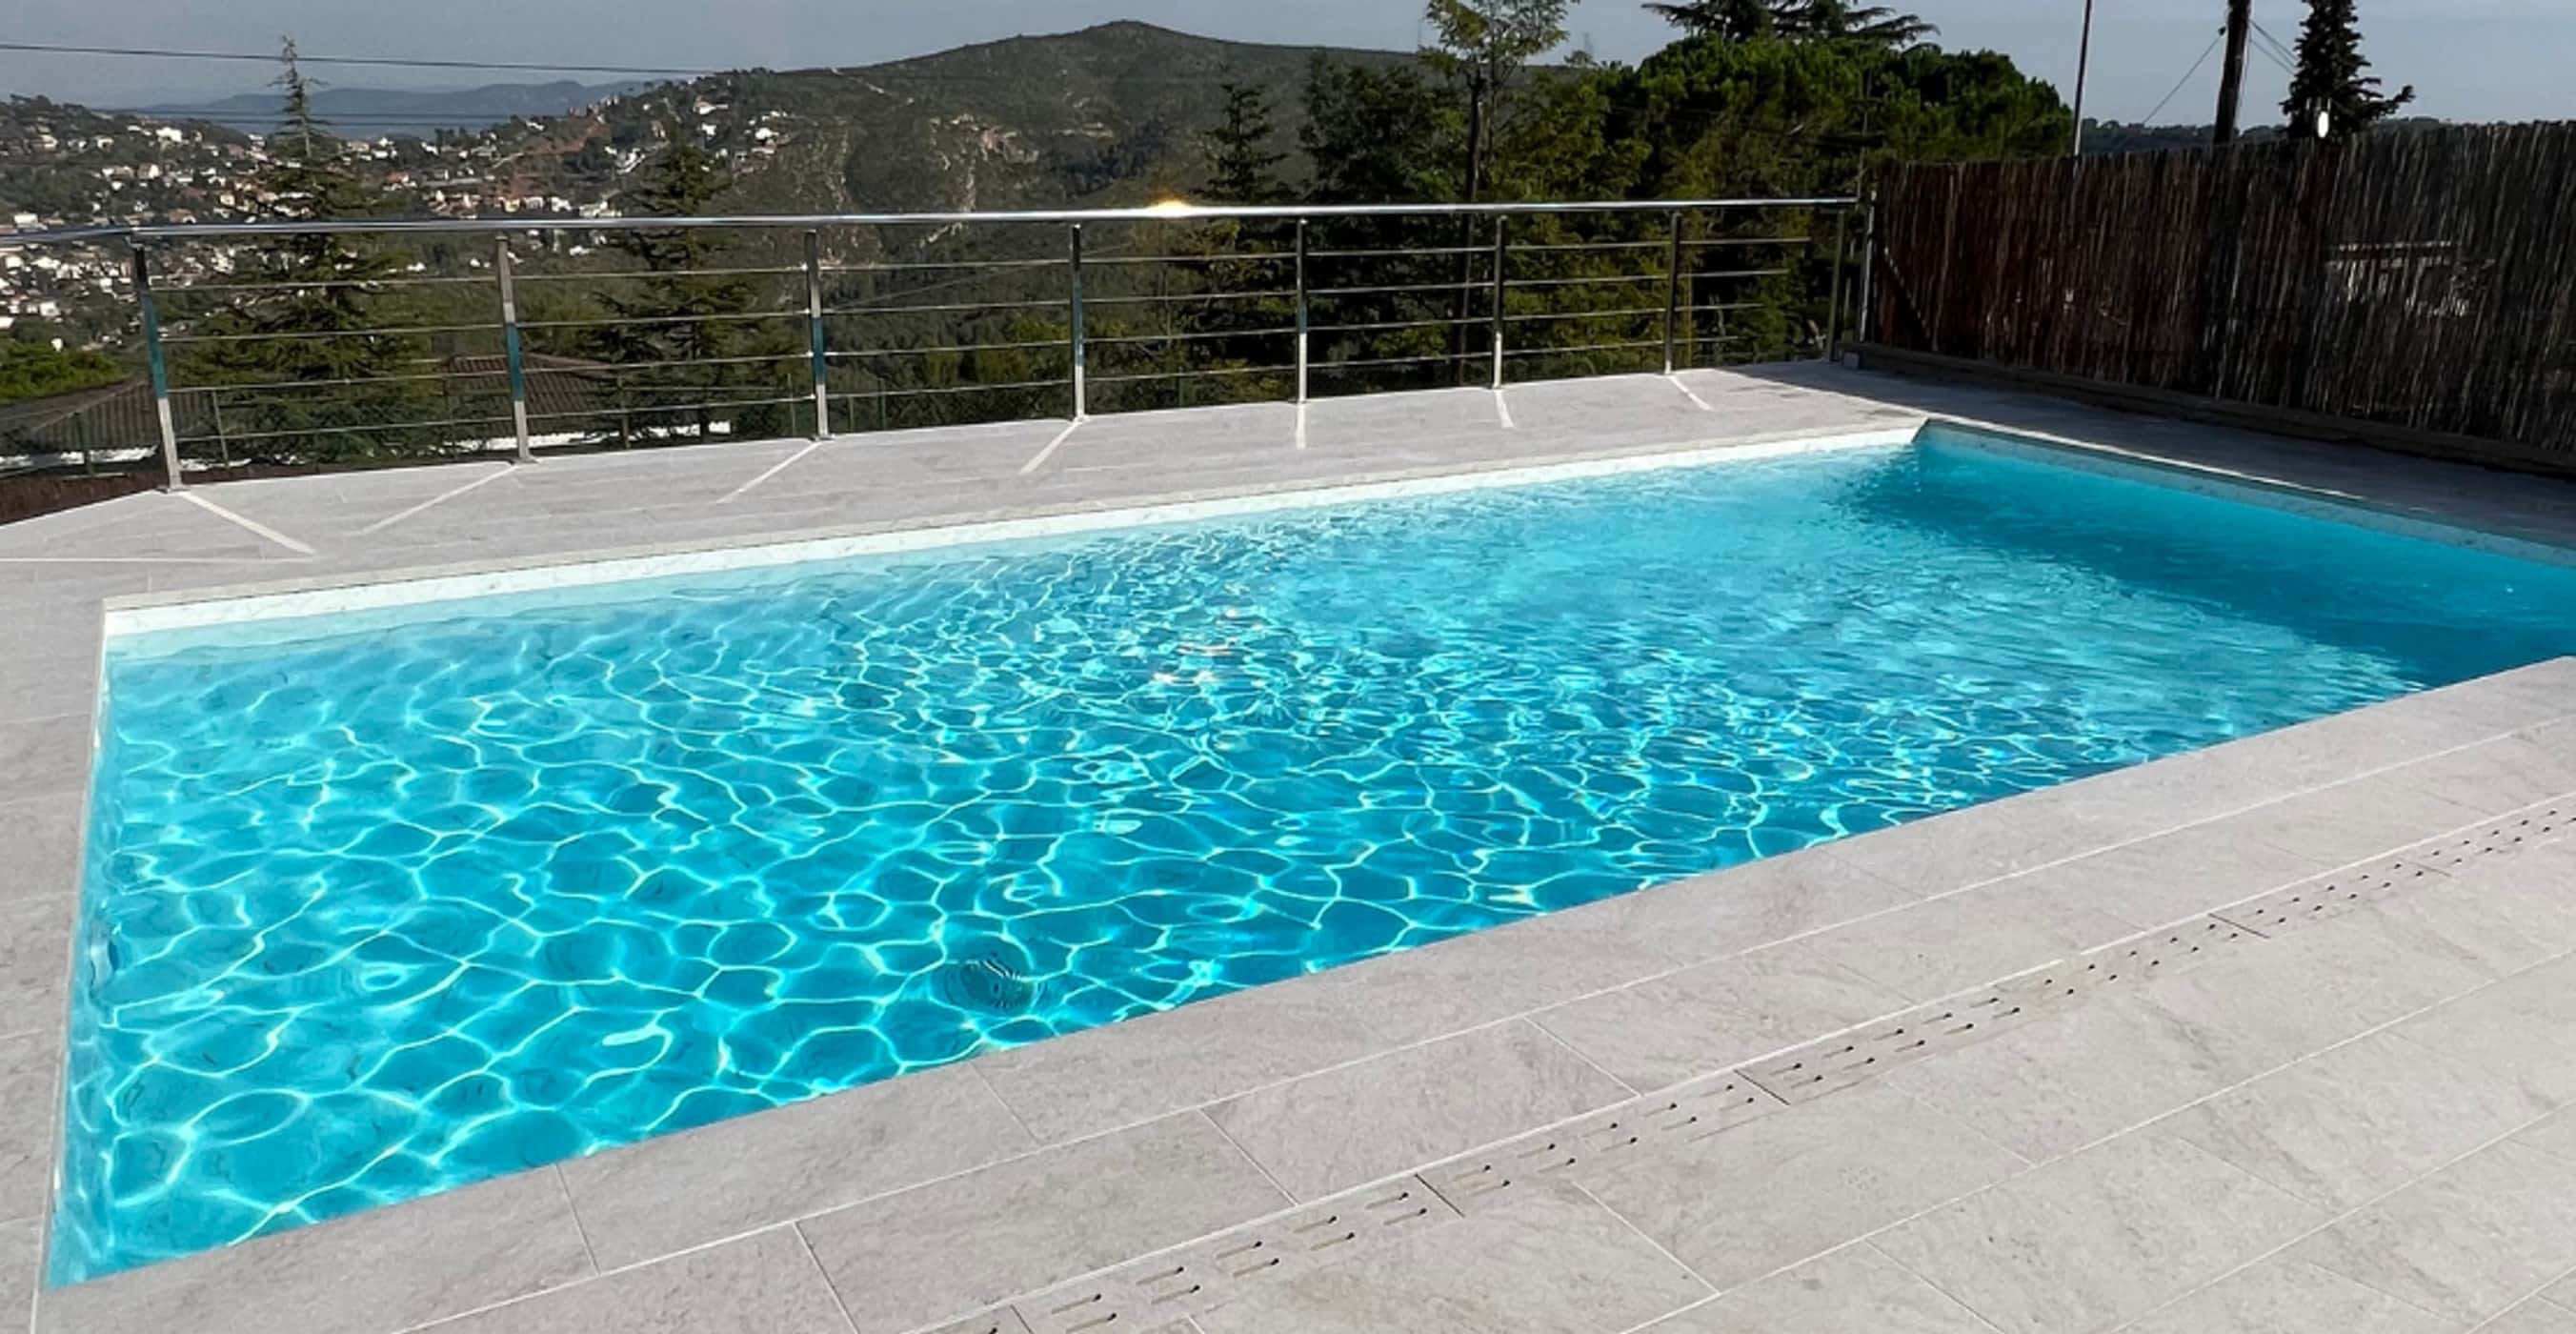
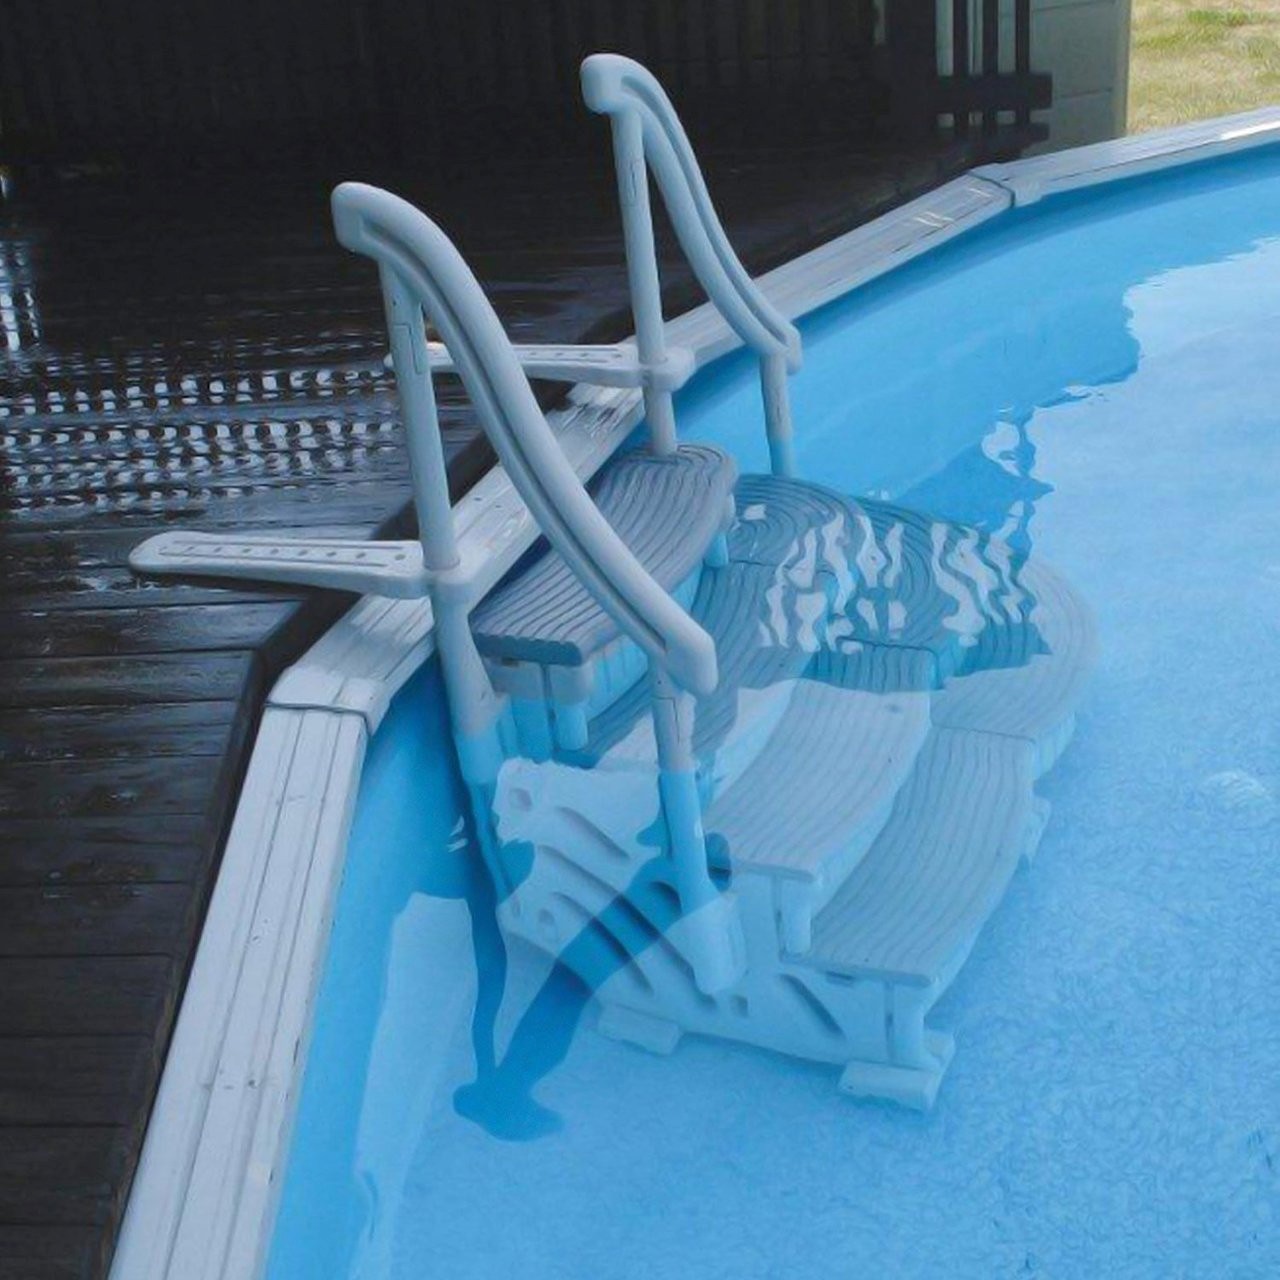
Installing a pool ladder in your backyard can greatly enhance the safety and accessibility of your swimming pool. One crucial aspect of installing a pool ladder is anchoring it securely into the concrete surrounding the pool.
Pool ladder anchors provide stability and support to ensure the ladder remains firmly in place while people are using it. Proper installation of these anchors is essential not only for the safety of pool users but also for the longevity of the ladder itself.
In this comprehensive guide, we will take you through the step-by-step process of installing pool ladder anchors in concrete. By following these instructions, you can confidently complete the installation and have a safe and secure pool ladder for your family and guests to use.
Before we dive into the installation process, let’s take a look at the materials you will need to gather in order to successfully anchor your pool ladder.
Key Takeaways:
- Ensure a safe and stable pool ladder installation by gathering the necessary materials, preparing the concrete surface, and accurately marking and drilling anchor holes.
- Test the stability of the anchors to guarantee safety, and enjoy the enhanced safety and convenience that a secure pool ladder provides.
Read more: How To Install Lawn Turf On A Concrete Pool
Step 1: Gather the necessary materials
Before you begin the installation process, it’s important to gather all the required materials. Having everything on hand will ensure a smooth and efficient installation process. Here are the essential materials you will need:
- Pool ladder anchors: These are specially designed metal anchors that provide stability and support to the pool ladder. Make sure to choose anchors that are suitable for your specific ladder model.
- Concrete drill: You’ll need a high-quality concrete drill to create anchor holes in the pool deck. Look for a drill with a masonry bit that matches the diameter of your anchors.
- Measuring tape: Accurate measurements are important to ensure proper alignment and spacing of the anchors. Use a measuring tape to mark the positions for drilling.
- Hearing and eye protection: Whenever using power tools, it’s crucial to protect your hearing and eyes from potential hazards. Wear earplugs or earmuffs and safety glasses during the installation process.
- Dust mask: Drilling into concrete can generate a significant amount of dust. Protect your respiratory system by wearing a dust mask.
- Hammer: A hammer will come in handy for tapping the anchors into place and ensuring they are fully seated in the concrete.
- Concrete patching compound: Once the anchors are installed, you’ll need a concrete patching compound to fill any gaps or cracks in the concrete around the anchors.
- Paint or sealant (optional): To give the anchors a finished and cohesive look, you may choose to paint or seal them. Select a paint or sealant that is suitable for outdoor use and can withstand the weather conditions in your area.
With all the necessary materials at hand, you’re now ready to move on to the next step: preparing the concrete surface for the installation of the pool ladder anchors.
Step 2: Prepare the concrete surface
Before drilling into the concrete, it’s important to properly prepare the surface to ensure a secure installation. Follow these steps to prepare the concrete surface:
- Clean the area: Clear any debris, dirt, or objects from the surface where you will be drilling. Use a broom or a leaf blower to sweep away loose debris and make sure the area is clean.
- Inspect the concrete: Check for any cracks, unevenness, or damage to the concrete. It’s crucial to have a stable and solid surface for the installation. If you notice any significant cracks or damage, it’s recommended to repair or reinforce the concrete before proceeding with the anchor installation.
- Wet the surface: Wetting the concrete surface will help reduce dust and make it easier to drill. Use a hose to spray a light mist of water over the area where you will be drilling. Be careful not to soak the surface, as excessive water can affect the integrity of the concrete.
- Secure the ladder: If your pool ladder is not already in place, position it in the desired location on the pool deck. Make sure the ladder is level and aligned correctly before marking the anchor locations.
By properly preparing the concrete surface, you are ensuring a clean and stable foundation for the installation of the pool ladder anchors. Once you have completed this step, you’re ready to move on to marking the anchor locations.
Step 3: Mark the anchor locations
Accurate placement of the pool ladder anchors is crucial to ensure proper alignment and stability. Follow these steps to mark the anchor locations on the concrete:
- Measure and mark the desired spacing: Use a measuring tape to determine the distance between each anchor. Typically, anchors should be spaced evenly along the length of the ladder. Refer to the manufacturer’s instructions for specific guidelines on anchor spacing.
- Mark the starting point: Begin by marking the location of the first anchor. Measure from the edge of the pool deck and make a small mark using a pencil or marker.
- Create a template: If you want to ensure consistent spacing between all the anchor locations, you can create a template using a piece of cardboard or a flexible measuring tape. Align the template with the first marked location and use it to mark the remaining anchor positions.
- Double-check the positioning: Before drilling, double-check the measurements and marks to ensure accuracy. Use a level to ensure the ladder will be installed straight and level.
Taking the time to properly mark the anchor locations will result in a secure and well-aligned pool ladder installation. Once you have marked the positions, you can proceed to the next step: drilling holes in the concrete.
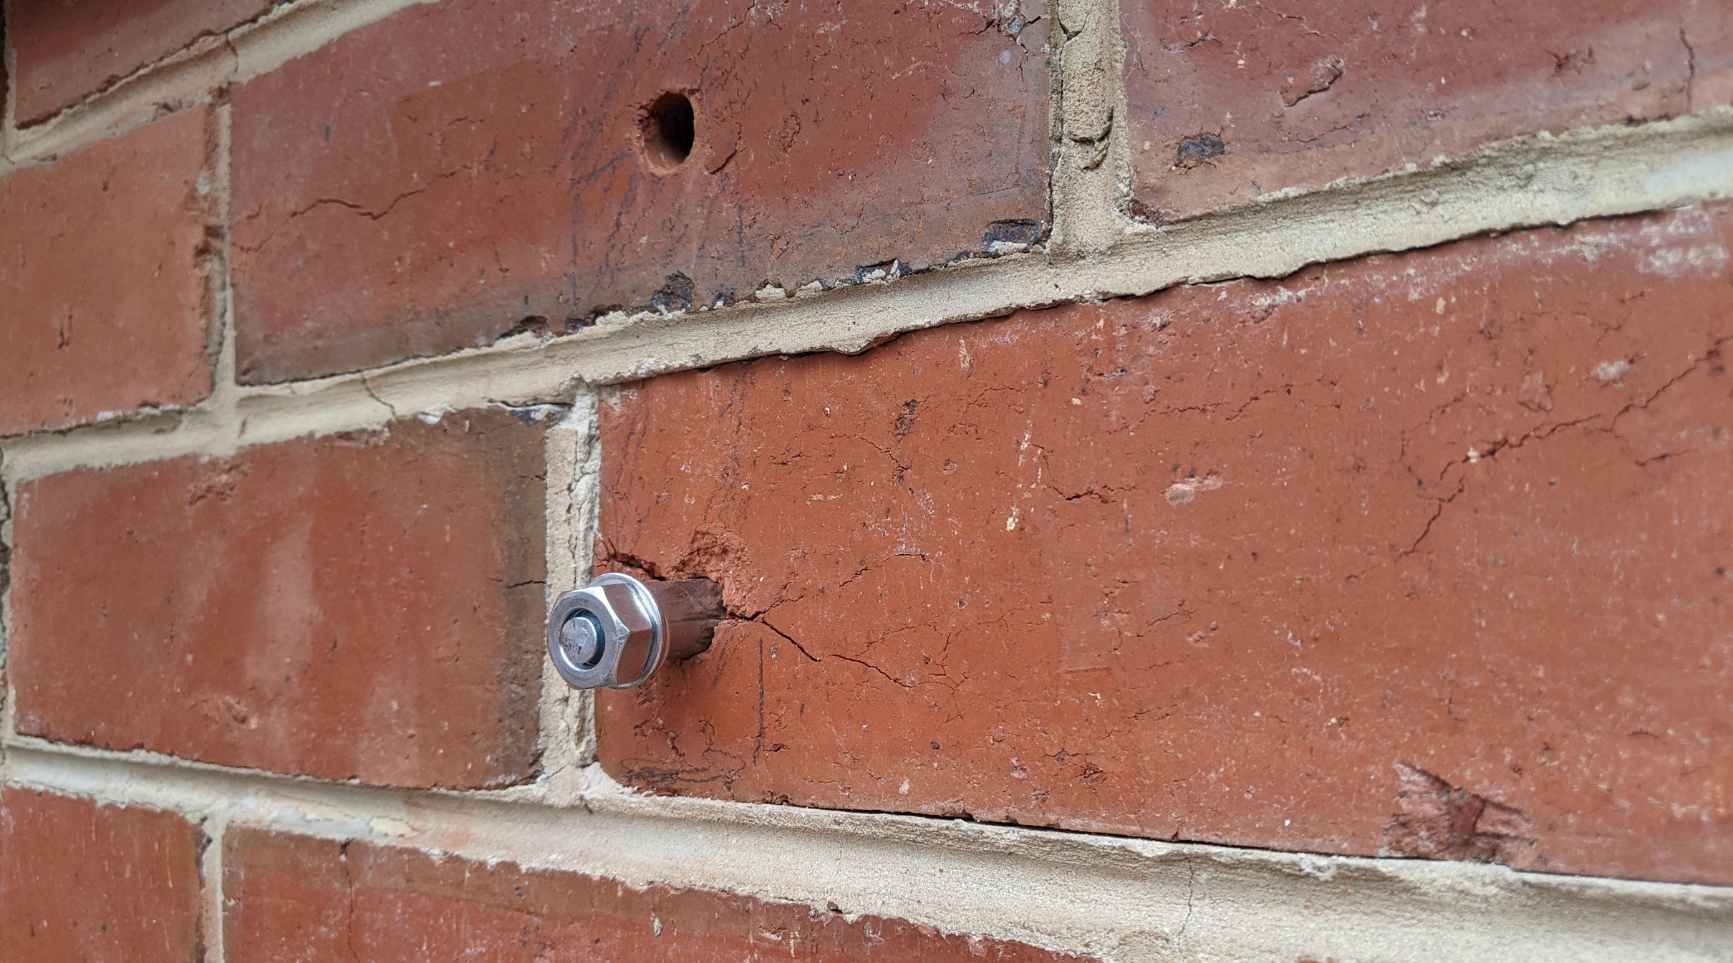
Step 4: Drill holes in the concrete
Drilling holes in the concrete is a crucial step in the installation of pool ladder anchors. Follow these steps to accurately and safely drill the necessary holes:
- Attach the appropriate masonry bit: Select a masonry drill bit that matches the diameter of your pool ladder anchors. Attach the bit securely to your concrete drill.
- Put on your safety gear: Before you start drilling, make sure to wear proper eye protection, hearing protection, and a dust mask. Concrete dust can be harmful, so it’s important to protect yourself.
- Drill the holes: Position the drill over the first marked anchor location. Apply gentle pressure and start drilling slowly, maintaining a straight and steady angle. Gradually increase the drilling speed as the bit penetrates the concrete. Continue drilling until you reach the desired depth, as indicated in the anchor installation instructions or based on the length of the anchors.
- Clean the holes: Once the hole is drilled, remove the drill bit and use a brush or compressed air to clean out any debris or dust from the hole. This will ensure proper anchoring and prevent any obstructions.
- Repeat for remaining anchor locations: Repeat the drilling process for each marked anchor location, ensuring that the holes are consistent in depth and diameter.
Drilling holes in the concrete can be a demanding task, so take breaks as needed and be patient to avoid any accidents or mistakes. Once all the holes are drilled, you’re ready to move on to the next step: inserting the pool ladder anchors.
When installing pool ladder anchors in concrete, make sure to use a high-quality anchor that is designed for use in concrete. Follow the manufacturer’s instructions carefully and use the appropriate tools for drilling and securing the anchors. Always double-check the measurements and alignment before securing the anchors in place.
Read more: How To Install An Above Ground Pool Ladder
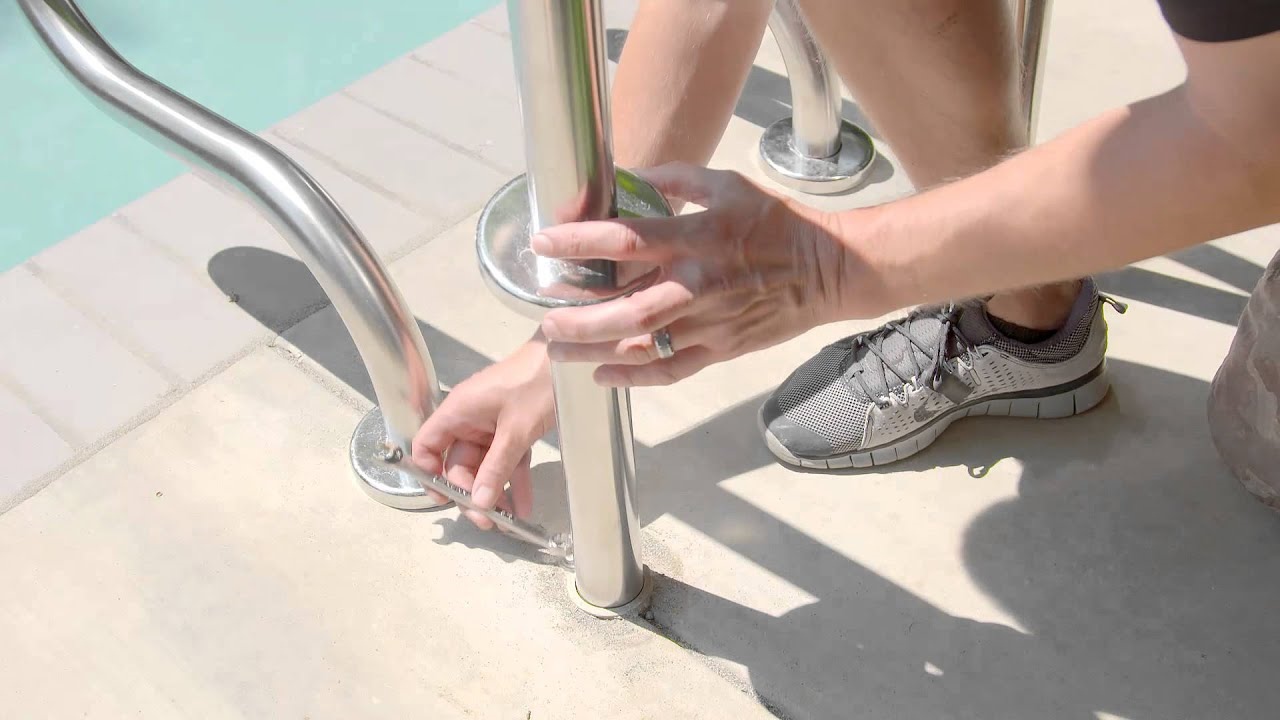
Step 5: Insert the pool ladder anchors
With the holes drilled in the concrete, it’s time to insert the pool ladder anchors. Follow these steps to properly insert the anchors:
- Place the anchors: Take one pool ladder anchor and align it with the corresponding hole in the concrete. Ensure that the anchor is positioned straight and level.
- Gently tap the anchor: Use a hammer to tap the anchor into the hole. Be careful not to hit the anchor too hard, as this may damage it or cause it to become misaligned. Continue tapping the anchor until it is fully inserted and seated securely in the hole.
- Repeat for remaining anchors: Repeat this process for all the anchor holes, ensuring that each anchor is inserted properly.
It’s important to note that different anchor designs may have variations in the installation process. Refer to the manufacturer’s instructions for any specific requirements or guidelines for your particular pool ladder anchors.
Once all the anchors are inserted, you’re ready to move on to the next step: securing the anchors in place.
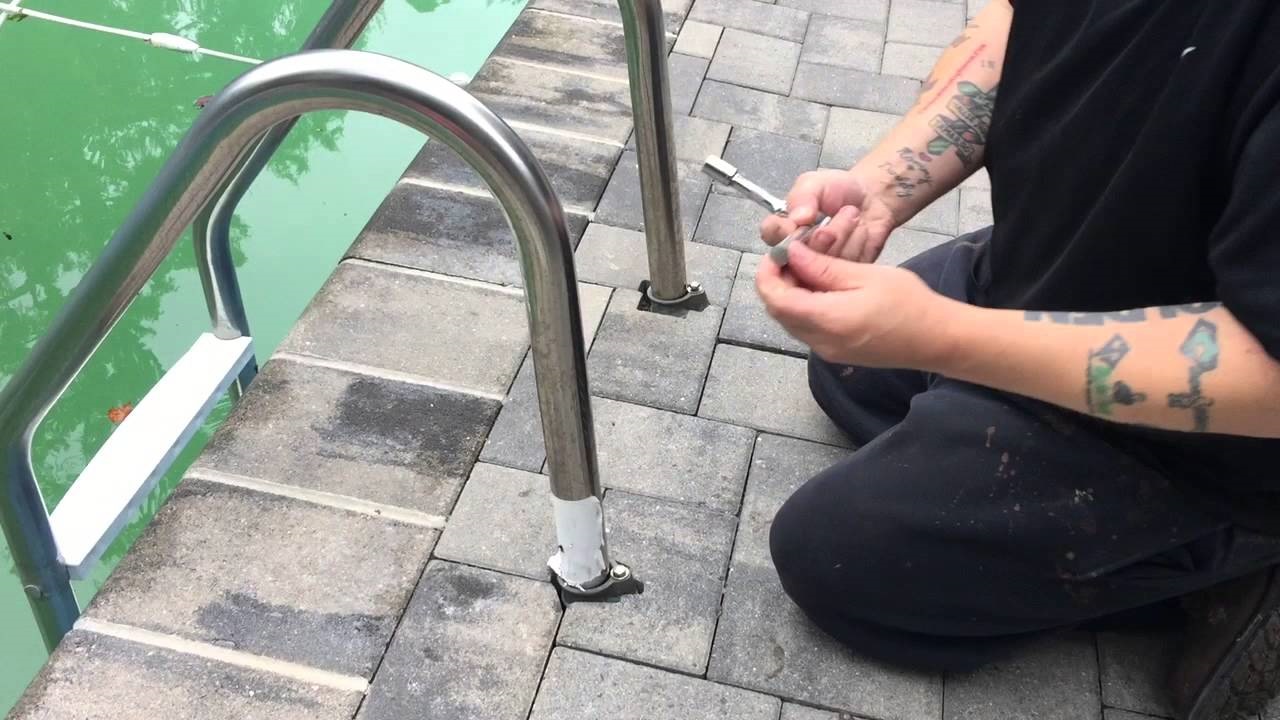
Step 6: Secure the anchors in place
After inserting the pool ladder anchors into the drilled holes, it’s crucial to secure them in place to ensure stability and prevent any movement. Follow these steps to secure the anchors:
- Apply an epoxy adhesive (optional): Depending on the type of anchors you’re using, it may be necessary to apply an epoxy adhesive to further secure the anchors in the holes. This step will provide additional strength and stability to the installation.
- Fill the gaps: Use a concrete patching compound to fill any gaps or spaces around the anchors and the holes. Ensure that the compound completely fills the gaps and creates a smooth and seamless surface.
- Smooth the surface: Use a trowel or a putty knife to smooth out the patched areas and blend them with the surrounding concrete. This will create a neat and uniform look.
- Allow curing time: Follow the instructions provided with the concrete patching compound to determine the required curing time. It’s important to allow sufficient time for the compound to dry and harden before putting any weight or pressure on the anchors.
By securing the anchors in place, you’re ensuring a strong and stable foundation for your pool ladder. After the curing time has passed, you can proceed to the final step: testing the stability of the anchors.
Step 7: Test the stability of the anchors
Once the pool ladder anchors are securely in place and the concrete patching compound has dried, it’s important to perform a stability test to ensure the anchors can withstand the weight and movement associated with ladder usage. Follow these steps to test the stability of the anchors:
- Place weight on the ladder: Carefully step onto the ladder, applying gentle pressure to test its stability. Gradually put more weight on the ladder, mimicking the movements that will occur during regular usage.
- Test for movement: Pay close attention to any movement or wobbling of the ladder. If you notice any significant movement or instability, stop using the ladder immediately to avoid accidents.
- Inspect the anchors: After testing, visually inspect the anchors to ensure they remain securely in place. Check for any signs of damage or loosening. If you notice any issues, consult the manufacturer’s instructions or contact a professional for further assistance.
The stability test is crucial to ensure the safety of individuals using the pool ladder. If the ladder remains stable and the anchors hold firm during the test, you can have confidence in the successful installation of the pool ladder anchors.
With the completion of this final step, your pool ladder anchors are ready for use. Enjoy the enhanced safety and convenience that a secure pool ladder provides!
Conclusion
Installing pool ladder anchors in concrete is a vital step in ensuring the safety and stability of your pool ladder. By following the step-by-step process outlined in this guide, you can confidently complete the installation and have peace of mind knowing that your pool ladder is secure.
Throughout the installation process, we covered important steps such as gathering the necessary materials, preparing the concrete surface, marking the anchor locations, drilling holes, inserting the anchors, securing them in place, and testing the stability. Each of these steps is crucial to create a solid foundation for your pool ladder.
Remember to always refer to the manufacturer’s instructions for your specific pool ladder and anchor models, as they may have additional guidelines or specifications. It’s also essential to take proper safety precautions by wearing protective gear and working carefully with power tools.
By installing pool ladder anchors correctly, you enhance the safety of anyone using the ladder and minimize the risk of accidents or injuries. The stability and security provided by the anchors give you and your family the confidence to enjoy your pool without worry.
We hope this guide has been helpful in assisting you with the installation of pool ladder anchors in concrete. Now, it’s time to dive in and enjoy your pool with the added safety and convenience of a properly anchored ladder!
Frequently Asked Questions about How To Install Pool Ladder Anchors In Concrete
Was this page helpful?
At Storables.com, we guarantee accurate and reliable information. Our content, validated by Expert Board Contributors, is crafted following stringent Editorial Policies. We're committed to providing you with well-researched, expert-backed insights for all your informational needs.


0 thoughts on “How To Install Pool Ladder Anchors In Concrete”