Articles
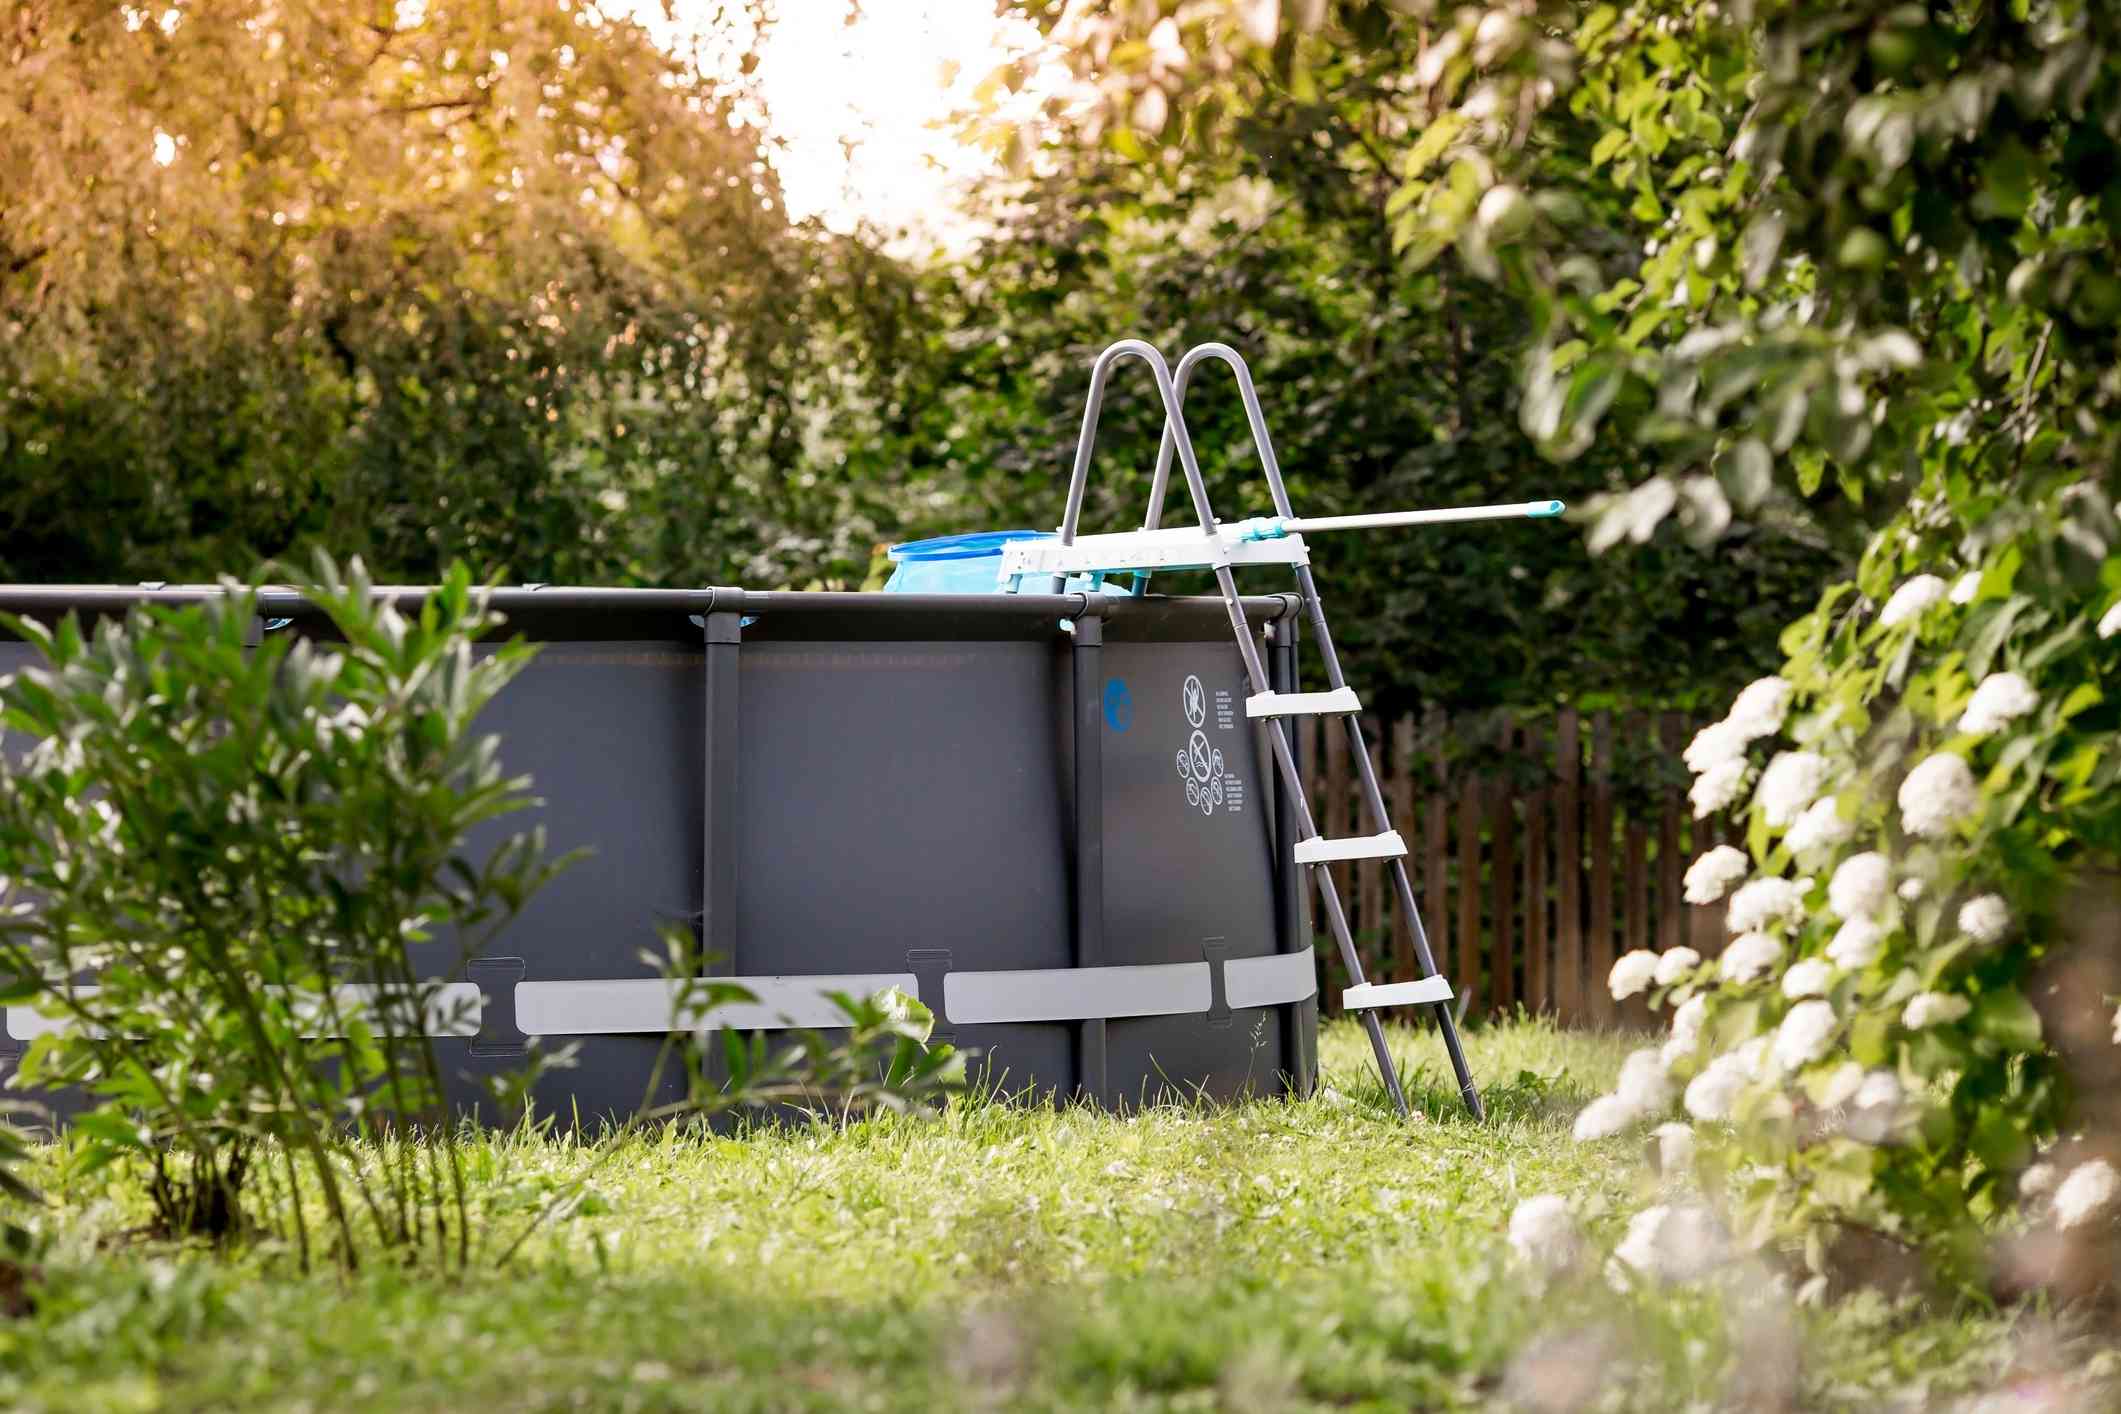
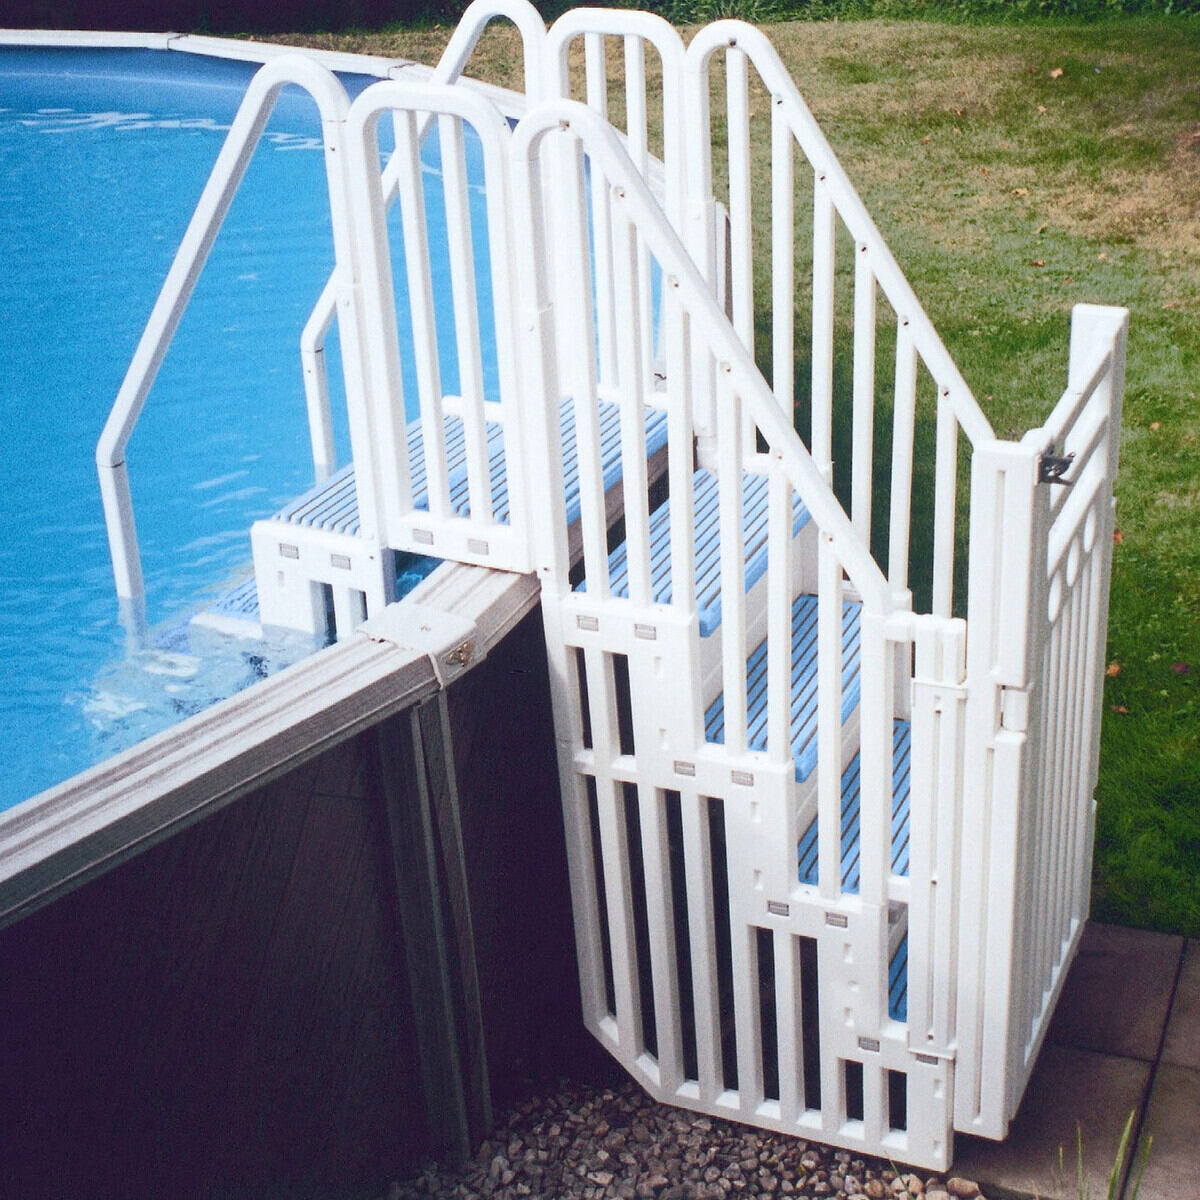
How To Install An Above Ground Pool Ladder
Modified: August 21, 2024
Learn how to install an above ground pool ladder with our informative articles. Step-by-step instructions and tips to ensure a safe and hassle-free installation process.
(Many of the links in this article redirect to a specific reviewed product. Your purchase of these products through affiliate links helps to generate commission for Storables.com, at no extra cost. Learn more)
Introduction
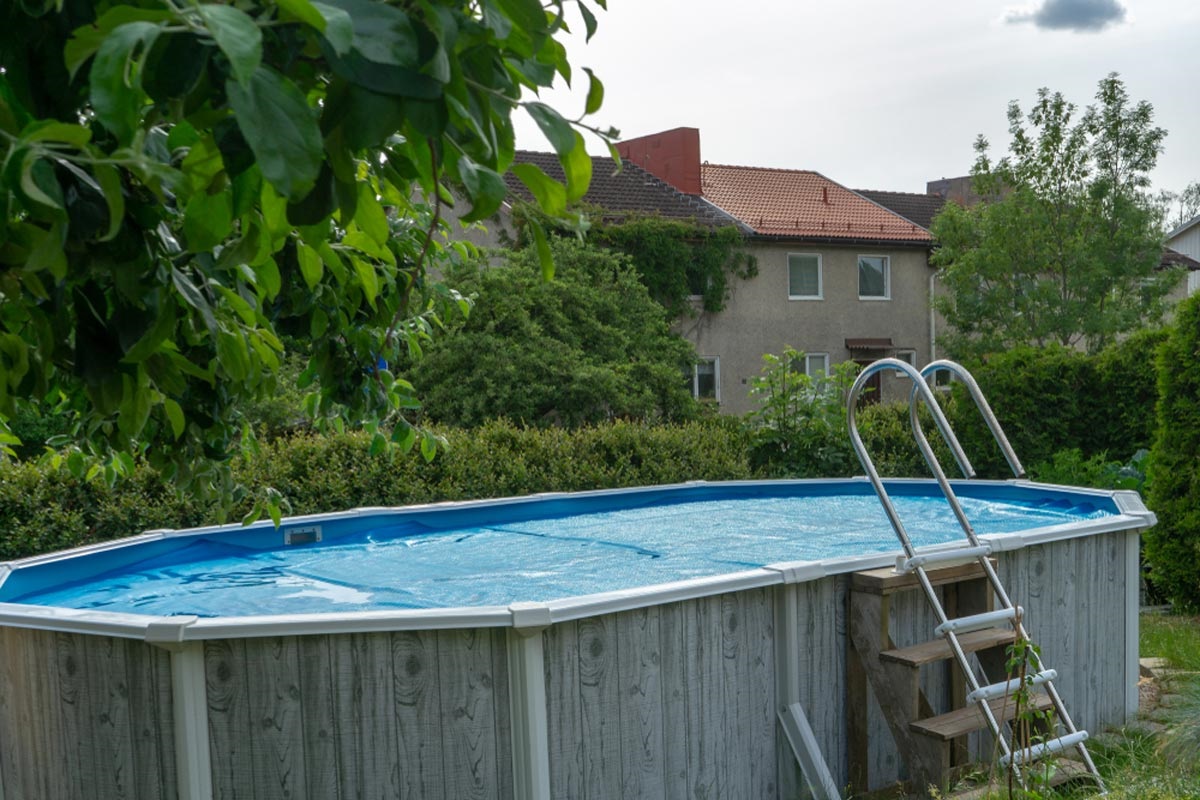
Welcome to our guide on how to install an above ground pool ladder! If you have recently purchased an above ground pool or are looking to upgrade your existing pool, installing a ladder is an essential step to ensure easy access and safety. A pool ladder not only provides a convenient entry and exit point but also offers stability and support while getting in and out of the pool.
In this article, we will walk you through the step-by-step process of installing an above ground pool ladder. We will cover everything from gathering the necessary tools, determining the ideal ladder placement, assembling the ladder components, securing the ladder to the pool wall, and testing its stability. Additionally, we will provide you with important safety precautions and maintenance tips to keep your ladder in great condition for years to come.
Whether you are a seasoned DIY enthusiast or a beginner, this guide will equip you with the knowledge and confidence to install your above ground pool ladder efficiently and effectively. So let’s dive in and get started!
Key Takeaways:
- Proper ladder placement is crucial for functionality and safety. Consider local regulations, pool height, entry point proximity, and wall structure when determining the ideal location for your above ground pool ladder.
- Regular maintenance and safety precautions are essential for ensuring the longevity and reliability of your above ground pool ladder. Supervise children, adhere to weight capacity, and inspect the ladder for wear and tear to maintain its functionality.
Read also: 10 Amazing Above Ground Pool Ladder for 2025
Step 1: Gather necessary tools and equipment
Before you begin the installation process, it is important to gather all the necessary tools and equipment. Having everything on hand will save you time and ensure a smooth installation process. Here are the tools and equipment you will need:
- Ladder kit: Make sure you have purchased a ladder kit specifically designed for above ground pools. These kits typically include the ladder steps, handrails, and hardware for installation.
- Tape measure: A tape measure will be handy for measuring and determining the ideal placement of the ladder.
- Level: A level will help you ensure that the ladder is properly aligned and balanced.
- Screwdriver or drill: Depending on the type of ladder kit you have, you may need a screwdriver or drill to secure the ladder components together.
- Wrench: A wrench will be necessary for tightening any nuts or bolts during the installation process.
- Pencil or marker: A pencil or marker will be useful for marking the placement of the ladder on the pool wall.
- Safety goggles and gloves: It is important to prioritize safety during the installation process. Wear safety goggles to protect your eyes and gloves to protect your hands.
Make sure you have all the tools and equipment listed above before you proceed with the ladder installation. Having everything organized and ready to go will make the process much smoother and more efficient.
Step 2: Determine the ideal ladder placement
Now that you have gathered all the necessary tools, it’s time to determine the ideal placement for your above ground pool ladder. Proper placement is crucial for the ladder’s functionality and your safety. Here are some steps to help you determine the best location:
- Check local regulations: Before you start, it’s important to consult local regulations and guidelines regarding ladder placement for above ground pools. Some areas may have specific requirements, so make sure you are in compliance.
- Measure the pool height: Measure the height of your pool from the ground to the top of the pool wall. This measurement will help you determine the appropriate height for your ladder.
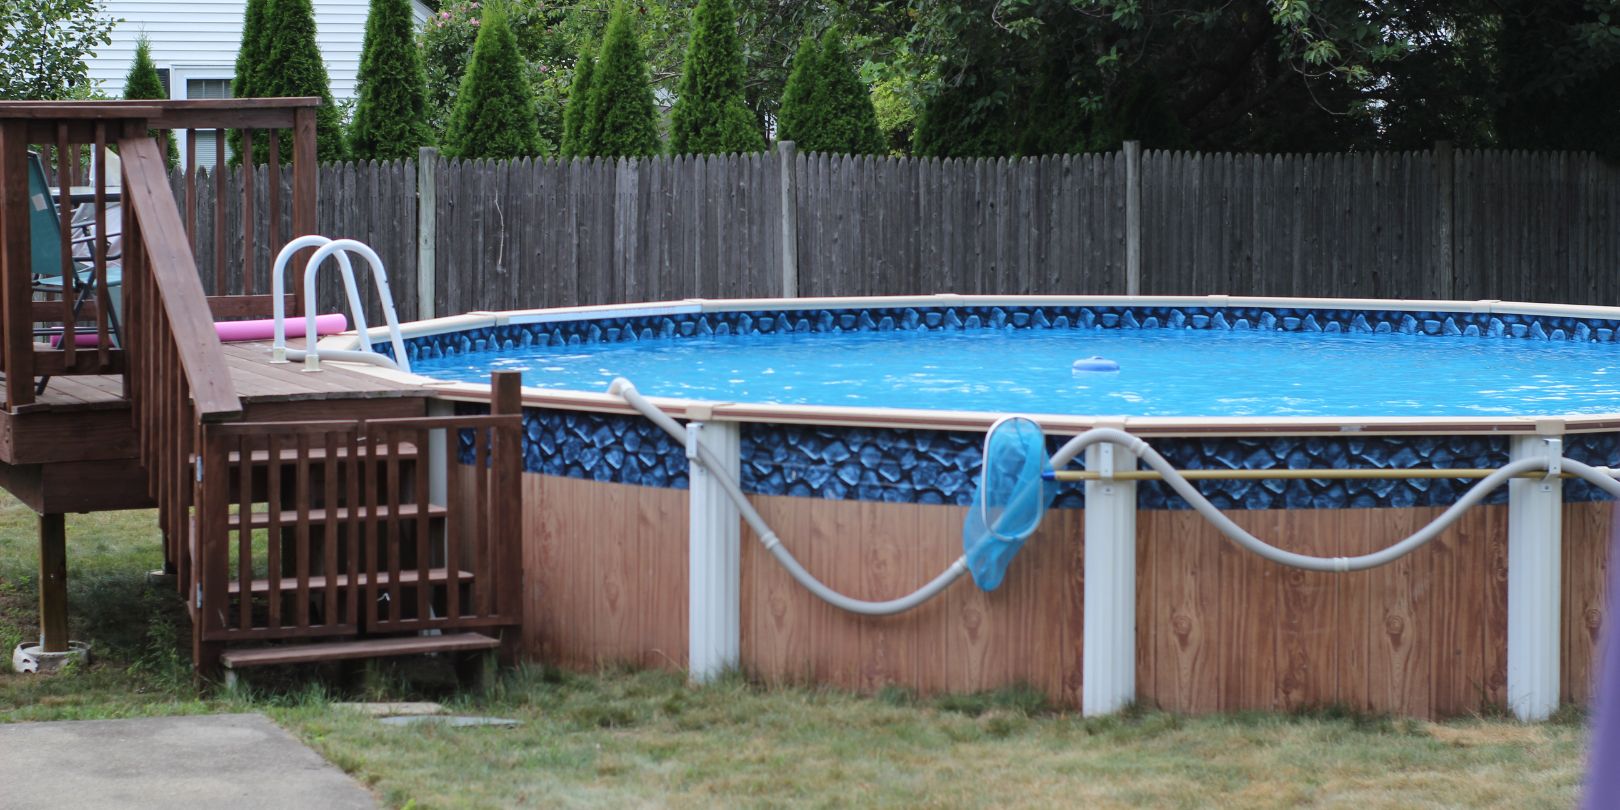
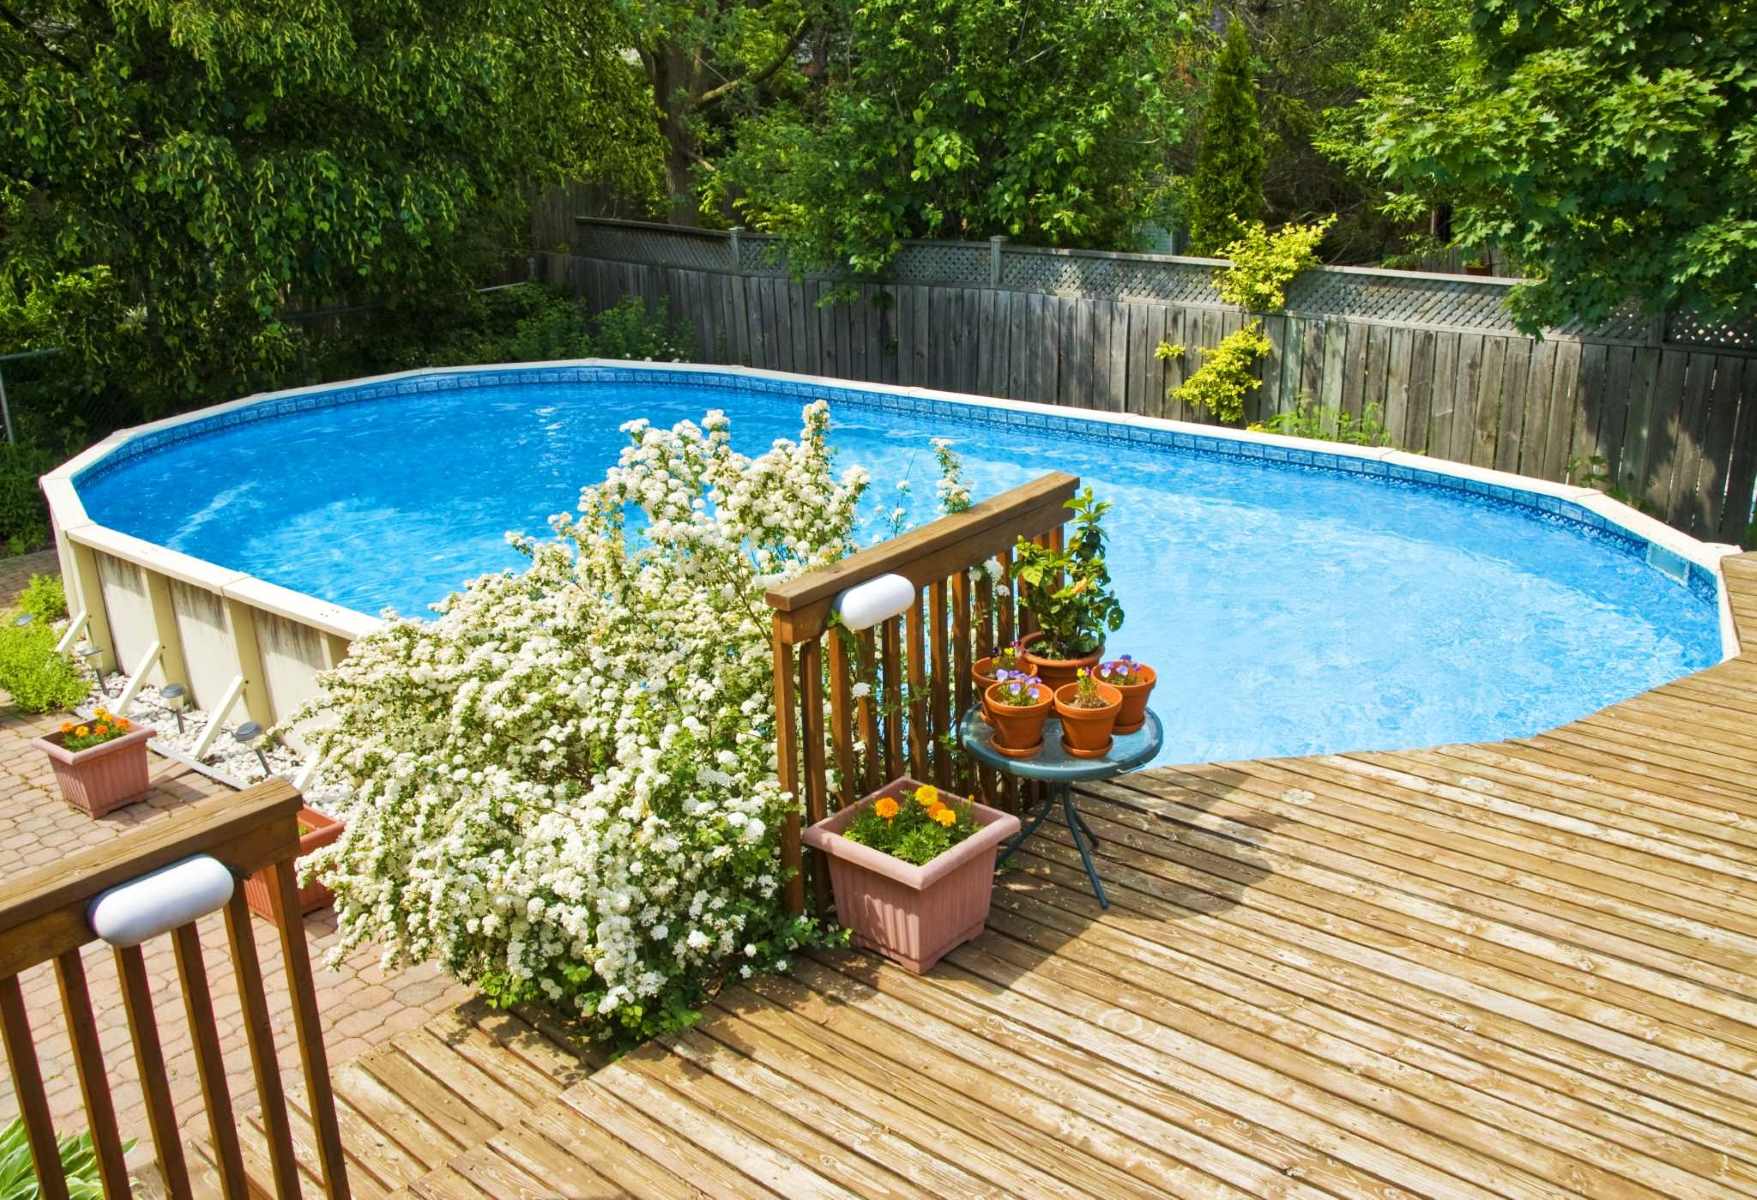
- Consider proximity to pool entry point: Take into account the location of your pool entry point, such as a deck or patio. The ladder should be positioned near this entry point for easy access.
- Distance from pool equipment: Ensure that the ladder is at a safe distance from any pool equipment, such as filtration systems or heaters. This will prevent any interference or potential damage.
- Evaluate the pool wall structure: Examine the pool wall structure to identify the best area for installing the ladder. Look for a sturdy and flat part of the wall that can support the weight and provide stability.
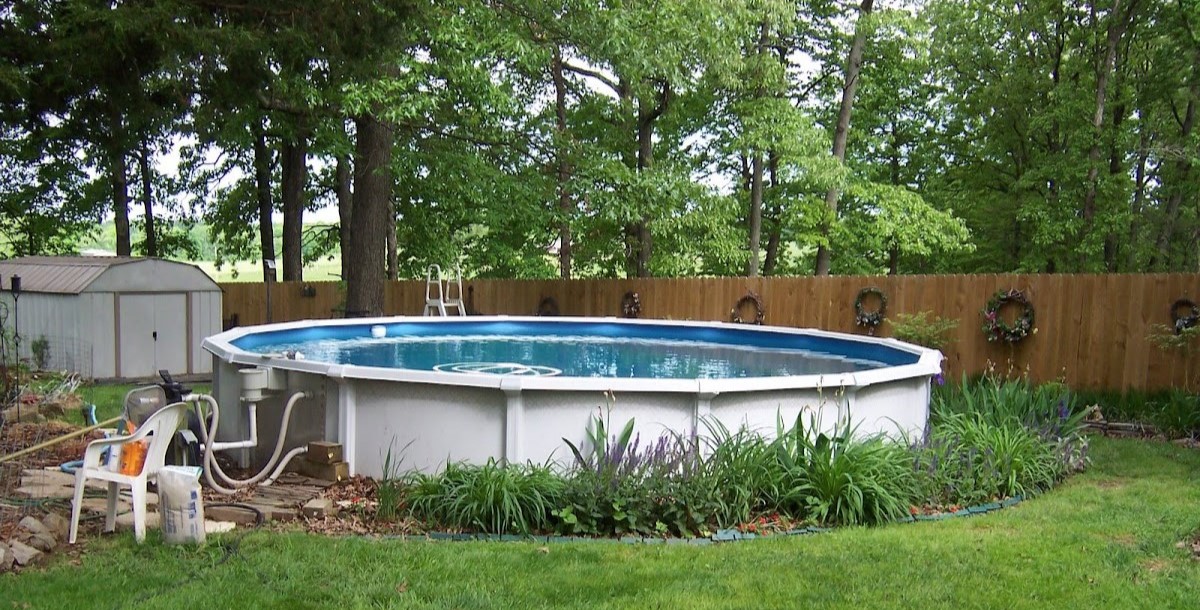
- Consider pool shape: The ladder placement may vary depending on the shape of your above ground pool. Round pools typically have ladders placed in the center, while oval or rectangular pools may require placement along the longer side.
- Mark the ladder placement: Once you have determined the ideal location, use a pencil or marker to mark the placement on the pool wall. This will serve as a guide during the installation process.
By following these steps, you will be able to determine the optimal placement for your above ground pool ladder. Taking the time to carefully consider the placement will ensure easy access to your pool and enhance the overall swimming experience.
Step 3: Assemble the ladder components
With the ideal ladder placement determined, it’s time to assemble the ladder components. Follow these steps to ensure a proper and secure assembly:
- Read the instructions: Before you begin assembling the ladder, carefully read the instructions provided in the ladder kit. Familiarize yourself with the components and any specific steps or precautions outlined in the manual.
- Lay out the components: Lay out all the ladder components on a clean and flat surface. This will allow you to easily identify and organize each part.
- Inspect the parts: Inspect each component for any defects or damage. If you notice any issues, contact the manufacturer for replacement parts before proceeding with the assembly.
- Attach the ladder steps: Begin by attaching the ladder steps to the side rails or ladder frames as specified in the instructions. Use a screwdriver or drill, if necessary, to secure the steps in place.
- Attach the handrails: Once the steps are attached, proceed to attach the handrails to the ladder frames. Again, refer to the instructions for the proper attachment method.
- Tighten all connections: Ensure that all nuts and bolts are properly tightened to secure the ladder components. Use a wrench to ensure a firm connection.
- Double-check the assembly: After the ladder components are assembled, do a final check to make sure everything is correctly aligned and tightened. This will help prevent any wobbling or instability.
By following these assembly steps, you will have a fully assembled ladder ready for installation. Take your time during the assembly process to ensure each component is securely attached, providing you with a safe and stable ladder for your above ground pool.
Make sure to follow the manufacturer’s instructions carefully when installing an above ground pool ladder. This will ensure that the ladder is securely and safely attached to the pool.
Step 4: Secure the ladder to the pool wall
Now that you have assembled the ladder components, it’s time to secure the ladder to the pool wall. Proper installation will ensure the ladder remains stable and secure while in use. Follow these steps for a secure installation:
- Position the ladder: Take the assembled ladder to the marked placement on the pool wall. Ensure that the ladder is leveled and aligned with the pool wall.
- Attach the ladder to the wall: Depending on your ladder kit, there may be specific brackets or hardware provided for attaching the ladder to the pool wall. Follow the manufacturer’s instructions to securely attach the ladder to the wall.
- Use anchors, if necessary: If your ladder kit includes anchor systems, make sure to use them. Anchors provide additional stability and prevent the ladder from shifting or moving during use.
- Ensure a tight fit: Use a wrench or screwdriver to tighten all the bolts and screws that secure the ladder to the wall. This will help prevent any wobbling or loosening over time.
- Double-check the stability: Once the ladder is securely attached, give it a gentle shake and test its stability. The ladder should remain firmly in place without any noticeable movement.
By following these steps, you will successfully secure the ladder to the pool wall, providing you with a safe and reliable access point to your above ground pool.
Step 5: Test the stability of the ladder
After securing the ladder to the pool wall, it is crucial to test the stability to ensure it can safely support weight and provide a reliable entry and exit point. Follow these steps to test the ladder’s stability:
- Carefully step onto the ladder: Slowly and carefully step onto the ladder, placing your weight on the first step. Keep a firm grip on the handrails for balance and support.
- Distribute your weight: Gradually distribute your weight across the ladder, shifting from one step to the next. Pay attention to any wobbling or instability during this process.
- Test for movement: While on the ladder, move your body side to side and test the ladder’s stability. It should remain steady without significant movement or shaking.
- Check for proper alignment: Make sure the ladder remains aligned with the pool wall as you shift your weight. It should not pull away from the wall or shift to the side.
- Ensure secure handrail grip: While testing the ladder, grip the handrails firmly to make sure they are securely attached and provide adequate support.
- Test with a partner: For an additional safety measure, have a partner stand by the pool to observe the ladder’s stability and provide assistance if needed.
If, during the testing process, you notice any instability, wobbling, or other safety concerns, stop using the ladder immediately. Double-check the installation and make any necessary adjustments to ensure the ladder is secure and stable before using it.
Testing the stability of the ladder is an important step to ensure your safety and the safety of others using the pool. By taking the time to test the ladder’s stability, you can have peace of mind knowing that it is reliable and safe to use.
Step 6: Safety precautions and maintenance tips
Ensuring the safety of those using the ladder and maintaining its condition are vital for a long-lasting and functional above ground pool ladder. Here are some essential safety precautions and maintenance tips to keep in mind:
- Supervise children: Always supervise children when using the ladder, and remind them of proper ladder usage and safety guidelines.
- Weight capacity: Be mindful of the ladder’s weight capacity and avoid exceeding it. Check the manufacturer’s specifications for the maximum weight limit.
- Non-slip surfaces: Consider adding non-slip strips or pads to the ladder steps and handrails to improve traction and prevent accidents.
- Regular cleaning: Clean the ladder regularly to remove any dirt, grime, or algae buildup. Use a mild detergent and a soft brush to scrub the ladder surfaces.
- Inspection and maintenance: Regularly inspect the ladder for any signs of wear, loose bolts, or other damage. Tighten any loose connections and replace any worn-out components.
- Storage during the off-season: If you live in an area with seasonal pool use, properly store the ladder during the off-season. Protect it from harsh weather conditions and store it in a dry and secure location.
- Address repairs promptly: If you notice any significant damage or structural issues with the ladder, address repairs as soon as possible. Contact the manufacturer or a professional if needed.
- Educate pool users: Make sure everyone using the ladder is aware of proper ladder usage and safety guidelines. Encourage them to use the ladder correctly and avoid any rough or unsafe behavior.
By following these safety precautions and maintenance tips, you will ensure that your above ground pool ladder remains in excellent condition and provides a safe and reliable access point to your pool. Remember, safety should always be a top priority when it comes to swimming and pool-related activities.
Conclusion
Congratulations! You have successfully learned how to install an above ground pool ladder. By following the step-by-step guide outlined in this article, you now have a safe and accessible entry point to your pool. Installing a ladder not only enhances convenience but also promotes safety for you and your pool users.
Remember to gather all the necessary tools and equipment before starting the installation process. Take the time to determine the ideal ladder placement, considering factors such as local regulations, pool height, and proximity to the pool entry point. Assemble the ladder components meticulously, ensuring a tight and secure fit to prevent any wobbling or instability.
When securing the ladder to the pool wall, follow the manufacturer’s guidelines and check for proper alignment and stability. Testing the ladder’s stability is crucial to confirm its reliability and safety. If any issues arise, make the necessary adjustments or seek professional assistance.
Ensure the longevity of your ladder by practicing safety precautions and regular maintenance. Supervise children and be mindful of weight capacity. Keep the ladder clean and inspect it regularly for any signs of wear or damage. Promptly address repairs to maintain its functionality.
By following these guidelines, you can enjoy a safe and enjoyable swimming experience with your above ground pool ladder. Remember to prioritize safety at all times and educate others on proper ladder usage.
Thank you for reading our guide on how to install an above ground pool ladder. We hope it has provided you with valuable information and insights. Now, go ahead and dive in, knowing that you have a secure and reliable ladder to assist you!
Frequently Asked Questions about How To Install An Above Ground Pool Ladder
Was this page helpful?
At Storables.com, we guarantee accurate and reliable information. Our content, validated by Expert Board Contributors, is crafted following stringent Editorial Policies. We're committed to providing you with well-researched, expert-backed insights for all your informational needs.

0 thoughts on “How To Install An Above Ground Pool Ladder”