Articles
How To Stabilize Pool Ladder
Modified: April 22, 2024
Learn effective strategies for stabilizing pool ladders in this comprehensive collection of articles. Discover expert tips and tricks to ensure safety and enhance your pool experience.
(Many of the links in this article redirect to a specific reviewed product. Your purchase of these products through affiliate links helps to generate commission for Storables.com, at no extra cost. Learn more)
Introduction
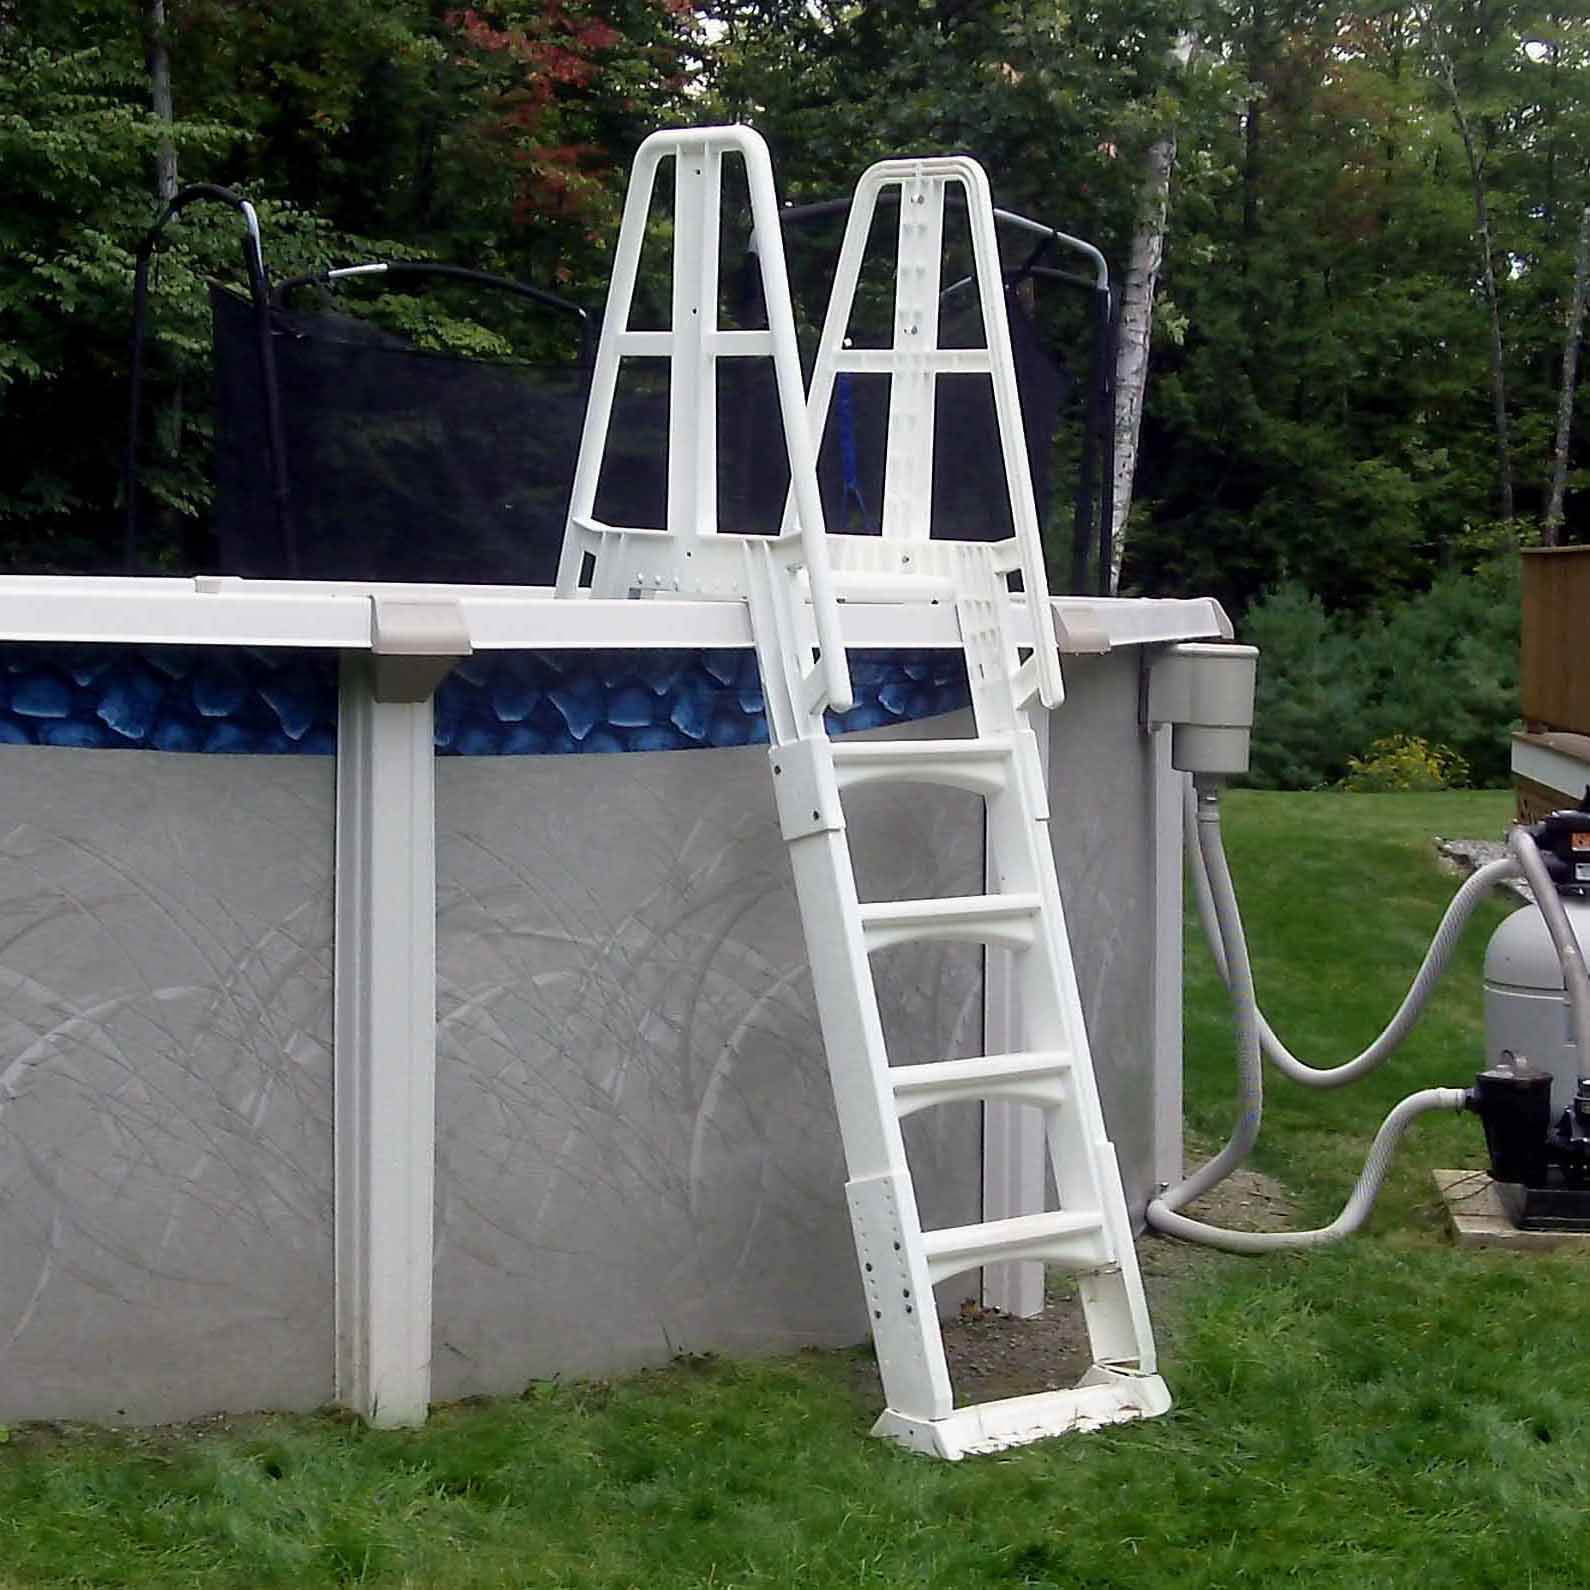
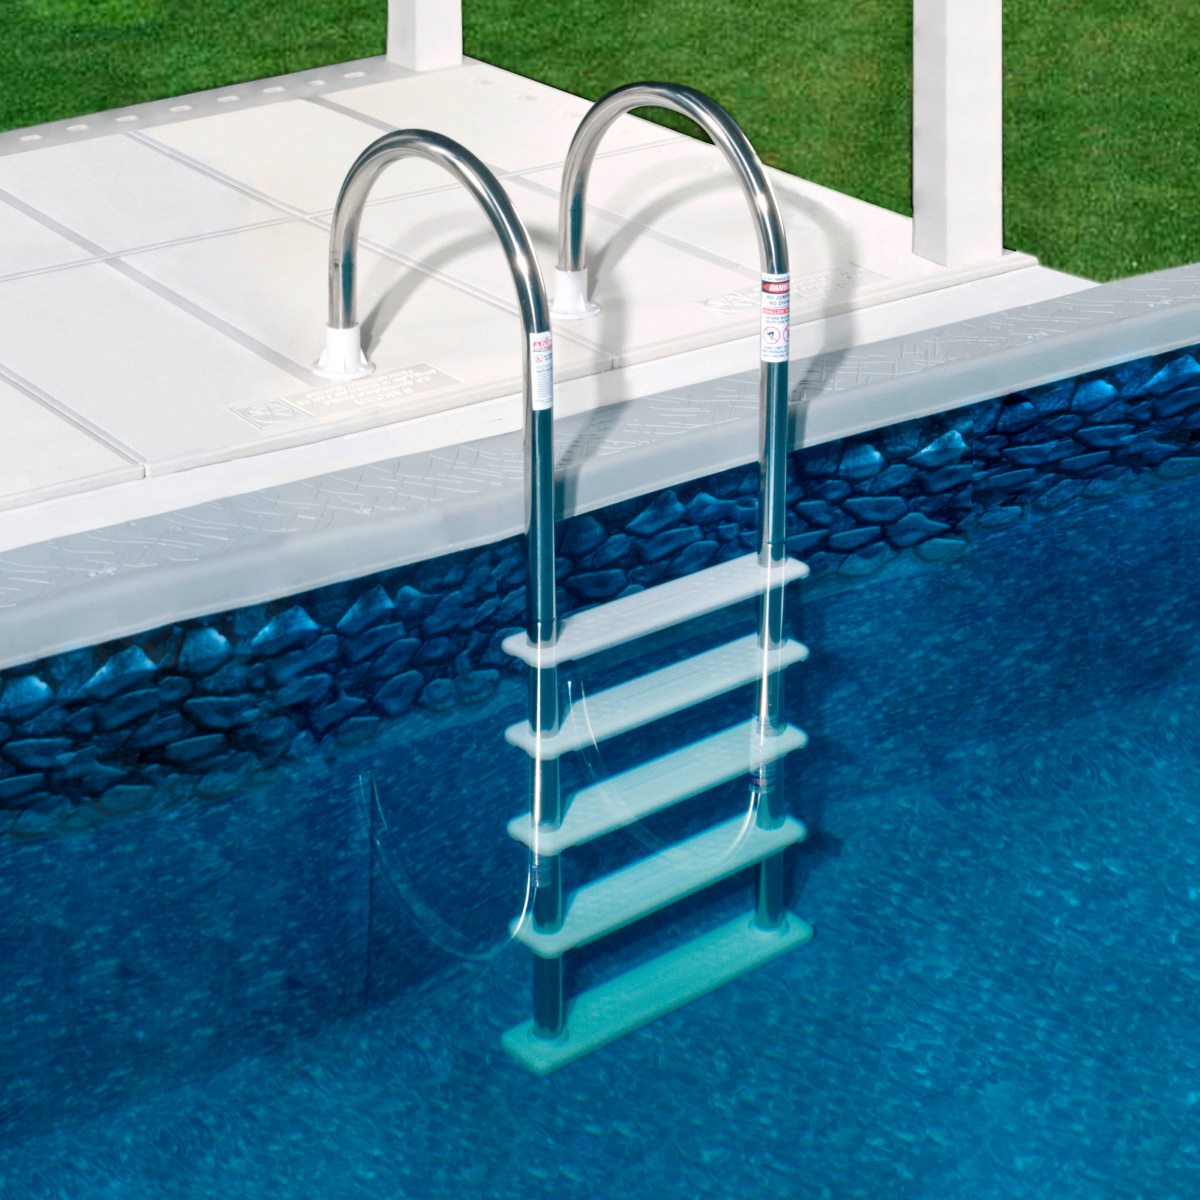
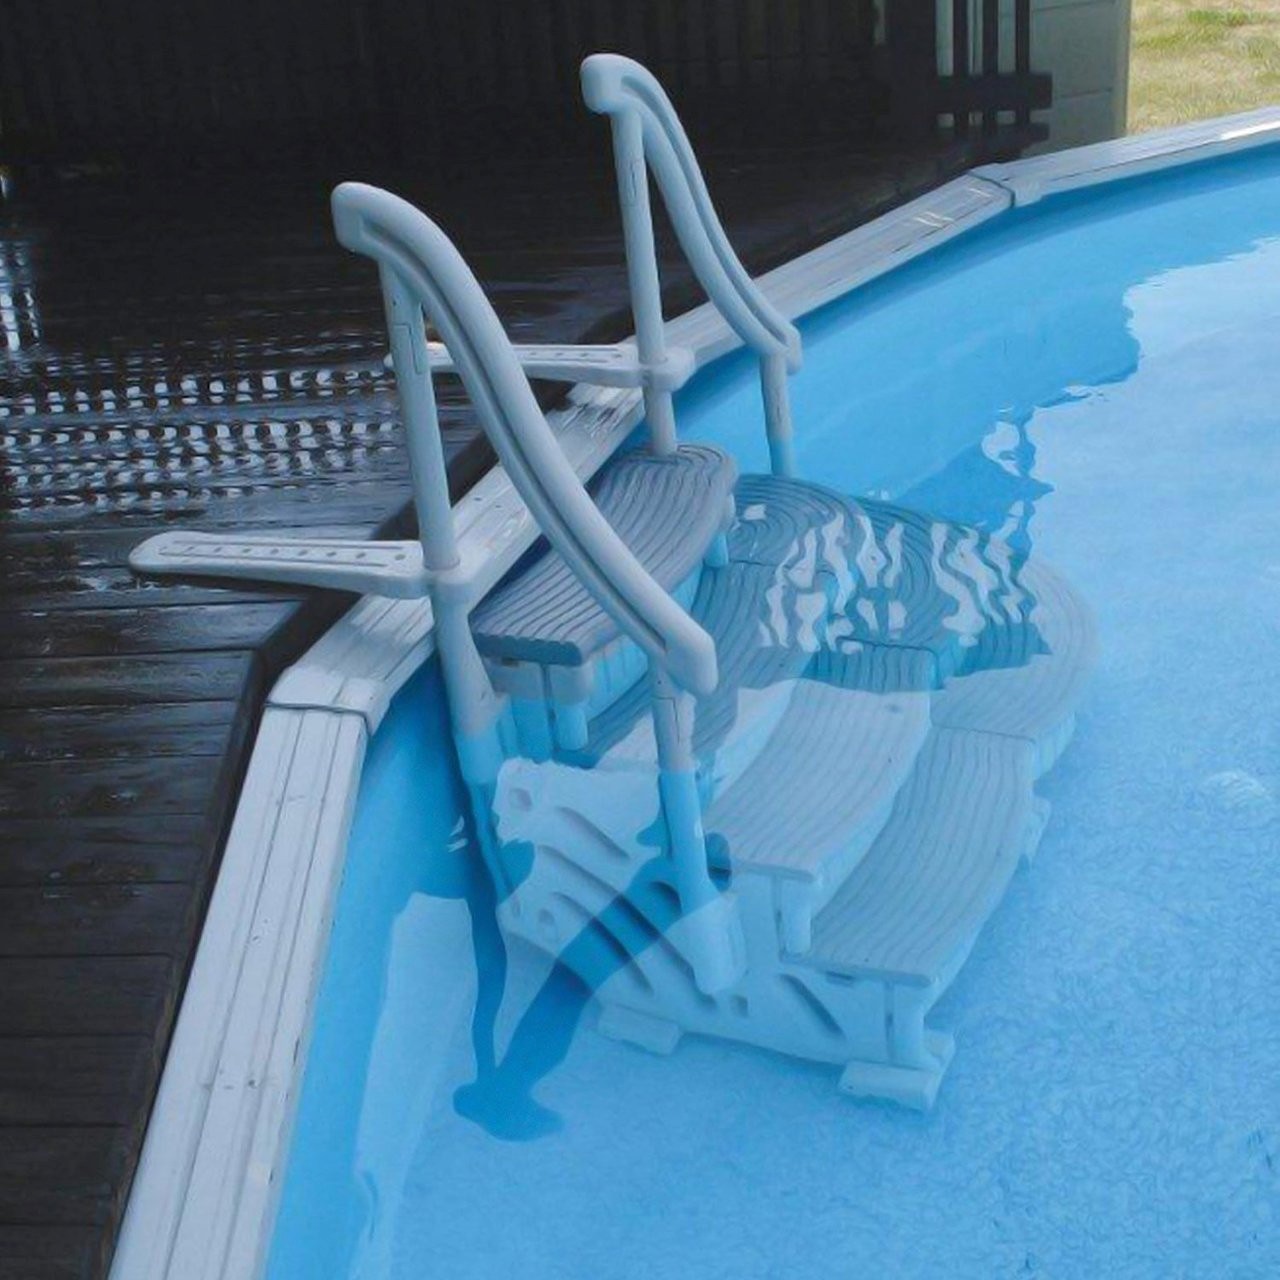
A pool ladder is an essential feature in any swimming pool, providing easy access in and out of the pool for swimmers of all ages. However, over time, pool ladders may become unstable due to wear and tear, causing safety concerns. To ensure the safety of pool users, it is important to take the necessary steps to stabilize a pool ladder.
In this article, we will guide you through a step-by-step process to evaluate the condition of your pool ladder and provide you with the knowledge and tools needed to stabilize it effectively. By following these steps, you can ensure that your pool ladder remains sturdy and secure, providing a safe entry and exit point for swimmers.
So, let’s dive in and learn how to stabilize a pool ladder!
Key Takeaways:
- Ensure pool ladder stability by assessing, securing, and repairing components. Regular maintenance and testing are crucial for a safe and enjoyable swimming experience.
- Gather necessary tools, secure the base, and inspect rails for a stable pool ladder. Regular testing and maintenance ensure ongoing safety for swimmers.
Read more: How To Stabilize A Ladder
Step 1: Assess the current condition of the pool ladder
The first step in stabilizing a pool ladder is to assess its current condition. Carefully inspect every component of the ladder, including the base, rails, steps, and hardware. Look for any signs of damage, corrosion, or wear and tear that may compromise its stability.
Inspect the base of the pool ladder to ensure it is securely attached to the pool deck. Check for any cracks or loose fittings that may need to be repaired or replaced. If the base is not firmly anchored to the ground, it can cause the ladder to wobble or shift when in use.
Next, examine the ladder rails for any signs of bending or rusting. A bent rail can affect the stability of the ladder and pose a risk to swimmers. If you notice any issues with the rails, it is important to address them before attempting to stabilize the ladder.
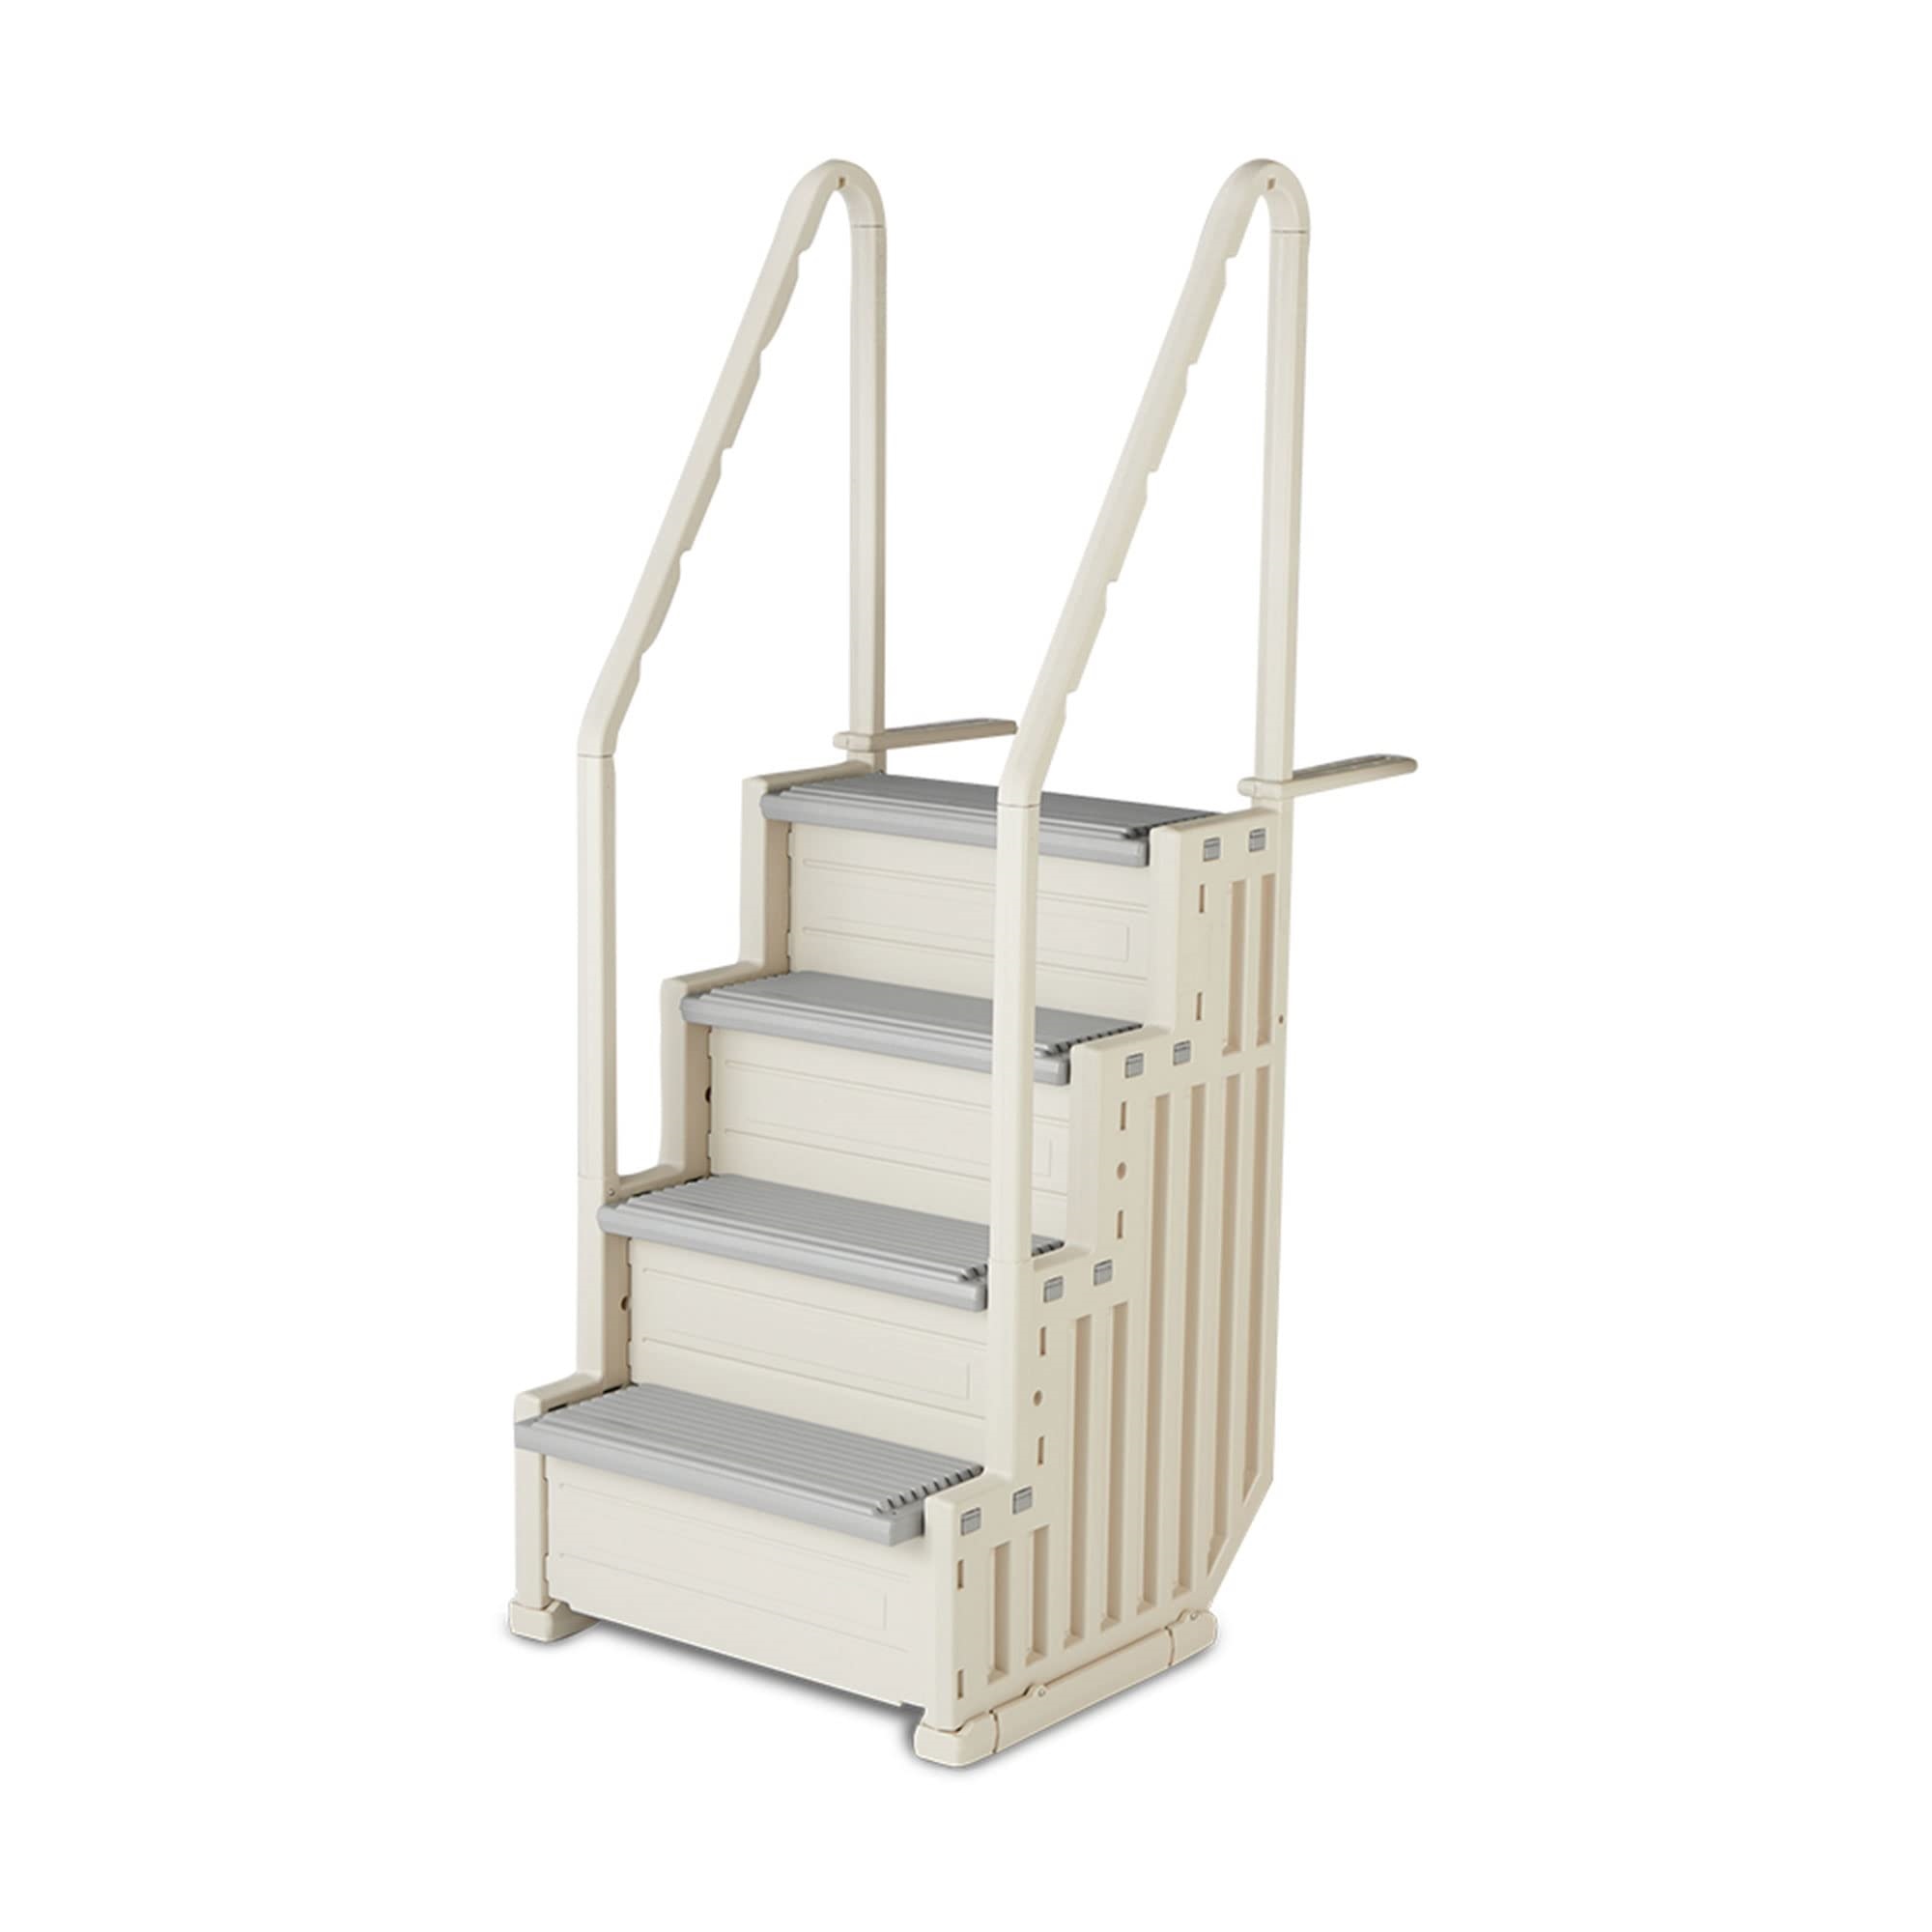
Take a close look at the ladder steps to check for any signs of damage or excessive wear. Cracked or broken steps can make the ladder unstable and can potentially lead to accidents. It is important to replace any damaged steps to ensure the ladder is safe to use.
Finally, inspect the hardware, including screws and bolts, to ensure they are tight and in good condition. Loose or missing hardware can cause the ladder to become unstable. Tighten any loose screws or bolts and replace any missing ones to ensure the ladder is secure.
By thoroughly examining the current condition of your pool ladder, you will have a clear understanding of the areas that need attention and the steps required to stabilize it effectively. This assessment is crucial for a successful ladder stabilization project.
Step 2: Gather the necessary tools and materials
Before you can begin stabilizing your pool ladder, it is important to gather all the necessary tools and materials. Having everything you need on hand will make the process smoother and more efficient. Here is a list of the key tools and materials you will need:
- Adjustable wrench
- Screwdriver
- Socket set
- Pool ladder stabilizer kit (if required)
- Replacement hardware (screws, bolts, etc.)
- Ladder repair kit (if needed)
- Safety goggles
- Gloves
An adjustable wrench will come in handy for tightening bolts and nuts, while a screwdriver will be necessary for removing and installing screws. A socket set can be useful for larger bolts that require more torque.
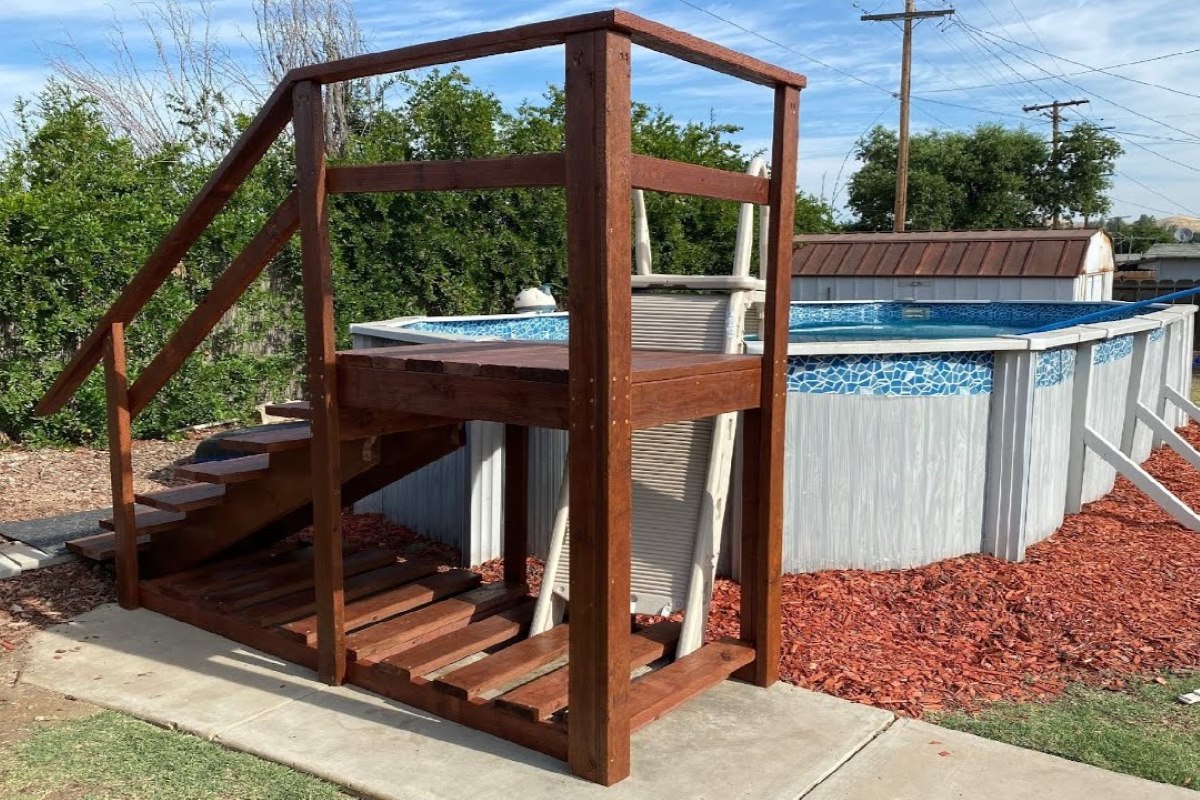
If your pool ladder requires additional stabilization, you may need to purchase a pool ladder stabilizer kit. These kits typically include brackets or straps that can be attached to the ladder and the pool deck, providing extra stability and security.
In some cases, you may need to replace damaged or missing hardware. It’s a good idea to have a variety of screws and bolts on hand to ensure you have the right size and type for your specific ladder.
Additionally, if you notice any damaged steps or rails during the assessment in Step 1, a ladder repair kit can be useful for making the necessary repairs. These kits often include patching materials or replacement parts for easy fixes.
Remember to wear safety goggles and gloves when working on your pool ladder. This will protect your eyes from debris and your hands from sharp edges or potential injuries.
By gathering these tools and materials beforehand, you’ll be well-prepared to tackle the ladder stabilization process efficiently and effectively.
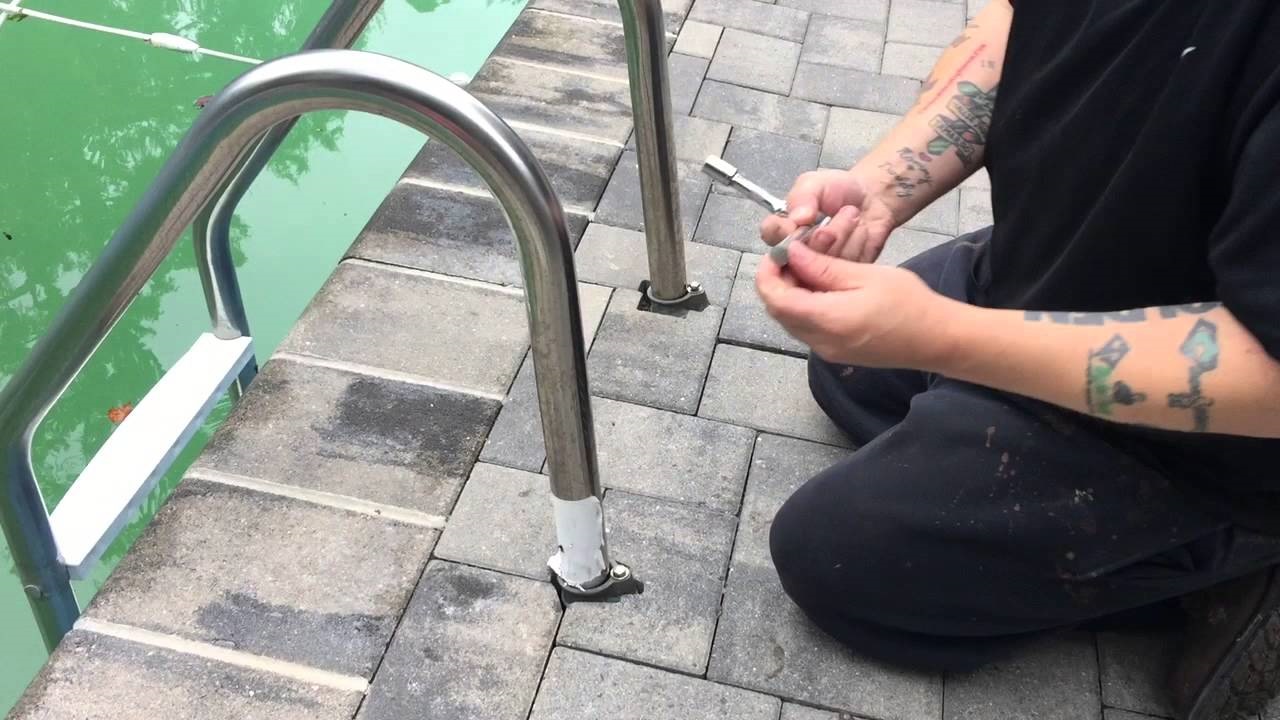
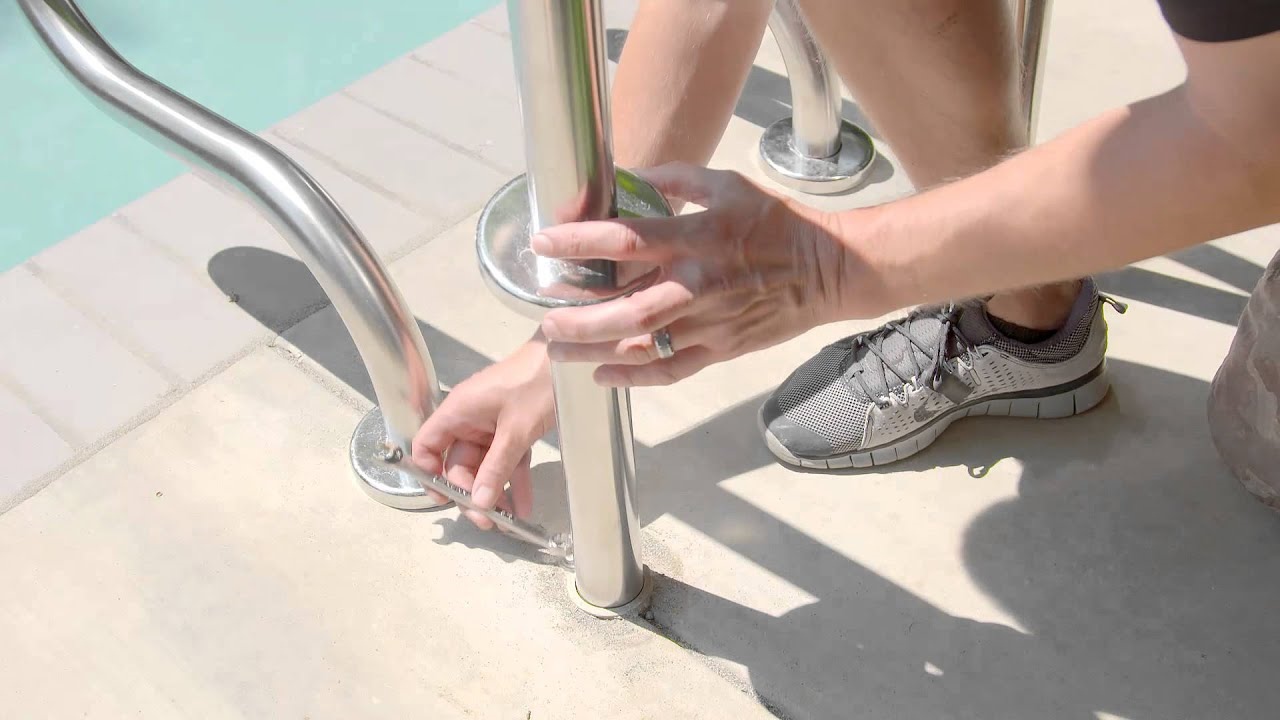
Step 3: Secure the ladder base to the pool deck
Securing the base of the pool ladder to the pool deck is crucial for maintaining stability and preventing any wobbling or shifting during use. Follow these steps to ensure a secure base:
- Start by clearing any debris or obstructions around the ladder base. Sweep the area and remove any dirt, leaves, or other objects that may interfere with the stability of the ladder.
- Place the ladder in its desired position by aligning the base with the designated area on the pool deck. Make sure the ladder is level and centered for optimal stability.
- Using a marker or pencil, mark the location of the anchor holes on the pool deck. These holes may be pre-drilled or may need to be marked and drilled at this stage.
- Once the anchor holes are marked, carefully remove the ladder from the pool deck.
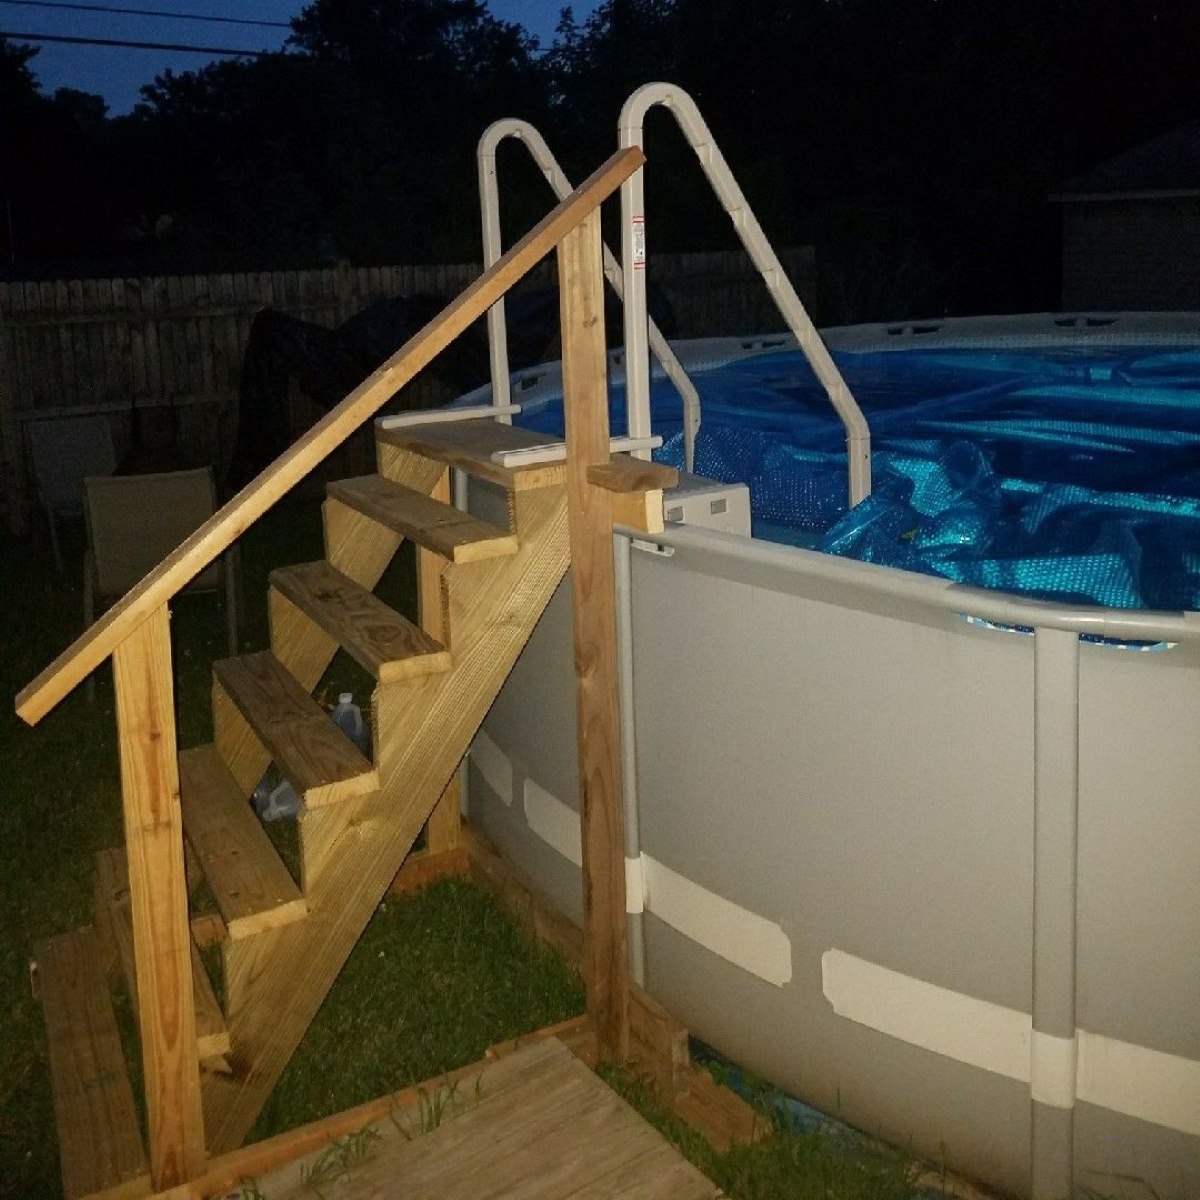
- For concrete or stone pool decks, use a hammer drill with a masonry bit to drill the anchor holes. If you have a wooden deck, use a regular drill with a wood bit.
- After drilling the anchor holes, insert the recommended anchors into the holes. These anchors are typically provided with the ladder or can be purchased separately.
- Place the ladder base back on the pool deck, aligning it with the anchor holes. The anchor holes should line up with the corresponding holes on the ladder base.
- Securely attach the ladder base to the pool deck by inserting and tightening the screws or bolts through the anchor holes and into the ladder base. Use a socket set or an adjustable wrench to ensure the screws are tightened properly.
- Double-check the stability of the ladder by gently shaking it from side to side. If you notice any movement or instability, tighten the screws further or consider using a pool ladder stabilizer kit for additional support.
By properly securing the ladder base to the pool deck, you will significantly enhance the stability of the ladder, ensuring a safe and secure entry and exit point for swimmers.
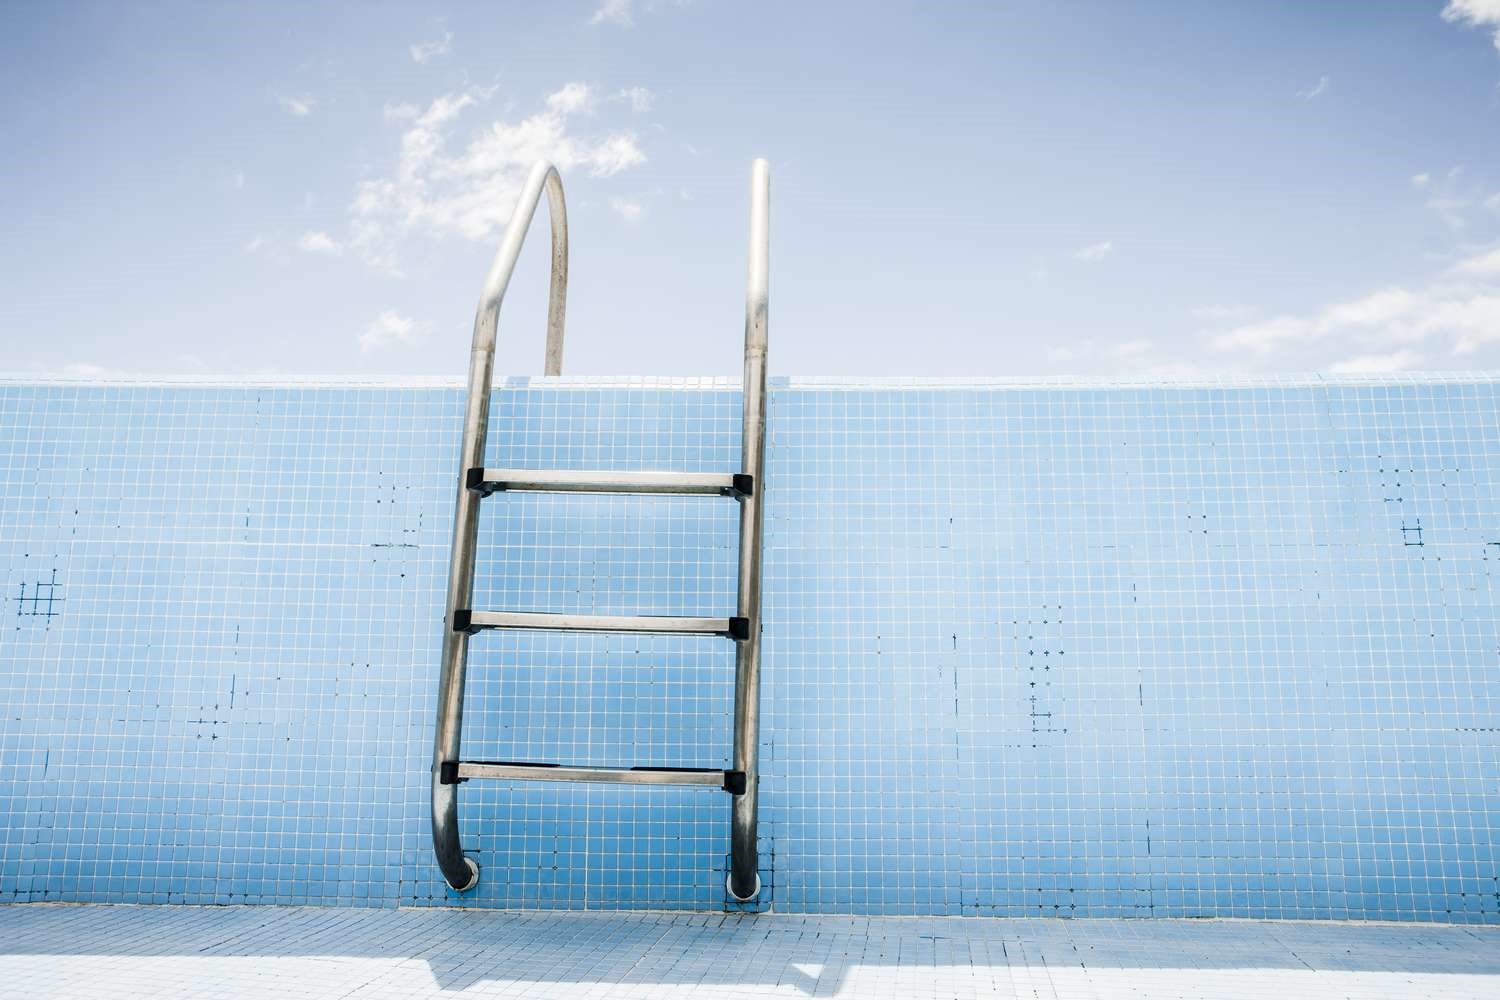
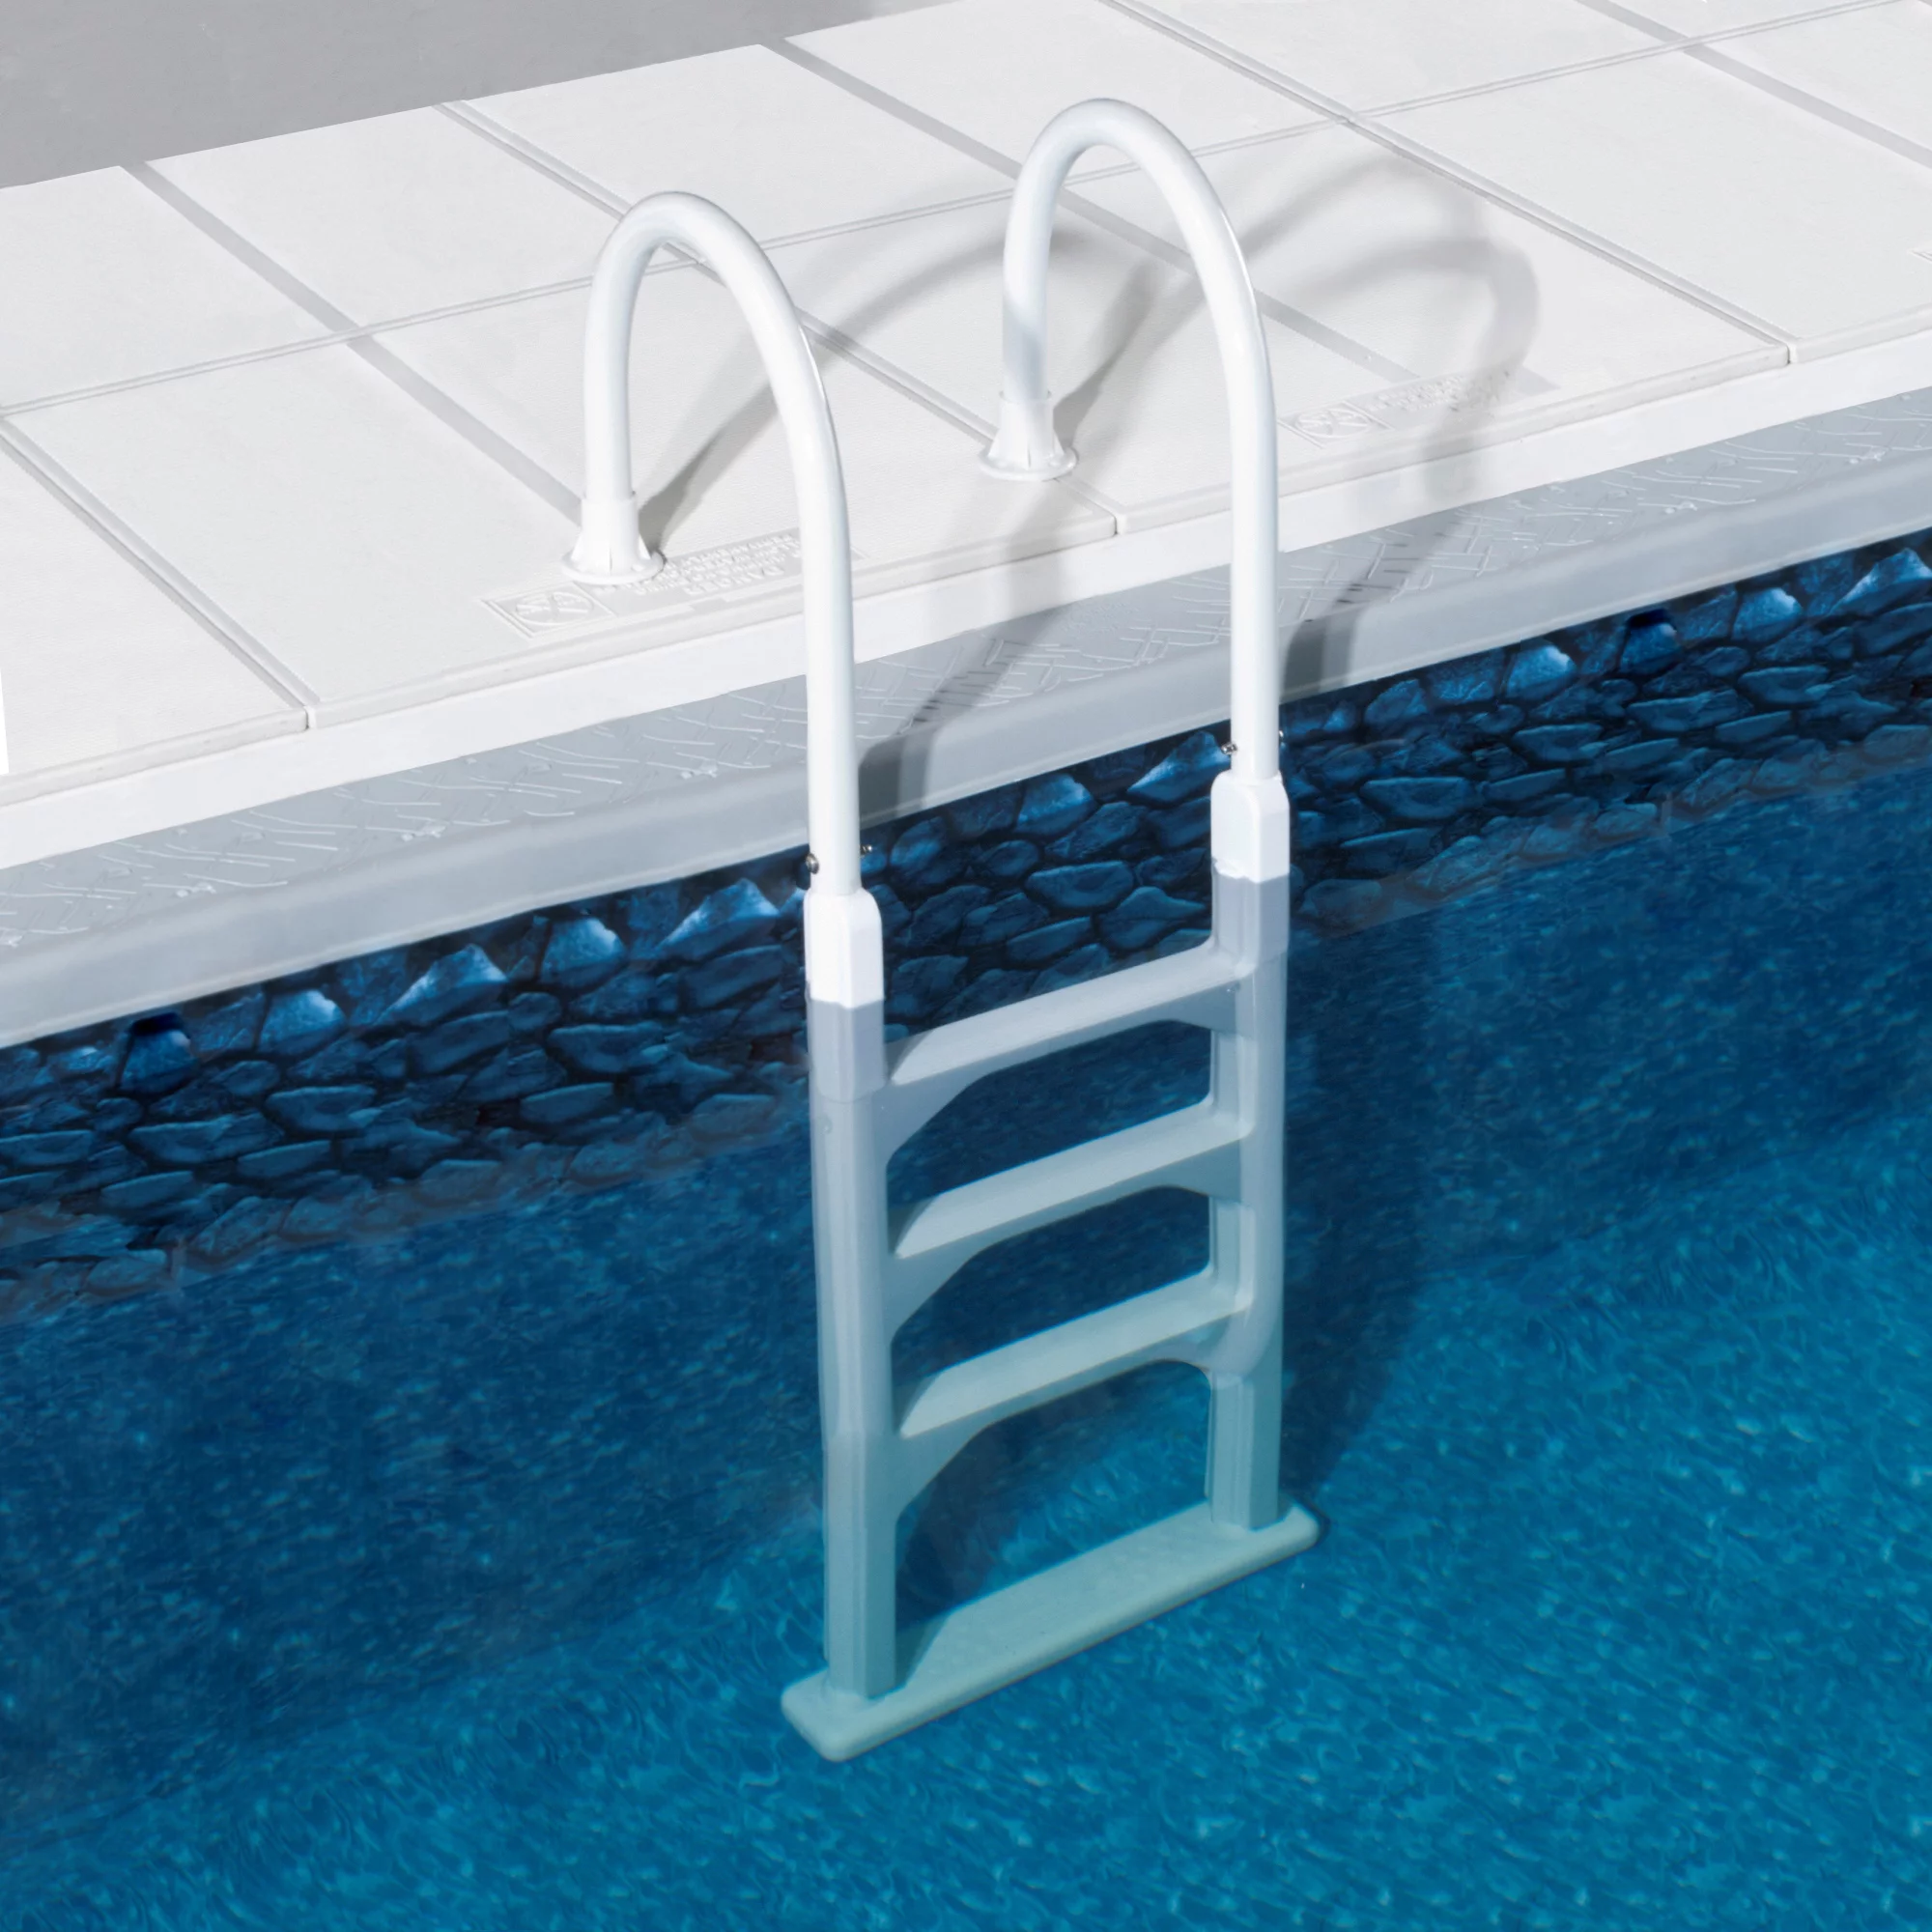
Step 4: Check the stability of the ladder rails
The ladder rails play a crucial role in providing stability and support when using the pool ladder. It’s vital to ensure that the rails are secure and in good condition. Follow these steps to check the stability of the ladder rails:
- Starting at the top of the ladder, grasp the rails firmly and give them a gentle shake. The rails should feel stable and not move excessively or wobble.
- If you notice any significant movement or instability in the rails, examine the connection points where the rails attach to the ladder. Look for loose screws or bolts that may need to be tightened.
- Use an adjustable wrench or a screwdriver to tighten any loose screws or bolts found along the rails. Ensure they are securely fastened to provide stability.
- If the rails are bent or warped, this can impact the stability of the ladder. In this case, it may be necessary to replace the rails entirely. Contact the manufacturer or a pool supply store for suitable replacement rails that are compatible with your specific ladder model.
- Inspect the rail brackets or connection points. If they are worn or damaged, they may need to be replaced. Ensure that the brackets are securely fastened to the ladder and that there are no signs of deterioration or corrosion.
- Once you have tightened any loose screws or bolts and replaced any damaged rails or brackets, test the stability of the ladder rails again by giving them a gentle shake. They should feel secure and stable, without any excessive movement.
- If you are still experiencing instability in the ladder rails, it may be beneficial to consider using a pool ladder stabilizer kit. These kits provide additional support and can help minimize any wobbling or shifting of the ladder.
By checking the stability of the ladder rails and addressing any issues promptly, you can ensure a safe and secure pool experience for swimmers.
To stabilize a pool ladder, ensure it is properly anchored to the pool deck, use non-slip ladder treads, and consider adding a weight to the base for extra stability.
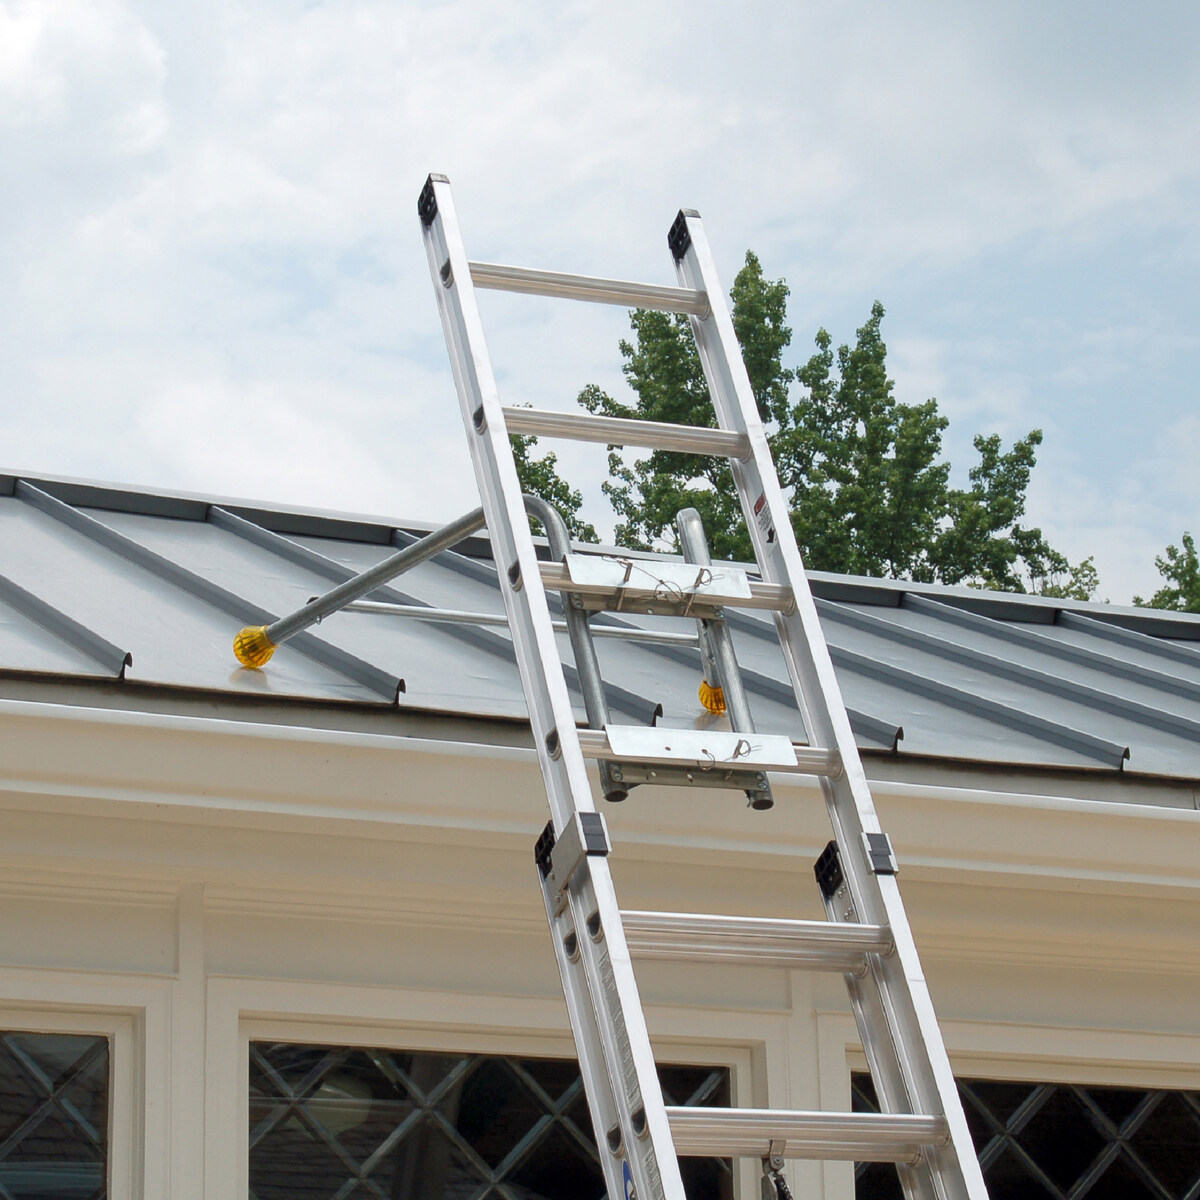
Read more: How To Use Ladder Stabilizer
Step 5: Adjust and tighten any loose screws or bolts
Loose screws or bolts can significantly impact the stability of a pool ladder. It’s important to check all the hardware and ensure they are properly tightened. Follow these steps to adjust and tighten any loose screws or bolts:
- Inspect the ladder components, including the base, rails, steps, and hardware, for any signs of loose or missing screws or bolts.
- If you notice any loose screws or bolts, use a suitable tool, such as an adjustable wrench or a screwdriver, to tighten them. Turn the tool clockwise to tighten the screws or bolts securely.
- Check the integrity of the hardware as well. If you notice any damaged or corroded screws or bolts, replace them with new ones of the same size and type.
- Ensure that all screws and bolts are tightened to the manufacturer’s specifications. Over-tightening can cause damage, so it’s important to strike the right balance.
- Focus on the areas where the ladder components connect, such as where the rails attach to the base or where the steps attach to the rails. These connection points are more prone to loosening over time.
- Test the stability of the ladder after tightening the screws and bolts. Give the ladder a gentle shake and check for any excessive movement or instability. If you notice any issues, re-tighten the screws or bolts as necessary.
- For additional reinforcement, consider using thread-locking compound on the screws or bolts. This compound helps prevent them from loosening over time due to vibrations.
By adjusting and tightening any loose screws or bolts, you can ensure the structural integrity of the pool ladder and improve its overall stability.
Step 6: Inspect and repair any damaged parts
Regular inspection and maintenance are crucial in identifying and addressing any damaged parts of a pool ladder. Damaged parts can compromise the stability and safety of the ladder, so it’s important to promptly address any issues. Follow these steps to inspect and repair damaged parts:
- Thoroughly examine each component of the pool ladder, including the base, rails, steps, and hardware, for any signs of damage or excessive wear.
- If you notice any cracks, breaks, or significant damage to the ladder base, it may be necessary to replace the entire base. Contact the manufacturer or a pool supply store to find a suitable replacement base for your ladder model.
- Inspect the ladder rails for any signs of bending, warping, or rusting. Bent or warped rails may need to be replaced to maintain stability. Similarly, rusted rails can compromise the ladder’s structural integrity and should be replaced.
- If any of the ladder steps are cracked, broken, or worn out, replace them with new ones. Damaged steps can make the ladder unstable and pose a safety hazard.
- Examine the hardware, such as screws and bolts, for any signs of damage or corrosion. Replace any damaged or corroded hardware with new ones to ensure a secure connection.
- Consider using a ladder repair kit for minor repairs. These kits often include patching materials or replacement parts for easy fixes. Follow the instructions provided with the kit to carry out the necessary repairs.
- Once the damaged parts have been identified and repaired or replaced, test the ladder’s stability again. Shake the ladder gently and check for any excessive movement or wobbling. If everything feels secure, proceed to the next step.
By inspecting and repairing any damaged parts of the pool ladder, you can restore its stability and ensure the safety of those using it.
Step 7: Test the stability of the ladder
After completing the necessary repairs and adjustments, it’s essential to thoroughly test the stability of the pool ladder to ensure its safety and reliability. Follow these steps to test the ladder’s stability:
- Carefully position the ladder in its intended spot, aligning it properly with the pool deck.
- Securely attach the ladder base to the pool deck, ensuring that all screws or bolts are tightened according to the manufacturer’s specifications.
- Hold onto the ladder rails and gently exert pressure by shaking the ladder from side to side. Pay attention to any noticeable movement or instability. A stable ladder should remain firm without excessive rocking or wobbling.
- Step onto the ladder and apply weight gradually, starting with one foot at a time. Ascend and descend the ladder slowly, ensuring that each step feels secure and stable.
- Continue to test the ladder’s stability by climbing up and down a few times. Take note of any uncomfortable or unstable sensations. If any issues arise, stop using the ladder immediately and reevaluate the stability before proceeding.
- If the ladder passes the stability tests, it is now considered safe for regular use. However, it is recommended to periodically inspect and test the ladder to ensure ongoing stability and safety for all pool users.
Remember, proper maintenance and regular inspections are essential for keeping the pool ladder in optimum condition. If any signs of instability or damage arise during use, promptly address the issue to maintain a safe swimming environment.
Conclusion
A stable pool ladder is essential for the safety and enjoyment of swimmers. By following the steps outlined in this article, you can effectively stabilize your pool ladder and ensure a secure entry and exit point for anyone using the pool.
Start by assessing the current condition of the ladder, checking for any damage or wear. Gather the necessary tools and materials for the stabilization process, including wrenches, screwdrivers, and replacement hardware. Secure the ladder base to the pool deck, ensuring a sturdy foundation.
Check the stability of the ladder rails and tighten any loose screws or bolts. Inspect and repair any damaged parts, such as cracked steps or bent rails. Finally, thoroughly test the ladder’s stability before allowing swimmers to use it.
Remember to conduct regular inspections and maintenance to ensure the ongoing stability of the pool ladder. By taking the time to stabilize your pool ladder, you create a safe swimming environment for everyone to enjoy.
So, dive into action and stabilize your pool ladder today! Your efforts will provide peace of mind and enhance the overall pool experience for all. Happy swimming!
Frequently Asked Questions about How To Stabilize Pool Ladder
Was this page helpful?
At Storables.com, we guarantee accurate and reliable information. Our content, validated by Expert Board Contributors, is crafted following stringent Editorial Policies. We're committed to providing you with well-researched, expert-backed insights for all your informational needs.


0 thoughts on “How To Stabilize Pool Ladder”