Articles
How To Build Pool Ladder
Modified: October 18, 2024
Looking for articles on how to build a pool ladder? Check out our comprehensive guide to create a sturdy and functional ladder for your swimming pool.
(Many of the links in this article redirect to a specific reviewed product. Your purchase of these products through affiliate links helps to generate commission for Storables.com, at no extra cost. Learn more)
Introduction
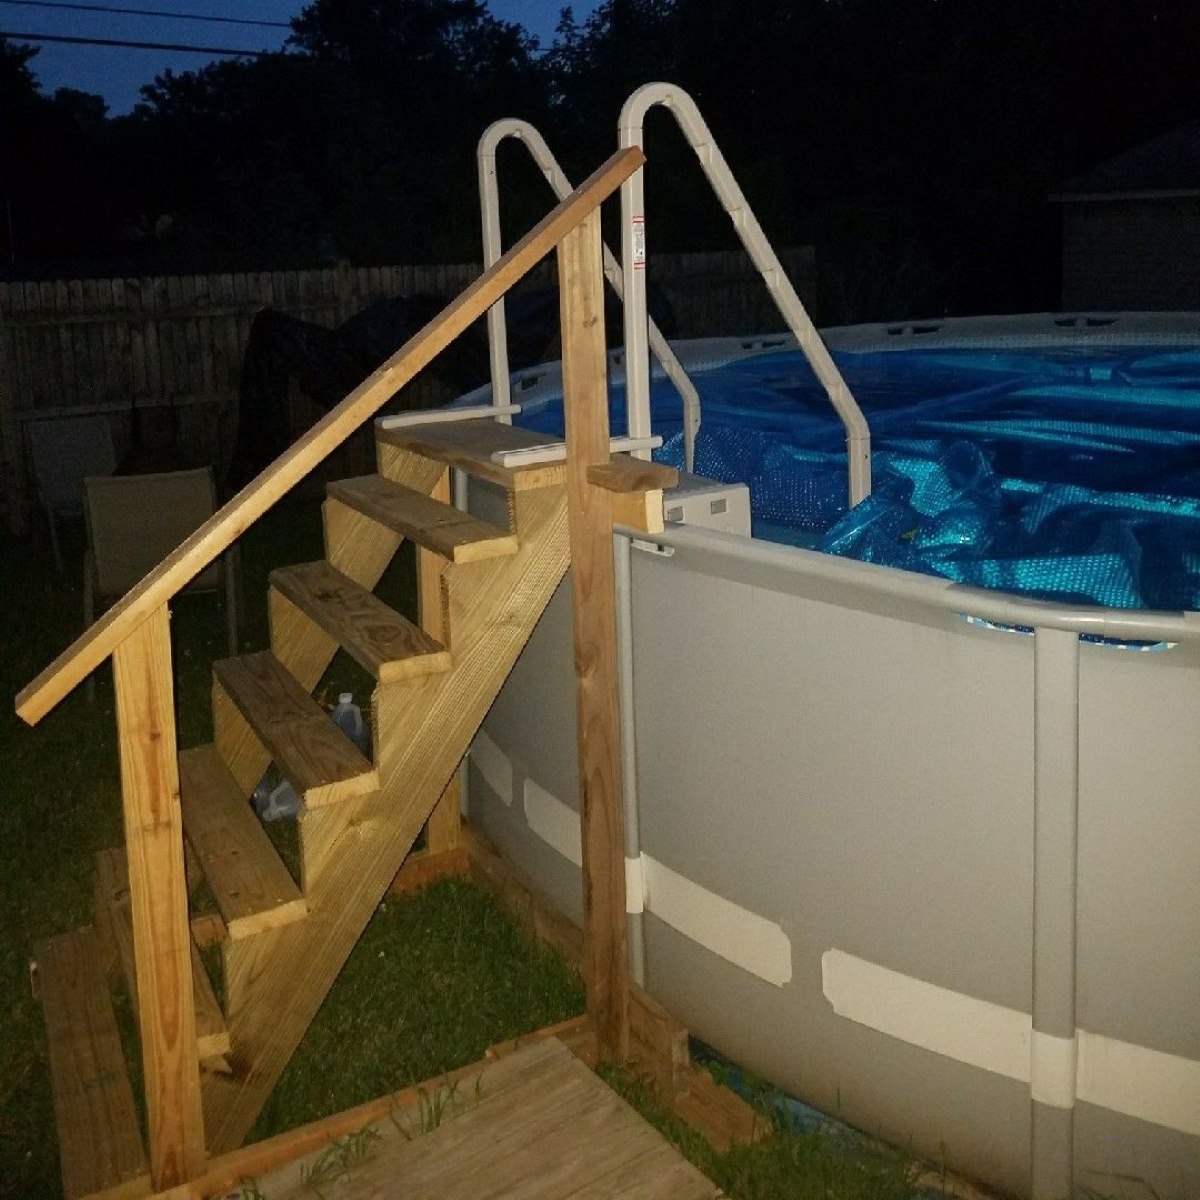
Welcome to our guide on how to build a pool ladder! Having a pool ladder is essential for both safety and easy access to your swimming pool. Whether you have an above-ground or in-ground pool, a sturdy and well-built ladder is crucial for anyone using the pool. Building your own pool ladder allows you to customize the design and ensure that it meets your specific needs and preferences.
In this article, we will walk you through the step-by-step process of building a pool ladder. We’ll provide you with a list of materials needed and detailed instructions for each stage of the construction. By following this guide, you’ll be able to create a durable and reliable pool ladder that will enhance the functionality and aesthetics of your swimming pool area.
Before we dive into the construction process, it’s important to note that building a pool ladder requires a basic understanding of woodworking and some common tools. If you’re not familiar with these concepts, it may be best to seek assistance from a professional or enlist the help of someone experienced in woodworking.
Now, let’s gather our materials and get started on building your very own pool ladder!
Key Takeaways:
- Enhance Safety and Convenience
Building a custom pool ladder allows for personalized design and ensures secure access to the pool. Prioritize safety, proper installation, and maintenance for a rewarding DIY project. - Personalized and Durable Design
By following the step-by-step guide, create a sturdy and reliable pool ladder that meets specific needs. Customization options and protective finishes enhance both functionality and aesthetics.
Read more: How To Remove Pool Ladder
Materials Needed
Before you begin building your pool ladder, it’s essential to gather all the necessary materials. Here’s a list of the items you’ll need:
- 2×4 lumber: This will be used for the ladder rails.
- 1×4 lumber: You’ll need this for the ladder rungs.
- Screws: Choose corrosion-resistant screws that are appropriate for outdoor use.
- Drill: A drill will be needed to make holes for the screws.
- Saw: You’ll use a saw to cut the lumber to the desired lengths.
- Sandpaper: This will be necessary for smoothing any rough edges.
- Wood stain or paint: Optional, but can be used to protect and enhance the appearance of the ladder.
- Non-slip pads: These pads will provide grip and ensure safe footing on the ladder.
- Tape measure: You’ll need this to measure and mark the locations for the rungs.
- Pencil: To mark the spots for drilling and cutting.
- Safety goggles and gloves: Always prioritize safety when working with tools.
Make sure you have all the required materials on hand before starting the construction process. It’s always better to be fully prepared to avoid any delays or interruptions.
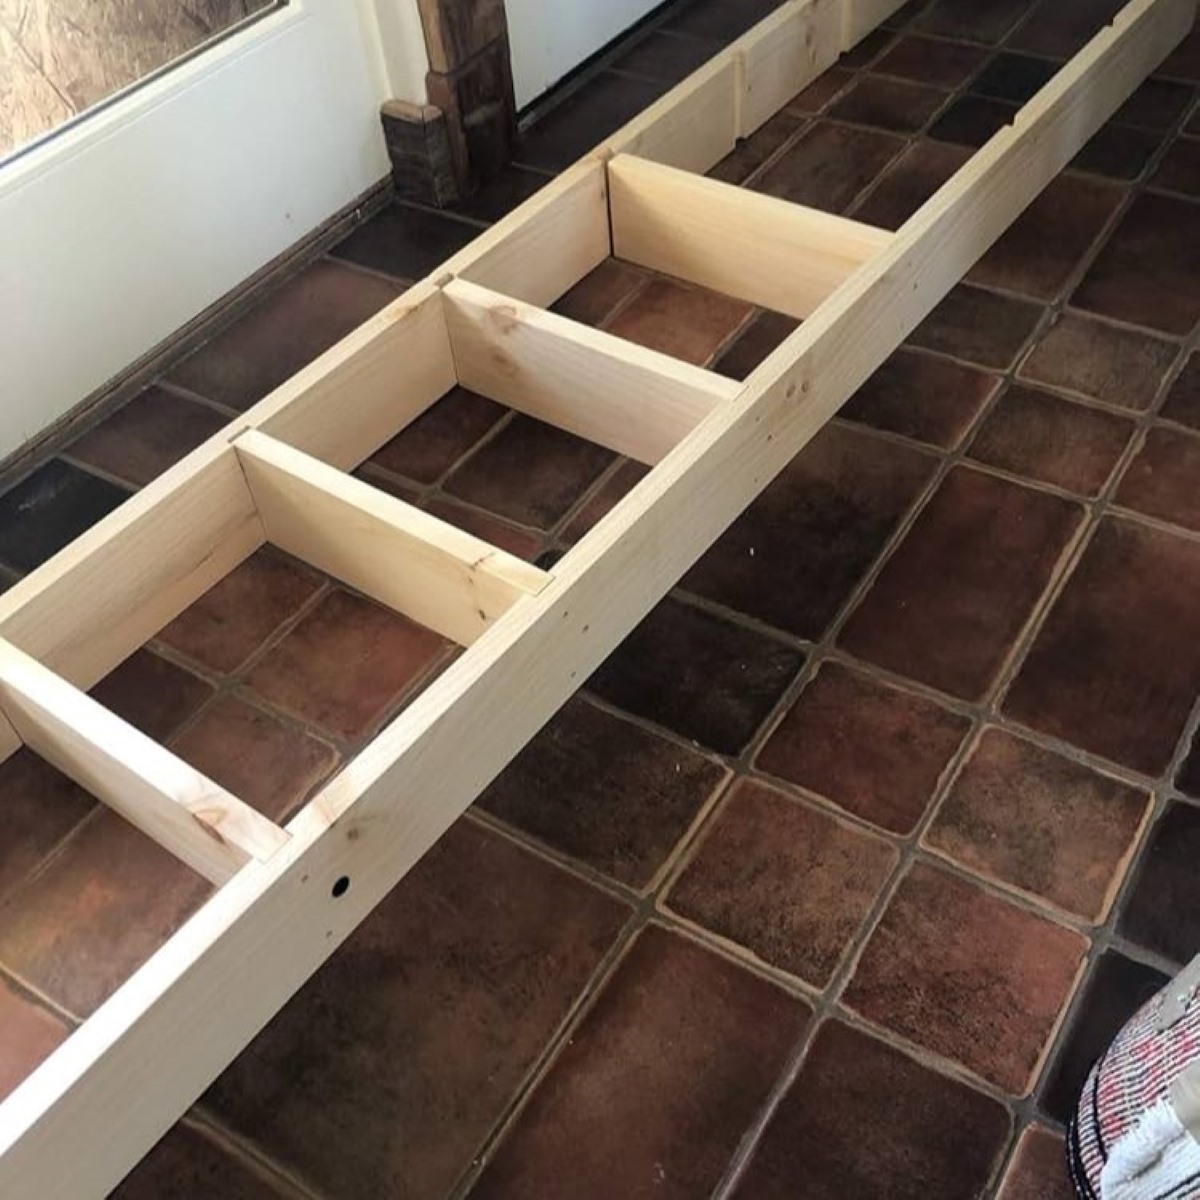
Step 1: Measure and Cut the Ladder Rails
The first step in building your pool ladder is to measure and cut the ladder rails. The ladder rails are the vertical side pieces that will provide stability and support for the ladder.
Here’s a step-by-step guide on how to measure and cut the ladder rails:
- Measure the height of your pool from the top edge to the bottom. This will determine the length of the ladder rails.
- Using a tape measure, mark the desired length on the 2×4 lumber.
- Double-check your measurements before cutting to ensure accuracy.
- Using a saw, carefully cut the lumber to the marked length. Take your time and make precise cuts.
Remember, safety should always be a priority when using power tools. Wear safety goggles and gloves to protect yourself from any potential injuries.
Once the ladder rails are cut to the correct length, you can proceed to the next step of the construction process.
Step 2: Drill Holes for Rungs
After cutting the ladder rails, the next step is to drill holes for the ladder rungs. These rungs will serve as the steps of the ladder, providing a stable and secure way to climb in and out of the pool.
Follow these steps to drill the holes for the ladder rungs:
- Decide on the spacing between each rung. Typically, a spacing of around 12 to 18 inches works well for most pool ladders.
- Measure and mark the desired locations for the rungs on both ladder rails. Make sure the marks are aligned to ensure a level ladder.
- Choose an appropriate drill bit size that matches the diameter of the rungs. This will allow for a snug fit.
- Using a drill, carefully make holes at the marked locations on the ladder rails. Ensure that the holes are straight and centered.
Take your time when drilling the holes to ensure accuracy and precision. It’s a good idea to use a clamp to secure the ladder rails in place while drilling.
Once all the holes are drilled, you’re ready to move on to the next step of attaching the ladder rungs.
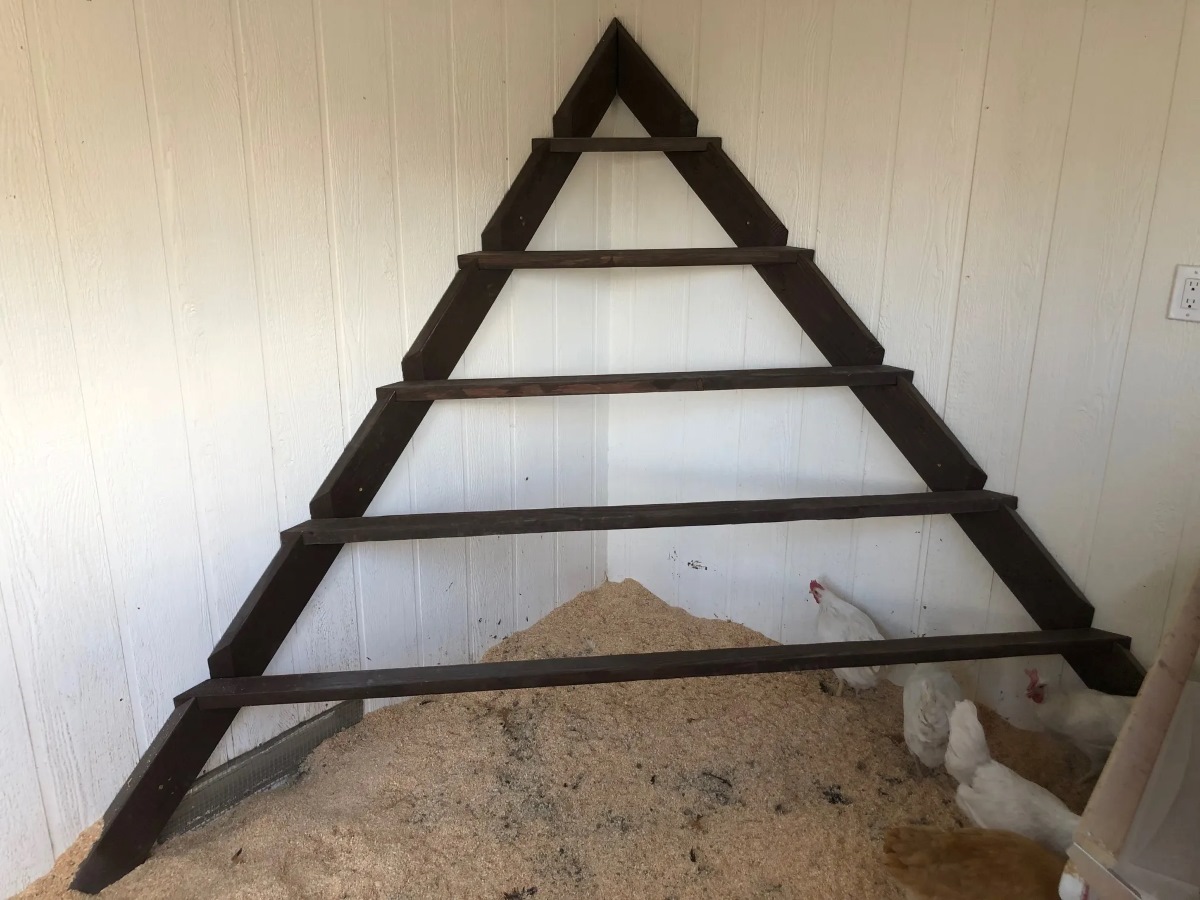
Step 3: Attach Rungs to Rails
Now that you have drilled the holes for the ladder rungs, it’s time to attach them to the ladder rails. This step will bring your ladder one step closer to completion and make it functional for climbing in and out of the pool.
Follow these steps to attach the ladder rungs:
- Apply a thin layer of wood glue to the ends of each ladder rung. This will ensure a strong bond between the rungs and the ladder rails.
- Position the ladder rungs at the marked locations on the ladder rails, aligning them with the drilled holes.
- Insert the rungs into the holes and press them firmly into place. The wood glue will help hold them securely.
- Using screws and a drill, attach the ladder rungs to the ladder rails. Place a screw through the side of the ladder rail into each end of the rung.
Make sure to choose screws that are long enough to penetrate both the ladder rail and the rung, but not too long that they protrude through the other side. This will ensure a sturdy and safe ladder.
Repeat this process for each rung, ensuring that they are evenly spaced and securely attached. Take the time to double-check the alignment and stability of the ladder rungs before moving on to the next step.
Once all the ladder rungs are attached, your ladder will start to take shape. The next step will focus on sanding and finishing the ladder for a polished and smooth appearance.
When building a pool ladder, make sure to use corrosion-resistant materials such as stainless steel or aluminum to ensure durability and safety.
Read more: Where To Buy A Pool Ladder
Step 4: Sand and Finish the Ladder
After attaching the ladder rungs, it’s time to give your pool ladder a smooth and finished look. This step involves sanding the surfaces of the ladder and applying a protective finish.
Follow these steps to sand and finish your pool ladder:
- Start by using sandpaper to smooth any rough edges or uneven surfaces on the ladder rails and rungs. This will help prevent splinters and make the ladder more comfortable to use.
- Sand the entire ladder, going with the grain of the wood, until all surfaces are smooth and free of imperfections.
- Wipe down the ladder with a clean cloth or brush to remove any dust or debris resulting from sanding.
- Decide whether you want to apply a protective finish to the ladder. This can be a wood stain, paint, or a clear sealant.
- If you choose to stain or paint the ladder, apply the product according to the manufacturer’s instructions. Use a brush or roller to ensure an even coat and allow sufficient drying time between coats.
- If you prefer a more natural look, you can opt to apply a clear sealant to protect the wood from moisture and UV damage. Again, follow the instructions on the sealant product for best results.
Finishing the ladder will not only enhance its appearance but also prolong its lifespan, especially when exposed to outdoor elements such as sun, rain, and chlorine in the pool.
Once the finish is dry and the ladder is fully prepared, it’s time to move on to the next step of attaching non-slip pads for added safety and grip.
Step 5: Attach Non-Slip Pads
Safety is a top priority when it comes to pool ladders. To ensure secure footing and reduce the risk of slipping, it’s essential to attach non-slip pads to the ladder rungs. These pads will provide additional grip and stability, especially when the ladder is wet.
Follow these steps to attach non-slip pads to your pool ladder:
- Measure the width and length of each ladder rung. This will give you the dimensions needed for the non-slip pads.
- Using the measurements, cut the non-slip pads to the appropriate size. You can find pre-cut non-slip pads at home improvement stores or cut them from a larger roll.
- Peel off the backing from the non-slip pads to reveal the adhesive side.
- Position the non-slip pads onto the top surface of each ladder rung, pressing them firmly to ensure proper adhesion.
- Repeat this process for all the ladder rungs, ensuring that each rung has a non-slip pad securely attached.
It’s important to choose non-slip pads that are specifically designed for use in wet environments. Look for pads that have a textured or rubberized surface to provide optimal grip.
Attaching non-slip pads will greatly enhance the safety of your pool ladder, providing peace of mind for everyone using it. With this step complete, your pool ladder is almost ready to be installed in the pool.
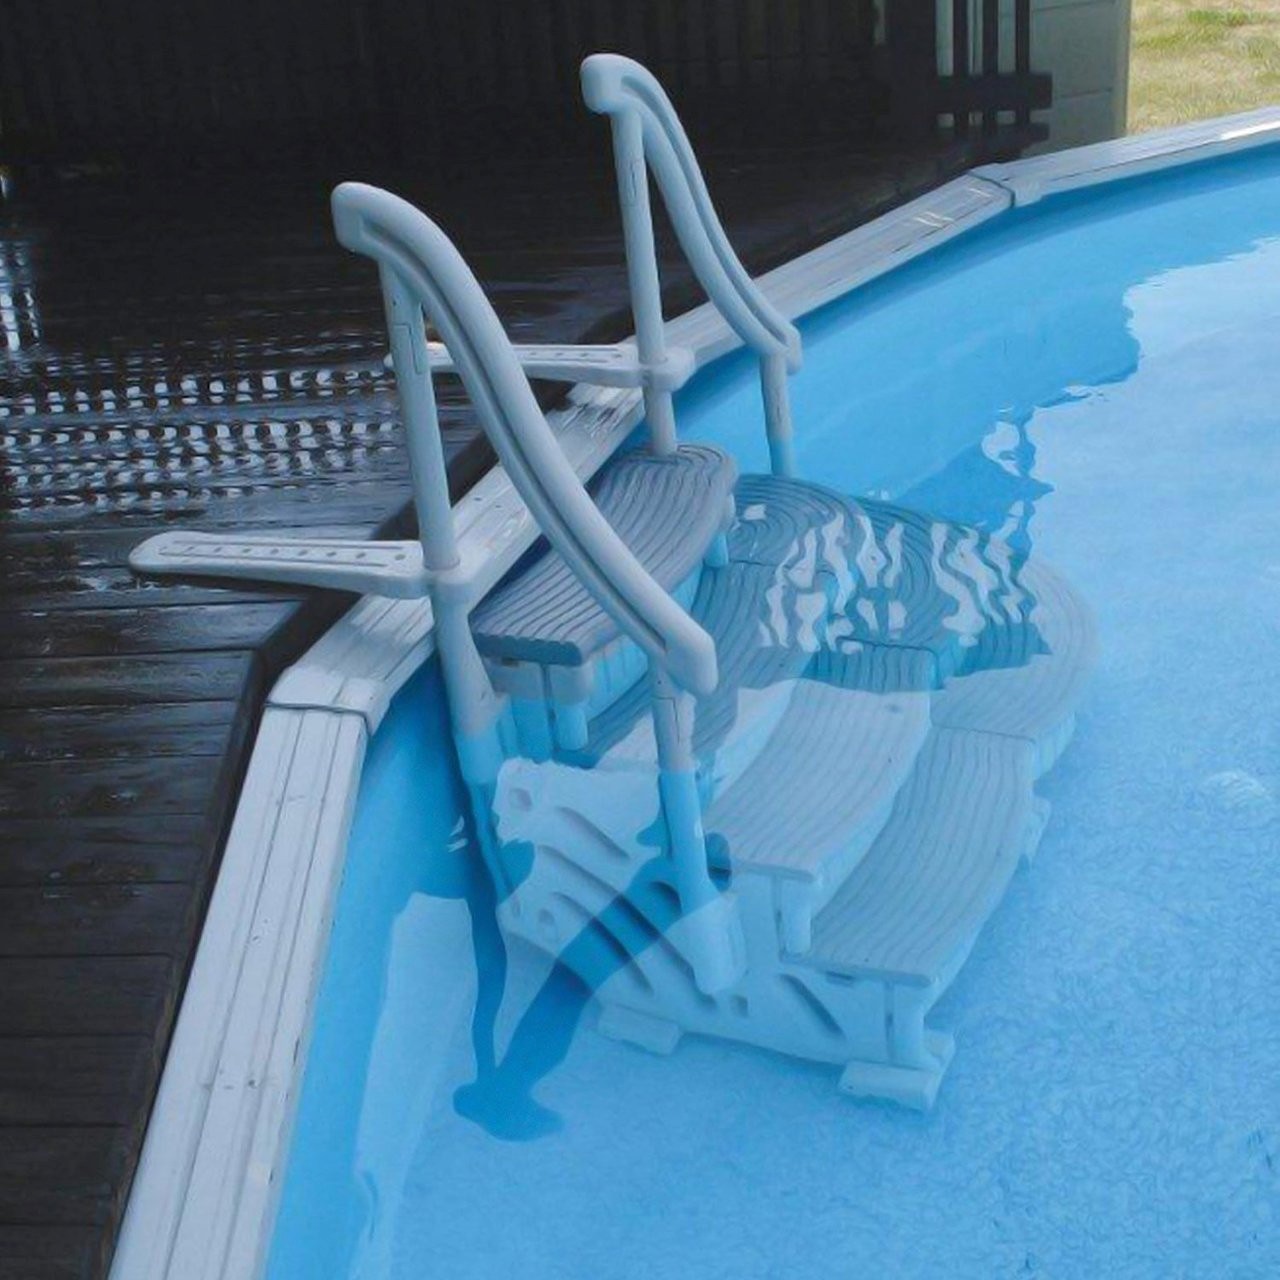
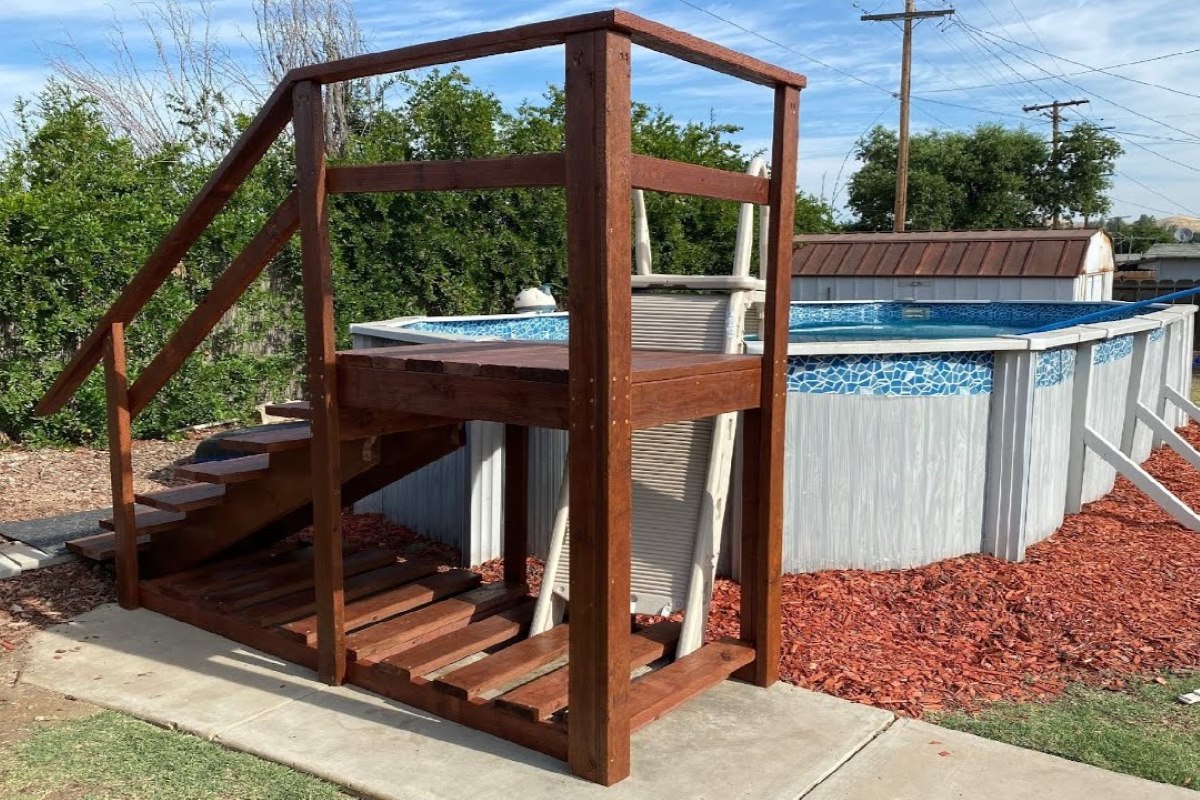
Step 6: Install Ladder in the Pool
The final step in building your pool ladder is to install it in the pool. Proper installation ensures that the ladder is securely attached and ready for use. Follow these steps to install your ladder:
- Position the ladder at the desired location along the edge of the pool. Make sure it is centered and aligned properly.
- Carefully lower the ladder into the pool, ensuring that the ladder rails are submerged to a sufficient depth for stability.
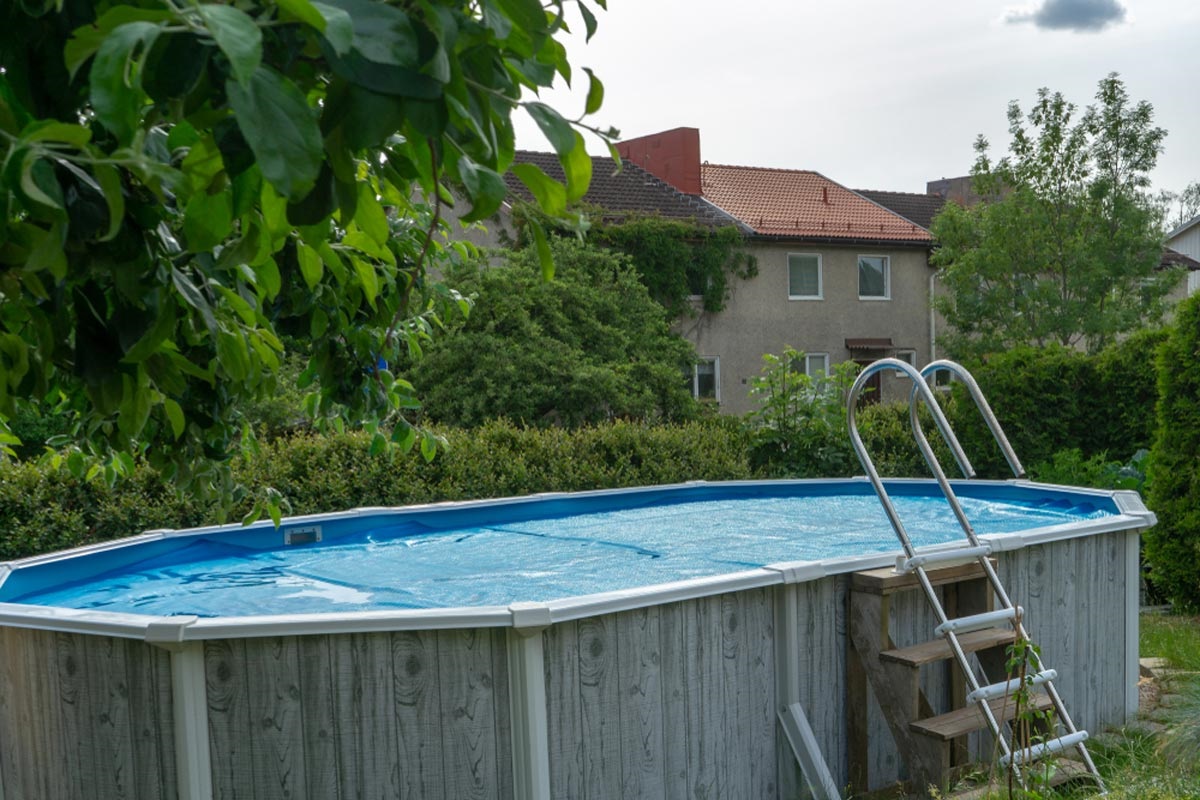
- If you have an above-ground pool, secure the ladder to the pool wall using the provided brackets or straps. Follow the manufacturer’s instructions for proper installation.
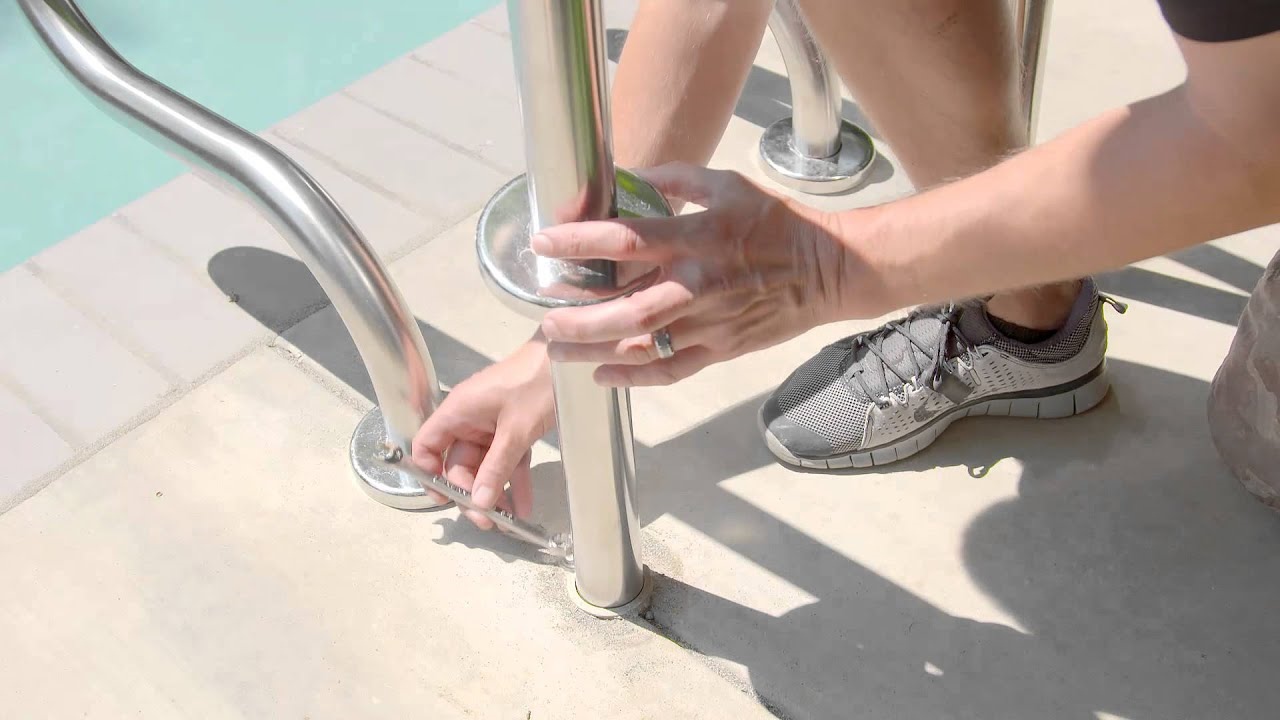
- If you have an in-ground pool, use anchor sockets to secure the ladder in place. These sockets are embedded into the pool deck and provide a secure mounting point for the ladder.
- Double-check that the ladder is securely attached and stable. Give it a gentle shake to ensure there is no wobbling or movement.
- Test the ladder by climbing up and down a few rungs. Make sure it feels sturdy and the non-slip pads provide a firm grip.
Once the ladder is installed, you can enjoy the convenience and safety it provides when entering or exiting the pool. Regularly inspect the ladder for any signs of wear or damage and perform any necessary maintenance or repairs to keep it in good condition.
Congratulations! You have successfully built and installed your very own pool ladder. Now you can fully enjoy your swimming pool with easy and secure access.
Conclusion
Building your own pool ladder can be a rewarding DIY project that not only enhances the functionality of your pool but also adds a personal touch to your outdoor space. By following the steps outlined in this guide, you can create a customized pool ladder that meets your specific needs and preferences while ensuring safety and convenience for all pool users.
Throughout the construction process, it’s important to prioritize safety. Use appropriate tools and equipment, wear protective gear, and follow proper procedures to minimize the risk of accidents or injuries.
Remember to take accurate measurements, make precise cuts, and secure ladder rungs and non-slip pads properly. A well-built and secure ladder is essential for a safe swimming experience.
By sanding and finishing the ladder, you not only improve its appearance but also protect it from the elements, extending its lifespan. Adding non-slip pads ensures that anyone using the ladder can do so with confidence, even when the surface is wet.
Lastly, properly installing the ladder in the pool is crucial for stability and functionality. Whether it’s attaching brackets for an above-ground pool or using anchor sockets for an in-ground pool, make sure the ladder is firmly secured and tested for stability before use.
Now that you have completed the construction and installation of your pool ladder, you can fully enjoy your pool with peace of mind. Remember to regularly inspect and maintain the ladder to ensure its continued safety and durability.
We hope this guide has been helpful in guiding you through the process of building your own pool ladder. Enjoy your swimming sessions and have a great time in the pool!
Frequently Asked Questions about How To Build Pool Ladder
Was this page helpful?
At Storables.com, we guarantee accurate and reliable information. Our content, validated by Expert Board Contributors, is crafted following stringent Editorial Policies. We're committed to providing you with well-researched, expert-backed insights for all your informational needs.


0 thoughts on “How To Build Pool Ladder”