
Articles
How To Replace Ceiling Fan Light Switch
Modified: October 20, 2024
"Learn how to easily replace a ceiling fan light switch with our step-by-step articles. Get expert tips and guidance for a smooth DIY experience."
(Many of the links in this article redirect to a specific reviewed product. Your purchase of these products through affiliate links helps to generate commission for Storables.com, at no extra cost. Learn more)
Introduction
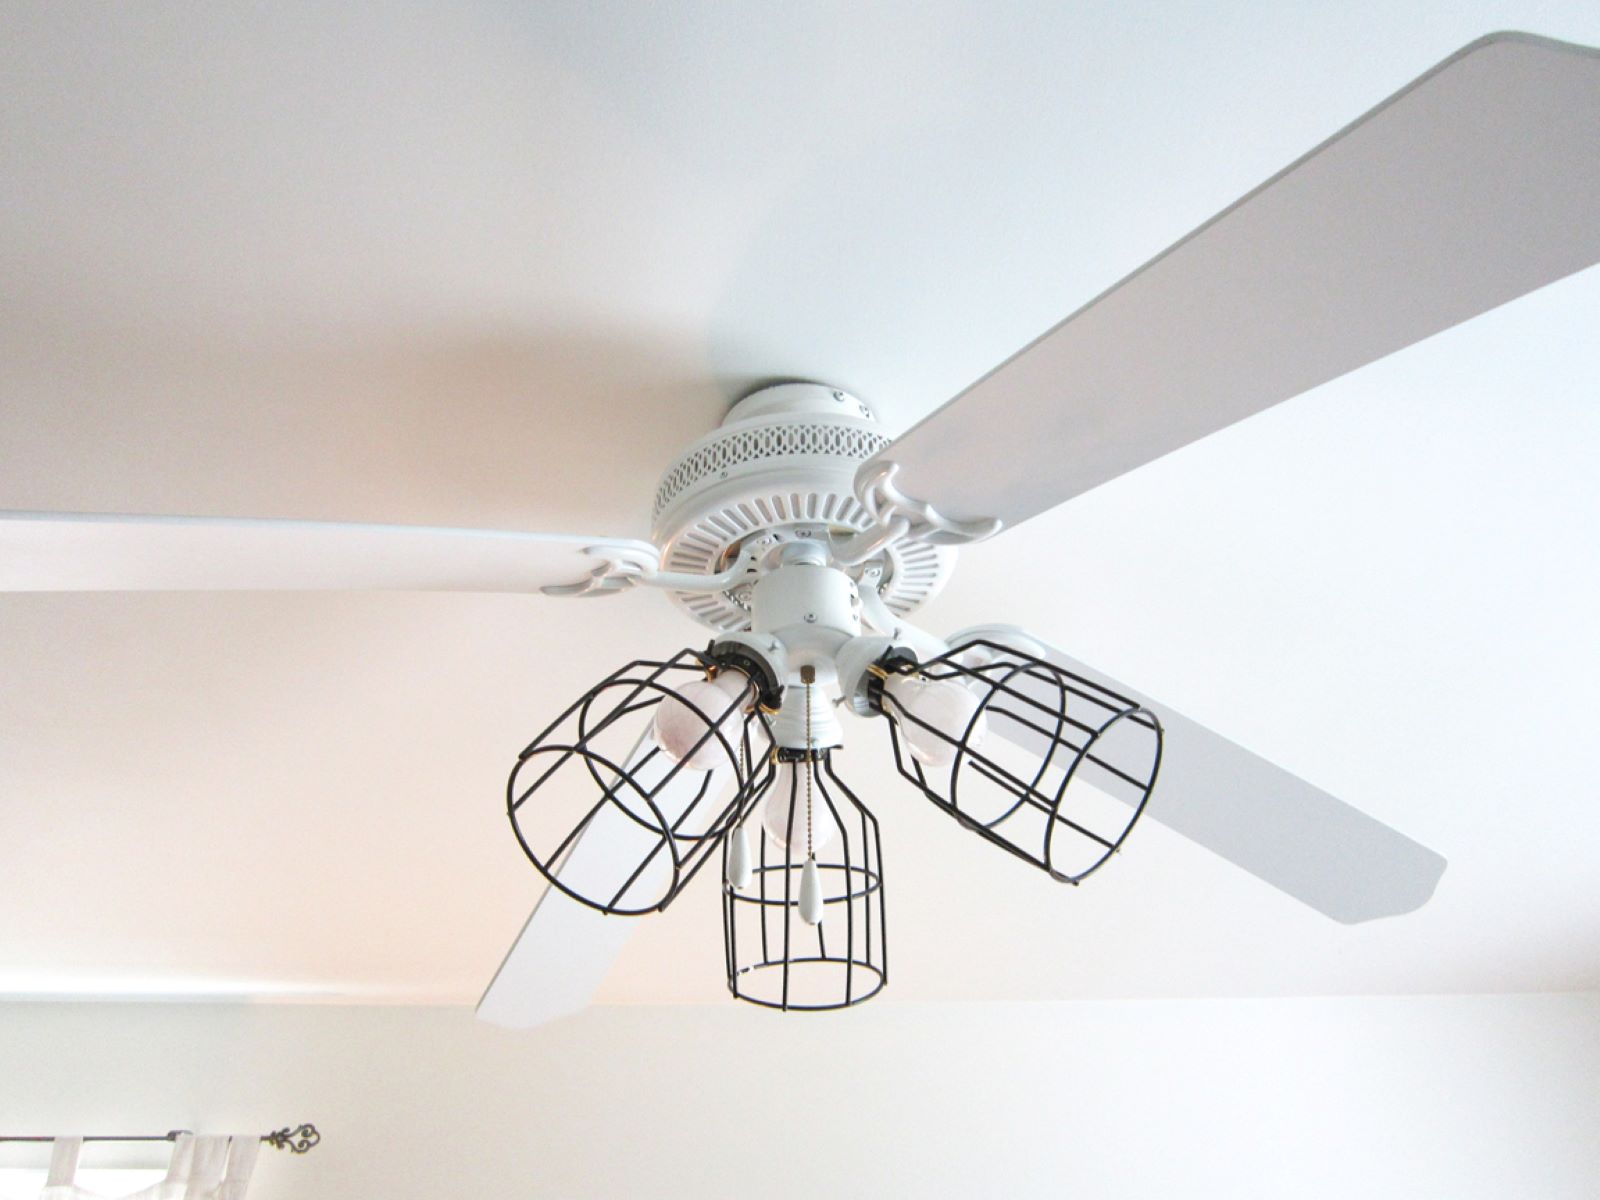
Replacing a ceiling fan light switch is a simple and cost-effective way to enhance the functionality and appearance of your ceiling fan. Whether your current light switch is faulty or you’re looking to upgrade to a more stylish and modern switch, this article will guide you through the step-by-step process.
A ceiling fan light switch allows you to control the brightness and intensity of the light emitted by the fan. Over time, these switches can become worn out or malfunction, resulting in issues such as flickering lights or the inability to turn on/off the light. By replacing the light switch, you can restore full functionality to your ceiling fan.
Before you begin, it’s important to gather all the necessary tools and materials. This will ensure a smooth and efficient installation process. Additionally, you should turn off the power supply to ensure your safety while working on the electrical components. Read on to explore each step in detail and learn how to replace your ceiling fan light switch.
Key Takeaways:
- Enhance Functionality and Safety
Replacing a ceiling fan light switch is a simple DIY project that can restore full functionality to your fan and ensure safety. Prioritize gathering tools, turning off power, and testing the new switch for a successful upgrade. - DIY Aesthetic Upgrade
By following the step-by-step process, you can easily replace your ceiling fan light switch, enhancing both the functionality and appearance of your fan. Prioritize safety, gather tools, and enjoy the improved convenience and aesthetics of your upgraded fan.
Read more: How To Replace A Light With A Ceiling Fan
Step 1: Gather the necessary tools and materials
Before you start replacing the ceiling fan light switch, it’s essential to gather all the tools and materials you’ll need. This will help you complete the task more efficiently and avoid any unnecessary interruptions. Here’s a list of the items you will need:
- Screwdriver (flathead or Phillips, depending on the screws used)
- Wire stripper
- Wire cutter
- Replacement light switch (make sure it is compatible with your ceiling fan)
- Electrical tape
- Step ladder or sturdy stool
Having these tools and materials on hand will streamline the process and help you work more confidently. It’s important to note that different ceiling fans may have slightly different requirements, so consult the instruction manual that came with your fan if you have any specific concerns.
Once you have gathered all the necessary items, ensure that the power to the ceiling fan is switched off. This is crucial for your safety. Locate the circuit breaker in your electrical panel and switch off the breaker that controls the fan. You can also turn off the power by removing the corresponding fuse if your electrical panel is equipped with fuses. Double-check that the fan is not operating by trying to switch it on; if the fan doesn’t turn on, you have successfully cut off the power supply.
With the tools and materials prepared and the power supply turned off, you’re now ready to move on to the next step: removing the existing light switch cover.
Step 2: Turn off the power supply
Before you begin working on the ceiling fan light switch, it is crucial to turn off the power supply to ensure your safety. Working with live electrical wires can be extremely dangerous, so it’s important to take the necessary precautions. Here’s how to turn off the power supply:
- Locate the electrical panel in your home. Usually, it is found in the basement, utility room, or garage.
- Open the electrical panel door. You may need to use a screwdriver to remove any screws holding the panel closed.
- Inside the panel, you will see rows of circuit breakers or fuses. Find the one that corresponds to the ceiling fan.
- If your panel has circuit breakers, simply switch off the one that controls the fan by flipping it to the “off” position. If your panel has fuses, carefully unscrew and remove the fuse that corresponds to the fan.
- Double-check that the power to the fan is completely cut off. Attempt to turn on the fan switch to ensure that it doesn’t operate. If the fan remains off, you have successfully turned off the power supply.
It is important to note that some homes may have multiple electrical panels, especially if you have a larger house or additional electrical circuits. In such cases, you may need to search for the specific panel that controls the ceiling fan.
Once you have confirmed that the power supply is turned off, you can proceed with confidence to the next step: removing the existing light switch cover.
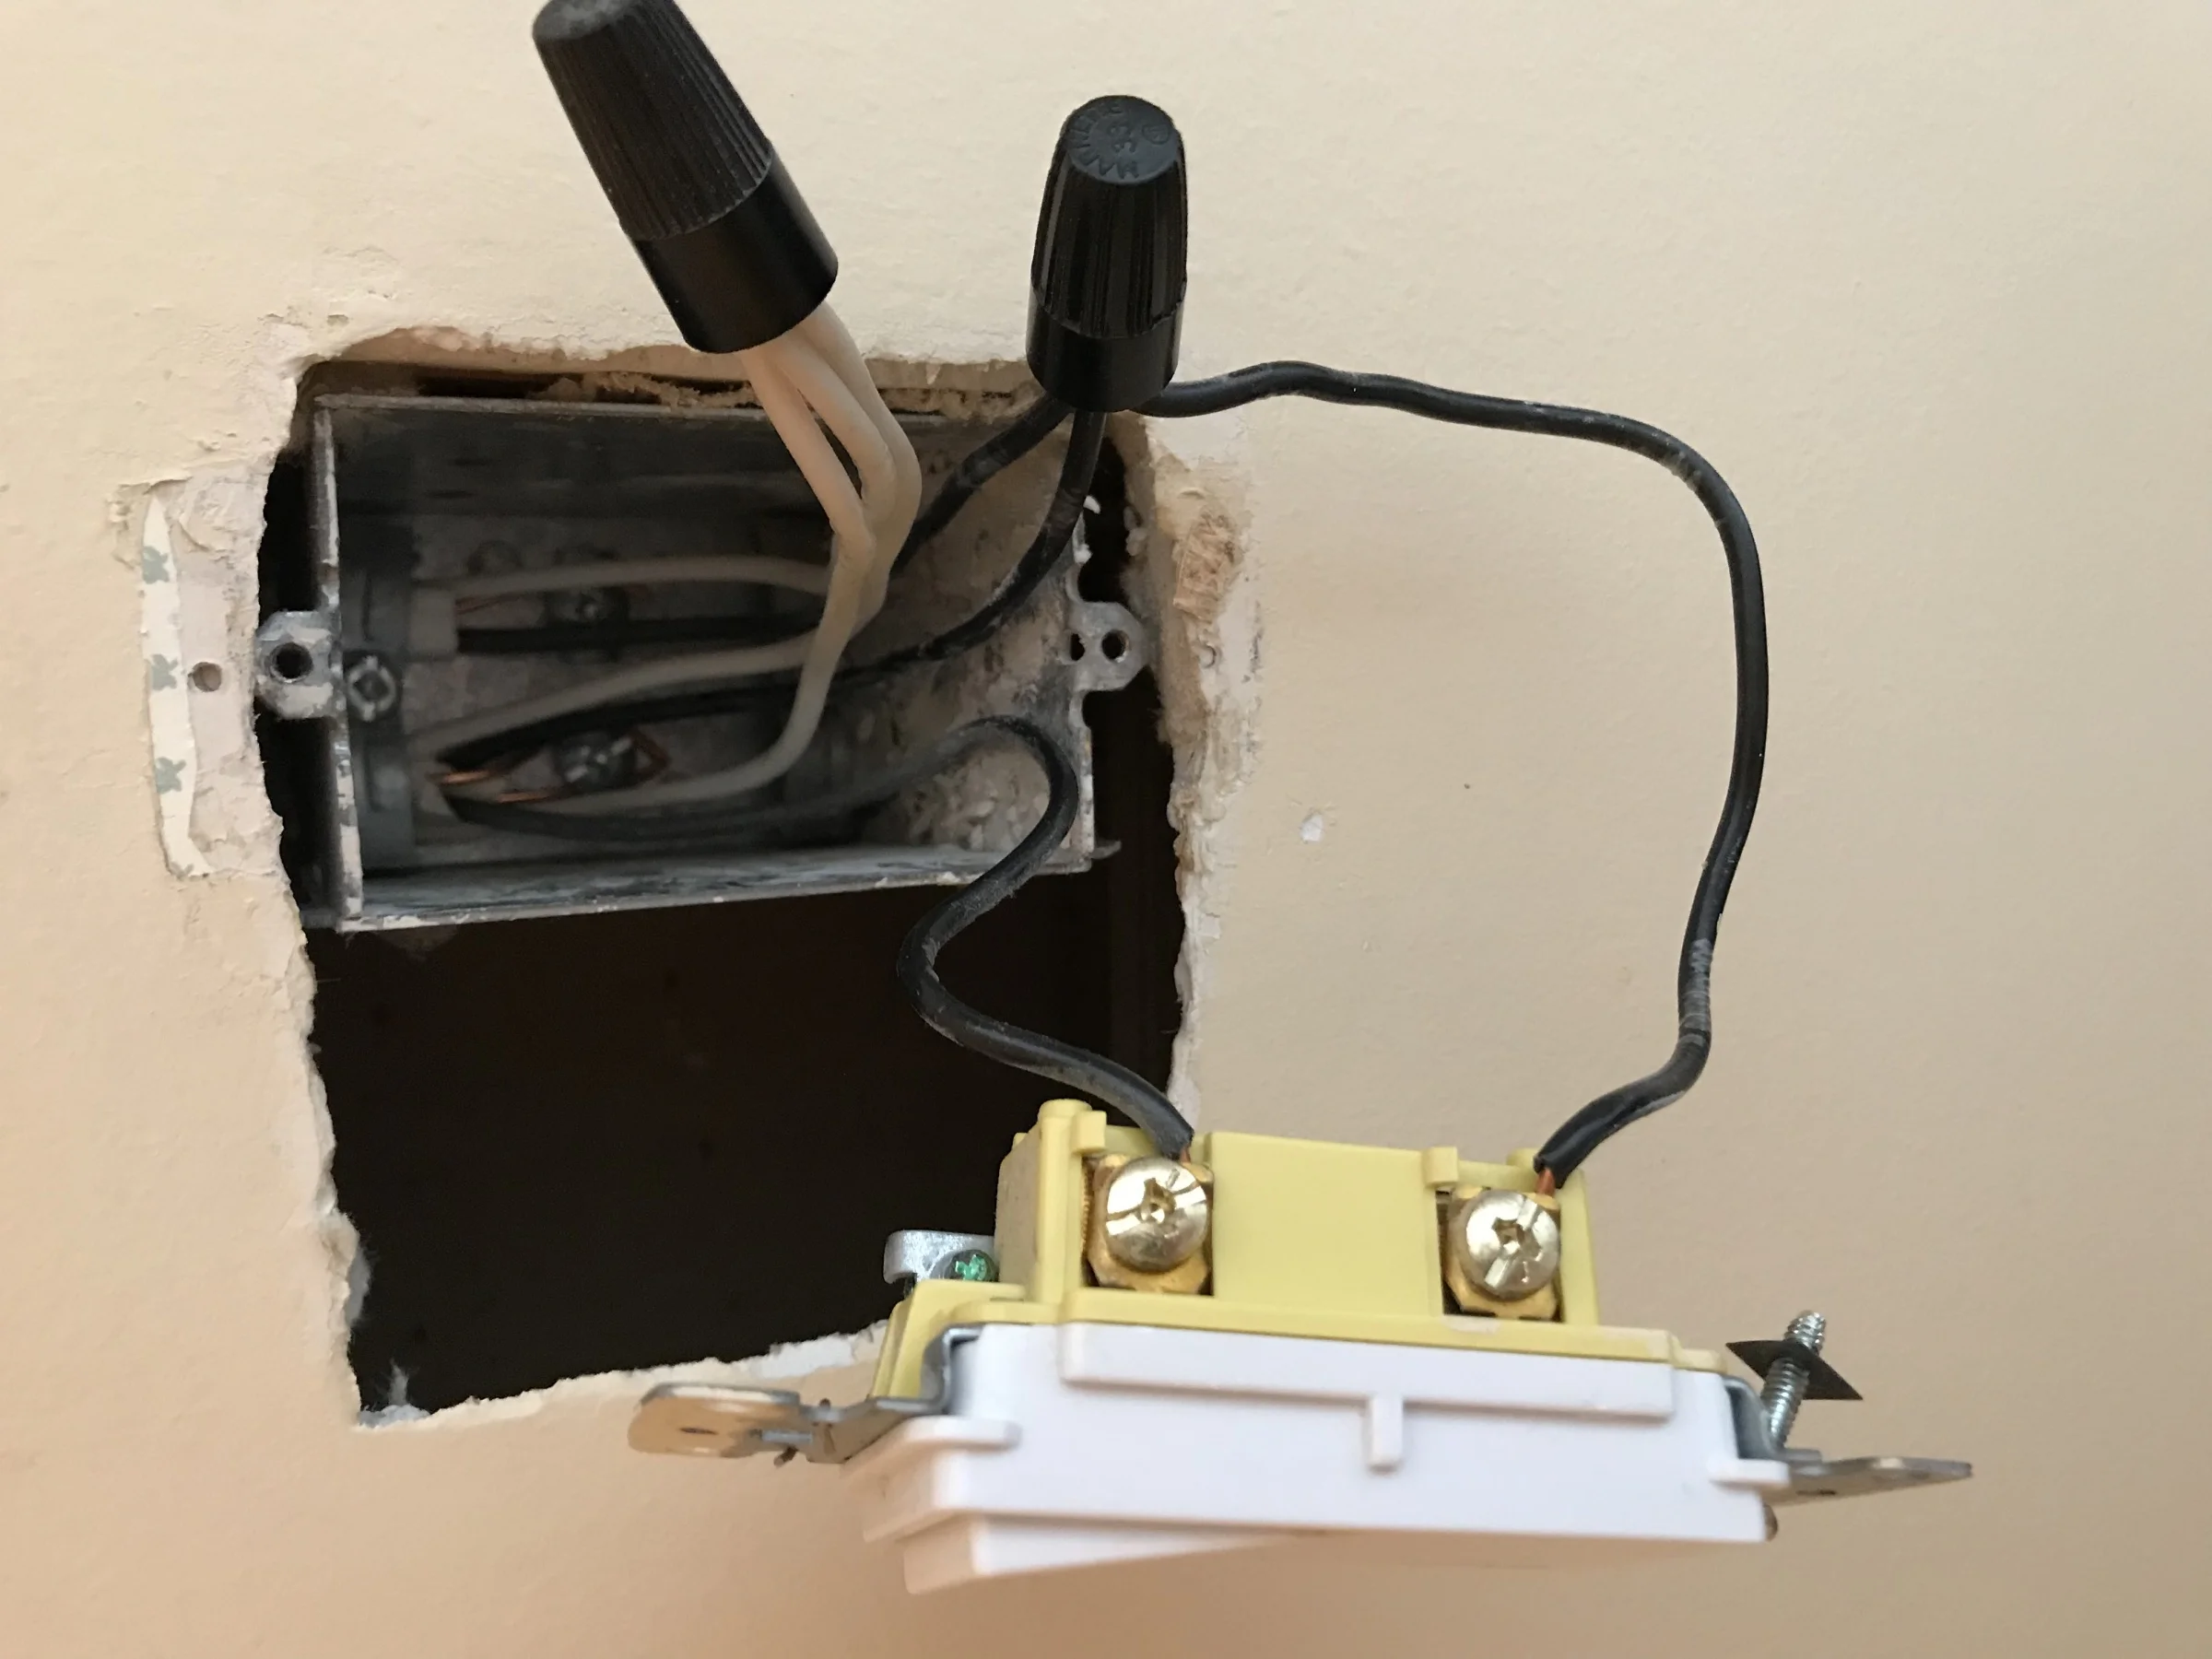
Step 3: Remove the existing light switch cover
With the power supply to the ceiling fan turned off, you can now proceed to remove the existing light switch cover. Removing the cover will give you access to the wires and the old light switch, allowing for easy replacement. Here’s how to do it:
- Inspect the existing light switch cover. You may find that it is held in place by screws or small clips.
- If there are screws, use a screwdriver (flathead or Phillips, depending on the type of screws) to carefully unscrew and remove them. Keep the screws in a safe place so you can reuse them later.
- If your light switch cover has clips, gently pry it away from the wall using a flathead screwdriver or your fingers. Apply even pressure to release the clips, one at a time, until the cover is completely detached.
- After removing the screws or releasing the clips, set the light switch cover aside. Take a moment to inspect it for any damage or wear and determine if it needs to be replaced along with the light switch.
Once the light switch cover is removed, you will have a clear view of the wires and the existing light switch. Avoid touching any exposed wires or components to prevent electrical shock. Remember, safety should always be your top priority when working with electrical components.
Now that you have successfully removed the light switch cover, you can move on to the next step: disconnecting the wires from the old light switch.
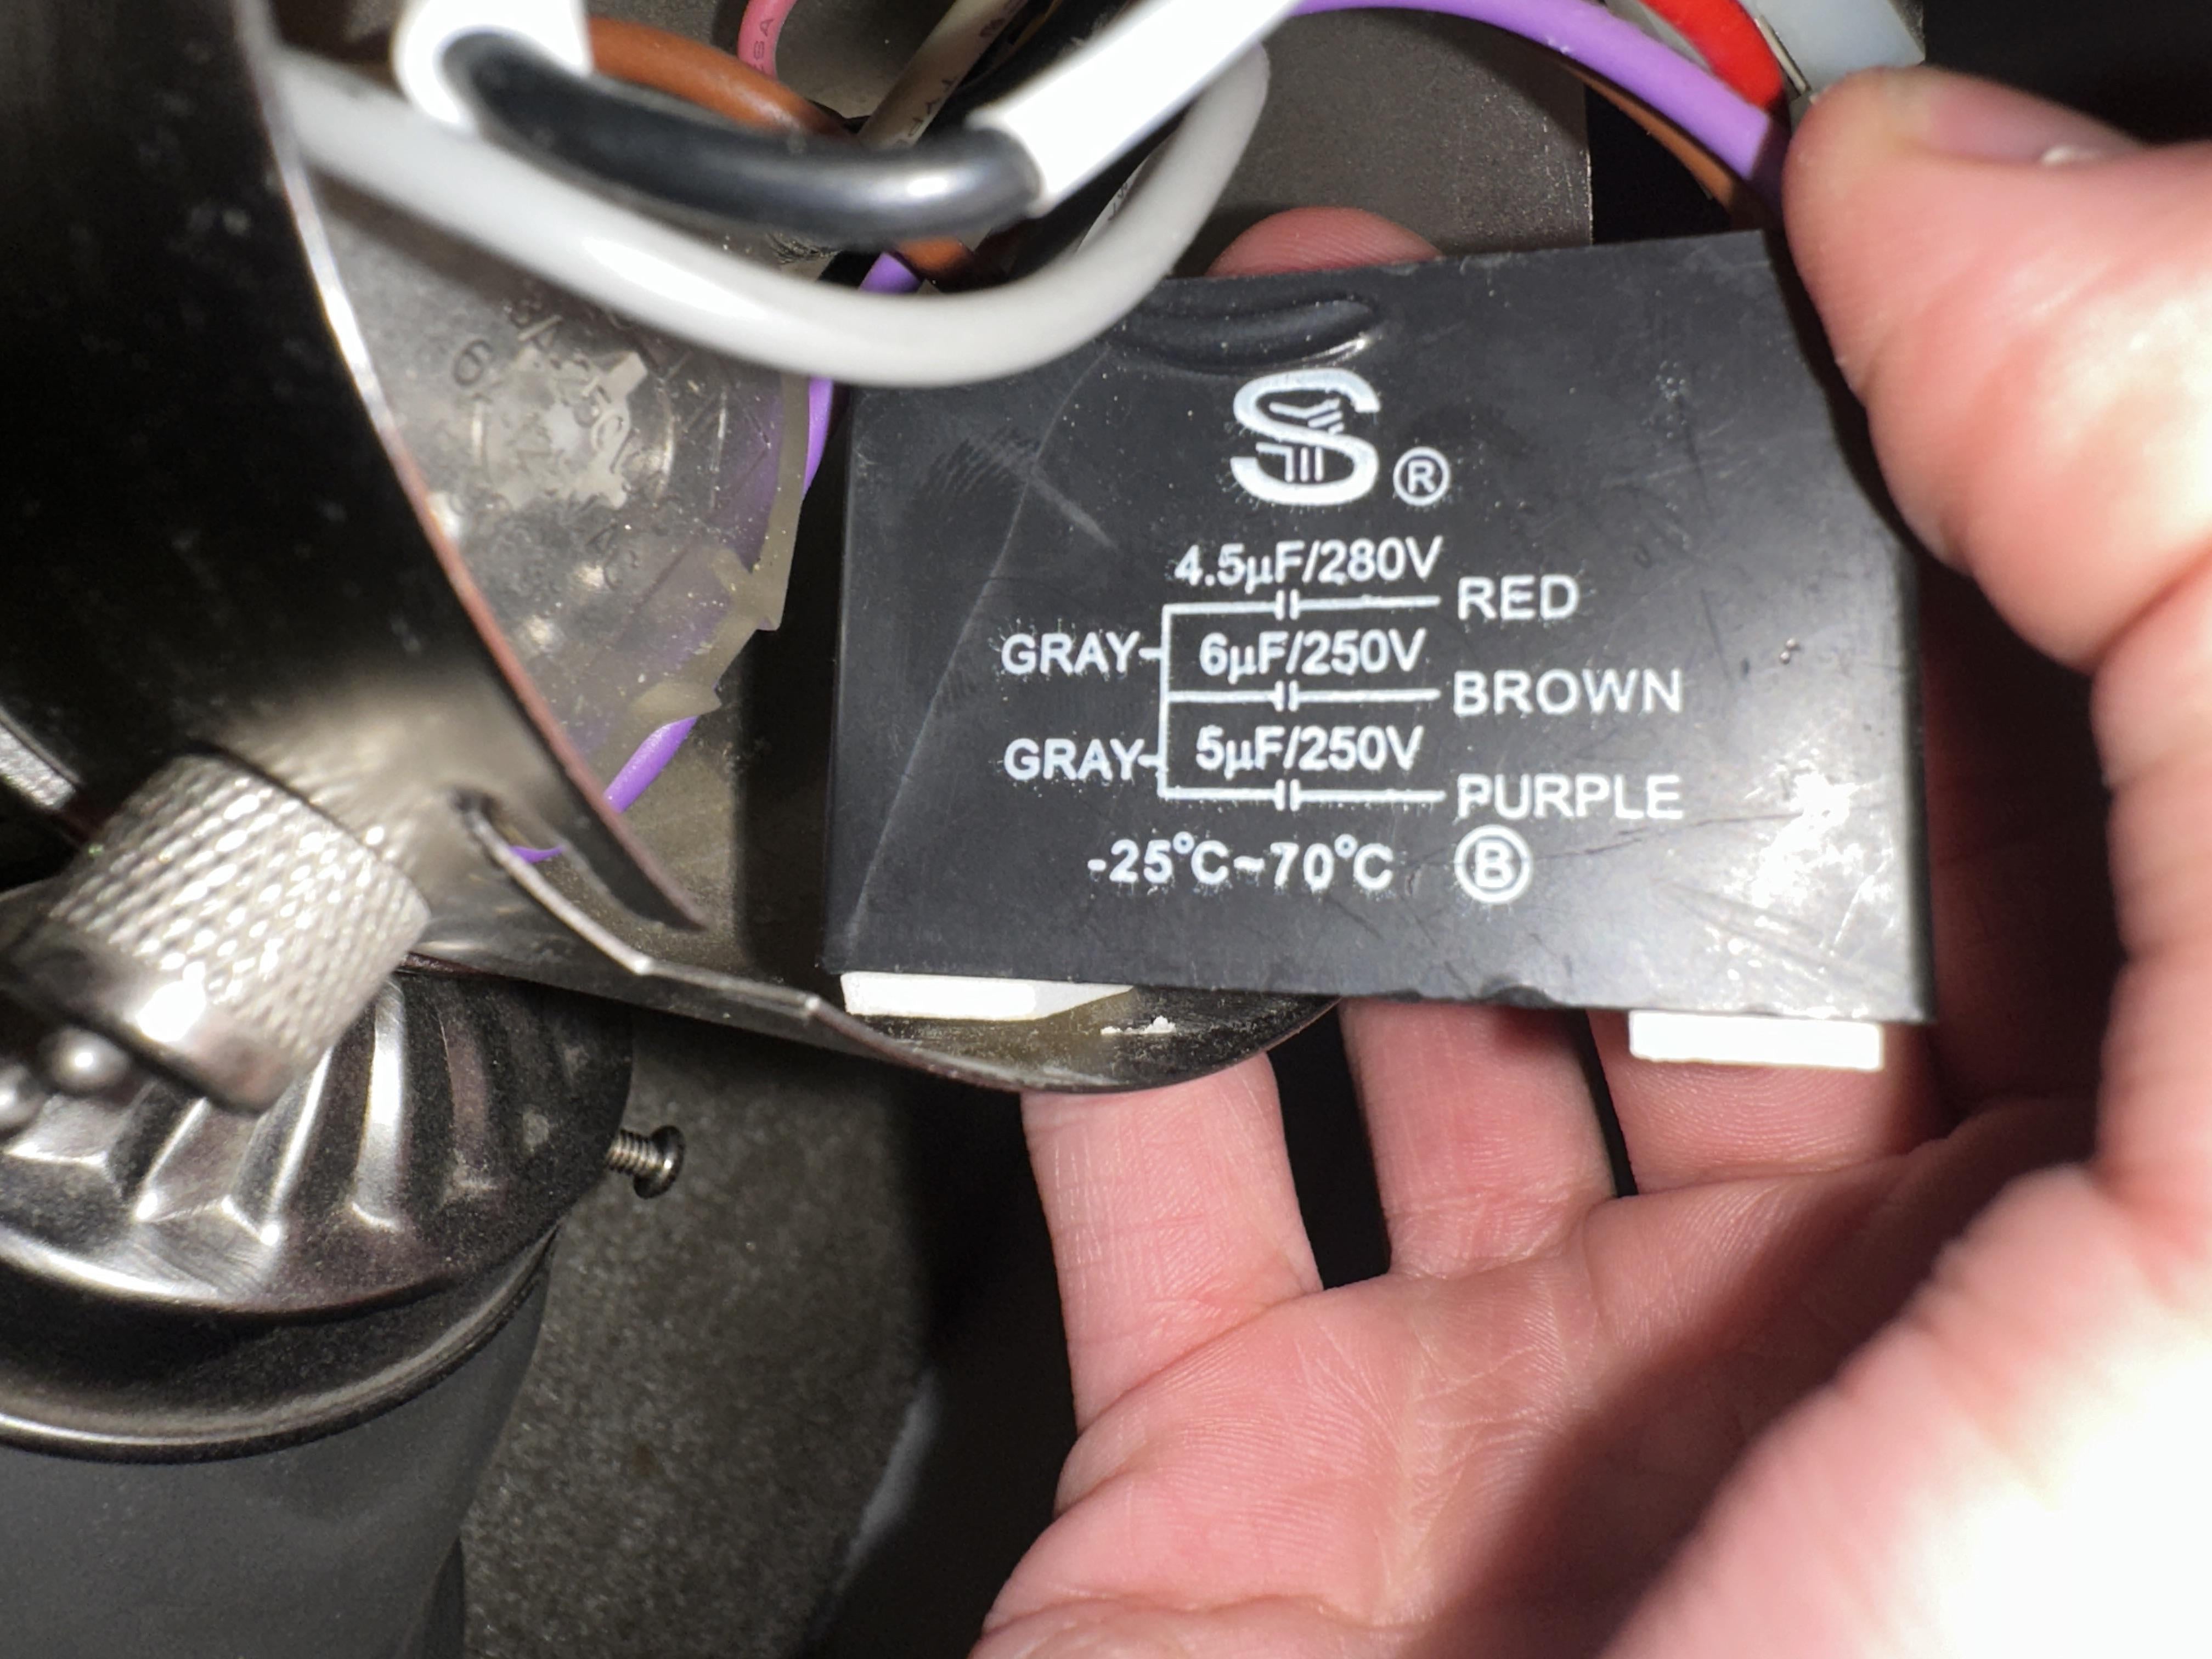
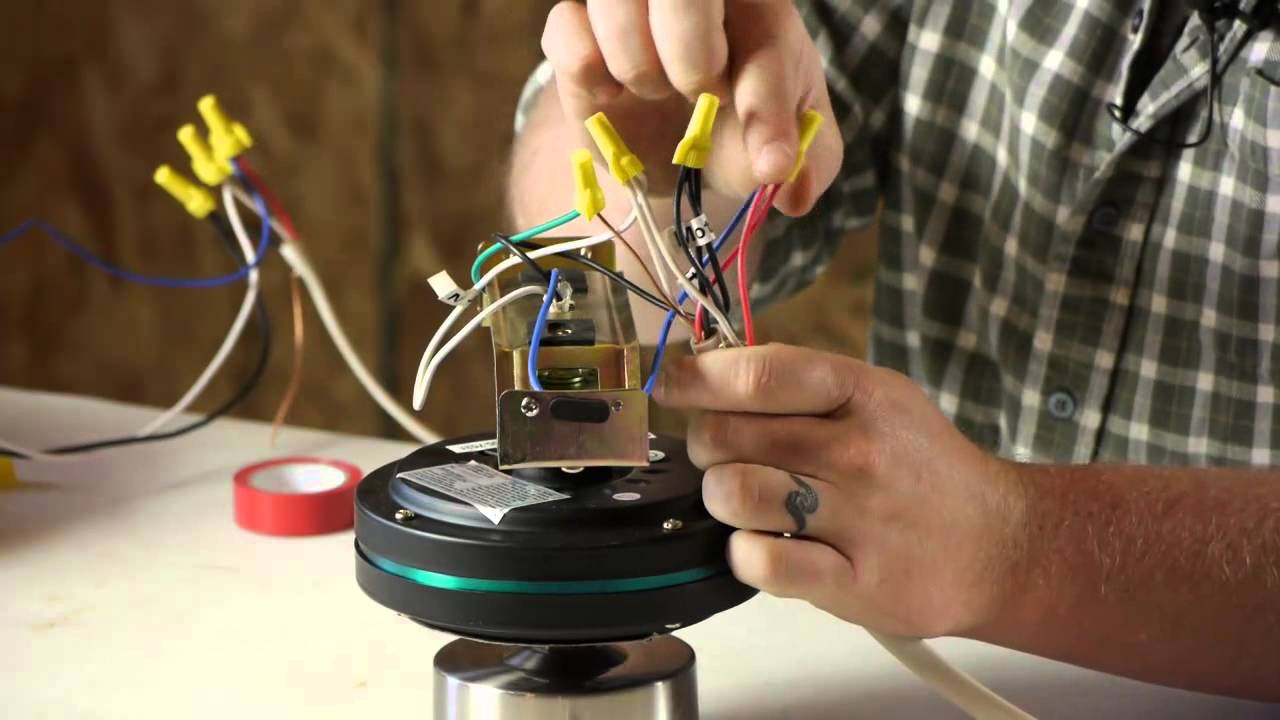
Step 4: Disconnect the wires from the old light switch
With the existing light switch cover removed, the next step in replacing the ceiling fan light switch is to disconnect the wires from the old switch. Disconnecting the wires will allow you to remove the old switch and prepare for the installation of the new one. Before proceeding, ensure that the power supply to the fan is still turned off.
- Examine the wires connected to the old light switch. You should see two or three wires attached to the switch, depending on the wiring setup.
- Identify the “hot” wire, usually colored in black or red, which carries the electrical current. Take note of its location and make sure to handle it with caution.
- Using a screwdriver, carefully loosen the screws that secure the hot wire and any other wires connected to the switch. Turn the screws counterclockwise to loosen them and gently pull the wires away from the switch.
- Once the wires are free from the old switch, use electrical tape to individually cover the exposed ends of the wires. Wrapping the ends with electrical tape helps prevent any accidental contact and ensures safety during the installation process.
Remember to handle the wires with care and avoid twisting or damaging them. Take note of how the wires are connected to the old switch, or consider taking a photo for reference. This will be helpful when connecting the wires to the new switch later on.
With the wires safely disconnected and covered, you can now proceed to the next step: removing the old light switch from the fan.
Read more: How To Wire A Ceiling Light To A Switch
Step 5: Remove the old light switch from the fan
After disconnecting the wires from the old light switch, the next step is to remove the switch itself from the ceiling fan. Removing the old switch will allow you to make way for the installation of the new light switch. Make sure the power supply to the fan is still turned off before proceeding.
- Inspect the old light switch and locate any screws or clips that are securing it to the ceiling fan.
- If there are screws, use a screwdriver to carefully unscrew them and remove them from the switch.
- If the switch is held in place by clips, gently pry it away from the fan using a flathead screwdriver or your fingers. Apply even pressure and release the clips one at a time until the switch is completely detached.
- Once the old light switch is removed, set it aside and inspect it for any signs of damage or wear. If the switch is in poor condition, it is recommended to replace it with a new one.
While removing the old light switch, pay attention to how it was positioned in the fan. This will help you properly align the new light switch during installation. Take note of any specific markings or indicators on the switch that may guide you during the replacement process.
With the old light switch successfully removed, you are now ready to move on to the next step: installing the new light switch.
When replacing a ceiling fan light switch, make sure to turn off the power at the circuit breaker before starting. Use a voltage tester to ensure the power is off before touching any wires.
Step 6: Install the new light switch
With the old light switch removed, it’s time to install the new light switch in your ceiling fan. The new switch will replace the old one and restore the functionality of the fan’s light. Before you begin, make sure the power supply to the fan is still turned off.
- Take the new light switch and carefully position it in the same location where the old switch was removed. Ensure that it is aligned correctly and matches the markings or indicators on the fan.
- If the new switch is held in place by screws, insert the screws into the designated holes on the switch and use a screwdriver to tighten them securely. Be careful not to overtighten, as this can damage the switch or the fan housing.
- If the new switch uses clips for installation, align the switch with the clips on the fan and gently press it into place. The clips should securely hold the switch in position.
- Double-check that the new switch is firmly attached to the fan and will not move or come loose. This will ensure proper functioning and safety.
When installing the new light switch, pay attention to any specific instructions or guidelines provided by the manufacturer. Different fan models may have variations in the installation process, so refer to the instruction manual if needed.
With the new light switch successfully installed, you are now one step closer to enjoying a fully functional ceiling fan. The next step is to connect the wires to the new light switch, allowing for proper operation.
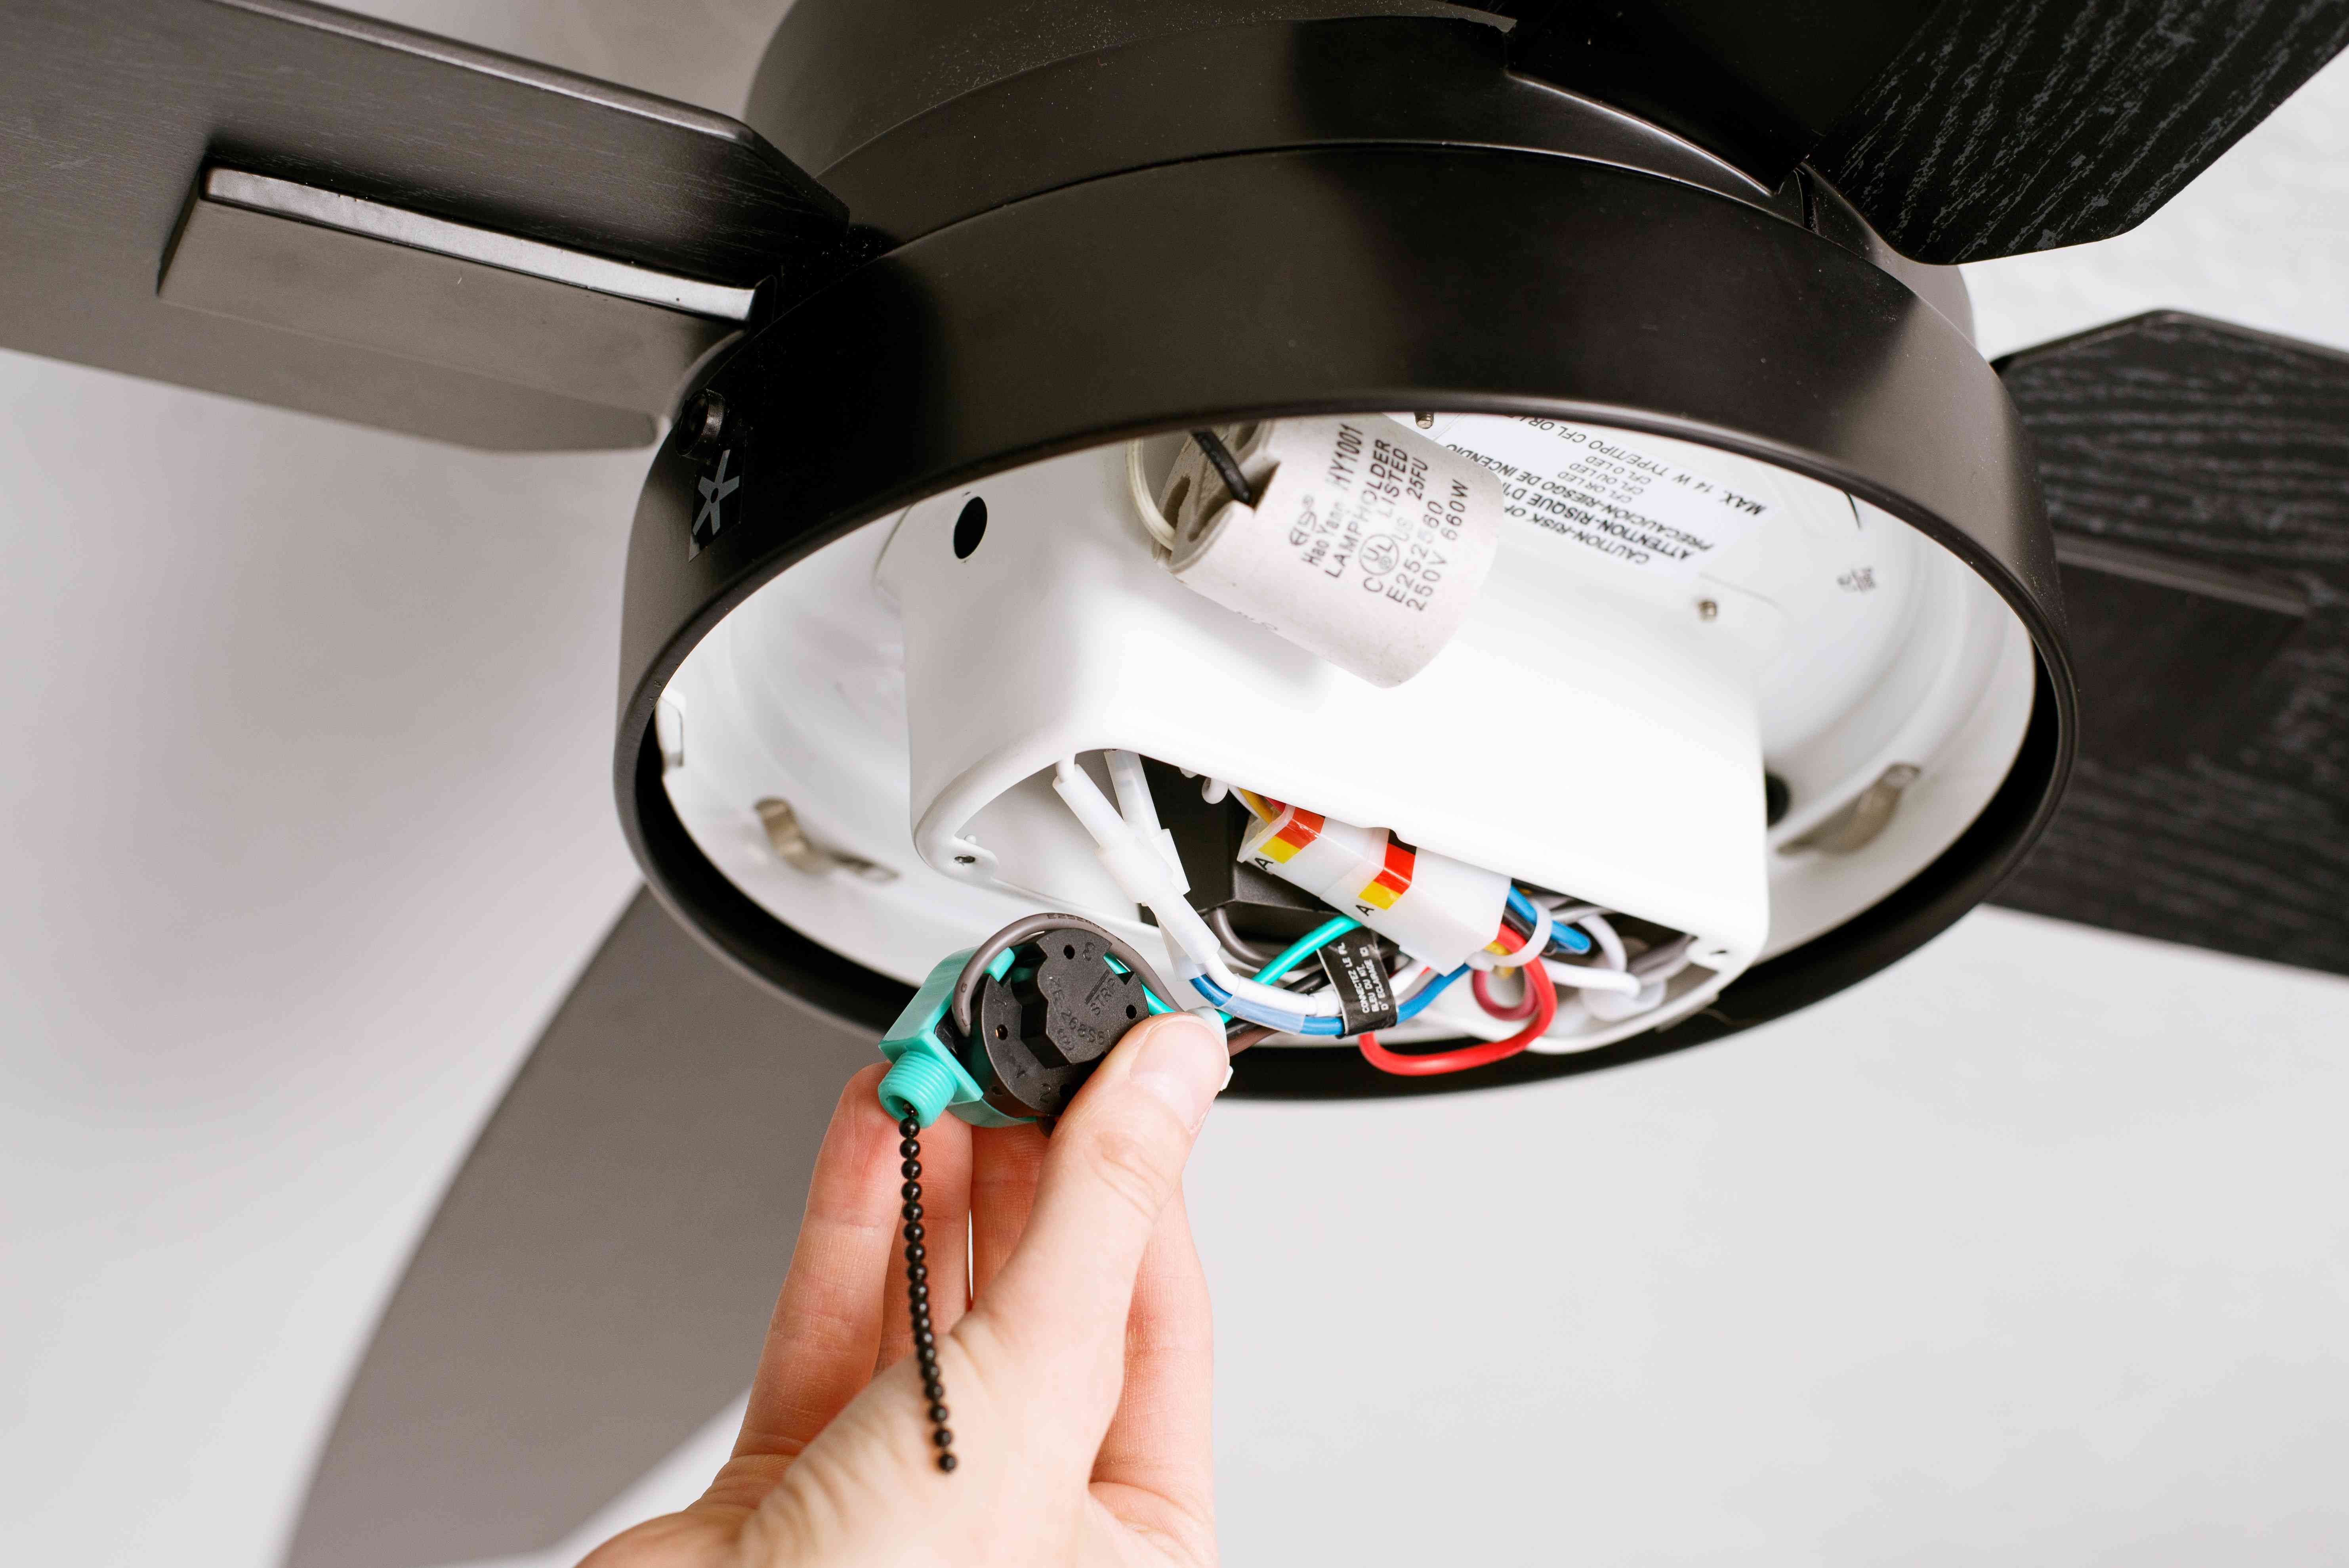
Step 7: Connect the wires to the new light switch
After installing the new light switch, the next step is to connect the wires from your ceiling fan to the switch terminals. Properly connecting the wires is crucial for the switch to function correctly and ensure the safety of your electrical system. Before you proceed, ensure that the power supply to the fan is still turned off.
- Take a close look at the wires connected to your ceiling fan. You should see two or three wires: a hot wire (usually black or red), a neutral wire (usually white), and sometimes a ground wire (usually green or copper).
- Identify the corresponding terminals on the new light switch. The terminals may be labeled with markings such as “H” for hot, “N” for neutral, and “G” for ground. If the terminals are not labeled, refer to the instructions provided with the switch.
- Begin by connecting the hot wire to the terminal labeled “H” or “hot.” Loosen the screw on the terminal, insert the end of the wire into the opening, and tighten the screw to secure the connection. Ensure that the wire is securely held in place.
- If there is a neutral wire, connect it to the terminal labeled “N” or “neutral” in the same manner. Loosen the screw, insert the wire, and tighten the screw to secure it.
- If there is a ground wire, connect it to the terminal labeled “G” or “ground” using the same procedure as before.
It is important to tighten the terminal screws securely to ensure strong and reliable connections. Loose connections can lead to electrical problems or even pose a safety hazard.
Once you have properly connected all the wires, double-check your work to ensure that each wire is correctly attached to the corresponding terminal. Confirm that all connections are secure and that no loose wires are exposed.
With the wires successfully connected to the new light switch, you’re almost done! The next step is to test the functionality of the switch and ensure that everything is working as expected.
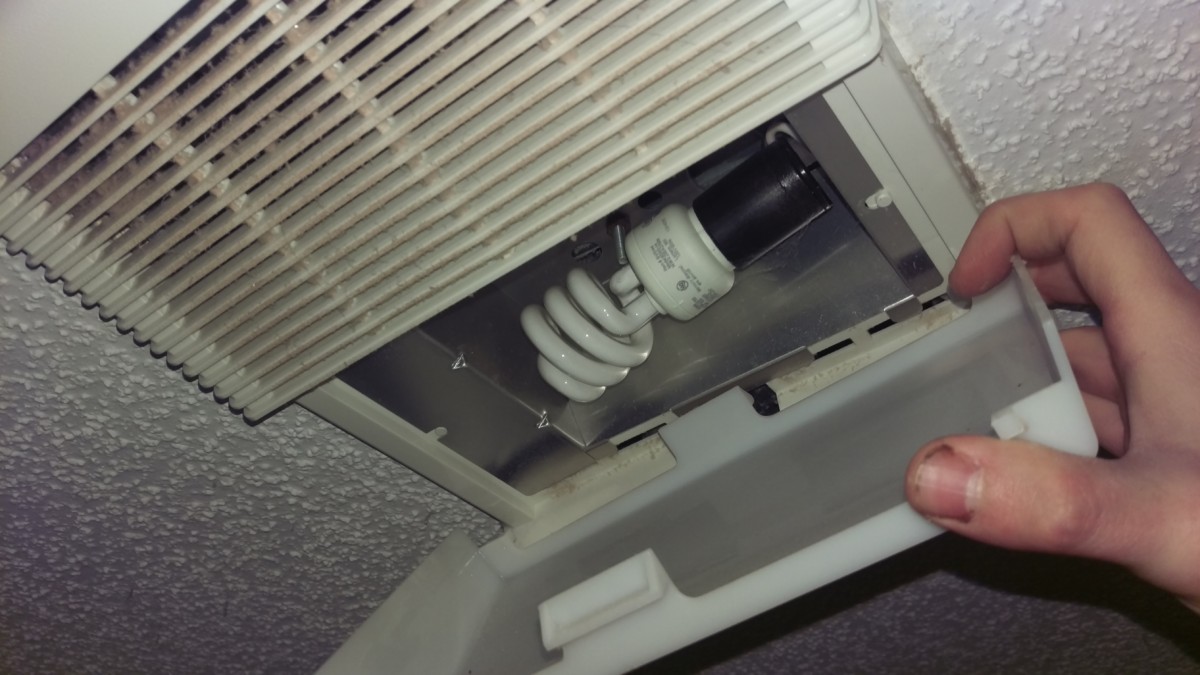
Step 8: Test the new light switch
After connecting the wires to the new light switch, it’s important to test its functionality to ensure that everything is working properly. Testing the switch will help you identify any issues and make any necessary adjustments before proceeding with the final steps of installation. Before you begin testing, double-check that the power supply to the fan is still turned off.
- Turn on the power supply to the ceiling fan by flipping the corresponding circuit breaker or replacing the fuse.
- Once the power is restored, go to the wall switch or control panel and turn on the light switch that you just installed.
- Observe the light on the fan to see if it turns on. If the light comes on and functions as expected, it means the new switch is working correctly.
- If the light doesn’t turn on, double-check the wiring connections to ensure that the wires are securely connected to the correct terminals. Also, verify that the power supply is properly restored.
- If the problem persists, it is possible that there is an issue with the wiring or the light bulb. In such cases, it is recommended to consult a licensed electrician for further assistance.
Testing the functionality of the new light switch is essential to ensure that it is properly installed and functioning as intended. Addressing any issues early on will save you time and effort in the long run.
Once you have confirmed that the new light switch is working correctly, you’re almost finished! The next step is to replace the light switch cover, which will give your ceiling fan a polished and complete look.
Read more: How To Wire A Ceiling Fan With Two Switches
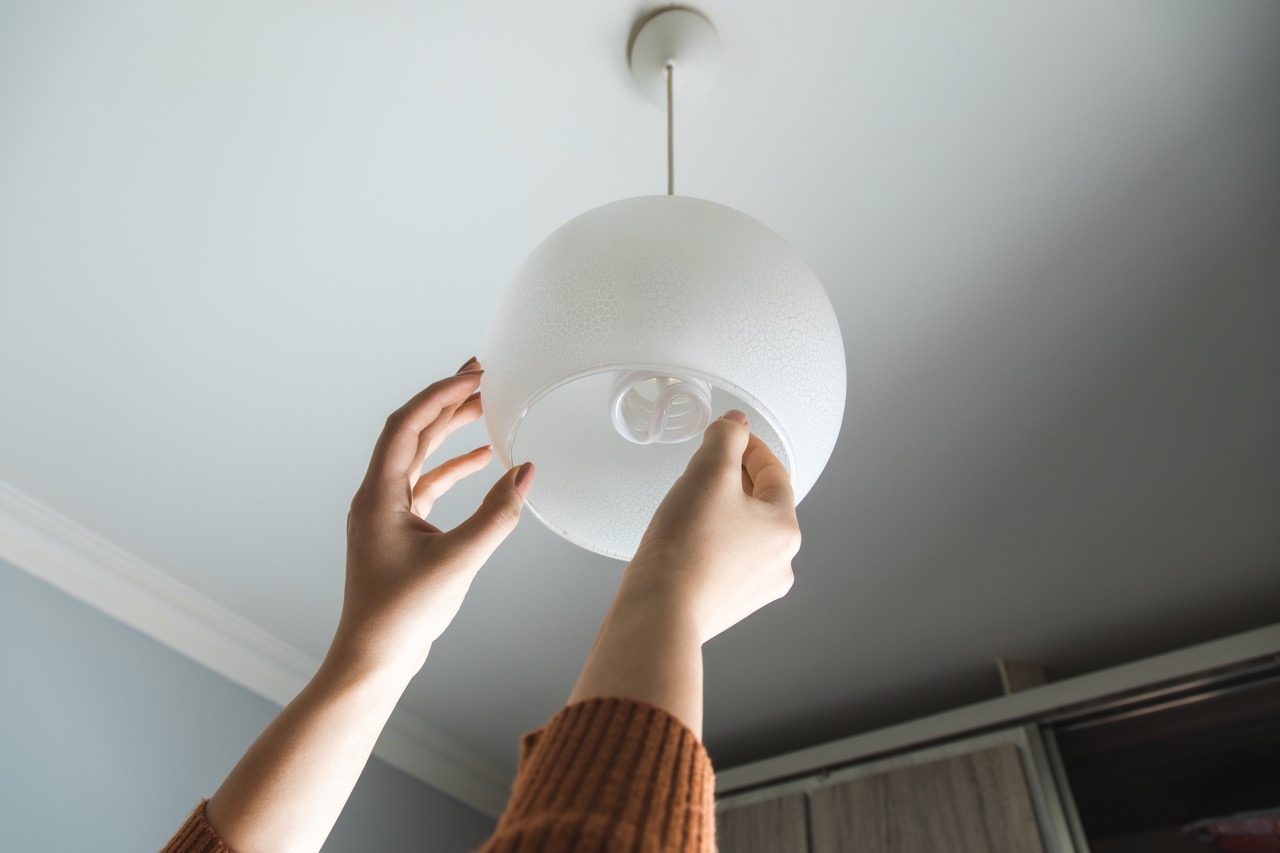
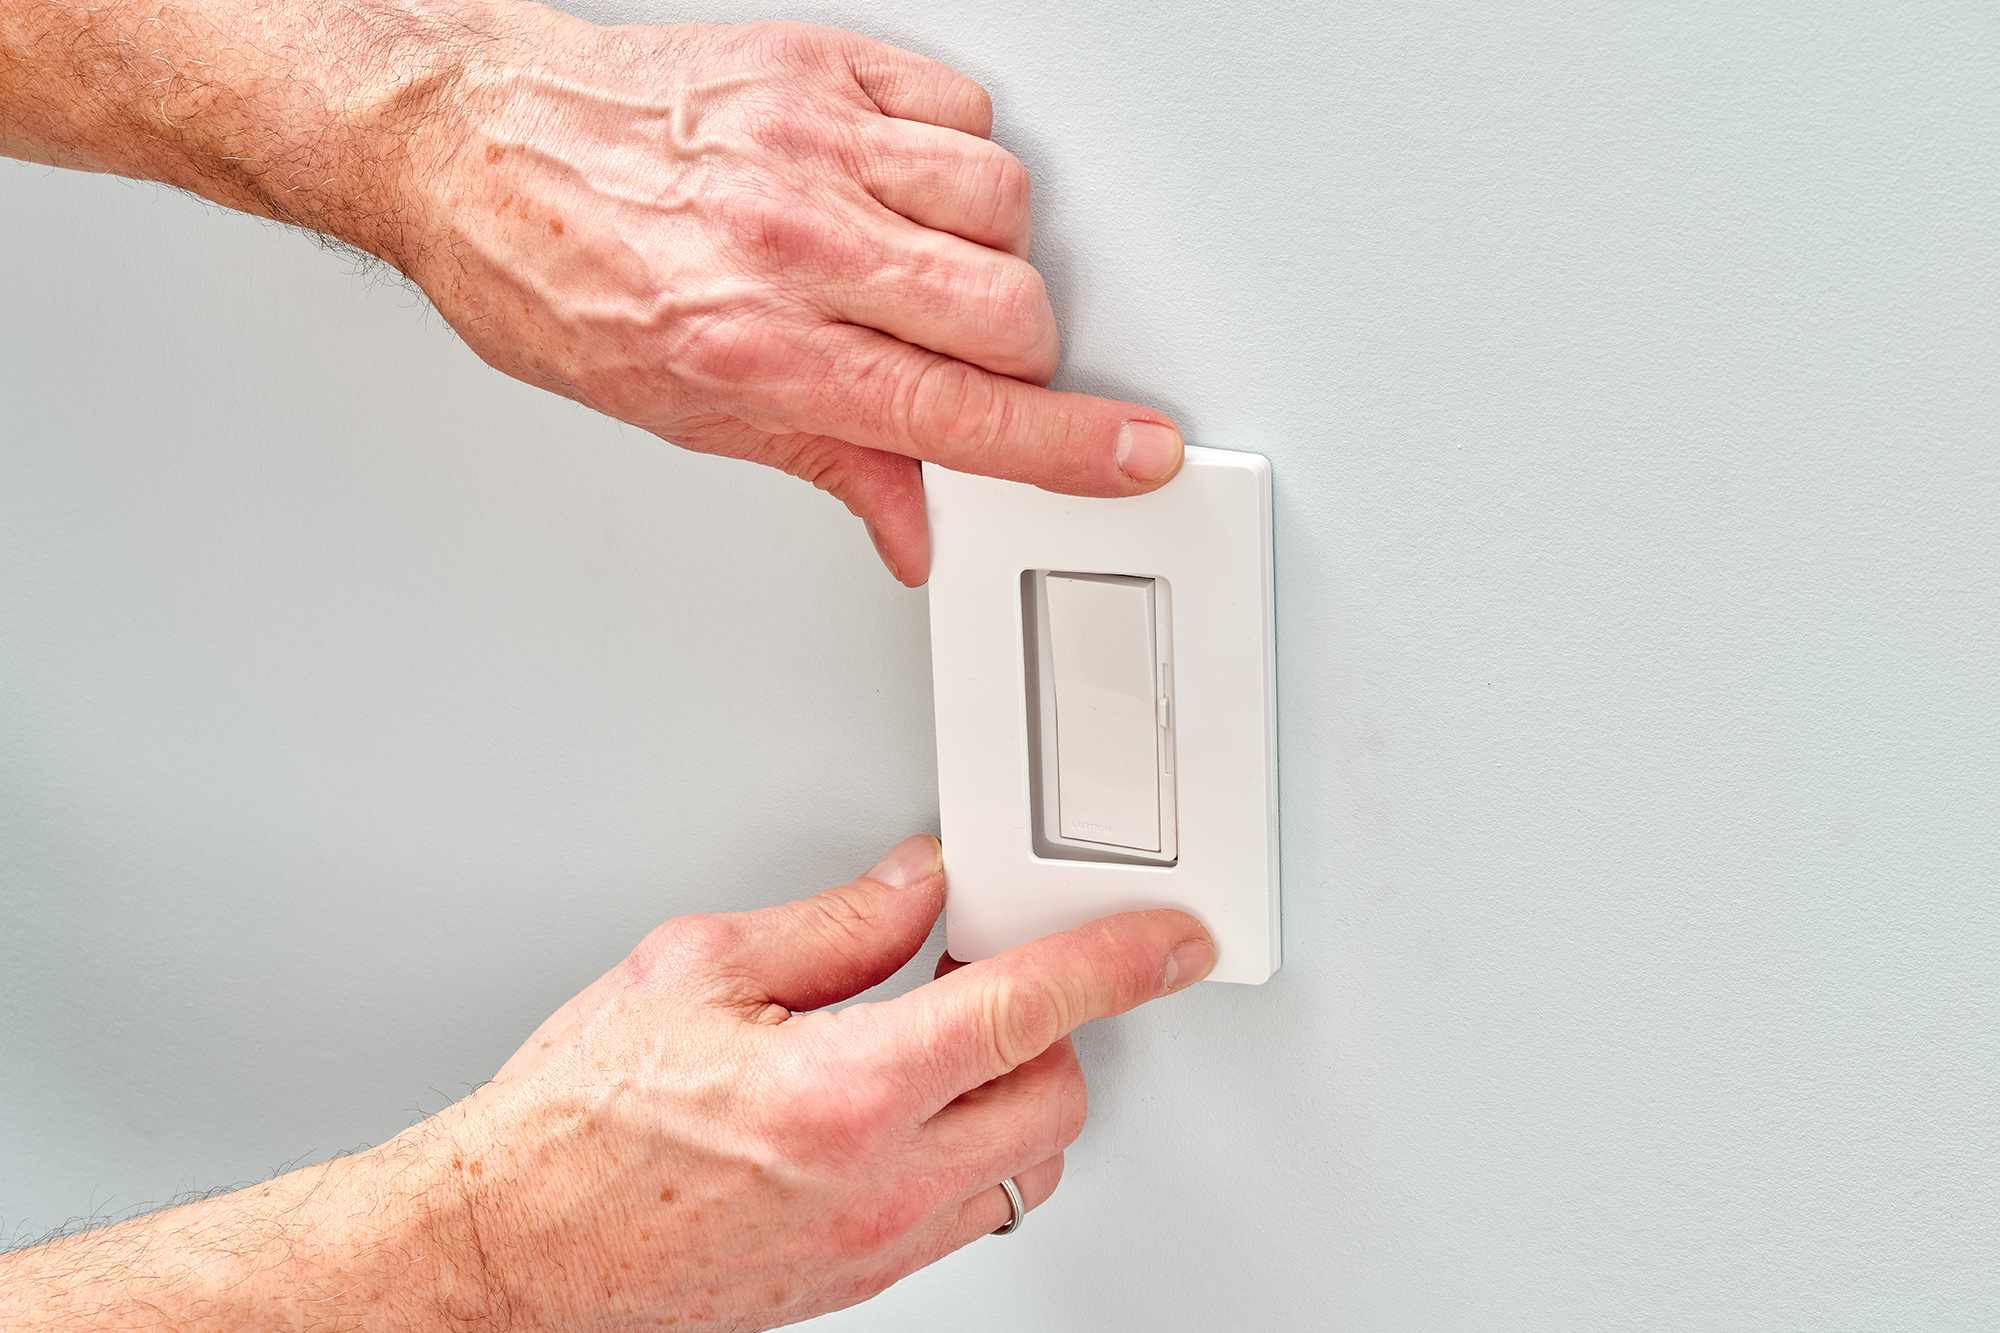
Step 9: Replace the light switch cover
Now that you have successfully tested the functionality of the new light switch, it’s time to replace the light switch cover. The cover adds a finishing touch to the installation, making your ceiling fan look neat and aesthetically pleasing. Before you proceed, ensure that the power supply to the fan is still turned off.
- Take the light switch cover that you had set aside earlier.
- Position the cover over the switch opening on the wall or control panel.
- If the cover has screw holes, align them with the corresponding holes on the switch and insert the screws. Use a screwdriver to tighten the screws, securing the cover in place.
- If the cover has clips, align them with the notches or slots on the switch opening. Press the cover gently but firmly, so the clips snap into place and hold the cover securely.
Ensure that the light switch cover sits flush against the wall or control panel and doesn’t wobble or move. Tighten any loose screws if necessary, but be careful not to overtighten and damage the cover or the switch.
Replacing the light switch cover completes the physical installation process of your new switch. It’s a small but significant step that adds the final touch to your ceiling fan upgrade.
With the light switch cover securely in place, you’re almost done! The final step is to restore power to the ceiling fan and test the switch one last time to ensure everything is functioning as expected.
Step 10: Restore power to the ceiling fan
With the light switch cover replaced, the final step is to restore power to the ceiling fan. Restoring power will allow you to fully test the functionality of the new light switch and ensure that everything is working correctly. Before proceeding, make sure that all the previous steps have been completed successfully and that the power supply to the fan is still turned off.
- Double-check that the light switch is in the “off” position before restoring power.
- Locate the circuit breaker in your electrical panel or the corresponding fuse if you have a fuse box.
- Flip the circuit breaker switch back to the “on” position or replace the fuse that corresponds to the ceiling fan.
Now that power has been restored to the fan, go to the wall switch or control panel and turn on the new light switch.
- If the light on the fan turns on and functions properly, congratulations! You have successfully replaced the ceiling fan light switch and restored full functionality to your fan.
- If the light doesn’t turn on or there are any issues, double-check the wiring connections and make sure that the power supply is properly restored. If problems persist, it may be necessary to seek the help of a licensed electrician to troubleshoot the issue.
It is essential to test the light switch one final time now that power has been restored, ensuring that everything is working as intended. This step provides the assurance that your installation has been successful and allows you to enjoy the full benefits of your new light switch.
With the final step completed, you have successfully replaced the ceiling fan light switch. Be proud of your accomplishment and enjoy the enhanced functionality and aesthetic appeal of your ceiling fan!
Remember to exercise caution and prioritize safety throughout the entire process of replacing the light switch. If you feel uncomfortable or uncertain at any point, it is always best to seek professional assistance.
Conclusion
Replacing a ceiling fan light switch is a relatively simple and rewarding DIY project that can enhance both the functionality and appearance of your ceiling fan. By following the step-by-step process outlined in this article, you have learned how to replace a ceiling fan light switch with ease.
Throughout the process, it’s important to prioritize safety by ensuring the power supply is turned off and taking necessary precautions when handling electrical components. Additionally, gathering the necessary tools and materials beforehand will help streamline the installation process.
From turning off the power supply to removing the old light switch cover, disconnecting the wires, and installing the new light switch, each step plays a crucial role in achieving a successful replacement. By testing the functionality of the new switch and restoring power to the ceiling fan, you can ensure that the installation is complete and functioning as intended.
Remember, if you encounter any difficulties or feel uncertain, it’s best to consult a licensed electrician for assistance. Electrical work can be dangerous if not done properly.
Congratulations on successfully replacing your ceiling fan light switch! Enjoy the improved convenience and aesthetics of your ceiling fan, and bask in the satisfaction of a job well done.
Now that you've mastered replacing a ceiling fan light switch, why stop there? If you're looking to upgrade your home's ambiance, consider installing a ceiling fan where only a light fixture existed. This can transform a room's comfort and style. For those keen on keeping their home in tip-top shape, regular home maintenance is a must. From checking gutters to inspecting the roof, staying on top of these tasks ensures your living space remains safe and efficient year-round. Dive into our detailed guides to keep your home looking and functioning at its best.
Frequently Asked Questions about How To Replace Ceiling Fan Light Switch
Was this page helpful?
At Storables.com, we guarantee accurate and reliable information. Our content, validated by Expert Board Contributors, is crafted following stringent Editorial Policies. We're committed to providing you with well-researched, expert-backed insights for all your informational needs.


0 thoughts on “How To Replace Ceiling Fan Light Switch”