Articles
How To Test Halogen Bulb
Modified: May 6, 2024
Learn how to test a halogen bulb with these informative articles. Discover the step-by-step process and ensure your bulb is functioning properly.
(Many of the links in this article redirect to a specific reviewed product. Your purchase of these products through affiliate links helps to generate commission for Storables.com, at no extra cost. Learn more)
Introduction
Welcome to our comprehensive guide on how to test halogen bulbs! Halogen bulbs are widely used in various lighting applications due to their bright and efficient illumination. However, like any other light bulb, halogen bulbs can also experience issues and failures over time. Therefore, it’s important to know how to test them to ensure optimal performance and safety.
In this article, we will provide you with a step-by-step guide on how to test halogen bulbs using different methods. We will also discuss the importance of testing halogen bulbs, the precautions you need to take before testing, and the tools and equipment required for the testing process.
Before jumping into the testing methods, let’s briefly go over the fundamentals of halogen bulbs.
Key Takeaways:
- Regularly testing halogen bulbs is crucial for ensuring optimal performance, safety, and energy efficiency. By following simple testing methods and precautions, you can maximize bulb lifespan and maintain a safe lighting environment.
- Troubleshooting common issues with halogen bulbs, such as flickering light or overheating, can help identify and resolve problems effectively. Regular testing and troubleshooting techniques ensure consistent, efficient, and safe lighting for various applications.
Read more: What Is A Halogen Bulb
Overview of Halogen Bulbs
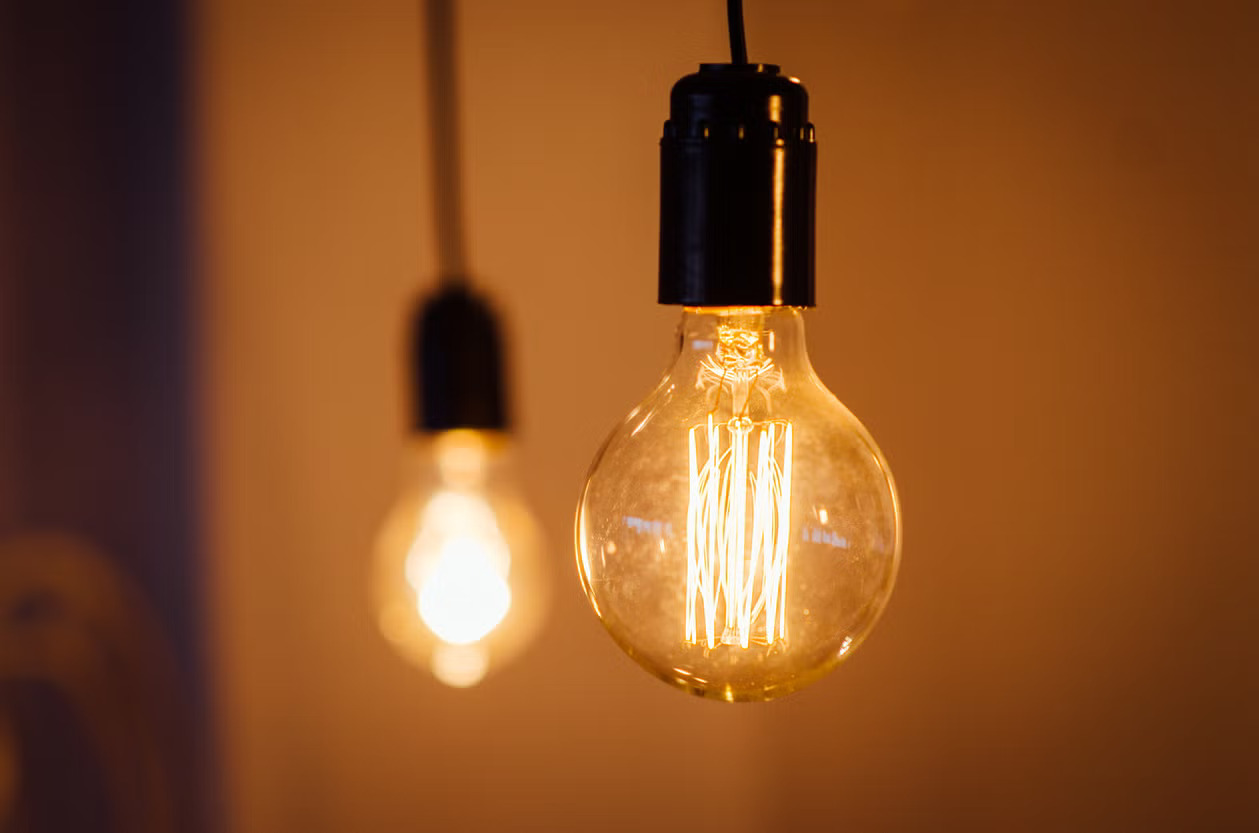
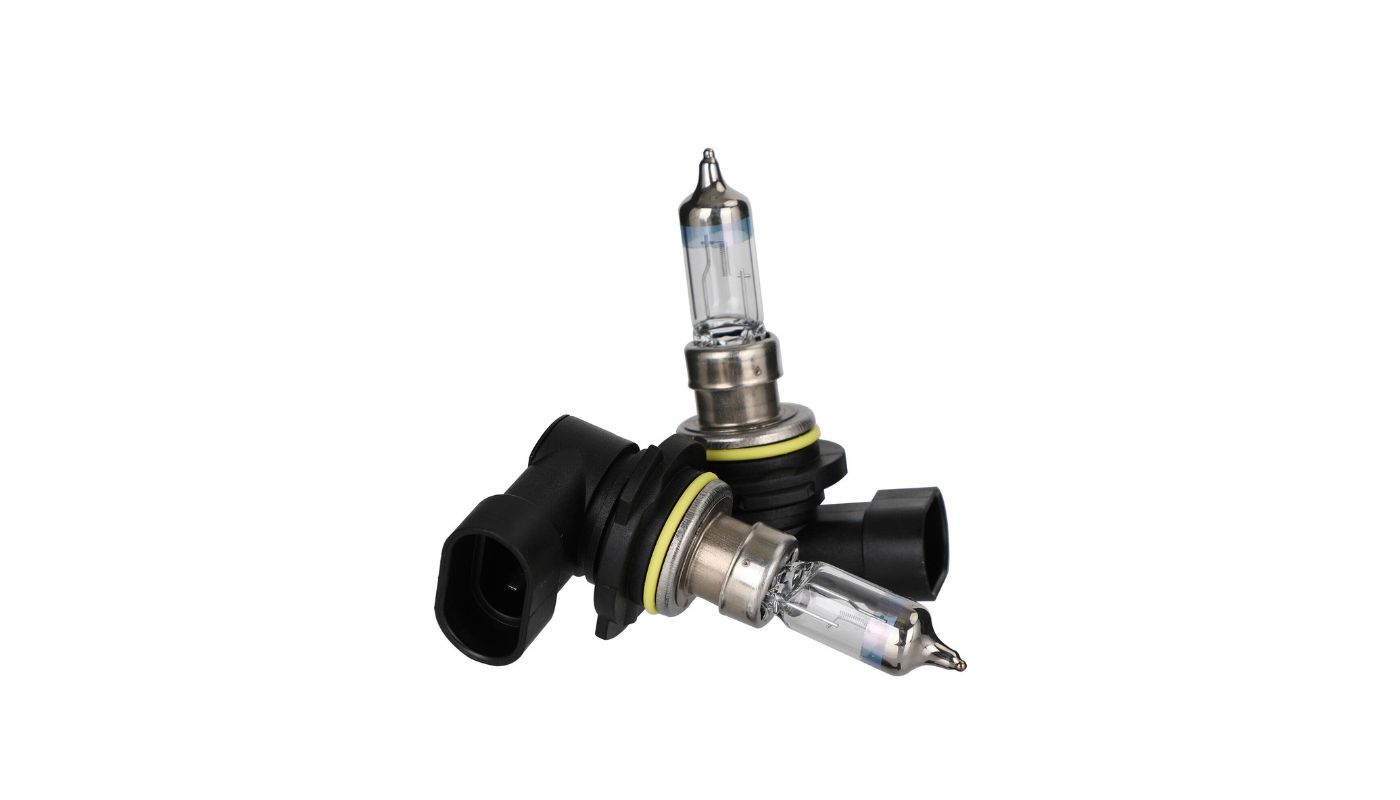
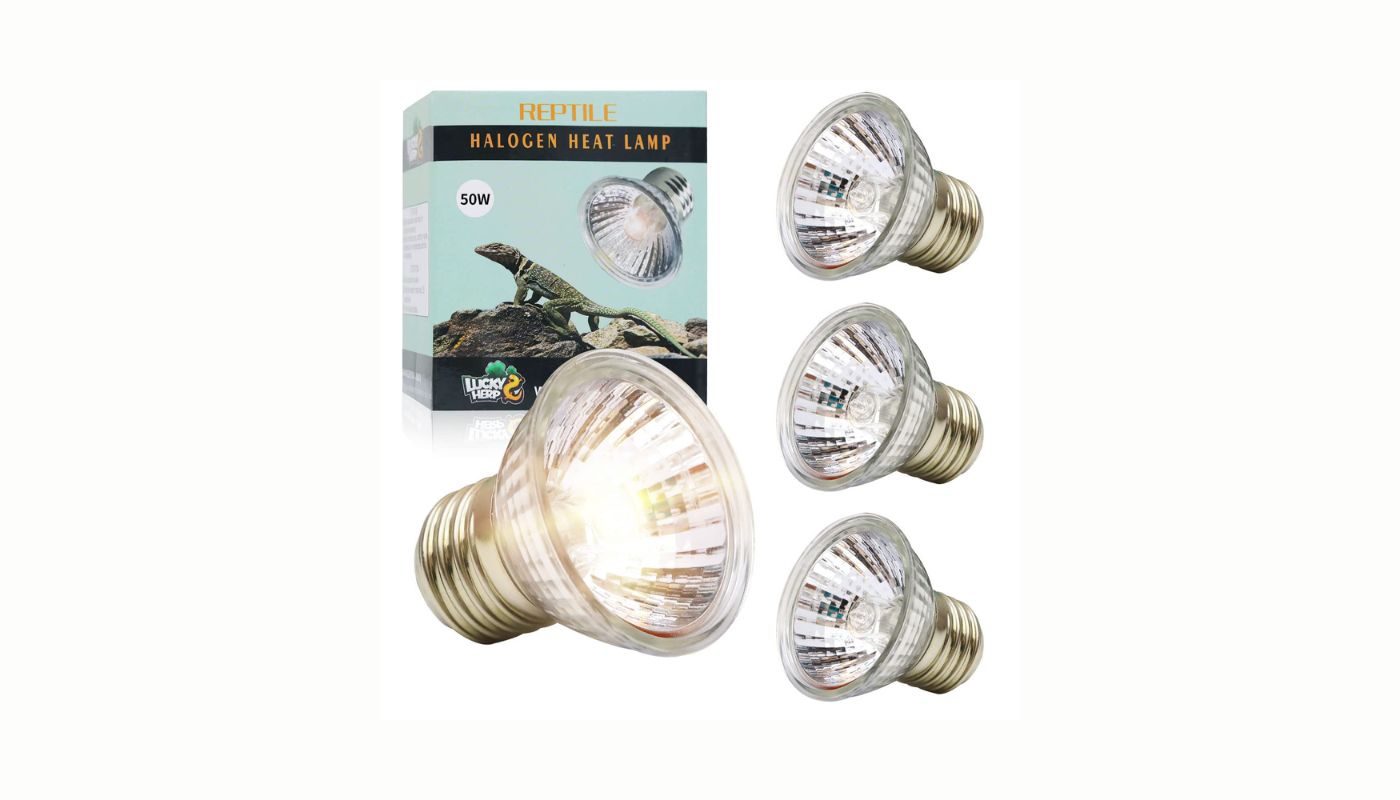
Halogen bulbs are a type of incandescent bulb that uses halogen gas to increase its efficiency and lifespan. They are known for their bright, high-quality light output, making them popular in various lighting applications such as home lighting, car headlights, stage lighting, and more.
The construction of a halogen bulb is similar to a traditional incandescent bulb, consisting of a filament enclosed in a glass envelope filled with halogen gas. The halogen gas, usually iodine or bromine, allows the filament to operate at a higher temperature, resulting in a brighter and whiter light compared to standard incandescent bulbs.
One of the key advantages of halogen bulbs is their longer lifespan. They typically last two to three times longer than standard incandescent bulbs. Additionally, halogen bulbs offer better color rendering, meaning they accurately reproduce colors and make them appear more vibrant and natural.
Halogen bulbs also offer instant illumination, reaching their full brightness as soon as they are turned on. They are dimmable, allowing users to adjust the brightness according to their needs. Furthermore, halogen bulbs are relatively compact in size, making them suitable for various fixtures with limited space.
Despite their many advantages, halogen bulbs are not without their drawbacks. They generate a significant amount of heat during operation, so caution must be exercised to prevent burns or fire hazards. Halogen bulbs are also more sensitive to oils from skin contact, so it’s important to handle them with clean gloves or a clean cloth to avoid premature failure.
Now that we have covered the basics of halogen bulbs, let’s delve into why testing them is essential.
Importance of Testing Halogen Bulbs
Testing halogen bulbs is crucial to ensure that they are functioning properly and safely. Here are a few reasons why testing halogen bulbs is important:
- Performance: Testing halogen bulbs allows you to assess their performance and ensure they are providing the expected level of brightness and light output. This is particularly important in applications where consistent and adequate illumination is necessary, such as car headlights or stage lighting.
- Safety: Halogen bulbs operate at high temperatures, and any damage or malfunction can pose safety risks. Testing them regularly helps identify any potential issues like short circuits or damage to the filament, ensuring that the bulbs are safe to use.
- Energy Efficiency: A failing or damaged halogen bulb may consume more energy than necessary, leading to increased electricity costs. By testing them, you can identify any inefficiencies and replace or repair the bulbs to maintain energy-efficient lighting.
- Prevention of Failures: Halogen bulbs can fail unexpectedly, causing inconvenience and potential hazards. Regular testing allows you to detect early signs of deterioration or faults, enabling you to replace the bulbs before they completely fail.
- Cost Savings: Testing and maintaining halogen bulbs can save you money in the long run. By identifying faulty bulbs and replacing them promptly, you avoid the need for frequent replacements and reduce the risk of more extensive damage to fixtures or electrical components.
- Compliance with Standards: In certain industries, compliance with specific lighting standards is crucial. Testing halogen bulbs ensures that they meet the required standards for brightness, color temperature, and other performance parameters.
By regularly testing your halogen bulbs, you can maximize their lifespan, maintain optimal performance, and ensure a safe lighting environment. Now, before we move on to the testing methods, let’s briefly discuss some precautions to consider.
Precautions Before Testing
Before you begin testing halogen bulbs, it’s important to take certain precautions to ensure your safety and prevent any damage. Here are some precautions to keep in mind:
- Turn off the power: Before attempting any testing, make sure to turn off the power supply to the bulb you will be working on. This will prevent electric shocks and reduce the risk of damage to the bulb or other electrical components.
- Allow bulbs to cool down: Halogen bulbs can become very hot during operation, so wait for them to cool down before handling them. This will help prevent burns and ensure safe handling during the testing process.
- Wear protective gloves: It’s a good idea to wear protective gloves, such as latex or nitrile gloves, when handling halogen bulbs. This will prevent oils from your skin from getting onto the bulb, which can cause premature failure due to hot spots.
- Inspect for damage: Before testing the bulb, visually inspect it for any signs of physical damage, such as cracks or broken filaments. If you notice any damage, do not proceed with testing and replace the bulb instead.
- Avoid touching the glass: When handling halogen bulbs, avoid touching the glass surface with your bare hands. The natural oils on your skin can react with the bulb’s surface and cause it to break when it heats up during use.
- Use appropriate testing equipment: Ensure that you have the proper testing equipment for the method you plan to use. This may include a multimeter for continuity, voltage, and resistance testing. Using the right tools will help you obtain accurate results and prevent any accidental damage.
- Read the manufacturer’s instructions: Different manufacturers may have specific guidelines or recommendations for testing their halogen bulbs. Take the time to read the manufacturer’s instructions or consult their website for any specific testing procedures or precautions.
By following these precautions, you can ensure your safety and minimize the risk of damage to the halogen bulbs or other electrical components. Now that we have covered the necessary precautions, let’s move on to the tools and equipment you will need for testing halogen bulbs.
Tools and Equipment Needed
Testing halogen bulbs requires the use of specific tools and equipment to accurately assess their performance and identify any faults. Here are the essential tools and equipment needed for testing halogen bulbs:
- Multimeter: A digital multimeter is a versatile tool that can be used for various testing methods, including continuity, voltage, and resistance testing. It allows you to measure electrical parameters such as current, voltage, and resistance.
- Gloves: Wear clean, protective gloves when handling halogen bulbs. Gloves help prevent the transfer of oils from your skin to the bulb’s surface, which can cause damage or premature failure.
- Clean cloth: A soft, clean cloth is handy for wiping the surface of the bulb, ensuring a clear view during visual inspection and preventing contamination that could affect the testing process.
- Testing leads: These are the cables or wires that connect the multimeter to the halogen bulb for testing. Make sure you have suitable leads that are compatible with your multimeter and provide a secure connection.
- Power source: Depending on the testing method you choose, you may need a power source to supply voltage to the halogen bulb during testing. This could be a battery or a power supply, depending on the requirements of your setup.
- Testing setup (optional): Depending on the testing method or specific requirements, you may need additional components like test sockets, jumper wires, or alligator clips to set up the testing environment and ensure proper connections for accurate results.
It’s important to ensure that your tools and equipment are in good working condition before starting the testing process. This will help ensure accurate results and prevent any potential issues or accidents during testing. Now that we have covered the tools and equipment needed, let’s move on to the step-by-step guide for testing halogen bulbs.
Read more: How To Clean Halogen Bulb
Step-by-Step Guide to Testing Halogen Bulbs
Testing halogen bulbs is a straightforward process that can be done using various methods. Here is a step-by-step guide to testing halogen bulbs:
- Prepare the setup: Ensure that all the necessary tools and equipment are ready and in good working condition. This includes the multimeter, testing leads, gloves, clean cloth, and any additional components specific to your chosen testing method.
- Turn off the power: Make sure that the power supply to the halogen bulb is turned off before proceeding with the testing. This will prevent any electrical accidents or damage while handling the bulb.
- Visual inspection: Start by visually inspecting the bulb for any visible damage or signs of wear. Check for cracks, broken filaments, or any discoloration. If you notice any damage, do not proceed with testing and replace the bulb instead.
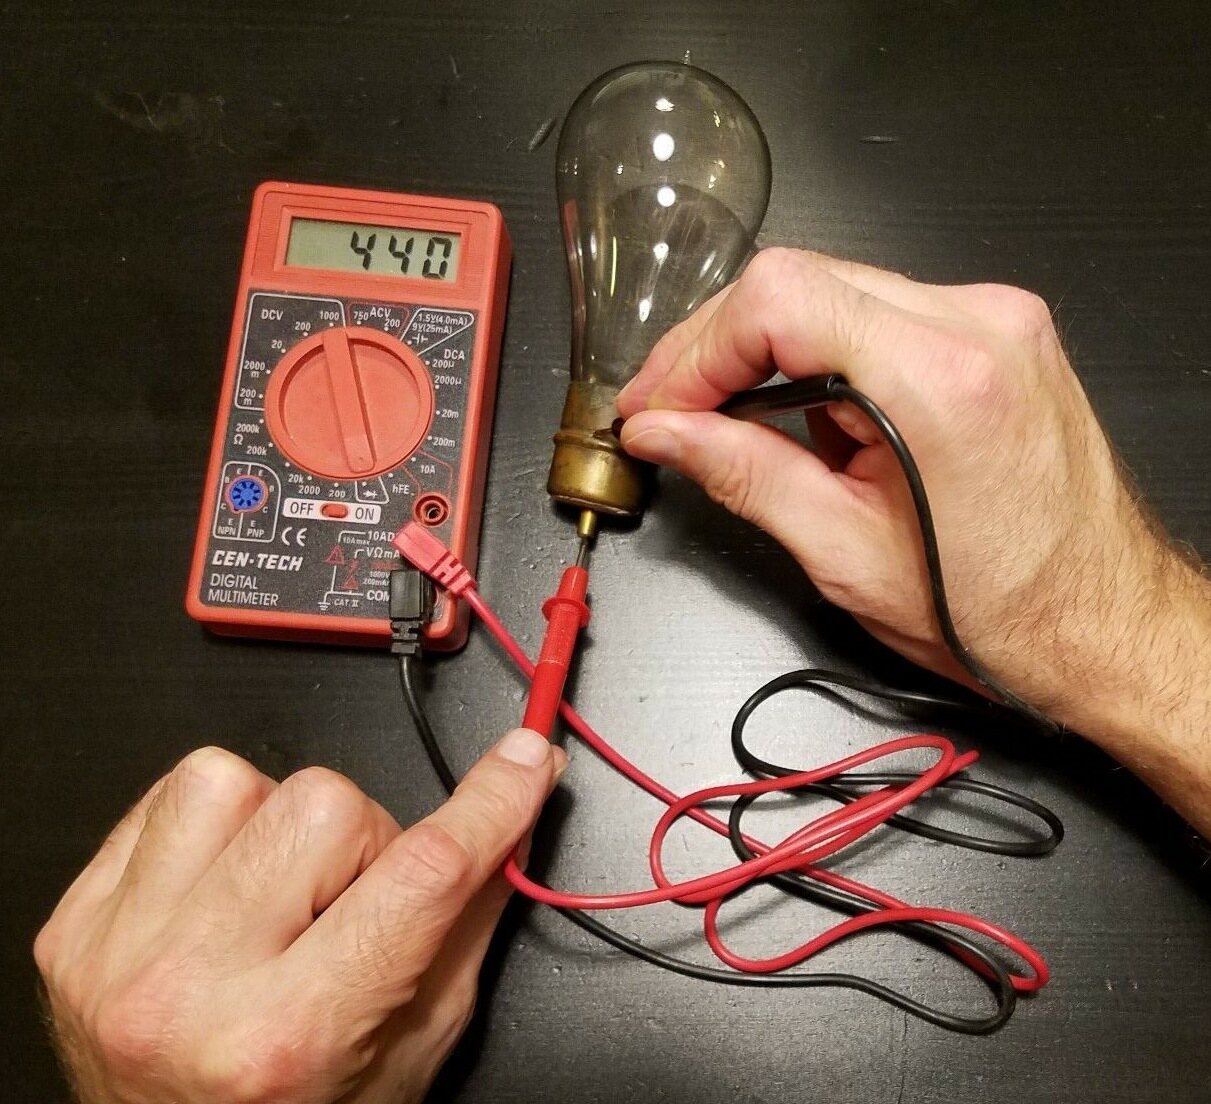
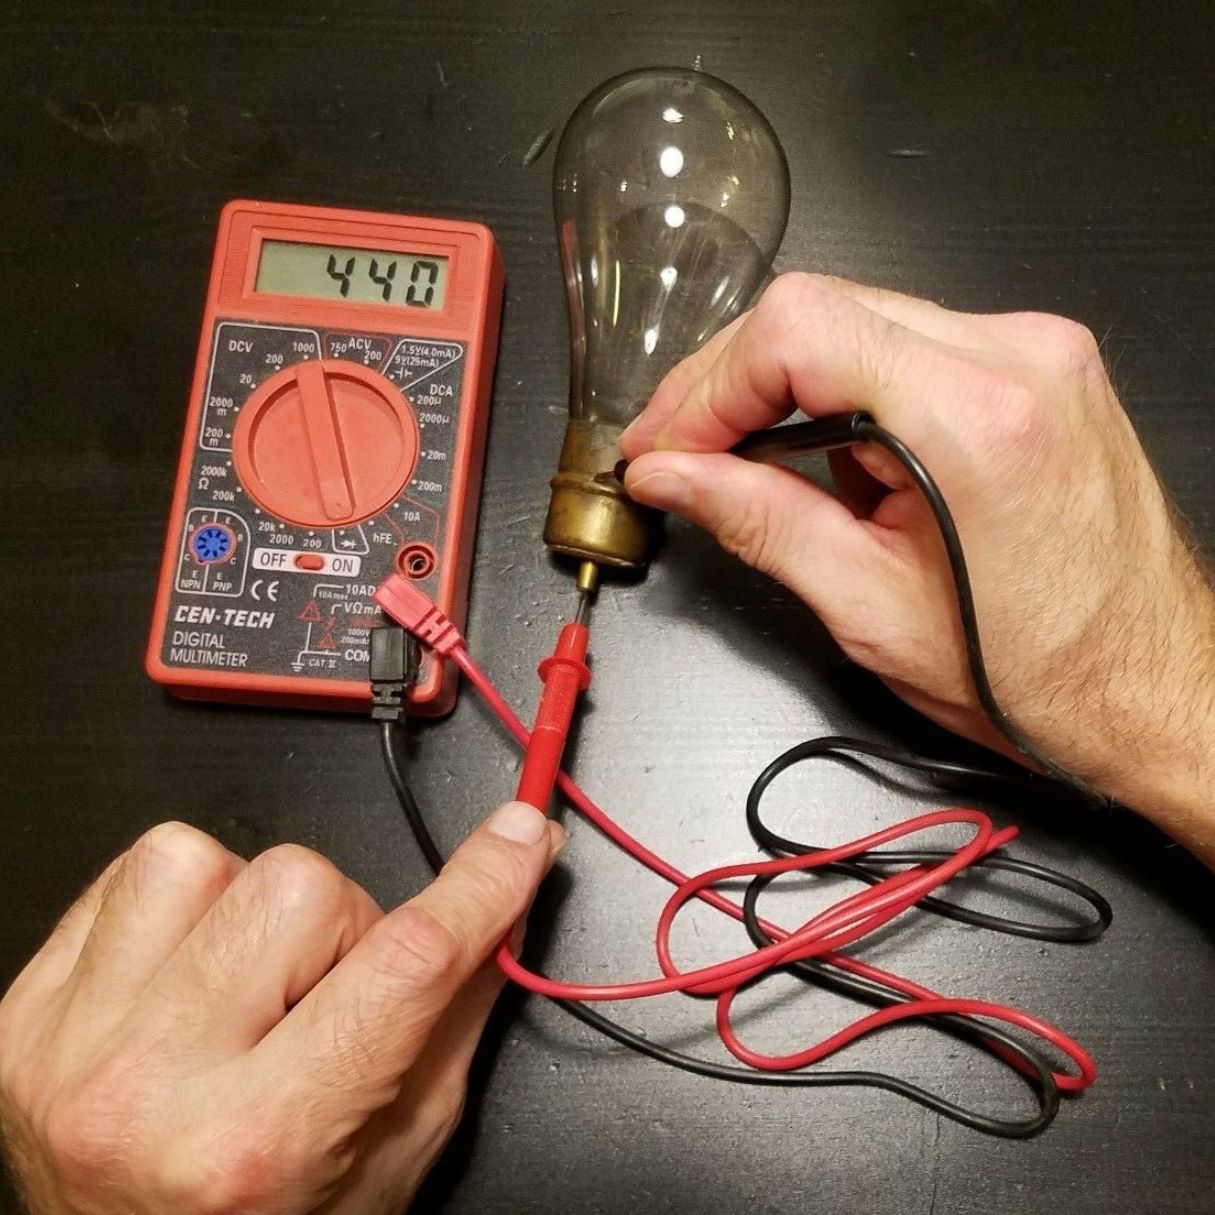
- Continuity testing: To test the continuity of the halogen bulb, set your multimeter to the continuity or ohms (Ω) setting. Connect one lead to the base of the halogen bulb and the other lead to the center terminal or pin. If there is continuity, the multimeter will emit a beep or display a reading close to zero ohms. If there is no continuity, it indicates a broken filament, and the bulb needs replacement.
- Voltage testing: You can also test the voltage output of the halogen bulb to ensure it is receiving the proper power supply. Set the multimeter to the voltage (V) setting. Connect the positive lead to the base of the bulb and the negative lead to the center terminal or pin. Turn on the power supply and check if the multimeter displays the voltage specified for the bulb.
- Resistance testing: Resistance testing can help identify any abnormalities in the halogen bulb’s electrical resistance. Set the multimeter to the resistance (Ω) setting. Connect one lead to the base of the bulb and the other lead to the center terminal or pin. The multimeter will display the resistance value. Compare it to the specified resistance for the bulb, and if it significantly deviates, it may indicate a fault.
- Record the results: Keep a record of the testing results for future reference. Note down the readings obtained during the continuity, voltage, and resistance tests to assess the performance of the bulb over time.
Remember to follow the appropriate precautions mentioned earlier and refer to the manufacturer’s instructions if available. Different halogen bulbs may have specific testing requirements or recommendations.
By following this step-by-step guide, you can effectively test halogen bulbs using various methods and ensure their performance and safety. If any issues or abnormalities are detected during testing, it is advisable to replace the bulb to maintain optimal lighting conditions. Now, let’s discuss some common issues that you may encounter while testing halogen bulbs and how to troubleshoot them.
When testing a halogen bulb, always ensure that the power is turned off and the bulb has cooled down before handling it. Use a multimeter to check for continuity and ensure the filament is intact.
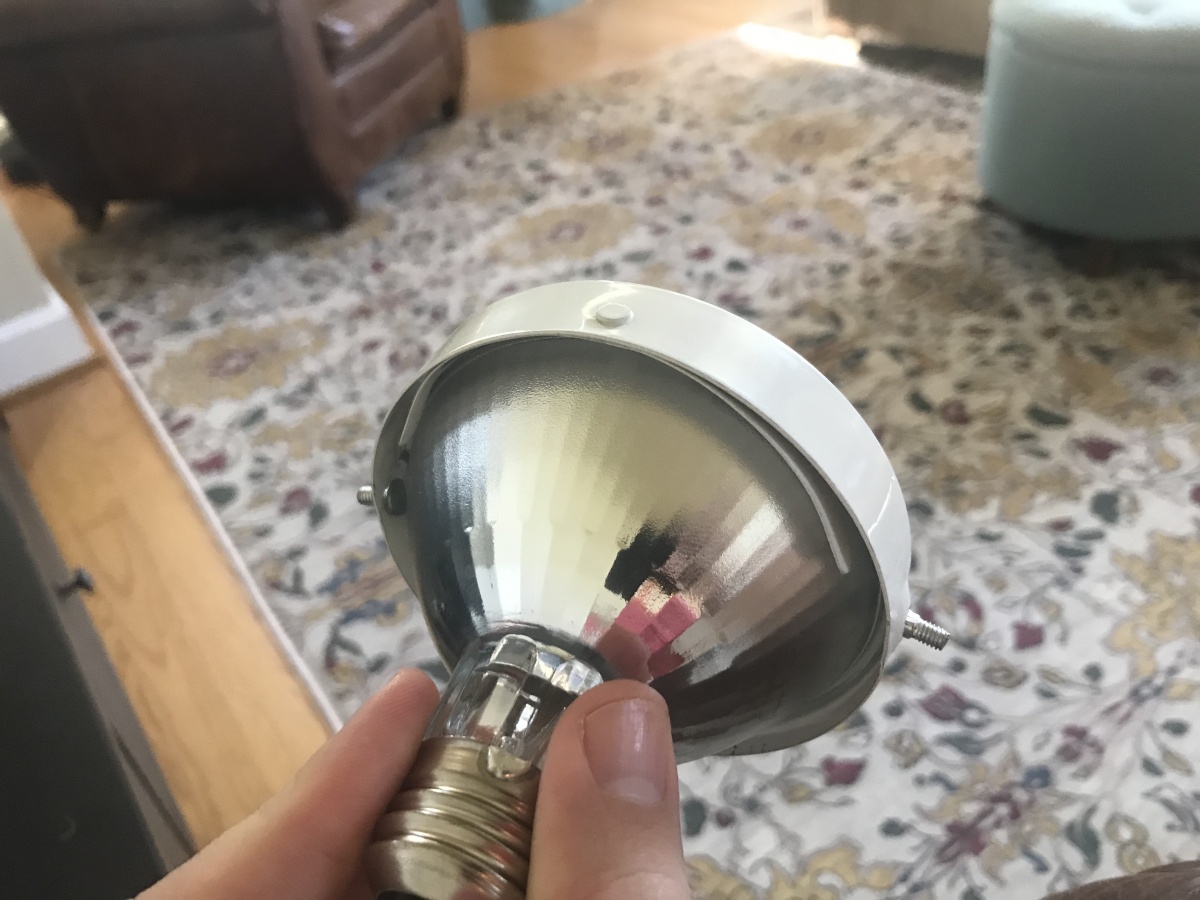
Method 1: Visual Inspection
Visual inspection is the first and simplest method to test the condition of a halogen bulb. This method allows you to visually identify any visible damage or signs of wear. Here’s a step-by-step guide on how to perform a visual inspection of a halogen bulb:
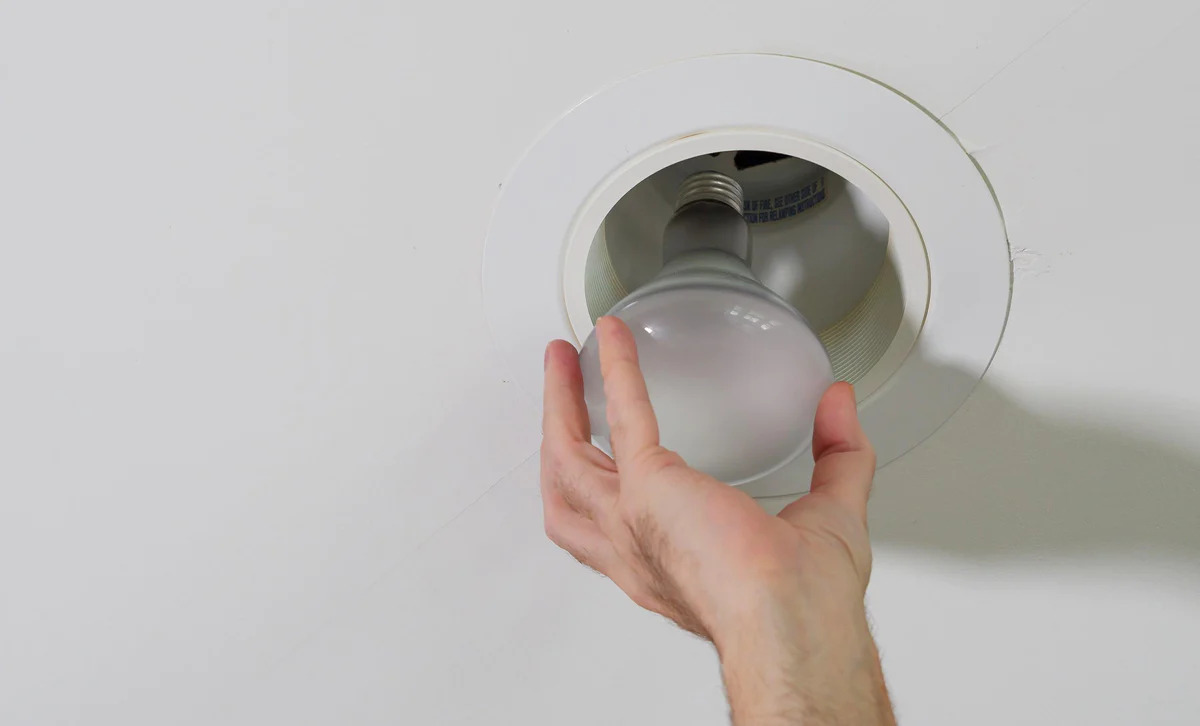
- Turn off the power: Before inspecting the halogen bulb, ensure that the power supply is turned off to prevent any accidents or electrical shocks.
- Allow the bulb to cool down: Halogen bulbs become extremely hot during operation. It’s crucial to wait for the bulb to cool down to avoid burns or injuries.
- Inspect the bulb: Carefully examine the exterior of the bulb for any visible damage. Look for cracks, chips, or any signs of physical breakage. A cracked bulb or a broken filament indicates a faulty bulb and should be replaced.
- Check the base and connectors: Inspect the base of the bulb and the connectors. Ensure that there is no corrosion, loose connections, or any abnormalities that could affect the bulb’s performance.
- Clean the bulb: Use a clean cloth to wipe off any dust, dirt, or fingerprints from the surface of the bulb. This will help provide a clear view and prevent any interference during the testing process.
Visual inspection is a quick and easy method to identify obvious defects in a halogen bulb. If you notice any damage or abnormalities during the inspection, it’s recommended to replace the bulb to ensure safe and efficient lighting.
Now that you are familiar with the visual inspection method, let’s move on to the next testing method: continuity testing.
Method 2: Continuity Testing
Continuity testing is a method used to check the integrity of the filament in a halogen bulb. By testing the continuity, you can determine if the filament is intact and capable of conducting electricity. Here’s how to perform continuity testing on a halogen bulb:
- Turn off the power: Ensure that the power supply to the halogen bulb is turned off before conducting any testing to prevent electrical accidents.
- Allow the bulb to cool down: Halogen bulbs can become hot during operation. Wait for the bulb to cool down completely before proceeding with the continuity test.
- Select the continuity function on the multimeter: Set your multimeter to the continuity mode or the ohms (Ω) setting. This setting will allow you to measure the resistance and test continuity.
- Connect the multimeter leads: Take the testing leads and connect one lead to the base of the halogen bulb and the other lead to the center terminal or pin.
- Check for continuity: With the multimeter leads connected to the bulb, observe the multimeter display. If there is continuity, the multimeter will emit a beep or show a reading close to zero ohms. This indicates that the filament is intact and the bulb is functioning properly.
- No continuity: If there is no continuity, meaning no beep or a reading significantly higher than zero ohms, it suggests that the filament is broken or damaged. In this case, the bulb is faulty and needs to be replaced.
- Record the results: Keep a record of the continuity test results for future reference. Note down whether the bulb showed continuity or not, as this information can help assess the performance and condition of the bulb over time.
- Disconnect the multimeter: Once the continuity test is complete, disconnect the multimeter leads from the bulb and turn off the multimeter.
Continuity testing is a reliable method to determine the condition of the filament in a halogen bulb. It is important to conduct this test regularly to ensure that the bulb is capable of conducting electricity effectively. If there is no continuity, it is an indication that the bulb is faulty and needs to be replaced.
Now that you have familiarized yourself with continuity testing, let’s move on to the next testing method: voltage testing.
Method 3: Voltage Testing
Voltage testing is a method used to check if a halogen bulb is receiving the appropriate voltage supply. It allows you to verify that the bulb is being powered correctly. Here’s how to perform voltage testing on a halogen bulb:
- Turn off the power: Before conducting any testing, ensure that the power supply to the halogen bulb is turned off to prevent electrical accidents.
- Allow the bulb to cool down: Halogen bulbs can become hot during operation. Wait for the bulb to cool down before proceeding with the voltage test.
- Select the voltage function on the multimeter: Set your multimeter to the voltage (V) setting. This setting allows you to measure the voltage supplied to the halogen bulb.
- Connect the multimeter leads: Take the testing leads and connect the positive lead (usually red) to the base of the halogen bulb. Connect the negative lead (usually black) to the center terminal or pin of the bulb.
- Turn on the power supply: If the power supply has an on/off switch, turn it on to supply power to the halogen bulb.
- Read the voltage: Look at the multimeter display while the power supply is active. It should indicate the voltage supplied to the halogen bulb. Compare this reading to the specified voltage for the bulb. If the voltage is within the acceptable range, it indicates that the bulb is receiving the appropriate power supply.
- Abnormal voltage: If the voltage reading is significantly higher or lower than the specified voltage for the bulb, it suggests an issue with the power supply or the bulb socket. In this case, further investigation or professional assistance may be required.
- Turn off the power: After completing the voltage test, turn off the power supply to the halogen bulb and disconnect the multimeter leads.
Voltage testing helps ensure that the halogen bulb is receiving the correct voltage, which is crucial for its proper functioning and longevity. If the voltage supplied to the bulb deviates from the specified range, it may result in premature bulb failure or inefficient lighting.
By following these steps, you can effectively perform voltage testing on a halogen bulb. Now, let’s move on to the next testing method: resistance testing.
Read more: How To Test An LED Bulb With A Multimeter
Method 4: Resistance Testing
Resistance testing is a method used to measure the electrical resistance of a halogen bulb. By testing the resistance, you can assess the condition of the bulb and identify any abnormalities in its electrical properties. Here’s how to perform resistance testing on a halogen bulb:
- Turn off the power: Before beginning the testing process, ensure that the power supply to the halogen bulb is turned off to avoid electrical accidents.
- Allow the bulb to cool down: Halogen bulbs can become hot during operation. Allow the bulb to cool down completely before proceeding with the resistance test.
- Select the resistance function on the multimeter: Set your multimeter to the resistance (Ω) setting. This setting allows you to measure the electrical resistance of the halogen bulb.
- Connect the multimeter leads: Take the testing leads and connect one lead to the base of the halogen bulb and the other lead to the center terminal or pin.
- Read the resistance: Observe the multimeter display while the leads are connected to the bulb. The multimeter will show the resistance value of the bulb in ohms (Ω). Compare this reading to the specified resistance range for the bulb.
- Normal resistance: If the resistance reading falls within the accepted range specified by the manufacturer, it indicates that the filament in the halogen bulb is in good condition and the bulb is functioning properly.
- Abnormal resistance: If the resistance reading is significantly higher or lower than the specified range, it suggests an issue with the bulb. A significantly high resistance reading may indicate a broken or damaged filament, while a lower resistance reading may suggest a short circuit or an issue with the bulb socket.
- Record the results: Keep a record of the resistance test results for future reference. This information will be useful for monitoring the performance and condition of the halogen bulb over time.
- Disconnect the multimeter leads: Once the resistance test is complete, disconnect the multimeter leads from the bulb and turn off the multimeter.
Resistance testing helps identify any abnormalities in the electrical resistance of a halogen bulb. It is a valuable method to assess the bulb’s condition and determine if any further action, such as replacement, is necessary.
Now that you are familiar with resistance testing, you have learned various methods to test halogen bulbs. In the next section, we will discuss some common issues you may encounter while testing halogen bulbs and how to troubleshoot them.
Common Issues and Troubleshooting
While testing halogen bulbs, you may encounter common issues that require troubleshooting. Here are some common issues and their possible solutions:
- Bulb not turning on: If the halogen bulb is not turning on, check the power supply and ensure it is properly connected. Verify that the bulb is securely inserted in the socket and that the socket is functioning correctly.
- Flickering or inconsistent light: Flickering or inconsistent light can indicate a loose connection or a faulty socket. Ensure that the bulb is properly seated and the connections are secure. If the issue persists, try replacing the bulb or consulting an electrician.
- Dim light output: If the halogen bulb’s light output is notably dim, it may be nearing the end of its lifespan. Consider replacing the bulb with a new one to restore optimal brightness.
- Bulb overheating: Overheating can be caused by a variety of factors, such as incorrect wattage, poor ventilation, or a faulty socket. Check that you are using the correct wattage bulb for the fixture and ensure proper ventilation around the bulb. If the problem persists, consult an electrician to assess the wiring and socket conditions.
- Short bulb lifespan: If you notice that halogen bulbs are frequently burning out, it may be due to excessive heat buildup or incorrect wattage usage. Ensure adequate ventilation and use bulbs with the appropriate wattage for the fixture.
- Uneven light distribution: Uneven light distribution can occur if the bulb is not properly seated or if the fixture is designed to direct light in a specific direction. Adjust the bulb position or consult the fixture’s instructions to ensure optimal light distribution.
- Discoloration or yellowing of bulb: Discoloration or yellowing of the bulb can be caused by excessive heat or exposure to certain chemicals. Check for proper ventilation and avoid placing the bulb near cleaning agents or other substances that can cause discoloration.
- Multiple bulbs failing simultaneously: If multiple halogen bulbs fail simultaneously, it may indicate an electrical issue or a problem with the power supply. Consult an electrician to assess the wiring and power source.
If you encounter any persistent issues or if you are unsure about any electrical troubleshooting, it is recommended to consult a qualified electrician for assistance. They will have the expertise to diagnose and resolve any electrical problems effectively and safely.
By understanding these common issues and knowing how to troubleshoot them, you can resolve minor problems with halogen bulbs and ensure their optimal performance. Now, let’s conclude our guide on testing halogen bulbs.
Conclusion
Testing halogen bulbs is an essential practice to ensure their proper functioning, optimal performance, and safety. By following the step-by-step guide and employing various testing methods such as visual inspection, continuity testing, voltage testing, and resistance testing, you can assess the condition of the bulbs and identify any faults or abnormalities.
Regular testing allows you to detect issues early on, preventing unexpected failures and ensuring a consistent and reliable light source. It is also an opportunity to maintain energy efficiency, comply with lighting standards, and save costs by replacing faulty bulbs promptly.
Throughout the testing process, it is crucial to adhere to the necessary precautions, including turning off the power, allowing the bulbs to cool down before handling, wearing protective gloves, and using the appropriate tools and equipment.
In the event of encountering common issues such as bulbs not turning on, flickering light, or overheating, troubleshooting techniques can help identify and resolve the problems effectively.
Remember, if you are unsure about any electrical troubleshooting or if you encounter persistent issues, it is recommended to consult a qualified electrician for assistance.
By testing your halogen bulbs regularly, you can ensure they are operating optimally, prolong their lifespan, and enjoy consistent, efficient, and safe lighting for your various applications.
We hope this comprehensive guide on how to test halogen bulbs has provided you with the knowledge and confidence to effectively assess the condition and performance of your bulbs. Now, you can enjoy well-functioning, reliable, and bright lighting throughout your living spaces, vehicles, or any other area where halogen bulbs are in use.
Curious about the specifics behind halogen lamps? After mastering how to test halogen bulbs, taking a closer dive into their design and functionality might just spark your interest. Our detailed piece on what halogen lamps are provides insights into their unique benefits and applications. Whether you're enhancing your home or just keen on learning more, this article sheds light on everything you need to know about these powerful light sources.
Frequently Asked Questions about How To Test Halogen Bulb
Was this page helpful?
At Storables.com, we guarantee accurate and reliable information. Our content, validated by Expert Board Contributors, is crafted following stringent Editorial Policies. We're committed to providing you with well-researched, expert-backed insights for all your informational needs.


0 thoughts on “How To Test Halogen Bulb”