Articles
How To Clean Halogen Bulb
Modified: December 7, 2023
Discover the best ways to clean halogen bulbs with these helpful articles. Learn essential tips and techniques to ensure your bulbs shine bright and last longer.
(Many of the links in this article redirect to a specific reviewed product. Your purchase of these products through affiliate links helps to generate commission for Storables.com, at no extra cost. Learn more)
Introduction
Halogen bulbs are a popular choice for lighting fixtures due to their bright, focused light and long lifespan. However, over time, these bulbs can accumulate dust, dirt, and other debris, which can diminish their performance and efficiency. Regular cleaning of your halogen bulbs is essential to maintain their brightness and extend their lifespan.
In this article, we will guide you through the process of cleaning halogen bulbs safely and effectively. We will provide you with step-by-step instructions and tips on the best practices for maintaining the cleanliness and performance of your halogen bulbs. By following these guidelines, you can ensure that your halogen bulbs continue to provide optimal lighting for your space.
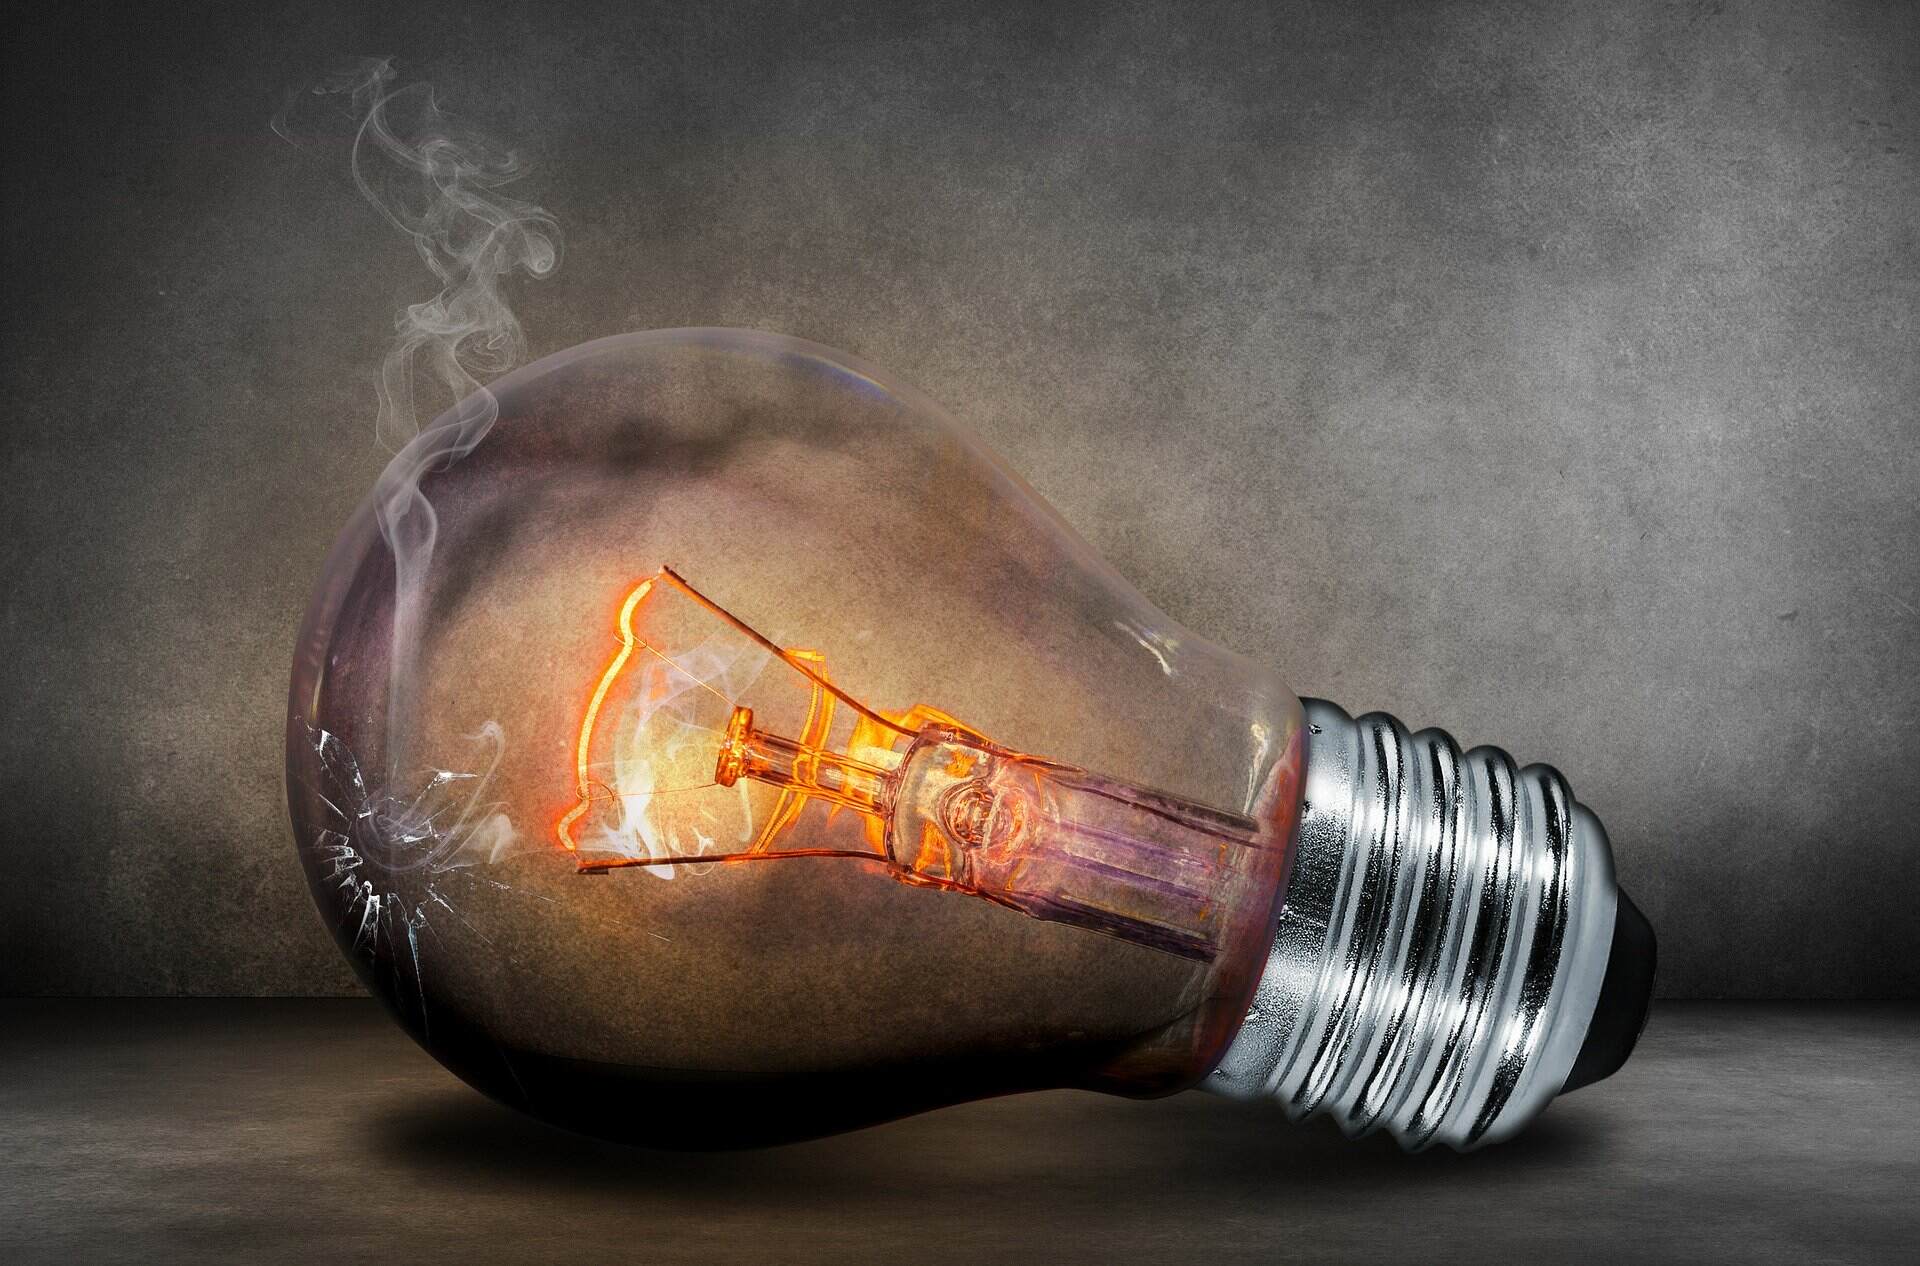
Before we proceed, it is important to note that halogen bulbs should be cleaned with caution. These bulbs operate at high temperatures and can cause burns if mishandled. Always make sure the bulb is cooled down before attempting to clean it. It is also recommended to turn off the power and disconnect the fixture from the electricity source.
Now, let’s dive into the details of how to effectively clean your halogen bulbs and ensure they shine brightly for years to come.
Key Takeaways:
- Regular cleaning of halogen bulbs is crucial to maintain brightness and extend lifespan. Follow safety precautions, use appropriate tools, and allow bulbs to dry completely for optimal results.
- Understanding the basics of halogen bulbs and following a step-by-step cleaning process ensures safe and effective maintenance. With proper care, halogen bulbs can provide long-lasting, bright illumination.
Read more: What Is A Halogen Bulb
Understanding Halogen Bulbs
Before you begin cleaning your halogen bulbs, it’s important to have a basic understanding of how these bulbs work. Halogen bulbs are a type of incandescent bulb that uses a tungsten filament sealed within a small glass envelope filled with halogen gas. When electricity passes through the filament, it heats up and emits bright, white light.
One of the key benefits of halogen bulbs is their efficiency and long lifespan. They can produce a lot of light using less energy compared to traditional incandescent bulbs. They also have a longer lifespan, typically lasting around 2,000 to 4,000 hours.
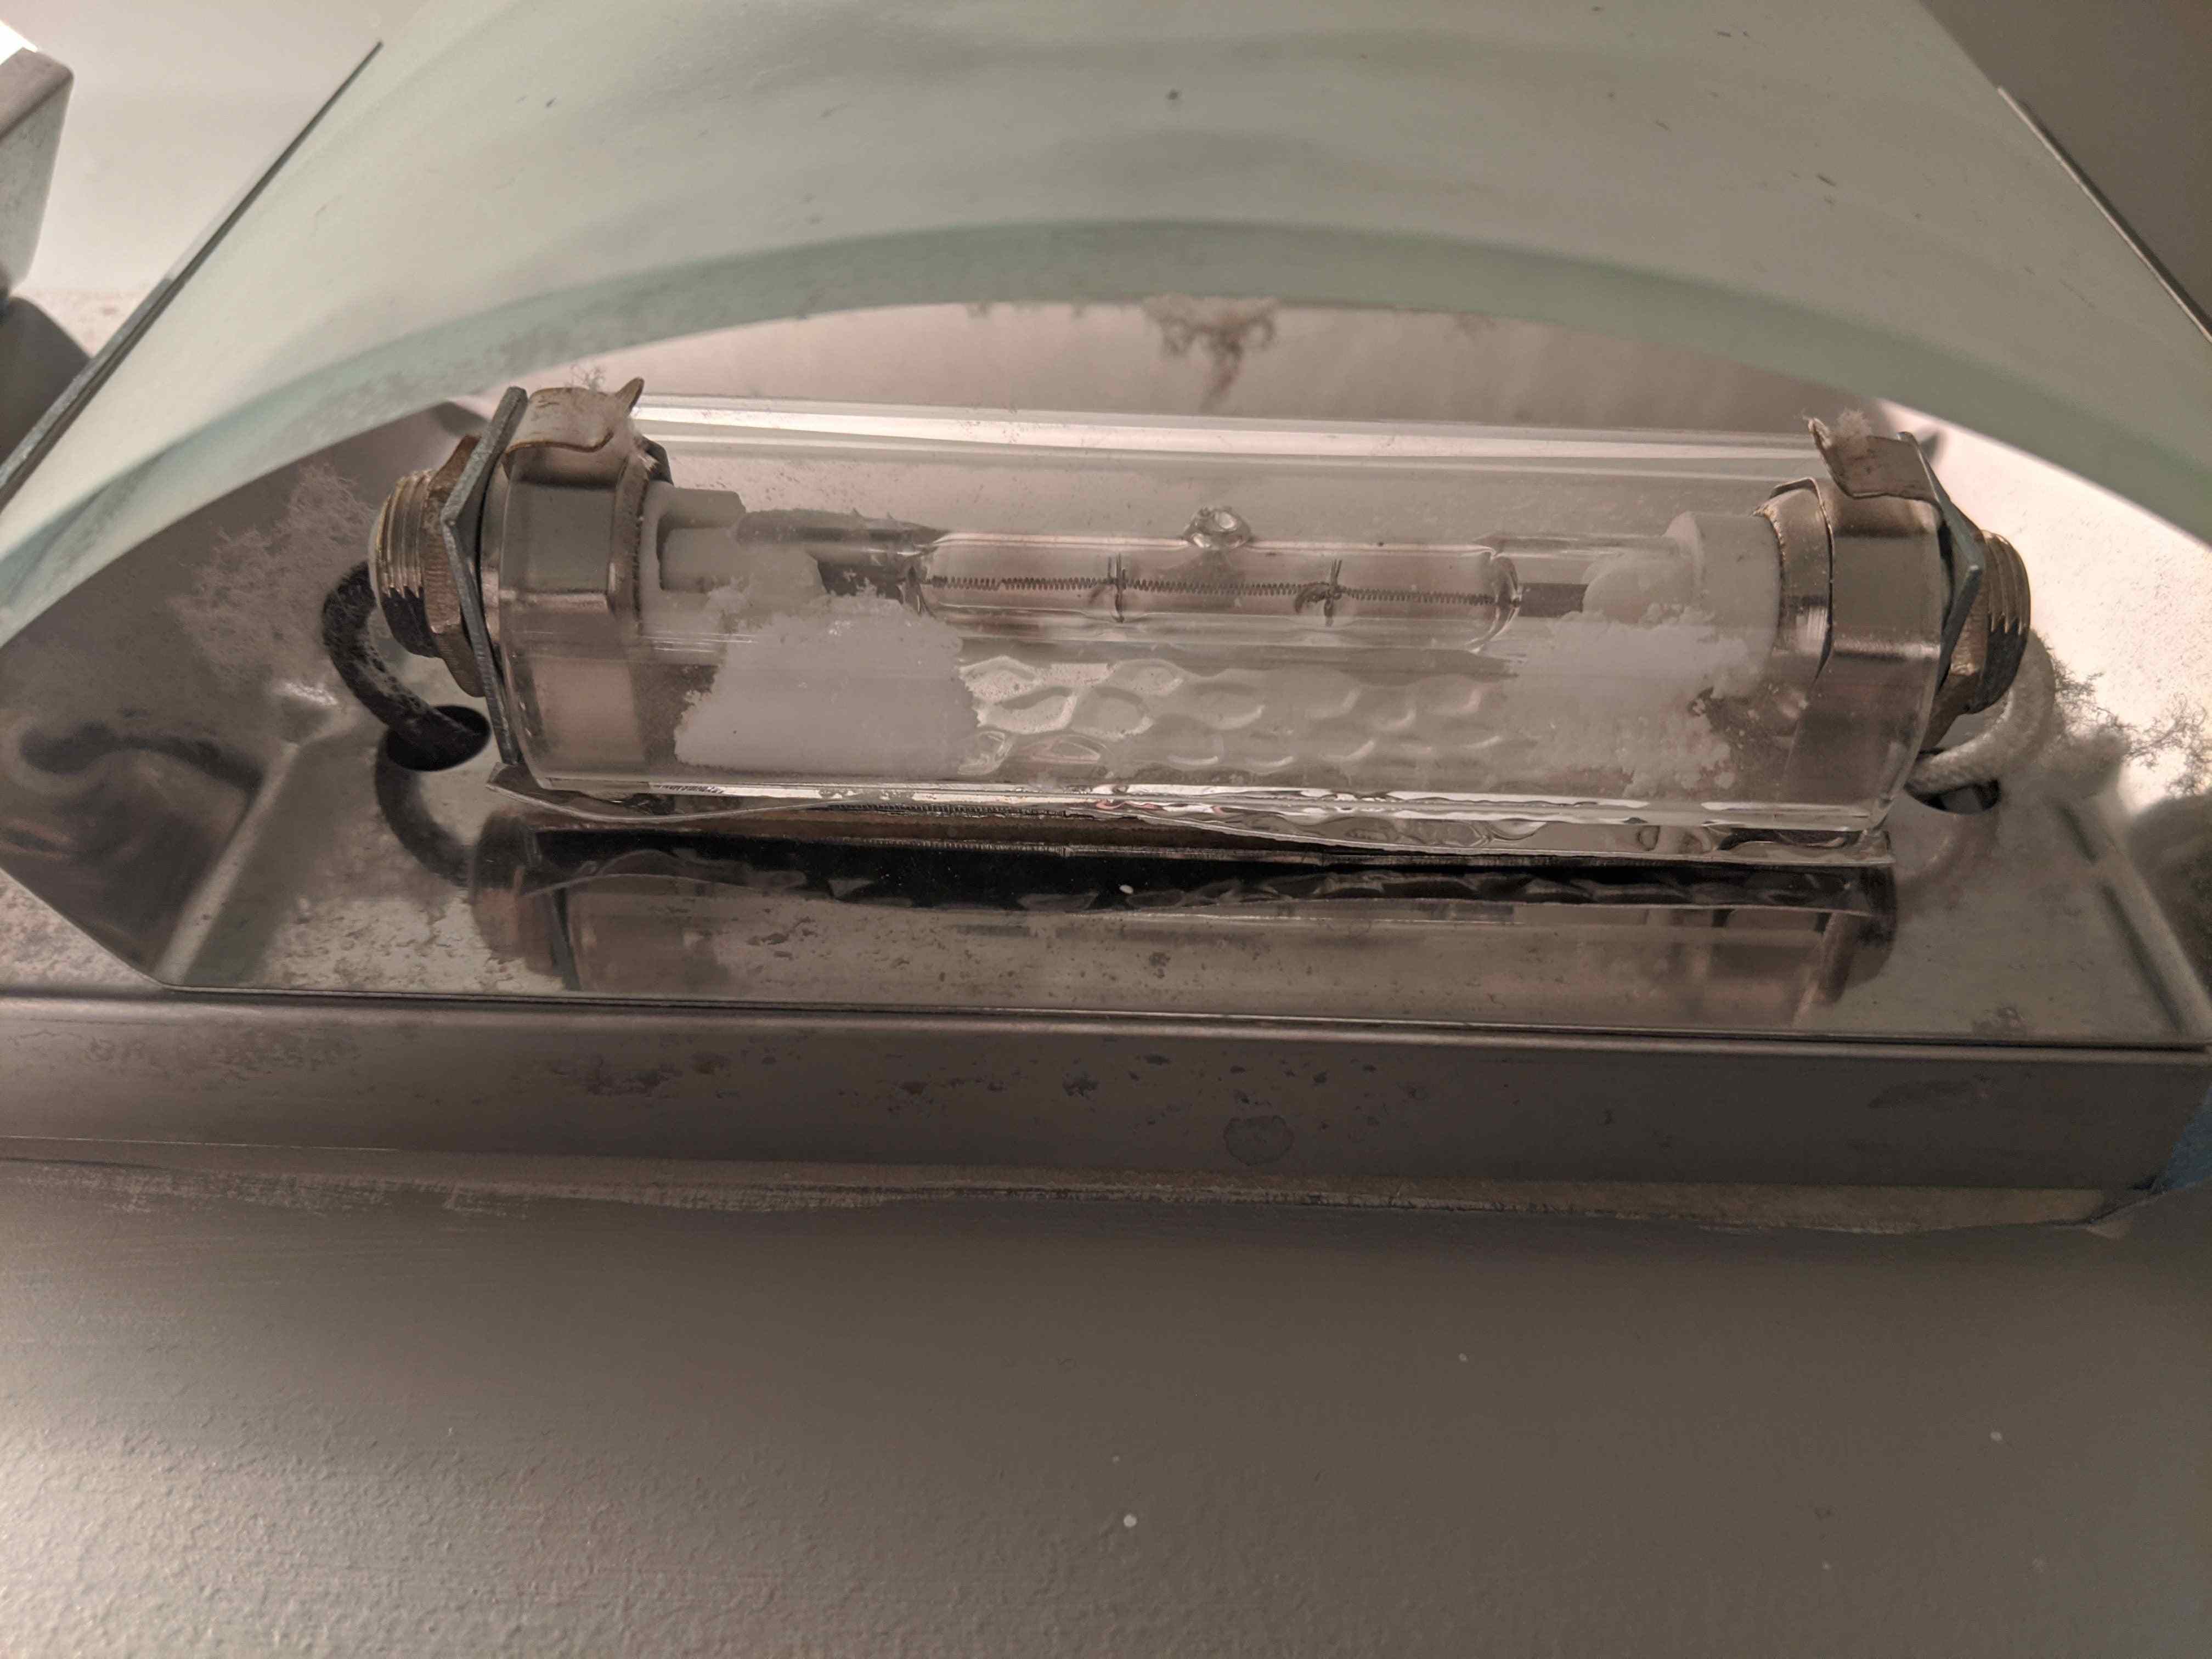
However, halogen bulbs are sensitive to oils and dirt, which can reduce their performance and lifespan. Dust and debris can accumulate on the surface of the bulb and block the light output. That’s why regular cleaning is necessary to maintain their brightness and ensure optimal performance.
It’s important to handle halogen bulbs with care, as they can become very hot during operation. Always allow the bulb to cool down completely before attempting to clean it. Handle the bulb by the base or use a clean cloth to hold it, avoiding touching the glass surface with your bare hands. Oils from your skin can cause the bulb to heat unevenly and possibly lead to premature failure.
Now that you have a better understanding of how halogen bulbs work and their sensitivity to dirt and oils, let’s move on to the safety precautions you should take before cleaning them.
Safety Precautions
Before you begin cleaning your halogen bulbs, it’s important to take some safety precautions to ensure your well-being and prevent any damage to the bulbs. Follow these guidelines to ensure a safe and successful cleaning process:
- Turn off the power: Before cleaning your halogen bulbs, make sure to turn off the power to the fixture. This will minimize the risk of electric shock while handling the bulbs.
- Allow the bulb to cool down: Halogen bulbs can reach high temperatures during operation, so it’s crucial to wait for the bulb to cool down completely before attempting to clean it. Touching a hot bulb can lead to burns or injuries.
- Disconnect the fixture: If possible, disconnect the fixture from the power source. This ensures that there is no chance of accidentally turning on the light while cleaning the bulbs.
- Wear protective gloves: To protect your hands from any potential cuts or scratches, it’s advisable to wear a pair of gloves while handling the bulbs. Latex or nitrile gloves provide a good grip and protect your hands from any debris.
- Use a stable ladder or step stool: If you need to reach high fixtures, make sure to use a stable ladder or step stool. Avoid standing on chairs or unstable surfaces, as this can lead to accidents or falls.
- Avoid direct contact with the bulb: When handling the bulb, minimize direct contact with the glass surface. Oils and dirt from your fingers can cause the bulb to heat unevenly and potentially lead to failure.
- Check for any visible damage: Before cleaning, inspect the bulbs for any signs of damage, such as cracks or chips. If you notice any damage, do not attempt to clean or use the bulb, as it can be a safety hazard. Replace it with a new one instead.
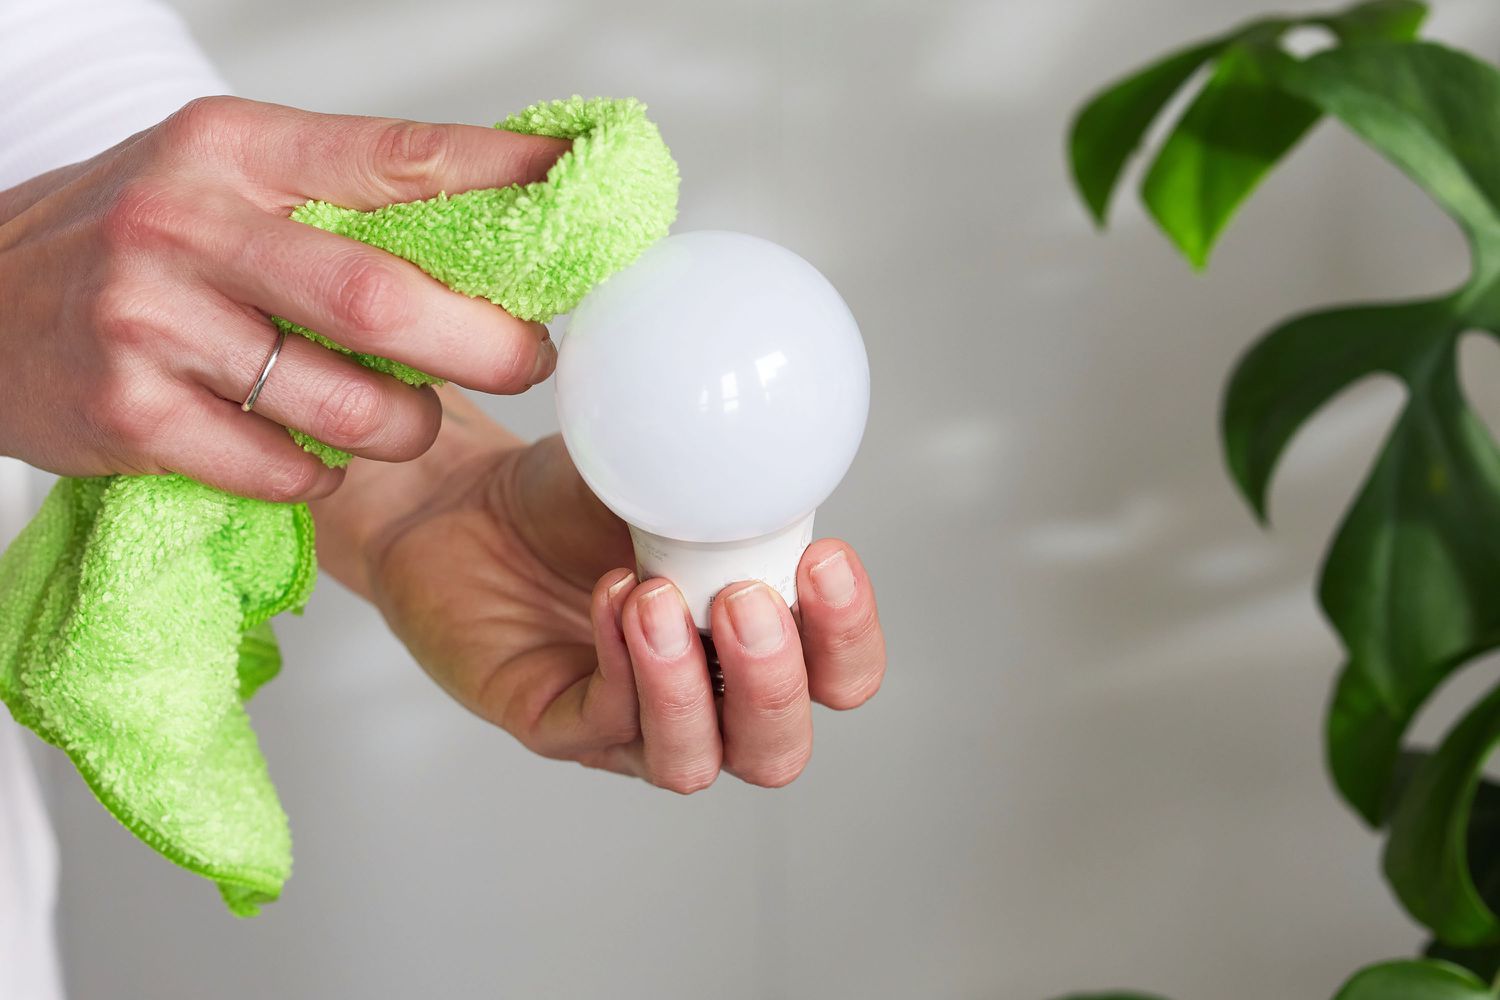
- Use appropriate cleaning tools: Use soft, lint-free cloths or microfiber cloths for cleaning the bulbs. Avoid using abrasive materials or harsh chemicals that can damage the bulb’s surface.
By following these safety precautions, you can ensure a safe and successful cleaning process for your halogen bulbs. Now, let’s move on to the tools and materials you’ll need for the cleaning process.
Cleaning Tools and Materials
Before you start cleaning your halogen bulbs, it’s important to gather the necessary tools and materials. Having the right cleaning items will help you effectively remove dust and debris without causing any damage to the bulbs. Here’s a list of the tools and materials you’ll need:
- Soft, lint-free cloths or microfiber cloths: These are essential for wiping the bulb clean without scratching its surface. Avoid using materials like paper towels or rough cloths that can leave behind lint or scratch the bulb.
- Isopropyl alcohol: This can be used for cleaning stubborn stains or fingerprints on the bulb. Make sure to use a high-quality isopropyl alcohol with a concentration of at least 70% for optimal cleaning results.
- Cotton swabs: These can be helpful for reaching tight spots or crevices on the bulb where dust or dirt may accumulate. They can also be used to apply isopropyl alcohol to specific areas of the bulb.
- Rubber gloves: These gloves can provide additional protection for your hands while handling the bulbs and cleaning solutions.
- Ladder or step stool: Depending on the height of your fixtures, you may need a stable ladder or step stool to safely reach and clean the bulbs. Ensure the ladder or stool is sturdy and properly positioned before use.
It’s important to note that while these are the basic tools and materials needed for cleaning halogen bulbs, you may require additional items depending on the specific requirements of your bulbs or fixtures. Always refer to the manufacturer’s instructions and recommendations to ensure you are using the right tools and materials.
Now that you have gathered the necessary tools and materials, let’s move on to the step-by-step process of cleaning your halogen bulbs.
Step 1: Turn Off the Bulb and Let It Cool Down
The first step in cleaning your halogen bulb is to turn off the power to the fixture and let the bulb cool down completely. This is important to ensure your safety and prevent any damage to the bulb.
To turn off the bulb, switch off the power using the light switch or the circuit breaker for the specific area where the bulb is located. This will cut off the electricity supply and prevent any accidental activation of the bulb while you’re cleaning it.
Once the power is turned off, it’s crucial to let the bulb cool down before touching it. Halogen bulbs can become very hot during operation, and touching a hot bulb can result in burns or injuries. It’s recommended to wait at least 10-15 minutes for the bulb to cool down completely.
During this time, it’s also a good opportunity to prepare the cleaning tools and materials mentioned earlier. This way, you’ll be ready to start cleaning as soon as the bulb has cooled down.
Remember, never rush the process and attempt to clean a hot halogen bulb. Always prioritize your safety and wait until the bulb has cooled down adequately.
Once the bulb is cool to the touch, you can proceed to the next step: removing the bulb from the fixture.
Read more: How To Test Halogen Bulb
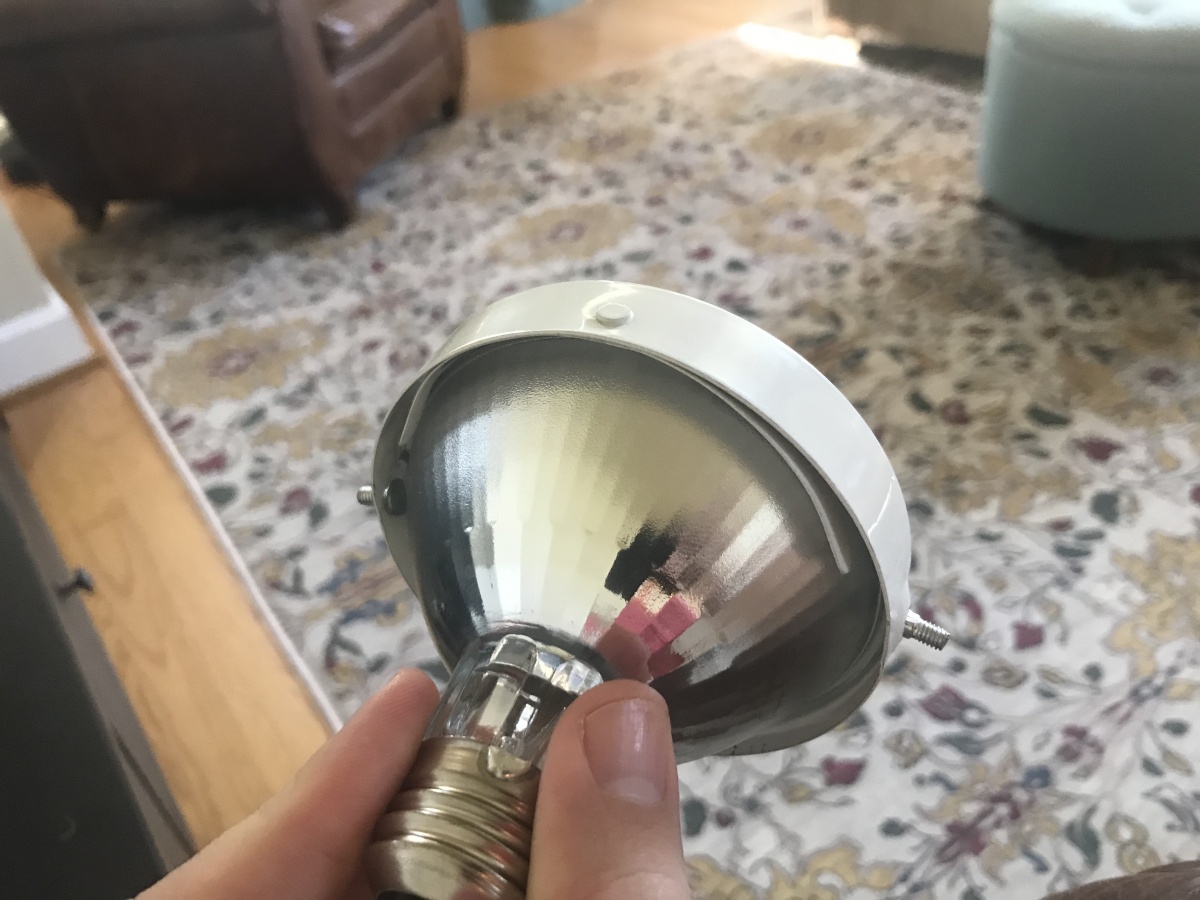
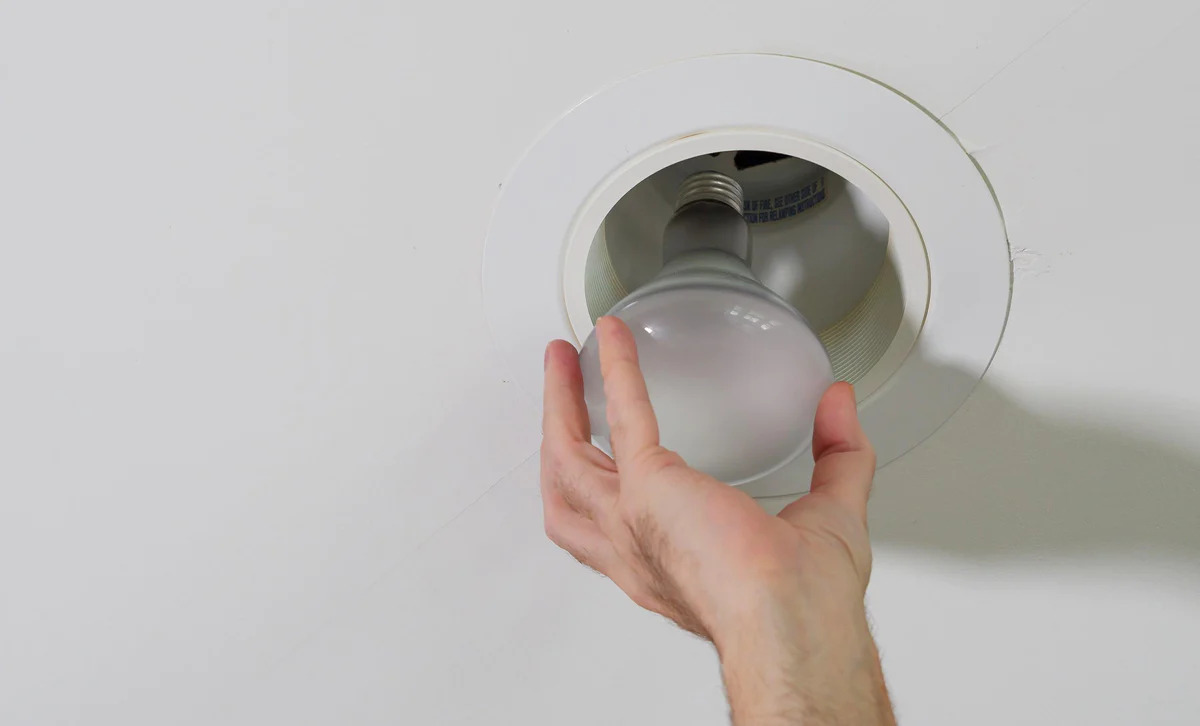
Step 2: Remove the Bulb from the Fixture
After the halogen bulb has cooled down completely, it’s time to remove it from the fixture for cleaning. Removing the bulb will allow you to have better access and clean it thoroughly.
Before you begin, make sure that the power to the fixture is still turned off to prevent any accidental power supply. Also, prepare a soft cloth or towel to place the bulb on while you clean it.
The process of removing the bulb may vary depending on the type of fixture you have. Generally, most halogen bulbs are held in place by a socket or clip mechanism.
To remove the bulb, follow these steps:
- Gently grip the bulb by the base or socket.
- Give the bulb a slight twist counterclockwise to loosen it from the socket.
- Once the bulb is loose, carefully pull it straight out from the fixture.
Be mindful of any wires or other components connected to the bulb as you remove it. Take your time and ensure a smooth and steady removal process to avoid any damage or accidents.
Place the removed bulb on the soft cloth or towel, making sure it is stable and secure. This will provide a safe and clean surface to work on as you proceed with the cleaning process.
Now that the bulb is safely removed from the fixture, you can move on to the next step: gently brushing off dust and debris.
Use a soft, dry cloth to gently wipe the surface of the halogen bulb. Avoid using any cleaning solutions or water, as this can damage the bulb and create a safety hazard.
Step 3: Gently Brush off Dust and Debris
Once you have removed the halogen bulb from the fixture, it’s time to start the cleaning process. The first task is to gently brush off any dust and debris that may have accumulated on the surface of the bulb.
Using a soft-bristled brush, such as a clean paintbrush or a makeup brush, carefully brush the bulb in a gentle, sweeping motion. Start at the top of the bulb and work your way down, covering the entire surface.
Be cautious not to apply too much pressure or use a brush with stiff bristles, as this can scratch or damage the bulb. The goal is to remove loose particles and dirt without causing any harm.
Pay close attention to any intricate areas or crevices on the bulb where dust may gather. Use the brush to reach these difficult-to-reach spots and ensure a thorough cleaning.
If there are stubborn dirt particles that are not coming off with brushing alone, you can use a can of compressed air to blow away the dust. Hold the can at a safe distance and use short bursts of air to dislodge the dirt particles. Be careful not to tilt the can too close to the bulb to avoid damage.
After brushing off the dust and debris, take a moment to inspect the bulb for any additional smudges or stains. If you notice any, proceed to the next step, which involves wiping the bulb with a soft cloth.
Remember, cleaning the bulb with a gentle brushing motion ensures that you remove dirt and dust without causing any damage. With the dust removed, you can now proceed to the next step: wiping the bulb with a soft cloth.
Step 4: Wipe the Bulb with a Soft Cloth
After gently brushing off the dust and debris from the halogen bulb, the next step is to wipe the bulb with a soft cloth. This will help remove any remaining residue and smudges from the surface, leaving the bulb clean and clear.
Take a soft, lint-free cloth or a microfiber cloth and carefully wipe the bulb in a gentle, circular motion. Start from the top and work your way down, covering the entire surface of the bulb.
Ensure that the cloth you’re using is clean and free from any dirt or debris. This will prevent any additional particles from being transferred onto the bulb surface during the wiping process.
In areas where the cloth may not be able to reach, such as crevices or small indentations on the bulb, you can use a cotton swab dipped in a small amount of isopropyl alcohol. Carefully rub the swab on the specific area to remove any stubborn stains or residue.
Remember to be gentle while wiping the bulb, as excessive pressure can damage the delicate filament inside. Avoid using excessive force or rubbing, as this can cause scratches or other damage to the bulb’s surface.
Continue wiping until the bulb surface is clean and free from any dirt, fingerprints, or smudges. Take your time and ensure thorough cleaning for the best results.
Once you have wiped the bulb clean, take a moment to inspect it for any remaining dirt or residue. If necessary, repeat the wiping process with a clean section of the cloth or use a new cloth to ensure a thorough clean.
Now that the bulb is clean and free from dirt and smudges, it’s time to move on to the next step: using isopropyl alcohol for stubborn stains, if necessary.
Step 5: Use Isopropyl Alcohol for Stubborn Stains
If you notice stubborn stains or residue on your halogen bulb that cannot be removed by wiping with a soft cloth, you can use isopropyl alcohol as a cleaning agent. Isopropyl alcohol is effective in breaking down grease, oils, and other stubborn stains that may have accumulated on the bulb’s surface.
To use isopropyl alcohol for cleaning, follow these steps:
- Dampen a clean, lint-free cloth or a cotton swab with a small amount of isopropyl alcohol. Make sure the cloth or swab is not dripping wet, as excessive moisture can damage the bulb.
- Gently rub the cloth or swab on the stained areas of the bulb. Apply light pressure and use a gentle circular motion to break down the stains.
- If you are using a cloth, you can also wrap it around your finger to get better control and precision while cleaning.
- Continue rubbing the stained areas until the stains are removed. Be patient and avoid using excessive force to prevent any damage to the bulb.
- Once the stains are gone, take a clean, dry cloth and gently wipe away any residual alcohol from the bulb’s surface.
Remember to avoid using excessive amounts of isopropyl alcohol, as it can seep into the bulb and damage its internal components. Use only a small amount and ensure the cloth or swab is just lightly damp.
If you are using cotton swabs, discard them after use to prevent any cross-contamination or transfer of residue from one area of the bulb to another.
Once you have successfully removed any stubborn stains using isopropyl alcohol, move on to the next step: allowing the bulb to dry completely before reinstalling it.
Read more: How Many Lumens Is A Halogen Bulb
Step 6: Allow the Bulb to Dry Completely
After cleaning the halogen bulb and using isopropyl alcohol for any stubborn stains, it’s important to allow the bulb to dry completely before reinstalling it. This step ensures that no moisture remains on the bulb’s surface, which could potentially cause damage or affect its performance.
To allow the bulb to dry completely, follow these steps:
- Set the bulb aside on a clean, dry surface.
- Avoid exposing the bulb to direct sunlight or any other sources of heat during the drying process.
- Leave the bulb undisturbed for at least 30 minutes or until it is completely dry to the touch.
- Check for any visible signs of moisture on the bulb’s surface. If there is still moisture present, allow more time for the bulb to air dry.
It’s crucial to ensure that the bulb is completely dry before reinstalling it in the fixture. Moisture can interfere with the electrical connections and potentially lead to malfunctions or damage to the bulb.
While waiting for the bulb to dry, take the opportunity to clean the fixture, if necessary. Dust and debris may have accumulated in the fixture during the cleaning process. Use a soft cloth or a brush to gently remove any dirt or particles from the fixture’s surface.
Once the bulb is thoroughly dry and the fixture is cleaned, you can proceed to the final step: reinstalling the bulb.
Now that you have allowed the bulb to dry completely, let’s move on to the last step: reinstalling the bulb in the fixture.
Step 7: Reinstall the Bulb
Now that you have completed the cleaning process and allowed the halogen bulb to dry fully, it’s time to reinstall it back into the fixture. Follow these steps to ensure a safe and secure reinstallation:
- Hold the cleaned and dry halogen bulb by its base or socket.
- Align the bulb with the socket in the fixture and gently insert it.
- Once the bulb is fully inserted, give it a slight twist clockwise to secure it in place.
Ensure that the bulb is properly seated and securely fastened in the socket to avoid any loose connections. A loose bulb may cause flickering or intermittent light output.
Take a moment to confirm that the bulb is properly aligned and positioned within the fixture. Make sure it is centered and that there are no obstructions or contact with surrounding components.
Once the bulb is securely installed, you can restore power to the fixture by turning on the light switch or flipping the circuit breaker back on.
Observe the bulb for a few moments to ensure that it is functioning correctly. Check the brightness, color temperature, and stability of the light output. If you notice any issues, such as flickering or poor illumination, double-check the installation and ensure the bulb is fully seated in the socket.
Congratulations! You have successfully cleaned and reinstalled your halogen bulb. Regular cleaning and maintenance will help prolong the lifespan and optimize the performance of your bulbs.
Remember to periodically check the condition of the bulbs and perform cleaning as needed to maintain optimal lighting quality.
With your halogen bulbs now sparkling clean, you can enjoy their bright and focused illumination once again.
Thank you for following our step-by-step guide on how to clean halogen bulbs. We hope this information has been helpful to you!
Happy cleaning and bright lighting!
Conclusion
Cleaning halogen bulbs is an essential maintenance task that helps to ensure their longevity and optimal performance. By following the step-by-step guide provided in this article, you can effectively clean your halogen bulbs and restore their brightness and clarity.
Throughout the cleaning process, it’s important to prioritize safety by turning off the power, allowing the bulb to cool down, and using protective gear. Remember to handle the bulbs with care, avoiding direct contact with the glass surface to prevent damage or improper heating.
Understanding the basics of halogen bulbs, such as their construction and sensitivity to dirt and oils, is crucial for proper cleaning. Regular maintenance not only helps to remove dust and debris but also ensures that the bulbs operate at their maximum efficiency.
The cleaning tools and materials mentioned, such as soft cloths, isopropyl alcohol, and cotton swabs, are essential for a successful cleaning process. With these tools in hand, you can effectively remove dirt, smudges, and stubborn stains without causing any damage.
Remember to allow the bulbs to dry completely before reinstalling them, as moisture can interfere with electrical connections and potentially lead to damage. Take the opportunity to clean the fixture itself during the drying time to maintain an overall clean and well-functioning lighting system.
By following these steps and practicing regular cleaning, your halogen bulbs will shine brightly and provide optimal lighting for years to come. Remember to conduct periodic checks and clean the bulbs as needed to ensure their longevity and efficiency.
Thank you for reading this comprehensive guide on how to clean halogen bulbs. We hope that the information provided has been helpful to you. Enjoy the improved brightness and clarity of your cleaned halogen bulbs!
Frequently Asked Questions about How To Clean Halogen Bulb
Was this page helpful?
At Storables.com, we guarantee accurate and reliable information. Our content, validated by Expert Board Contributors, is crafted following stringent Editorial Policies. We're committed to providing you with well-researched, expert-backed insights for all your informational needs.


0 thoughts on “How To Clean Halogen Bulb”