Articles
How To Run Copper Supply Lines
Modified: December 7, 2023
Learn how to properly run copper supply lines with our informative articles. Be confident in your plumbing projects with our expert tips.
(Many of the links in this article redirect to a specific reviewed product. Your purchase of these products through affiliate links helps to generate commission for Storables.com, at no extra cost. Learn more)
Introduction
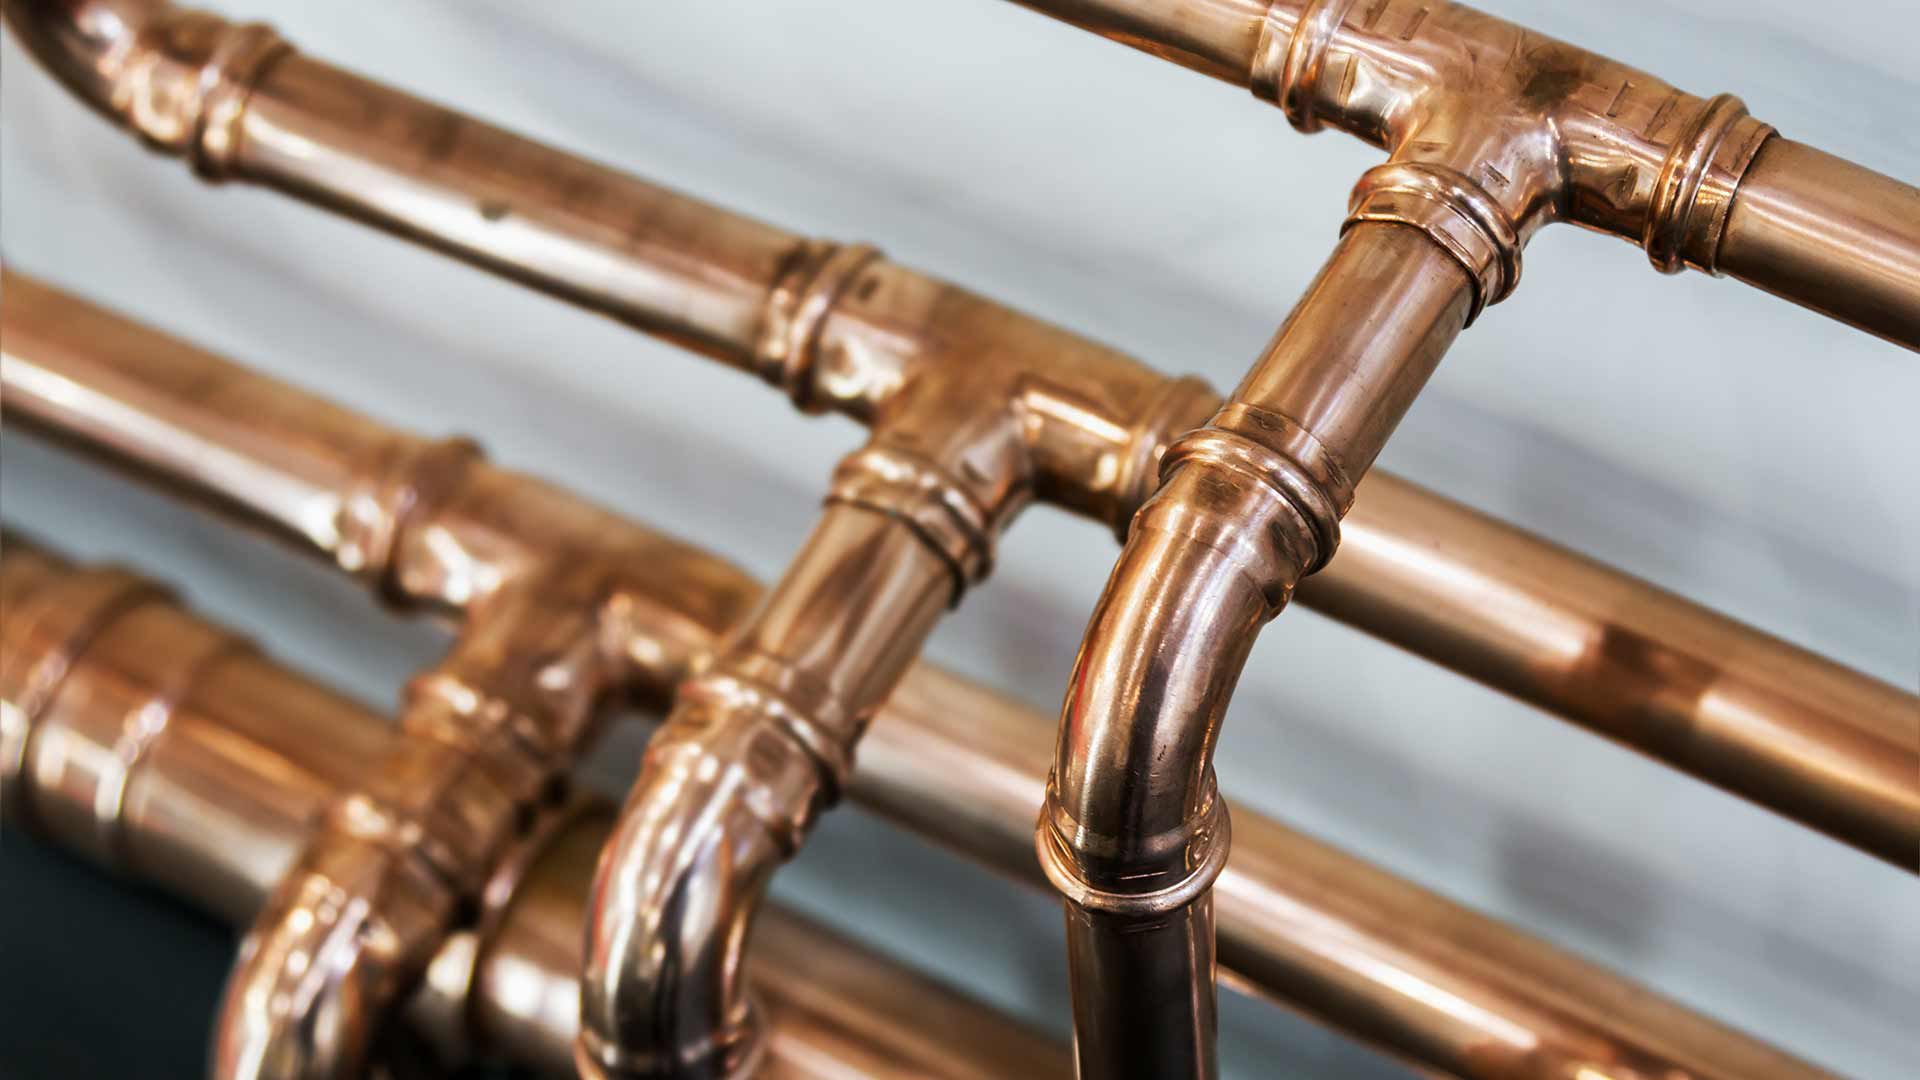
When it comes to plumbing, copper supply lines are the go-to choice for many homeowners and professionals. Copper is durable, corrosion-resistant, and can withstand high temperatures and pressure. Installing copper supply lines is a common task that may be required for various plumbing projects, such as connecting fixtures, running water to a new area, or replacing old pipes.
In this article, we will take you through a step-by-step process on how to run copper supply lines. Whether you are a seasoned DIYer or a novice plumber, this guide will provide you with the necessary information and tips to successfully complete the task.
Before we dive into the steps, let’s briefly discuss the tools and materials you will need for the job. It is essential to gather everything in advance to ensure a smooth and efficient installation process.
Key Takeaways:
- Proper preparation, precise measurements, and secure soldering are crucial for successfully running copper supply lines. Following the step-by-step guide ensures a reliable and leak-free installation.
- Thoroughly inspecting for leaks and addressing them promptly is essential for maintaining the integrity and efficiency of copper supply lines. Regular maintenance and monitoring contribute to a long-lasting plumbing system.
Read more: How To Run A Gas Line To Your Fireplace
Step 1: Gather the necessary tools and materials
Before you begin running copper supply lines, it’s important to have all the required tools and materials at hand. This will save you time and ensure that you have everything you need to complete the project accurately. Here is a list of essential tools and materials you will need:
- Copper pipes: Measure the length you’ll need for the project and purchase copper pipes accordingly. Ensure that the pipes are the appropriate size for your plumbing system.
- Pipe cutter: A pipe cutter will allow you to accurately cut the copper pipes to the desired length. Make sure you have a cutter that is compatible with the size of the pipes you are using.
- Emery cloth: This abrasive cloth is used to clean the ends of the copper pipes before soldering. It helps remove any dirt, debris, or oxidation that could hinder the soldering process.
- Flux: Flux is a chemical agent used to clean and prepare the surfaces of the copper pipes and fittings before soldering. It helps the solder flow smoothly and create a strong bond.
- Solder: Solder is a metal alloy used to join copper pipes and fittings together. Opt for lead-free solder, as it is safer for potable water systems.
- Torch: You will need a propane torch or a soldering iron to heat the copper pipes and fittings for soldering. Ensure that you are using a torch suitable for plumbing applications.
- Flame protector: A flame protector, such as a heat shield or a wet cloth, is essential to protect surrounding areas from potential heat damage while soldering.
- Pipe fittings: Depending on your specific plumbing needs, you will require various types of fittings, such as couplings, elbows, tees, or valves. Choose fittings that match the size and type of your copper pipes.
- Pipe wrenches: Pipe wrenches are necessary for tightening and loosening pipe fittings securely. Have a set of wrenches in different sizes to accommodate various fittings.
- Plumber’s tape: Plumber’s tape, also known as Teflon tape, is used to create a tight seal between threaded connections. Wrap the tape around the threads before attaching fittings.
Ensure that you have all these tools and materials readily available before starting your project. This will help you work efficiently and avoid any unnecessary disruptions or delays.
Step 2: Shut off the water supply
Prior to running copper supply lines, it is important to shut off the water supply to the area where you will be working. This ensures that you can work on the pipes without any water pressure or potential leaks.
Locate the main water valve in your home or the specific valve that controls the area where you will be installing the copper supply lines. Turn the valve clockwise to shut off the water supply. If you are unsure which valve to use, consult your home’s plumbing system diagram or contact a professional plumber for guidance.
After shutting off the main water valve, open a few faucets in your home to drain any remaining water from the pipes. This will help prevent any potential splashing or leaks during the installation process.
It is important to note that shutting off the water supply may affect other areas of your home that rely on the same water line. Make sure to communicate this to anyone who may be using the water while you are working.
Double-check that the water supply is completely shut off by turning on a faucet in the area where you will be working. If no water flows out, you can proceed to the next step.
Remember, safety should always be a priority when working with plumbing systems. Take the necessary precautions to protect yourself and your property. If you are uncomfortable or unsure about shutting off the water supply, it is advisable to seek professional assistance.
Step 3: Prepare the work area
Once you have shut off the water supply, it’s time to prepare the work area before running copper supply lines. Proper preparation ensures a smooth and efficient installation process. Here are the steps to follow:
- Clean the work area: Clear any objects or debris from the area where you will be working. This includes removing any furniture, rugs, or other items that may obstruct your access to the plumbing fixtures.
- Protect the surrounding area: Cover nearby surfaces, such as floors and walls, with drop cloths or plastic sheets. This will protect them from any potential damage or accidental soldering splatter.
- Ensure proper ventilation: Open windows or use fans to provide adequate ventilation in the work area. Soldering copper pipes emits fumes that can be harmful when inhaled. Proper ventilation helps dissipate these fumes and maintains a safe environment.
- Wear safety gear: Put on safety glasses to protect your eyes from any sparks, debris, or soldering flux. Additionally, wear heat-resistant gloves to protect your hands from the heat of the soldering torch.
- Organize your tools and materials: Lay out all the tools and materials you will need for the installation in a convenient and accessible manner. This will save you time and reduce the chances of misplacing any essential items.
By taking the time to prepare the work area properly, you can streamline the installation process and minimize any potential hazards. It is crucial to maintain a clean, safe, and organized workspace to ensure a successful and efficient project.
Step 4: Measure and cut the copper pipes
Now that you have prepared the work area, it’s time to measure and cut the copper pipes to the appropriate length. Accurate measurements and precise cuts are crucial for a proper fit and a leak-free installation. Here’s how to do it:
- Measure the required length: Use a measuring tape to determine the length of the copper pipes needed for your specific installation. Measure from one fitting to another, accounting for any bends or curves in the plumbing route.
- Mark the measurement: Make a clear mark on the copper pipe where it needs to be cut. Use a pencil or a marker to ensure visibility during the cutting process.
- Secure the pipe in a cutter: Place the marked section of the pipe into a pipe cutter. Make sure the cutter fits securely around the pipe, ensuring a straight and even cut.
- Rotate the cutter: Rotate the pipe cutter around the pipe, increasing the pressure slightly with each rotation. Continue rotating until the pipe cutter completely cuts through the copper pipe.
- Remove any burrs: After cutting the pipe, use a file or sandpaper to remove any rough edges or burrs from the cut end. This will ensure a smooth and proper fit when connecting the pipes with fittings.
- Repeat for additional pipes: If you need multiple sections of copper pipe, repeat the measurement and cutting process for each section. Take care to measure and label each pipe correctly to avoid any confusion during installation.
It’s important to double-check your measurements and ensure precise cuts to avoid any wasted materials or unnecessary trips to the hardware store. Take your time during this step to ensure accuracy, as it will directly affect the success of the installation.
Once you have measured and cut the copper pipes, you are ready to move on to the next step of the installation process.
Read more: How To Run A Gas Line To A Fire Pit
Step 5: Clean and deburr the pipe ends
After cutting the copper pipes to the desired length, it’s crucial to clean and deburr the pipe ends before joining them with fittings. Cleaning and deburring the pipe ends ensures a proper seal and allows for smooth and efficient soldering. Here’s how to do it:
- Start by using a utility knife or a pipe reamer to remove any burrs or rough edges from the cut ends of the copper pipes. Gently scrape the edges in a circular motion until they are smooth and free from imperfections.
- Next, use a piece of emery cloth or sandpaper to clean the outside surface of the pipe ends. Hold the emery cloth firmly against the pipe and rotate it around the entire circumference. This will remove any dirt, debris, or oxidation that could hinder the soldering process.
- Repeat the same cleaning process for the inside surface of the fittings that will be connected to the pipe ends. Ensure that both the pipe ends and the fittings are thoroughly cleaned and free from any contaminants.
- Inspect the cleaned pipe ends and fittings to make sure they are smooth and shiny. Any remaining rough edges or debris can affect the quality of the solder joint and potentially lead to leaks.
Cleaning and deburring the pipe ends is a critical step in the copper supply line installation process. By taking the time to properly clean and prepare the pipe ends, you can ensure a secure and reliable connection, minimizing the risk of future leaks or plumbing issues.
With the pipe ends cleaned and deburred, you are now ready to move on to the next step of the installation process, which involves attaching fittings and soldering the joints.
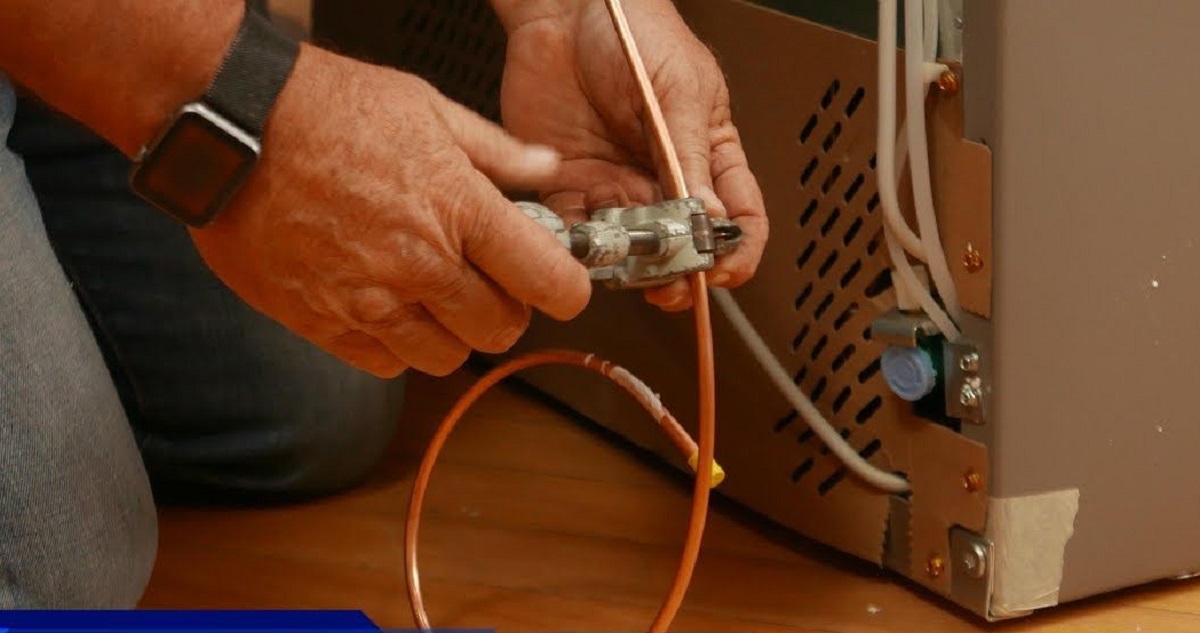
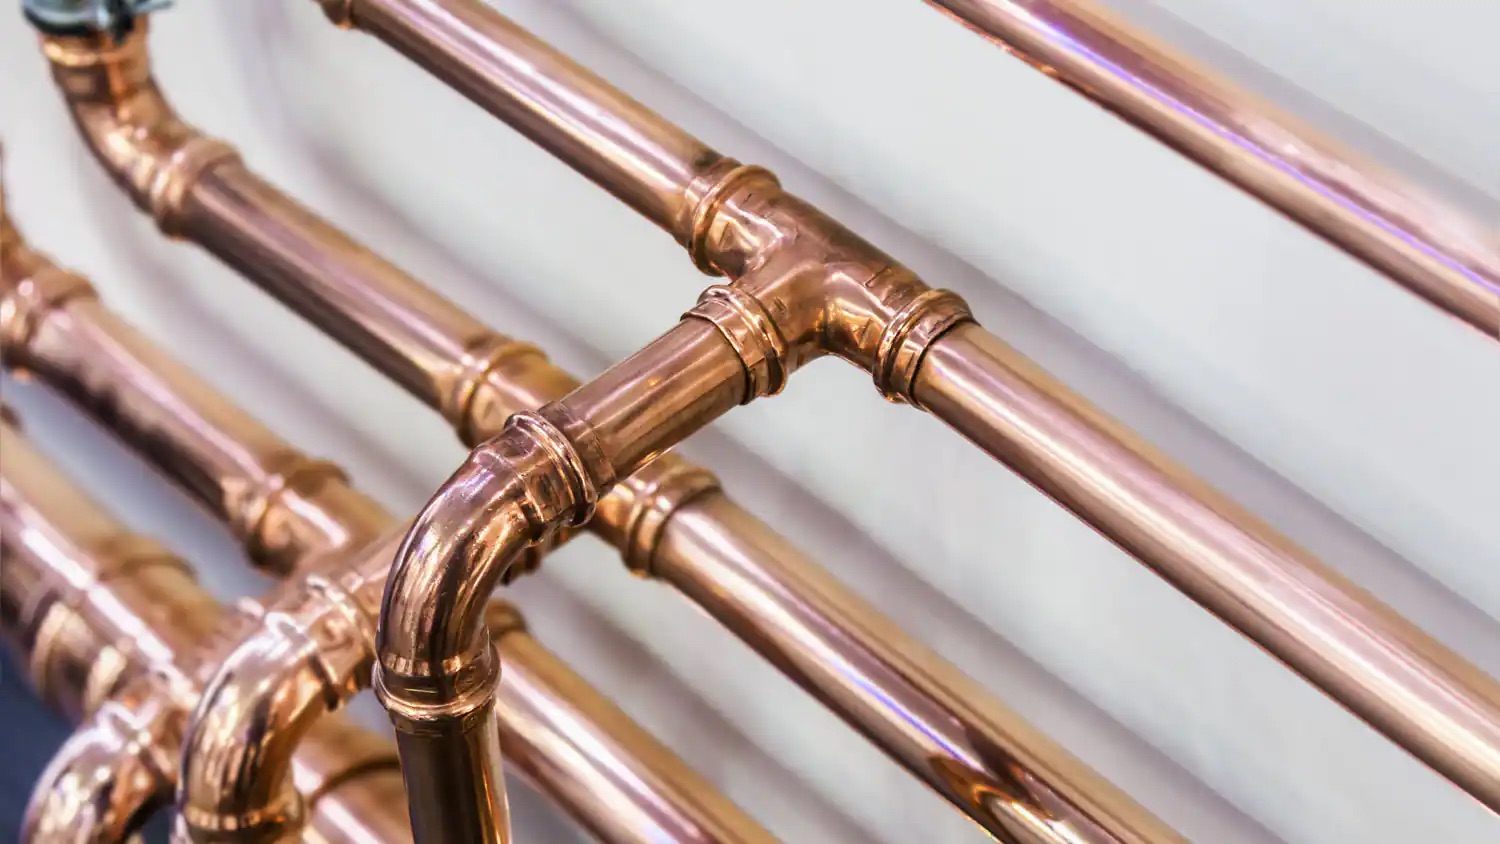
When running copper supply lines, always use a tube bender to ensure smooth, kink-free bends. This will help maintain water flow and prevent leaks.
Step 6: Attach fittings and solder the joints
Once you have cleaned and deburred the pipe ends, it’s time to attach the fittings and solder the joints. This step is crucial for creating secure connections that will prevent leaks in your copper supply lines. Here’s a breakdown of the process:
- Apply flux: Using a brush or a small applicator, apply a thin layer of soldering flux to the cleaned outside surface of the pipe ends and the inside surface of the fittings. Flux helps remove oxidation and ensures a proper bond between the pipe and fitting when soldered.
- Insert the pipe into the fitting: Carefully insert the cleaned pipe end into the fitting, ensuring that it goes in fully. Twist the pipe slightly to evenly distribute the flux and provide a snug fit.
- Secure the fitting: Use a pipe wrench to tighten the fitting onto the pipe. Be careful not to overtighten, as this can damage the fitting or distort the pipe. Ensure that the fitting is securely in place but still allows for movement if adjustments are required.
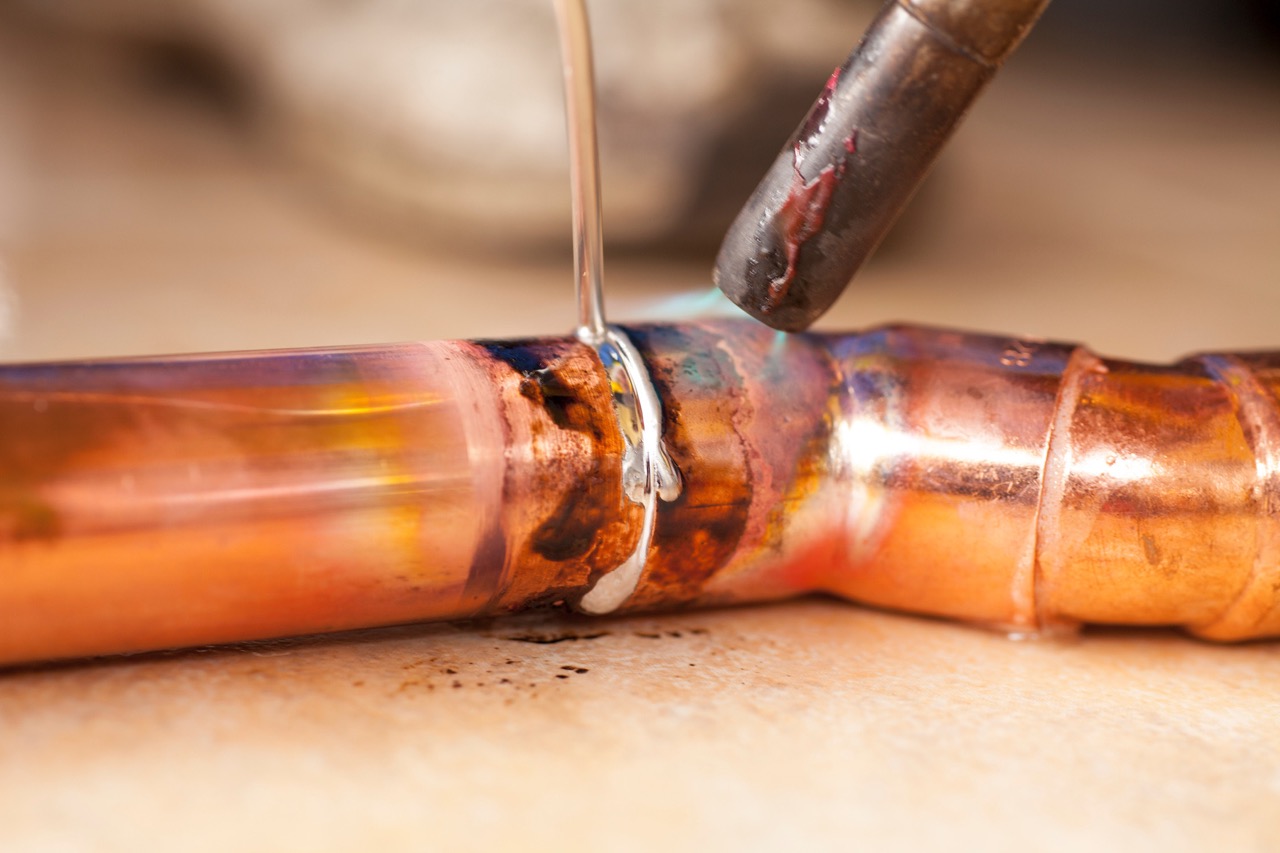
- Heat the joint: Use a propane torch or a soldering iron to heat the joint area where the pipe and fitting meet. Apply heat evenly to both sides of the joint, rotating the flame around the fitting and pipe to distribute the heat evenly.
- Apply solder: Once the joint is heated, touch the solder wire to the joint and allow it to melt and flow into the joint. The solder should be drawn into the joint by capillary action, creating a strong and watertight connection. Apply the solder all the way around the joint until it is completely filled.
- Inspect the solder joint: After soldering, inspect the joint to make sure the solder has flowed evenly and created a solid bond. The joint should appear smooth and shiny. If there are any gaps or imperfections, reheat the joint and apply more solder as needed.
- Repeat the process for additional joints: If you have multiple joints to solder, repeat the above steps for each joint. Take your time and ensure that each joint is securely soldered and free from any leaks.
Properly attaching fittings and soldering the joints is essential for ensuring a reliable and leak-free copper supply line installation. Take your time during this step and pay attention to detail to achieve high-quality solder joints.
With the fittings securely attached and the joints soldered, you are one step closer to completing the installation of your copper supply lines.
Step 7: Install the copper pipes
Now that you have attached fittings and soldered the joints, it’s time to install the copper pipes. Installing the pipes involves connecting the soldered joints and ensuring a secure and proper fit. Here are the steps to follow:
- Prepare the pipe ends: If needed, clean and deburr the pipe ends that will be joining the soldered joints. Use emery cloth or sandpaper to remove any rough edges or debris.
- Apply flux: Apply a thin layer of soldering flux to the outside surface of the soldered joint and the inside surface of the clean pipe end. This will help establish a strong connection and prevent leaks.
- Insert the pipe into the joint: Insert the prepared pipe end into the fittings or soldered joints, twisting the pipe slightly to evenly distribute the flux. Ensure that the pipe goes in fully and provides a snug fit.
- Tighten the fitting: Use a pipe wrench to securely tighten the fitting onto the pipe. Be cautious not to overtighten, as this can damage the fitting or distort the pipe. The fitting should be securely in place without any signs of movement or looseness.
- Repeat for additional pipes: If you have multiple pipes to install, repeat the above steps for each connection. Take your time to ensure that each connection is properly made and creates a seamless flow for water or other fluids.
During the installation process, it’s important to inspect each connection to ensure a secure fit and detect any potential leaks. Test for leaks by turning on the water supply and monitoring the connections closely. If any leaks are detected, address them immediately by re-soldering or tightening the fittings as necessary.
Remember, precision and accuracy are key when installing copper pipes. Take the time to properly align the pipes and fittings, and ensure that each connection is securely made. This will result in a reliable and efficient copper supply line installation.
With the copper pipes installed, you are nearing the completion of your project. However, there are still a few important steps to take before enjoying the running water through your newly installed supply lines.
Step 8: Turn on the water supply
After successfully installing the copper pipes and confirming the absence of any leaks, it’s time to turn on the water supply. This step allows you to check the functionality of the newly installed supply lines and ensure that water flows freely through the system. Here’s how to proceed:
- Carefully open the main water valve: Slowly turn the main water valve counterclockwise to gradually restore the water supply. Be cautious as you do this to prevent any sudden surges of water or pressure in the system.
- Check for proper water flow: Once the water supply is restored, go to the fixtures or outlets connected to the newly installed copper pipes. Turn on the faucets, showers, or other water sources and observe the water flow. Ensure that the water flows smoothly and evenly without any blockages or restrictions.
- Inspect the connections: While the water is flowing, closely examine each of the connections you installed. Look for any signs of leaks, such as water dripping or seeping at the joints. Even a small leak should be addressed immediately to prevent further damage or water wastage.
If you notice any leaks or issues during this step, turn off the water supply immediately and address the problem. You may need to re-solder a joint, tighten a fitting, or replace a faulty component to ensure a proper seal and prevent future leaks.
Once you have verified that the water supply is running smoothly and there are no leaks, you can proceed to the final step of the installation process: inspecting the newly installed copper supply lines for any potential issues or further adjustments.
Step 9: Inspect for leaks
After turning on the water supply and checking the functionality of the newly installed copper supply lines, it’s crucial to thoroughly inspect the system for any signs of leaks. Even the smallest leak can lead to significant problems if left unaddressed. Follow these steps to inspect for leaks:
- Visually inspect all connections: Carefully examine each connection, including joints, fittings, and soldered areas. Look for any signs of moisture, water droplets, or discoloration around the connections. Even a small amount of water can indicate a leak.
- Check for water pressure issues: Test the water pressure in the system by turning on multiple faucets or outlets simultaneously. Observe if there are any noticeable drops in water pressure or inconsistent flow. These issues could indicate a leak or a problem within the supply lines.
- Listen for any unusual sounds: Pay attention to any hissing or dripping sounds near the supply lines or fittings. Unusual sounds can be indicative of a leak, as water may be escaping from the pipes or connections.
- Monitor water meter readings: Another way to detect potential leaks is by monitoring your water meter readings. Ensure that no water is being used in your home, and observe if the meter gauge continues to move. If it does, it could mean that there is a hidden or slow leak somewhere in the system.
If you discover any leaks during the inspection, it’s important to address them promptly to prevent further damage. Depending on the severity of the leak, you may need to tighten a fitting, re-solder a joint, or replace a damaged component.
Remember, regular maintenance and periodic inspections of your plumbing system can help identify and resolve leaks before they turn into major issues. Monitoring for leaks and promptly addressing them will ensure the longevity and efficiency of your copper supply lines.
Congratulations! By following these steps and conducting a thorough inspection, you have successfully completed the installation of your copper supply lines. Enjoy the reliable water flow and the benefits of using durable and corrosion-resistant copper in your plumbing system.
Always remember, if you are unsure about any step of the installation process or if you encounter complex plumbing issues, it’s recommended to seek professional assistance and guidance for a safe and effective outcome.
Conclusion
Installing copper supply lines can seem like a daunting task, but with the right guidance and preparation, it can be a manageable and rewarding project. Copper pipes offer numerous advantages, including durability, corrosion resistance, and the ability to withstand high temperatures and pressure. By following the steps outlined in this guide, you can successfully run copper supply lines and enjoy the benefits of a reliable and efficient plumbing system.
Throughout the installation process, it is important to gather the necessary tools and materials, shut off the water supply, prepare the work area, measure and cut the copper pipes with precision, clean and deburr the pipe ends, attach fittings and solder the joints securely, install the copper pipes properly, and finally, inspect for leaks.
Taking the time to accurately measure, cut, clean, and solder the copper pipes ensures a secure and leak-free installation. It is also essential to carefully inspect the connections and monitor for any signs of leaks after turning on the water supply. By addressing any issues promptly, you can maintain the integrity and reliability of your new copper supply lines.
Remember, safety should always be a priority during any plumbing project. Protect yourself with appropriate safety gear, ensure proper ventilation in the work area, and consult professionals if you encounter any challenges or uncertainties.
With this comprehensive guide, you now have the knowledge and confidence to successfully run copper supply lines. Embrace the durability and dependability of copper, and enjoy the benefits of a well-functioning plumbing system for years to come.
Frequently Asked Questions about How To Run Copper Supply Lines
Was this page helpful?
At Storables.com, we guarantee accurate and reliable information. Our content, validated by Expert Board Contributors, is crafted following stringent Editorial Policies. We're committed to providing you with well-researched, expert-backed insights for all your informational needs.


0 thoughts on “How To Run Copper Supply Lines”