Articles
How To Sew Lined Valances
Modified: February 24, 2024
Learn how to sew lined valances with our helpful articles. Find step-by-step instructions and tips to create beautiful window treatments for your home.
(Many of the links in this article redirect to a specific reviewed product. Your purchase of these products through affiliate links helps to generate commission for Storables.com, at no extra cost. Learn more)
Introduction
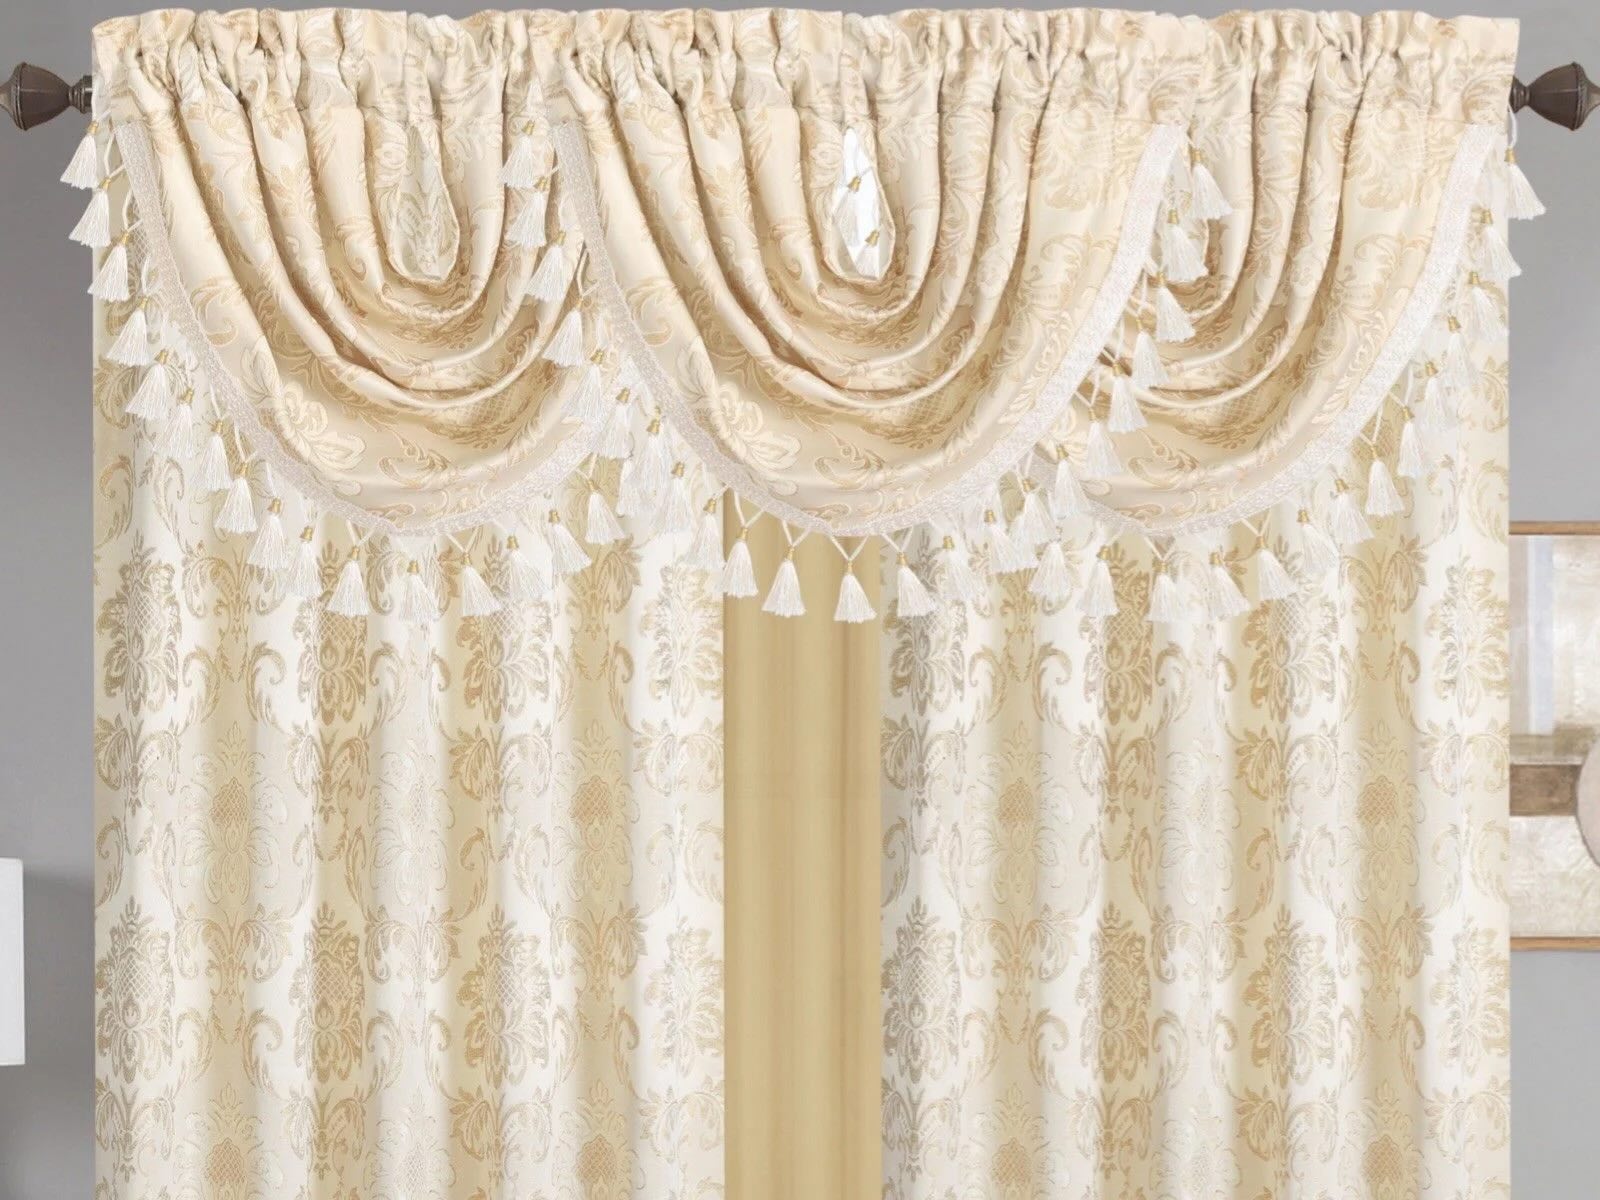
Welcome to the world of DIY home decor! If you’re looking to add a touch of elegance and style to your windows, sewing lined valances is a wonderful project to take on. Lined valances not only provide privacy and light control, but they also add an extra layer of sophistication to any room. In this article, we will guide you through the process of sewing lined valances step by step, ensuring you have a beautiful and professional-looking result.
Before we begin, let’s go over a few key materials you’ll need for this project:
- Fabric: Choose a fabric that matches your decor and is suitable for curtains. Be sure to take accurate measurements to determine the amount of fabric needed.
- Lining fabric: Opt for a lining fabric that is light-blocking and complements your main fabric.
- Thread: Select a quality thread that matches the color of your chosen fabric.
- Scissors: A good pair of fabric scissors is essential for cutting fabric accurately.
- Pins: Use pins to hold the fabric in place during sewing.
- Sewing machine: A sewing machine will make the process much quicker and easier.
- Iron: Ironing is crucial for achieving crisp and professional-looking seams.
With these materials ready, let’s jump into the step-by-step process of sewing lined valances!
Key Takeaways:
- Elevate your home decor with DIY elegance by sewing lined valances. Achieve privacy, light control, and sophistication with accurate measurements, precise cutting, and professional sewing techniques.
- Embrace creativity and personal style while sewing lined valances. Customize fabric, add decorative elements, and enjoy the satisfaction of transforming your space with beautifully crafted window treatments.
Read more: How To Sew Curtains With Lining
Materials Needed
Before you begin sewing your lined valances, gather the following materials:
- Fabric: Choose a fabric that matches your decor and is suitable for curtains. You will need enough fabric to cover the width of your window, plus extra for hems and fullness.
- Lining fabric: Opt for a lining fabric that is light-blocking and complements your main fabric. The amount needed will be the same as your main fabric.
- Thread: Select a quality thread that matches the color of your chosen fabric.
- Pins: Use pins to hold the fabric in place during sewing.
- Measuring tape: A measuring tape will help you accurately determine the dimensions of your valances.
- Tailor’s chalk or fabric marker: These tools will allow you to mark measurements and construction lines on your fabric.
- Ruler or straight edge: You will need a ruler or straight edge to ensure straight lines when cutting and sewing.
- Sewing machine: A sewing machine will make the process much quicker and easier. Ensure it is in good working condition and has the appropriate needles for your fabric.
- Iron and ironing board: Ironing is crucial for achieving crisp and professional-looking seams.
- Scissors: A good pair of fabric scissors is essential for cutting fabric accurately.
Having these materials ready will help you complete your project smoothly and efficiently. Now let’s move on to the step-by-step process of sewing your lined valances!
Step 1: Measuring and Cutting the Fabric
The first step in sewing lined valances is to accurately measure and cut the fabric.
Start by measuring the width of your window or the desired width of your valances. To calculate the width of the fabric needed, multiply the width of the window by 2.5 or 3 for a fuller look.
Next, measure the desired length of your valances. Typically, valances are around 18 inches long, but you can customize the length according to your preference.
Using a measuring tape, measure and mark the dimensions on your fabric using tailor’s chalk or a fabric marker. Ensure that the lines are straight and even.
Once the dimensions are marked, it’s time to cut the fabric. Use fabric scissors to carefully cut along the marked lines, following a straight edge or ruler to maintain accuracy. Take your time and make sure the edges are clean and even.
Repeat this process with the lining fabric, using the same measurements as your main fabric.
After cutting the fabric and lining, you should have two identical pieces: one main fabric piece and one lining fabric piece, both matching the desired width and length of your valances.
Now that you have your fabric ready, it’s time to move on to the next step: sewing the side hems.
Step 2: Sewing the Side Hems
Now that you have your fabric pieces cut to size, it’s time to sew the side hems of your valances.
Start by folding one side of the main fabric piece over about 1/2 inch towards the wrong side of the fabric. Use an iron to press the fold and create a crisp edge.
Once the fold is in place, fold the same side over again, this time about 1 inch. Press and iron the fold to secure it.
Pin the folded edge in place to keep it from shifting during sewing. Repeat this process for the other side of the main fabric piece.
Using a sewing machine, sew a straight stitch along the folded edge of each side, about 1/4 inch from the edge. Backstitch at the beginning and end of each seam to secure the stitches.
Next, repeat the same steps for the lining fabric piece, folding and sewing the side hems in the same manner.
Once both the main fabric piece and the lining fabric piece have their side hems sewn, it’s time to move on to the next step: attaching the lining fabric.
Note: If you prefer a more decorative look, you can add trim or decorative stitches along the side hems before moving on to the next step.
Step 3: Attaching the Lining Fabric
Now that you have sewn the side hems of both your main fabric piece and lining fabric piece, it’s time to attach the lining fabric to the main fabric.
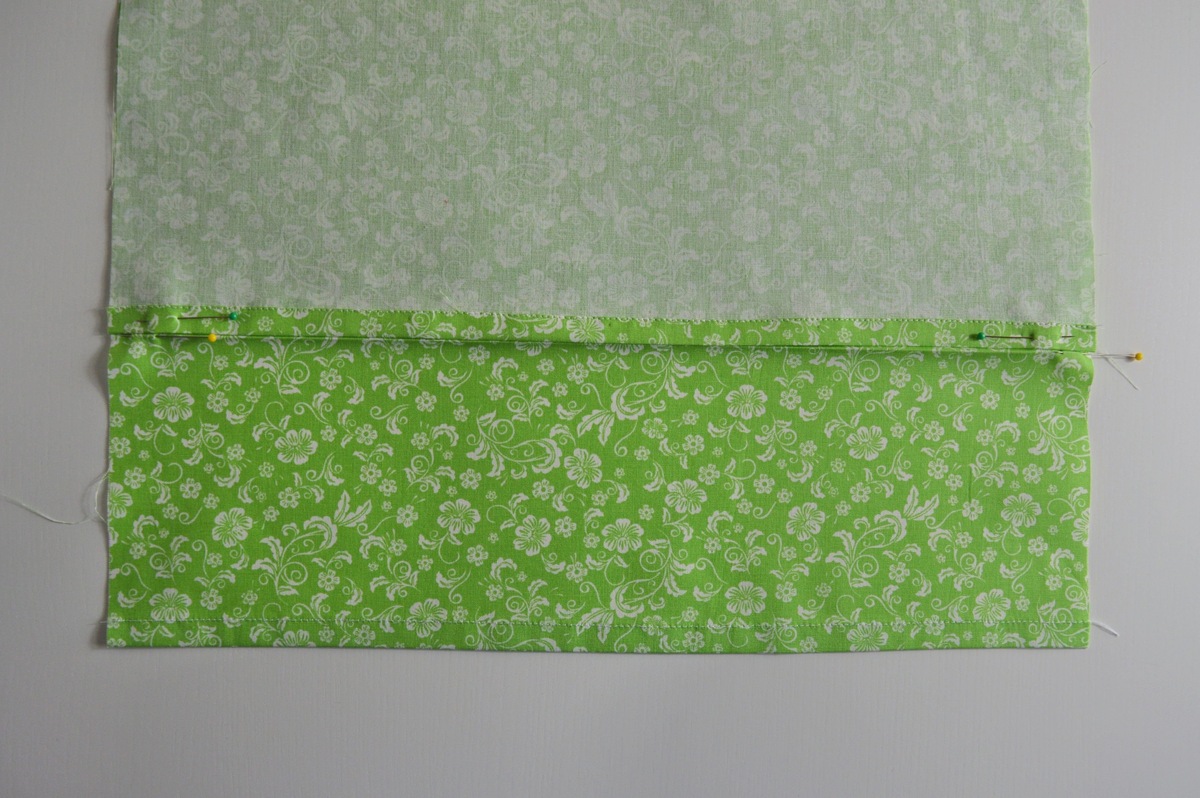
Start by placing the main fabric piece with the right side facing up. Lay the lining fabric piece on top of the main fabric, with the right side facing down. Align the side hems of both fabrics.
Pin the top edge of the lining fabric to the top edge of the main fabric, ensuring they are even and aligned. Pin along the entire width of the valance to keep the fabrics in place.
Using a sewing machine, sew a straight stitch along the top edge, about 1/4 inch from the edge, to attach the lining fabric to the main fabric. Backstitch at the beginning and end of the seam for added durability.
Trim any excess fabric or thread from the seam if necessary.
Note: If you prefer a neater finish, you can fold and press the top edge of the main fabric over about 1/4 inch, towards the wrong side of the fabric, before attaching the lining fabric. This will enclose the raw edge and give a cleaner look.
Once the lining fabric is securely attached to the main fabric, it’s time to move on to the next step: sewing the top hem.
When sewing lined valances, be sure to press your seams open and topstitch along the edges for a professional finish. This will help the valance hold its shape and look polished.
Read more: How To Make No Sew Valances
Step 4: Sewing the Top Hem
With the lining fabric attached to the main fabric, it’s time to sew the top hem of your valances.
Start by folding the top edge of the fabric over towards the wrong side, about 1/2 inch. Use an iron to press the fold and create a crisp edge.
Next, fold the top edge over again, this time about 2 inches. Press and iron the fold to secure it.
Pin the folded edge in place to keep it from shifting during sewing. You can place pins evenly along the top edge to ensure a straight and even hem.
Using a sewing machine, sew a straight stitch along the folded edge, about 1/4 inch from the edge. Backstitch at the beginning and end of the seam for added durability.
Trim any excess fabric or thread from the seam if necessary.
Note: If you prefer a more decorative look or added fullness, you can create a double or triple top hem by folding the fabric over multiple times before sewing. This will add more weight and substance to the valance.
With the top hem sewn, your valances are starting to take shape. The next step is to add curtain rod pockets.
Step 5: Adding Curtain Rod Pockets
Now that you have sewn the top hem of your valances, it’s time to add curtain rod pockets.
Start by folding the top hem of your valance in half, bringing the top edge down to meet the bottom edge of the hem. Press the fold with an iron to create a crease, marking the location for the rod pocket.
Next, unfold the top hem and measure the desired height of your rod pocket. Typically, rod pockets are around 2 inches in height, but you can adjust it to accommodate different size curtain rods if needed.
Using tailor’s chalk or a fabric marker, mark the height of the rod pocket along the crease line you created earlier.
Once the rod pocket height is marked, fold the fabric along the crease line again, this time towards the wrong side of the valance. Ensure that the marked line for the rod pocket is visible on the wrong side of the fabric.
Pin along the bottom edge of the folded fabric to secure the rod pocket in place. You can also place pins along the sides of the pocket to keep it from shifting during sewing.
Using a sewing machine, sew a straight stitch along the bottom edge of the folded fabric to create the rod pocket. Sew as close to the edge as possible, or about 1/8 inch from the fold, to ensure the pocket is wide enough for your curtain rod.
Trim any excess fabric or thread from the seam if necessary.
Note: If you prefer a more tailored look, you can add additional stitching along the top edge of the rod pocket for added reinforcement and a polished finish.
With the rod pocket added, your valances are almost complete. The final step is to add some finishing touches and hang the valances.
Step 6: Final Touches and Hanging the Valances
With the rod pockets in place, it’s time to add some final touches to your valances and get ready to hang them.
Start by checking your valances for any loose threads or fabric. Trim any excess threads or fabric to ensure a clean and polished appearance.
If desired, you can add decorative elements such as trim, tassels, or fabric embellishments to further enhance the look of your valances. Simply sew or attach these elements along the sides or bottom edge of the valance for a personalized touch.
Before hanging your valances, give them a final press with an iron to remove any wrinkles and ensure a crisp look.
To hang the valances, insert your curtain rod through the rod pockets you created. Ensure that the rod is fully inserted and centered along the width of each valance.
Position the valances on your curtain rod according to your desired placement. Adjust and arrange them until you are satisfied with the appearance and symmetry.
Finally, step back and admire your beautifully sewn lined valances. The added privacy, light control, and sophistication they bring to your space will surely impress.
Note: Don’t forget to periodically clean your valances according to the fabric care instructions to maintain their beauty and durability.
Congratulations on completing your DIY project! By sewing lined valances, you have added a touch of elegance and style to your windows while showcasing your sewing skills. Enjoy your newly transformed space and the satisfaction of a job well done!
Happy sewing!
Conclusion
In conclusion, sewing lined valances is a rewarding DIY project that can enhance the beauty and functionality of your windows. By following the step-by-step process outlined in this article, you can create professional-looking valances that add privacy, light control, and a touch of sophistication to any room in your home.
Throughout this guide, we discussed the importance of gathering the necessary materials, including fabric, lining fabric, thread, pins, measuring tape, and a sewing machine. We also highlighted the significance of accurate measurements and precise cutting to ensure the valances fit perfectly on your windows.
We covered each step in detail, from measuring and cutting the fabric to sewing the side hems, attaching the lining fabric, sewing the top hem, adding the curtain rod pockets, and adding the final touches before hanging the valances. Additionally, we provided tips for customization and decoration to make your valances unique to your style and preferences.
By incorporating your creativity and sewing skills, you can experiment with different fabrics, patterns, colors, and decorative elements to create valances that perfectly complement your existing decor. The versatility of this project allows you to tailor the valances to your specific needs and aesthetic preferences.
Remember to take your time with each step, paying attention to detail and ensuring the seams are sewn securely. Pressing the fabric at each stage will result in clean and professional-looking valances.
Now, armed with the knowledge and skills from this article, you are ready to embark on your sewing journey and create beautiful lined valances that will transform your windows and elevate the ambiance of your space.
Enjoy the process, embrace your creativity, and have fun with this DIY project. Your sewn lined valances will not only add functionality to your windows, but also reflect your personal style and craftsmanship.
Happy sewing and enjoy your newly adorned windows!
Frequently Asked Questions about How To Sew Lined Valances
Was this page helpful?
At Storables.com, we guarantee accurate and reliable information. Our content, validated by Expert Board Contributors, is crafted following stringent Editorial Policies. We're committed to providing you with well-researched, expert-backed insights for all your informational needs.


0 thoughts on “How To Sew Lined Valances”