Articles
How To Line Chimney
Modified: February 24, 2024
Discover effective methods and essential tips for lining your chimney with informative articles. Protect your home and ensure proper ventilation with our expert guidance.
(Many of the links in this article redirect to a specific reviewed product. Your purchase of these products through affiliate links helps to generate commission for Storables.com, at no extra cost. Learn more)
Introduction
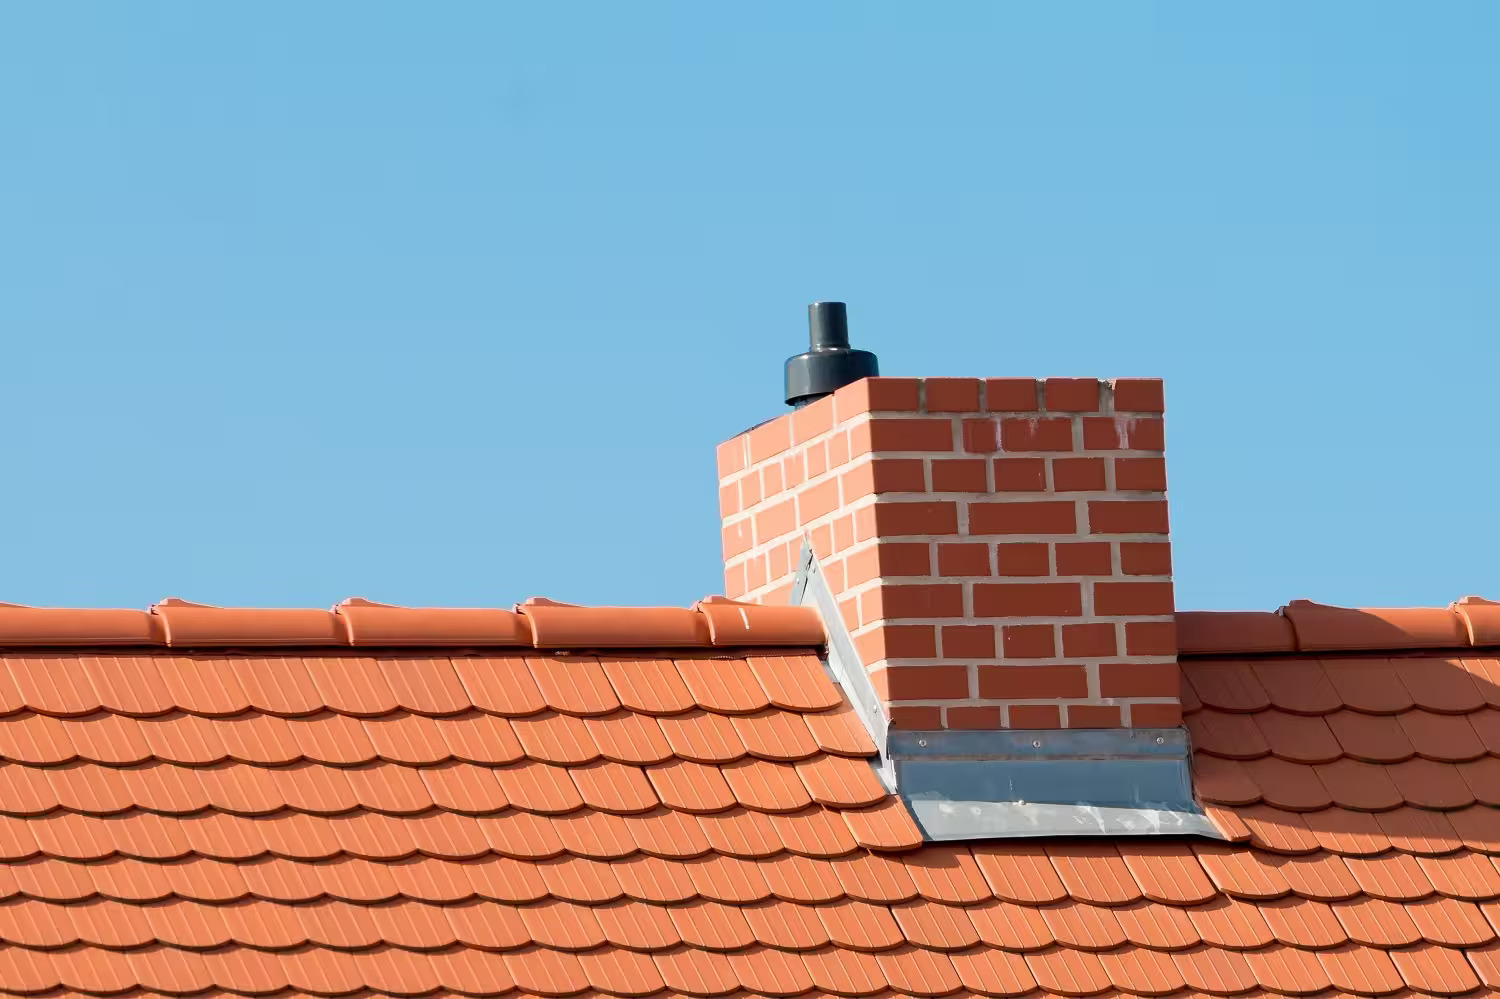
Welcome to our comprehensive guide on how to line a chimney. If you have a fireplace or wood-burning stove, ensuring that your chimney is properly lined is crucial for both safety and efficiency. A chimney liner acts as a protective barrier and helps to improve the draft, preventing any harmful gases or smoke from seeping into your home.
In this article, we will take you through the step-by-step process of lining a chimney, from gathering the necessary equipment to the final testing and maintenance tips. Whether you are a seasoned DIY enthusiast or a homeowner looking to save on installation costs, this guide will provide you with all the information you need to successfully line your chimney.
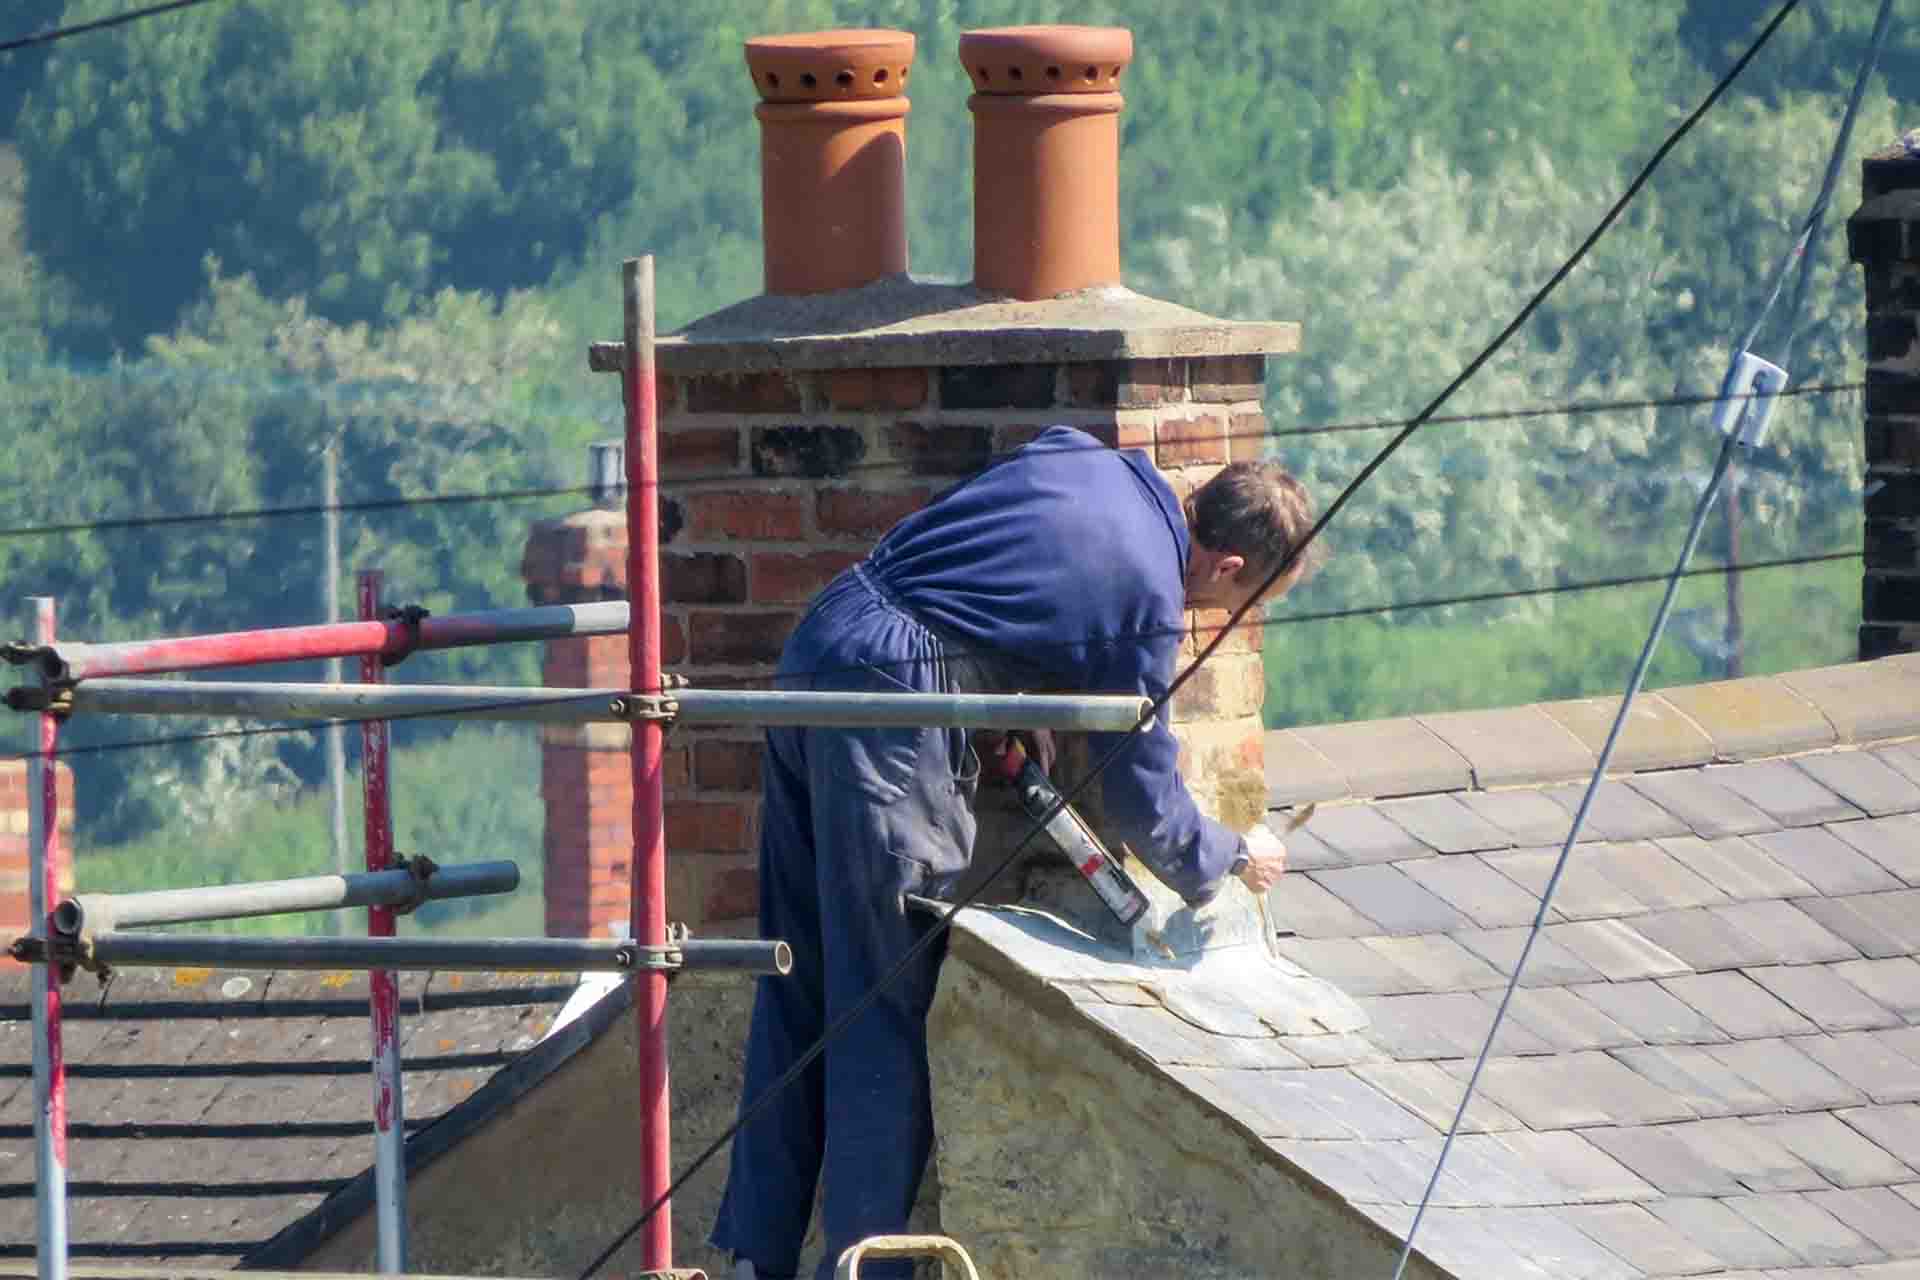
Before we begin, it’s important to note that lining a chimney can be a complex and potentially dangerous task. If you don’t feel confident or have little experience working with chimneys, it’s highly recommended to hire a professional chimney contractor. Safety should always be the top priority when working with fireplaces and chimneys.
Now that we have set the groundwork, let’s dive into the first step of lining a chimney: gathering the necessary equipment.
Key Takeaways:
- Ensure safety and efficiency by properly lining your chimney. Follow step-by-step instructions to gather equipment, prepare the chimney, install and seal the liner, and conduct regular maintenance.
- Prioritize safety and seek professional help if unsure. Properly lined chimneys enhance performance, minimize hazards, and bring warmth and comfort to your home. Regular maintenance ensures longevity and efficiency.
Step 1: Gather necessary equipment
Before you can start lining your chimney, it’s important to have all the necessary equipment and materials on hand. Here is a list of items you will need:
- Chimney liner kit – Make sure to choose a high-quality, properly sized chimney liner kit that is suitable for your specific type of chimney.
- Measuring tape – You will need a measuring tape to accurately measure the length and diameter of your chimney.
- Utility knife – A utility knife will come in handy for cutting the liner to the correct length.
- Tin snips – Tin snips will be needed to cut the liner if necessary.
- Chalk or marker – Use chalk or a marker to mark the liner for cutting and installation.
- Protective gloves – It’s important to protect your hands while handling the liner and other materials.
- Safety goggles – Safety goggles will protect your eyes from any debris or particles that may be released during the installation process.
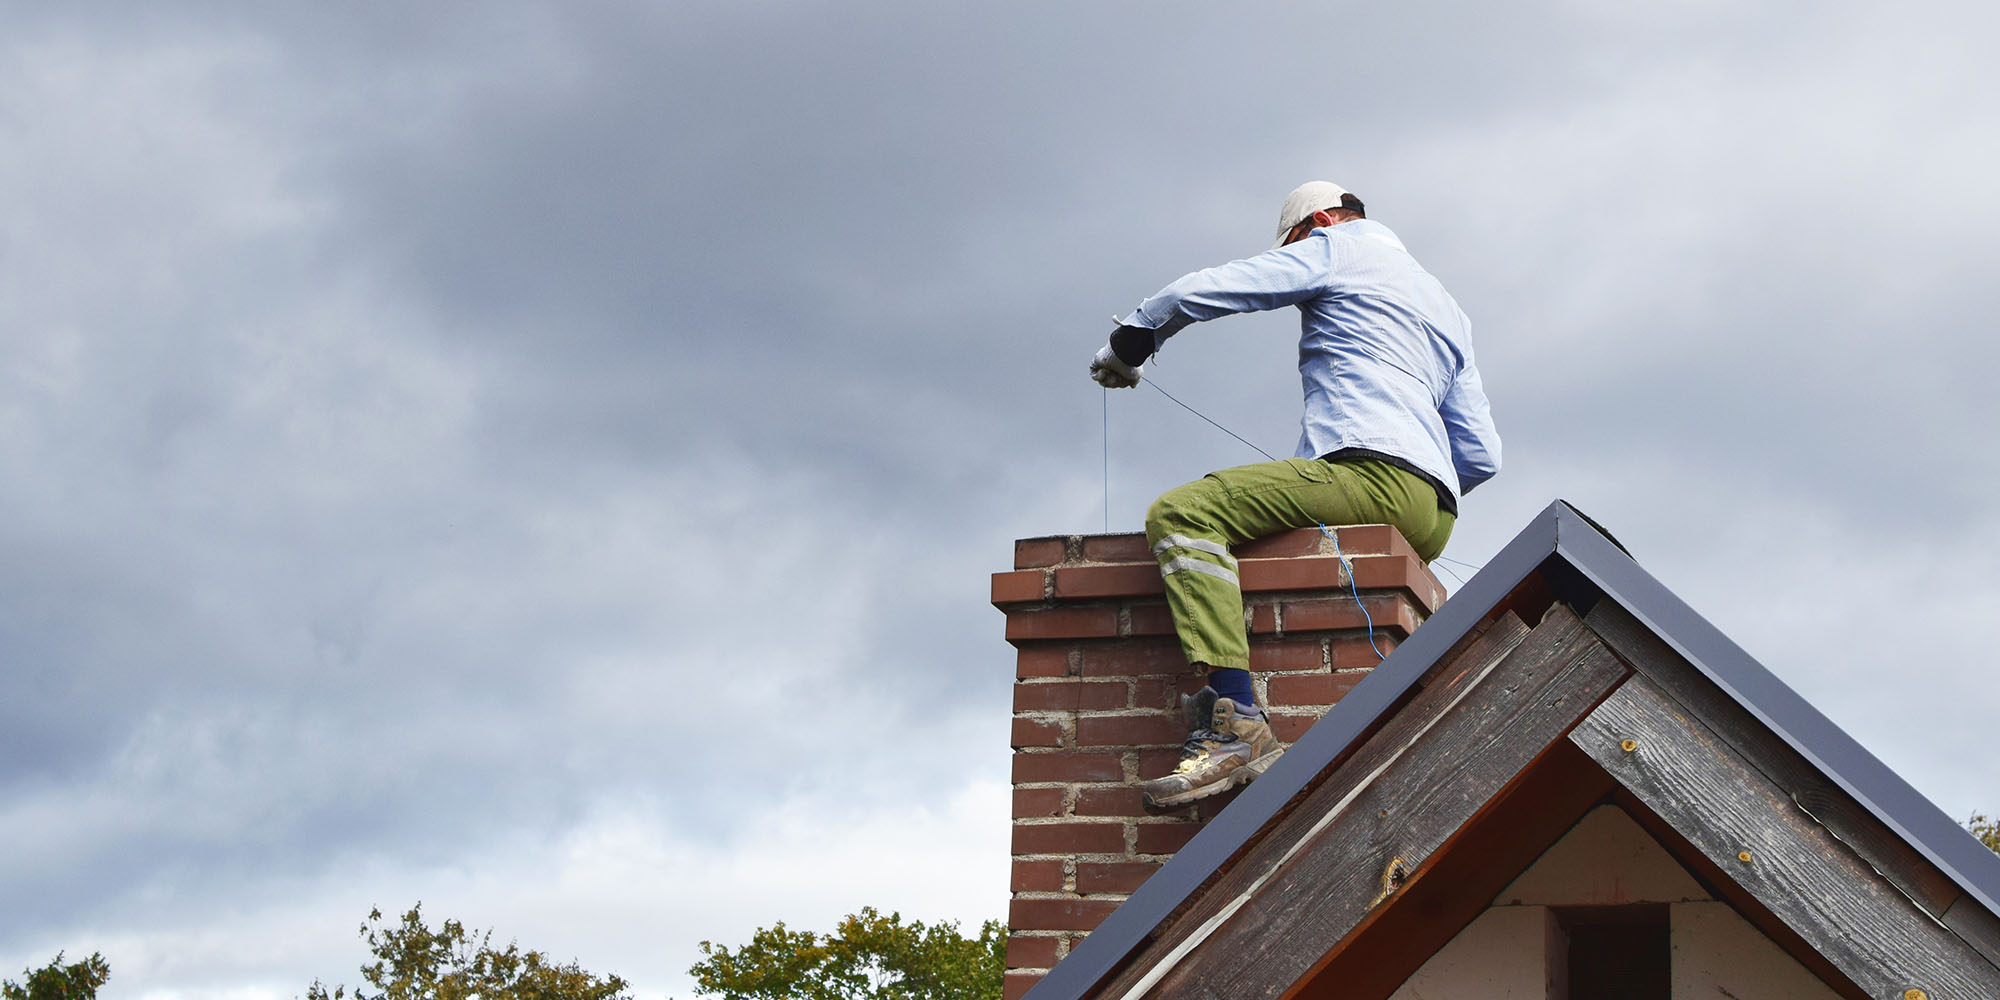
- Ladder or scaffolding – Depending on the height of your chimney, you may need a ladder or scaffolding to access the chimney safely.
- Sealant – Choose a high-temperature sealant that is compatible with your liner and chimney materials.
- Insulation – Insulation helps to improve the thermal efficiency of the liner. Make sure to choose insulation that is suitable for your liner type.
It’s crucial to have all the necessary equipment and materials before you begin the chimney lining process. This will ensure that you can work efficiently and avoid any unnecessary delays or trips to the store.
Once you have gathered all the required equipment, it’s time to move on to the next step: preparing the chimney.
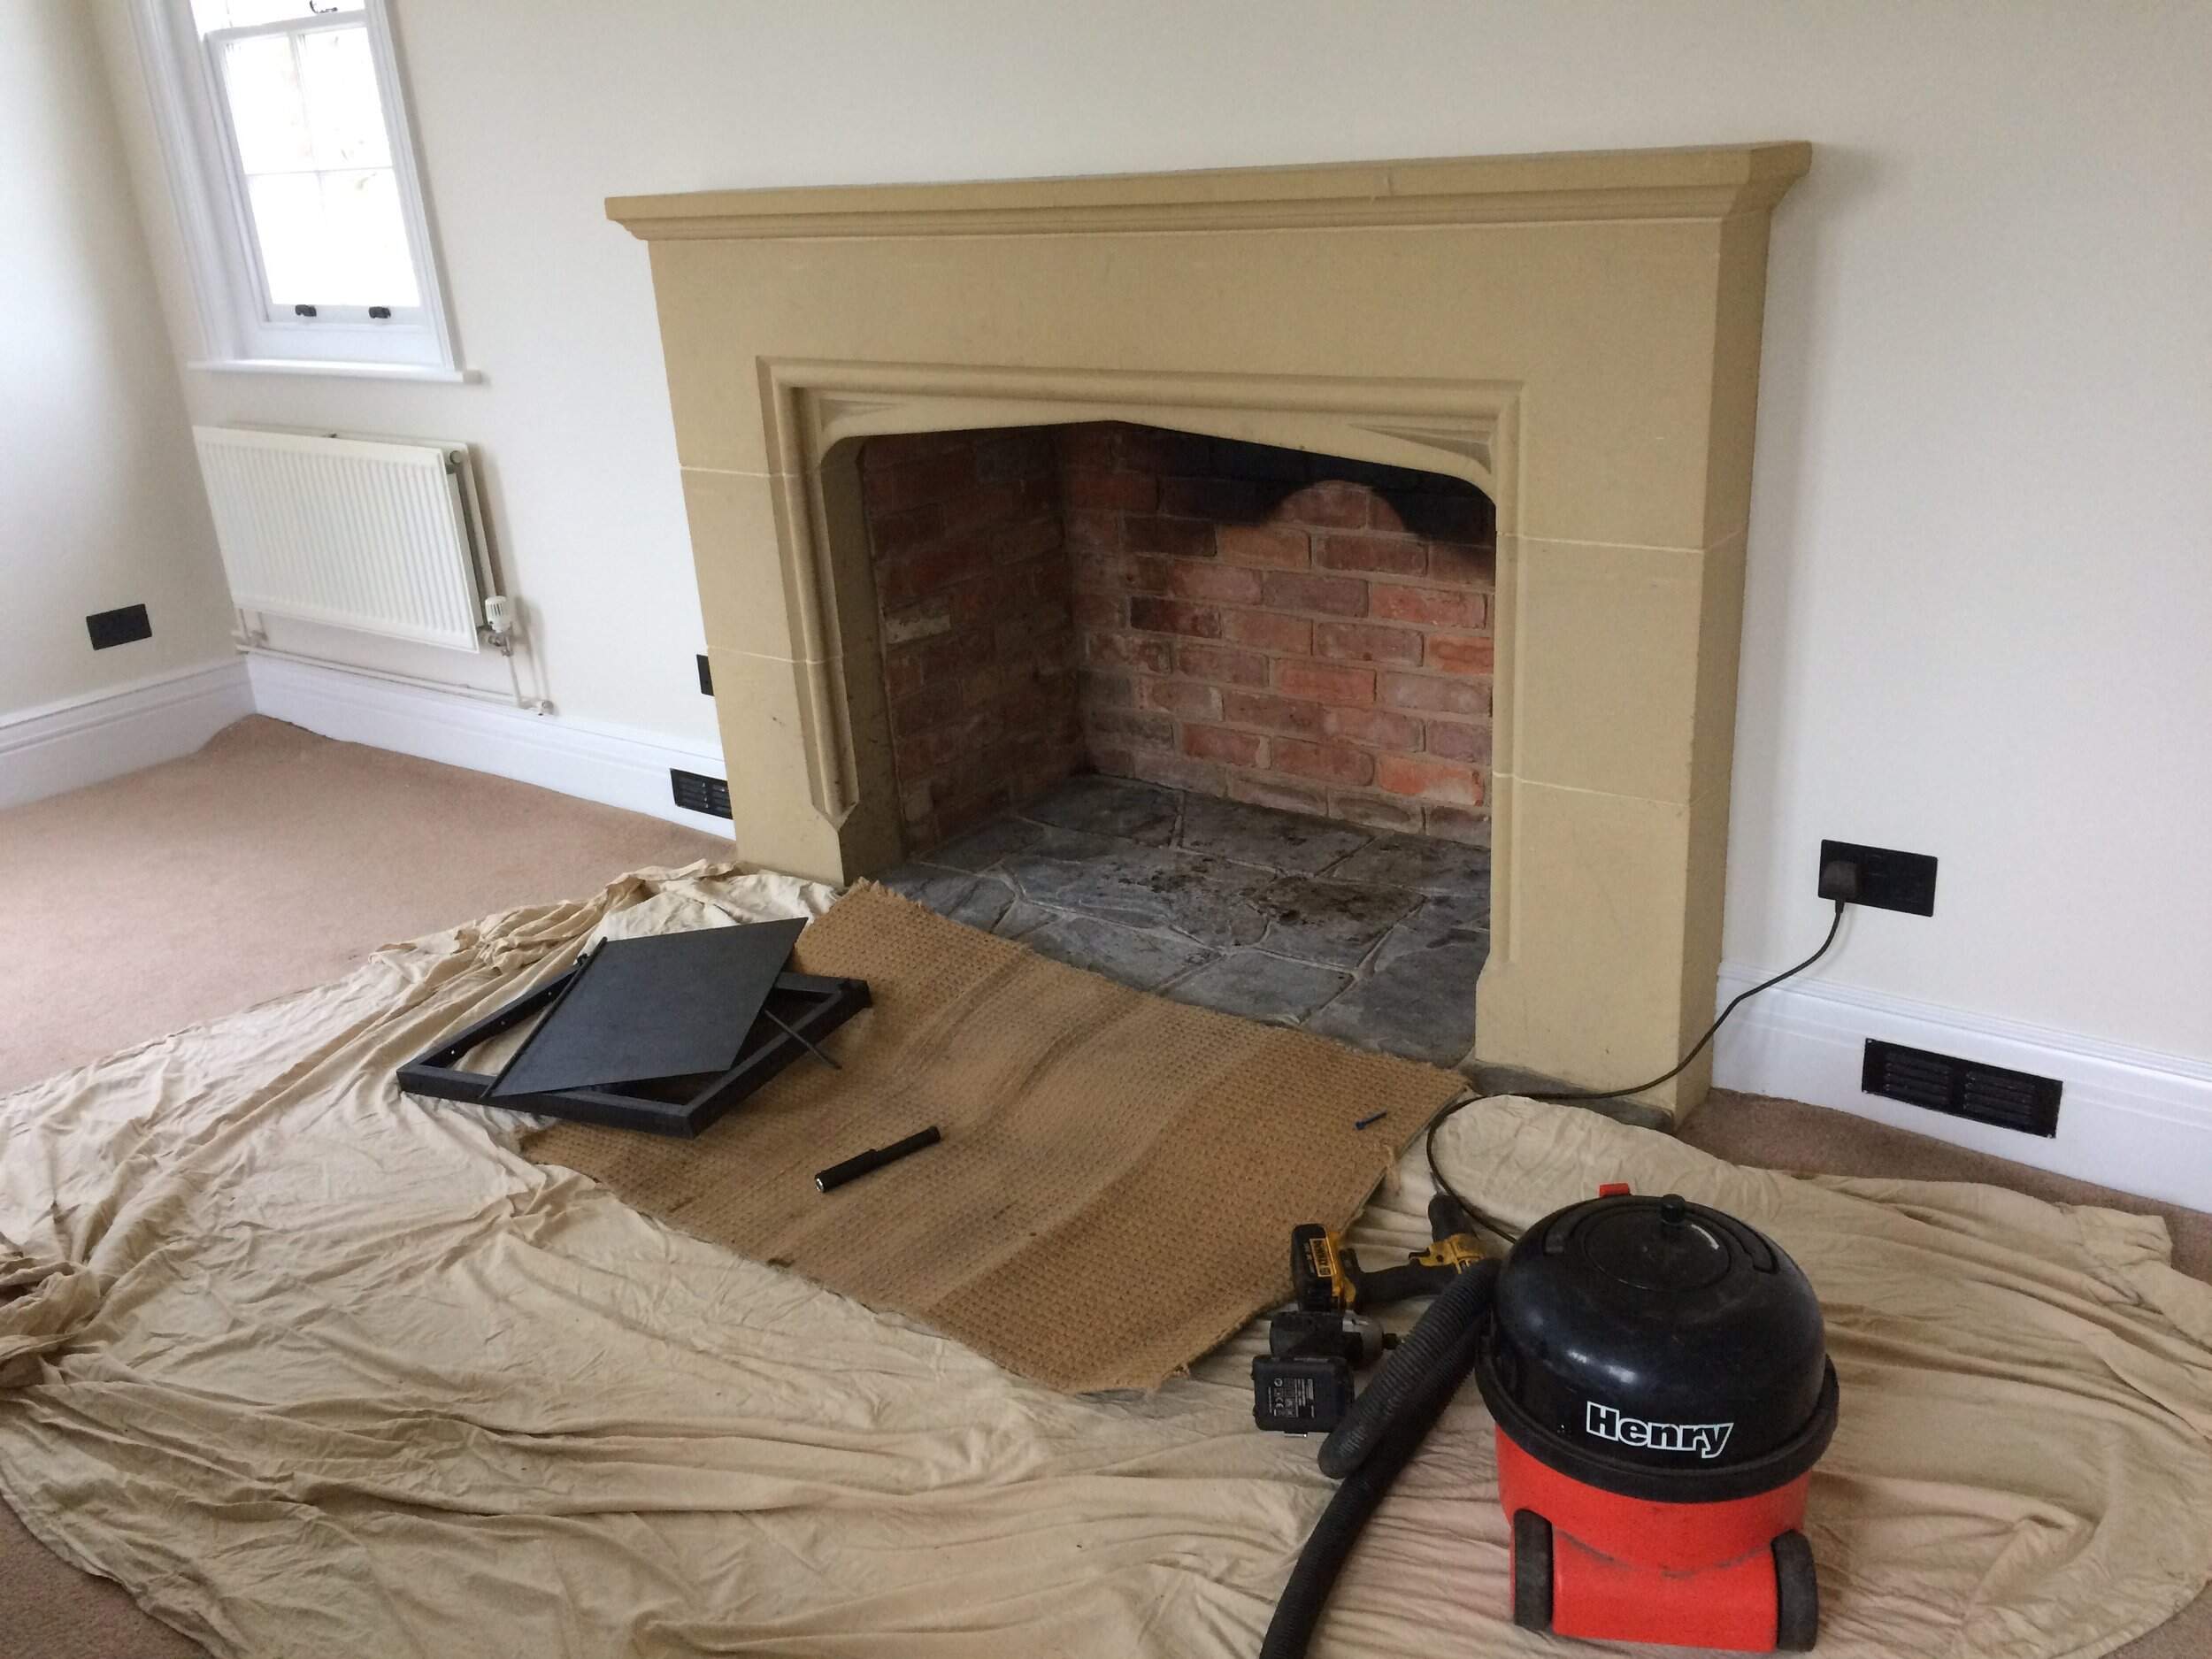
Step 2: Prepare the chimney
Now that you have all the necessary equipment, it’s time to prepare your chimney for the installation of the liner. Proper preparation is essential to ensure a smooth and successful lining process.
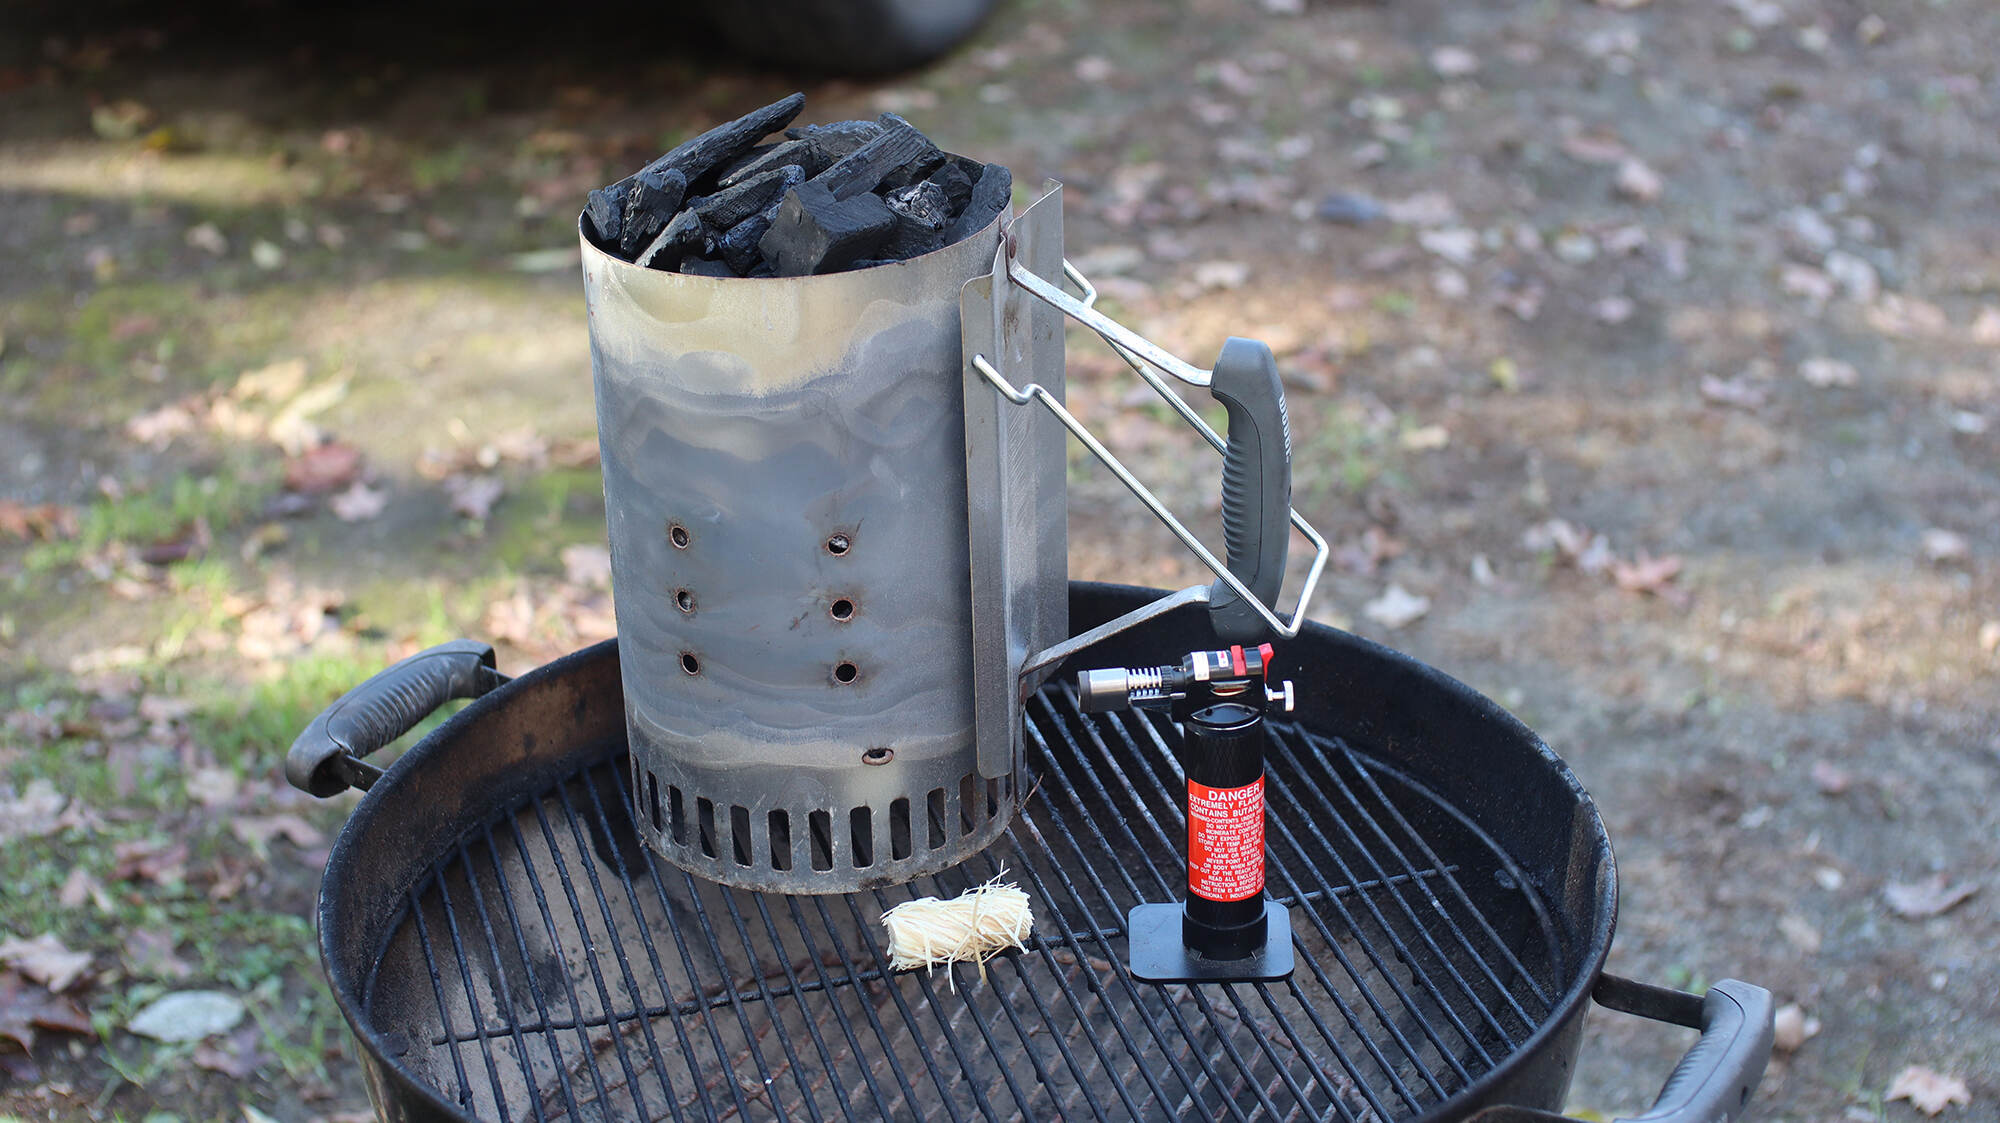
The first step in preparing your chimney is to clean it thoroughly. Remove any debris, soot, or creosote buildup using a chimney brush or vacuum. This will help create a clean and smooth surface for the liner installation. It’s important to have a clean chimney to ensure optimum performance and reduce the risk of chimney fires.
Next, inspect the chimney for any cracks, damage, or missing bricks. If you find any issues, it’s crucial to address them before proceeding with the liner installation. Cracks or damage can allow smoke and gases to leak into your home, compromising the safety of your fireplace or stove.
If you have a masonry chimney, check for any loose mortar joints and repair them if necessary. It’s important to have a stable and structurally sound chimney before installing the liner.
Additionally, ensure that the chimney is properly sized for the liner. Measure the inner diameter of the chimney to ensure that the liner will fit snugly without any gaps or overly tight spaces. The liner should ideally be about one inch smaller in diameter than the chimney opening.
Lastly, make sure the chimney is free from any obstructions, such as nests or debris. This will ensure that the liner can be installed smoothly and without any hindrances.
Once you have prepared your chimney, you are ready to move on to the next step: measuring and cutting the liner.
Step 3: Measure and cut the liner
With the chimney prepared, it’s time to measure and cut the liner to the appropriate length. Accurate measurements and careful cutting are essential to ensure a proper fit and efficient functioning of the liner.
Begin by measuring the height of your chimney from the top to the bottom. This will determine the length of the liner you’ll need. Allow a little extra length for any adjustments and to ensure that the liner extends slightly beyond the top of the chimney.
Next, measure the diameter of the chimney to determine the correct size of the liner. Make sure to measure the inner diameter, as this is the measurement that matters. The liner should be about one inch smaller in diameter than the chimney opening. Use a measuring tape to get the most accurate measurement possible.
Once you have the correct measurements, it’s time to cut the liner. Lay the liner on a flat surface and use a utility knife or tin snips to make a clean, precise cut. Make sure to follow the measured markings carefully, and always use caution when cutting the liner to avoid any accidental injuries.
It’s important to note that if your chimney has any bends or offsets, you may need to make additional cuts or adjustments to the liner to ensure a proper fit. If you are unsure about how to deal with these complexities, it’s recommended to seek professional assistance to ensure the liner is correctly installed.
Once the liner is cut to the appropriate length, you are ready to move on to the next step: installing the liner in the chimney.
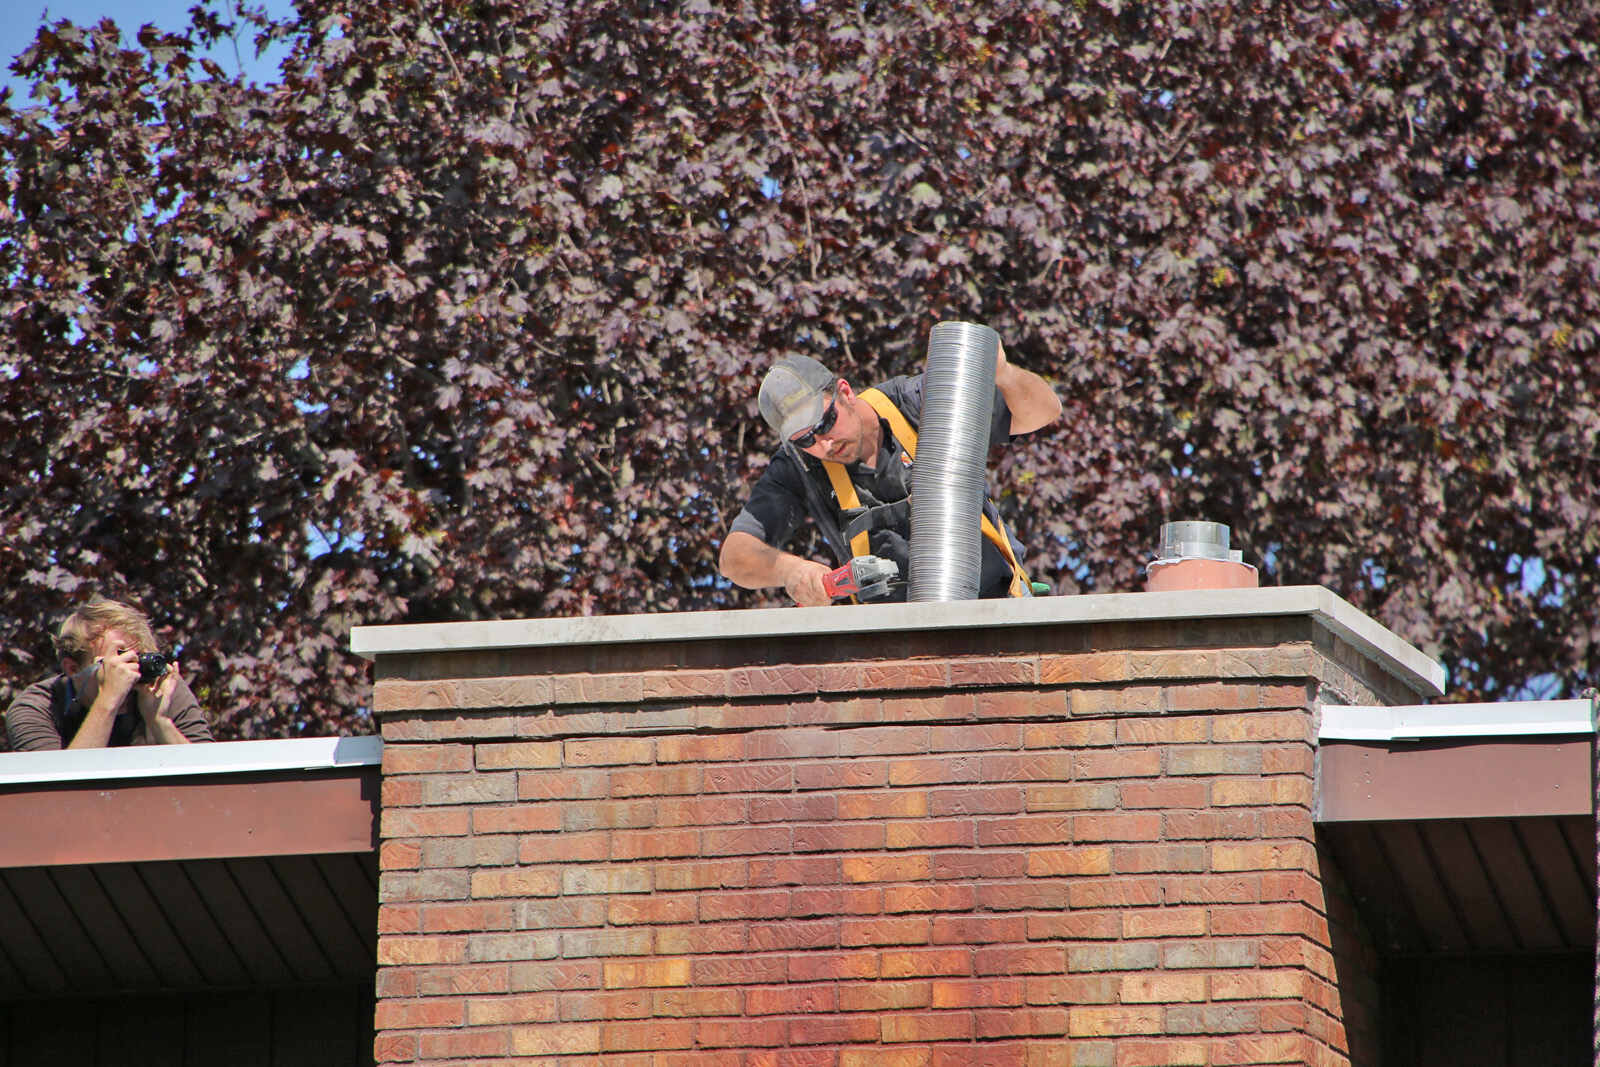
Step 4: Install the liner
Now that you have measured and cut the liner, it’s time to proceed with the installation. Installing the liner correctly is crucial for the safety and efficiency of your chimney system.
Begin by carefully inserting the liner into the chimney, starting from the top. Use caution to avoid any kinks or twists in the liner, as this can hinder proper airflow. It may be helpful to have a second person assist you during this process to ensure the liner is being fed smoothly into the chimney.
As you insert the liner, make sure it extends slightly beyond the top of the chimney. This will help prevent any leaking and ensure that the liner is securely in place.
Continue feeding the liner down the chimney until you reach the bottom. Take your time and make any necessary adjustments to ensure a proper fit. It’s important to have a snug and secure liner for optimum performance.
Once the liner is in position, use appropriate connectors or adapters to connect the liner to the appliance or stove. Follow the manufacturer’s instructions and guidelines for properly securing the liner to the appliance.
It’s crucial to ensure that the liner is properly sealed at all connections to prevent any gas or smoke leakage. Use a high-temperature sealant that is compatible with your liner and chimney materials. Apply the sealant generously and ensure a tight and secure seal.
Once the liner is installed and sealed, double-check all connections and make any necessary adjustments. It’s important to take the time to ensure that everything is properly aligned and tight.
With the liner securely installed, move on to the next step: sealing the liner connections.
Make sure to use a level to ensure the chimney liner is installed straight. This will help prevent any issues with the draft and ensure proper ventilation.
Read more: How To Decorate Chimney
Step 5: Seal the liner connections
Properly sealing the connections of your chimney liner is an important step to prevent any leaks and ensure the efficient operation of your fireplace or stove. Follow these steps to effectively seal the liner connections:
1. Begin by inspecting all the connections between the liner and the appliance or stove. Look for any gaps or areas where the sealant may be missing.
2. Use a high-temperature silicone sealant that is specifically designed for chimney applications. This type of sealant can withstand the heat generated by your fireplace or stove.
3. Apply the sealant generously around the connections, ensuring that it completely covers the joint. Use a caulk gun or a putty knife to apply the sealant smoothly and evenly.
4. Smooth out the sealant to create a tight and secure seal. You can use a gloved finger or a damp cloth to smooth out any excess sealant. This will help to create a clean and professional-looking finish.
5. Allow the sealant to dry and cure according to the manufacturer’s instructions. This may take a few hours or longer, depending on the specific sealant you are using.
6. Once the sealant is fully cured, perform a visual inspection to ensure that all connections are properly sealed. Look for any signs of gaps or leaks, and reapply sealant if necessary.
Properly sealing the connections of your chimney liner is essential for the safe and efficient operation of your fireplace or stove. It helps to prevent any gas or smoke leakage and ensures that your chimney system works optimally.
With the liner connections properly sealed, it’s time to move on to the next step: insulating the liner.
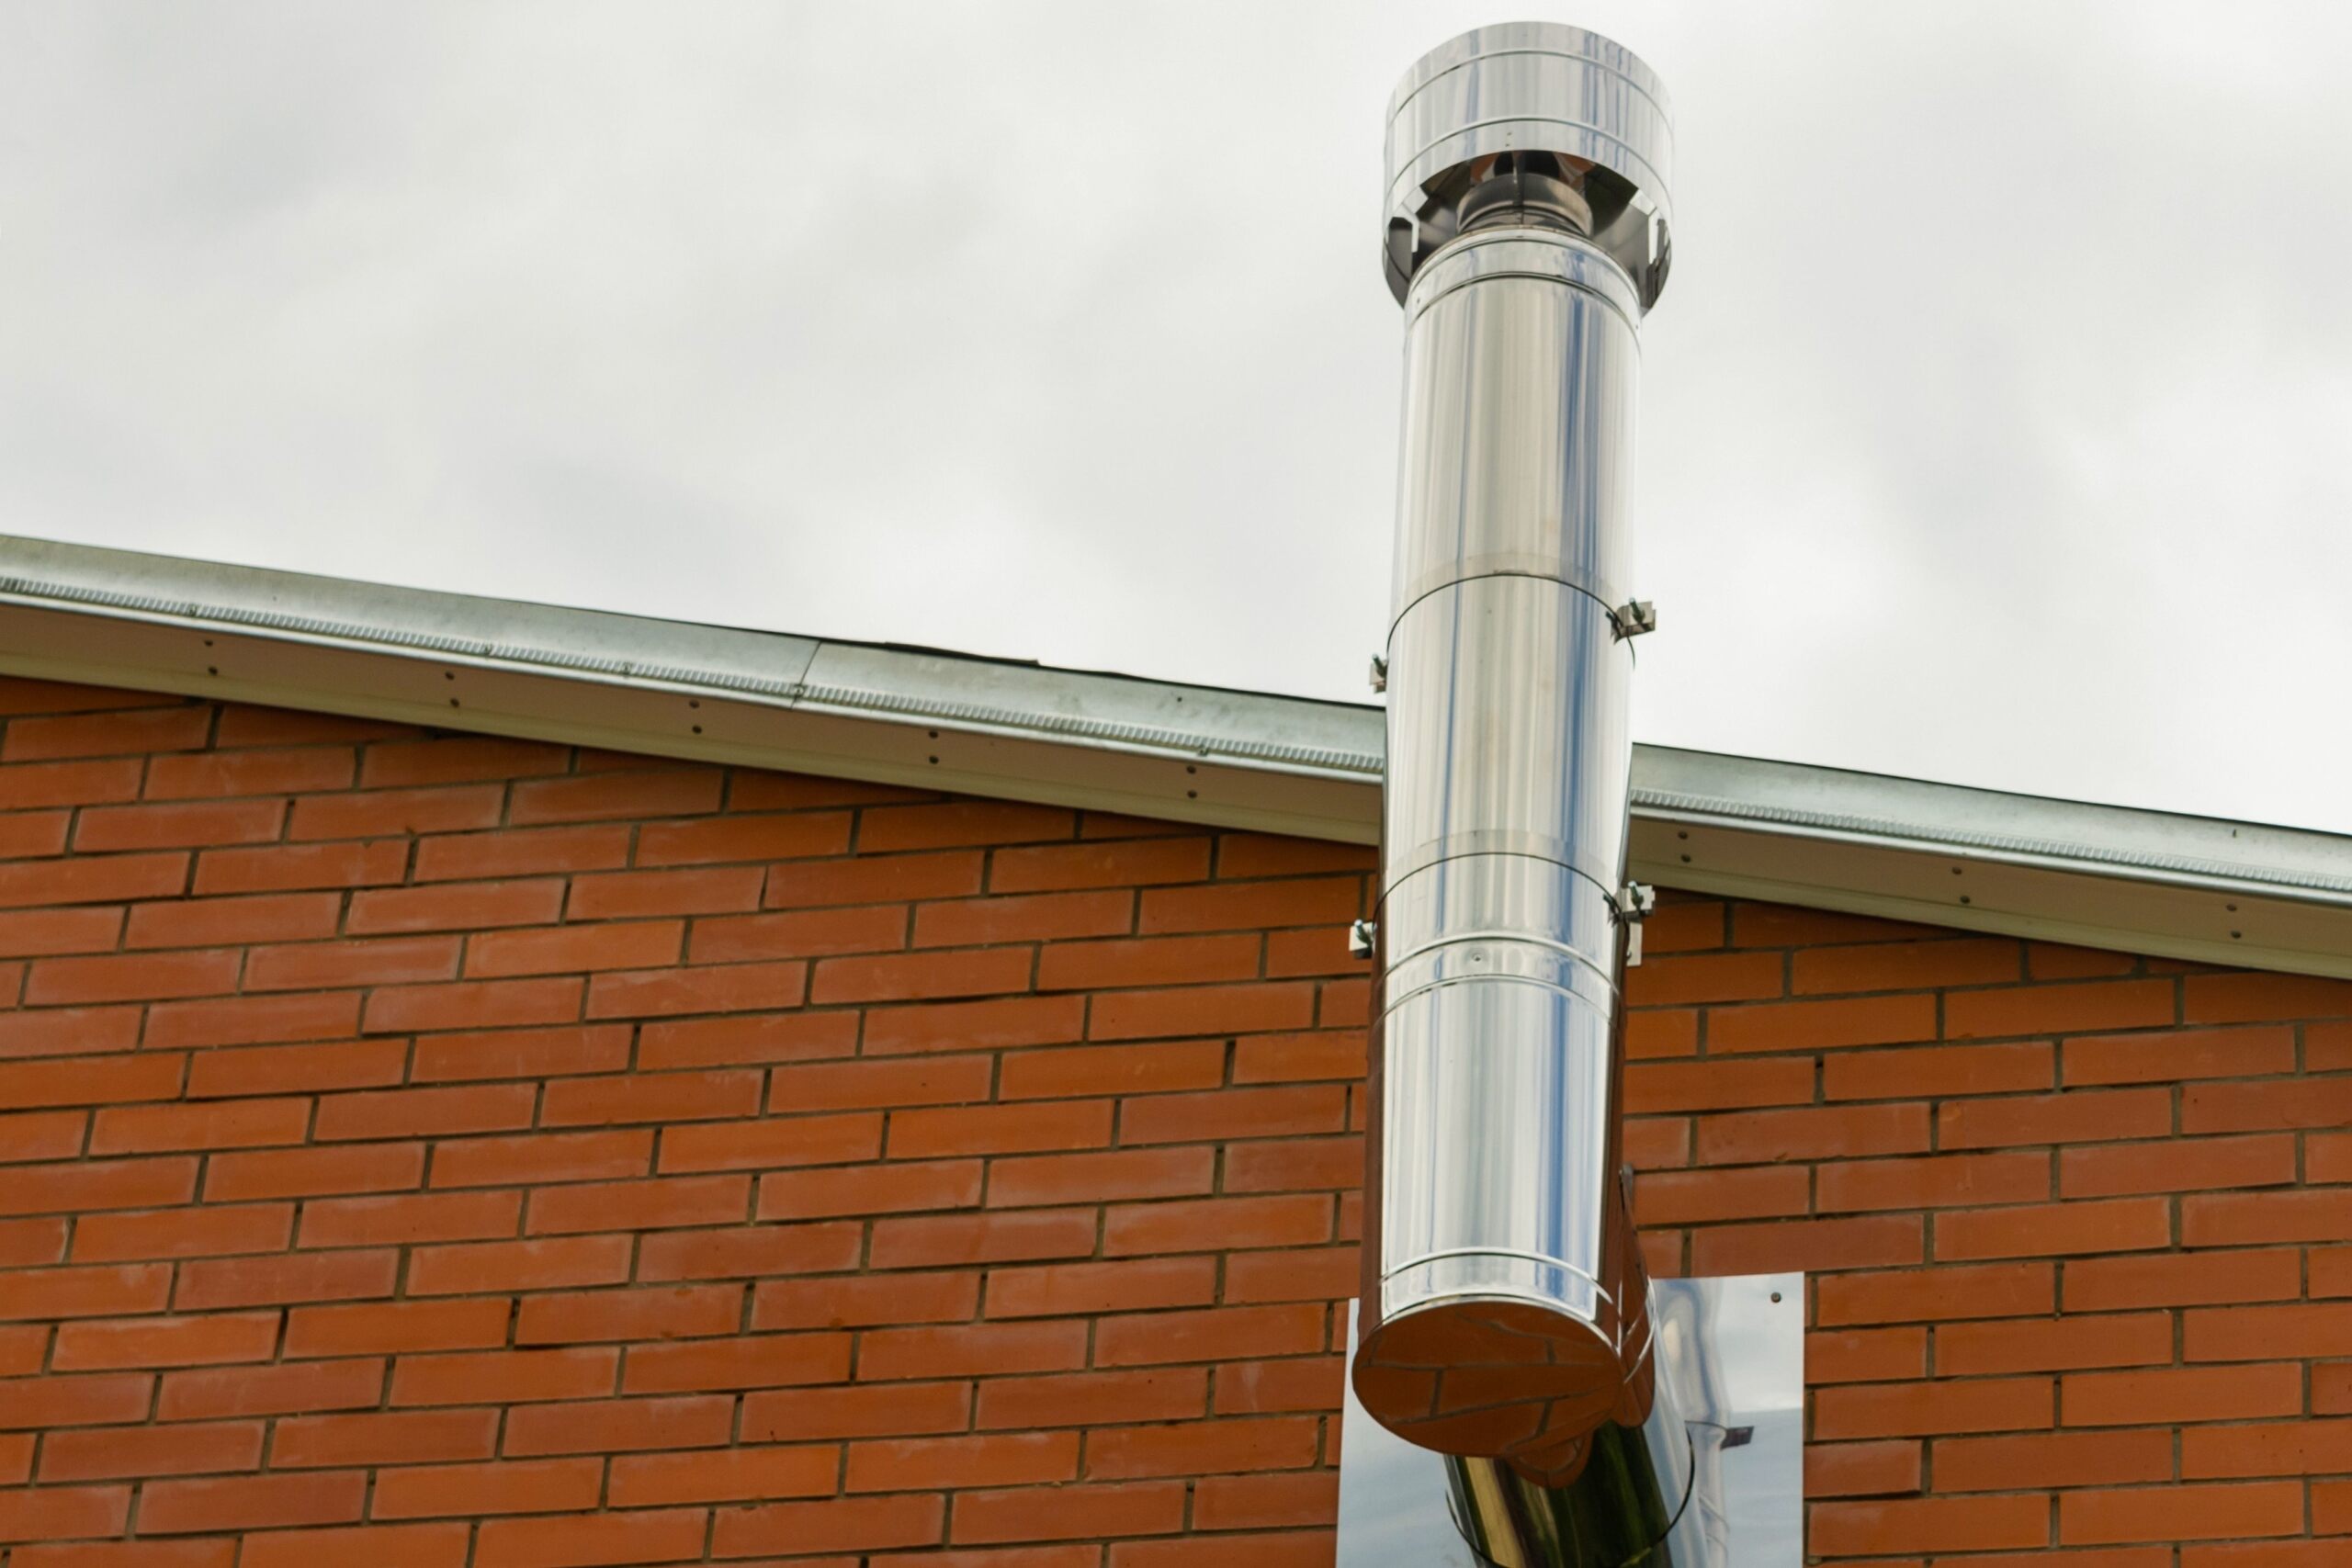
Step 6: Insulate the liner
Insulating the chimney liner is an important step to improve its performance and increase the efficiency of your fireplace or stove. Insulation helps to reduce heat transfer and maintain the temperature inside the liner, thereby improving the draft and preventing condensation.
Follow these steps to properly insulate your chimney liner:
1. Select the appropriate insulation material for your liner. There are different types of insulation available, such as fiberglass, ceramic, or a combination of both. Consider factors such as the liner material, chimney size, and the level of insulation you desire.
2. Measure the length of the liner that needs to be insulated. It’s typically recommended to insulate at least the first few feet of the liner from the top. This helps to prevent any cold air from entering the chimney and affecting the draft.
3. Cut the insulation material to the appropriate length and wrap it tightly around the liner. Make sure to cover the entire length that you want to insulate. Use insulation tape or wire to secure the insulation in place, ensuring a snug fit.
4. Pay special attention to any bends or offsets in the chimney. These areas tend to experience more heat loss, so it’s important to insulate them properly. You may need to cut and shape the insulation to fit these areas effectively.
5. Once the insulation is in place, check for any gaps or seams. Use insulation tape or sealant to close any openings and ensure that the insulation is tightly sealed around the liner.
6. Finally, visually inspect the insulation to ensure that it is properly installed and covering the desired length of the liner. Make any necessary adjustments or additions to ensure complete coverage.
By properly insulating your chimney liner, you’ll help to maintain a consistent temperature, improve the draft, and prevent any condensation or creosote buildup. This, in turn, will enhance the performance and efficiency of your fireplace or stove.
With the liner properly insulated, it’s time to move on to the next step: testing the liner to ensure it’s functioning correctly.
Step 7: Test the liner
Testing the chimney liner is a crucial step to ensure that it is functioning properly and that there are no issues that could compromise the safety and efficiency of your fireplace or stove. Follow these steps to test the liner:
1. Start by building a small fire in your fireplace or stove. Use dry kindling and small pieces of firewood to create a controlled fire. Avoid using excessive amounts of wood or flammable materials.
2. Observe the smoke and gases as the fire burns. Pay attention to any signs of smoke leakage or unusual odors. If you notice any smoke or strong odors entering your home, it may indicate a problem with the liner installation or chimney system.
3. Check for proper airflow and draft. A well-functioning chimney liner should allow the smoke to rise smoothly and be carried away through the chimney. If you notice any backdraft or poor airflow, it may indicate an issue with the liner or chimney design.
4. Monitor the temperature of the liner. Use a temperature gun or gauge to measure the surface temperature of the liner. It should not exceed the recommended limits mentioned by the liner manufacturer. If the liner becomes excessively hot, it may indicate a problem with insulation or ventilation.
5. Pay attention to any unusual noises, such as cracking or popping sounds. These sounds may indicate structural issues with the liner or chimney and should be addressed promptly.
6. Continue the fire for a sufficient duration, observing the performance and functionality of the liner. Make note of any concerns or abnormalities that you observe during this testing phase.
If you notice any issues or have concerns during the testing of your chimney liner, it’s advisable to contact a professional chimney sweep or technician to assess the situation and provide any necessary repairs or adjustments.
With the liner successfully tested and functioning correctly, it’s essential to maintain and clean the chimney regularly to ensure its long-term efficiency and safety.
Now, let’s move on to the final step: cleaning up and some maintenance tips to keep your chimney in top shape.
Step 8: Clean up and maintenance tips
After completing the chimney lining process, it’s important to clean up any debris and implement regular maintenance to keep your chimney in excellent condition. Follow these clean-up and maintenance tips:
1. Remove any tools or equipment from the work area and clean up any debris that may have accumulated during the installation process. Properly dispose of any waste materials according to local regulations.
2. Inspect the area around your fireplace or stove for any signs of soot or ashes. Use a vacuum or brush to clean the hearth, firebox, and surrounding areas. Ensure that there are no flammable materials near the fireplace or stove.
3. Schedule regular chimney inspections and cleanings to remove any creosote buildup, soot, or debris. Ideally, have a professional chimney sweep perform these tasks at least once a year or as recommended by the manufacturer.
4. Monitor the condition of the liner regularly. Look for any signs of damage, such as cracks, corrosion, or loose connections. Address any issues promptly to ensure the continued functionality of the liner.
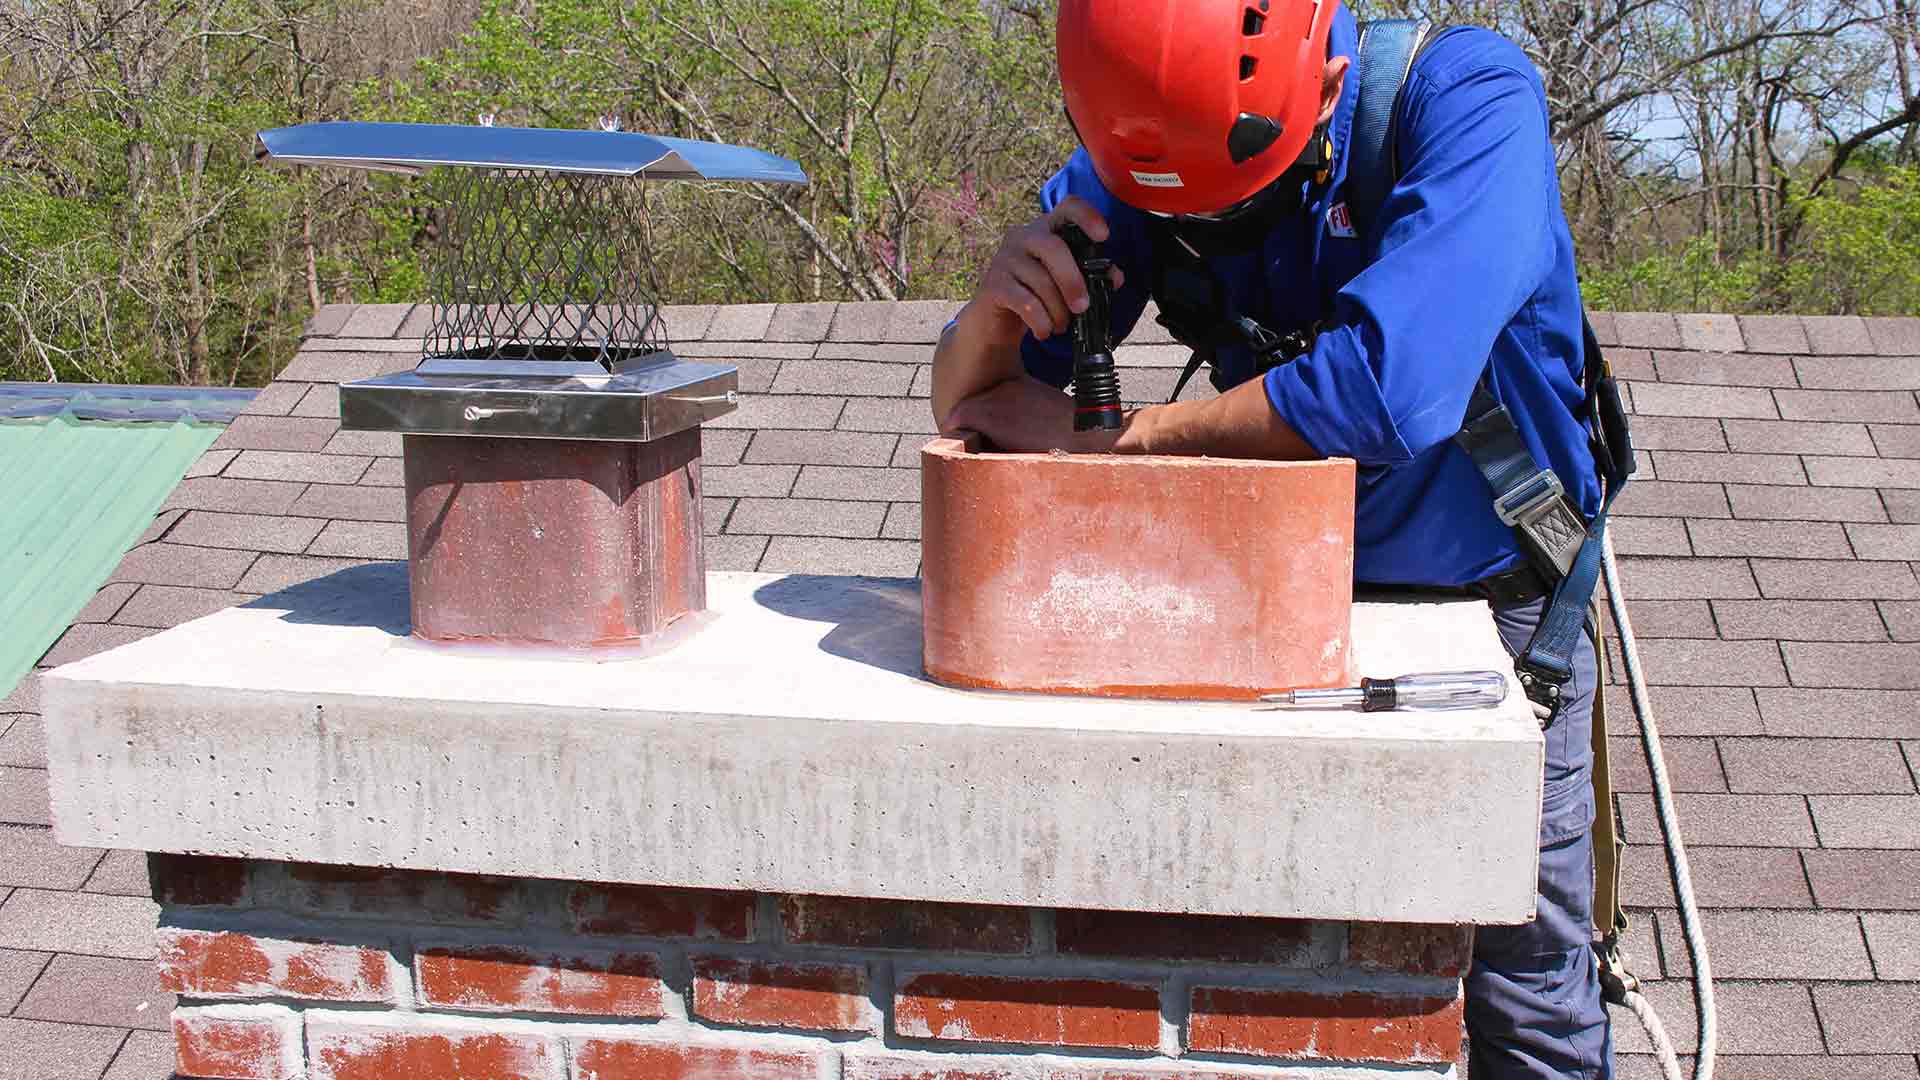
5. Check the chimney cap or spark arrestor to ensure it is securely in place and free from any debris or blockages. The cap helps to prevent animals, rain, and debris from entering the chimney.
6. Keep an eye on the liner insulation and replace it if it becomes damaged or deteriorated over time. Proper insulation helps to maintain the liner’s efficiency and prevent heat transfer.
7. Use dry, seasoned firewood for your fireplace or stove. Wet or unseasoned wood can produce more smoke, increase creosote buildup, and decrease the efficiency of your chimney system.
8. Practice safe burning habits, such as not overloading the fireplace with excessive amounts of wood, using a fireplace screen or glass door to prevent sparks from escaping, and never leave a fire unattended.
By incorporating these clean-up and maintenance tips into your routine, you can ensure the longevity, efficiency, and safety of your chimney and fireplace or stove.
Congratulations on successfully lining your chimney! By following this comprehensive guide and performing regular maintenance, you can enjoy the warmth and ambiance of your fireplace or stove with peace of mind.
If you have any doubts or encounter any issues during the chimney lining process, it’s always best to consult a professional chimney contractor for assistance.
Now, sit back, relax, and enjoy the comforting glow of your well-maintained chimney!
Read more: How To Rebuild A Chimney
Conclusion
In conclusion, properly lining your chimney is essential for both safety and efficiency when using a fireplace or wood-burning stove. This comprehensive guide has provided you with step-by-step instructions to successfully line your chimney, ensuring the smooth flow of smoke and gases while preventing any leaks or hazards.
Throughout the process, we have covered important steps such as gathering the necessary equipment, preparing the chimney, measuring and cutting the liner, installing and sealing the liner connections, insulating the liner, testing its functionality, and implementing regular maintenance.
Remember, safety should always be a top priority. If you lack experience or feel unsure about tackling this project yourself, it’s highly recommended to seek the assistance of a professional chimney contractor. They have the expertise and knowledge to ensure that your chimney is lined correctly and operating at its best.
By following the guidelines, you can enjoy a well-functioning chimney system that efficiently removes smoke and gases from your home while minimizing the risk of chimney fires and other potential hazards.
Don’t forget to schedule regular inspections and cleanings to keep your chimney in optimal condition. Maintaining a clean chimney and using proper burning practices will help you ensure the longevity and performance of your fireplace or stove.
We hope that this guide has been informative and helpful in your chimney lining journey. May your fireplace or stove bring warmth, comfort, and joy to your home for many years to come.
Happy chimney lining!
Frequently Asked Questions about How To Line Chimney
Was this page helpful?
At Storables.com, we guarantee accurate and reliable information. Our content, validated by Expert Board Contributors, is crafted following stringent Editorial Policies. We're committed to providing you with well-researched, expert-backed insights for all your informational needs.
0 thoughts on “How To Line Chimney”