Articles
How To Seam Laminate Countertops
Modified: August 28, 2024
Looking for articles on how to seam laminate countertops? Discover step-by-step guides and expert tips to achieve seamless results in our latest articles.
(Many of the links in this article redirect to a specific reviewed product. Your purchase of these products through affiliate links helps to generate commission for Storables.com, at no extra cost. Learn more)
Introduction
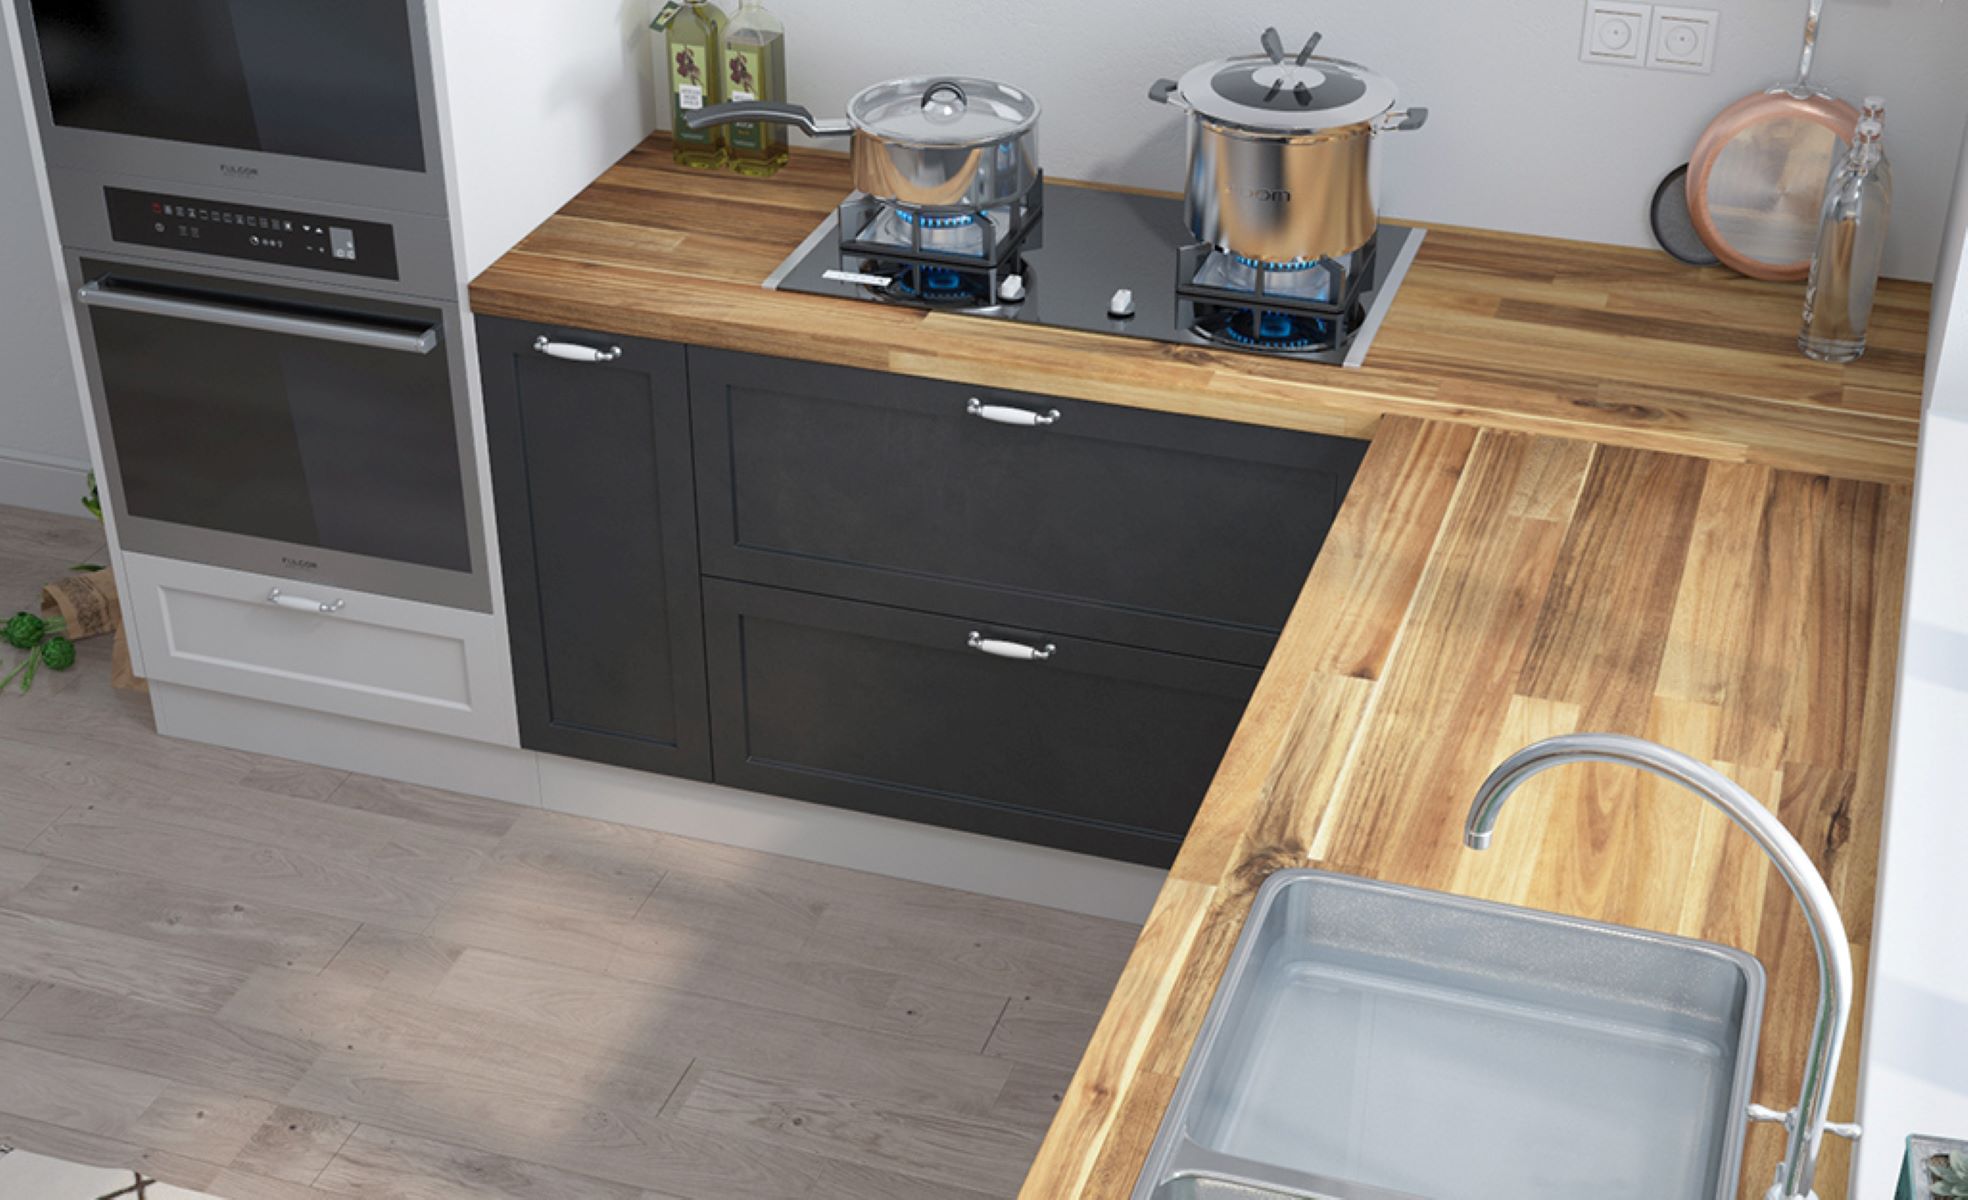
When it comes to renovating or installing new countertops in your kitchen or bathroom, laminate countertops are a popular and affordable choice. Not only do they come in a wide range of colors and designs, but they are also relatively easy to install. One important step in the installation process is seaming the laminate, which involves joining two pieces of laminate together to create a seamless and cohesive countertop surface.
In this article, we will guide you through the process of seaming laminate countertops. We will discuss the supplies you will need, as well as provide step-by-step instructions on how to achieve a professional-looking seam. Whether you are a seasoned DIY enthusiast or a beginner tackling your first countertop installation project, this article will help you achieve a beautiful and durable result.
Before we dive into the details, let’s quickly go over the supplies you will need to complete the seaming process.
Key Takeaways:
- Achieve a professional-looking and durable laminate countertop by meticulously measuring, cutting, and seaming the laminate sheets. Proper preparation, adhesive application, and trimming are key to a successful DIY project.
- Transform your space with beautiful, functional, and cost-effective laminate countertops. Follow the step-by-step guide to ensure precise seaming, trimming, and finishing for a seamless and long-lasting result.
Read more: How To Seam Quartz Countertops
Supplies Needed
Before you begin seaming the laminate countertops, make sure you have the following supplies on hand:
- Laminate sheets: Choose high-quality laminate sheets in the color and design of your choice. Measure the dimensions of your countertops to determine the amount of laminate you will need.
- Adhesive: Look for a laminate adhesive that is specifically designed for countertop installation. This adhesive should be heat-resistant and provide a strong bond.
- Utility knife: A sharp utility knife will be necessary for cutting the laminate sheets to the correct size and shape.
- J-roller: A J-roller is a cylindrical tool with a handle that is used to apply pressure to the laminate and ensure a secure bond. This will help eliminate any air bubbles or gaps between the laminate and the countertop.
- Router: A router with a flush trim bit will be needed to trim the excess laminate after seaming.
- Files or sandpaper: These tools will be used to smooth out any rough edges or imperfections in the laminate.
- Masking tape: You will need masking tape to hold the two pieces of laminate in place while the adhesive sets.
- Caulking gun: A caulking gun will be needed to apply caulk to the seams once the laminate is installed.
- Clean cloth: Keep a clean cloth handy to wipe away any excess adhesive or caulk.
Make sure you have all these supplies ready before you begin the seaming process. Having everything prepared will help streamline the installation and ensure a successful result.
Step 1: Measure and Cut the Laminate
The first step in seaming laminate countertops is to accurately measure and cut the laminate sheets to fit your countertop surface.
To begin, measure the length and width of your countertop and add a few additional inches to allow for any overhang or adjustments. Take note of these measurements and transfer them to the laminate sheets. Use a straight edge and a sharp utility knife to carefully cut the laminate according to the measurements.
Make sure to wear safety goggles and be cautious while cutting the laminate sheets. If you are using a large piece of laminate that needs to be cut into smaller sections, use a straight edge as a guide to ensure clean and straight cuts.
It is also important to consider any cutouts that may be required for sinks or appliances. Measure the location and size of these cutouts and mark them on the laminate sheets. Use a jigsaw or a router with an appropriate bit to make these cutouts.
Take your time with the cutting process to ensure accurate measurements and clean cuts. Remember, it’s better to cut the laminate slightly larger than needed and trim it down later, rather than cutting it too small and having to start over with a new sheet.
Once all the necessary cuts and cutouts have been made, proceed to the next step: preparing the countertop surface.
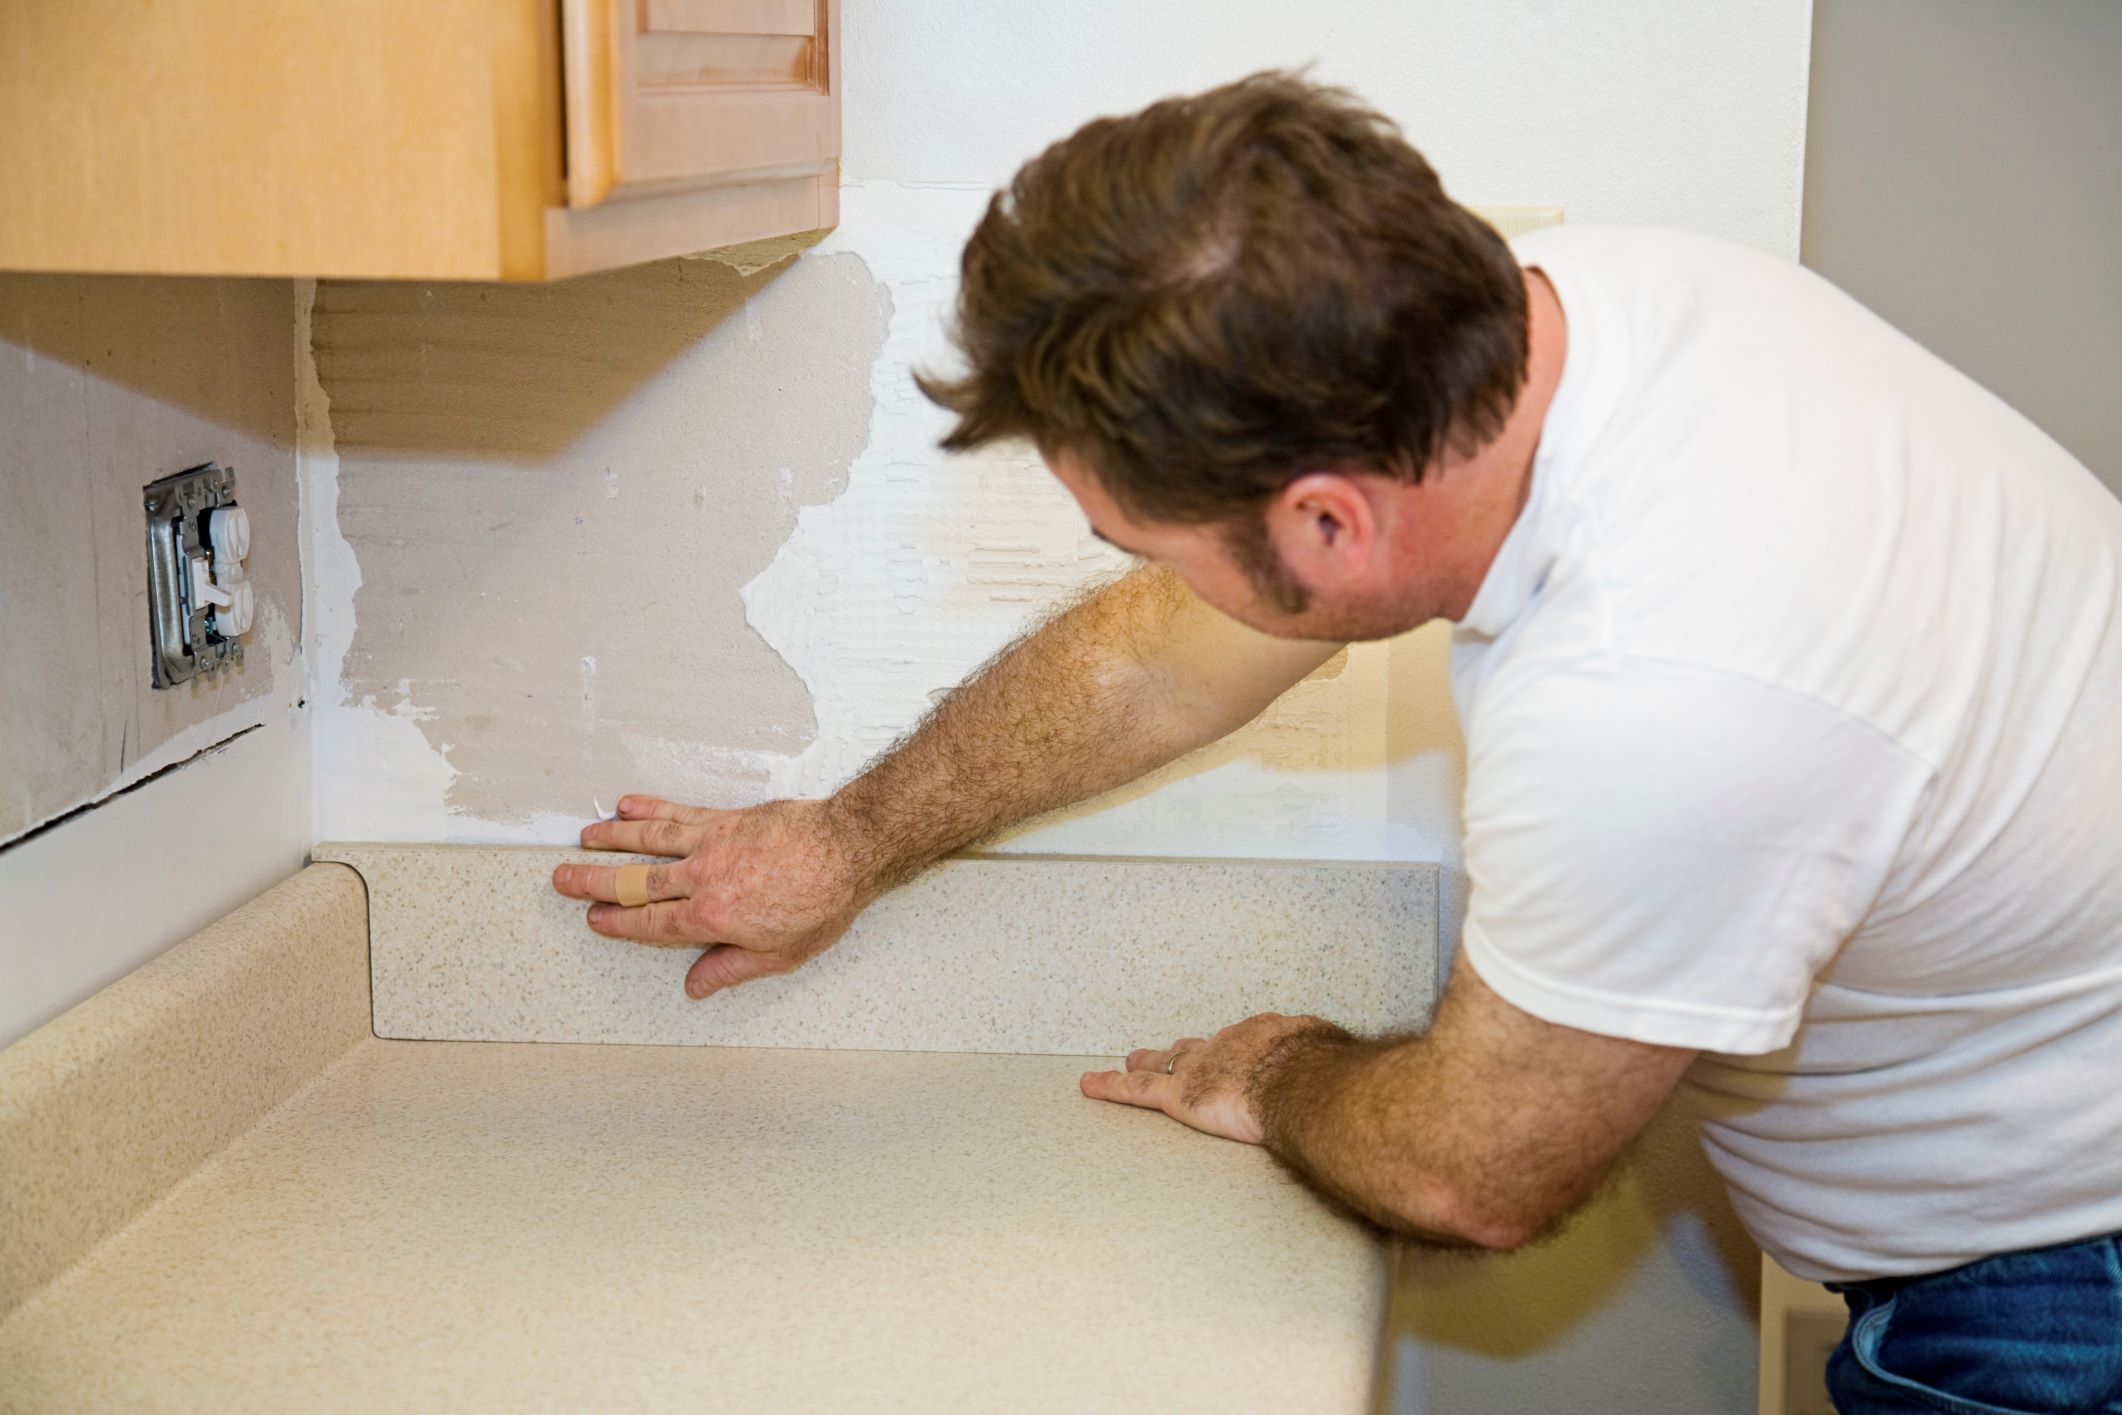
Step 2: Prepare the Countertop Surface
Before applying the laminate, it’s essential to prepare the countertop surface to ensure a proper bond and a smooth installation.
Start by cleaning the countertop surface thoroughly. Remove any dust, debris, or residue using a mild detergent and a clean cloth. Make sure the surface is completely dry before proceeding.
If you’re working with an existing countertop, inspect it for any damage or unevenness. Repair any chips or cracks using a laminate filler or epoxy. For uneven surfaces, use a sander or sandpaper to smooth out any imperfections and create a level surface for the laminate.
Next, apply a layer of primer or contact cement to the countertop surface. This will ensure a strong bond between the adhesive and the laminate. Follow the manufacturer’s instructions for the specific product you are using, as application methods may vary.
Allow the primer or contact cement to dry according to the manufacturer’s recommended drying time. This may take anywhere from a few minutes to a few hours, so be patient and ensure that the surface is completely dry before moving on to the next step.
Preparing the countertop surface is a crucial step that should not be overlooked. Taking the time to clean, repair, and prime the surface will result in a better installation and a more durable seamed laminate countertop.
Once you have prepared the countertop surface, you’re ready to move on to the next step: applying adhesive to the countertop.
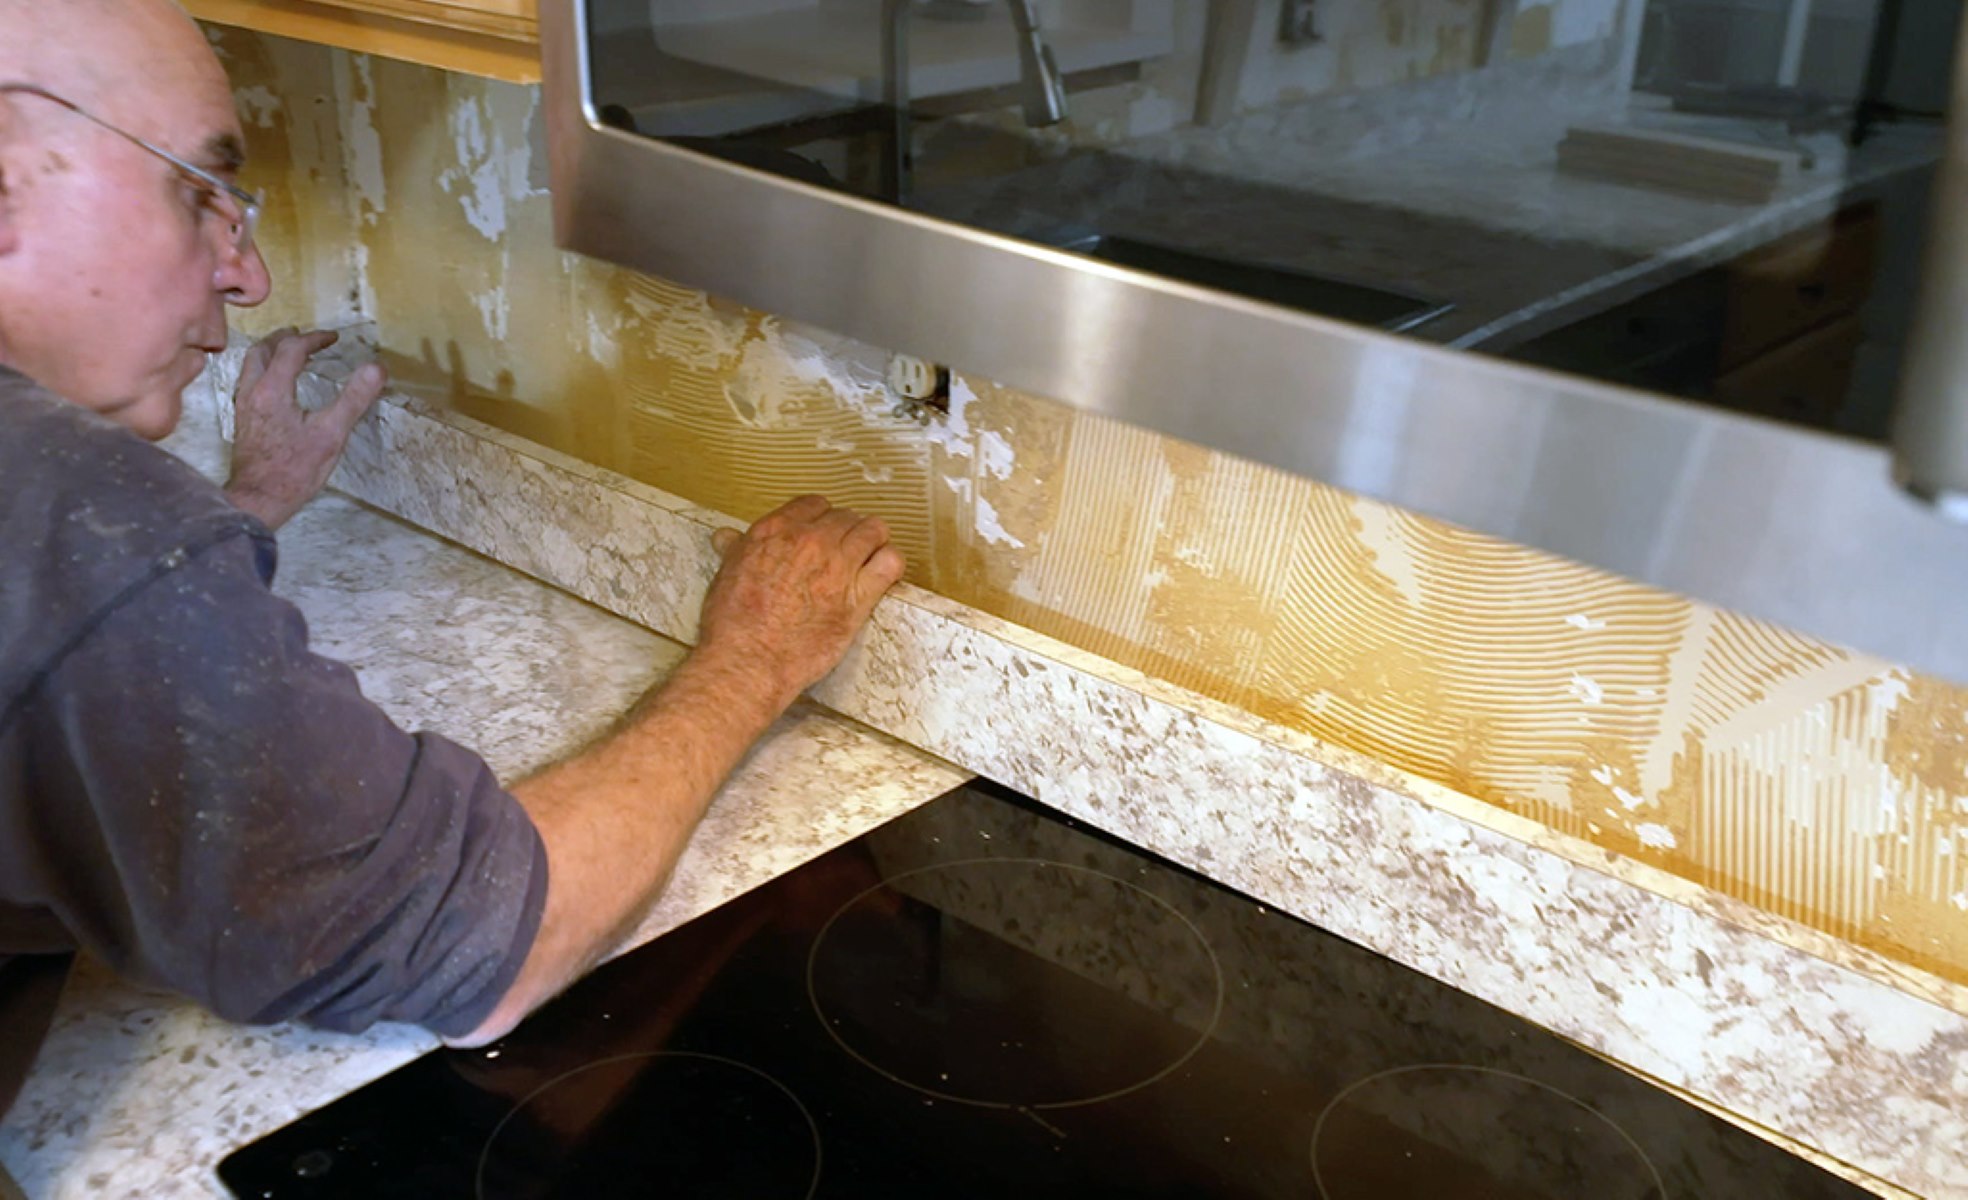
Step 3: Apply Adhesive to the Countertop
Now that you have prepared the countertop surface, it’s time to apply adhesive to ensure a strong bond between the laminate and the countertop.
Start by selecting a high-quality laminate adhesive that is specifically designed for countertop installation. Follow the manufacturer’s instructions for the appropriate application method and drying time.
Using a notched trowel or a paint roller, apply an even layer of adhesive to the countertop surface. Make sure to cover the entire area where the laminate will be placed.
Be generous with the adhesive, but not excessive. Too little adhesive may result in a weak bond, while too much adhesive may squeeze out when pressure is applied to the laminate sheets.
Once the adhesive is applied, wait for the recommended drying or tacky time. This is the time when the adhesive becomes sticky to the touch and is ready for the laminate to be applied.
Take the time to align the laminate sheets properly before placing them on the adhesive. Remember to leave a small gap between the sheets, allowing room for expansion and contraction.
Once the laminate sheets are in position, use a J-roller to apply even pressure across the entire surface. This will help to eliminate any air bubbles and ensure a secure bond between the laminate and the countertop.
Secure the laminate sheets in place with masking tape, making sure to remove any excess adhesive that may squeeze out. The tape will hold the laminate in position while the adhesive sets.
Allow the adhesive to fully dry and cure according to the manufacturer’s instructions. This may take anywhere from a few hours to a full day, so be patient and avoid placing any heavy objects on the countertop during this time.
Once the adhesive is completely dry, you’re ready for the next step: positioning and seaming the laminate.
When seaming laminate countertops, use a color-matched seam filler to create a seamless and professional finish. Smooth out the filler with a putty knife for a clean look.
Read more: What Are Laminate Countertops
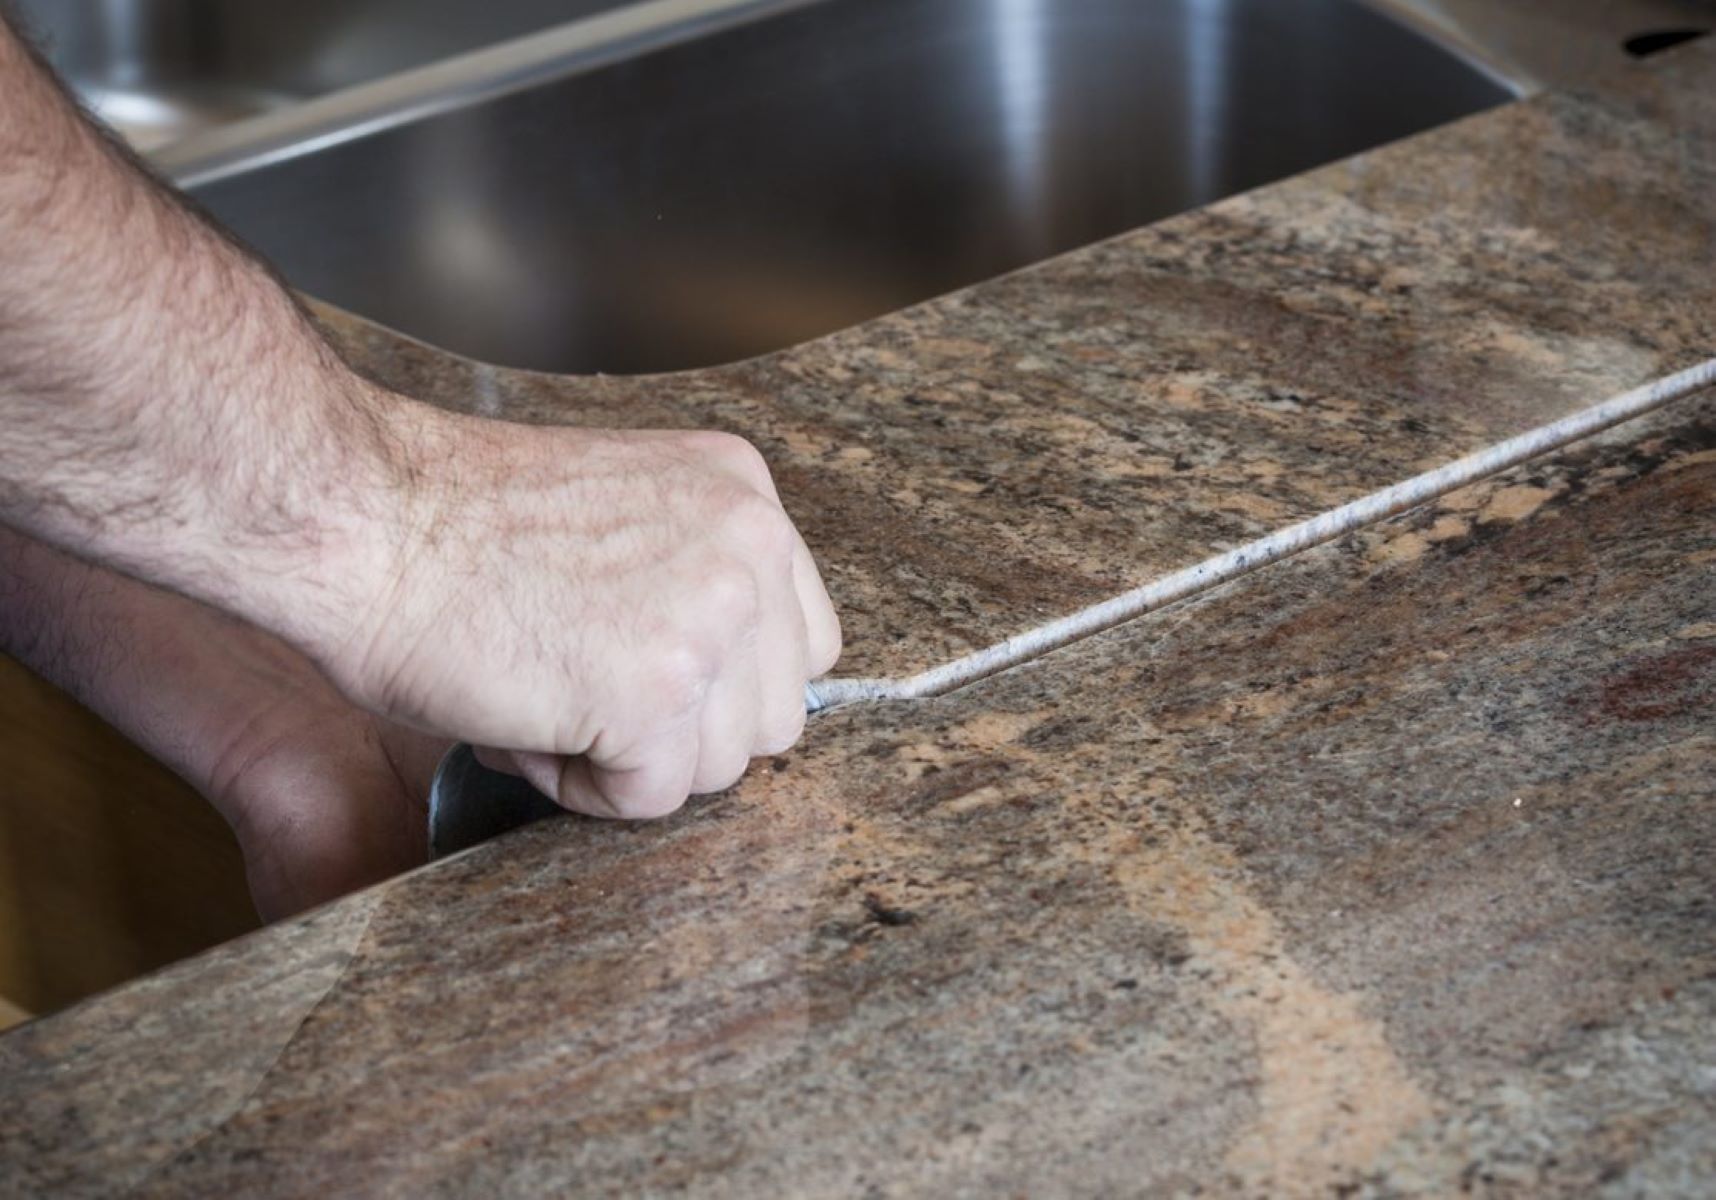
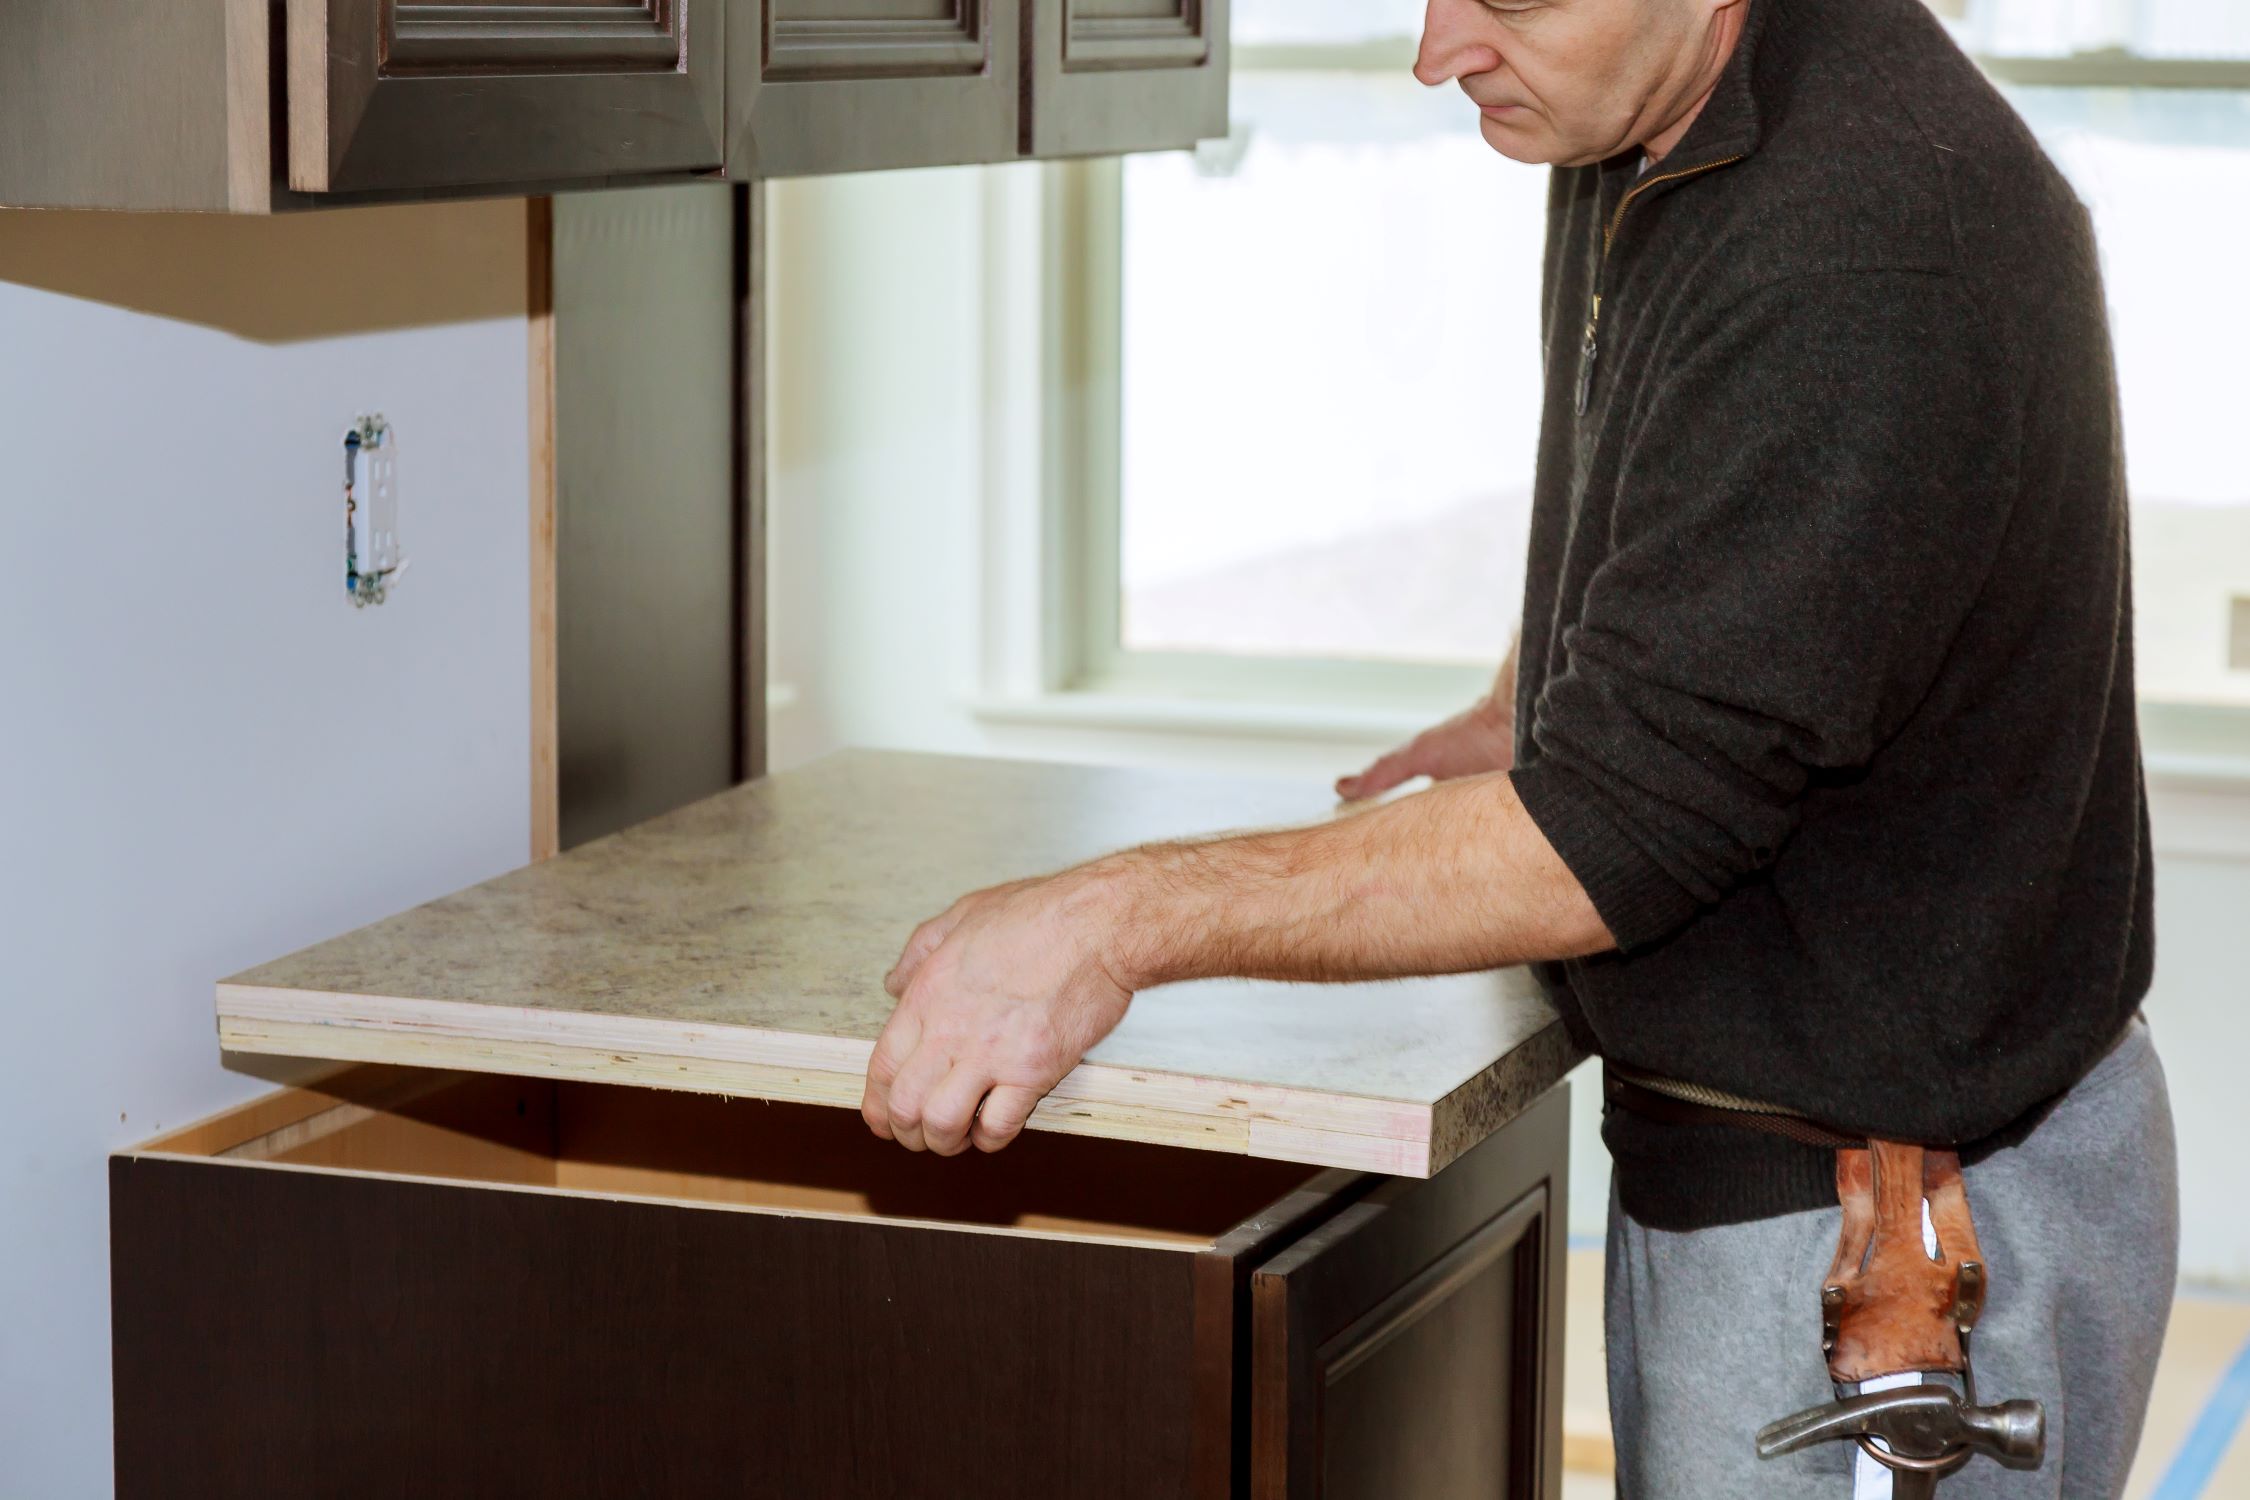
Step 4: Position and Seam the Laminate
With the adhesive dried and cured, it’s time to position and seam the laminate sheets to create a seamless countertop surface.
Start by removing the masking tape that was holding the laminate sheets in place. As you remove the tape, be careful not to disturb the position of the laminate.
Next, carefully align the edges of the two laminate sheets that will be seamed together. Ensure that they match up perfectly, without any gaps or overlaps.
Once the edges are aligned, use a roller or a hand block wrapped in a clean cloth to firmly press the two laminate sheets together. Apply even pressure along the seam to ensure a tight bond.
If there are any gaps or unevenness along the seam, use a small amount of adhesive to fill in the gaps. Smooth out the adhesive with a putty knife or a finger, ensuring that the seam is flush and seamless.
After seaming the laminate sheets, place a flat board or a heavy object over the seam to apply even pressure. Leave it in place for the recommended curing time, as per the adhesive manufacturer’s instructions.
During the curing time, periodically check the seam to ensure that it remains aligned and secure. If any adjustments are needed, make them immediately to prevent the adhesive from fully drying.
Once the adhesive is fully cured, remove the weight or flat board and inspect the seam. Smooth out any rough edges or excess adhesive using sandpaper or a file. Be careful not to damage the laminate surface.
With the laminate sheets properly seamed together, you’re ready for the next step: trimming the excess laminate.
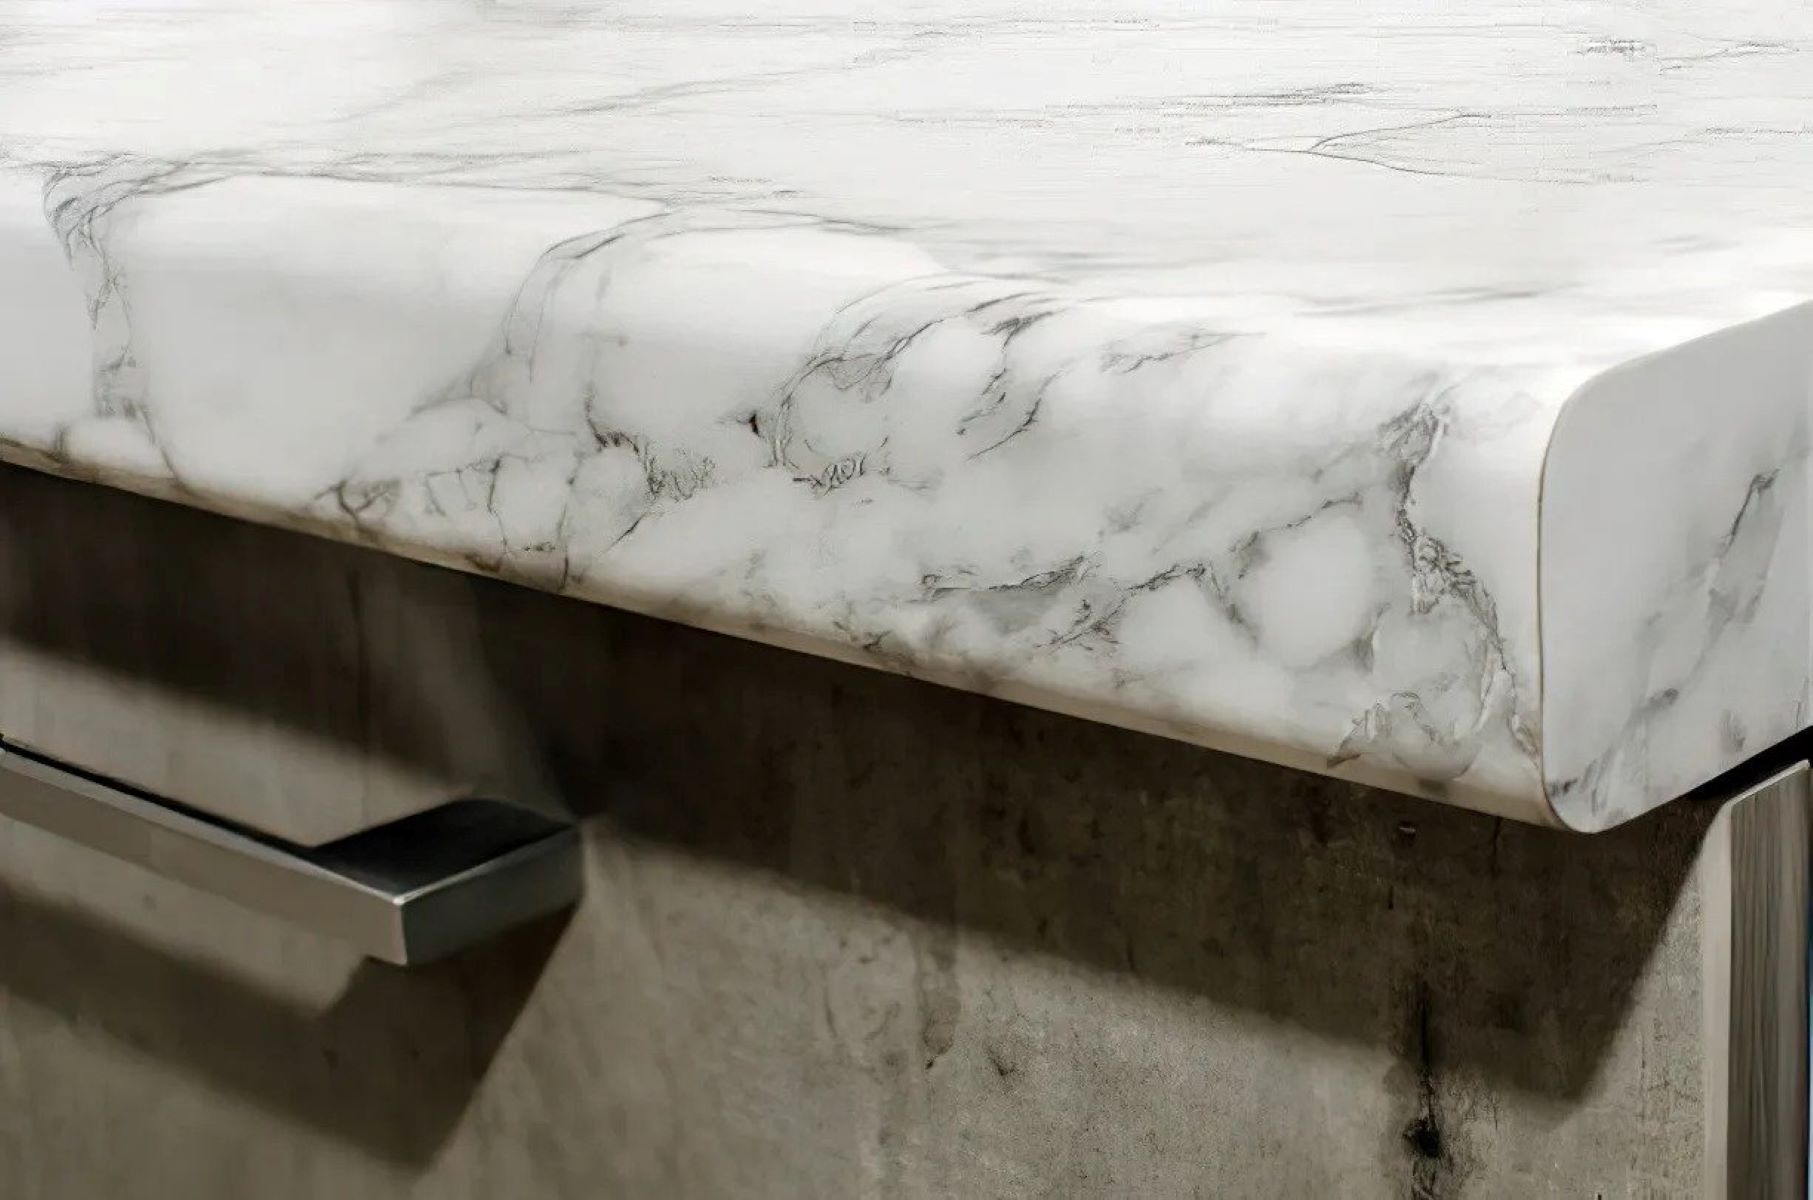
Note: If you’re working with a curved or rounded countertop edge, special care and techniques may be required to seam the laminate. It’s recommended to consult with a professional or refer to specific instructions for curved countertop installations.
Step 5: Trim Excess Laminate
After seaming the laminate sheets together, it’s time to trim any excess laminate to achieve a clean and professional finish.
To begin, use a router with a flush trim bit to trim the excess laminate along the edges. Start by positioning the router so that the bearing on the bit is against the countertop surface, and the cutting edge is against the excess laminate.
With a steady hand, carefully guide the router along the edges of the countertop, allowing the flush trim bit to remove the excess laminate. Take your time and make small, controlled passes to ensure a smooth and precise cut.
During the trimming process, be mindful of any curves or corners on the countertop. Adjust the router and your hand position accordingly to maintain a consistent trimming motion.
After trimming the edges, use a file or sandpaper to smooth out any rough or uneven areas. This will help to create a seamless transition between the laminate and the countertop, giving it a polished appearance.
Take your time with the trimming and filing process, paying attention to detail. The more precise and careful you are, the better the final result will be.
Once the excess laminate is trimmed and the edges are smooth, check the entire countertop surface for any remaining imperfections or rough edges. Use sandpaper or a file to gently smooth out any areas that require further attention.
After completing the trimming and filing process, clean the countertop surface to remove any dust or debris. Use a damp cloth or sponge to wipe down the entire surface, ensuring it is clean and ready for the final steps.
With the excess laminate trimmed and the countertop edges smoothed, you’re almost done. It’s time for the final step: cleaning and finishing the countertop.
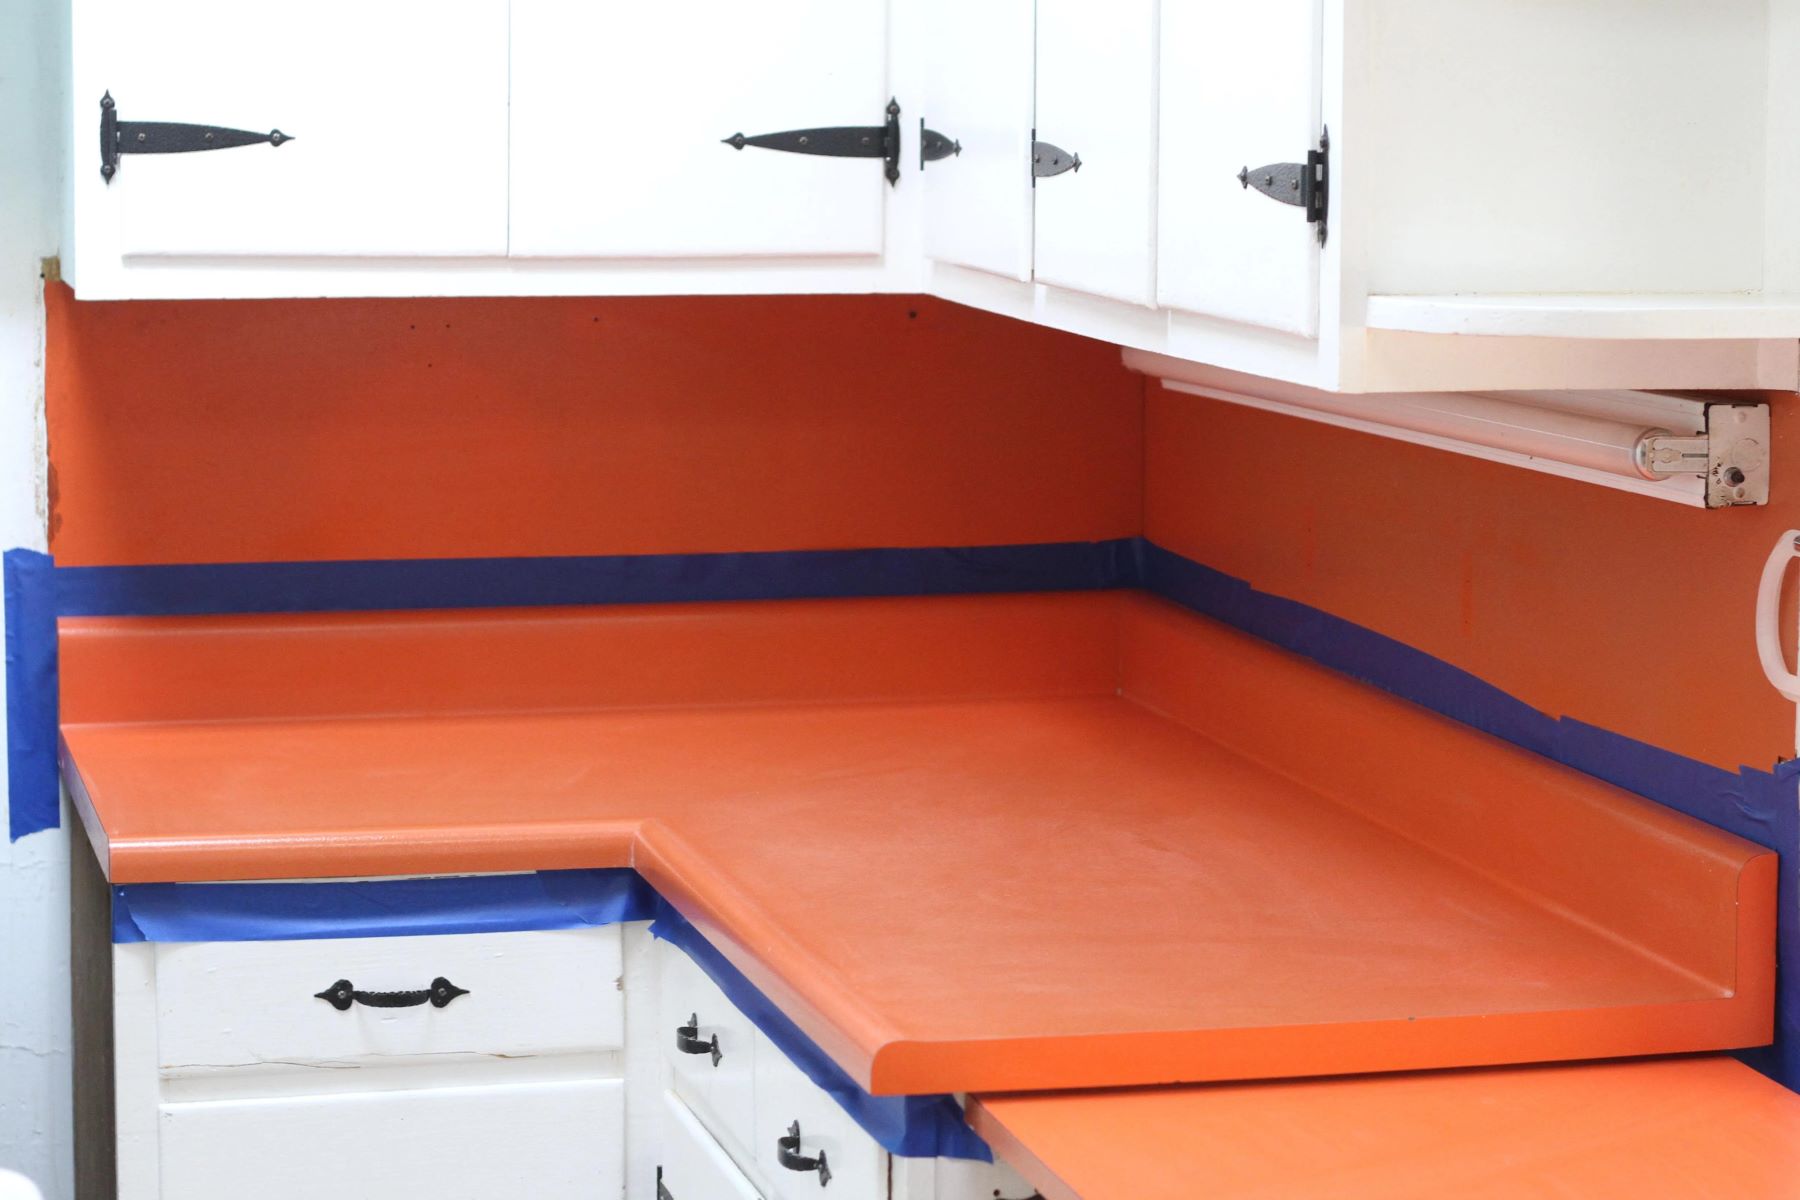
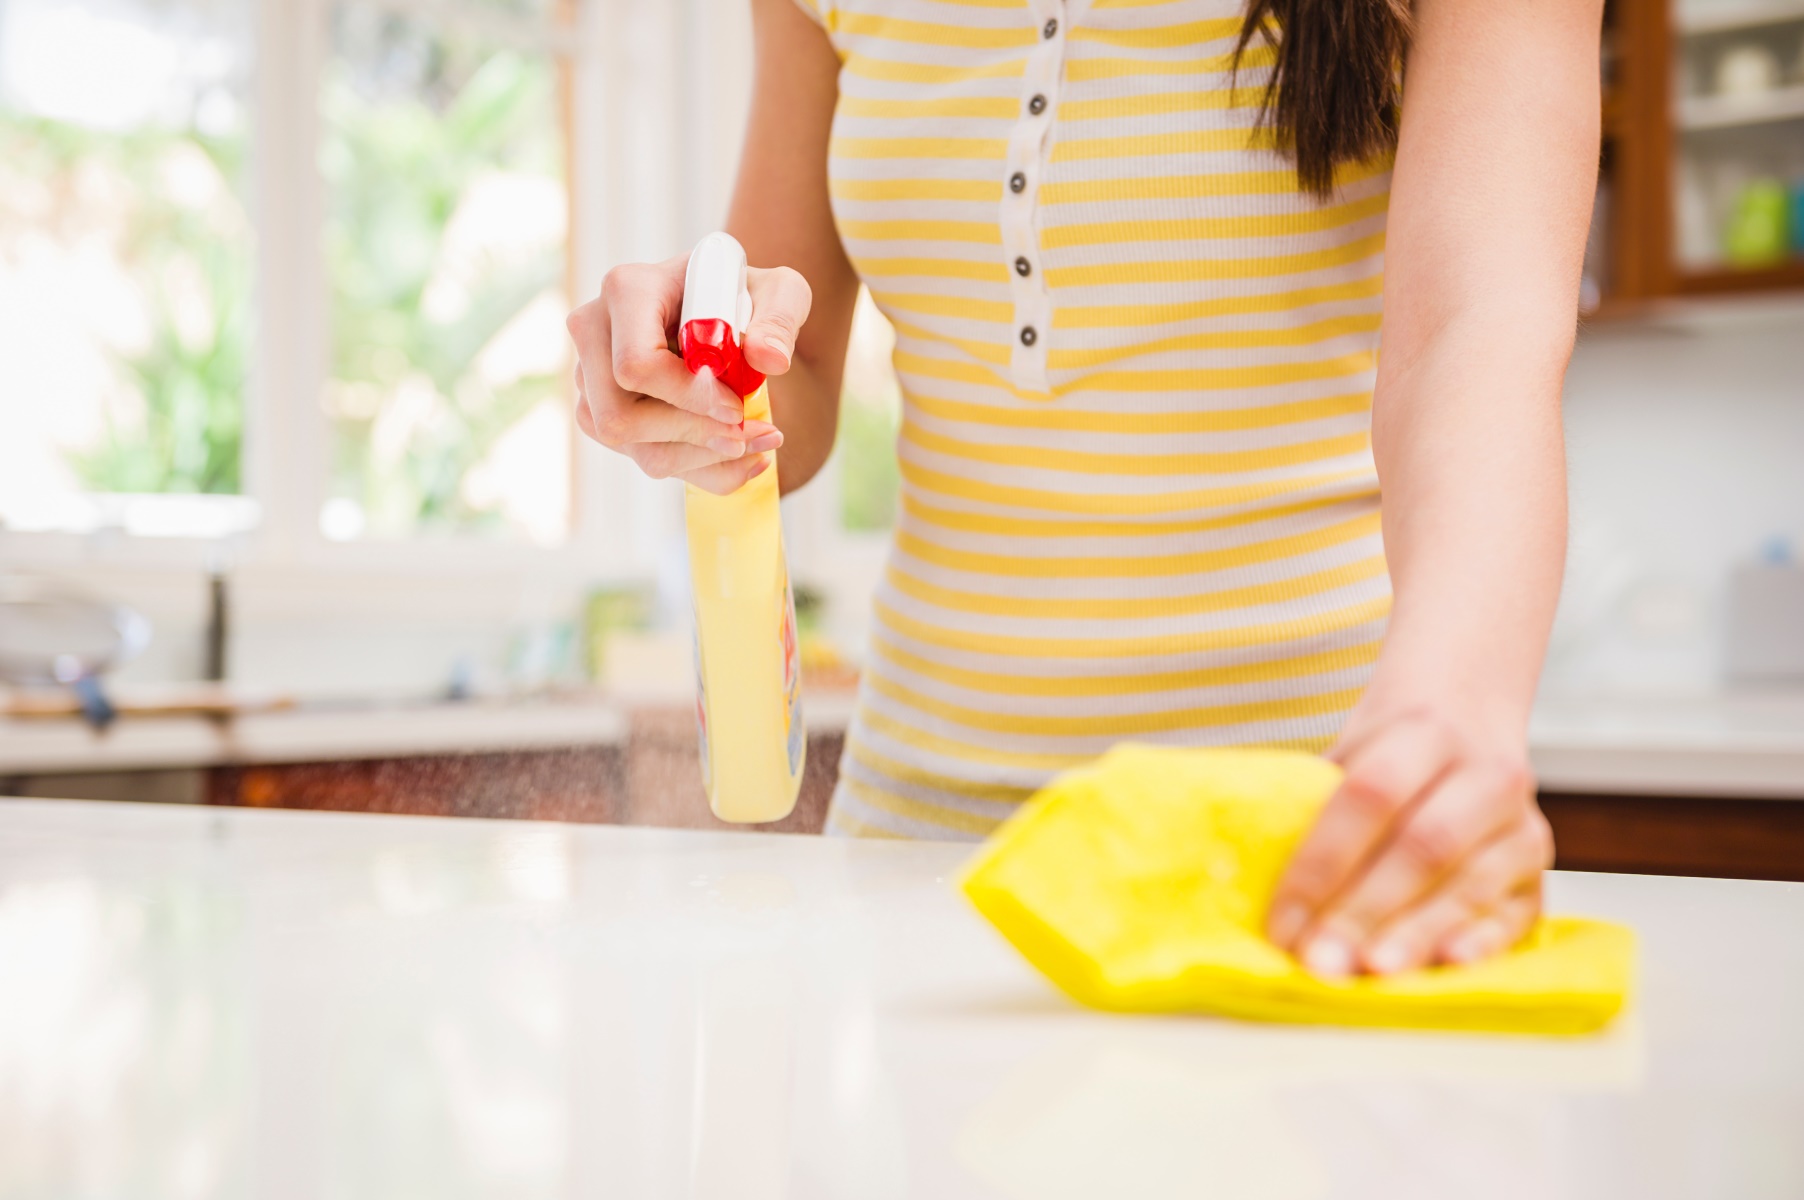
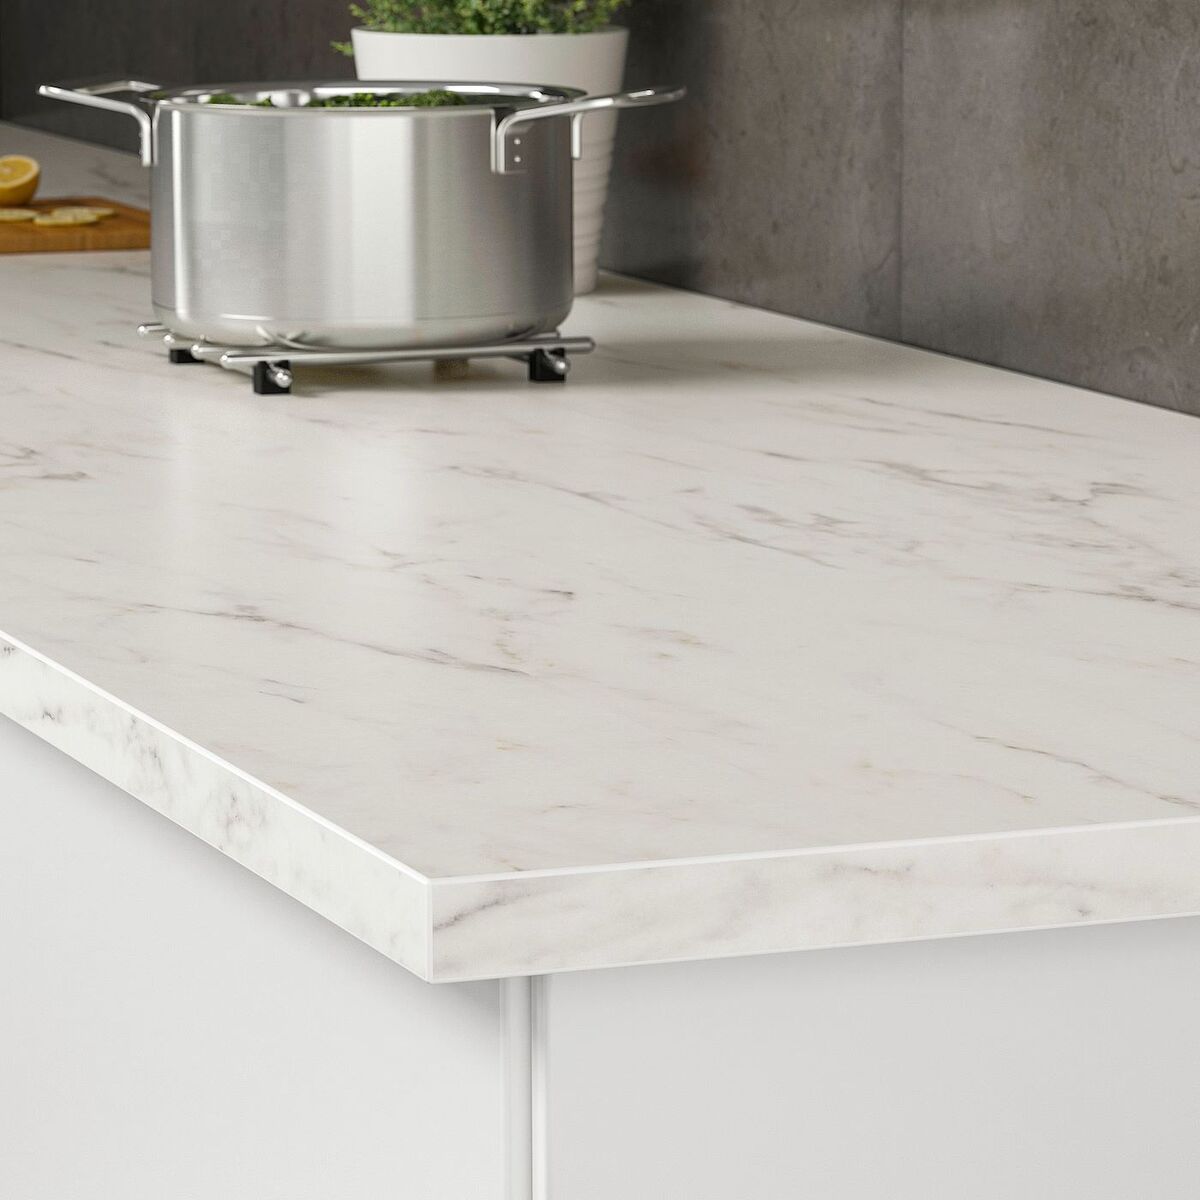
Step 6: Clean and Finish the Countertop
Now that the laminate is seamed and trimmed, it’s time to give your countertop a final cleaning and apply any finishing touches.
Start by using a mild detergent or laminate cleaner and a soft cloth to thoroughly clean the countertop surface. Remove any dust, residue, or adhesive that may have accumulated during the installation process.
Pay special attention to the seams and edges, ensuring they are clean and free from any debris. Use a toothbrush or a small brush to gently scrub any stubborn spots or crevices.
Once the surface is clean and dry, you can choose to apply a laminate edge banding or trim to further enhance the appearance and durability of the countertop. This will help to protect the edges from moisture and provide a polished look.
If you decide to apply edge banding, carefully measure and cut the banding to fit the edges of the countertop. Apply a thin layer of adhesive to the back of the banding and press it firmly onto the edges, using a J-roller for even pressure. Trim any excess banding using a flush trim bit or a sharp knife.
Finally, inspect the entire countertop surface for any remaining imperfections or rough areas. Smooth out any rough edges or high spots using sandpaper or a file, being careful not to damage the laminate surface.
Once you’re satisfied with the appearance and feel of the countertop, wipe it down one final time with a clean, damp cloth to remove any dust or debris. Take a step back and admire your beautifully seamed and finished laminate countertop.
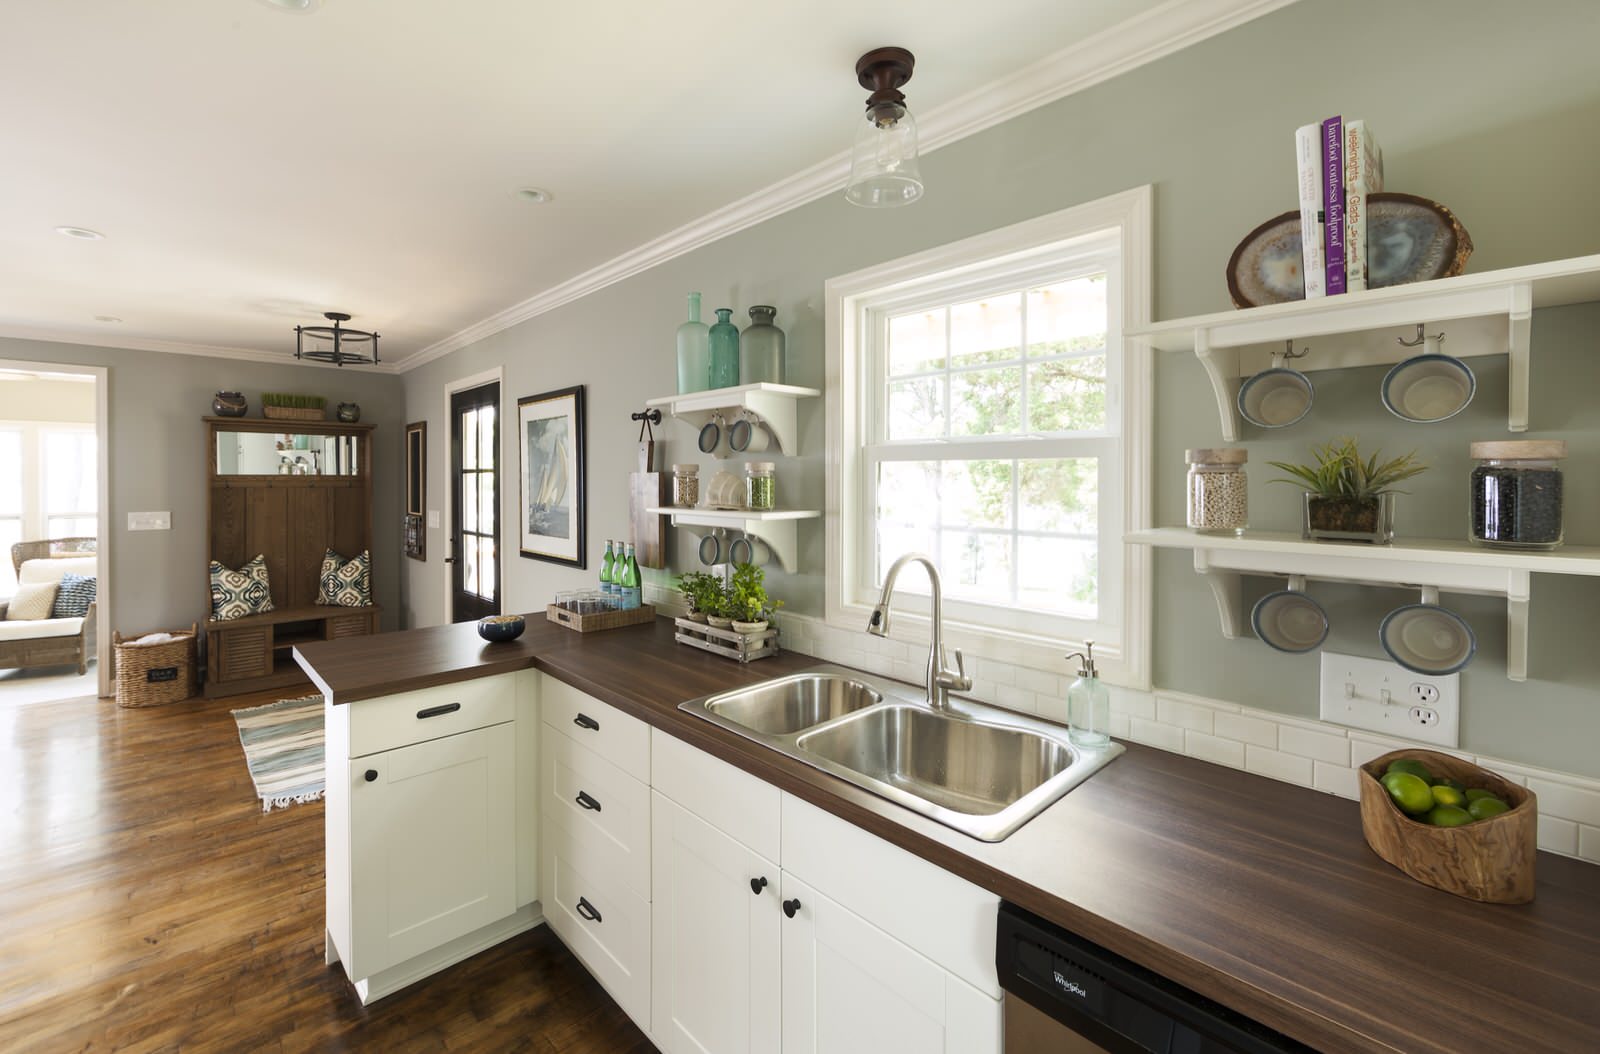
By following these steps and taking the time to properly seam, trim, clean, and finish your laminate countertops, you can ensure a professional-looking and long-lasting result. Enjoy your new countertops and the functional and aesthetic benefits they bring to your space!
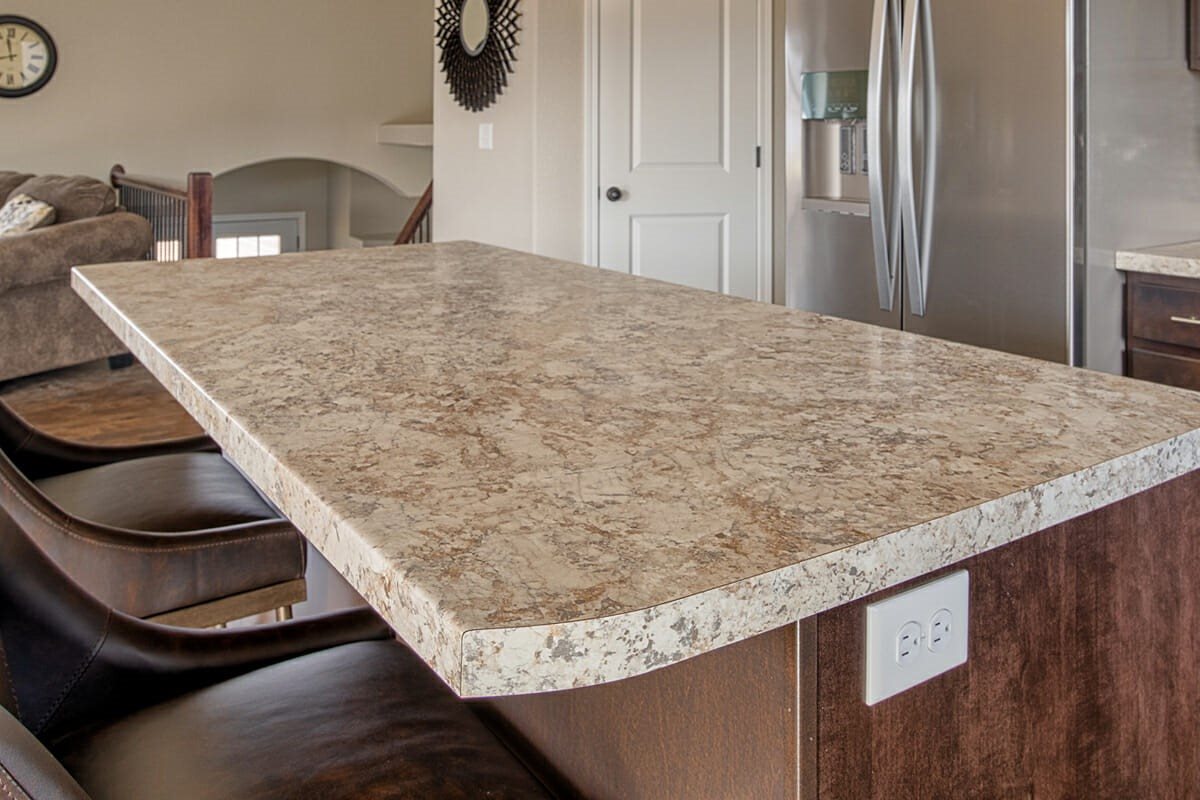
Conclusion
Seaming laminate countertops may seem like a daunting task, but with the right tools, supplies, and careful execution, it can be a rewarding DIY project. By following the steps outlined in this article, you can achieve a seamless and professional-looking countertop surface that enhances the beauty and functionality of your kitchen or bathroom.
Remember to begin by measuring and cutting the laminate sheets accurately, ensuring a precise fit for your countertops. Prepare the countertop surface by cleaning, repairing any damage, and applying primer or contact cement for optimal adhesion.
Next, carefully apply the adhesive and position the laminate sheets, making sure to align the edges and eliminate any gaps. Seam the laminate sheets together using a roller or hand block, applying even pressure along the seam.
After seaming, trim the excess laminate using a router with a flush trim bit, and smooth out any rough edges with sandpaper or a file. Clean the countertop surface thoroughly, and consider applying edge banding or trim for added protection and a polished finish.
Throughout the seaming process, be patient, meticulous, and pay attention to detail. Take the time to ensure the seams are perfectly aligned, and the edges are smooth. This will result in a professional-looking and durable countertop that you can enjoy for years to come.
Whether you’re tackling your first laminate countertop installation or looking to improve your technique, this guide has provided you with the knowledge and steps necessary to achieve a successful project outcome.
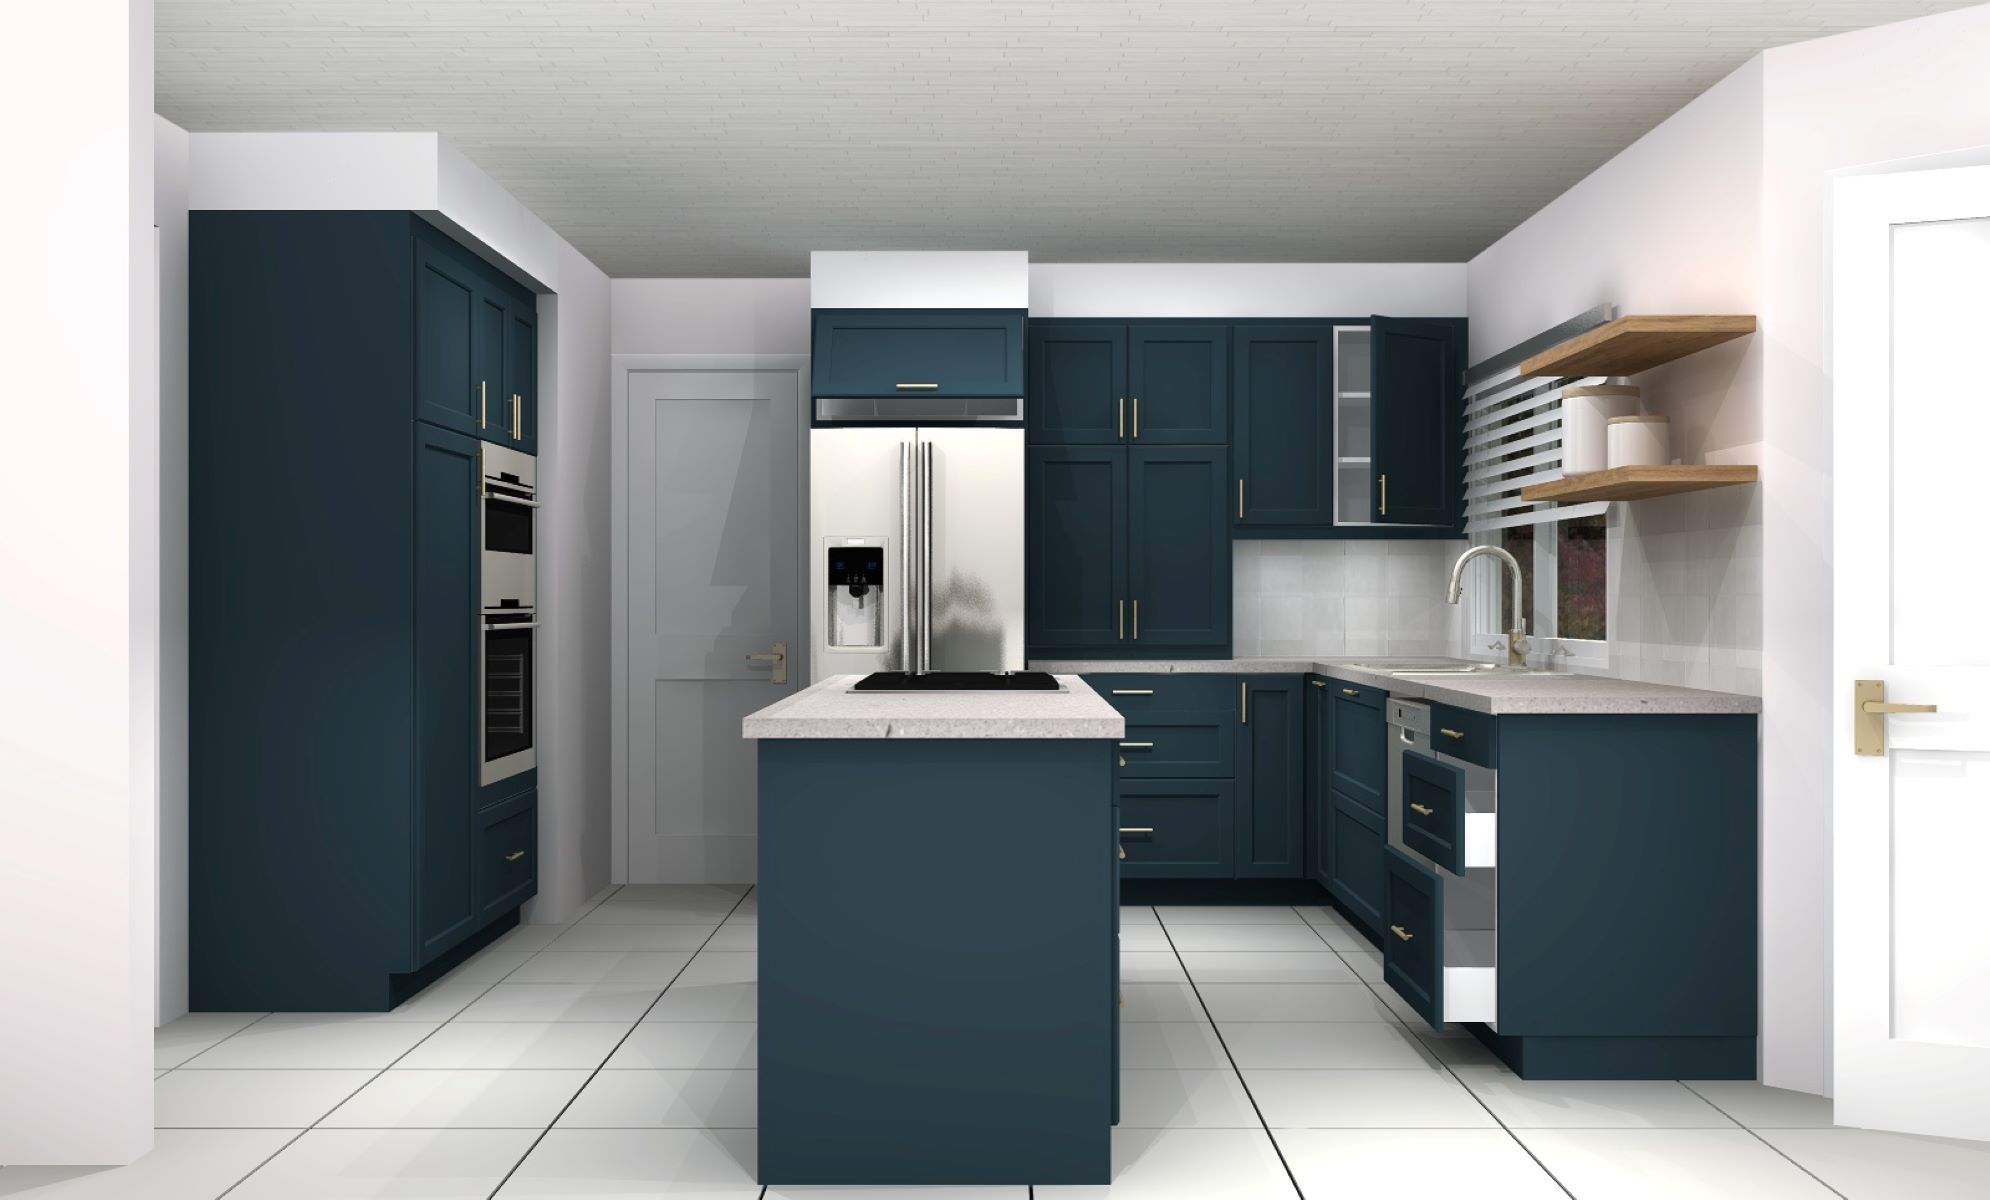
Now, armed with this information, go ahead and take on the challenge of seaming laminate countertops, and transform your space with a beautiful, functional, and cost-effective countertop solution.
After mastering the art of seaming laminate countertops, why not broaden your DIY skills further? Our detailed guide on home repair offers practical advice for tackling a variety of common household fixes. Whether you're dealing with a leaky faucet or squeaky doors, this article provides all the tools and techniques needed to handle repairs confidently and efficiently. Don't miss out on becoming more handy around your house!
Frequently Asked Questions about How To Seam Laminate Countertops
Was this page helpful?
At Storables.com, we guarantee accurate and reliable information. Our content, validated by Expert Board Contributors, is crafted following stringent Editorial Policies. We're committed to providing you with well-researched, expert-backed insights for all your informational needs.


0 thoughts on “How To Seam Laminate Countertops”