Articles
How To Season Cast Iron On Stove Top
Modified: January 5, 2024
Learn how to season cast iron on a stove top with our helpful articles. Enhance the durability and non-stick properties of your cast iron cookware.
(Many of the links in this article redirect to a specific reviewed product. Your purchase of these products through affiliate links helps to generate commission for Storables.com, at no extra cost. Learn more)
Introduction
Seasoning cast iron cookware is an essential process to maintain its longevity and non-stick properties. While there are various methods to season cast iron, one popular and effective technique is seasoning it on the stove top. Not only is this method easy to follow, but it also allows for better control over the seasoning process.
In this article, we will guide you on how to season cast iron on the stove top, step-by-step. We will also discuss the benefits of seasoning cast iron and provide some maintenance tips to keep your cookware in top shape.
Seasoning your cast iron properly not only protects it from rust and corrosion but also develops a natural non-stick surface. It creates a durable barrier that prevents food from sticking to the surface, making cleaning a breeze. Additionally, a well-seasoned cast iron skillet or pan imparts a distinct and delicious flavor to your food.
With the proper supplies and a little bit of patience, you can easily season your cast iron on the stove top and enjoy the benefits for years to come.
Key Takeaways:
- Seasoning cast iron on the stove top offers controlled application, even heat distribution, and quick convenience. It also allows for better temperature control and repeatability, resulting in a consistently seasoned and non-stick cooking surface.
- To maintain seasoned cast iron, avoid soaking, use gentle cleaning agents, and reapply oil as needed. Proper drying, storage, and regular use contribute to the longevity and performance of your cast iron cookware.
Read more: How To Season A Cast Iron Kettle
Benefits of Seasoning Cast Iron on Stove Top
Seasoning cast iron cookware on the stove top offers several advantages compared to other methods. Here are some of the key benefits:
- Controlled Application: Seasoning cast iron on the stove top allows for better control over the entire seasoning process. You can easily apply the oil or seasoning to the desired areas, ensuring a consistent and thorough coating.
- Even Heat Distribution: Heating cast iron on the stove top ensures that the oil or seasoning is evenly distributed across the cooking surface. This promotes uniform seasoning and prevents any areas from becoming uneven or sticky.
- Quick and Convenient: Stove top seasoning is a relatively quick method compared to other techniques like oven seasoning. It allows you to season your cast iron cookware without having to wait for the oven to preheat or for long baking times.
- Better Control Over Temperature: With stove top seasoning, you have better control over the temperature, which is crucial for the seasoning process. You can easily adjust the heat to the optimal range, allowing the oil or seasoning to properly polymerize and create a durable non-stick surface.
- Less Smoke: Seasoning cast iron on the stove top generally produces less smoke compared to oven seasoning. This is particularly beneficial for those who have limited ventilation in their kitchen or prefer to minimize smoke production.
- Repeatability: Stove top seasoning is a process that can be repeated multiple times, especially for new or heavily used cast iron cookware. By repeating the seasoning process, you can gradually build up a strong and resilient seasoning layer, enhancing the non-stick properties of your cast iron.
Overall, seasoning cast iron on the stove top offers greater control, convenience, and efficiency compared to other methods. It allows you to achieve a consistently seasoned and non-stick cooking surface, making your cast iron cookware a joy to use in the kitchen.
Supplies Needed
Before you start seasoning your cast iron on the stove top, gather the following supplies:
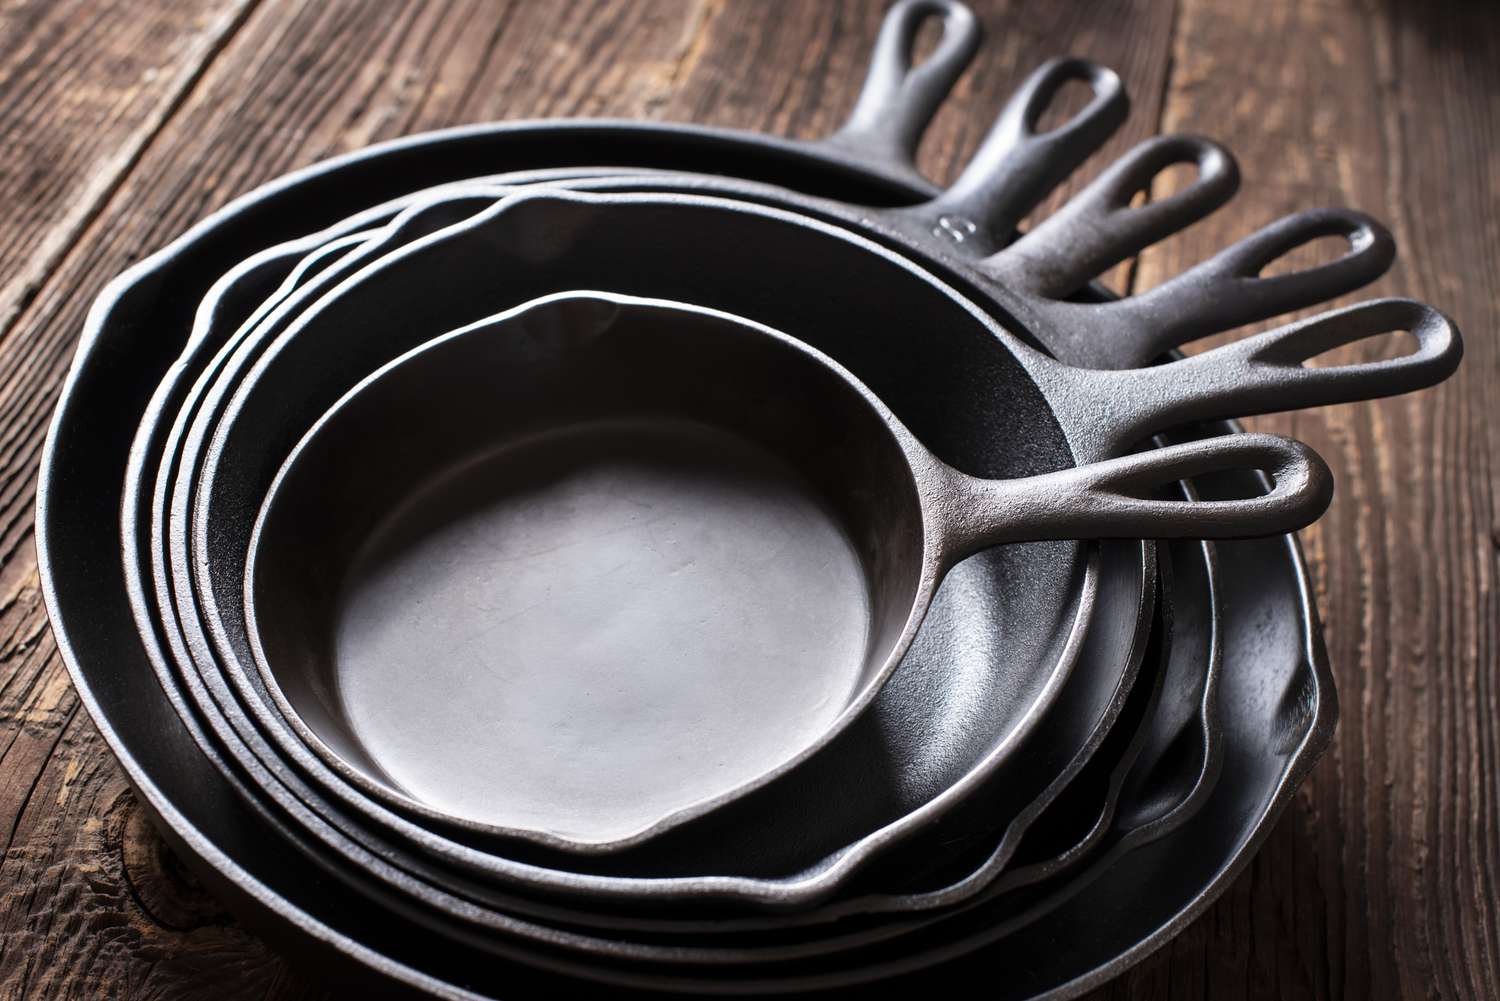
- Cast Iron Cookware: You will need the cast iron skillet, pan, or any other cast iron cookware that you want to season. Make sure it is clean and free from any food residue.
- Dish Soap: Use a mild dish soap to clean the cast iron properly before seasoning it. Avoid using harsh detergents or abrasive materials that can damage the seasoning.
- Sponge or Scrubber: Have a non-abrasive sponge or scrubber on hand to gently remove any stubborn residue from the cast iron.
- Towel or Paper Towels: Use a clean towel or paper towels to thoroughly dry the cast iron after cleaning.
- Vegetable Oil or Seasoning: Choose a high-smoke-point oil like vegetable oil, canola oil, or flaxseed oil for the seasoning process. Alternatively, you can use specialized cast iron seasoning products available in the market.
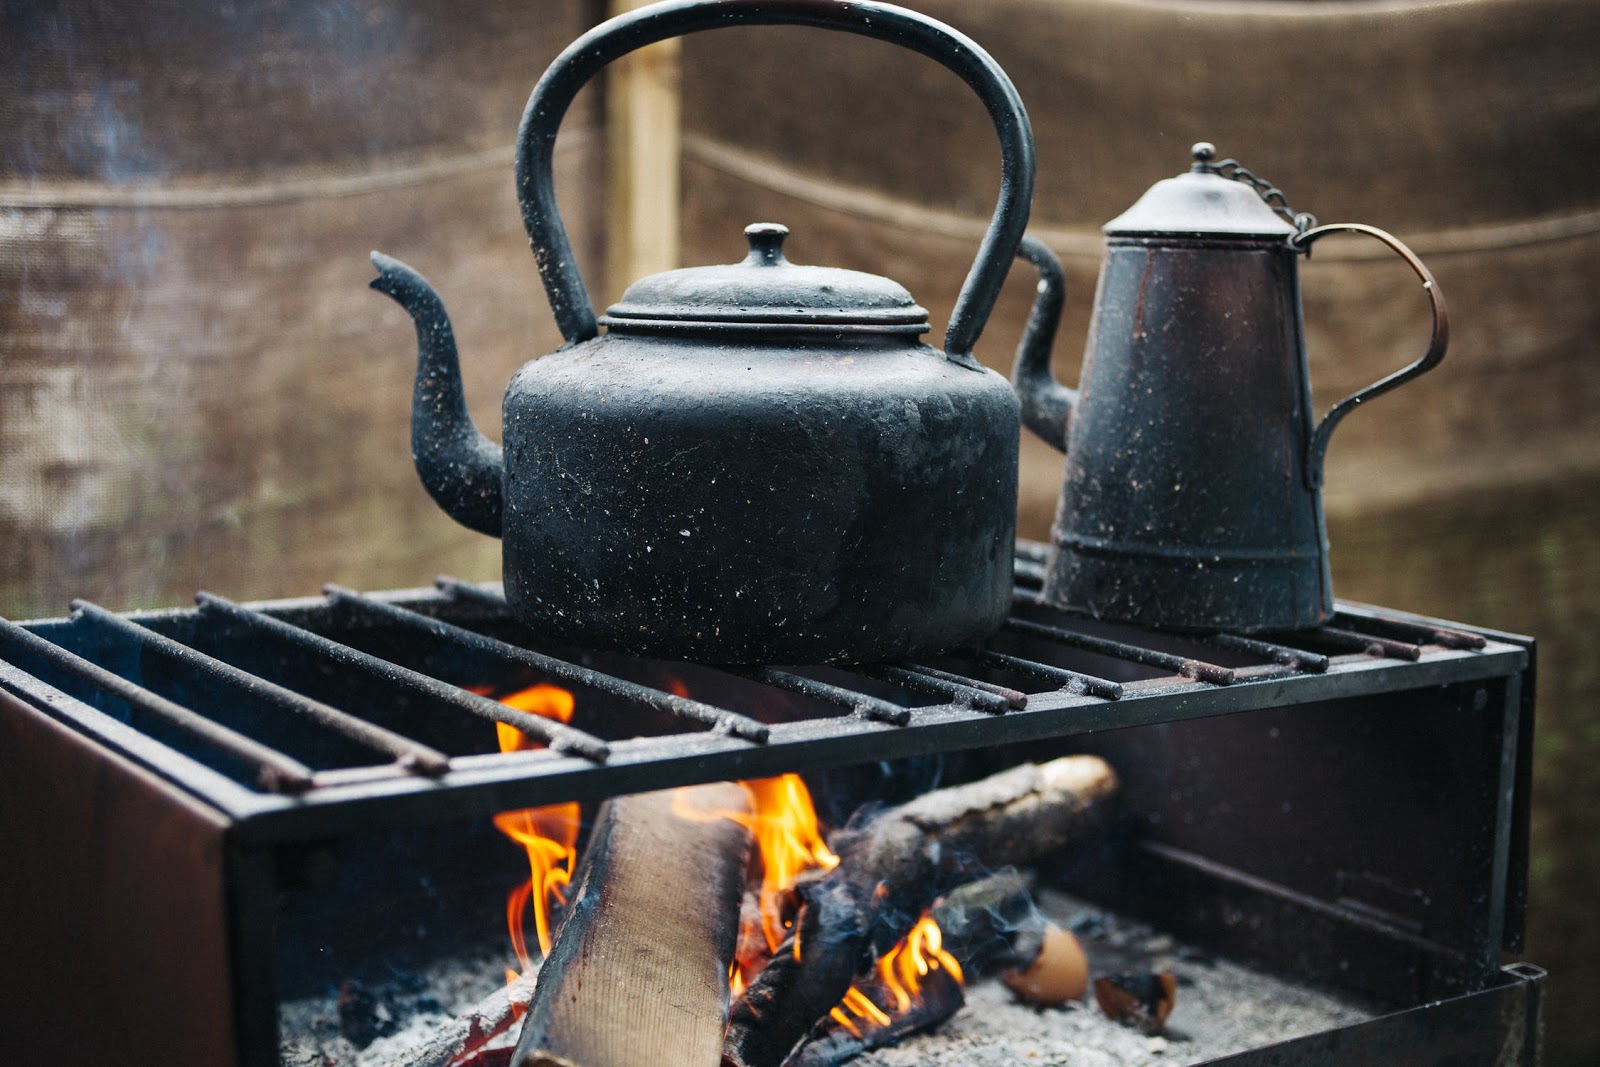
- Stove or Cooktop: You will need a stove or cooktop to heat the cast iron and facilitate the seasoning process.
- Heat-resistant Gloves or Mitts: To protect your hands from heat and potential burns, use heat-resistant gloves or mitts when handling the hot cast iron.
- Tongs or Heat-Resistant Utensils: Use tongs or heat-resistant utensils to handle and turn the cast iron during the heating process.
- Paper Towels or Cloth: Keep some paper towels or a cloth handy to wipe away any excess oil or seasoning after each application.
Having these supplies ready before you begin the seasoning process will ensure a smooth and efficient experience. Now that you have everything you need, let’s move on to the step-by-step process of seasoning your cast iron on the stove top.
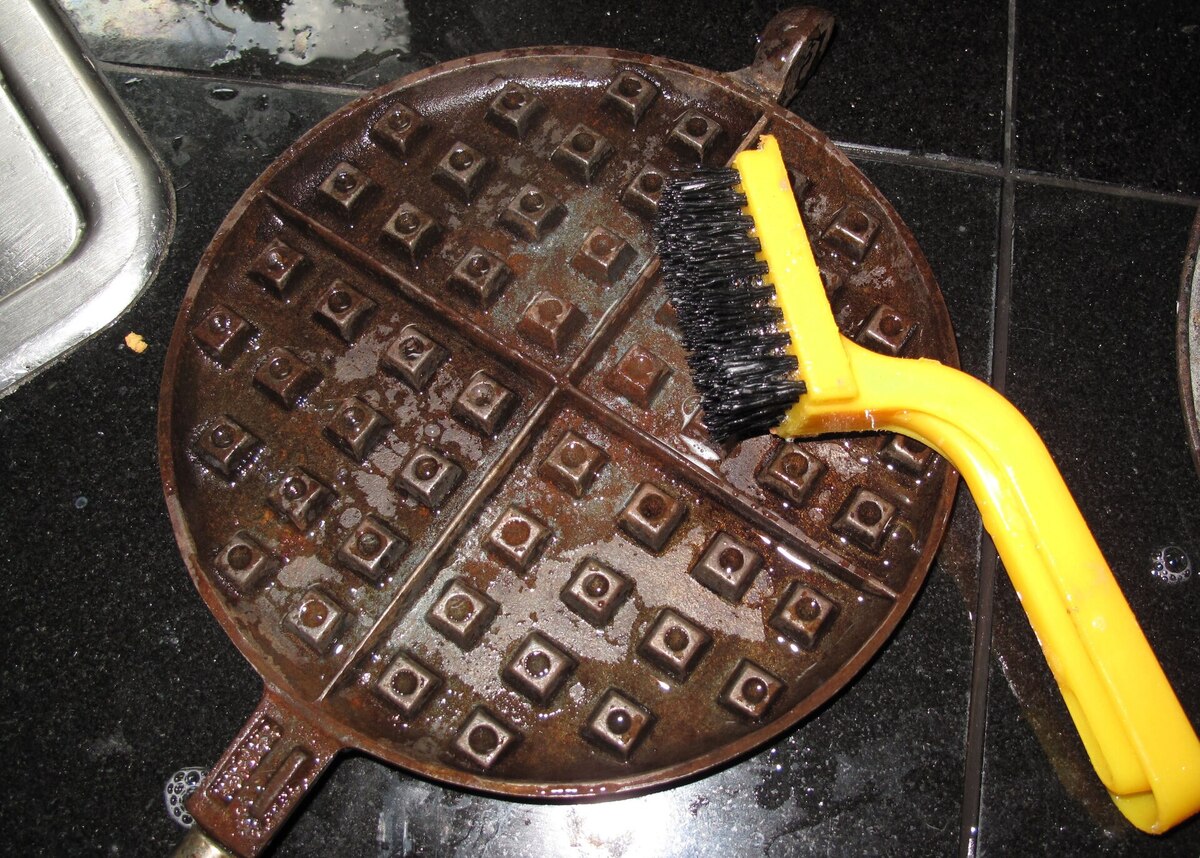
Step 1: Cleaning the Cast Iron
The first step in seasoning cast iron on the stove top is to thoroughly clean the cookware. Cleaning removes any food residue, oils, or other impurities that may interfere with the seasoning process. Follow these steps to clean your cast iron:
- Scrub the Surface: Use a non-abrasive sponge or scrubber and mild dish soap to scrub the surface of the cast iron. Gently remove any visible food particles or grime. Avoid using harsh detergents or abrasive materials as they can damage the seasoning.
- Rinse with Warm Water: Rinse the cast iron under warm water to remove the soap residue. Make sure to rinse thoroughly, ensuring no soap is left behind.
- Dry Thoroughly: Use a clean towel or paper towels to dry the cast iron completely. Moisture can cause rust, so it’s essential to remove all water before proceeding.
- Air Dry: Allow the cast iron to air dry for some time to ensure all moisture has evaporated. You can also place it on a low heat burner for a few minutes to aid in the drying process.
- Inspect for Stains or Residue: Once the cast iron is dry, inspect the surface for any remaining stains or residue. If you notice stubborn spots, repeat the cleaning process for those areas.
Cleaning the cast iron thoroughly prepares it for the seasoning process. By removing any impurities, you ensure a smooth and even seasoning application, resulting in a better non-stick surface. Now that your cast iron is clean, it’s time to move on to the next step: applying oil or seasoning.
After cleaning your cast iron skillet, heat it on the stove top over medium heat. Once heated, apply a thin layer of oil all over the skillet, including the handle. Let it heat for 1 hour, then turn off the heat and let it cool. Wipe off any excess oil.
Step 2: Applying Oil or Seasoning
Once you have cleaned your cast iron, the next step in seasoning it on the stove top is to apply oil or seasoning. This step helps create a protective layer on the surface of the cast iron, preventing rust and enhancing its non-stick properties. Follow these steps to apply oil or seasoning to your cast iron:
- Choose an Oil or Seasoning: Select a high-smoke-point oil like vegetable oil, canola oil, or flaxseed oil for the seasoning process. Alternatively, you can use specialized cast iron seasoning products available in the market. These products are specifically formulated to provide excellent seasoning results.
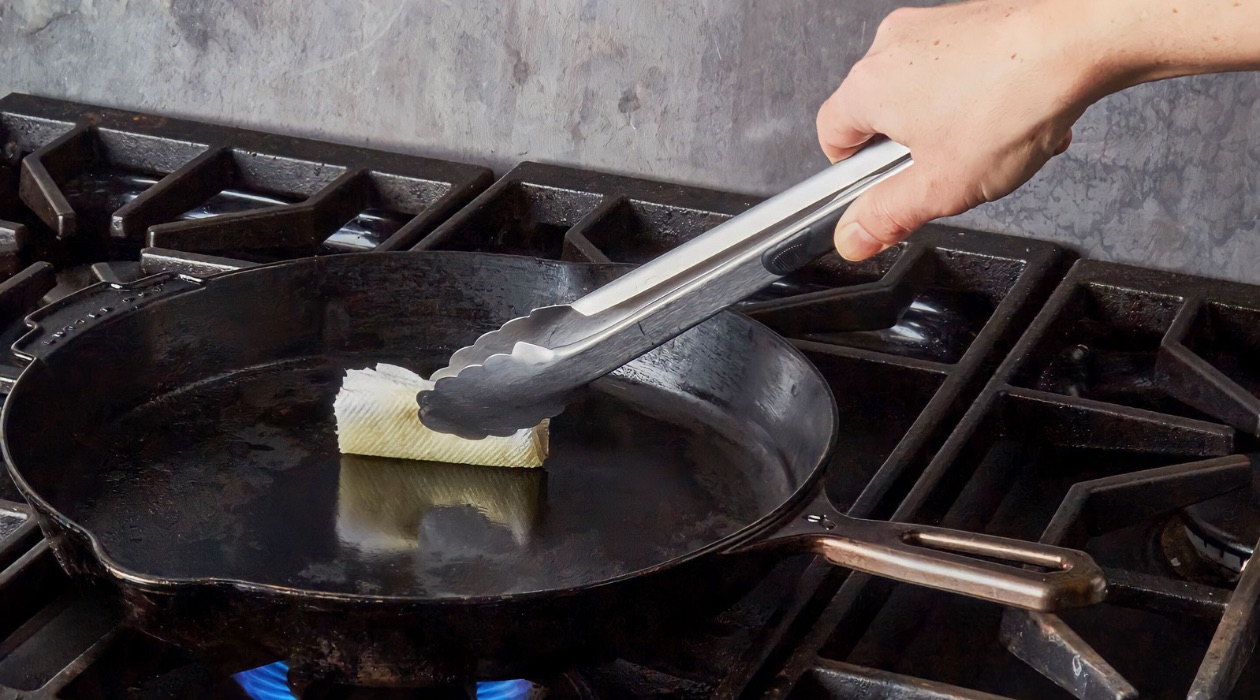
- Apply a Thin Layer: Pour a small amount of oil onto a paper towel or cloth. Gently rub the oil all over the surface of the cast iron, including the handles and sides. Make sure to apply a thin, even layer that covers the entire cooking surface.
- Remove Excess Oil: After applying the oil, use a clean paper towel or cloth to wipe away any excess oil. The cast iron should have a thin, almost invisible layer of oil after wiping.
- Repeat for All Pieces: If you are seasoning multiple pieces of cast iron, repeat the oil application process for each piece.
- Consider Seasoning Alternatives: If you prefer to use seasoning blends or specialized cast iron seasoning products, follow the manufacturer’s instructions for the application process. These products often provide additional flavor and protection to your cast iron.
Applying oil or seasoning to the cast iron helps create a strong and protective layer on its surface. This layer prevents moisture from damaging the cookware and enhances its non-stick properties. Once you have applied the oil or seasoning, it’s time to move on to the next step: heating the cast iron.
Step 3: Heating the Cast Iron
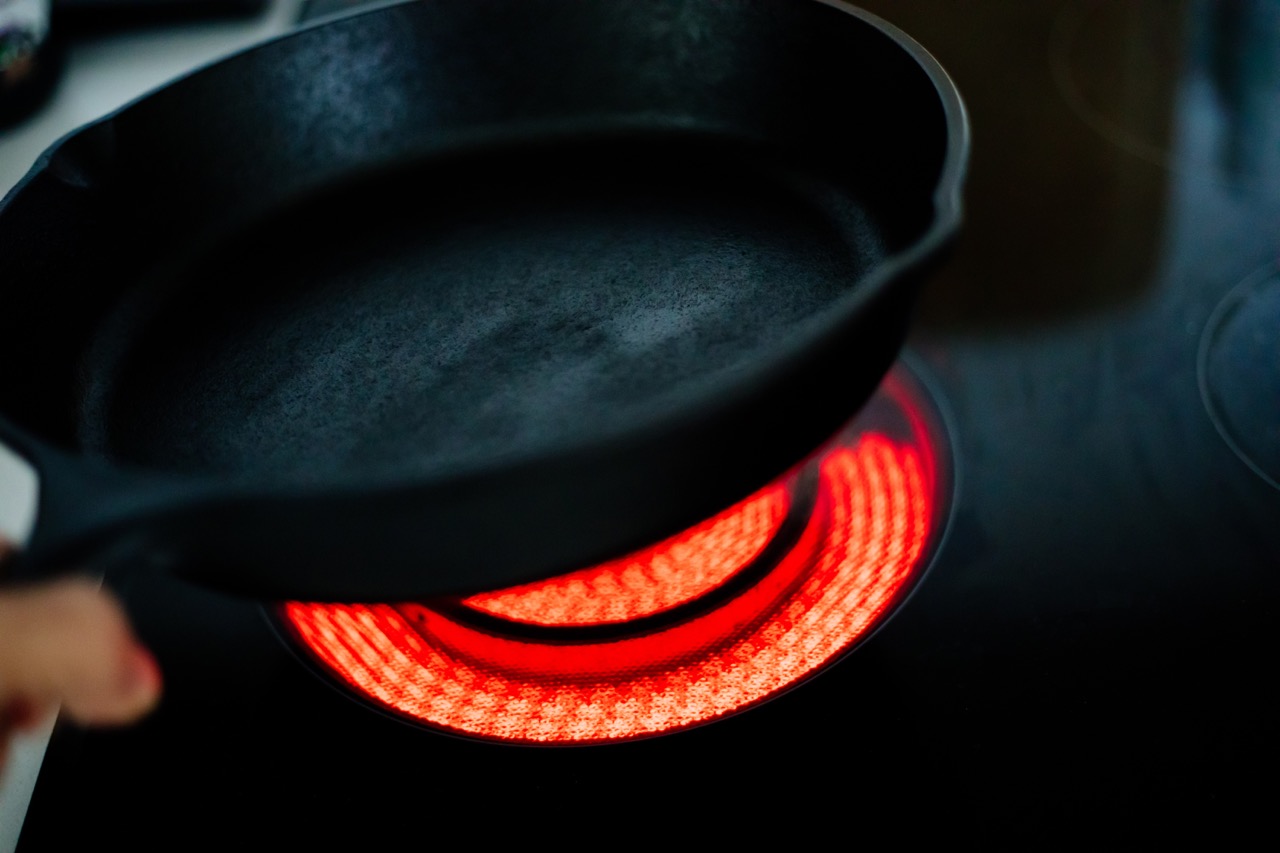
After applying the oil or seasoning to your cast iron cookware, the next step in seasoning it on the stove top is to heat the cast iron. This process helps bond the oil or seasoning to the surface, creating a durable non-stick coating. Follow these steps to heat the cast iron:
- Place the Cast Iron on the Stove: Set your cast iron cookware on the stove top over medium heat. Make sure the burner is centered under the cookware to ensure even heating.
- Allow the Cast Iron to Heat Gradually: Let the cast iron heat gradually for a few minutes. This slow heating allows the oil or seasoning to seep into the pores of the cast iron, forming a strong bond.
- Heat for 10-15 Minutes: After the initial gradual heating, gradually increase the heat to medium-high and continue heating the cast iron for 10-15 minutes. This extended heating time helps the oil or seasoning polymerize and form a durable layer.
- Turn and Move the Cookware: During the heating process, use tongs or heat-resistant utensils to turn and move the cast iron cookware. This ensures that all sides are evenly heated and seasoned.
- Monitor the Heat: Keep an eye on the heat to prevent overheating or burning. Adjust the heat as necessary to maintain a steady temperature throughout the process.
- Continue Heating and Monitoring: Repeat the heating process for 2-3 cycles, allowing the cast iron to cool down slightly between each cycle. This repeated heating and cooling helps build up a strong seasoning layer.
Heating the cast iron on the stove top is a crucial step in the seasoning process. The heat helps the oil or seasoning polymerize and bond with the cast iron, creating a non-stick surface. Once you have completed the heating process, it’s time to move on to the next step: cooling and repeating.
Step 4: Cooling and Repeating
After heating the cast iron and allowing the oil or seasoning to bond and polymerize, the next step in seasoning it on the stove top is cooling and repeating the process. This step helps to further build up the seasoning layer, enhancing the non-stick properties of your cast iron cookware. Follow these steps to cool and repeat the seasoning process:
- Cool Down the Cast Iron: Once you have finished heating the cast iron, turn off the heat and allow the cookware to cool down naturally. It’s important to let it cool completely before moving on to the next cycle.
- Inspect and Reapply: After the cast iron has cooled down, inspect the seasoning layer for any uneven spots or areas that may need additional seasoning. If necessary, reapply a thin layer of oil or seasoning to those areas.
- Repeat the Heating Process: Place the cast iron back on the stove top and repeat the heating process as outlined in Step 3. Gradually heat the cookware, allow it to heat for 10-15 minutes, and turn and move it to ensure even heating.
- Cool and Repeat: After each heating cycle, allow the cast iron to cool down completely before starting the next cycle. Repeat the heating and cooling process for 2-3 cycles or until you achieve the desired seasoning results.
- Monitor the Appearance: As you repeat the seasoning process, keep an eye on the appearance of the cast iron. The seasoning layer should become darker and more glossy with each cycle, indicating a well-seasoned surface.
- Wipe Away Excess: After each heating cycle, use paper towels or a cloth to wipe away any excess oil or seasoning. The cast iron should have a thin, smooth layer of seasoning after wiping.
Cooling and repeating the seasoning process helps build up a strong and durable seasoning layer on your cast iron cookware. The repeated cycles of heating and cooling enhance the non-stick properties and improve the overall performance of your cast iron. Once you have completed the desired number of cycles, it’s time for the final step: maintaining your seasoned cast iron.
Step 5: Final Thoughts and Maintenance Tips
Now that you have completed the seasoning process for your cast iron cookware on the stove top, here are some final thoughts and maintenance tips to keep your cast iron in top shape:
- Cool Down and Store: After the final seasoning cycle, allow the cast iron to cool down completely before storing it. Storing it while it’s still warm may trap moisture and lead to rust.
- Avoid Soaking in Water: Do not soak your cast iron in water or leave it submerged for an extended period. Water can strip away the seasoning layer and cause rust. Instead, hand wash it with minimal water and mild dish soap when necessary.
- Avoid Harsh Cleaning Agents: Refrain from using harsh detergents, abrasive scrubbers, or metal utensils that can damage the seasoning. Opt for non-abrasive sponges or scrubbers and wooden or silicone utensils to preserve the seasoning layer.
- Reapply Oil as Needed: Over time, the seasoning layer may wear off due to cooking or cleaning. If you notice any bare spots or signs of rust, reapply a thin layer of oil and repeat the seasoning process for those areas.
- Dry Thoroughly: After washing your cast iron, make sure to dry it thoroughly to prevent any moisture from lingering. You can place it on a low heat burner for a few minutes or in the oven on a low temperature to aid in the drying process.
- Store Properly: Store your cast iron cookware in a cool, dry place. If stacking multiple pieces, place a paper towel or cloth between each one to prevent scratching the seasoning layer.
- Regular Use: Using your seasoned cast iron regularly helps maintain the seasoning. The natural oils from cooking contribute to building up and reinforcing the seasoning layer.
- Enjoy the Benefits: A properly seasoned cast iron cookware offers exceptional heat retention, even cooking, and a naturally non-stick surface. Embrace the full potential of your seasoned cast iron by enjoying the delicious flavors it lends to your dishes.
By following these maintenance tips and integrating them into your regular kitchen routine, you can ensure the longevity and performance of your seasoned cast iron cookware. With proper maintenance, your cast iron will continue to provide you with exceptional cooking experiences for years to come.
Frequently Asked Questions about How To Season Cast Iron On Stove Top
Was this page helpful?
At Storables.com, we guarantee accurate and reliable information. Our content, validated by Expert Board Contributors, is crafted following stringent Editorial Policies. We're committed to providing you with well-researched, expert-backed insights for all your informational needs.


0 thoughts on “How To Season Cast Iron On Stove Top”