Home>Furniture & Design>Bathroom Accessories>How To Cut Up A Cast Iron Bathtub
Bathroom Accessories
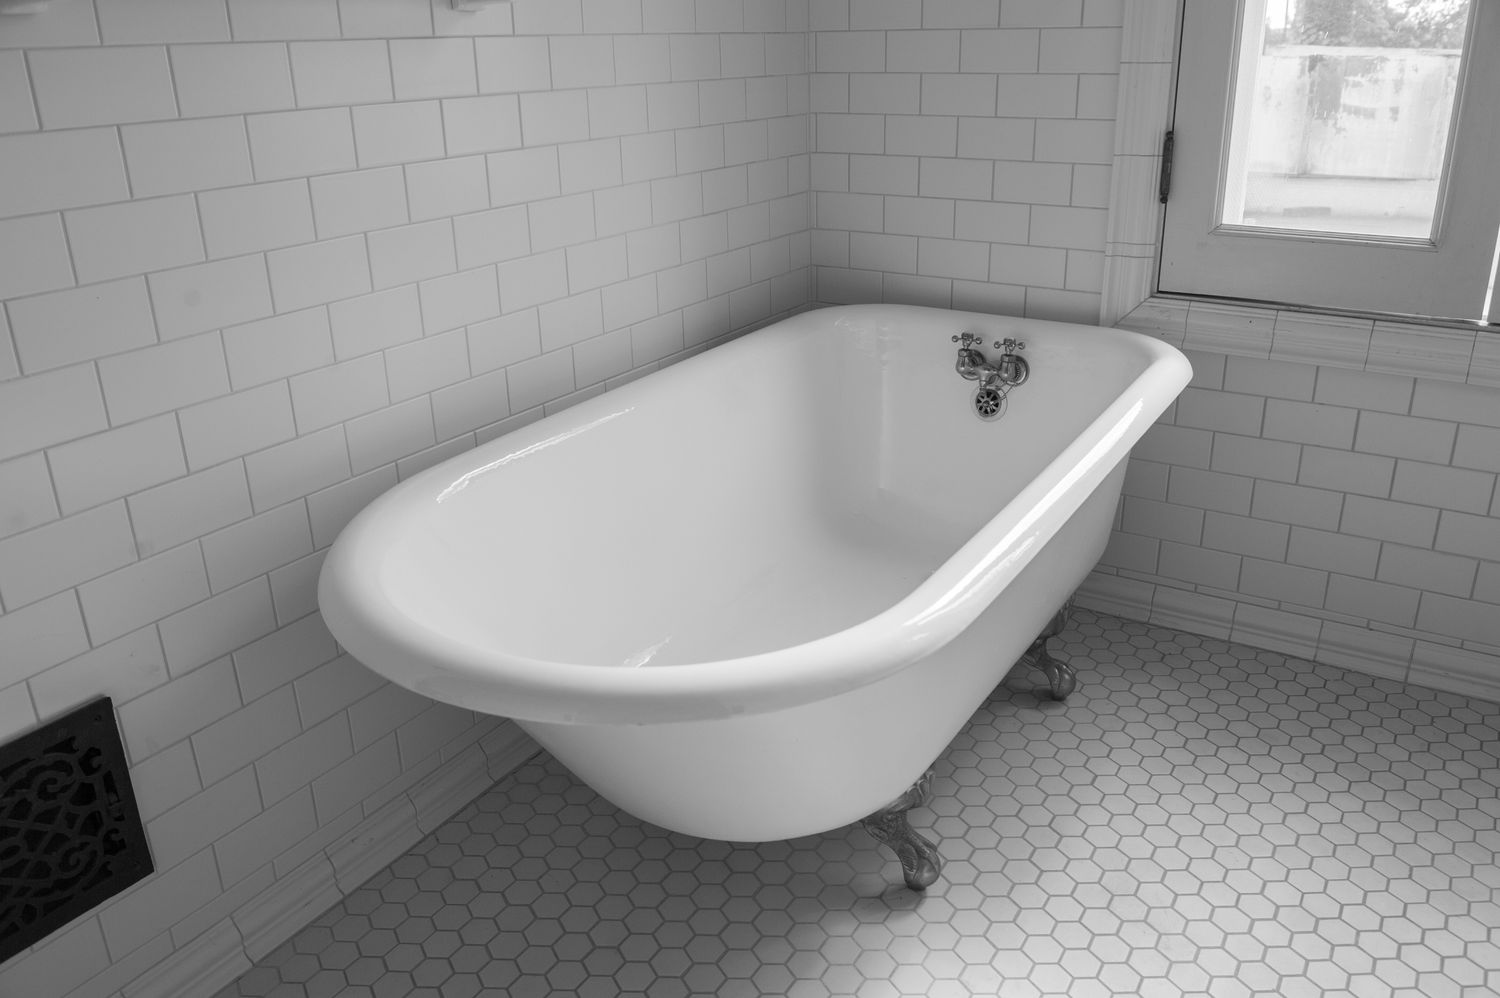
How To Cut Up A Cast Iron Bathtub
Modified: October 27, 2024
Learn the best techniques for cutting up a cast iron bathtub in your bathroom. Find the right bathroom accessories and tools for the job.
(Many of the links in this article redirect to a specific reviewed product. Your purchase of these products through affiliate links helps to generate commission for Storables.com, at no extra cost. Learn more)
Introduction
Cutting up a cast iron bathtub may seem like a daunting task, but with the right tools, materials, and know-how, it can be accomplished effectively and safely. Whether you're renovating a bathroom, repurposing the tub for a creative project, or simply need to remove it from your home, understanding the process of cutting up a cast iron bathtub is essential.
In this comprehensive guide, we will walk you through the step-by-step process of cutting up a cast iron bathtub, providing you with the knowledge and confidence to tackle this project with ease. From gathering the necessary tools and materials to disposing of the sections properly, we will cover each stage in detail, ensuring that you are well-equipped to handle this task.
By following the instructions outlined in this guide, you will be able to approach the cutting process methodically and efficiently, minimizing the potential challenges and maximizing the safety of the operation. Whether you are a seasoned DIY enthusiast or a novice looking to expand your skill set, this guide will equip you with the essential information needed to successfully cut up a cast iron bathtub.
So, roll up your sleeves, gather your tools, and let's dive into the step-by-step process of cutting up a cast iron bathtub. With the right guidance and a can-do attitude, you'll be well on your way to completing this project with confidence and precision.
Key Takeaways:
- Cutting up a cast iron bathtub requires gathering the right tools, preparing the work area, marking cutting lines, and using precision to safely and effectively transform the fixture into manageable sections.
- Proper disposal of the cut sections is crucial, involving assessment, secure transportation, compliance with local regulations, exploring recycling opportunities, and considering professional disposal services for responsible waste management.
Read more: How To Remove An Old Cast Iron Bathtub
Step 1: Gather the necessary tools and materials
Before embarking on the task of cutting up a cast iron bathtub, it is crucial to gather the essential tools and materials to ensure a smooth and efficient process. Here's a comprehensive list of what you'll need:
Tools:
-
Angle Grinder with Diamond Blade: An angle grinder equipped with a diamond blade is essential for cutting through the tough cast iron material. Ensure that the diamond blade is suitable for cutting metal and is compatible with your angle grinder.
-
Reciprocating Saw: A reciprocating saw, also known as a sawzall, equipped with a metal-cutting blade will be used to make precise cuts and maneuver through the cast iron material.
-
Safety Gear: Safety should be a top priority when working with power tools. Therefore, it is imperative to have safety goggles, a dust mask, and heavy-duty gloves to protect your eyes, respiratory system, and hands from potential hazards.
-
Measuring Tape and Marker: Accurate measurements and markings are crucial for cutting the bathtub into sections. A measuring tape and marker will help you outline the cutting lines with precision.
-
Welding Torch (Optional): In some cases, a welding torch may be necessary to cut through particularly thick or stubborn sections of the cast iron bathtub.
Materials:
-
Drop Cloths or Tarps: To protect the work area from debris and dust, lay down drop cloths or tarps to create a designated cutting zone.
-
Support Blocks: Sturdy support blocks or sawhorses will provide a stable platform for the bathtub sections during the cutting process, ensuring safety and precision.
-
Container for Debris: A durable container or trash bin is essential for collecting and disposing of the cut sections and debris safely.
By ensuring that you have all the necessary tools and materials at your disposal, you can approach the task of cutting up a cast iron bathtub with confidence and preparedness. With safety gear in place and the right equipment at hand, you are ready to move on to the next step in the process.
Step 2: Prepare the work area
Preparing the work area is a critical step in the process of cutting up a cast iron bathtub. By creating a designated and organized space, you can ensure safety, efficiency, and minimal disruption during the cutting process. Here's a detailed guide on how to prepare the work area effectively:
Read more: How To Refinish An Old Cast Iron Bathtub
Clear the Surrounding Space
Before commencing the cutting process, clear the surrounding area of any obstacles or unnecessary items. Remove any furniture, bathroom accessories, or objects that may obstruct your movement or pose a safety hazard. Creating a clear and spacious work zone will allow for unrestricted maneuverability and minimize the risk of accidents.
Lay Down Drop Cloths or Tarps
To contain dust, debris, and metal shavings, lay down durable drop cloths or tarps to protect the floor and surrounding surfaces. This precautionary measure will facilitate easy cleanup and prevent damage to the underlying flooring. Additionally, the drop cloths will serve as a barrier to contain the cut sections and metal fragments, ensuring a tidy work environment.
Set Up Support Blocks or Sawhorses
Position sturdy support blocks or sawhorses in the designated work area to provide a stable platform for the cast iron bathtub sections during the cutting process. Placing the bathtub sections on elevated support blocks will enable you to work at a comfortable height and maintain stability while making precise cuts. Ensure that the support blocks are securely positioned to prevent any wobbling or instability.
Ventilation and Dust Containment
Proper ventilation is essential when working with power tools and cutting materials. If possible, open windows or use fans to improve air circulation in the work area. Additionally, consider using a dust containment system or setting up a temporary barrier to confine the dust and particles generated during the cutting process. This proactive measure will contribute to a healthier and more comfortable working environment.
Read more: How To Use A Cast Iron Waffle Iron
Organize Tools and Safety Gear
Arrange your tools, safety gear, and materials in a systematic and accessible manner within the work area. Having everything within reach will streamline the cutting process and minimize disruptions. Ensure that safety goggles, a dust mask, heavy-duty gloves, and any other necessary safety equipment are readily available for immediate use.
By meticulously preparing the work area, you can set the stage for a safe, organized, and efficient cutting process. Taking the time to clear the space, lay down protective coverings, set up support blocks, and organize tools will contribute to a seamless and controlled environment for cutting up the cast iron bathtub. With the work area prepared, you are now ready to proceed to the next step of marking the cutting lines.
Step 3: Mark the cutting lines
Marking the cutting lines on the cast iron bathtub is a crucial step that requires precision and attention to detail. By accurately outlining the sections to be cut, you can ensure that the cutting process progresses smoothly and results in well-defined segments. Here's a detailed guide on how to mark the cutting lines effectively:
-
Measure and Plan: Begin by carefully measuring the cast iron bathtub to determine the desired sections for cutting. Use a measuring tape to mark the specific lengths and widths of the sections, ensuring that the measurements are consistent and accurate. Consider the intended use of the cut sections and plan the markings accordingly.
-
Use a Marker or Chalk: Once the measurements are established, use a marker or chalk to clearly outline the cutting lines on the surface of the bathtub. Ensure that the lines are visible and distinct, allowing for easy reference during the cutting process. It is essential to mark the lines with precision, as any inaccuracies can impact the final outcome.
-
Consider Cutting Techniques: Depending on the tools at your disposal and the nature of the cuts required, you may need to mark different types of cutting lines. For straight cuts, use a straight edge or ruler to guide the marker along the designated path. If curved or irregular cuts are necessary, carefully trace the contours using a flexible measuring tape or template.
-
Account for Safety Margins: When marking the cutting lines, it is advisable to include safety margins to account for any adjustments or refinements during the cutting process. Adding a small buffer zone beyond the intended cutting lines can provide flexibility and ensure that the final sections meet the desired specifications.
-
Double-Check the Markings: Before proceeding to the cutting stage, double-check the accuracy of the marked cutting lines. Verify that the measurements align with your intended plan and that the lines are clearly defined. Taking the time to review and confirm the markings will help prevent errors and ensure a precise cutting process.
By meticulously marking the cutting lines on the cast iron bathtub, you can establish a clear roadmap for the subsequent cutting stage. Attention to detail, accurate measurements, and thoughtful planning are essential in this phase, setting the foundation for a successful and controlled cutting process. With the cutting lines clearly marked, you are now prepared to advance to the next step of cutting the bathtub into sections.
Step 4: Cut the bathtub into sections
With the work area prepared and the cutting lines clearly marked, it's time to proceed with cutting the cast iron bathtub into sections. This stage requires precision, focus, and adherence to safety protocols to ensure a successful outcome. Here's a detailed guide on how to cut the bathtub into sections effectively:
-
Prepare the Tools: Before initiating the cutting process, ensure that the angle grinder with a diamond blade and the reciprocating saw with a metal-cutting blade are in optimal condition. Check that the safety features of the tools are functional, and the blades are securely attached. Additionally, have the welding torch on standby if it may be required for particularly challenging sections.
-
Safety Gear: Prioritize safety by donning the necessary safety gear, including safety goggles, a dust mask, and heavy-duty gloves. Protecting your eyes, respiratory system, and hands is essential when working with power tools and cutting through metal.
-
Cutting with the Angle Grinder: Using the angle grinder equipped with the diamond blade, carefully follow the marked cutting lines to make initial incisions into the cast iron bathtub. Exercise caution and maintain a steady hand to ensure precise and controlled cutting. The angle grinder's power and cutting capabilities will facilitate the initial penetration into the tough cast iron material.
-
Refining with the Reciprocating Saw: Once the initial incisions are made, switch to the reciprocating saw to refine the cuts and maneuver through the cast iron material with greater precision. The reciprocating saw's ability to make controlled and intricate cuts will allow you to follow the marked lines closely, resulting in well-defined sections.
-
Adjustments and Finishing: Throughout the cutting process, periodically assess the progress and make any necessary adjustments to ensure that the sections are being cut according to the marked lines. Take your time to refine the cuts and address any areas that require additional attention. The goal is to achieve clean and accurate sections that align with your initial plan.
-
Dispose of Cut Sections: As each section is successfully cut, carefully remove it from the bathtub and place it in the designated container for debris. Exercise caution when handling the cut sections to avoid any sharp edges or protrusions. Once all the sections are cut, secure the container for proper disposal.
By methodically cutting the cast iron bathtub into sections, you can effectively transform the large fixture into manageable pieces that align with your project requirements. Adhering to safety measures, maintaining focus, and utilizing the appropriate tools will contribute to a controlled and successful cutting process. With the sections cut and safely disposed of, you have completed a significant phase in the process of repurposing or removing the cast iron bathtub.
Step 5: Dispose of the sections properly
Once the cast iron bathtub has been successfully cut into sections, the proper disposal of these segments is essential to ensure safety, cleanliness, and environmental responsibility. Disposing of the sections properly involves adhering to specific guidelines and practices to minimize potential hazards and facilitate efficient waste management. Here's a detailed guide on how to dispose of the sections of a cast iron bathtub responsibly:
Read more: How To Season A Cast Iron Kettle
Assess the Sections
Before proceeding with disposal, carefully assess the cut sections of the cast iron bathtub. Inspect each piece for any sharp edges, protrusions, or residual debris that may pose a safety risk during handling and transportation. Address any potential hazards by smoothing out rough edges or securing loose fragments to ensure safe and manageable sections.
Secure Transportation
Given the weight and bulk of cast iron sections, it is crucial to plan for their safe transportation to the designated disposal site. Utilize appropriate lifting and carrying techniques, and if necessary, enlist the assistance of others to handle the heavy segments. Secure the sections in the designated container for debris, ensuring that they are stable and properly contained for transportation.
Local Regulations and Guidelines
Familiarize yourself with the local regulations and guidelines pertaining to the disposal of large metal items, such as cast iron bathtubs. Contact your local waste management authority or recycling center to inquire about specific protocols for disposing of cast iron materials. Compliance with local regulations is essential to ensure responsible and lawful disposal.
Recycling Opportunities
Explore recycling opportunities for the cast iron sections, as recycling metal materials aligns with sustainable waste management practices. Research local metal recycling facilities or scrap yards that accept cast iron, and inquire about their acceptance criteria and procedures. Recycling the cast iron sections contributes to environmental conservation and resource efficiency.
Read more: How To Clean A Cast Iron Fireplace
Professional Disposal Services
In cases where the disposal of cast iron sections presents logistical challenges or safety concerns, consider engaging professional disposal services. Waste management companies or specialized disposal providers may offer convenient and safe solutions for removing and disposing of large metal items, ensuring compliance with regulations and environmental standards.
Documentation and Record-Keeping
Maintain documentation and records related to the disposal of the cast iron sections, including any communication with waste management authorities, recycling facilities, or disposal service providers. Keeping organized records facilitates accountability and ensures that the disposal process aligns with legal and environmental requirements.
By following these guidelines and practices, you can responsibly dispose of the sections of a cast iron bathtub, contributing to safety, environmental stewardship, and compliance with waste management regulations. Proper disposal ensures that the remnants of the cast iron bathtub are managed effectively and sustainably, concluding the process of cutting up and removing the fixture from your property.
Conclusion
In conclusion, the process of cutting up a cast iron bathtub is a multifaceted endeavor that demands meticulous planning, precision, and a steadfast commitment to safety. By following the step-by-step guide outlined in this comprehensive resource, individuals can confidently undertake the task of cutting a cast iron bathtub into manageable sections, whether for renovation, repurposing, or removal.
The journey begins with the gathering of essential tools and materials, including an angle grinder with a diamond blade, a reciprocating saw, safety gear, and support blocks. These foundational elements set the stage for a well-equipped and safe cutting operation. Preparing the work area is equally vital, as it involves clearing the space, laying down protective coverings, and organizing tools to create a controlled and efficient environment for the cutting process.
Marking the cutting lines on the cast iron bathtub represents a pivotal phase, requiring precise measurements, careful planning, and attention to detail. By accurately outlining the sections to be cut, individuals establish a clear roadmap for the subsequent cutting stage, ensuring that the process progresses smoothly and results in well-defined segments.
The actual cutting of the bathtub into sections demands focus, adherence to safety protocols, and the utilization of appropriate tools. From making initial incisions with the angle grinder to refining the cuts with the reciprocating saw, individuals must exercise caution and patience to achieve clean and accurate sections that align with their initial plan. Additionally, the proper disposal of the cut sections is essential to ensure safety, cleanliness, and environmental responsibility.
By responsibly disposing of the cast iron sections, individuals contribute to sustainable waste management practices and environmental conservation, ensuring that the remnants of the cast iron bathtub are managed effectively and sustainably.
In essence, the process of cutting up a cast iron bathtub is a testament to the fusion of practical skills, safety consciousness, and environmental mindfulness. Whether embarking on a DIY renovation project or seeking to repurpose a cast iron bathtub for creative endeavors, the knowledge and guidance provided in this guide empower individuals to approach the task with confidence and proficiency. With a commitment to safety, precision, and responsible waste management, the process of cutting up a cast iron bathtub can be navigated successfully, yielding tangible results and a sense of accomplishment.
Frequently Asked Questions about How To Cut Up A Cast Iron Bathtub
Was this page helpful?
At Storables.com, we guarantee accurate and reliable information. Our content, validated by Expert Board Contributors, is crafted following stringent Editorial Policies. We're committed to providing you with well-researched, expert-backed insights for all your informational needs.


0 thoughts on “How To Cut Up A Cast Iron Bathtub”