
Articles
How To Refinish A Cast Iron Sink
Modified: February 29, 2024
Learn how to refinish a cast iron sink with our informative articles. Discover step-by-step techniques and tips for restoring your sink's shine and durability.
(Many of the links in this article redirect to a specific reviewed product. Your purchase of these products through affiliate links helps to generate commission for Storables.com, at no extra cost. Learn more)
Introduction
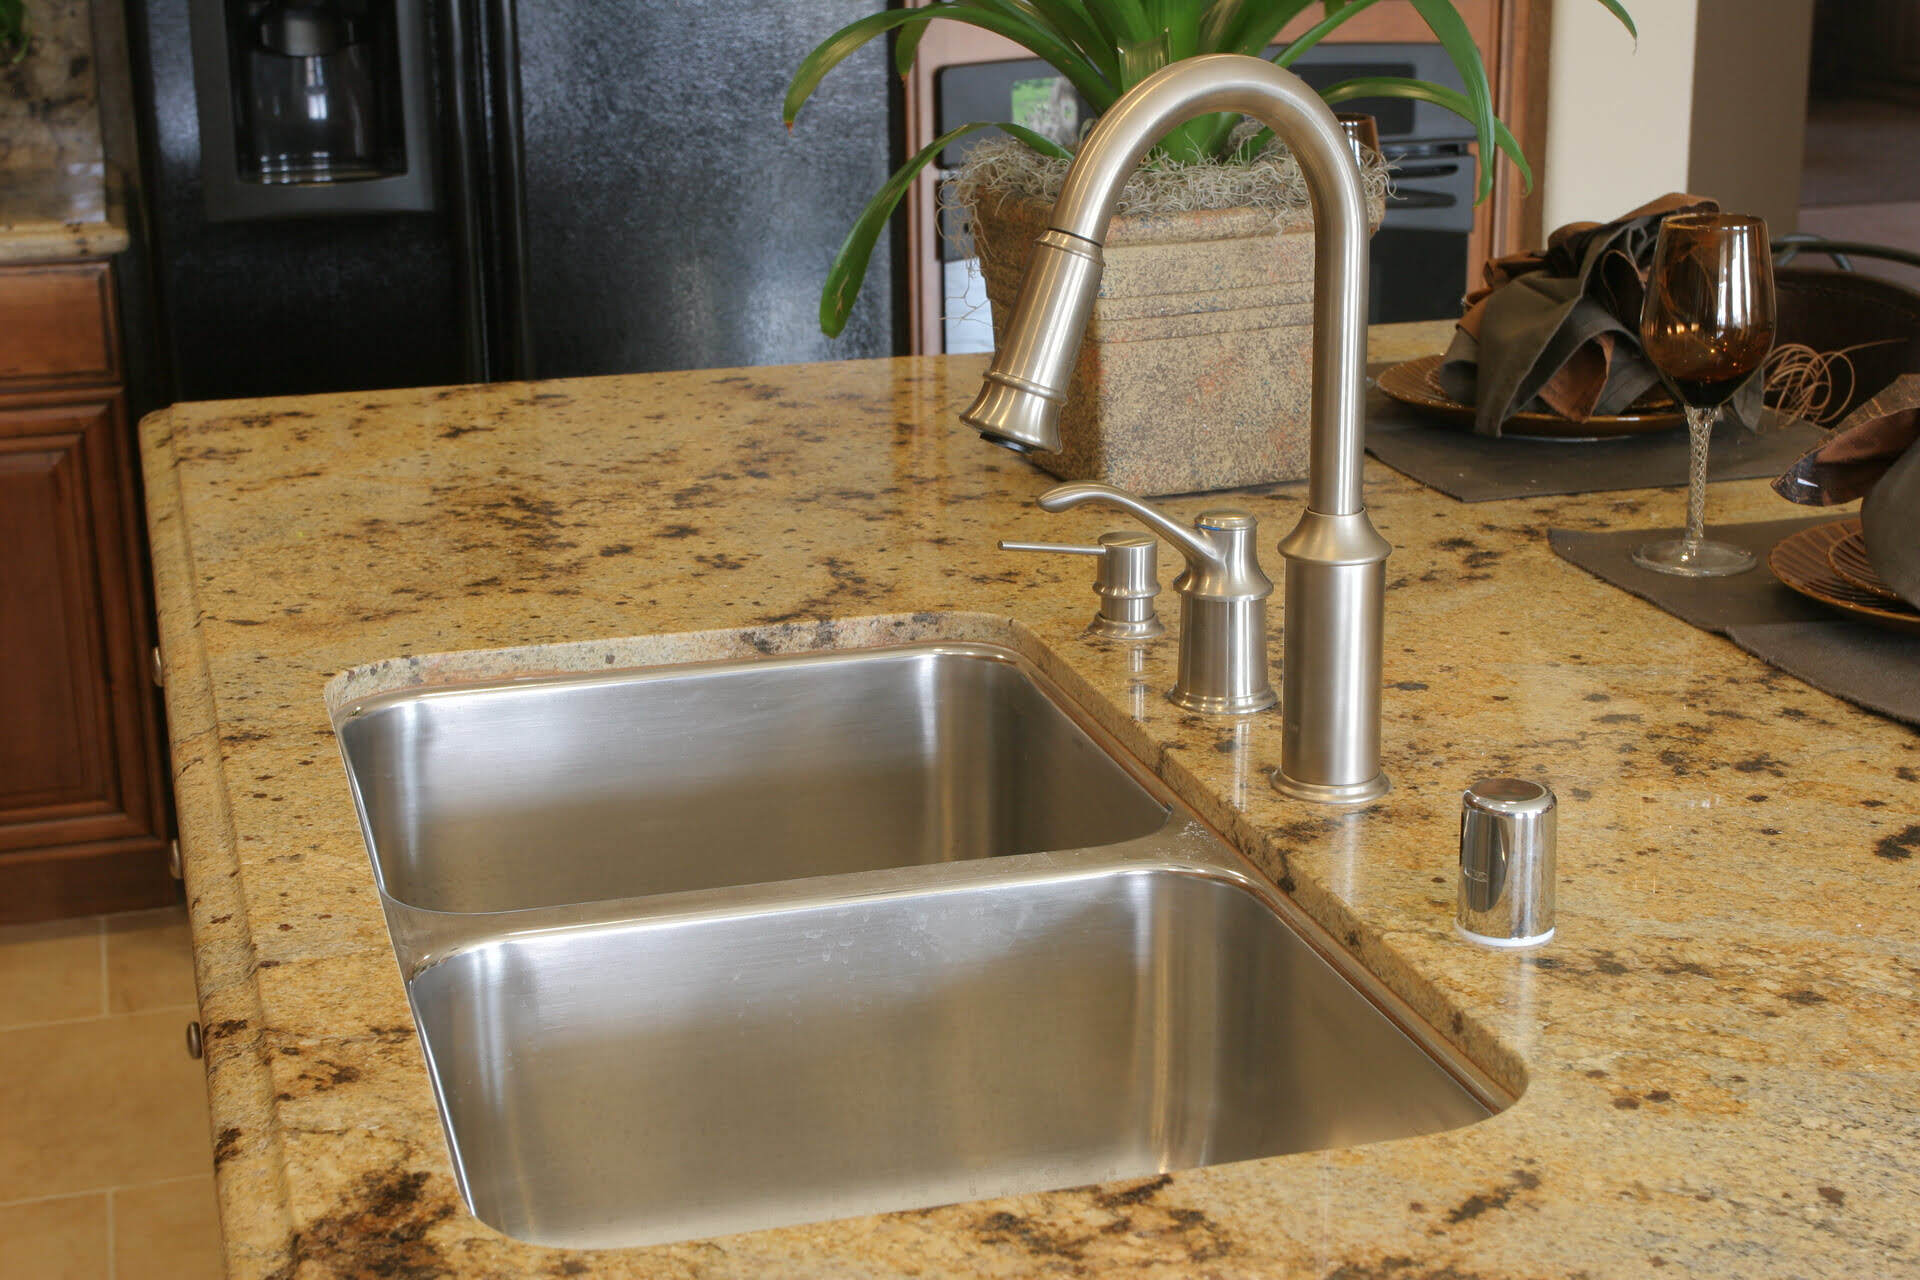
A cast iron sink can be a beautiful and durable addition to any kitchen or bathroom. Over time, however, the surface of the sink can become worn, scratched, or stained, detracting from its appearance. Refinishing a cast iron sink is a cost-effective way to restore its original beauty and extend its lifespan.
Refinishing a cast iron sink involves several steps, including preparation, removing old paint or finish, cleaning and sanding the surface, applying primer, applying paint or finish, and curing and sealing the surface. In this article, we will guide you through each step to help you achieve professional-looking results.
Before you begin the refinishing process, it’s important to gather the necessary materials. You will need safety goggles, gloves, a respirator mask, a scraper or putty knife, sandpaper with different grits (such as 120, 220, and 400), a sponge, a bucket, a cleaner specifically designed for removing dirt and grime from cast iron surfaces, primer, paint or finish of your choice, a brush or roller for application, and a sealer.
Keep in mind that refinishing a cast iron sink requires time, patience, and attention to detail. It is not a quick project that can be completed in a few hours. Take your time and follow the instructions carefully to achieve the best results.
Now that you have an overview, let’s dive into the first step: preparation.
Key Takeaways:
- Refinishing a cast iron sink involves thorough preparation, careful removal of old paint or finish, and meticulous cleaning and sanding to achieve a professional-looking outcome. Patience and attention to detail are key to success.
- Curing and sealing the refinished surface is essential for long-lasting durability and protection. Proper maintenance, including gentle cleaning and avoiding harsh chemicals, will help preserve the beauty and functionality of the newly refinished cast iron sink.
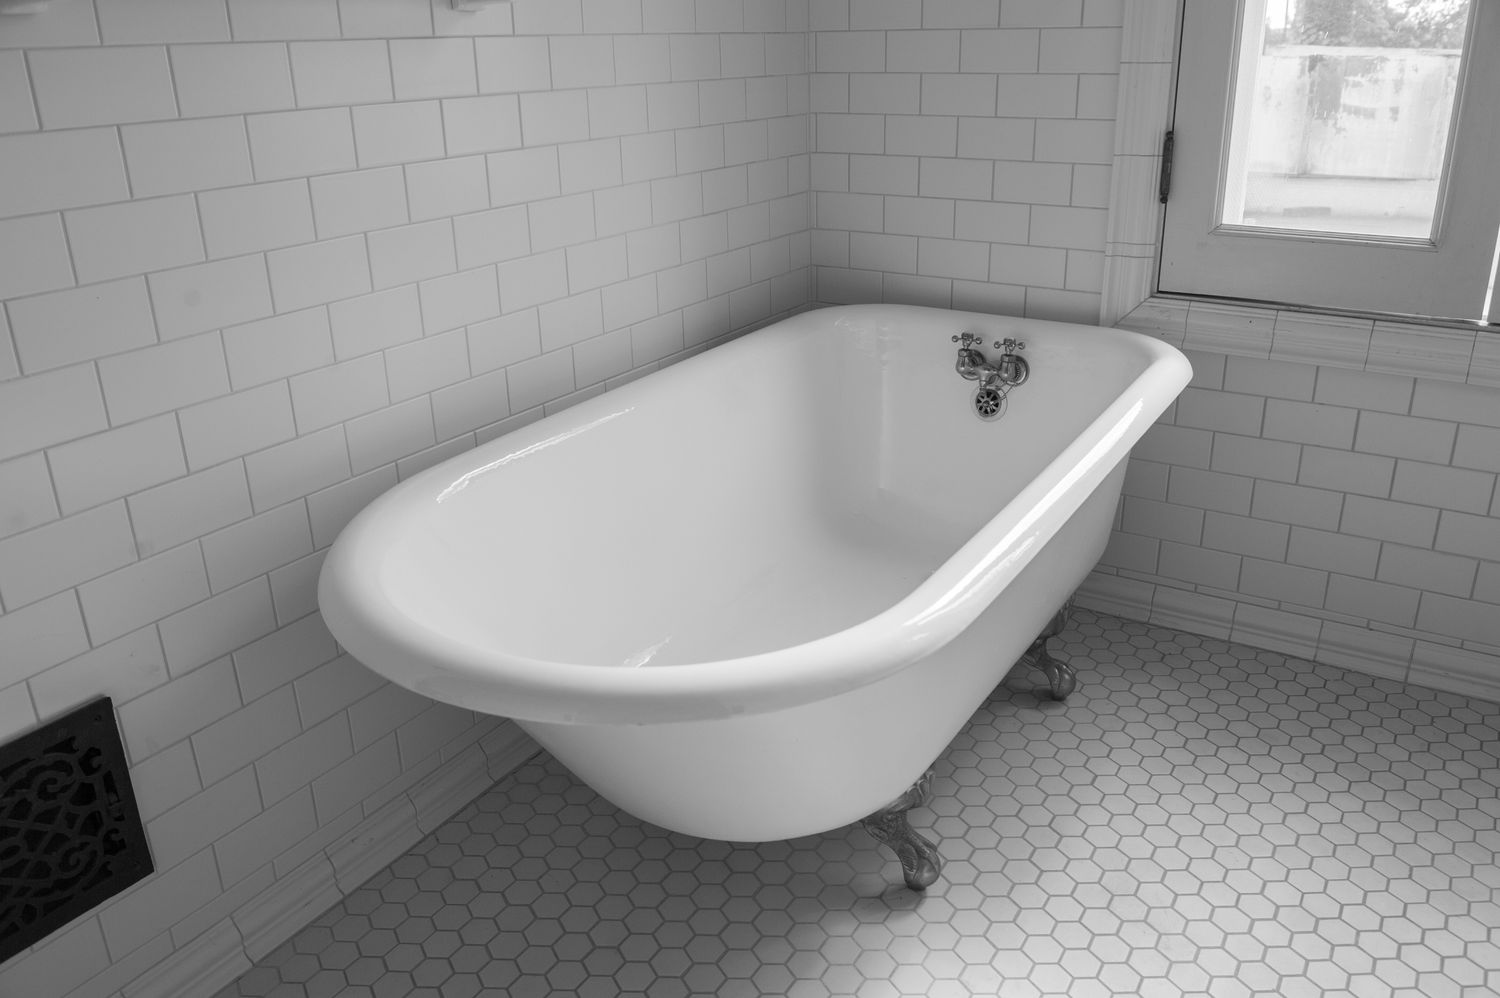
Read more: How To Refinish An Old Cast Iron Bathtub
Step 1: Preparation
The first step in refinishing a cast iron sink is proper preparation. This involves removing any items or fixtures around the sink and protecting the surrounding area. Start by clearing the sink of any dishes, utensils, or other items. Remove soap dispensers, faucet handles, drain plugs, and any other removable parts of the sink.
Next, cover the countertop and nearby surfaces with drop cloths or plastic sheets to protect them from any spills or drips. Use painter’s tape to secure the covers in place, ensuring a clean and neat work area.
Before moving on, it’s essential to ensure your safety. Put on safety goggles, gloves, and a respirator mask to protect your eyes, hands, and respiratory system from any potential hazards.
The next step is to prepare the sink surface for refinishing. Start by using a scraper or putty knife to remove any loose paint, rust, or debris from the sink. Be gentle yet thorough, taking care not to damage the actual surface of the sink.
Once the loose material has been removed, it’s time to clean the sink thoroughly. Fill a bucket with warm water and a cleaner specifically designed for cast iron surfaces. Sponge the cleaner onto the sink, scrubbing gently in a circular motion to remove any dirt, grease, or grime. Rinse the sink with clean water and repeat the process if necessary until the surface is clean.
After cleaning, allow the sink to dry completely before moving on to the next step. This will ensure that the primer and paint adhere properly to the surface.
Now that the sink is properly prepared, you are ready to move on to the next step: removing the old paint or finish.
Step 2: Removing Old Paint or Finish
Before you can refinish a cast iron sink, it’s crucial to remove any old paint or finish that may be present on the surface. This step is necessary to create a smooth and even base for the new paint or finish.
Start by applying a paint stripper or remover to the surface of the sink. Follow the instructions provided by the manufacturer for the specific product you are using. Typically, you will need to brush or spray the stripper onto the sink and let it sit for a specified amount of time to soften the old paint or finish.
Once the paint stripper has had time to work, use a scraper or putty knife to gently scrape away the softened paint or finish. Be careful not to apply too much pressure or use abrasive tools that could damage the surface of the sink. Work systematically and methodically, focusing on small areas at a time to ensure thorough removal.
After scraping off as much of the old paint or finish as possible, use sandpaper to further smooth the surface. Start with a coarse grit sandpaper, such as 120, and gradually move to finer grits, such as 220 and 400, to achieve a smooth and even surface.
While sanding, be sure to pay attention to any areas that may still have traces of old paint or finish. Sand these areas carefully until the surface is clean and free of any remnants.
Once you have removed the old paint or finish and achieved a smooth surface, it’s important to clean the sink again to remove any dust or residue from the stripping and sanding process. Use a clean sponge and warm water to wipe down the entire surface, ensuring it is completely clean and dry before proceeding to the next step.
Now that the sink is stripped and prepared, you are ready to move on to the next step: cleaning and sanding the surface.
Step 3: Cleaning and Sanding the Surface
Once you have removed the old paint or finish from your cast iron sink, it’s time to clean and sand the surface to ensure a smooth and pristine base for the new finish.
Start by using a cleaner specifically designed for cast iron surfaces. Apply the cleaner to the entire sink, using a sponge or soft cloth to scrub away any remaining debris, dirt, or residue. Pay attention to any stubborn stains or spots, and scrub them gently until they are completely removed. Rinse the sink thoroughly with clean water to remove any traces of the cleaner.
After cleaning, allow the sink to dry completely before moving on to the next step. This is crucial to ensure that the sanding process is effective and produces the desired results.
Now it’s time to sand the surface of the sink. Begin by using a coarse grit sandpaper, such as 120, to remove any rough or uneven areas on the cast iron. Use gentle, even strokes to sand the entire surface, working in a circular motion. Be careful not to apply too much pressure, as you do not want to damage the sink. The goal is to create a smooth and uniform surface.
After sanding with the coarse grit sandpaper, switch to a finer grit sandpaper, such as 220. This will help to further smooth the surface and remove any remaining imperfections. Again, use gentle, even strokes and continue sanding in a circular motion. Take your time and pay attention to detail to achieve the best results.
Once you are satisfied with the smoothness of the surface, use a clean cloth or sponge to wipe away any dust or residue from the sanding process. Ensure that the surface is completely clean and dry before moving on to the next step.
Cleaning and sanding the surface of your cast iron sink is a crucial step in the refinishing process. It prepares the sink for the application of primer and ensures a flawless and long-lasting finish. With the surface cleaned and sanded, you are now ready to move on to the next step: applying primer.
Step 4: Applying Primer
Applying primer to your cast iron sink is an essential step in the refinishing process. Primer creates a smooth, even base for the paint or finish, improves adhesion, and helps to prevent rust or corrosion.
Before you begin, make sure you have chosen a primer specifically designed for cast iron surfaces. Additionally, ensure that the sink surface is clean and dry, as any residual dirt or moisture can impact the effectiveness of the primer.
Start by stirring the primer thoroughly to ensure a consistent texture. Then, using a brush or roller, apply the primer to the entire surface of the sink. Begin in the corners and edges, working your way towards the center, to ensure even coverage.
Apply the primer in thin, even coats, avoiding any drips or puddles. It’s better to apply multiple thin coats than one thick coat, as this promotes better adhesion and a smoother finish. Allow each coat to dry completely before applying the next. Check the manufacturer’s instructions for the recommended drying time between coats.
As you apply the primer, pay special attention to the areas that receive the most wear and tear, such as the bottom of the sink or the edges near the faucet. These areas may require an extra coat or two of primer to ensure maximum durability.
After you have applied the final coat of primer, allow it to dry thoroughly. This typically takes a few hours, but it’s best to consult the specific drying time mentioned on the primer label.
Once the primer has dried, inspect the surface of the sink for any imperfections or areas that may require further attention. If needed, lightly sand the surface with a fine grit sandpaper to create a smooth and even surface for the next step.
Now that the primer has been applied and dried, you are ready to move on to the next step: applying the paint or finish of your choice.
When refinishing a cast iron sink, be sure to thoroughly clean and sand the surface before applying a high-quality enamel paint to ensure a smooth and durable finish.
Read more: How To Clean A White Cast Iron Sink
Step 5: Applying Paint or Finish
Applying paint or finish to your cast iron sink is the exciting part of the refinishing process. It is where you get to add color and style, transforming your sink into a beautiful focal point in your kitchen or bathroom.
Before you begin, make sure you have chosen a paint or finish that is specifically designed for cast iron surfaces. Consider the desired look and feel you want to achieve – whether it’s a glossy or matte finish, a bold color, or a more subtle tone.
Start by stirring the paint or finish thoroughly to ensure a smooth and consistent texture. Then, using a brush or roller, carefully apply the paint or finish to the surface of the sink. Begin in the corners and edges, working your way towards the center to ensure even coverage.
Apply the paint or finish in thin, even coats, allowing each coat to dry fully before applying the next one. This will help you achieve a smooth and flawless finish. Refer to the manufacturer’s instructions for the recommended drying time between coats.
As you apply the paint or finish, pay attention to any brush strokes or roller marks. Smooth them out gently for a professional-looking result. If desired, you can also use a paint sprayer to apply the paint or finish, ensuring an even and consistent application.
Ensure that you cover the entire surface of the sink, including the edges and underside. Take extra care when applying paint or finish near the faucet or drain, as these areas can be prone to drips or pooling. Use a small brush or sponge to reach any intricate details or hard-to-reach areas of the sink.
Once you have applied the final coat of paint or finish, allow it to dry thoroughly. This may take several hours or even overnight, depending on the specific product and drying conditions. It’s important to avoid using the sink or exposing it to moisture until the paint or finish is completely dry.
After the paint or finish has dried, inspect the surface of the sink for any imperfections or areas that may require touch-ups. If needed, lightly sand the surface with a fine-grit sandpaper to create a smooth and even finish.
Now that you have applied the paint or finish, you are one step away from completing the refinishing process. The next step involves curing and sealing the surface for long-lasting durability and protection.
Step 6: Curing and Sealing the Surface
After applying the paint or finish to your cast iron sink, it’s important to properly cure and seal the surface. This step ensures long-lasting durability and protection, helping to maintain the beauty of your newly refinished sink for years to come.
First, let the paint or finish dry completely according to the manufacturer’s instructions. This typically takes at least 24 hours, but it’s advisable to allow for longer drying time to ensure optimal results.
Once the surface is fully dry, it’s time to cure the paint or finish. Curing involves hardening the surface to enhance its durability and resistance to daily wear and tear. To cure the surface, fill the sink with warm water and add a mild dish soap. Use a sponge or cloth to gently wash the surface of the sink, creating friction and heat. Rinse the sink thoroughly with clean water to remove any soap residue.
After curing, it’s time to seal the surface for added protection. There are various options for sealing a cast iron sink, including clear epoxy, polyurethane sealant, or a specialized sink sealant. Read the instructions on your chosen sealant and apply it evenly to the surface of the sink using a brush or roller. Follow the recommended drying time and apply a second coat if necessary for optimal protection.
Sealing the surface not only protects the paint or finish from stains, scratches, and moisture, but it also makes cleaning and maintenance easier. Ensure that the sealant is fully dry before using the sink or placing any items on the surface.
Once the surface is cured and sealed, it’s time to admire your beautifully refinished cast iron sink. With proper care and maintenance, it will continue to shine and withstand the daily demands of your kitchen or bathroom.
Remember that different paints, finishes, and sealants may have specific instructions and drying times. Always refer to the manufacturer’s guidelines for the best results. Additionally, be cautious with abrasive cleaners or tools that could damage the newly refinished surface. Stick to gentle, non-abrasive cleaning agents and soft sponges or cloths for routine cleaning.
Congratulations! You have successfully completed the refinishing process for your cast iron sink. With its renewed beauty and functionality, your sink is now ready to serve you for many more years.
Step 7: Final Touches and Maintenance
With your cast iron sink beautifully refinished, there are a few final touches and maintenance tips to keep it looking its best for years to come.
First, remove any protective covers or tape that were used to protect surrounding areas during the refinishing process. Clean up any debris or leftover materials from your work area to leave everything tidy and organized.
Next, reassemble any fixtures or accessories that were removed before refinishing. This includes faucet handles, soap dispensers, drain plugs, or any other items that were temporarily taken out. Ensure that these items are securely tightened or reattached according to manufacturer instructions.
Now that your cast iron sink is completely refinished, it’s important to follow proper maintenance practices to preserve its beauty and functionality:
1. Avoid using harsh abrasive cleaners or tools that could scratch the surface of the sink. Stick to gentle, non-abrasive cleaners and soft sponges or cloths for routine cleaning.
2. Wipe down the sink after each use to prevent water spots, soap residue, or stains from building up. This will help maintain the shine and cleanliness of the surface.
3. Avoid exposing the sink to extreme temperatures, such as placing hot pans or pots directly on the surface. Use trivets or hot pads to protect the sink from heat damage.
4. Regularly check for any signs of wear or damage, such as chipping, cracking, or peeling. Address these issues promptly to prevent further damage and maintain the longevity of your refinished sink.
By following these simple maintenance tips, your refinished cast iron sink will continue to be a beautiful and functional addition to your kitchen or bathroom for years to come.
With the refinishing process complete and the proper maintenance steps in place, you can enjoy the beauty and durability of your newly restored cast iron sink. Whether you’re washing dishes or getting ready in the morning, your refinished sink will surely make a statement and enhance the overall aesthetic of your space.
Thank you for following this step-by-step guide to refinishing a cast iron sink. We hope you found it helpful and that your sink brings you joy and satisfaction for many years to come.
Conclusion
Refinishing a cast iron sink can breathe new life into your kitchen or bathroom, restoring its beauty and prolonging its lifespan. With the right tools, materials, and steps, you can achieve professional-looking results and transform your sink into a stunning centerpiece.
Throughout this guide, we have walked you through the process of refinishing a cast iron sink, from preparation and removing old paint or finish to cleaning, sanding, and applying primer, paint or finish, and finally, curing and sealing the surface. Each step plays a crucial role in achieving a flawless and long-lasting outcome.
Proper preparation, including removing any items and protecting surrounding areas, sets the groundwork for a successful refinishing project. Removing old paint or finish and thoroughly cleaning and sanding the surface create a smooth and even base for the new finish. Applying primer ensures better adhesion and rust prevention, while applying paint or finish adds color and style to your sink.
Once the surface has dried, curing and sealing the sink helps to enhance its durability and protection. Following proper maintenance practices, such as avoiding harsh cleaners and regularly cleaning the sink, will further uphold its beauty and functionality.
Refinishing a cast iron sink requires time, patience, and attention to detail. While the process may seem challenging, the results are well worth the effort. By following the steps outlined in this guide, you can confidently transform your worn and outdated sink into a stunning focal point that adds value to your home.
Remember to choose high-quality products specifically designed for cast iron surfaces and to follow the manufacturer’s instructions for best results. Regular maintenance will help keep your refinished sink looking its best for years to come.
We hope this guide has provided you with the knowledge and guidance needed to successfully refinish your cast iron sink. Enjoy the beauty and functionality of your newly restored sink, and relish in the satisfaction of a job well done!
Frequently Asked Questions about How To Refinish A Cast Iron Sink
Was this page helpful?
At Storables.com, we guarantee accurate and reliable information. Our content, validated by Expert Board Contributors, is crafted following stringent Editorial Policies. We're committed to providing you with well-researched, expert-backed insights for all your informational needs.


0 thoughts on “How To Refinish A Cast Iron Sink”