
Articles
How To Set A Philips Light Alarm Clock
Modified: February 29, 2024
Learn how to set a Philips light alarm clock with our comprehensive articles. Enjoy a peaceful wake-up routine and start your day off right.
(Many of the links in this article redirect to a specific reviewed product. Your purchase of these products through affiliate links helps to generate commission for Storables.com, at no extra cost. Learn more)
Introduction
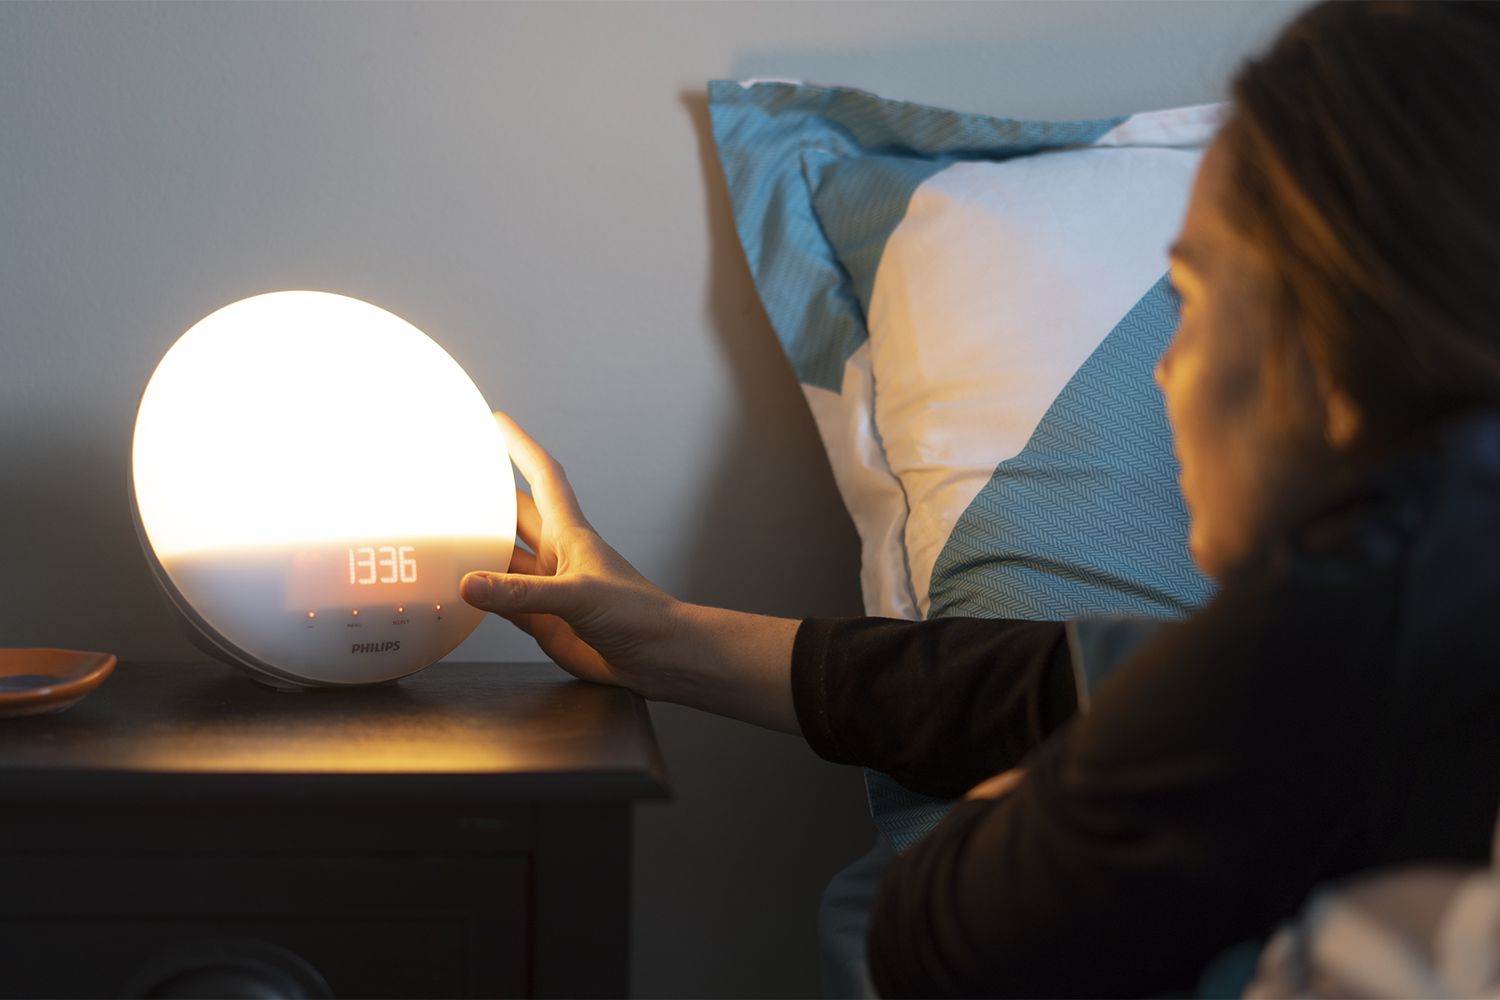
Welcome to this guide on how to set up a Philips Light Alarm Clock. If you struggle with waking up in the morning or find it difficult to adjust to abrupt alarm sounds, then a light alarm clock may be the perfect solution for you. Philips is known for its innovative and high-quality products, and their light alarm clocks are no exception.
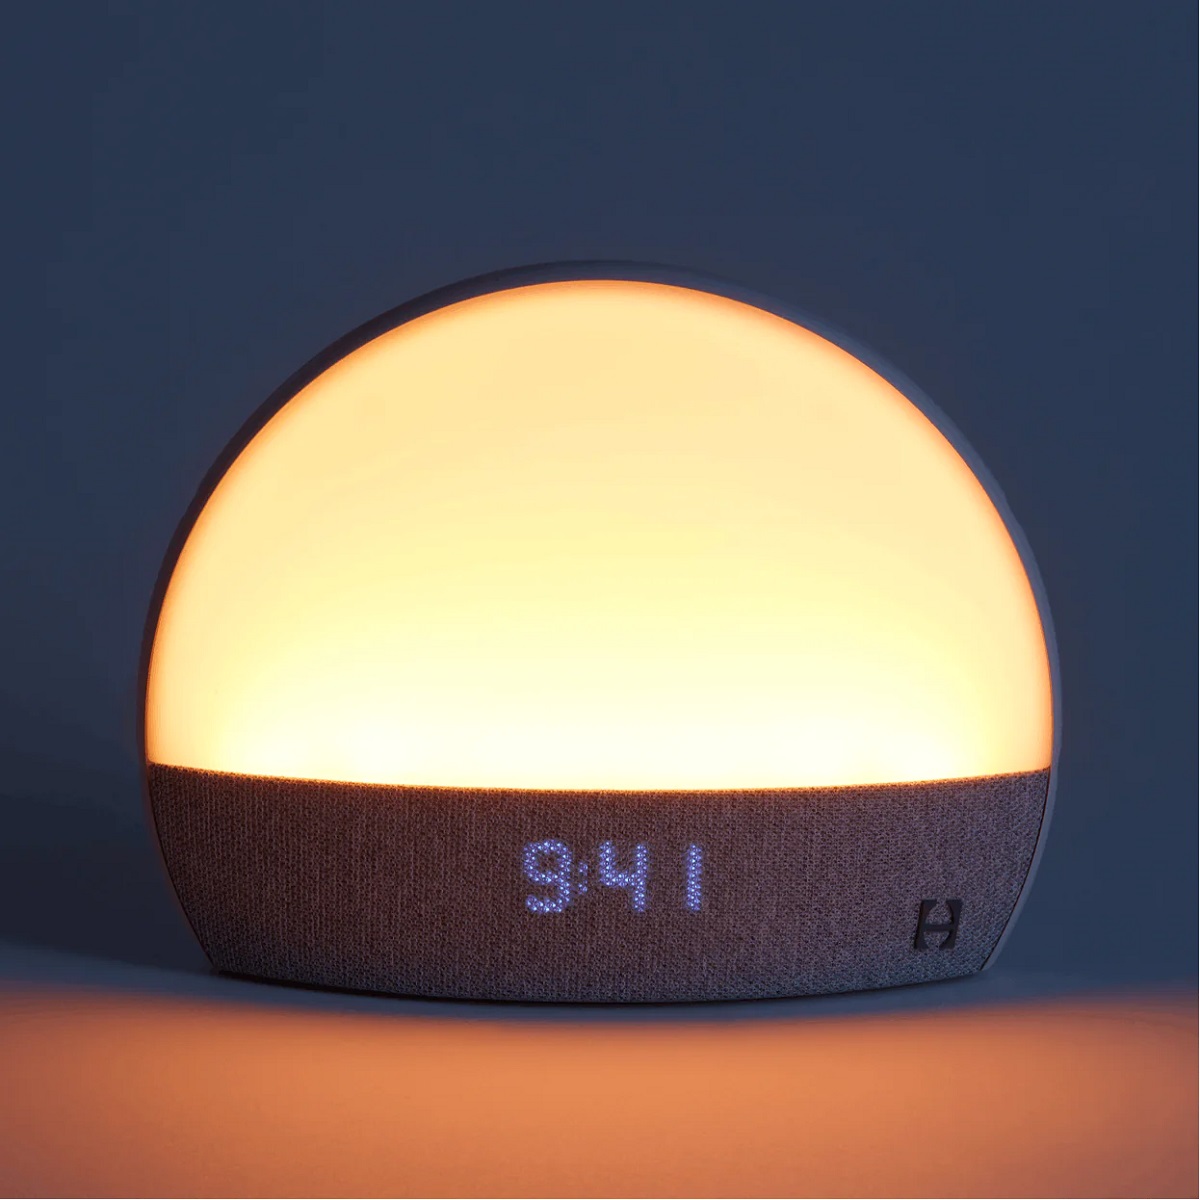
A light alarm clock simulates the sunrise by gradually increasing the light intensity, helping your body wake up naturally and gently. It can promote a more peaceful and energizing start to your day. In this article, I will walk you through the step-by-step process of setting up your Philips Light Alarm Clock, so you can experience the benefits of waking up to a soothing light instead of a jarring sound.
Before we begin, ensure that you have unpacked the alarm clock and have it readily available. Let’s get started!
Key Takeaways:
- Experience a peaceful and energizing start to your day by setting up a Philips Light Alarm Clock. Say goodbye to abrupt alarm sounds and wake up naturally to a soothing light.
- Customize your wake-up experience with additional features like nature sounds, radio, and smartphone connectivity. Enjoy a tranquil start to your mornings with a Philips Light Alarm Clock.
Read more: Where Was The Alarm Clock Invented
Step 1: Unpacking the Philips Light Alarm Clock
The first step in setting up your Philips Light Alarm Clock is to unpack it carefully. Start by removing the alarm clock from its packaging and take out any accompanying accessories, such as the power adapter or user manual.
Inspect the alarm clock for any visible damage. If you notice any scratches or dents, contact the retailer or Philips customer support for further assistance.
Once you have ensured that the alarm clock is in good condition, find a suitable location for it in your bedroom. Ideally, place it on a nightstand or a bedside table where it is easily visible and accessible. Make sure there is an electrical outlet nearby for power.
Before proceeding to the next step, locate the power adapter and ensure that it is compatible with your local voltage. If you are in a different region or country, you may need a voltage converter to use the alarm clock safely.
Now that you have unpacked the alarm clock and found a suitable location for it, we can move on to setting the time and date. Let’s proceed to Step 2!
Step 2: Setting the Time and Date
Now that you have your Philips Light Alarm Clock unpacked and in place, it’s time to set the time and date. Follow these simple steps to ensure that your alarm clock is synchronized correctly:
- Locate the time and date buttons on your alarm clock. They are usually labeled accordingly and can be found on the front or side of the device. Refer to the user manual if you’re having trouble identifying them.
- Press and hold the time or date button until the numbers start blinking on the display. This indicates that you are in the setup mode.
- Use the navigation buttons (usually located near the time or date buttons) to adjust the time and date. Press the up or down button to change the value and move to the next field.
- Once you have set the correct time and date, press the time or date button again to confirm your selection. The numbers will stop blinking, indicating that the setup process is complete.
- Double-check the time and date displayed on the screen to ensure that it matches the current time and date. If not, repeat the above steps to make the necessary adjustments.
Setting the time and date correctly is crucial for the alarm clock to function accurately and provide you with the desired wake-up experience. Now that you have the time and date set, let’s move on to the next step: setting the alarm.
Step 3: Setting the Alarm
Now that you have set the time and date on your Philips Light Alarm Clock, it’s time to set up the alarm to ensure you wake up at your desired time. Follow these simple steps:
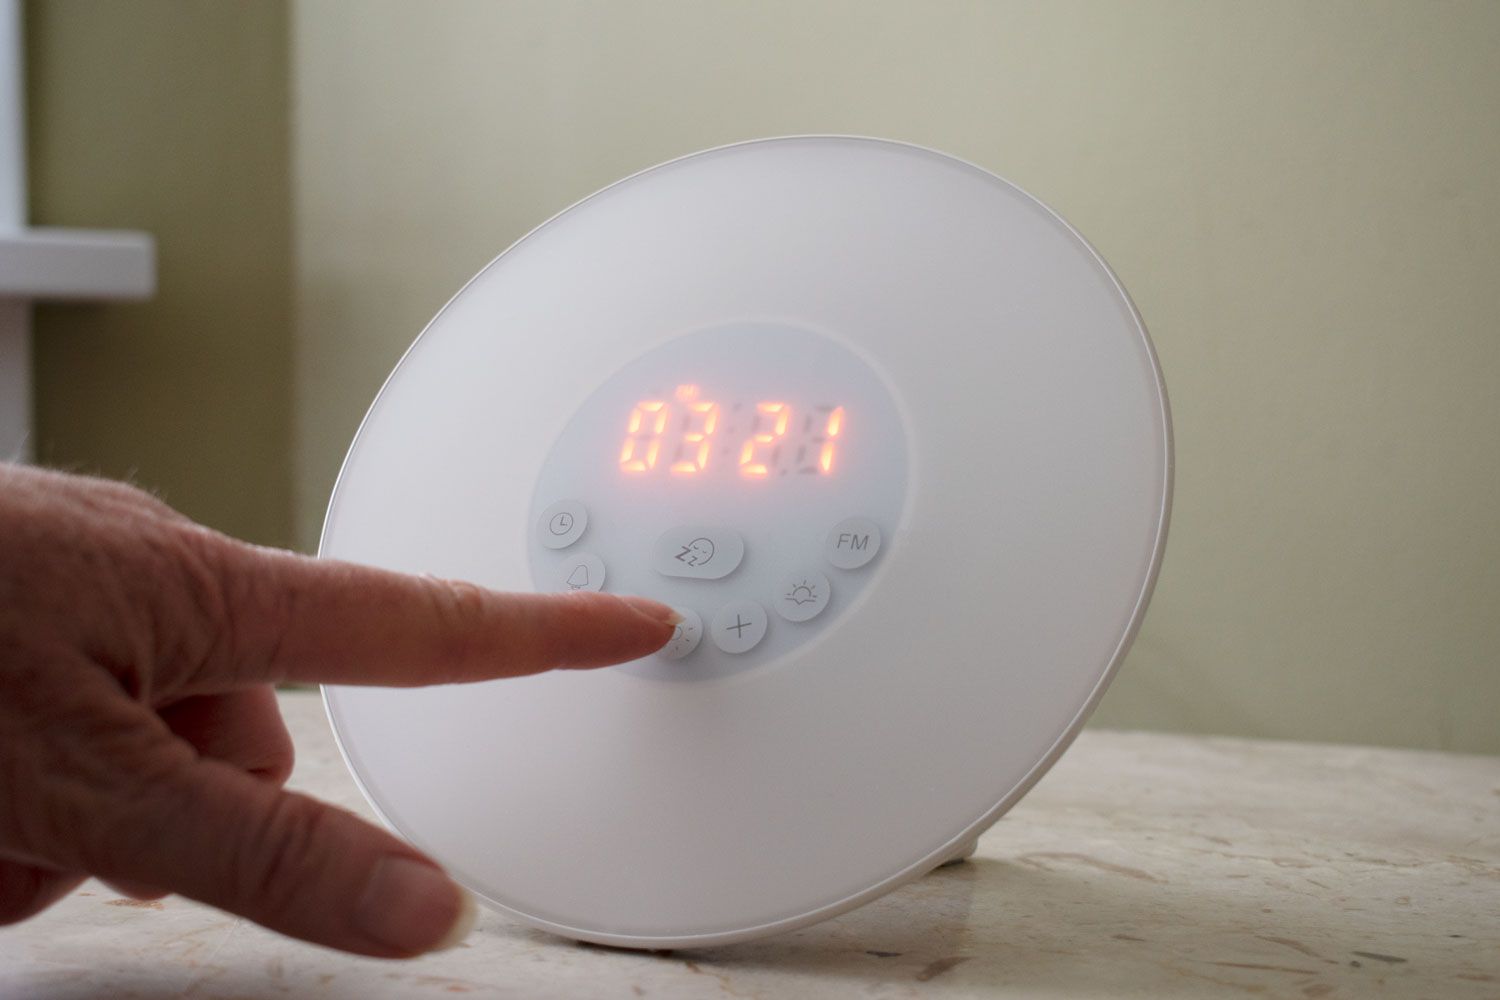
- Locate the alarm button on your alarm clock. It is usually labeled as “Alarm” or has a bell symbol. Press it to enter the alarm setup mode.
- Once you are in the alarm setup mode, you will see the alarm time displayed on the screen. Use the navigation buttons to adjust the alarm time to your desired wake-up time. Press the up or down button to change the hour or minute, and move to the next field.
- After setting the alarm time, press the alarm button again to save your selection and exit the alarm setup mode. The alarm icon should now be displayed on the screen to indicate that the alarm is set.
- Some Philips Light Alarm Clocks offer additional features to customize your wake-up experience. These features may include the option to choose a specific alarm sound or select a gradual light intensity increase. Refer to the user manual for your specific model to learn more about these advanced settings.
With the alarm now set, you can rest assured that you will wake up at your desired time. In the next step, we will explore how to adjust the light settings of your Philips Light Alarm Clock to create the perfect wake-up atmosphere.
Make sure to set the alarm time and light intensity to gradually increase to wake up more gently. This will help you feel more refreshed in the morning.
Step 4: Adjusting the Light Settings
One of the key features of a Philips Light Alarm Clock is the ability to adjust the light settings to create the perfect wake-up atmosphere. Follow these steps to adjust the light settings according to your preference:
- Locate the light settings button on your alarm clock. It is usually labeled as “Light” or has a sun symbol. Press it to enter the light settings mode.
- Once you are in the light settings mode, you will see options to adjust the light intensity and color. Use the navigation buttons to increase or decrease the light intensity. Some models may also allow you to select from various color options.
- Experiment with different light intensities and colors to find the combination that suits you best. You can choose a soft, warm light for a gentle wake-up experience or a brighter, cooler light for a more energizing wake-up.
- After selecting your desired light settings, press the light settings button again to save your selection and exit the light settings mode.
- Some Philips Light Alarm Clocks also offer features such as sunset simulation, where the light gradually dims to help you relax and fall asleep. Refer to the user manual for your specific model to learn more about these advanced light settings.
By adjusting the light settings, you can personalize your wake-up experience and create a calming or invigorating atmosphere in your bedroom. In the next step, we will explore some additional features and settings that you may find useful.
Step 5: Additional Features and Settings
In addition to the basic clock, alarm, and light settings, some Philips Light Alarm Clock models offer additional features and settings to further enhance your wake-up experience. Here are a few notable features to explore:
- Nature Sounds: Some models include a variety of soothing nature sounds, such as birds chirping or ocean waves, to help you wake up in a more tranquil and natural way. Experiment with different sounds to find the one that resonates with you.
- Radio: If you enjoy waking up to your favorite radio station, check if your alarm clock has a built-in FM radio feature. Set your preferred station as the wake-up sound and enjoy starting your day with music or news.
- Snooze Function: The snooze function allows you to temporarily silence the alarm and enjoy a few more minutes of rest. Locate the snooze button on your alarm clock and press it when the alarm goes off. The alarm will temporarily stop, and you can enjoy a few more moments of sleep before it rings again.
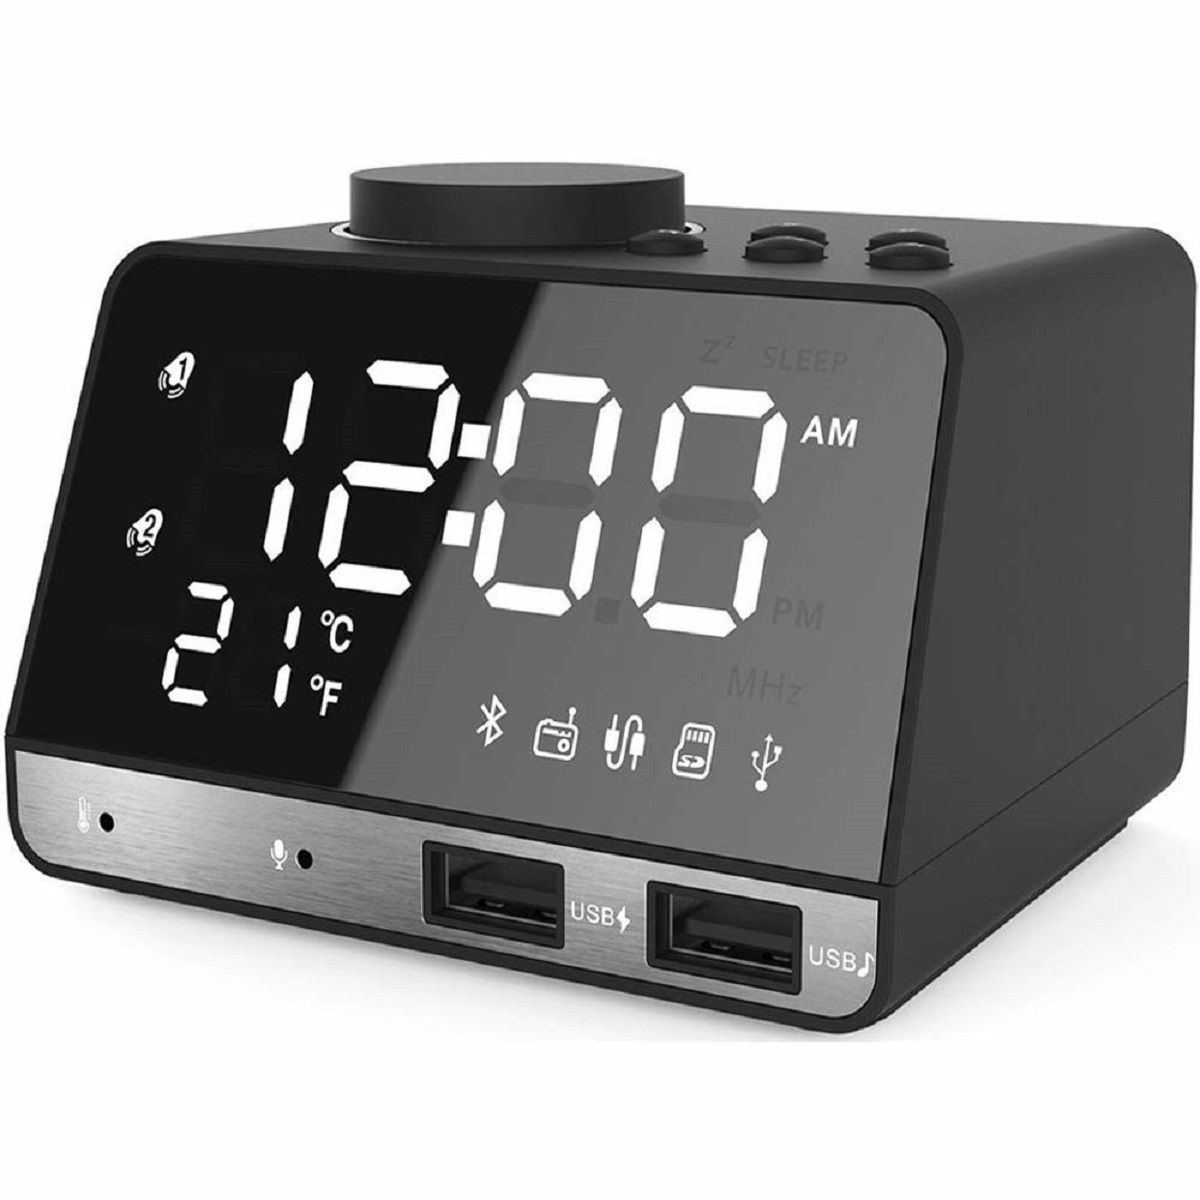
- Display Brightness: Some models allow you to adjust the brightness of the clock display to your liking. You can choose a dimmer setting for a more peaceful bedroom environment at night or a brighter setting for easy visibility during the day.
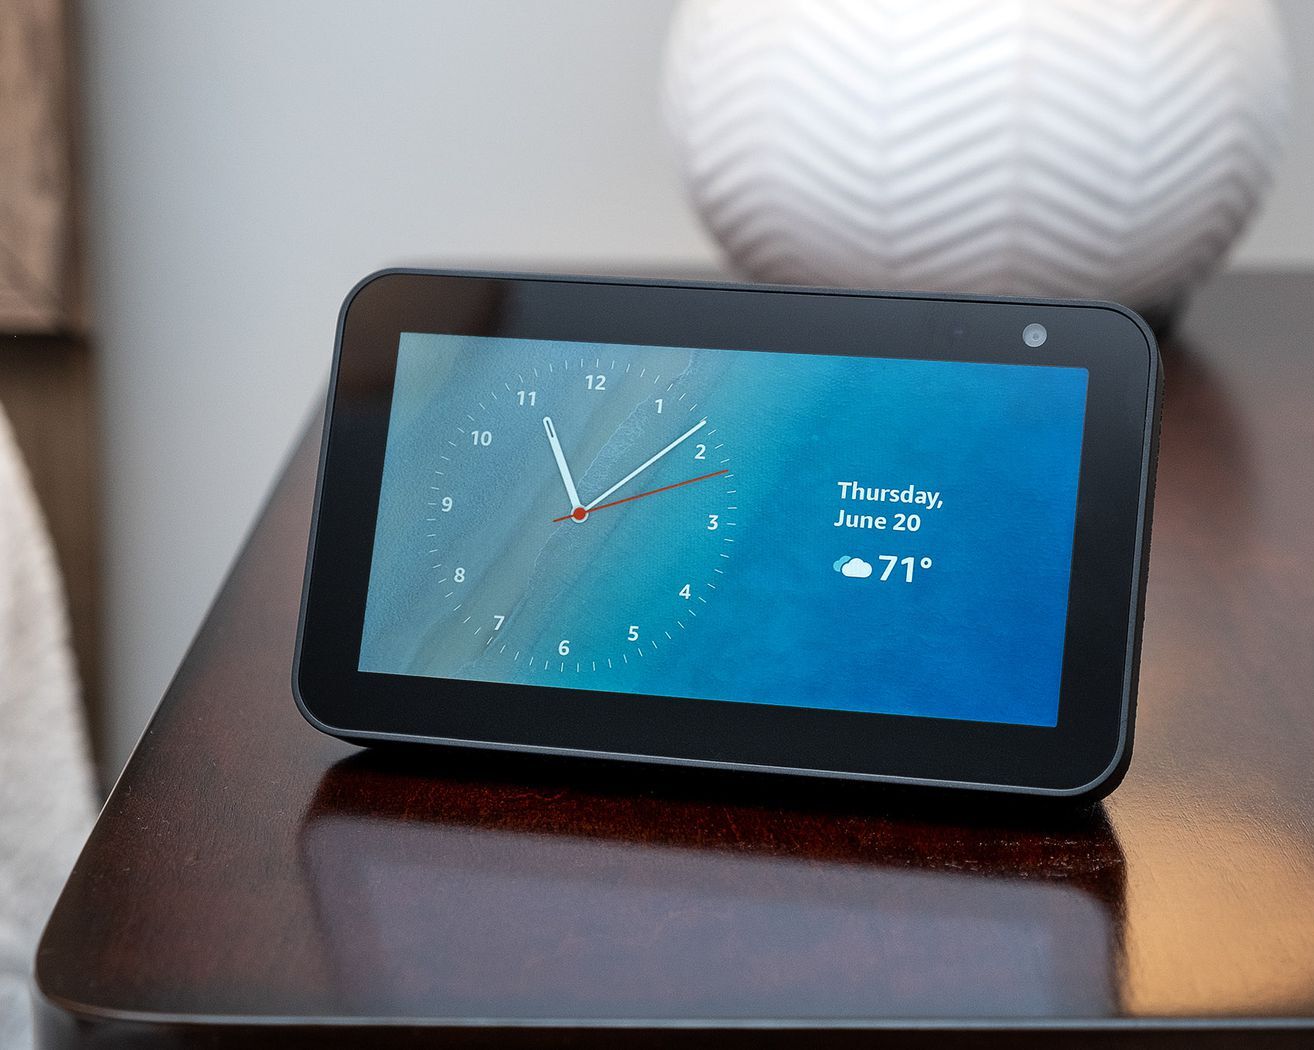
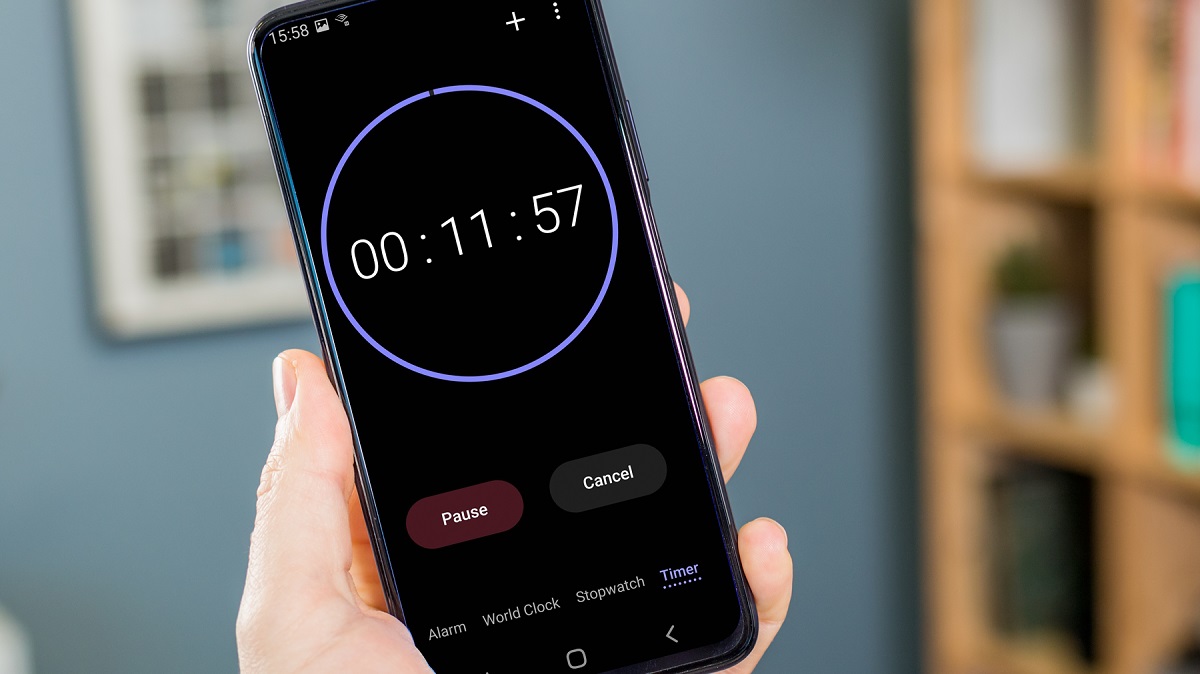
- Smartphone Connectivity: Certain Philips Light Alarm Clocks offer smartphone connectivity, allowing you to synchronize your alarm, choose wake-up sounds, or customize settings through a dedicated app. Check if your alarm clock supports smartphone connectivity and explore the app’s features.
Remember to refer to the user manual specific to your Philips Light Alarm Clock model for detailed instructions on accessing and utilizing these additional features and settings.
Congratulations! You have successfully set up and adjusted your Philips Light Alarm Clock. Now you can enjoy waking up to the gentle glow of light, soothing sounds, and a more peaceful start to your mornings. Wishing you many pleasant wake-ups!
Conclusion
Setting up a Philips Light Alarm Clock can revolutionize your wake-up experience and make mornings more enjoyable. By gradually simulating the sunrise, these alarm clocks help you wake up naturally and gently, promoting a peaceful start to your day.
In this article, we discussed the step-by-step process of setting up your Philips Light Alarm Clock. We started by unpacking the alarm clock and finding a suitable location for it. Then, we walked through setting the time and date, followed by setting the alarm itself. We also explored adjusting the light settings to create the perfect wake-up atmosphere.
Moreover, we mentioned additional features and settings that some Philips Light Alarm Clock models offer, such as nature sounds, radio, snooze function, display brightness control, and smartphone connectivity.
Remember to refer to your specific model’s user manual for detailed instructions on accessing and utilizing these additional features.
Now that you have set up your Philips Light Alarm Clock and customized it to your preference, you can wake up feeling refreshed and energized. Say goodbye to jarring alarm sounds and hello to a more peaceful and natural wake-up experience.
Enjoy your mornings and embrace the gentle awakening of light!
Now that you've mastered setting your Philips light alarm clock, why not continue enhancing your morning routines? Check out our review on superior alarm clocks slated for next year. Whether you're a heavy sleeper or prefer a gentler wake-up call, there's something in our roundup that'll make every morning refreshing. Don't miss out on finding your perfect wake-up companion!
Frequently Asked Questions about How To Set A Philips Light Alarm Clock
Was this page helpful?
At Storables.com, we guarantee accurate and reliable information. Our content, validated by Expert Board Contributors, is crafted following stringent Editorial Policies. We're committed to providing you with well-researched, expert-backed insights for all your informational needs.



0 thoughts on “How To Set A Philips Light Alarm Clock”