Articles
How To Set Clock On Range Hood
Modified: December 6, 2023
Learn how to easily set the clock on your range hood with our informative articles. Enhance your kitchen experience with our step-by-step guides and expert advice.
(Many of the links in this article redirect to a specific reviewed product. Your purchase of these products through affiliate links helps to generate commission for Storables.com, at no extra cost. Learn more)
Introduction
Setting the clock on a range hood is a simple and important task that ensures your appliance displays the correct time. Whether you’ve recently installed a new range hood or experienced a power outage, it’s essential to know how to set the clock properly.
Having the accurate time displayed on your range hood allows you to keep track of cooking times, coordinate multiple cooking processes, and time your meals to perfection. In this article, we will guide you through the steps to set the clock on your range hood, regardless of the make or model.
Before we dive into the step-by-step process, it’s worth mentioning that every range hood may have slightly different controls and interfaces. Therefore, it’s important to refer to your appliance’s user manual for specific instructions, if available. However, we will provide general guidelines that should apply to most range hoods in this article.
So let’s get started and ensure your range hood’s clock is set accurately!
Key Takeaways:
- Setting the clock on your range hood is essential for accurate timekeeping, coordinating cooking processes, and ensuring perfectly timed meals. Follow the simple steps outlined to easily set the clock on any range hood model.
- By powering on the range hood, locating the clock setting button, and accessing the clock setting mode, you can easily adjust the hours and minutes to ensure accurate time display. Always refer to your appliance’s user manual for specific instructions.
Read more: What Is A Range Hood
Step 1: Powering on the Range Hood
The first step in setting the clock on your range hood is to ensure that the appliance is powered on. This may seem obvious, but it’s an essential prerequisite before proceeding with any clock adjustment.
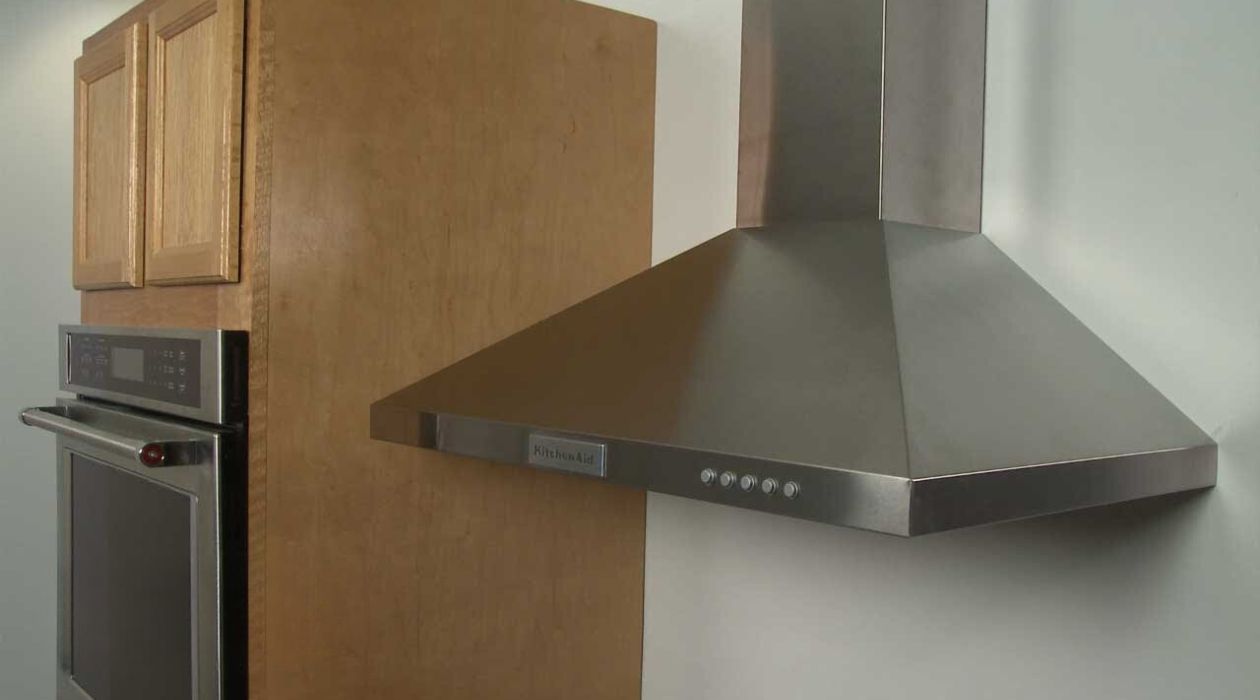
To power on the range hood, locate the power button or switch. This is typically located on the control panel or the front of the range hood. It may be labeled with a power symbol, such as a circle with a vertical line inside.
Press the power button or switch to turn on the range hood. You should see the lights and indicators on the control panel illuminate, indicating that the appliance is now powered on and ready for the clock setting process.
If your range hood has a built-in timer function, it’s essential to distinguish between the timer and clock settings. The timer function is used to set a specific duration for the range hood to operate, while the clock function displays the current time. For the purposes of this article, we will focus on setting the clock.
Once you’ve powered on the range hood, you can proceed to the next steps to access the clock setting mode and adjust the time accordingly.
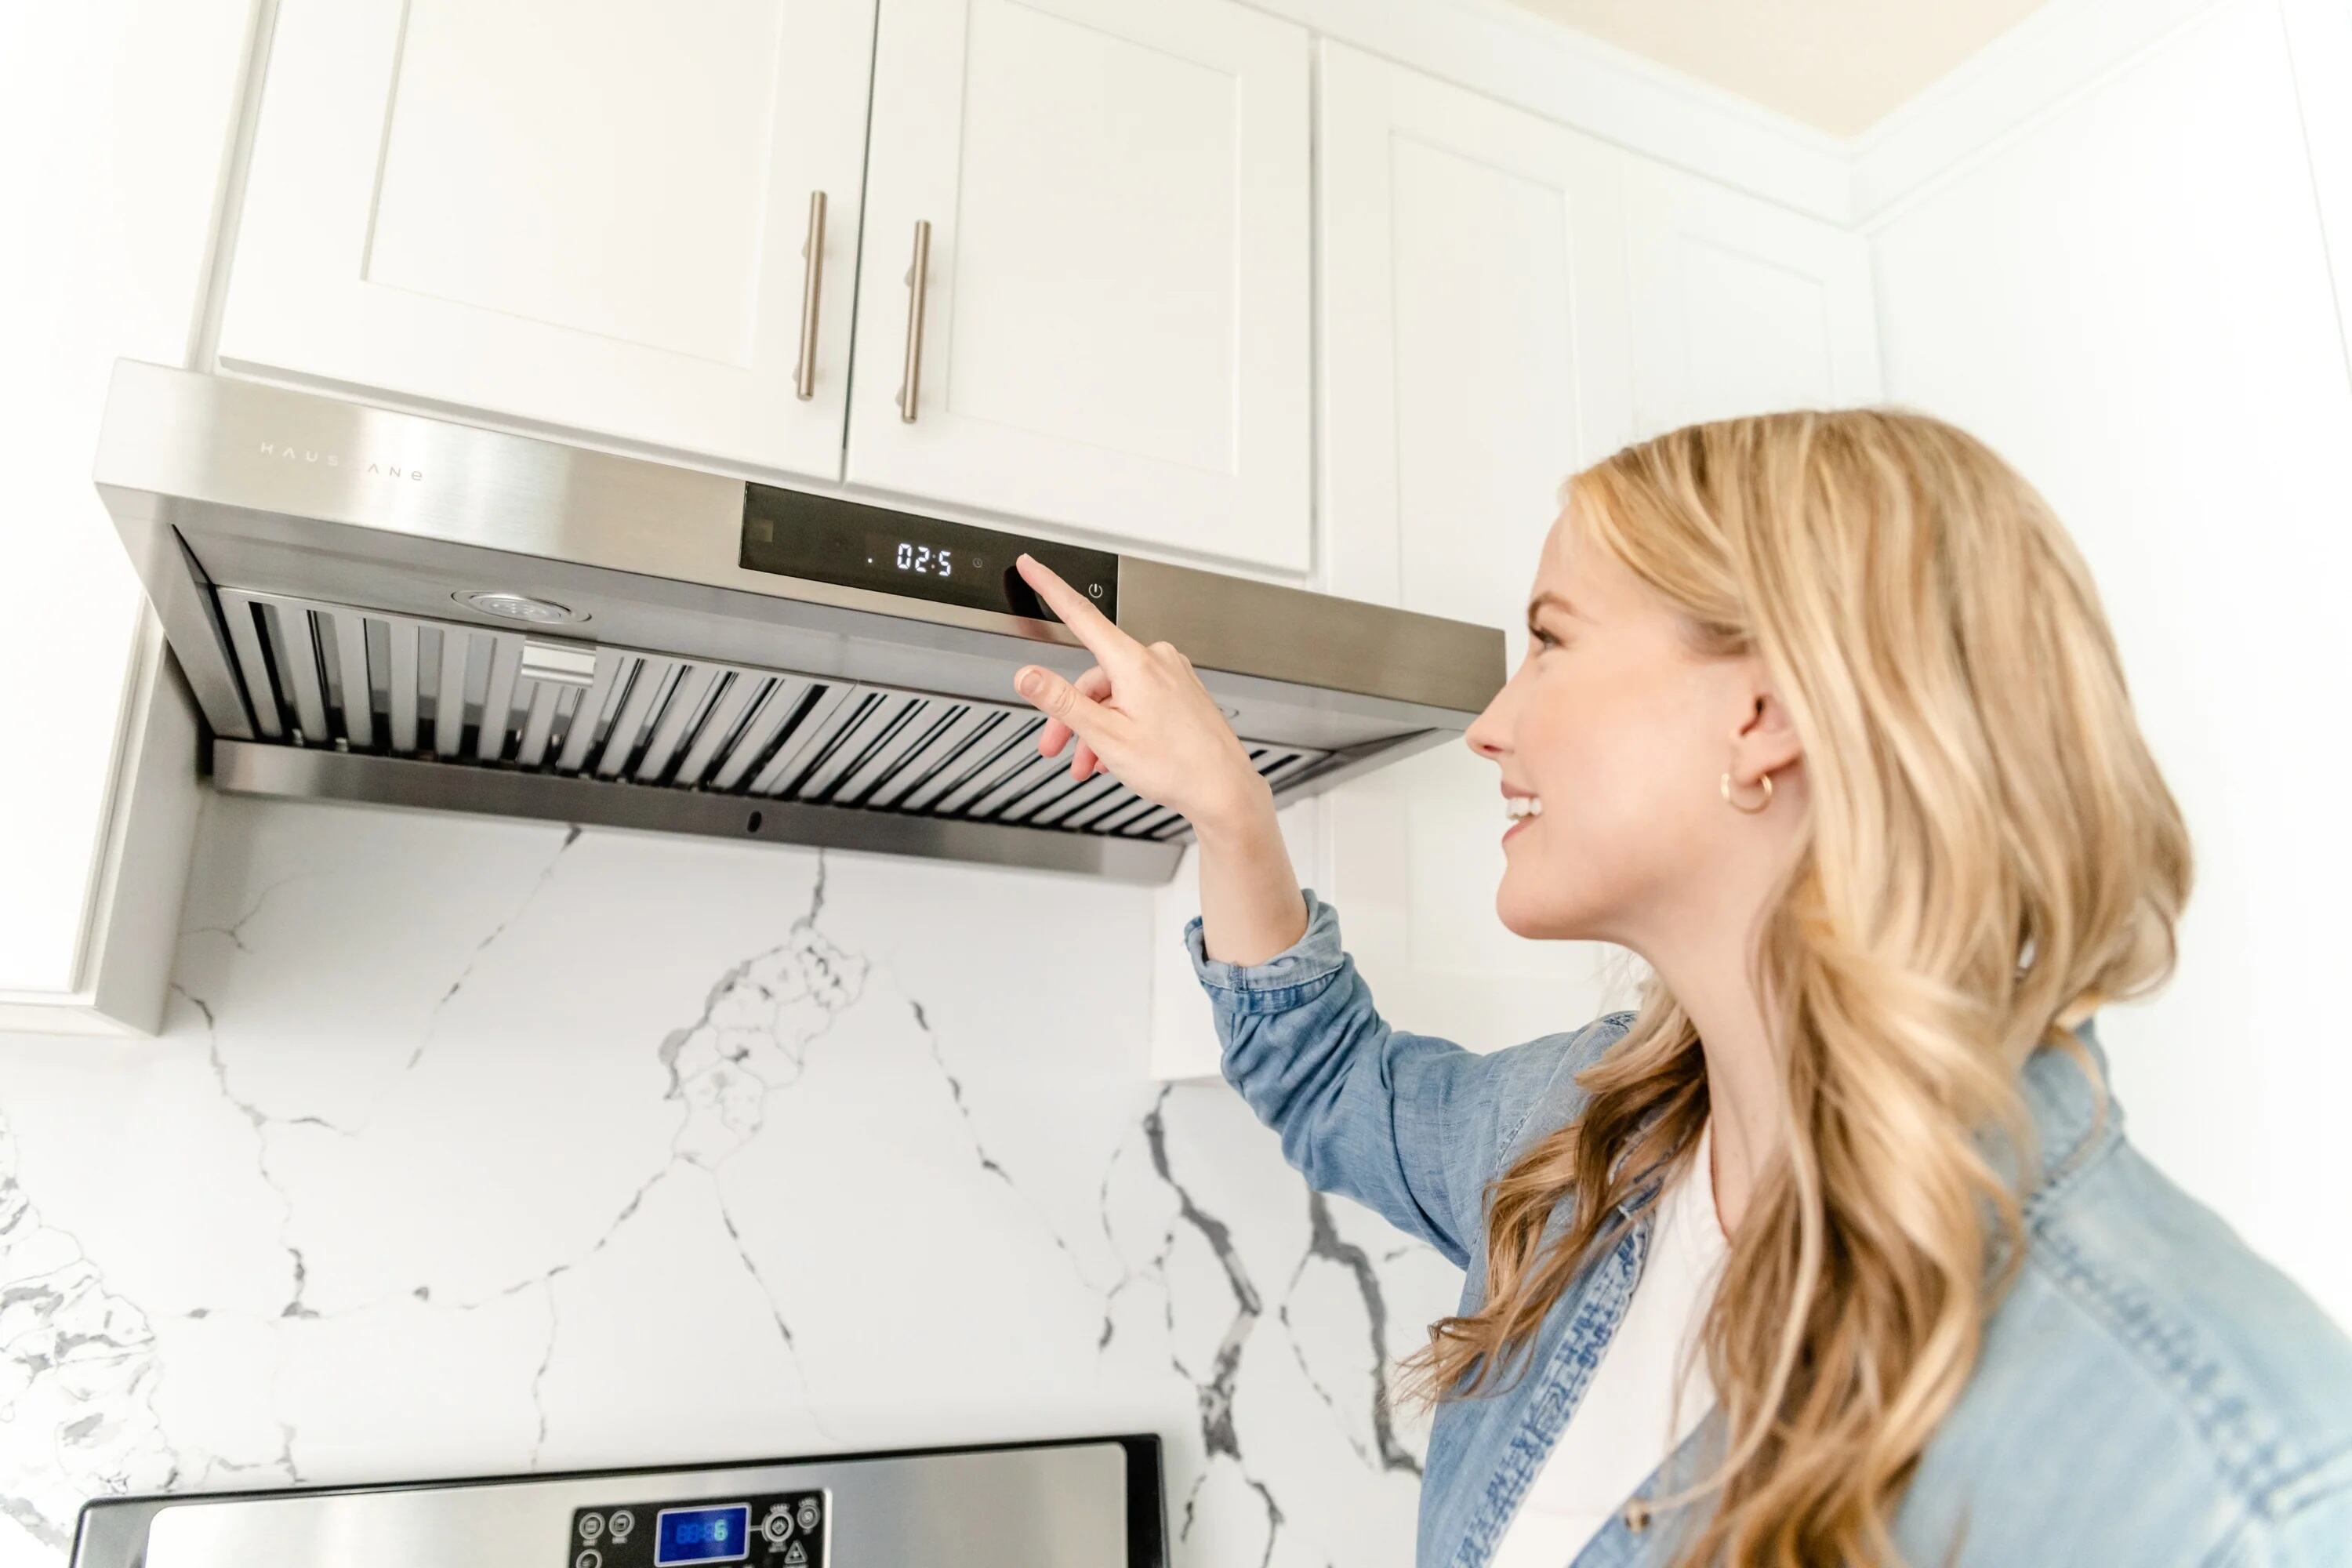
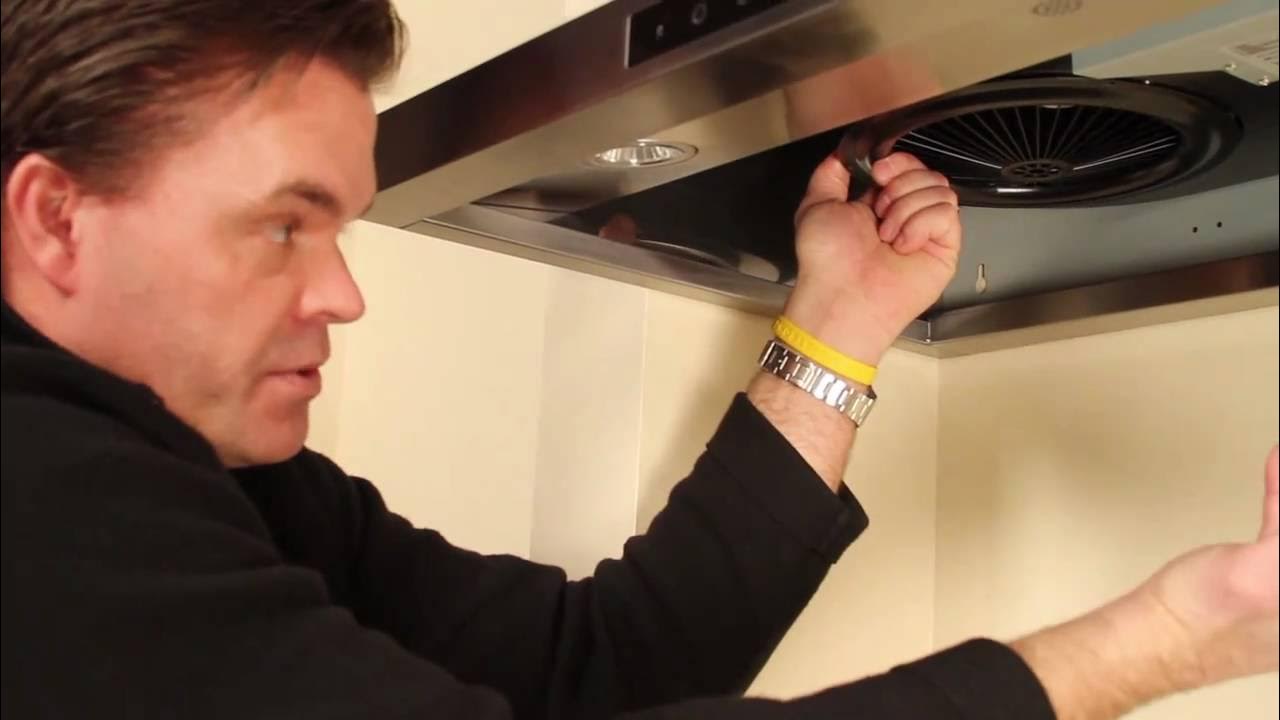
Step 2: Locating the Clock Setting Button
After powering on the range hood, the next step is to locate the clock setting button. This button is specific to the clock function and is used to access the clock setting mode on your appliance.
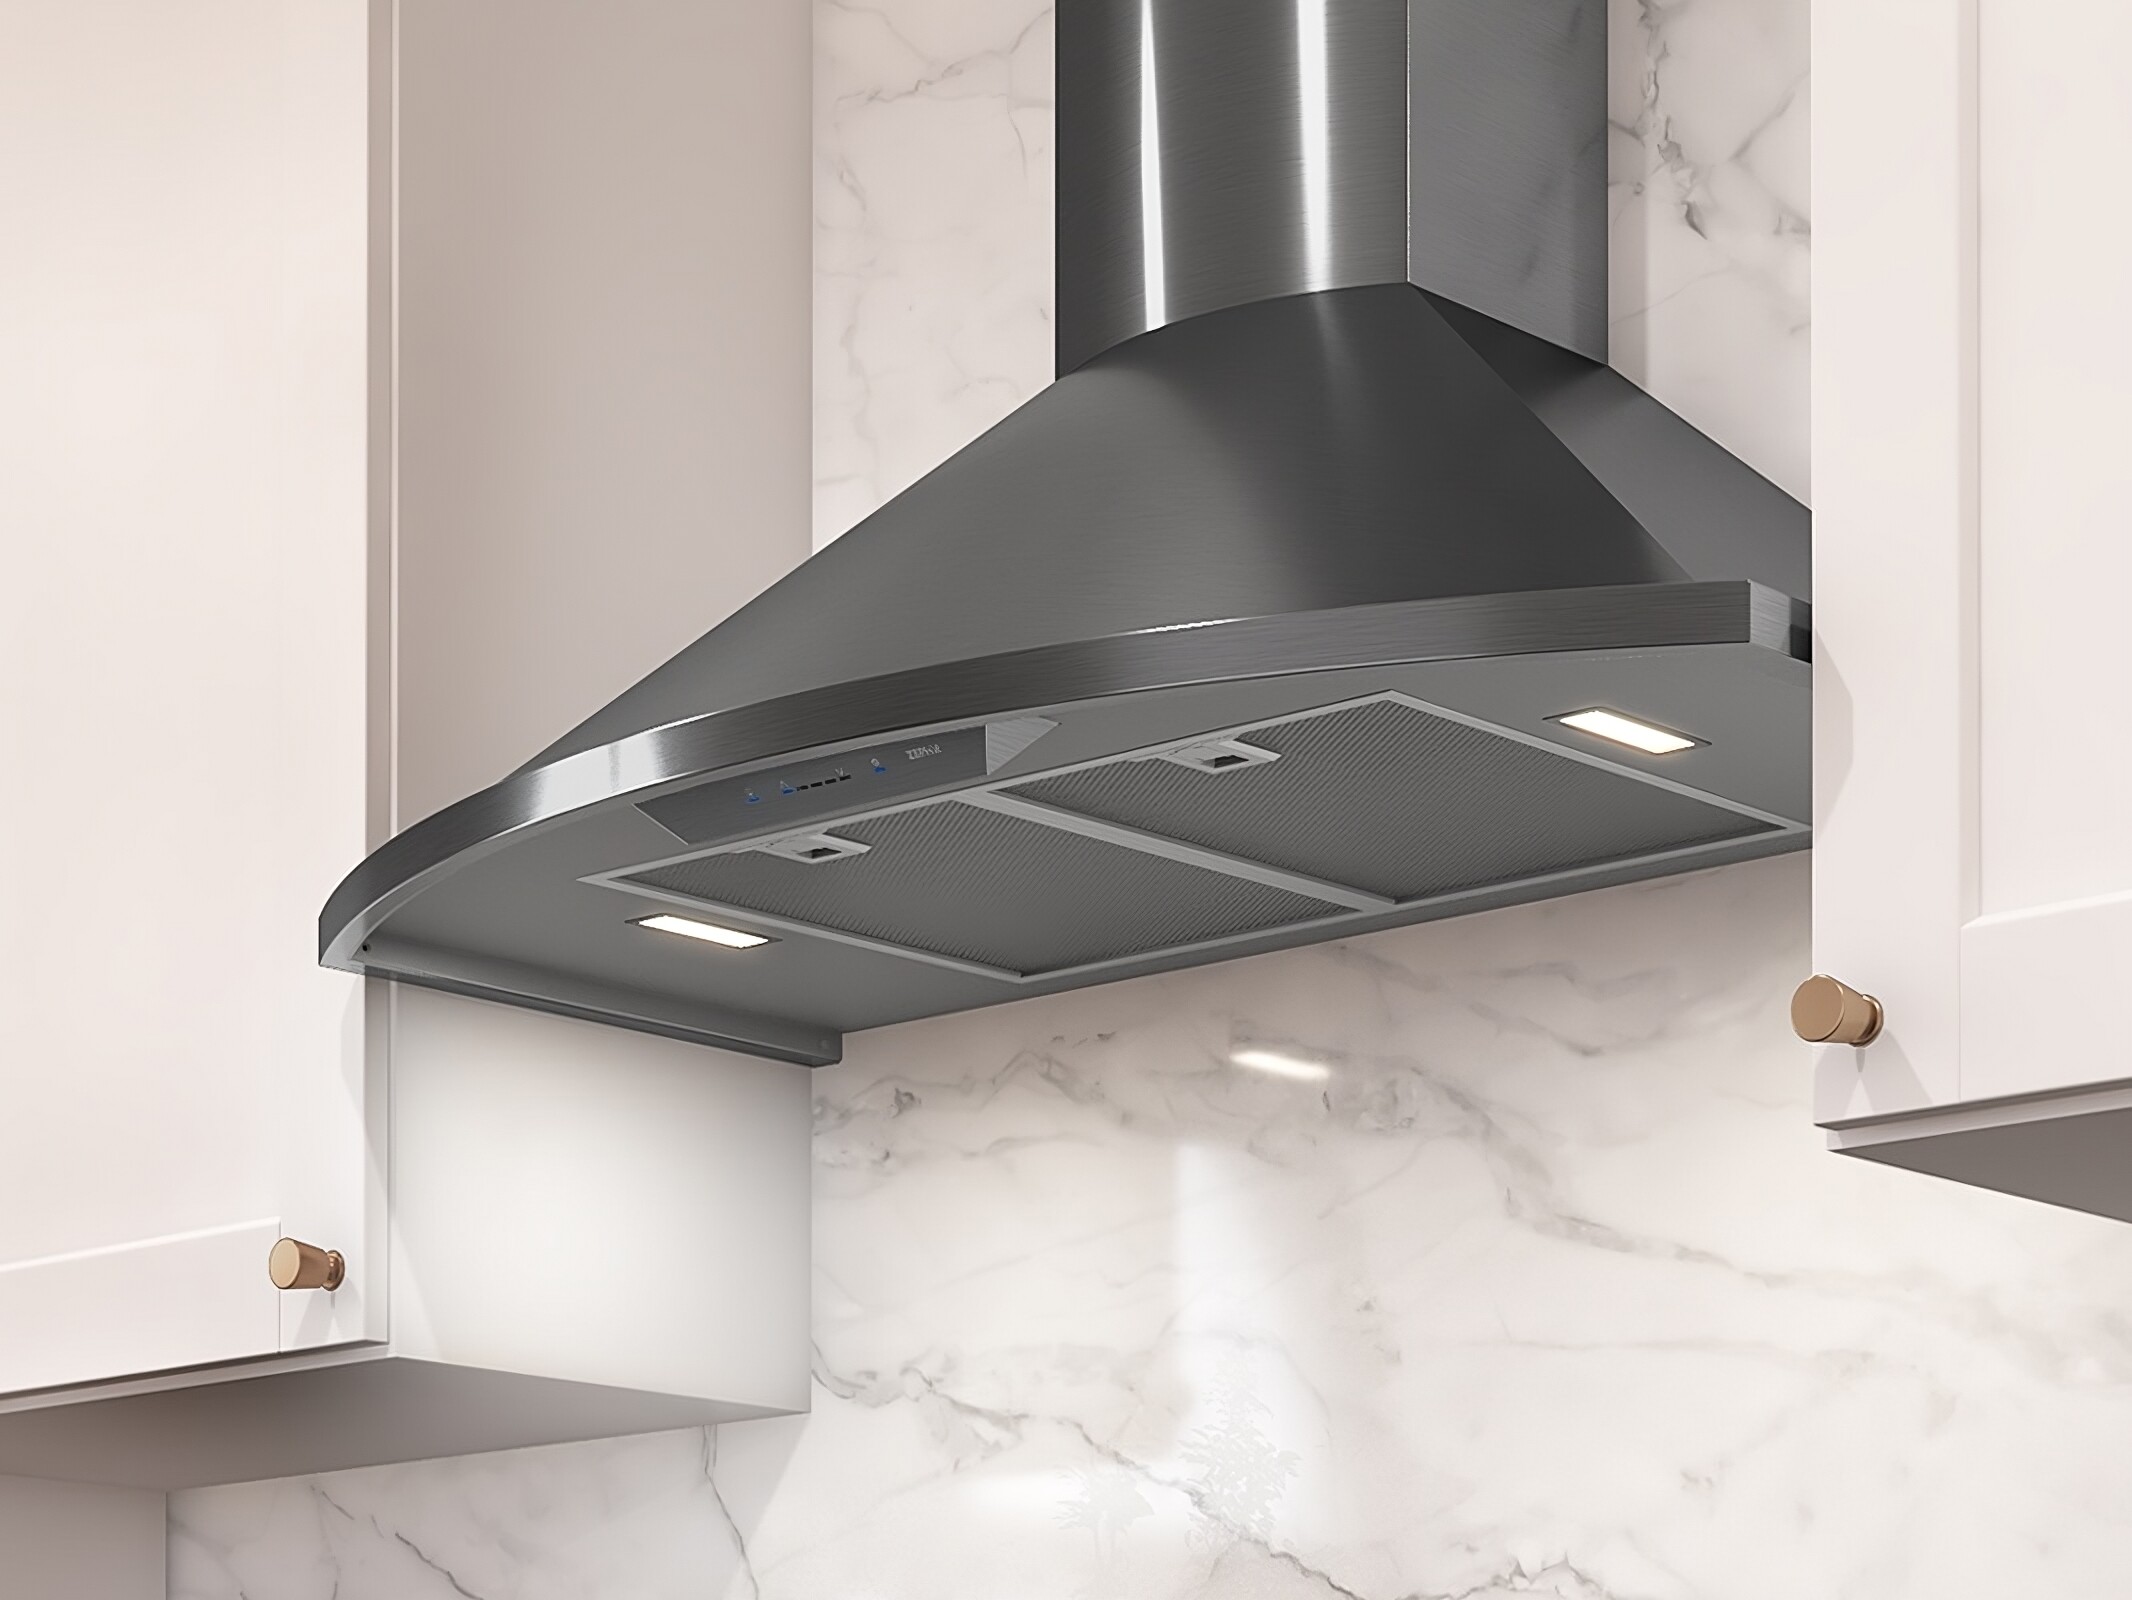
The location of the clock setting button can vary depending on the model and design of your range hood. However, it is commonly found on the control panel alongside other buttons and indicators.
Look for a button with a clock or time symbol on it. In some cases, it may be labeled as “Clock,” “Time,” or simply with an icon representing timekeeping. If you’re having trouble identifying the clock setting button, refer to your appliance’s user manual for clarity.
Once you’ve located the clock setting button, you can move on to the next step of accessing the clock setting mode.
Note: Some range hoods may not have a dedicated clock button. In such cases, the clock setting function may be accessed through a combination of buttons or by using the control panel’s menu navigation system. Again, it is advisable to consult the user manual for specific instructions for your particular range hood model.
Step 3: Accessing the Clock Setting Mode
Once you’ve located the clock setting button on your range hood, the next step is to access the clock setting mode. This mode allows you to make adjustments to the clock and set the correct time.
To access the clock setting mode, make sure the range hood is powered on and ensure that you have located the clock setting button, as mentioned in the previous step.
Press and hold the clock setting button for a few seconds. This action will activate the clock setting mode, and you should see the clock display on the range hood’s control panel start to blink or flash. This indicates that you are now in the clock setting mode and can proceed to adjust the time.
While in the clock setting mode, you may also encounter other buttons or indicators that allow you to navigate through different settings or adjust other functions. However, for the purposes of setting the clock, we will focus on using the clock setting button and any additional buttons specified in your range hood’s user manual.
With the clock setting mode successfully accessed, you are now ready to move on to the next step and adjust the hours on the clock display.
Step 4: Adjusting the Hours
Now that you have accessed the clock setting mode on your range hood, it’s time to adjust the hours displayed on the clock. This step ensures that the clock accurately reflects the current time.
To adjust the hours, you will typically use the clock setting button in combination with other buttons or controls specified by your range hood’s user manual.
First, locate the button or control that is designated for adjusting the hours. It may be labeled as “Hour,” “Hr,” or simply have an up/down arrow icon indicating time adjustment.
Press the designated hour adjustment button once to increment the hour by one. If your range hood’s clock operates on a 12-hour format, make sure to cycle through the hours until you reach the desired hour of the day.
If your range hood features a 24-hour format, continue pressing the hour adjustment button until the desired hour is displayed. Note that some range hoods might automatically switch between AM and PM based on the hour you select.
While adjusting the hours, pay attention to any interactive feedback from the control panel, such as a changing display or a beep sound indicating the hour adjustment has been registered.
Once you have set the correct hour, you can proceed to the next step and adjust the minutes on the clock display.
Note: Depending on your specific range hood model, the hour adjustment may involve different steps or controls. Refer to your appliance’s user manual for detailed instructions if you encounter any challenges during this process.
Refer to the user manual for specific instructions on setting the clock on your range hood. Typically, it involves pressing the clock button, entering the time, and pressing the clock button again to confirm.
Read more: How To Build A Range Hood
Step 5: Adjusting the Minutes
After adjusting the hours on your range hood’s clock, the next step is to fine-tune the minutes displayed. This ensures the clock accurately reflects the current time down to the minute.
To adjust the minutes, you will use the same clock setting button and any other controls specified in your range hood’s user manual.
Locate the button or control designated for adjusting the minutes. This may be labeled as “Min,” “Minute,” or have an up/down arrow icon indicating time adjustment.
Press the designated minute adjustment button once to increment the minutes by one. Pay attention to any interactive feedback, such as a changing display or beep sound, indicating that the minute adjustment has been registered.
Continue pressing the minute adjustment button until the desired minutes are displayed on the clock. Take your time to ensure precision and accuracy, especially when timing is crucial in your cooking processes.
In some range hoods, you may have the option to adjust the minutes in increments of 5 or 10, allowing for quicker adjustment. Refer to your appliance’s user manual for specific instructions on navigating through different minute adjustment options.
Once you’ve set the correct minutes, you can proceed to the next step and confirm the time on your range hood’s clock.
Note: If your range hood’s clock adjusts minutes automatically as you adjust the hour, you may not need to perform a separate minute adjustment. In such cases, simply ensure that the correct hour is set, and the minutes will auto-update accordingly.
Step 6: Confirming the Time
After adjusting the hours and minutes on your range hood’s clock, it’s important to confirm that the displayed time is accurate. This step ensures that the clock is set correctly and that you can rely on it for various cooking tasks and time management.
Take a moment to review the time displayed on the clock. Double-check the hour and minute values to make sure they align with the current time. If necessary, go back and adjust the hours or minutes as needed.
If your range hood features an AM/PM indicator or a 24-hour format display, ensure that the time and AM/PM setting are correctly aligned with the actual time of day.
Once you are confident that the displayed time is accurate, you can proceed to the final step of exiting the clock setting mode.
Remember, it’s always a good idea to periodically check the clock on your range hood and adjust it if it becomes inaccurate due to power outages, daylight saving time changes, or any other factors that may affect the timekeeping.
Now that you have confirmed the time on your range hood’s clock, you are ready to move on to the last step and exit the clock setting mode.
Step 7: Exiting the Clock Setting Mode
After setting the time on your range hood’s clock, the final step is to exit the clock setting mode. This ensures that the changes you made are saved and the clock starts displaying the correct time.
To exit the clock setting mode, look for a button or control specifically labeled as “Exit,” “Done,” or with an icon indicating the completion of the clock adjustment process.
Press the designated exit button once to exit the clock setting mode. You should see the clock display stop flashing or blinking, indicating that the changes have been saved and the clock is now set.
At this point, you can check the clock display one more time to confirm that it is no longer flashing and that the correct time is now consistently displayed.
If you encounter any issues while trying to exit the clock setting mode or if you accidentally exit without saving the changes, don’t worry. Simply repeat the steps from accessing the clock setting mode and adjust the time again until you successfully exit and save the changes.
With the clock setting mode successfully exited, your range hood’s clock is now set to the correct time. You can rely on it for accurate timekeeping, cooking processes, and managing your culinary tasks effectively.
Remember, depending on the make and model of your range hood, the process of setting the clock may vary. Always consult your appliance’s user manual for specific instructions if you encounter any difficulties or if the steps mentioned in this article do not match your range hood’s controls.
Congratulations! You have successfully set the clock on your range hood, allowing you to keep track of time while preparing delicious meals in your kitchen.
Conclusion
Setting the clock on your range hood is a simple yet important task that ensures accurate timekeeping and helps you manage your cooking processes effectively. By following the steps outlined in this article, you can easily set the clock on your range hood, regardless of the make or model.
Remember to power on the range hood before attempting to set the clock and locate the clock setting button on the control panel. Accessing the clock setting mode is the next step, which allows you to make adjustments to the hours and minutes displayed on the clock.
Take your time to adjust the hours and minutes accurately, confirming that the displayed time aligns with the current time. Once you’re satisfied with the settings, exit the clock setting mode to save the changes and ensure the clock displays the correct time consistently.
Although the steps mentioned in this article are general guidelines, it’s always advisable to refer to your range hood’s user manual for specific instructions that may apply to your appliance.
By setting the clock on your range hood, you can easily keep track of cooking times, coordinate multiple cooking processes, and ensure your meals are timed to perfection. A properly set clock also adds a touch of functionality and convenience to your kitchen.
So, don’t forget to take a moment to set the clock on your range hood, and enjoy the benefits of accurate timekeeping while creating culinary delights in your kitchen!
Frequently Asked Questions about How To Set Clock On Range Hood
Was this page helpful?
At Storables.com, we guarantee accurate and reliable information. Our content, validated by Expert Board Contributors, is crafted following stringent Editorial Policies. We're committed to providing you with well-researched, expert-backed insights for all your informational needs.


0 thoughts on “How To Set Clock On Range Hood”