Articles
How To Set A Tzumi Alarm Clock
Modified: May 6, 2024
Discover helpful articles on how to set a Tzumi alarm clock and ensure you never oversleep again. Follow our step-by-step guides and wake up on time with ease.
(Many of the links in this article redirect to a specific reviewed product. Your purchase of these products through affiliate links helps to generate commission for Storables.com, at no extra cost. Learn more)
Introduction
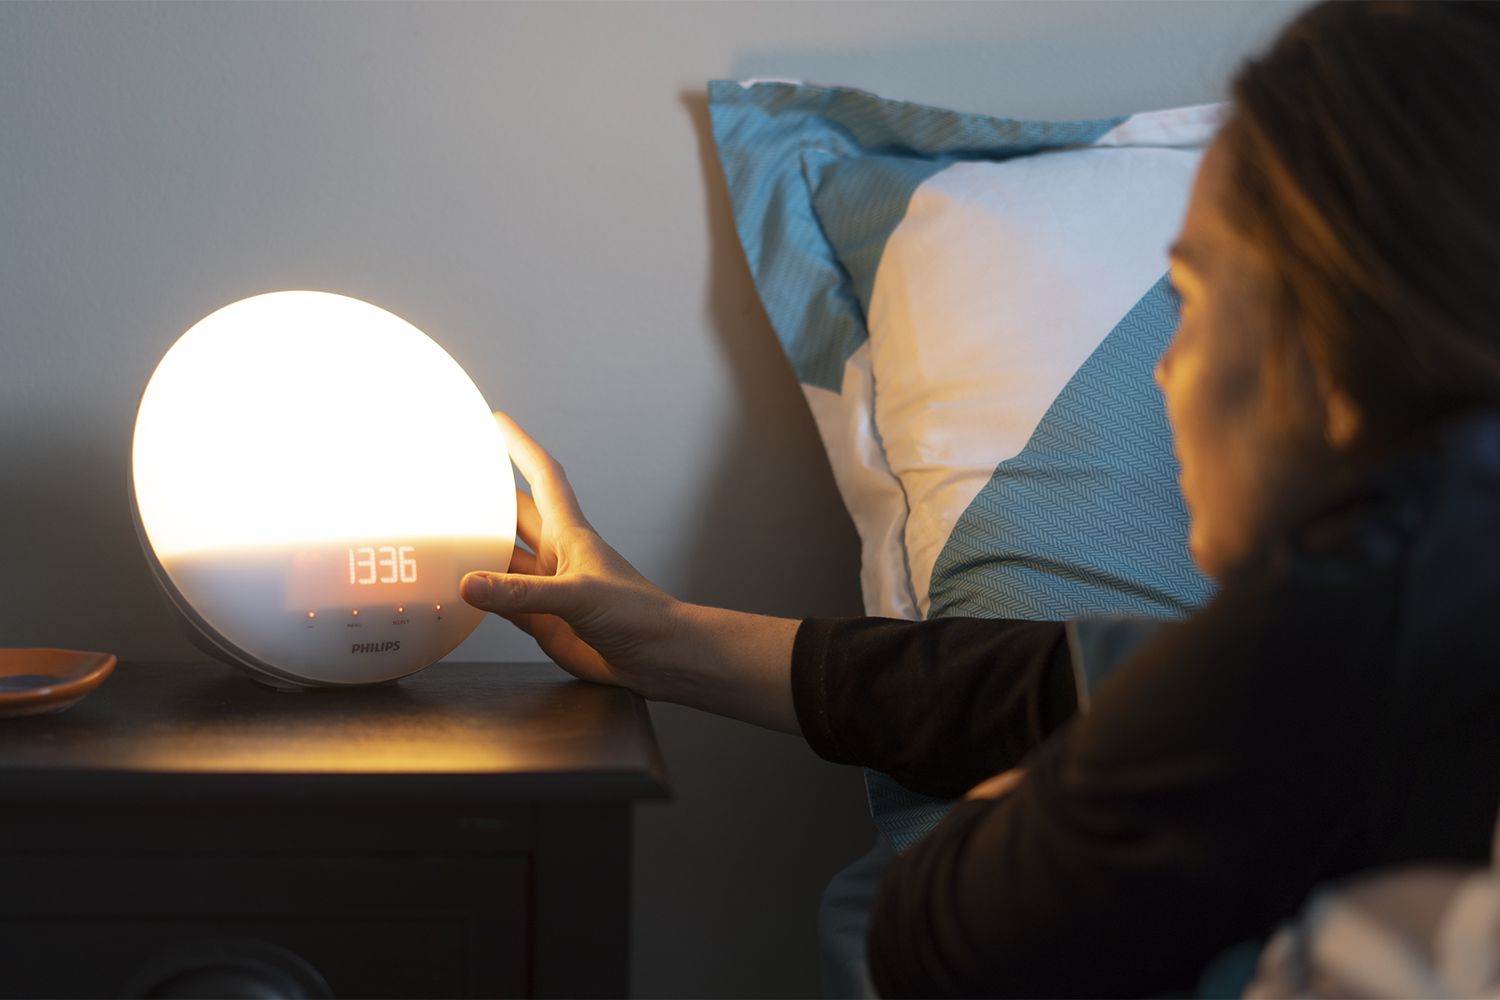
Setting an alarm clock is an essential part of our daily routine, ensuring that we wake up on time and start our day with a timely start. The Tzumi Alarm Clock is a popular choice among alarm clock enthusiasts, known for its reliability and user-friendly features. Whether you’re a heavy sleeper or someone who needs a gentle wake-up call, the Tzumi Alarm Clock has got you covered.
In this article, we will guide you through the process of setting up a Tzumi Alarm Clock, from unboxing to troubleshooting common issues. By the end of this guide, you’ll have the knowledge and confidence to optimize your alarm clock experience.
So, let’s dive in and learn how to set up your Tzumi Alarm Clock efficiently and start your day off on the right foot!
Key Takeaways:
- Setting up your Tzumi Alarm Clock is a breeze with these step-by-step instructions, ensuring you wake up on time and start your day with confidence. From unboxing to troubleshooting, you’ll be a Tzumi pro in no time!
- Personalize your wake-up experience by choosing your preferred alarm sound, adjusting alarm settings, and exploring additional features like night lights and radios. With the Tzumi Alarm Clock, your mornings just got a whole lot brighter!
Read more: Where Was The Alarm Clock Invented
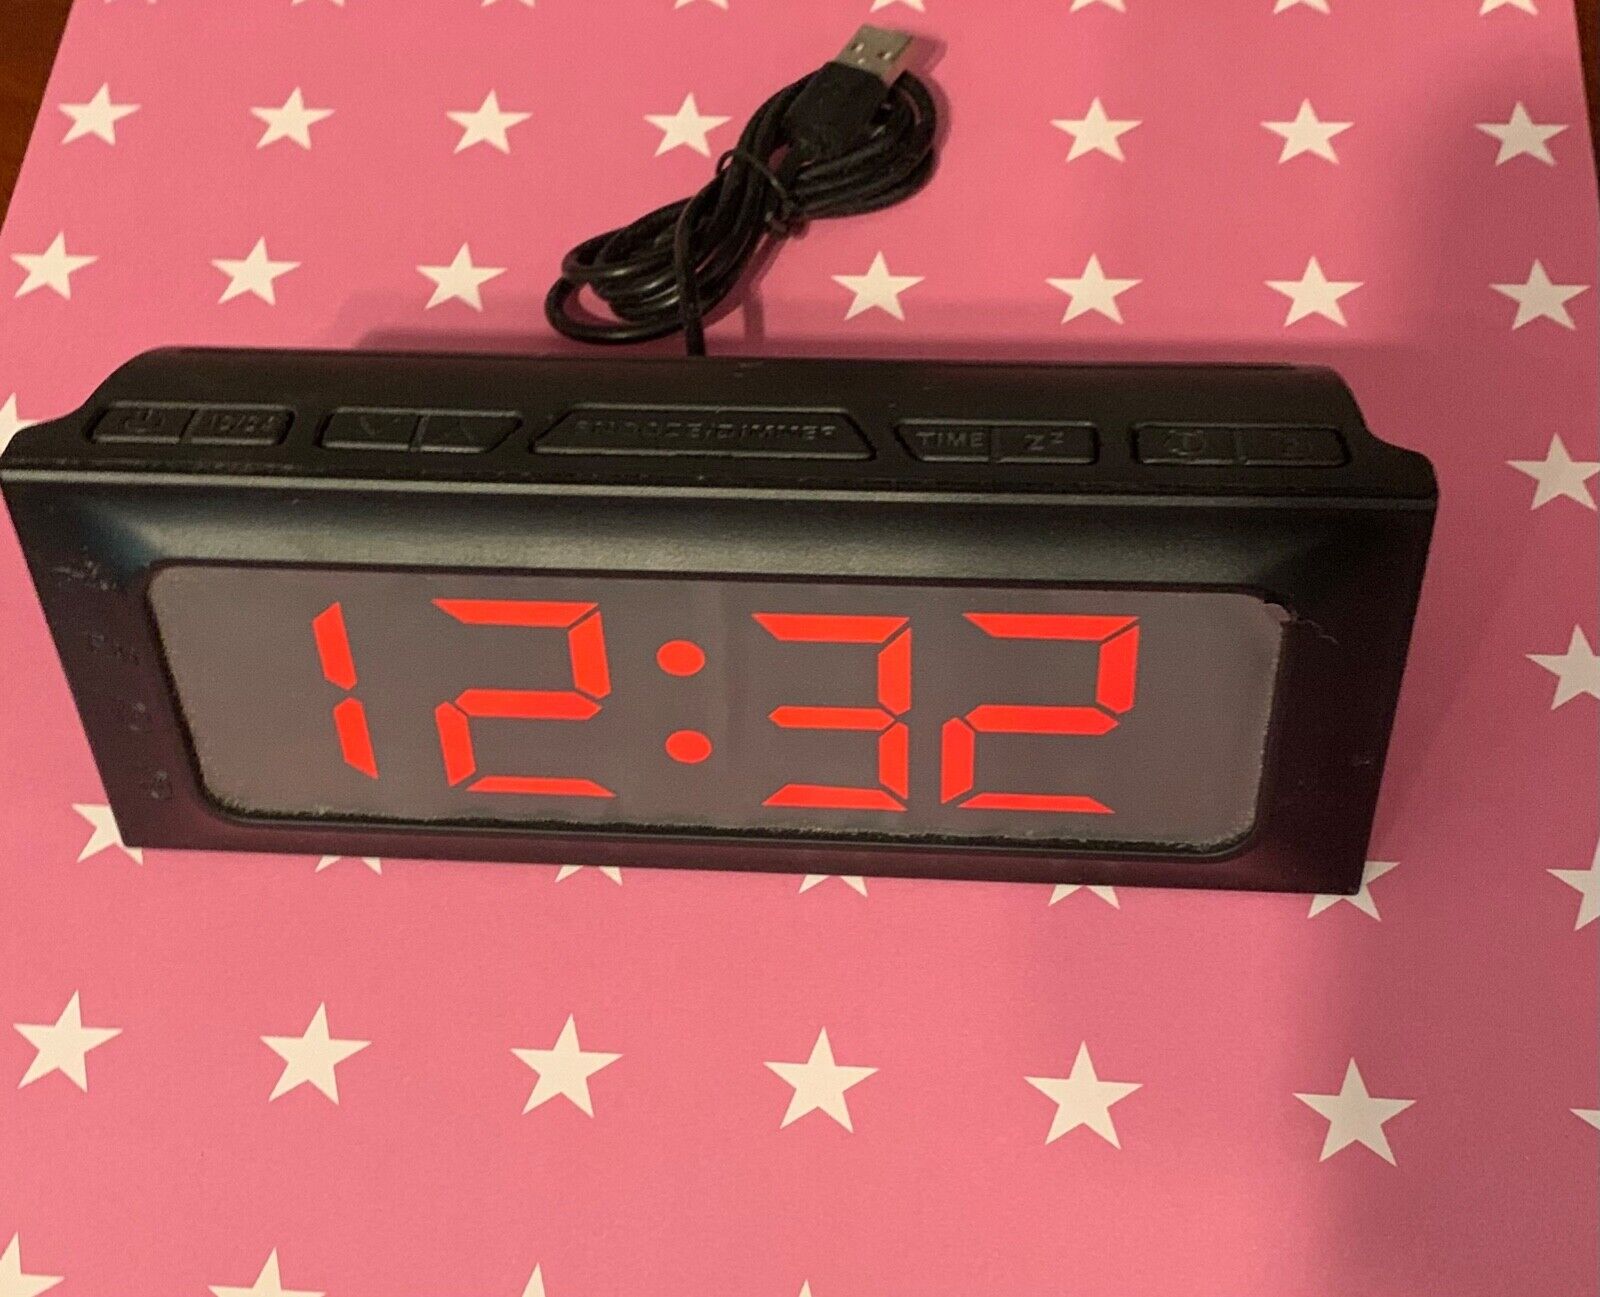
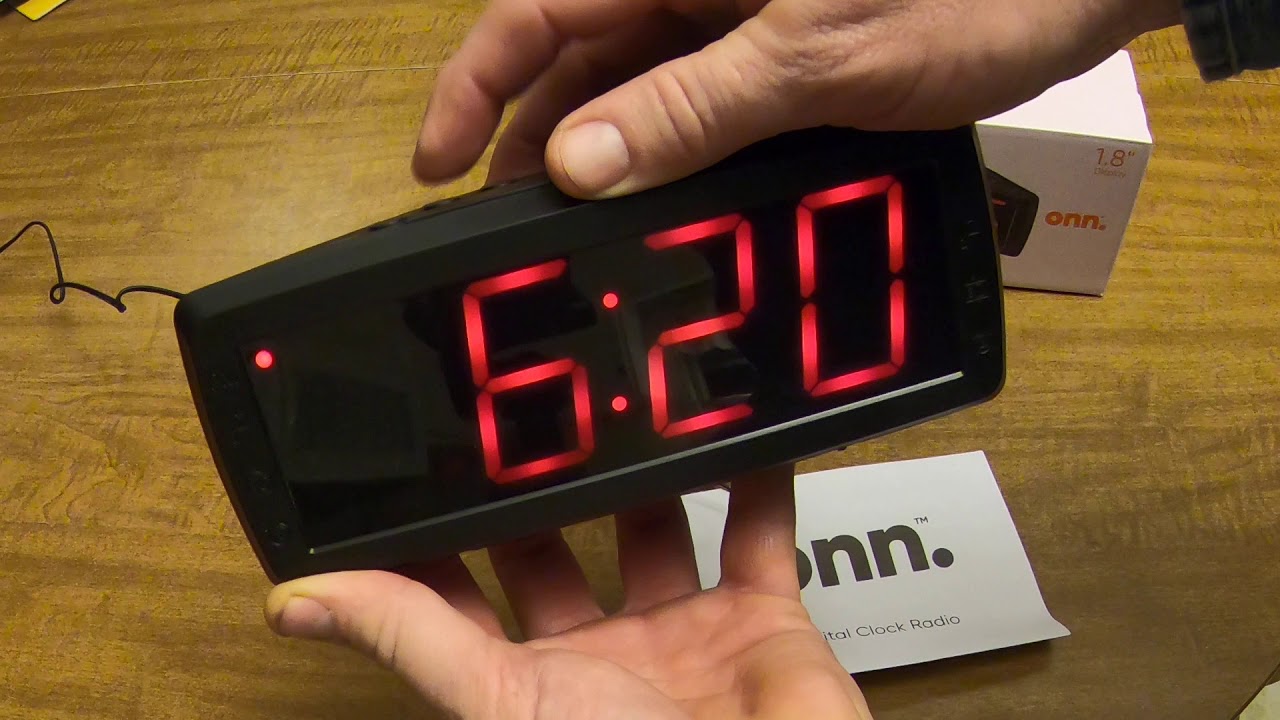
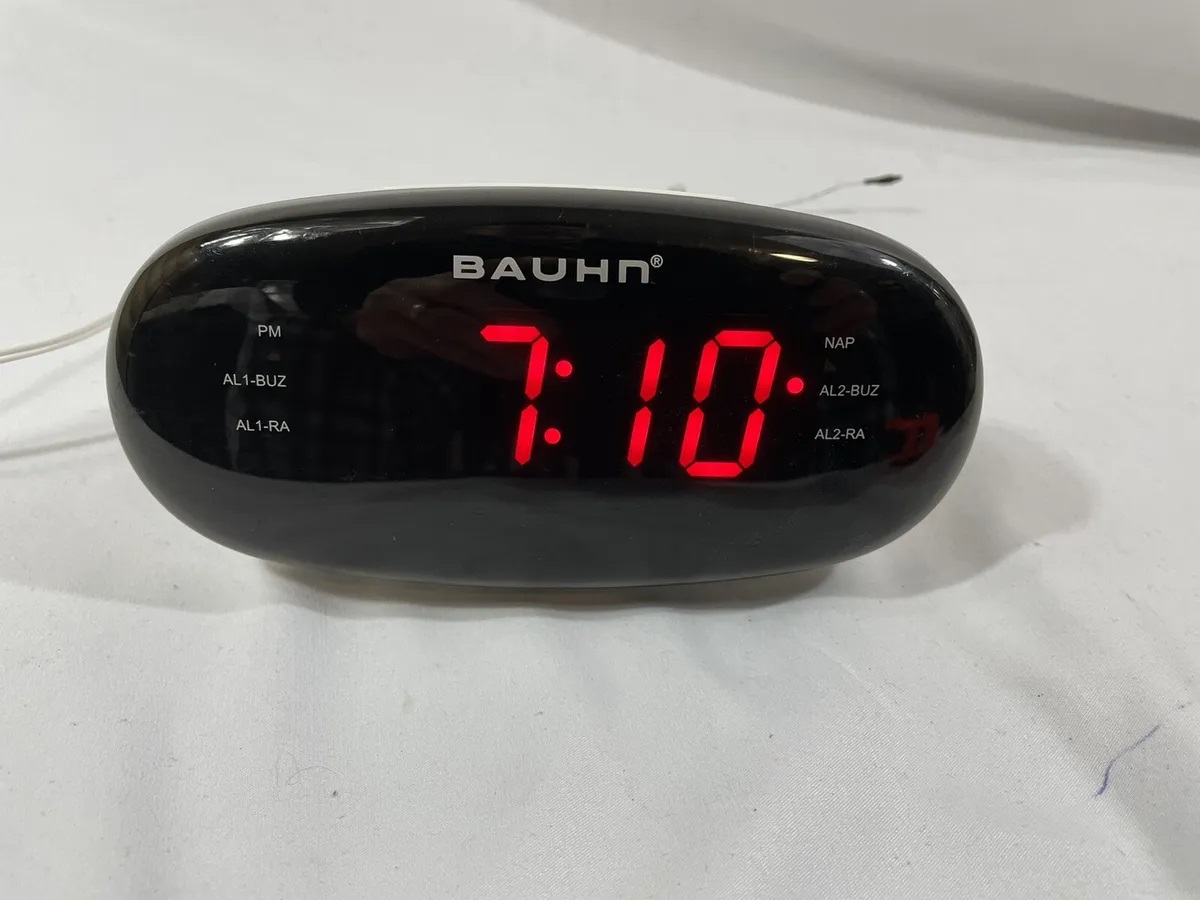
Step 1: Unboxing the Tzumi Alarm Clock
Before you can begin setting up your Tzumi Alarm Clock, you need to unbox it and familiarize yourself with its components. Here’s a step-by-step guide on unboxing your Tzumi Alarm Clock:
- Remove the Tzumi Alarm Clock from its packaging carefully. Ensure that you have all the included accessories, such as the power cable or batteries, depending on the model.
- Take a moment to inspect the alarm clock for any visible damage or defects. If you notice any issues, contact the retailer or Tzumi support for assistance.
- Find a suitable location for your Tzumi Alarm Clock. Ideally, it should be placed on a stable surface near your bed within easy reach.
- Plug in the power cable if your Tzumi Alarm Clock requires it. Alternatively, insert batteries into the designated compartment if your model is battery-powered.
- Switch on the Tzumi Alarm Clock by pressing the power button, which is usually located on the front or top of the device. Some models may have a physical switch instead.
- You should see the display light up, indicating that the Tzumi Alarm Clock is ready for setup.
Once you have completed these steps, you’re ready to move on to the next stage of setting up your Tzumi Alarm Clock: setting the time.
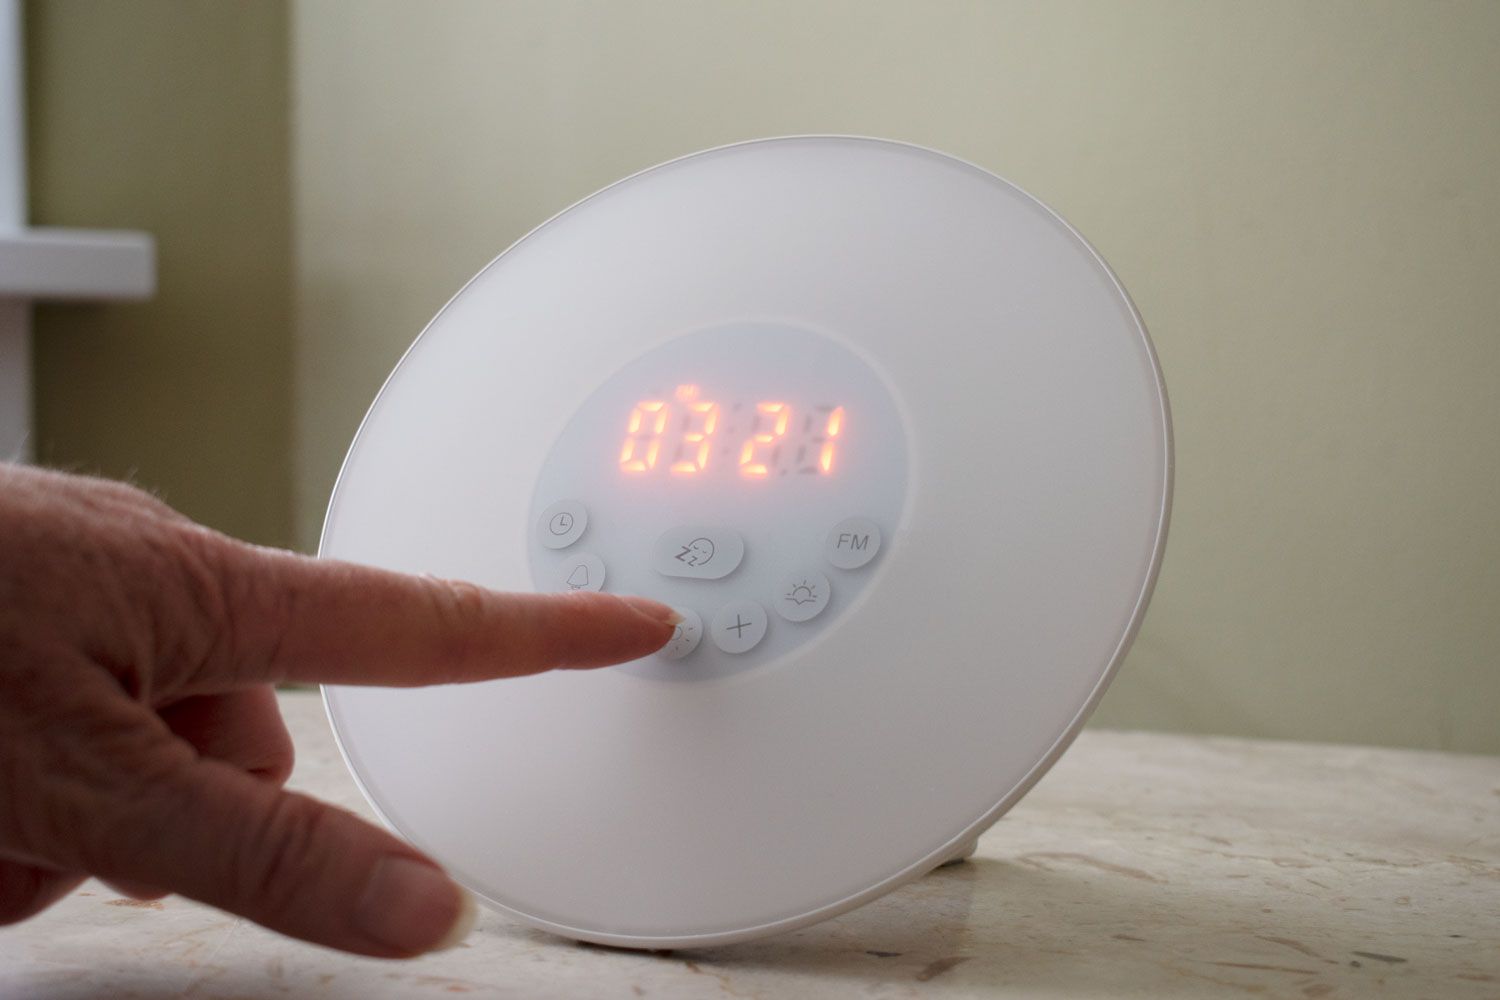
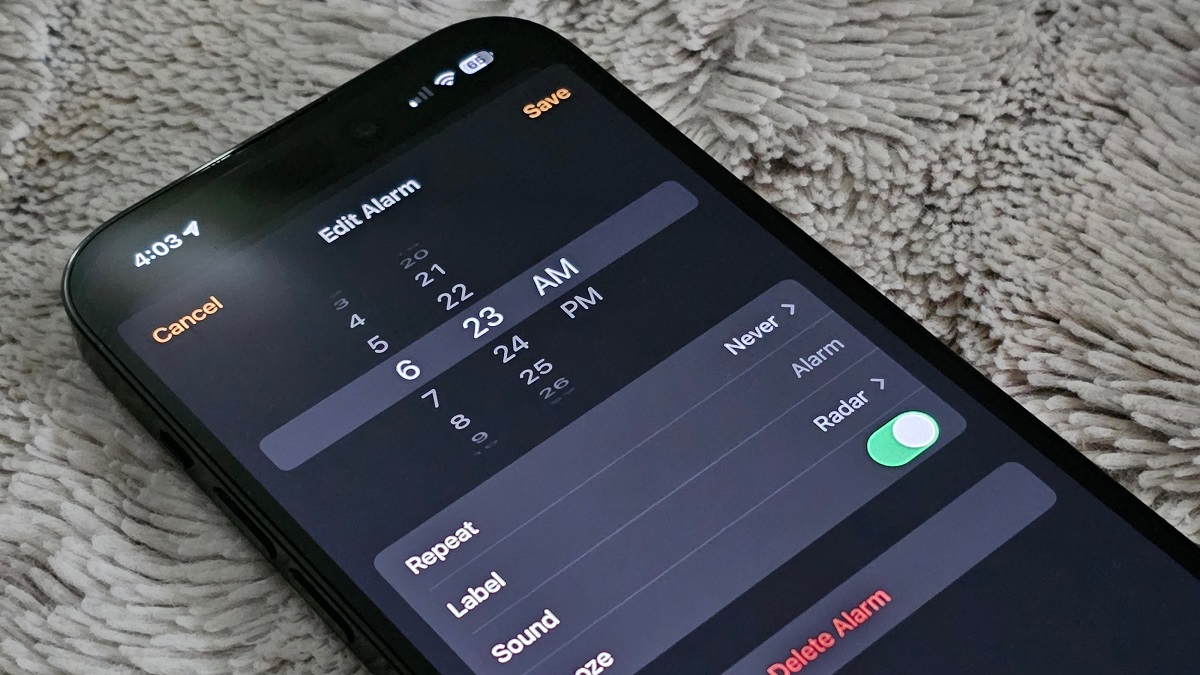
Step 2: Setting the Time
Setting the correct time on your Tzumi Alarm Clock is essential to ensure accurate alarm settings. Here’s how you can set the time:
- Locate the time-setting button on your Tzumi Alarm Clock. It is usually labeled as “TIME” or indicated by a clock icon. It’s typically located on the front or side of the device.
- Press and hold the time-setting button until the time display starts blinking or enters the editing mode.
- Use the arrow buttons or dial on your Tzumi Alarm Clock to adjust the hours and minutes. Some models may require you to press separate buttons for each digit.
- Pay attention to the AM and PM indicators to ensure the correct time of day is set.
- Once you have set the desired time, press the time-setting button again or wait for a few seconds for the Tzumi Alarm Clock to save the settings and exit the editing mode.
Double-check the time displayed on your Tzumi Alarm Clock to ensure it matches the current time. If necessary, repeat the steps above to make any adjustments.
Now that you have successfully set the time on your Tzumi Alarm Clock, you can move on to the next step: setting the alarm.
Step 3: Setting the Alarm
Setting the alarm on your Tzumi Alarm Clock is straightforward and allows you to wake up at your desired time. Follow these steps to set the alarm:
- Locate the alarm-setting button on your Tzumi Alarm Clock. It is typically labeled as “ALARM” or indicated by a bell icon.
- Press the alarm-setting button to enter the alarm setting mode. The alarm time should start flashing or appear on the display.
- Use the arrow buttons or dial on your Tzumi Alarm Clock to adjust the alarm hours and minutes to your preferred wake-up time.
- Pay attention to the AM and PM indicators to ensure that the alarm is set for the correct time of day.
- Once you have set the desired alarm time, press the alarm-setting button again or wait for a few seconds for the Tzumi Alarm Clock to save the settings and exit the editing mode.
With the alarm set, you’re ready to experience the convenience of waking up to the sound of your Tzumi Alarm Clock.
It’s important to note that some Tzumi Alarm Clock models offer additional features for setting multiple alarms, weekday-specific alarms, or recurring alarms. Consult your alarm clock’s user manual for detailed instructions on using these advanced alarm settings if applicable.
Now that you have set the alarm, let’s move on to the next step: adjusting the alarm settings.
Step 4: Adjusting Alarm Settings
Adjusting the alarm settings on your Tzumi Alarm Clock allows you to customize the alarm experience to suit your preferences. Here’s how you can adjust the alarm settings:
- Press the alarm-setting button on your Tzumi Alarm Clock to enter the alarm settings mode.
- Depending on your model, you may have options to adjust the alarm volume, snooze duration, and alarm tone.
- To adjust the alarm volume, use the volume buttons or dial on your Tzumi Alarm Clock to increase or decrease the volume level to your liking.
- To set the snooze duration, locate the snooze button or option in the alarm settings menu. Press it to choose the desired snooze duration, such as 5, 10, or 15 minutes.
- Some Tzumi Alarm Clock models allow you to select from a range of alarm tones. Explore the alarm settings menu to find the list of available tones and choose the one that suits your preference.
- Once you have adjusted the desired alarm settings, press the alarm-setting button again or wait for a few seconds to save the settings and exit the alarm settings mode.
By adjusting the alarm settings on your Tzumi Alarm Clock, you can personalize your wake-up experience and make the alarm clock work according to your preferences.
Now that you have adjusted the alarm settings, let’s move on to the next step: choosing alarm sounds.
When setting a Tzumi alarm clock, make sure to carefully read the instruction manual to understand the specific steps for setting the time, alarm, and any other features. Pay attention to any buttons or settings that may need to be adjusted for the clock to function properly.
Read more: How To Set Hetyre Alarm Clock
Step 5: Choosing Alarm Sounds
Choosing the right alarm sound on your Tzumi Alarm Clock can make a significant difference in how you wake up each morning. Here’s how you can choose your preferred alarm sound:
- Access the alarm settings menu on your Tzumi Alarm Clock by pressing the alarm-setting button.
- Look for the “Alarm Sound” or “Sound Options” section in the menu. Different Tzumi Alarm Clock models may have varying names for this setting.
- Once you find the alarm sound options, explore the available choices. Tzumi Alarm Clocks often offer a variety of sounds, including traditional beeps, nature sounds, melodies, and even radio stations.
- Use the navigation buttons or dial on your Tzumi Alarm Clock to browse through the alarm sound options. Some models may have dedicated buttons for cycling through the sounds.
- When you find an alarm sound that you like, select it by pressing a corresponding button or confirming your choice on the display.
- Preview the selected alarm sound to ensure it’s to your liking. This allows you to make any adjustments or try a different sound if necessary.
- Once you’re satisfied with your selection, save the alarm sound setting by either pressing the alarm-setting button or waiting for a few seconds to exit the alarm settings mode.
By choosing your preferred alarm sound on your Tzumi Alarm Clock, you can wake up to a soothing melody, a familiar tone, or any other sound that helps you start your day on a positive note.
Now that you have chosen your alarm sound, let’s explore some additional features that your Tzumi Alarm Clock may offer.
Step 6: Using Additional Features
Besides setting the time and alarm, your Tzumi Alarm Clock may have additional features that can enhance your overall experience. Here are some commonly found additional features and how to use them:
- Night Light: If your Tzumi Alarm Clock has a built-in night light, locate the night light button or option. Press it to activate the night light, which can serve as a gentle source of illumination during the night or in dimly lit rooms.
- Radio: Some Tzumi Alarm Clock models come with a built-in FM radio. Find the radio button or option on your alarm clock and press it to activate the radio mode. Use the navigation buttons or dial to scan for available radio stations and select your preferred station.
- Dual Alarm: If your Tzumi Alarm Clock supports dual alarms, you can set two separate alarms for different wake-up times. Explore the alarm settings menu to activate the dual alarm feature and set the additional alarm following the same steps as in “Step 3: Setting the Alarm.”
- Sleep Timer: Certain Tzumi Alarm Clocks offer a sleep timer feature, allowing you to fall asleep with soothing sounds and have the alarm automatically turn off after a specified duration. To use this feature, locate the sleep timer option in the menu and set the desired timer duration.
These additional features can enhance the functionality of your Tzumi Alarm Clock and cater to individual preferences for a better wake-up experience.
Now that you’ve familiarized yourself with the additional features, let’s move on to the final step: troubleshooting common issues.
Step 7: Troubleshooting Common Issues
While the Tzumi Alarm Clock is designed for reliable performance, you may encounter some common issues along the way. Here are a few troubleshooting tips to resolve them:
- No Power: If your Tzumi Alarm Clock is not turning on, ensure that it has a power source. Check if the power cable is securely connected or if the batteries are properly inserted. If using batteries, make sure they are not depleted and replace them if necessary.
- Inaccurate Time: If the time on your Tzumi Alarm Clock is incorrect or keeps resetting, double-check that you have set the time correctly. Also, ensure that the clock is not losing power, which could lead to time discrepancies. Consider using a different power source or replacing the batteries.
- Alarm Not Going Off: If your alarm is not sounding at the designated time, confirm that you have set the alarm correctly and that the volume is not muted or set too low. Additionally, check for any specific settings, such as weekday-specific alarms, that may be affecting the alarm activation.
- Display Issues: If the display on your Tzumi Alarm Clock is dim or not visible, adjust the brightness settings if available. Clean the display surface and ensure that it is not obstructed by any objects. If the issue persists, consider contacting Tzumi support for further assistance.
- Malfunctioning Buttons: If any of the buttons on your Tzumi Alarm Clock are not responding or sticking, gently clean them with a soft cloth or use compressed air to remove any debris. If the problem persists, contact Tzumi support for guidance on button replacement or repair.
If you encounter any other issues with your Tzumi Alarm Clock that cannot be resolved through these troubleshooting tips, refer to the user manual or reach out to Tzumi customer support for additional assistance.
Congratulations! You have successfully learned how to set up and customize your Tzumi Alarm Clock. Enjoy your mornings with the perfect wake-up experience!
Conclusion
Setting up and optimizing your Tzumi Alarm Clock is the key to starting your day on the right foot. By following the steps outlined in this guide, you have learned how to unbox the alarm clock, set the time and alarm, adjust alarm settings, choose alarm sounds, utilize additional features, and troubleshoot common issues.
The Tzumi Alarm Clock offers reliability, user-friendly controls, and various customizable features to cater to your preferences. Whether you prefer a gentle wake-up with nature sounds or a traditional alarm beep, the choice is yours. With additional features like night lights, radios, and dual alarms, you can personalize your waking experience and make it truly your own.
Remember, troubleshooting is part of the process, and if you encounter any issues, consult the user manual or contact Tzumi support for assistance. They will be happy to guide you through any complications you may encounter.
Now that you have a comprehensive understanding of how to set up and optimize your Tzumi Alarm Clock, you can enjoy the benefits of a reliable and personalized wake-up experience. Embrace each morning with confidence, knowing that your alarm clock will help you start your day on time and enjoy a smooth transition into your daily routine.
So, go ahead, set your Tzumi Alarm Clock, and embrace the beauty of waking up refreshed and ready for a brand new day.
Now that you've mastered setting up your Tzumi alarm clock, why not stay ahead with the latest in timekeeping technology? Our upcoming article on digital alarm clocks offers a sneak peek into the most innovative models set to launch in 2024. Whether you're looking to upgrade your morning routine or find the perfect gift, this guide dives into features that make each clock stand out from the rest.
Frequently Asked Questions about How To Set A Tzumi Alarm Clock
Was this page helpful?
At Storables.com, we guarantee accurate and reliable information. Our content, validated by Expert Board Contributors, is crafted following stringent Editorial Policies. We're committed to providing you with well-researched, expert-backed insights for all your informational needs.


0 thoughts on “How To Set A Tzumi Alarm Clock”