Articles
How To Set A Digital Alarm Clock
Modified: August 25, 2024
Learn how to set a digital alarm clock easily with our informative articles. Start your day on time and never miss an important event again.
(Many of the links in this article redirect to a specific reviewed product. Your purchase of these products through affiliate links helps to generate commission for Storables.com, at no extra cost. Learn more)
Introduction
Welcome to the digital age, where everything is just a click away. From communication to entertainment, technology has revolutionized our lives in countless ways. One of the most essential and widely used gadgets in our everyday routines is the digital alarm clock. Gone are the days of relying on a traditional alarm clock with winding mechanisms or a smartphone buzzing on your bedside table. A digital alarm clock offers convenience, reliability, and a wide range of features to ensure you wake up on time and ready to start your day.
In this article, we will guide you through the process of setting up a digital alarm clock. Whether you’re a tech-savvy gadget enthusiast or someone who’s new to the world of digital devices, we’ve got you covered. Follow these simple steps, and you’ll be well on your way to enjoying a peaceful night’s sleep and waking up to the sound of your favorite alarm.
Let’s dive in and learn how to set up your digital alarm clock.
Key Takeaways:
- Set up your digital alarm clock with ease by following simple steps to plug it in, set the time, choose a pleasant alarm sound, and activate the alarm. Enjoy a personalized wake-up experience tailored to your preferences.
- Explore additional features like snooze, multiple alarms, and adjustable brightness to enhance your waking routine. With a digital alarm clock, wake up feeling refreshed and ready to conquer the day ahead.
Read more: Where Was The Alarm Clock Invented
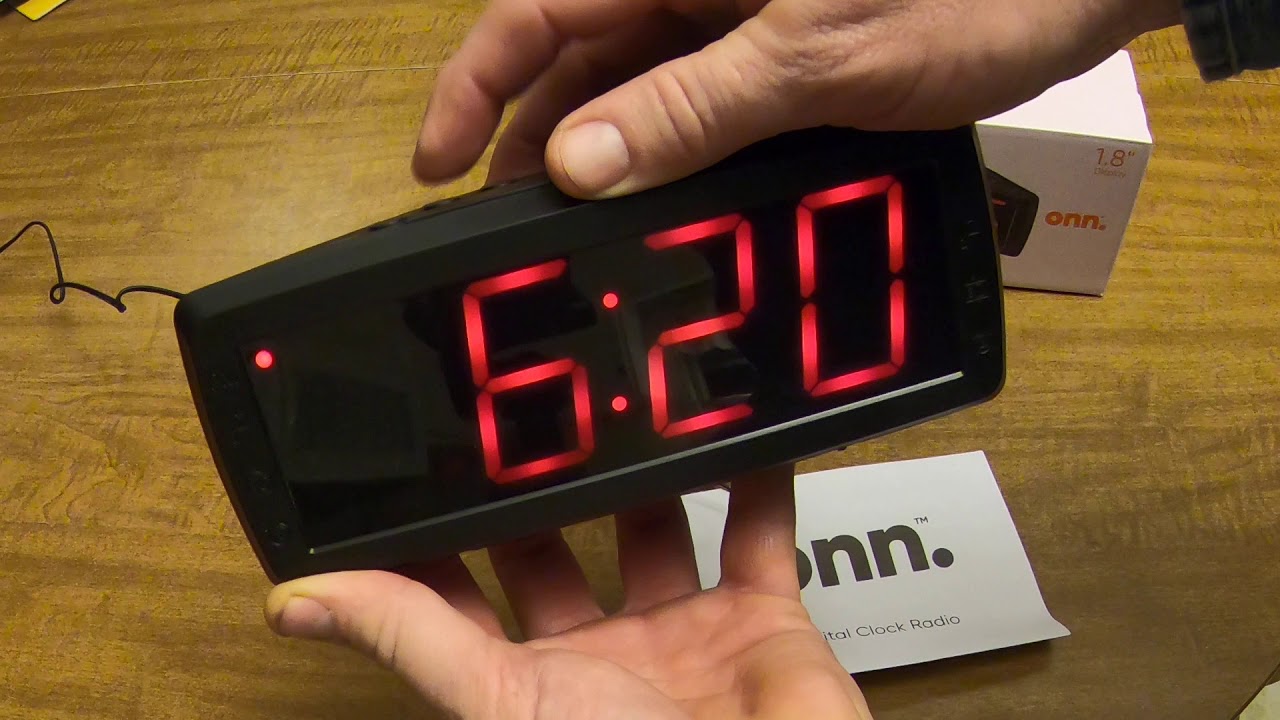
Step 1: Plug in the digital alarm clock
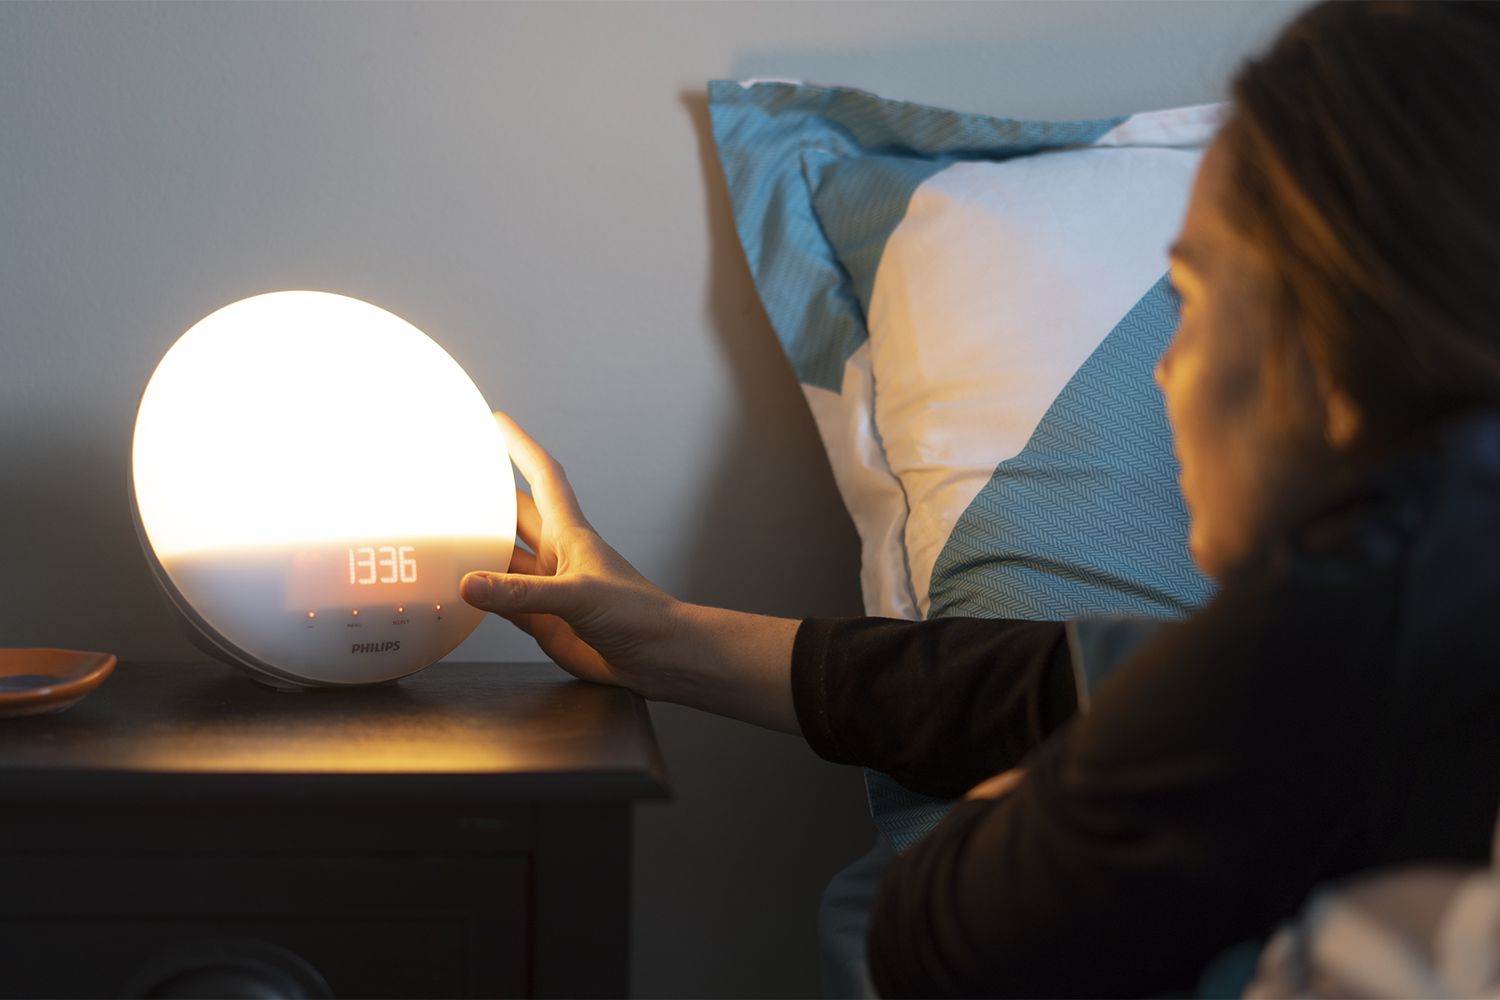
The first step in setting up your digital alarm clock is to plug it into a power source. Most digital alarm clocks come with a power cord that can be connected to a standard electrical outlet. Make sure to choose a convenient location near your bed or wherever you prefer to keep your alarm clock. It’s essential to have easy access to the power source to ensure that your alarm clock remains functional.
Once you’ve plugged in your digital alarm clock, you may notice that it starts displaying the time immediately. This is because many alarm clocks have a built-in battery backup system that maintains their functionality even during power outages. However, it’s always a good idea to check the user manual to familiarize yourself with the specific features and functions of your digital alarm clock.
If your alarm clock requires batteries in addition to being plugged in, make sure to insert them according to the manufacturer’s instructions. In some cases, the batteries serve as a backup power source in case of a power outage, ensuring that your alarm still goes off at the designated time.
Now that you have successfully plugged in your digital alarm clock, you’re ready to move on to the next step – setting the time.
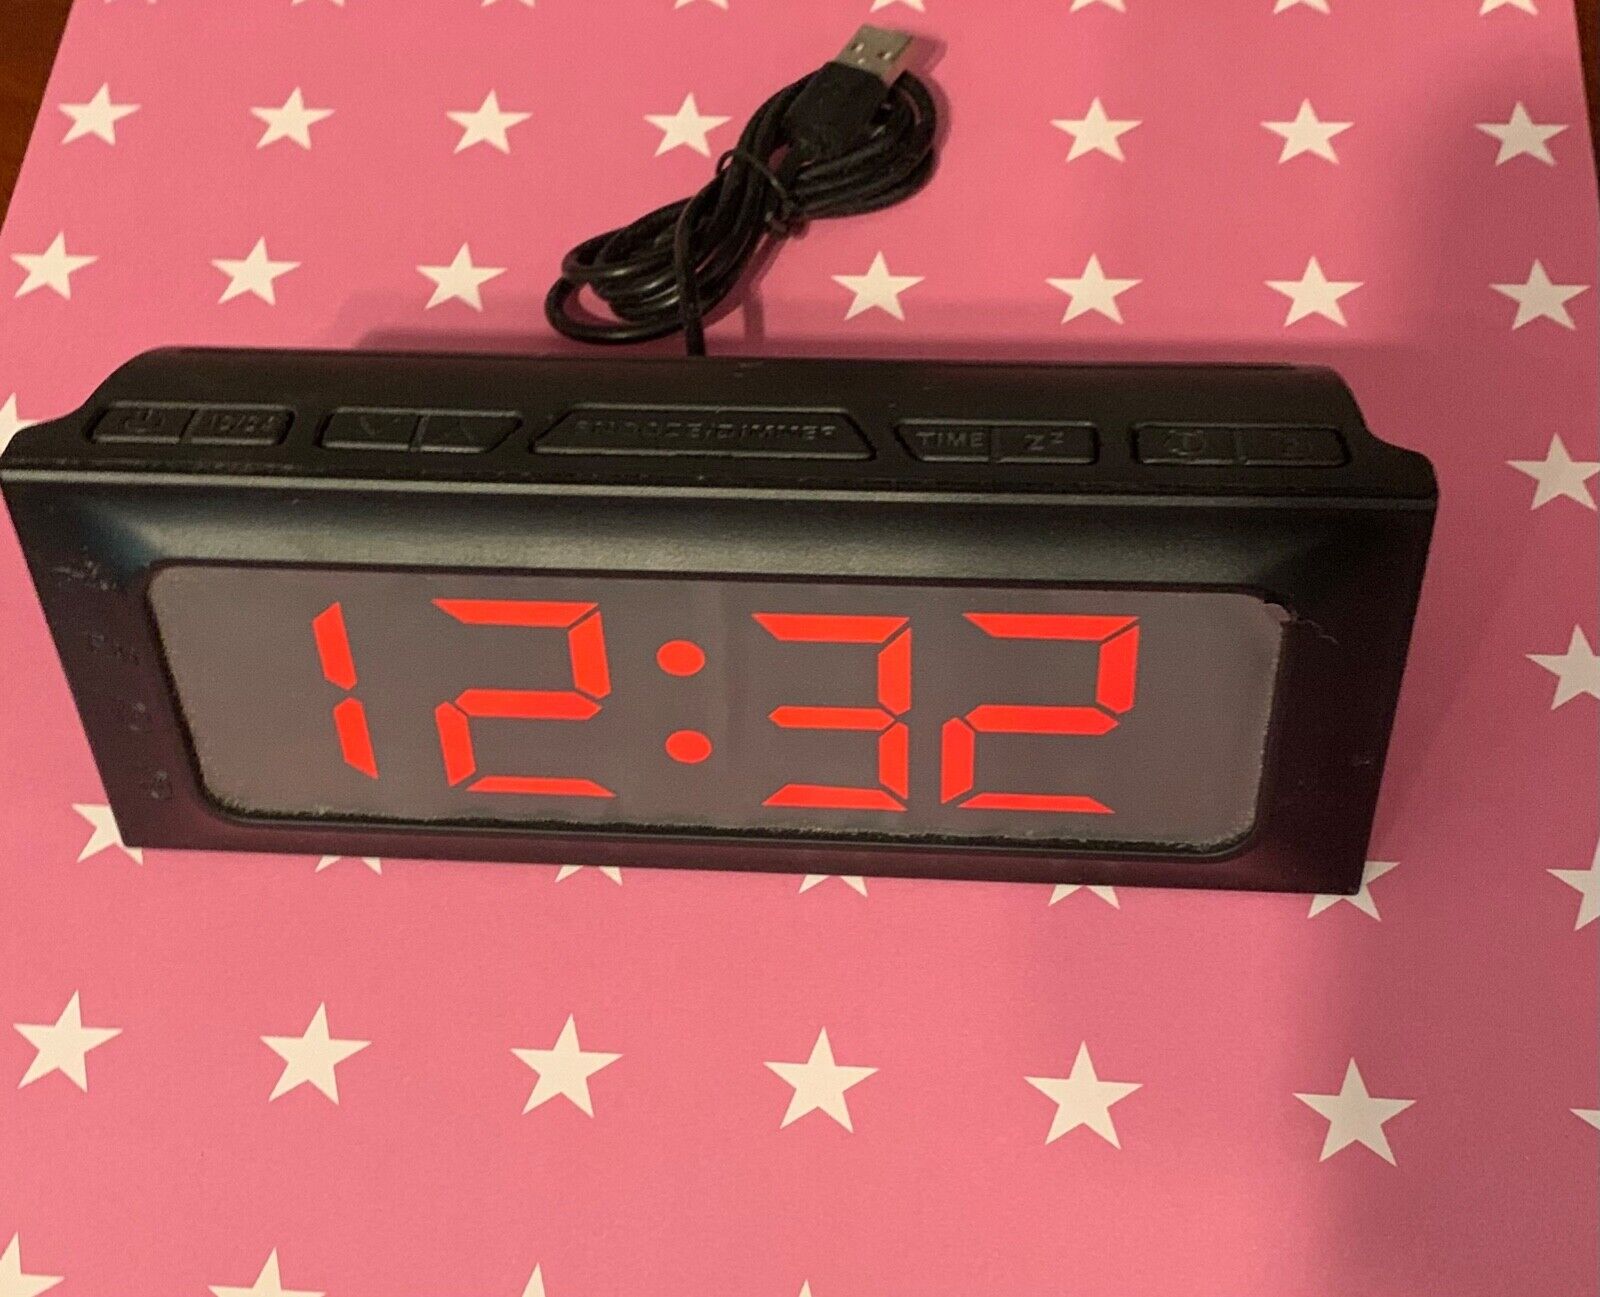
Step 2: Set the time
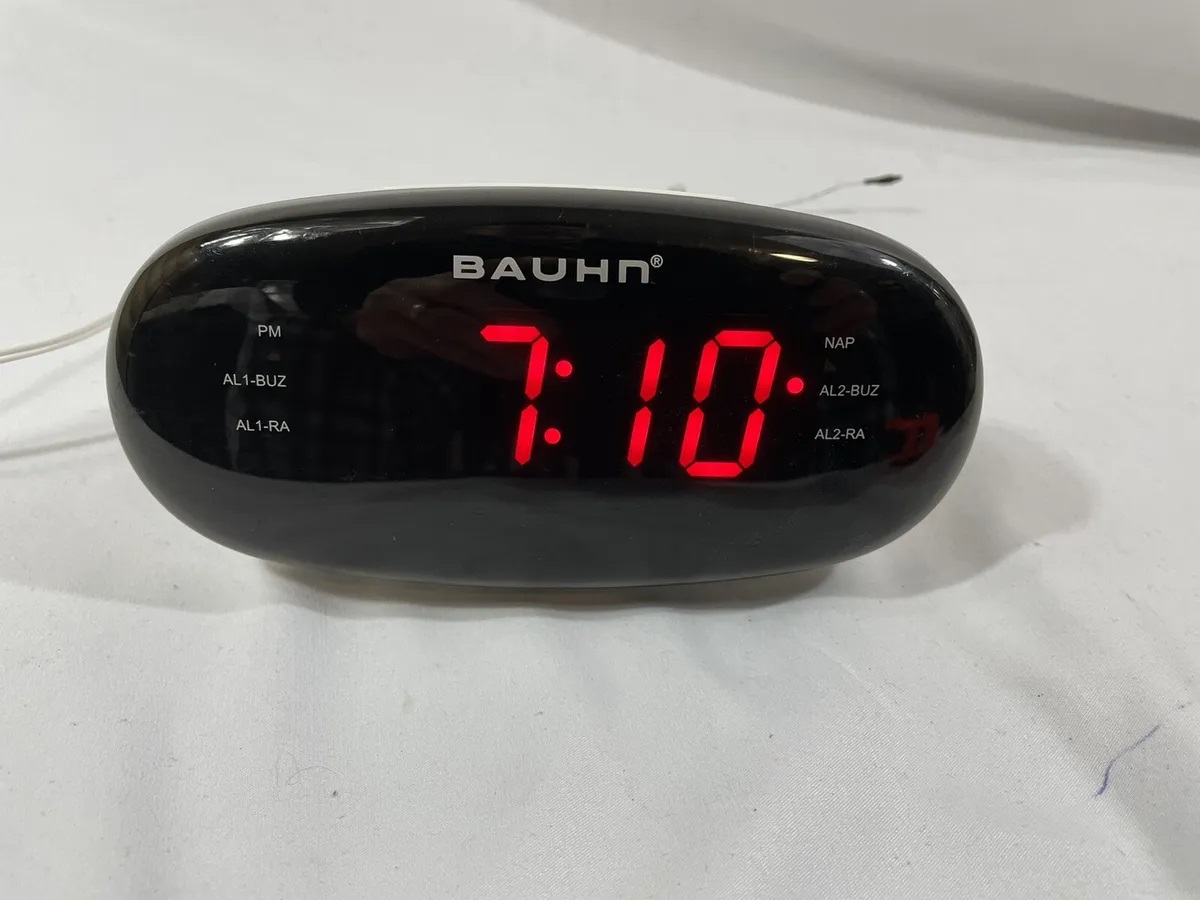
Setting the time on your digital alarm clock is a straightforward process. Look for the corresponding button or menu option on your device that allows you to adjust the time. Typically, you will find buttons labeled “Time,” “Clock,” or “Settings.”
Start by pressing the designated button to enter the time-setting mode. The display on your digital alarm clock may show blinking numbers or a cursor indicating that you can modify the time.
Use the navigation buttons or dial, if applicable, to adjust the hours and minutes. Some digital alarm clocks offer the option to switch between a 12-hour and 24-hour format; choose the format that best suits your preference.
Take note of any AM or PM indicators on the display to ensure that you set the correct time of day. Double-check your settings before finalizing the time, as an incorrect time may lead to confusion and potentially late wake-up calls.
Once you have accurately set the time, press the “Set” or “OK” button to confirm your selection. Your digital alarm clock will now display the correct time, and you can move on to selecting the alarm sound.
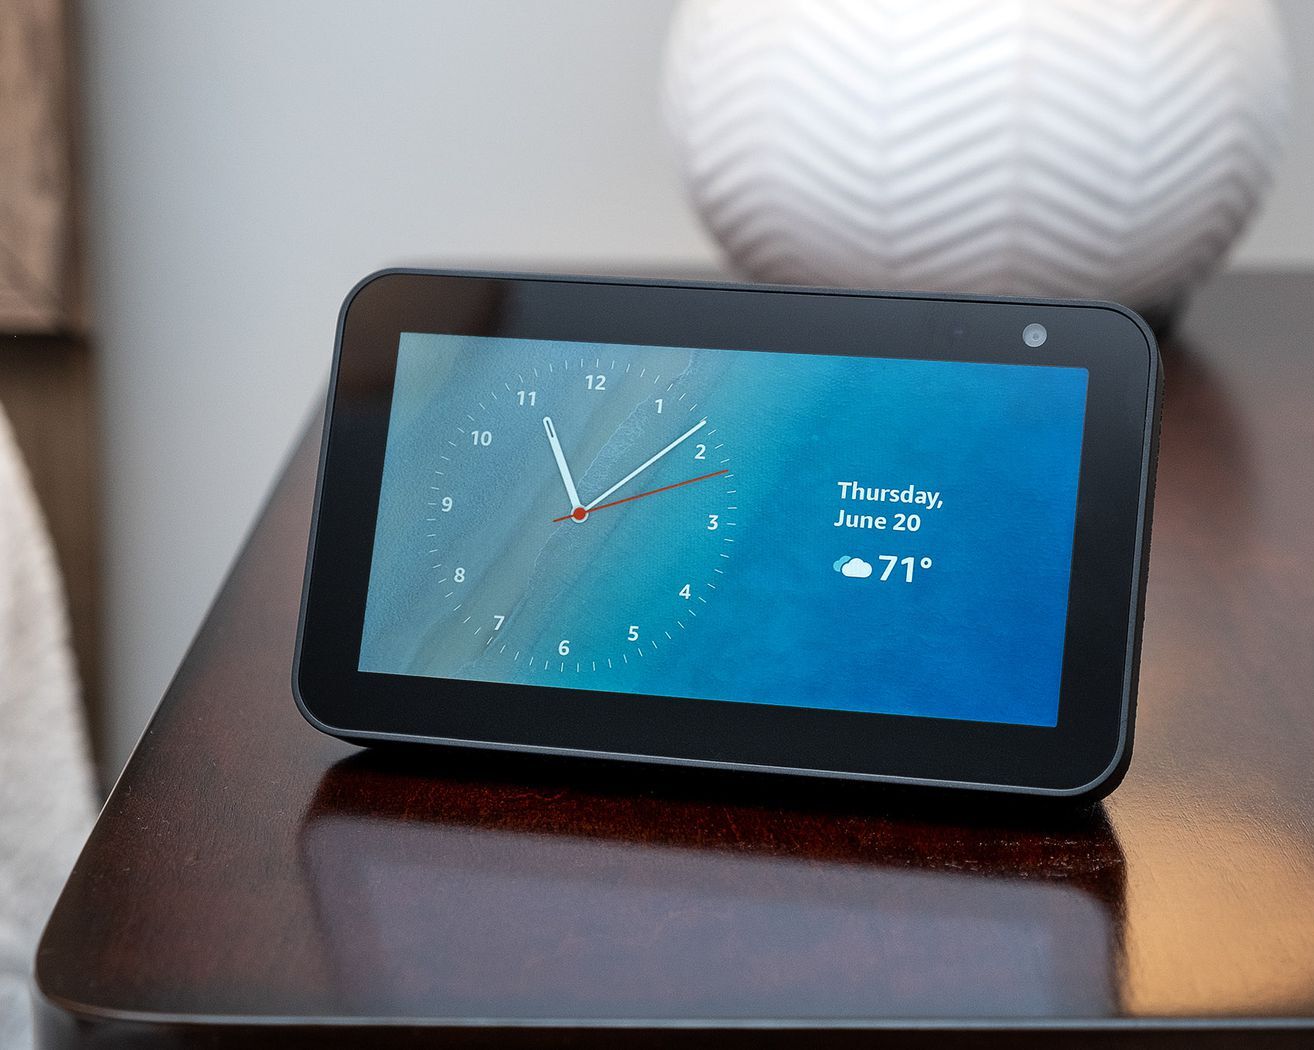
Keep in mind that some digital alarm clocks automatically synchronize with the current time via radio signals or internet connections. These clocks eliminate the need for manual time adjustments and ensure precise timekeeping throughout the year.
Now that the time is set, let’s move on to choosing a pleasant alarm sound to wake you up each morning.
Step 3: Choose the alarm sound
Waking up to a pleasant sound can make all the difference in starting your day on a positive note. That’s why many digital alarm clocks offer a variety of alarm sound options to suit your personal preference. Here’s how you can choose the perfect alarm sound for you:
1. Access the alarm settings: Look for a button or menu option on your digital alarm clock that is specifically for setting the alarm. It may be labeled as “Alarm,” “Alarm Settings,” or a similar term.
2. Navigate to the sound options: Once you’re in the alarm settings menu, you should see a list of available sound options. These could range from classic alarm tones to nature sounds, melodies, or even radio stations.
3. Preview the sounds: Some digital alarm clocks allow you to listen to a preview of each sound. Take advantage of this feature to hear what the alarm sounds like before making your selection. Pay attention to its volume, tone, and overall pleasantness.
4. Choose your favorite sound: Take your time to browse through the available options and choose the one that appeals to you the most. Select the sound by pressing the corresponding button or using navigation options like arrow keys or a dial.
5. Adjust the volume: Most digital alarm clocks allow you to adjust the volume of the alarm. Make sure to set it at a level that is loud enough to wake you up but not too jarring or uncomfortable. Experiment with different volume settings to find the right balance.
6. Test the alarm sound: Before finalizing your choice, it’s a good idea to test the alarm sound. Set a short alarm time, like a few minutes from the current time, and wait for the alarm to go off. This will give you an opportunity to experience the sound in action and ensure that it suits your preference.
Once you have chosen the perfect alarm sound and adjusted the volume to your liking, you’re ready to move on to the next step – setting the alarm time.
Remember, the alarm sound you choose should be pleasant and effective in waking you up. It’s essential to select a sound that motivates you to get out of bed without causing unnecessary stress or discomfort.
Step 4: Set the alarm time
Setting the alarm time on your digital alarm clock is a crucial step to ensure that you wake up at the desired hour. Follow these simple instructions to set the alarm time:
1. Access the alarm settings: Look for the button or menu option on your digital alarm clock that allows you to set the alarm time. This button could be labeled as “Alarm,” “Alarm Settings,” or something similar.
2. Enter the alarm setting mode: Press the designated button to enter the alarm setting mode. The display on your digital alarm clock may show blinking numbers or a cursor indicating that you can modify the alarm time.
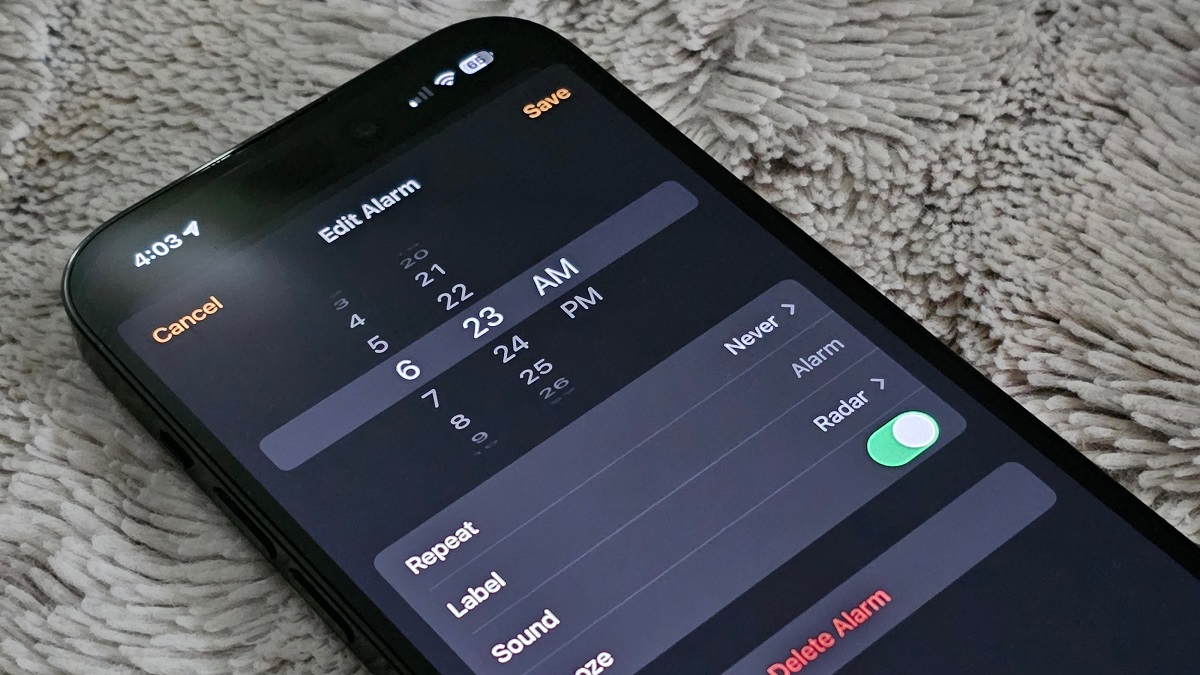
3. Adjust the hour and minutes: Use the navigation buttons or dial, if applicable, to adjust the alarm time. Pay attention to whether the time is in a 12-hour or 24-hour format, depending on your preference and the settings of your digital alarm clock.
4. Set the AM or PM indicator: If your digital alarm clock uses a 12-hour format, ensure that you correctly set the AM or PM indicator to match the desired time of day.
5. Double-check the alarm time: Before finalizing the alarm time, review the settings to make sure they are accurate. A simple mistake in setting the time could lead to unintended wake-up calls.
6. Save the alarm time: Press the “Set” or “OK” button to confirm and save the alarm time. Your digital alarm clock will now be programmed to wake you up at the designated hour.
Additionally, some digital alarm clocks offer the option to set multiple alarms. This feature is convenient if you have different wake-up times throughout the week or if you want to set alarms for different purposes. Take advantage of this feature if it aligns with your needs.
Now that you have successfully set the alarm time, you can proceed to the next step – adjusting volume and display settings.
Remember to regularly check and update your alarm settings as needed, especially with daylight saving time changes or shifts in your daily routine.
Set your digital alarm clock at least 15 minutes earlier than you need to wake up. This will give you some extra time to gradually wake up and start your day without feeling rushed.
Read more: How To Set Hetyre Alarm Clock
Step 5: Adjust volume and display settings
After setting the alarm time on your digital alarm clock, it’s important to adjust the volume and display settings to ensure optimal functionality and convenience. Follow these steps to make the necessary adjustments:
1. Volume control: Locate the volume control buttons or options on your digital alarm clock. These buttons are typically labeled with volume icons or plus/minus signs. Adjust the volume to a level that is loud enough to wake you up but not too harsh or disruptive. Test the volume by setting a short alarm time and listening to the alarm sound.
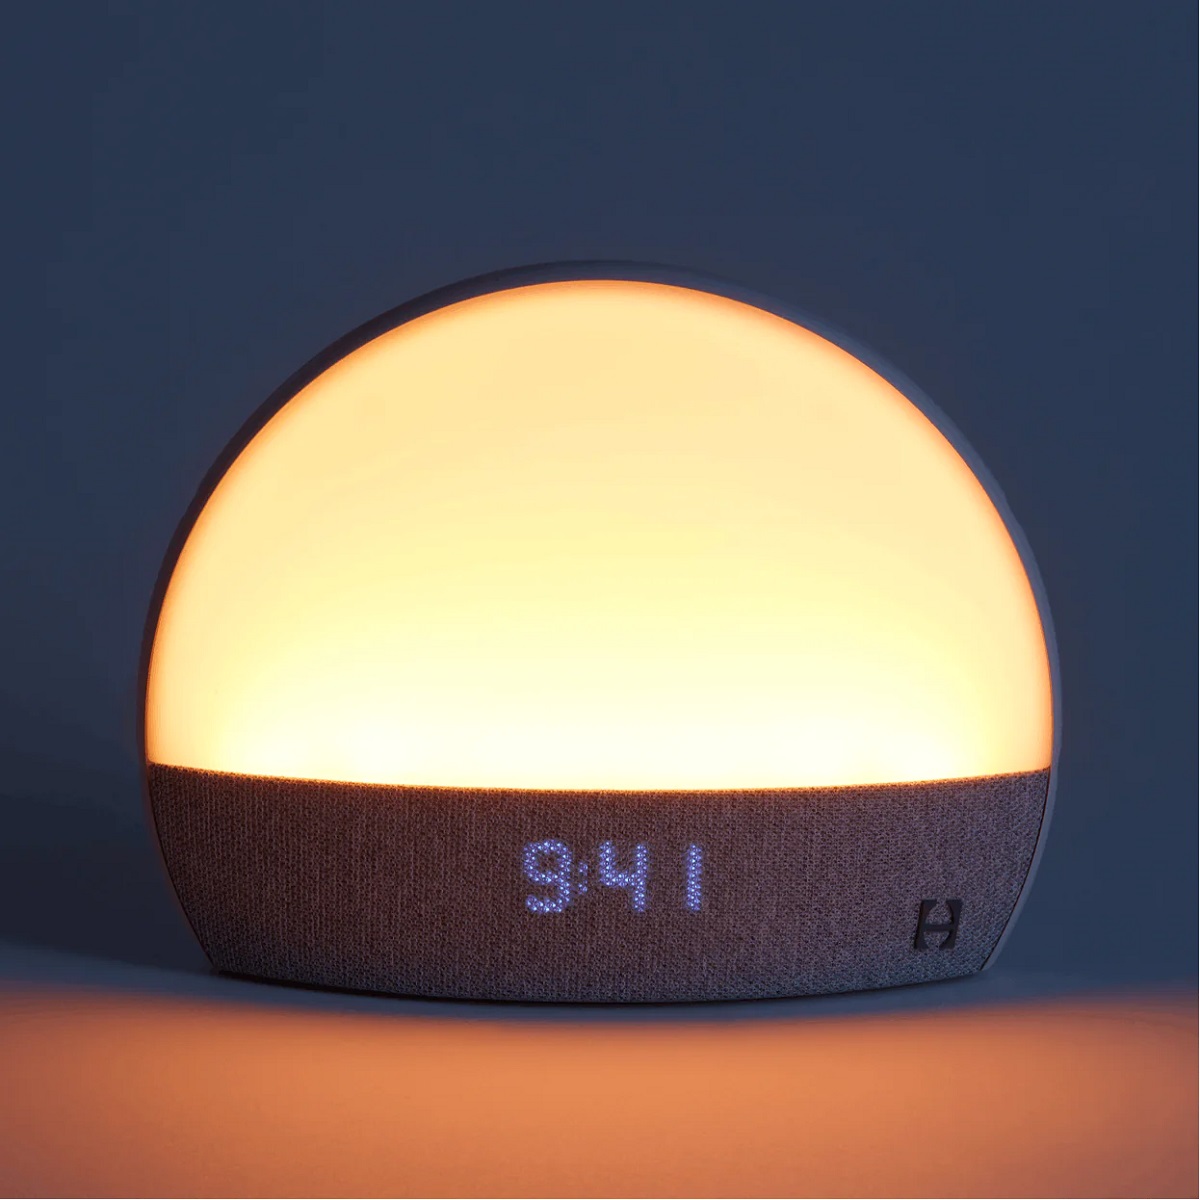
2. Display brightness: Many digital alarm clocks have adjustable display settings to suit your preferences. Look for buttons or options labeled with “Display,” “Brightness,” or similar terms. These settings allow you to adjust the brightness level of the clock’s display. Some digital alarm clocks even offer automatic dimming or brightness presets for day and night settings.
3. Snooze duration: Check if your digital alarm clock has a snooze function. The snooze button allows you to temporarily silence the alarm for a few extra minutes of sleep. Adjust the snooze duration according to your preference. Some clocks offer customizable snooze intervals, while others have preset durations.
4. Time format: If your digital alarm clock allows you to choose the time format, such as 12-hour or 24-hour, select the one that you are most comfortable with. Consider factors such as personal preference and ease of reading the time at a quick glance.
5. Additional settings: Explore any additional settings or features offered by your digital alarm clock. Some clocks may allow you to set the display language, enable sleep mode, or even customize the alarm sound with your favorite music or radio station. Familiarize yourself with these settings and adjust them according to your needs and preferences.
By adjusting the volume and display settings of your digital alarm clock, you can create a customized experience that meets your waking and sleeping preferences. Keep in mind that different digital alarm clocks may have varied settings and functionalities, so consult the user manual or manufacturer’s instructions for specific details related to your device.
Once you have made the necessary adjustments, your digital alarm clock will be fully optimized and ready to wake you up at the set time. In the next step, we’ll learn how to activate the alarm.
Step 6: Activate the alarm
Now that you have set the alarm time, adjusted the volume and display settings, it’s time to activate the alarm on your digital alarm clock. Follow these simple steps to ensure that the alarm is ready to wake you up:
1. Confirm alarm status: Check the display of your digital alarm clock to see if it indicates whether the alarm is currently active or inactive. Some clocks use icons or visual indicators, while others may display a text or numerical representation. Make sure the alarm status is set to “On” or “Active.”
2. Alarm activation button: Locate the dedicated button or menu option on your digital alarm clock that activates the alarm. This button may be labeled as “Alarm On/Off,” “Alarm Enable/Disable,” or something similar. Press this button to activate the alarm function.
3. Alarm indicator: Many digital alarm clocks have an indicator to show that the alarm is active. It can be an LED light, an icon, or a text display. Ensure that the alarm indicator is clearly visible and that it confirms the activation of the alarm.
4. Double-check the alarm time: Before finalizing the activation, double-check that the alarm time is set correctly. Verify that the time aligns with your desired wake-up time and that you have adjusted any AM/PM settings accordingly.
5. Test the alarm: To ensure that the alarm functions as intended, set a short alarm time (a few minutes from the current time) and wait for the alarm to go off. This allows you to confirm that the sound is audible, the volume is appropriate, and that the alarm successfully wakes you up.
6. Repeat alarm: Determine if you want your digital alarm clock to have a one-time alarm or repeat at the same time every day. Some clocks offer options for weekly recurring alarms or specific days of the week. Choose the setting that aligns with your schedule and preferences.
Once you have successfully activated the alarm on your digital alarm clock, it will be ready to wake you up at the designated time. Ensure that your alarm clock is placed in a location where the sound can be easily heard, allowing you to wake up promptly.
Now that you have activated the alarm, let’s explore additional features such as snooze and other functions in the next step.
Step 7: Snooze and other additional features
While the primary function of a digital alarm clock is to wake you up at the desired time, many models come with additional features to enhance your waking experience. Let’s explore some of these features, including the popular snooze function:
1. Snooze function: The snooze button on your digital alarm clock allows you to temporarily pause the alarm and get a few more minutes of sleep. When the alarm rings, simply press the snooze button, usually located prominently on the top or front of the clock. The alarm will silence for a preset duration (often around 5-10 minutes) before it resumes sounding. Use the snooze function sparingly and strategically, as relying on it too often may disrupt your morning routine.
2. Multiple alarms: Some digital alarm clocks allow you to set multiple alarms for different wake-up times or recurring schedules. This feature is helpful if you have varying daily routines or need alarms for different days of the week. Explore the settings menu to add, modify, or remove additional alarms as needed.
3. Sleep timer: Certain digital alarm clocks offer a sleep timer feature, which allows you to play relaxing sounds or music to help you drift off to sleep. You can set the timer to automatically turn off the sound after a designated period, ensuring a peaceful and uninterrupted night’s rest.
4. Adjustable brightness: If your digital alarm clock has an adjustable display brightness feature, take advantage of it to ensure the ideal lighting conditions in your bedroom. Dim the display during nighttime to prevent any unnecessary disturbances while sleeping, and increase the brightness during the day for easy readability.
5. Backup battery: Some digital alarm clocks come with a backup battery feature that helps maintain the time and alarm settings in case of a power outage. This ensures that your alarm will still go off even if there is a temporary loss of power. Make sure to install or replace the backup battery as recommended by the manufacturer.
6. Radio or music player: Certain digital alarm clocks have built-in FM radio or music player capabilities. This allows you to wake up to your favorite radio station or a personalized playlist. Explore the settings and manual to learn how to tune in to your desired station or connect your device to play your own music.
Remember to familiarize yourself with the user manual or instructions specific to your digital alarm clock model to fully understand and utilize all the additional features it offers. These features can enhance your waking experience and make your mornings a more pleasant and enjoyable time.
With the snooze function, multiple alarms, adjustable brightness, and other features, your digital alarm clock becomes more than just a timekeeping device – it becomes a personalized wake-up assistant designed to cater to your specific needs.
Congratulations! You’ve followed all the steps to set up and optimize your digital alarm clock. Now it’s time to put it to use and enjoy waking up to a reliable and customizable alarm each morning.
Have a great start to your day!
Conclusion
Setting up a digital alarm clock may seem like a simple task, but it is important to ensure that you do it correctly to ensure a smooth and reliable waking experience. By following the steps outlined in this article, you can easily plug in your digital alarm clock, set the time, choose a pleasing alarm sound, and activate the alarm. Additionally, adjusting the volume and display settings, utilizing the snooze function, and exploring other additional features can further enhance your waking routine.
A digital alarm clock offers numerous advantages over traditional alarm clocks or relying on smartphones for wake-up calls. With their convenient features, such as customizable alarm sounds, multiple alarms, and adjustable brightness, digital alarm clocks provide a personalized and reliable way to wake up on time and start your day off right.
Remember to regularly update your alarm settings as needed to adapt to changes in your schedule or daylight saving time adjustments. Take the time to familiarize yourself with the specific features and functions of your digital alarm clock by referring to the user manual or manufacturer’s instructions.
Ultimately, the goal of a digital alarm clock is to provide you with a peaceful and stress-free wake-up experience. By setting up your digital alarm clock properly and utilizing its features effectively, you can establish a healthy sleep routine and ensure that you start your day with ease and vitality.
So go ahead, take control of your mornings with a digital alarm clock that suits your style and needs. Wake up feeling refreshed and ready to conquer the day ahead!
Frequently Asked Questions about How To Set A Digital Alarm Clock
Was this page helpful?
At Storables.com, we guarantee accurate and reliable information. Our content, validated by Expert Board Contributors, is crafted following stringent Editorial Policies. We're committed to providing you with well-researched, expert-backed insights for all your informational needs.


0 thoughts on “How To Set A Digital Alarm Clock”