Articles
How To Shine A Marble Floor
Modified: October 21, 2024
Learn the best techniques for shining your marble floor with our informative articles. Revive the natural beauty of your marble with expert tips and advice.
(Many of the links in this article redirect to a specific reviewed product. Your purchase of these products through affiliate links helps to generate commission for Storables.com, at no extra cost. Learn more)
Introduction
Marble is a timeless and luxurious flooring material that can add elegance and sophistication to any space. However, over time, marble floors can lose their natural shine due to dirt, grime, and daily wear and tear. Restoring the shine of a marble floor requires proper cleaning techniques and careful maintenance to ensure its longevity and beauty.
In this article, we will provide you with a step-by-step guide on how to shine a marble floor effectively. Whether you’re a homeowner looking to revitalize your marble floor or a professional cleaner, these tips and techniques will help you achieve that desired sparkling finish.
Before diving into the process, it’s important to note that marble is a delicate and porous material that can be easily damaged by harsh chemicals or abrasive cleaning tools. Therefore, it is essential to use gentle and marble-safe cleaning solutions and tools to avoid any potential harm during the cleaning and shining process.
Now, let’s begin our journey to restore the natural shine of your marble floor!
Key Takeaways:
- Properly preparing and cleaning your marble floor with gentle, pH-neutral solutions is essential for restoring its natural shine and preventing damage. Remember to test cleaning solutions and maintain the floor to preserve its elegance.
- Consistent maintenance, prompt stain removal, and gentle cleaning techniques are crucial for preserving the luster of your marble floor. By following these tips, you can ensure that your marble floor remains a timeless and luxurious centerpiece in your space.
Read more: How To Shine Marble Countertops
Preparing the Floor
Before you start the process of shining your marble floor, it is crucial to prepare the surface properly. Preparing the floor will ensure that you can clean it effectively and avoid any damage during the cleaning and shining process.
The first step in preparing the floor is to remove any furniture or objects from the area. Clearing the space will allow you to move freely and work efficiently. Remember to lift heavy objects instead of dragging them across the floor to prevent scratches.
Next, thoroughly sweep or vacuum the floor to remove loose dirt, dust, and debris. Be sure to pay attention to cracks and crevices where dirt tends to accumulate. Use a soft-bristle broom or a vacuum cleaner with a soft brush attachment to avoid scratching the marble surface.
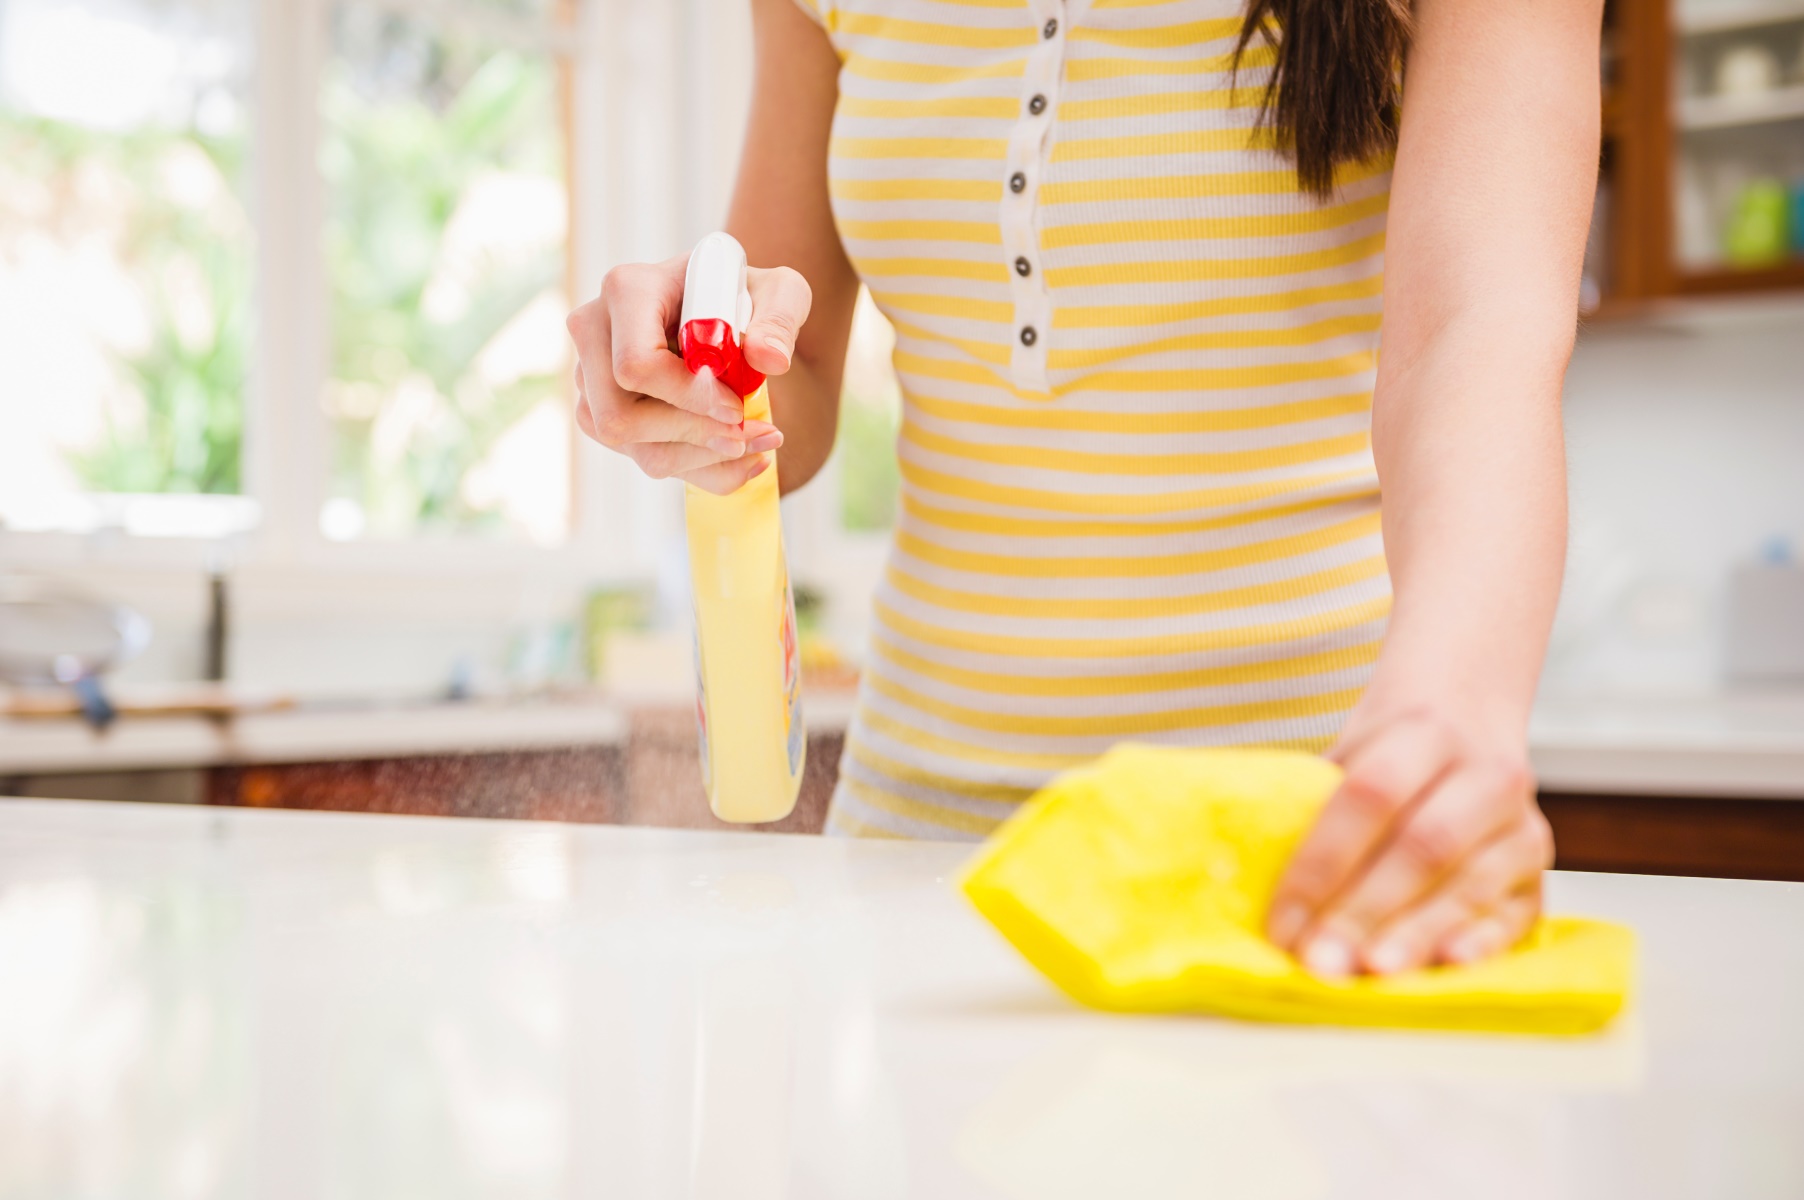
After removing the loose debris, you can mop the floor with warm water and a pH-neutral cleaner specifically designed for marble surfaces. Avoid using acidic or abrasive cleaners as they can etch or damage the marble. Dilute the cleaner according to the manufacturer’s instructions and mop the floor gently using a soft microfiber mop or a sponge mop.
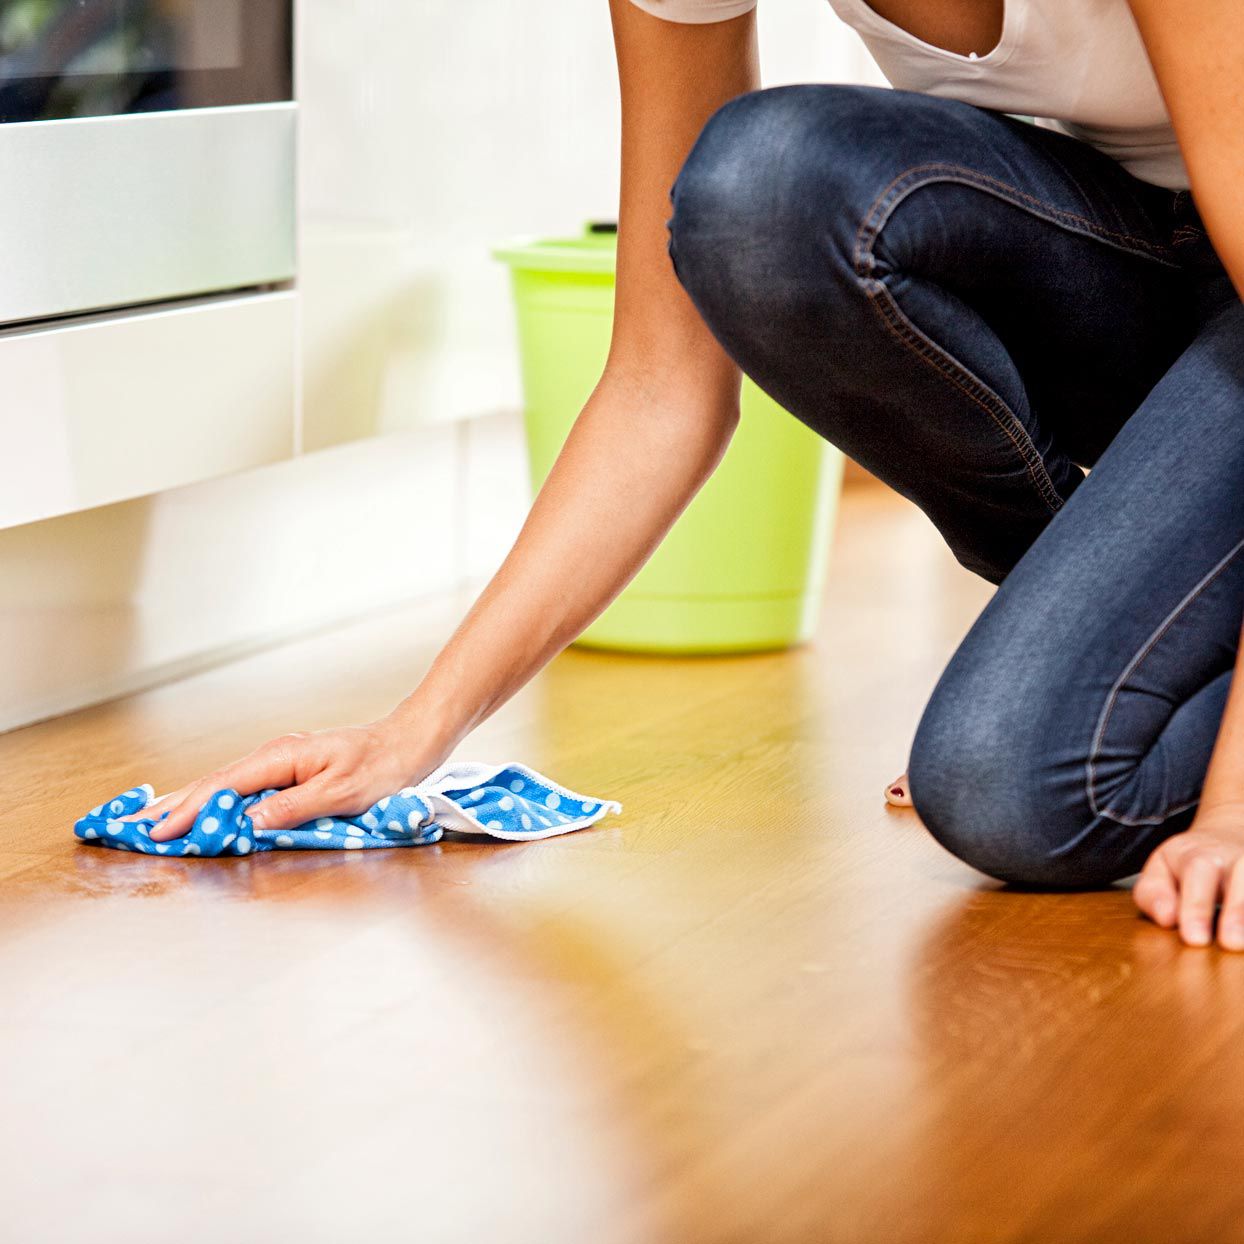
If there are any stubborn stains or spots on the floor, you can use a marble-safe cleaning solution or a mixture of mild dish soap and warm water to spot clean the affected areas. Apply the solution with a soft cloth or sponge and gently scrub the stains. Rinse the area thoroughly with clean water to remove any residue.
Once you have completed the cleaning process, allow the floor to dry completely before proceeding to the next steps. Drying the floor is important to ensure that the marble is ready for polishing and shining without any moisture trapped between the cracks.
By properly preparing the floor, you lay the foundation for successful marble floor shining. With a clean and dry surface, you can move on to the next step of choosing the right cleaning solution.
Choosing the Right Cleaning Solution
When it comes to shining a marble floor, selecting the appropriate cleaning solution is key. Using the wrong cleaner can lead to damage and discoloration of the marble surface. It is essential to opt for a cleaning solution that is specifically formulated for marble or one that is pH-neutral and gentle.
One of the safest and most effective cleaning solutions for marble floors is a mixture of warm water and a pH-neutral soap. Look for a soap specifically designed for marble or a mild dish soap that does not contain any harsh chemicals or acidic ingredients. Mix a small amount of soap with warm water in a bucket, following the manufacturer’s instructions if using a specialized marble cleaner.
It’s important to avoid using vinegar, lemon juice, or any acidic cleaners on marble floors as they can dull the surface and cause etching. Also, steer clear of abrasive cleaners, such as scouring powders or abrasive brushes, which can scratch the marble. These cleaners can damage the protective sealant on the marble surface and leave it vulnerable to stains and further damage.
Another option for cleaning marble floors is to use a steam cleaner. A steam cleaner can effectively remove dirt and grime from the surface without the need for chemicals. However, it’s essential to choose a steam cleaner with adjustable settings and use it on the lowest heat and pressure settings to avoid any potential damage to the marble.
Before applying any cleaning solution to the entire floor, it’s recommended to test it on a small and inconspicuous area of the marble surface. This will ensure that the cleaner does not cause any adverse reactions or damage to the marble. If there are no negative effects after testing, you can proceed to clean the entire floor using the chosen cleaning solution.
Remember, always follow the manufacturer’s instructions when using a specific marble cleaner. Each cleaner may have its own set of guidelines and recommended dilution ratios, so it’s important to read and adhere to the instructions carefully.
By selecting the right cleaning solution for your marble floor, you can ensure a safe and effective cleaning process that will pave the way for achieving a noticeable shine.
Cleaning the Marble Floor
Now that you have prepared the floor and chosen the appropriate cleaning solution, it’s time to start the actual cleaning process. Cleaning the marble floor involves gently scrubbing the surface to remove dirt, grime, and stains without causing any damage.
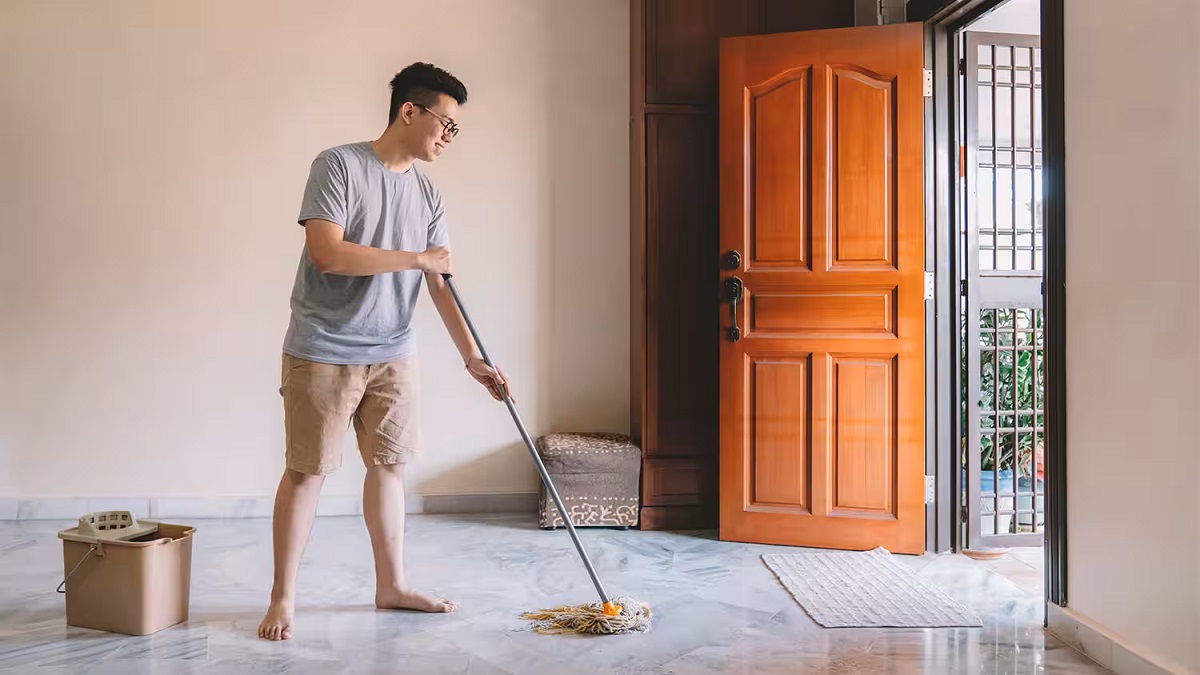
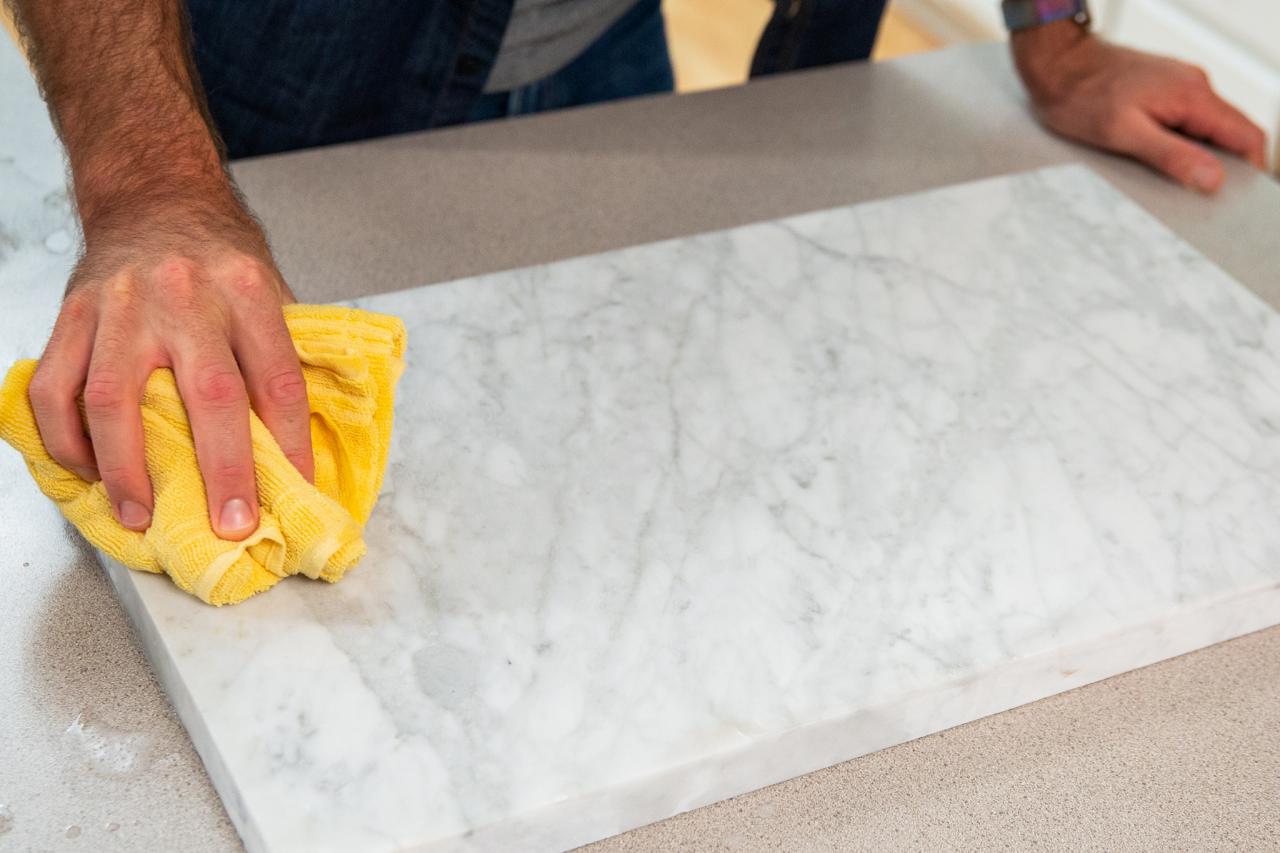
To begin, dampen a soft microfiber mop or sponge mop with the prepared cleaning solution. Make sure the mop is not dripping wet, as excessive moisture can seep into the porous marble and cause damage over time.
Start mopping the floor in small sections, working your way from one end of the room to the other. Use gentle, circular motions to lift and remove dirt and debris from the marble surface. Avoid applying excessive pressure or scrubbing too vigorously, as this can potentially scratch the marble.
If you encounter any stubborn stains or spots, you can concentrate the cleaning solution directly onto the affected areas. Use a soft cloth or sponge to gently scrub the stains in a circular motion. Be patient and persistent, as some stains may require repeated cleaning to fully remove.
Continue mopping and cleaning the entire floor, periodically rinsing the mop or sponge mop in clean water to remove any dirt or residue. Replace the cleaning solution if it becomes visibly dirty or cloudy.
When mopping the floor, pay extra attention to the grout lines between the marble tiles. Dirt and grime can accumulate in these crevices, dulling the overall appearance of the floor. Use a soft-bristle toothbrush or a grout brush to gently clean the grout lines, again being careful not to scratch the marble surface.
Once you have completed the cleaning process for the entire floor, give it a final rinse with clean water. This step is crucial to remove any remaining cleaning solution or residue. Rinse the mop or sponge mop thoroughly and go over the floor once more to ensure all traces of the cleaning solution are gone.
After cleaning the marble floor, it’s important to dry it thoroughly before moving on to the next steps of polishing and shining. Drying the floor will prevent water spots and streaks from forming and ensure a smooth and shining surface.
With a clean and dry marble floor, you are now ready to tackle any stubborn stains or spots that may still be present.
Removing Stains and Spots
Even with regular cleaning, marble floors can occasionally develop stubborn stains and spots. These blemishes can take away from the overall shine and beauty of the floor. Here are some techniques to effectively remove common stains and spots from your marble floor.
1. Organic Stains: If you notice stains caused by substances like coffee, tea, or fruit juice, act quickly to blot the spills with a clean, absorbent cloth or paper towel. Avoid wiping or rubbing the stain, as this can spread it further. Once you’ve absorbed as much of the spill as possible, prepare a mixture of baking soda and water to form a paste. Apply the paste to the stain and let it sit for about 24 hours. Then, gently scrub the area with a soft brush and rinse with clean water.
2. Oil-Based Stains: Stains from oils, grease, or makeup can be challenging to remove. Start by blotting the stain with a clean cloth or paper towel to absorb as much of the oil as possible. Then, sprinkle a layer of talcum powder, cornstarch, or baking soda over the stained area and let it sit overnight. The powder will help absorb the oil. The next day, carefully sweep away the powder and clean the area with a mild detergent and warm water. Rinse thoroughly and dry the floor.
3. Acidic Stains: If your marble floor has stains caused by acidic substances like wine or vinegar, it’s crucial to act promptly to minimize damage. Dampen a cloth or sponge with a mixture of hydrogen peroxide and water (1:1 ratio) and gently blot the stain. Rinse the area with clean water, thoroughly removing any traces of the hydrogen peroxide mixture.
4. Rust Stains: Rust stains can occur when metal objects come into contact with marble. To remove rust stains, create a paste with equal parts of baking soda and water. Apply the paste to the stain and let it sit for about an hour. Then, scrub the area gently with a soft brush, such as a toothbrush. Rinse with clean water and dry the floor completely.
Remember, it’s essential to test any stain removal method on a small, inconspicuous area of the marble floor before applying it to the entire stain. If you are unsure or dealing with a persistent stain, it’s best to consult a professional marble cleaner or restoration expert for guidance.
By effectively removing stains and spots, you can restore the natural beauty of your marble floor and ensure a flawless shine.
Use a mild, pH-neutral cleaner and a soft mop or cloth to clean the marble floor. Avoid using acidic or abrasive cleaners, as they can damage the surface. After cleaning, use a marble polish to restore shine and protect the floor.
Read more: How To Mop Marble Floors
Drying the Floor
After cleaning and spot-treating any stains on your marble floor, it is crucial to ensure that it is thoroughly dried before moving on to the next steps of polishing and shining. Drying the floor properly will prevent water spots and streaks that can mar the final result.
To begin the drying process, start by using a clean, dry mop or absorbent towels to remove any excess moisture from the surface. Gently pat and blot the floor, paying attention to areas where water may have pooled, such as near corners or along the edges of the room. Avoid using excessive force or rubbing motions, as this can potentially damage the marble.
Next, leave the floor to air dry naturally for a period of time. This allows any remaining moisture to evaporate and ensures that the marble is completely dry before proceeding. The drying time can vary depending on factors such as humidity and ventilation, but it is recommended to leave the floor undisturbed for at least a few hours.
If you want to speed up the drying process, you can use a gentle fan or open windows to facilitate air circulation. However, avoid using heat sources like heaters or hairdryers, as excessive heat can cause the marble to expand and potentially lead to cracks.
During the drying process, be mindful not to walk on the wet or damp areas of the floor. This can leave footprints and marks that may require additional cleaning or polishing later on. It’s best to wait until the floor is completely dry to step onto it.
You can also check the dryness of the marble floor by placing a clean, dry paper towel on the surface and leaving it for a few minutes. If the paper towel remains dry or only slightly damp, then the floor is adequately dried. If the paper towel becomes noticeably wet, continue the drying process until it no longer absorbs moisture.
By ensuring that your marble floor is thoroughly dried before proceeding, you create the ideal foundation for the polishing and shining steps that will follow. Dry marble allows for better adherence of polishing agents and prevents any trapped moisture from affecting the final shine.
With your marble floor now dry, you are ready to move on to the next step of applying marble polish.
Applying Marble Polish
Marble polish is a crucial step in enhancing the shine and luster of your marble floor. It helps to fill in any microscopic scratches, smooth the surface, and create a protective barrier against future damage. Here’s a step-by-step guide on how to apply marble polish effectively.
1. Choose the Right Polish: There are various types of marble polish available, including liquid, powder, and spray-on varieties. Make sure to select a polish specifically formulated for marble floors. Read the product instructions carefully to ensure compatibility with your type of marble and follow any specific application techniques or dilution ratios mentioned.
2. Prepare the Area: Clear the floor of any obstacles, furniture, or rugs. Ensure the floor is clean and dry. You can also tuck a clean drop cloth or plastic sheeting along the baseboards or edges of the floor to protect adjacent surfaces from any polish splatter.
3. Apply the Polish: Start by pouring a small amount of marble polish onto the surface. Use a clean, soft cloth or a dedicated polishing pad attached to a low-speed buffer or polisher for larger areas. For smaller areas, you can apply the polish directly to the cloth. Begin spreading the polish over the marble in gentle, overlapping circular motions. Work in small sections to ensure even coverage.
4. Follow the Instructions: Different marble polishes may have varying application instructions, so it’s important to follow the manufacturer’s guidelines. Some polishes require a specific drying time before buffing, while others can be buffed immediately. Refer to the instructions for the recommended drying time and method of buffing.
5. Buffing the Polish: Once the polish has dried or as directed by the manufacturer, use a clean, soft cloth or a buffing pad attached to a low-speed buffer or polisher to buff the marble. Move the pad or cloth in gentle, circular motions, applying light pressure. Buff the entire surface consistently to ensure an even shine. Pay extra attention to any areas that may require additional polishing, such as high-traffic areas or spots that were previously stained or dulled.
6. Check for Uniformity: After buffing, inspect the floor to ensure a uniform shine and luster. If you notice any unevenness or missed spots, apply a small amount of polish to the affected area and buff again until the desired results are achieved.
Remember to work in small sections and avoid applying too much polish at once. It’s better to apply multiple thin layers for a more even and consistent shine. If you’re unsure about using a polish or are dealing with intricate or delicate marble patterns, it’s advisable to seek professional assistance to avoid any potential damage to your marble floor.
By applying marble polish correctly, you can restore and enhance the natural beauty of your marble floor, leaving it with a brilliant shine.
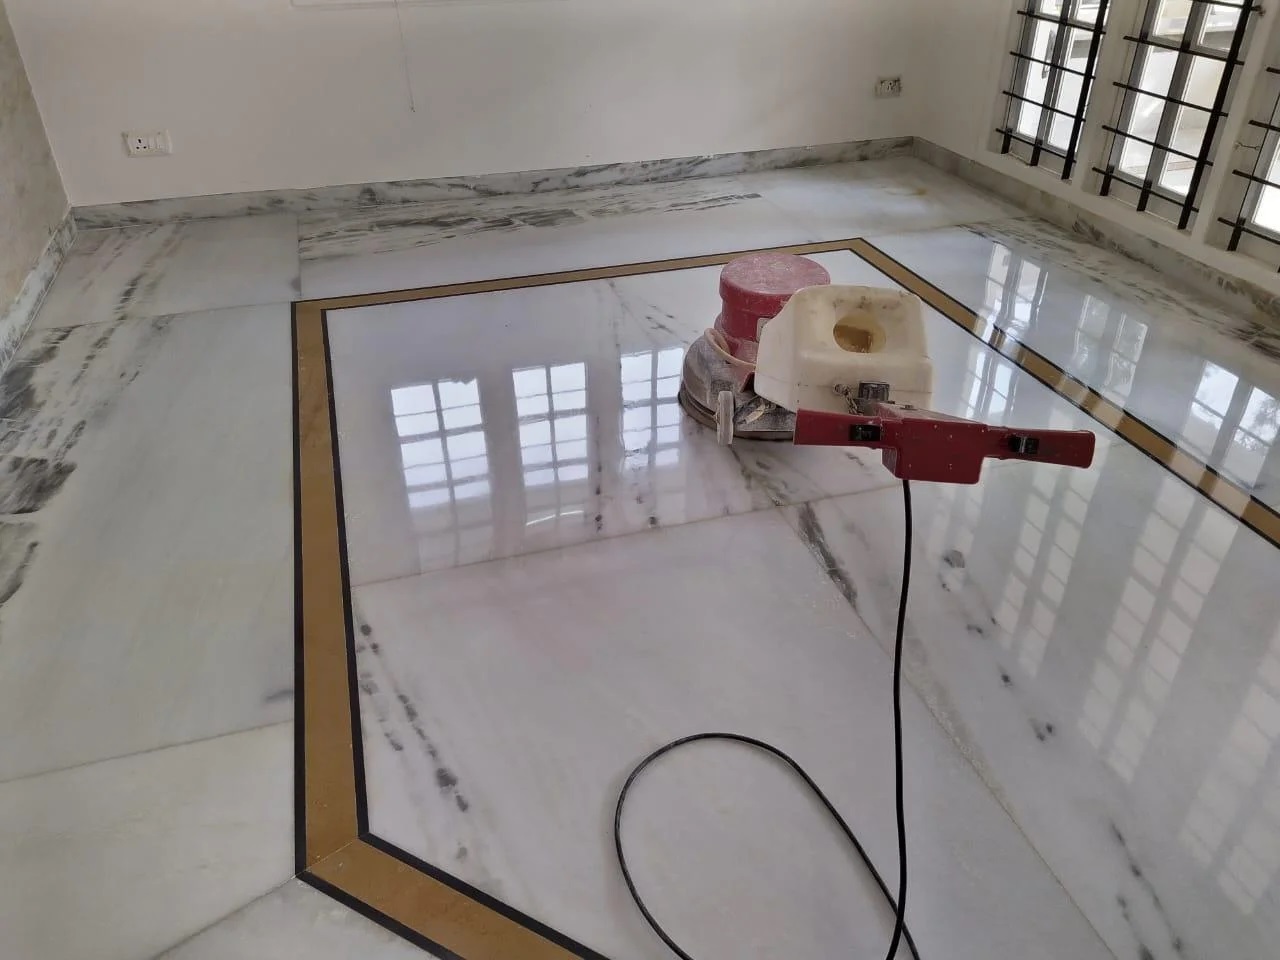
Buffing and Shining the Floor
Once you have applied the marble polish, the next step is to buff and shine the floor. Buffing helps to evenly distribute the polish and create a high gloss finish that brings out the natural beauty of the marble. Follow these steps to effectively buff and shine your marble floor.
1. Ensure the Polish is Dry: Before starting the buffing process, make sure that the marble polish has completely dried according to the manufacturer’s instructions. This drying time allows the polish to set and adhere properly to the surface.
2. Choose the Right Buffing Pad: Select a clean, soft cloth or a specialized buffing pad suitable for marble surfaces. Avoid using abrasive or rough materials that can scratch or damage the marble.
3. Use a Low-speed Buffer: If you have access to a low-speed buffer or polisher, attach the soft buffing pad to it. This will help to evenly distribute the pressure and provide consistent results. If you don’t have a buffer, you can still achieve effective results by using a soft cloth and buffing manually.
4. Start Buffing: Begin buffing the marble floor, working in small sections. Move the buffer or cloth in circular motions, applying light to medium pressure. Ensure that you cover the entire surface evenly, focusing on areas that may require extra attention, such as high-traffic areas or spots with previous stains or dullness.
5. Buffing Techniques: As you buff, periodically check the cloth or buffing pad for any polish buildup or residue. If needed, clean or replace the cloth or pad to maintain optimum buffing efficiency. Also, avoid public settings mentioning. Instead, focus on providing guiding tips and techniques.
6. Continue Buffing: Continue buffing the entire floor until you achieve the desired level of shine. It’s important to maintain a consistent rhythm to ensure an even and uniform finish. Take your time and be patient, as buffing is a meticulous process that requires attention to detail.
If you notice any areas that appear dull or uneven, revisit those spots and buff them a little longer. The goal is to achieve a high-gloss shine that enhances the beauty of your marble floor.
Remember to periodically check your progress by stepping back and examining the overall shine and reflection. This will help you identify any missed areas or inconsistencies that require further buffing.
By properly buffing and shining your marble floor, you can highlight its natural elegance and create a stunning focal point in your space. The final step is to maintain the shine and preserve the beauty of your marble floor.
Maintaining the Shine
After spending time and effort achieving a beautiful shine on your marble floor, it’s important to maintain its brilliance and keep it looking its best for years to come. Here are some essential tips to help you maintain the shine of your marble floor:
1. Regular Cleaning: Establish a regular cleaning routine to prevent dirt, dust, and grime from dulling the shine of your marble floor. Sweep or vacuum the floor regularly to remove any loose dirt or debris that can scratch the surface. Additionally, mop the floor with a pH-neutral cleaner specifically designed for marble to keep it clean and free from stains.
2. Wipe Up Spills Immediately: Promptly clean up any spills or accidents to prevent staining and damage to the marble. Use a soft cloth or paper towel to blot the spill and avoid rubbing, which can spread the liquid. Clean the affected area with a mixture of mild dish soap and water or a specialized stone cleaner, and rinse thoroughly with water.
3. Use Doormats or Rugs: Place doormats at the entrances of your home to reduce the amount of dirt, sand, and grit that can get tracked onto the marble floor. These particles can scratch the surface over time, so using doormats or rugs will help protect the marble and preserve its shine.
4. Avoid Harsh or Abrasive Cleaners: When cleaning your marble floor, avoid using harsh or abrasive cleaners that can cause damage or strip away the polish. Acidic cleaners, vinegar, and bleach should be avoided, as they can etch the marble and dull its shine. Stick to pH-neutral or marble-specific cleaners for the safest and most effective cleaning.
5. Protect the Floor from Furniture: Place felt pads or protective mats under furniture legs to prevent them from scratching or damaging the marble floor. When moving heavy furniture, lift it instead of dragging it across the floor to avoid any potential scratches or gouges.
6. Avoid High-Impact Activities: Marble floors are durable but can still be susceptible to damage from high-impact activities. Avoid dropping heavy objects or dragging items across the floor, as they can cause chips, cracks, or scratches that can affect the shine and overall appearance of the marble.
7. Schedule Professional Maintenance: Periodically, consider scheduling professional marble maintenance and restoration to keep your floor looking its best. Professional cleaners can deep clean the floor, remove any stubborn stains or etching, and reapply polish or sealant to rejuvenate the marble and restore its shine.
By following these maintenance tips, you can ensure that your marble floor maintains its shine, beauty, and longevity. Regular care and attention will help keep your marble floor looking like new for years to come.
Frequently Asked Questions about How To Shine A Marble Floor
Was this page helpful?
At Storables.com, we guarantee accurate and reliable information. Our content, validated by Expert Board Contributors, is crafted following stringent Editorial Policies. We're committed to providing you with well-researched, expert-backed insights for all your informational needs.


0 thoughts on “How To Shine A Marble Floor”