Articles
How To Install Marble Countertops
Modified: February 17, 2024
Learn how to easily install marble countertops with our informative articles. Improve your home's aesthetics and functionality with this elegant material.
(Many of the links in this article redirect to a specific reviewed product. Your purchase of these products through affiliate links helps to generate commission for Storables.com, at no extra cost. Learn more)
Introduction
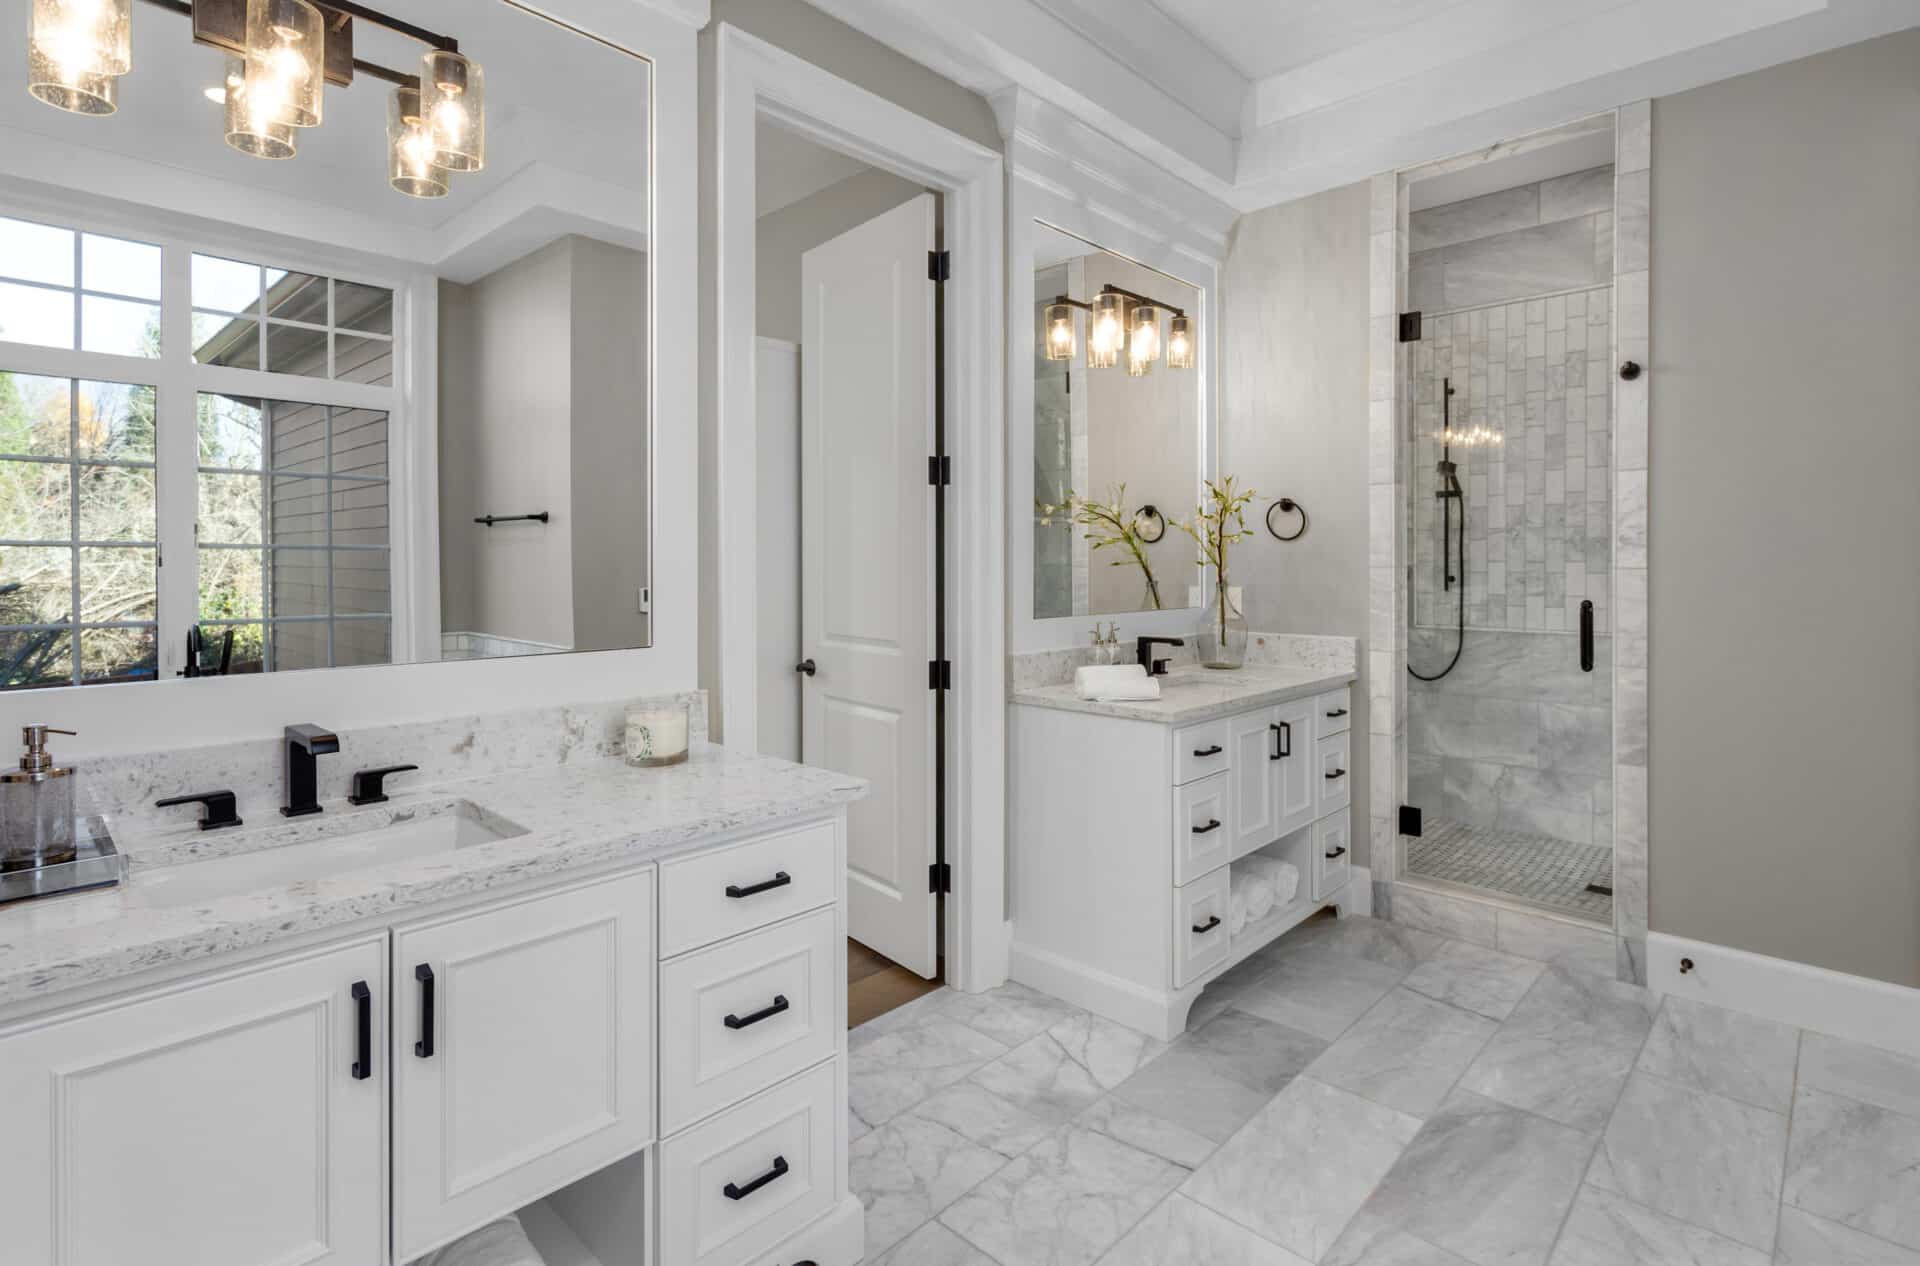
Marble countertops are a luxurious and elegant addition to any kitchen or bathroom. Known for their natural beauty and durability, marble countertops can instantly elevate the aesthetic appeal of a space. Installing marble countertops may seem like a daunting task, but with the right guidance and preparation, it can be a satisfying DIY project.
In this article, we will guide you through the step-by-step process of installing marble countertops. From measuring and preparing the space to sealing and maintaining the countertops, we will cover all the essential aspects to ensure a successful installation.
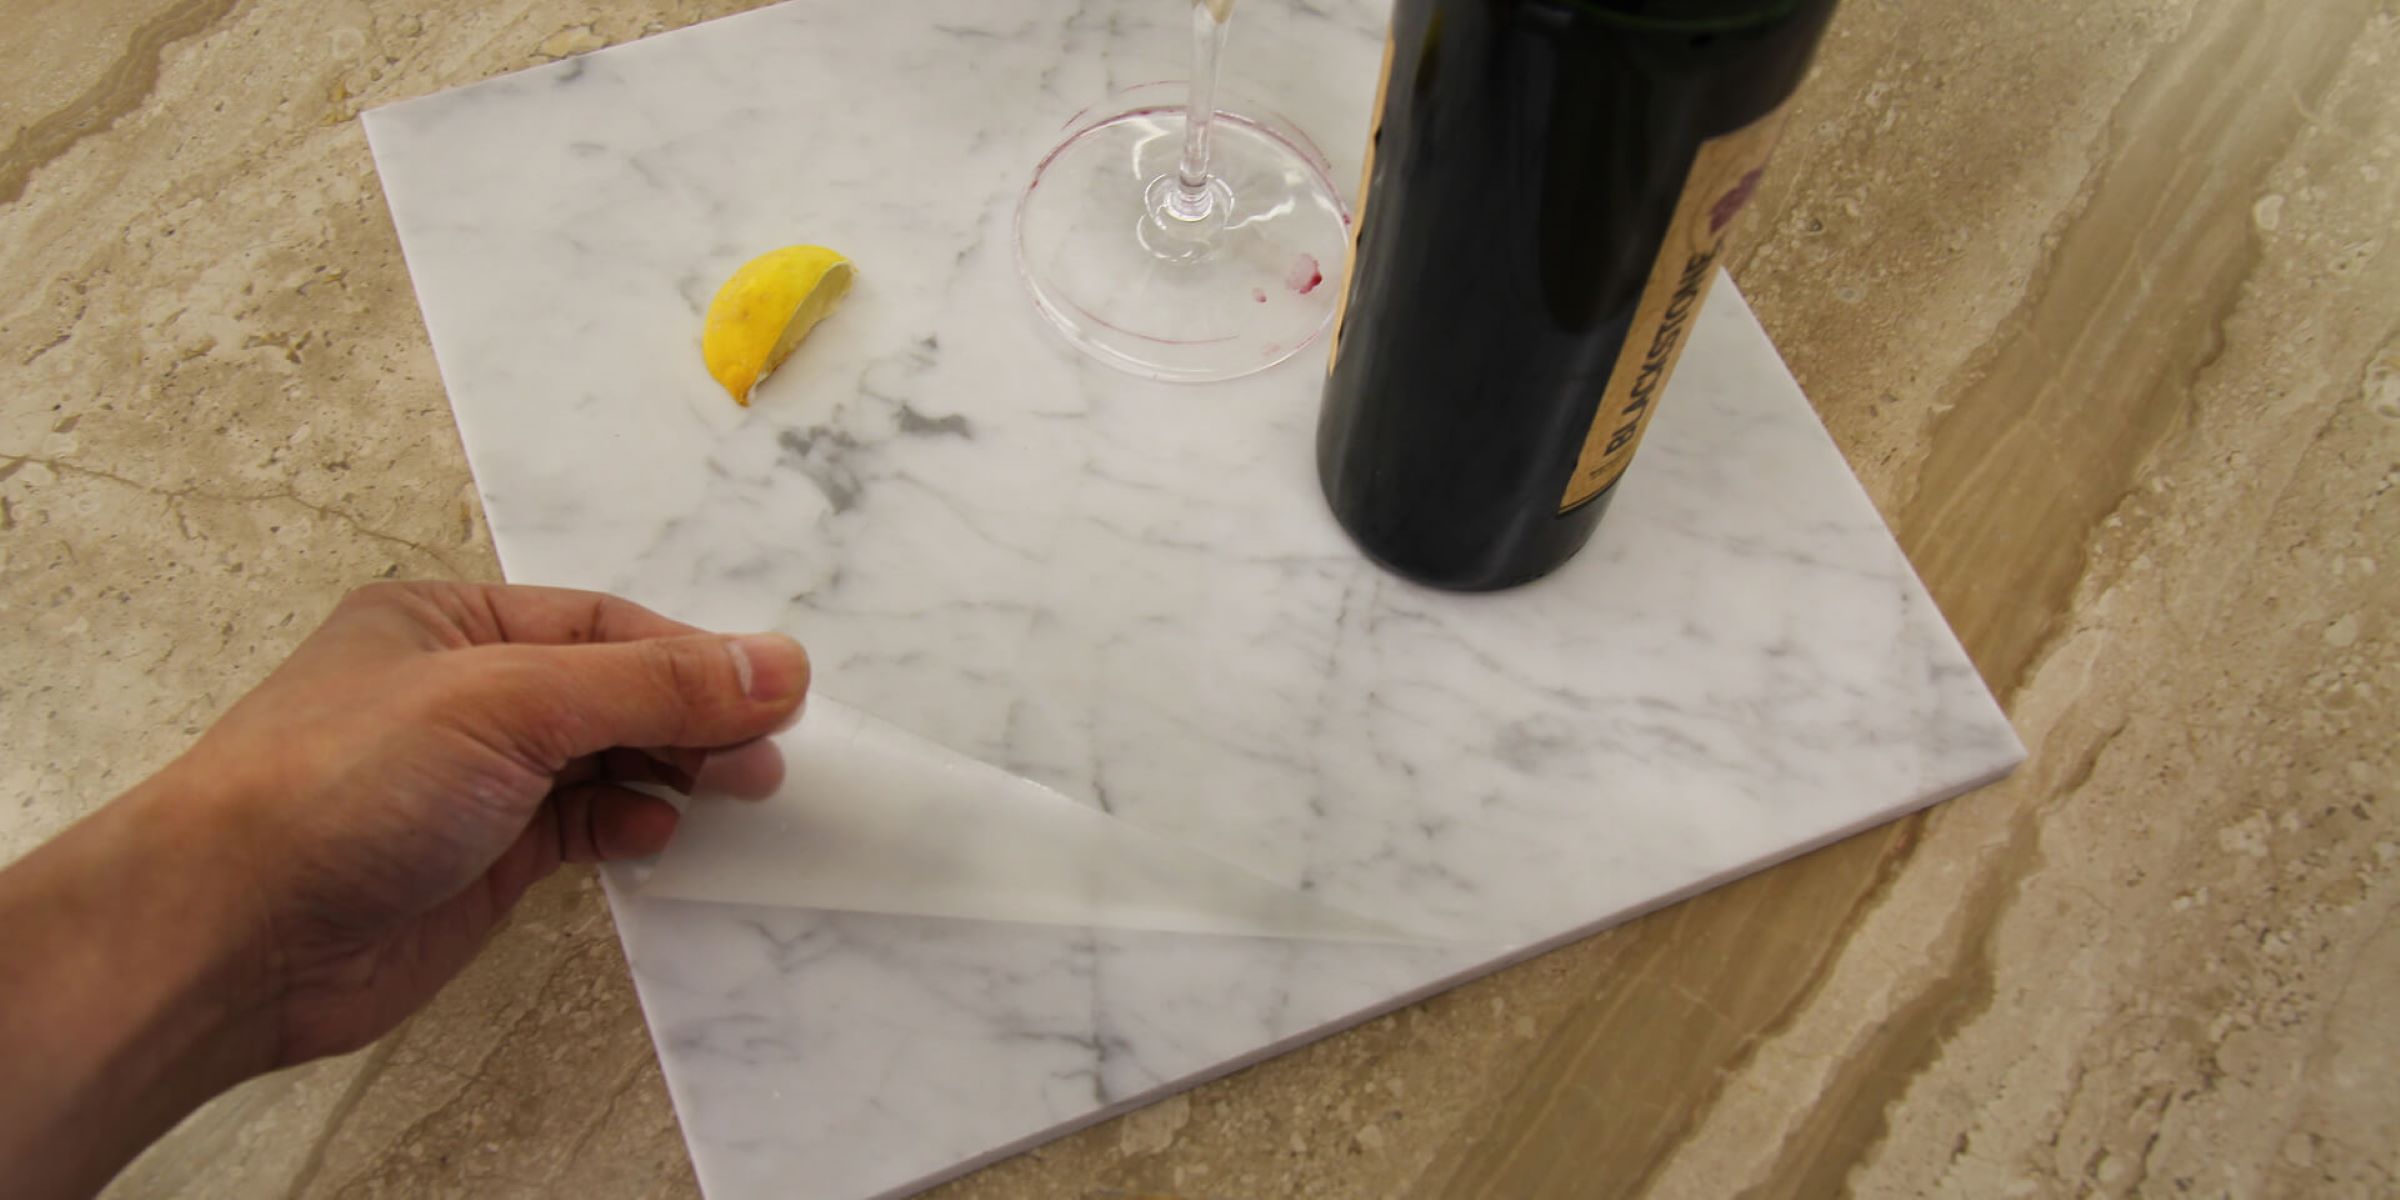
Before diving into the installation process, it’s essential to understand that marble is a porous material. This means it is susceptible to staining and etching from acidic substances. However, with proper care and maintenance, your marble countertops can remain timeless and beautiful for years to come.
Now, let’s get started with the first step: measuring and preparing the space.
Key Takeaways:
- Elevate your space with luxurious marble countertops by following a step-by-step guide for installation and maintenance. Embrace the natural beauty and timeless elegance while ensuring longevity and functionality.
- Achieve flawless and stunning marble countertops through precision and care. From measuring and preparing the space to sealing and maintenance, each step is crucial for a successful installation.
Read more: What Are Marble Countertops
Step 1: Measure and Prepare the Space
The first step in installing marble countertops is to accurately measure and prepare the space where they will be installed. This will ensure a proper fit and a smooth installation process.
Here are the essential steps to follow:
- Measure the existing countertops: Start by measuring the length and width of the existing countertops using a measuring tape. Be sure to measure all sides and corners to account for any irregularities in the space.
- Account for overhangs and sink openings: Consider any overhangs you want for seating or decorative purposes. Additionally, measure the dimensions of the sink opening if you plan on installing an undermount sink.
- Create a template: If your countertops have complex shapes or curves, it may be helpful to create a template using cardboard or plywood. Simply trace the outline of the countertop onto the template material and cut it out. This will help you ensure an accurate fit when cutting the marble slab.
By accurately measuring and preparing the space, you will ensure a seamless installation process and a flawless fit for your marble countertops.
Step 2: Choose the Right Marble Slab
Choosing the right marble slab is crucial in achieving the desired look and durability for your countertops. With a wide range of colors, patterns, and finishes available, it’s important to consider several factors when selecting your marble slab.
Here are some key points to keep in mind:
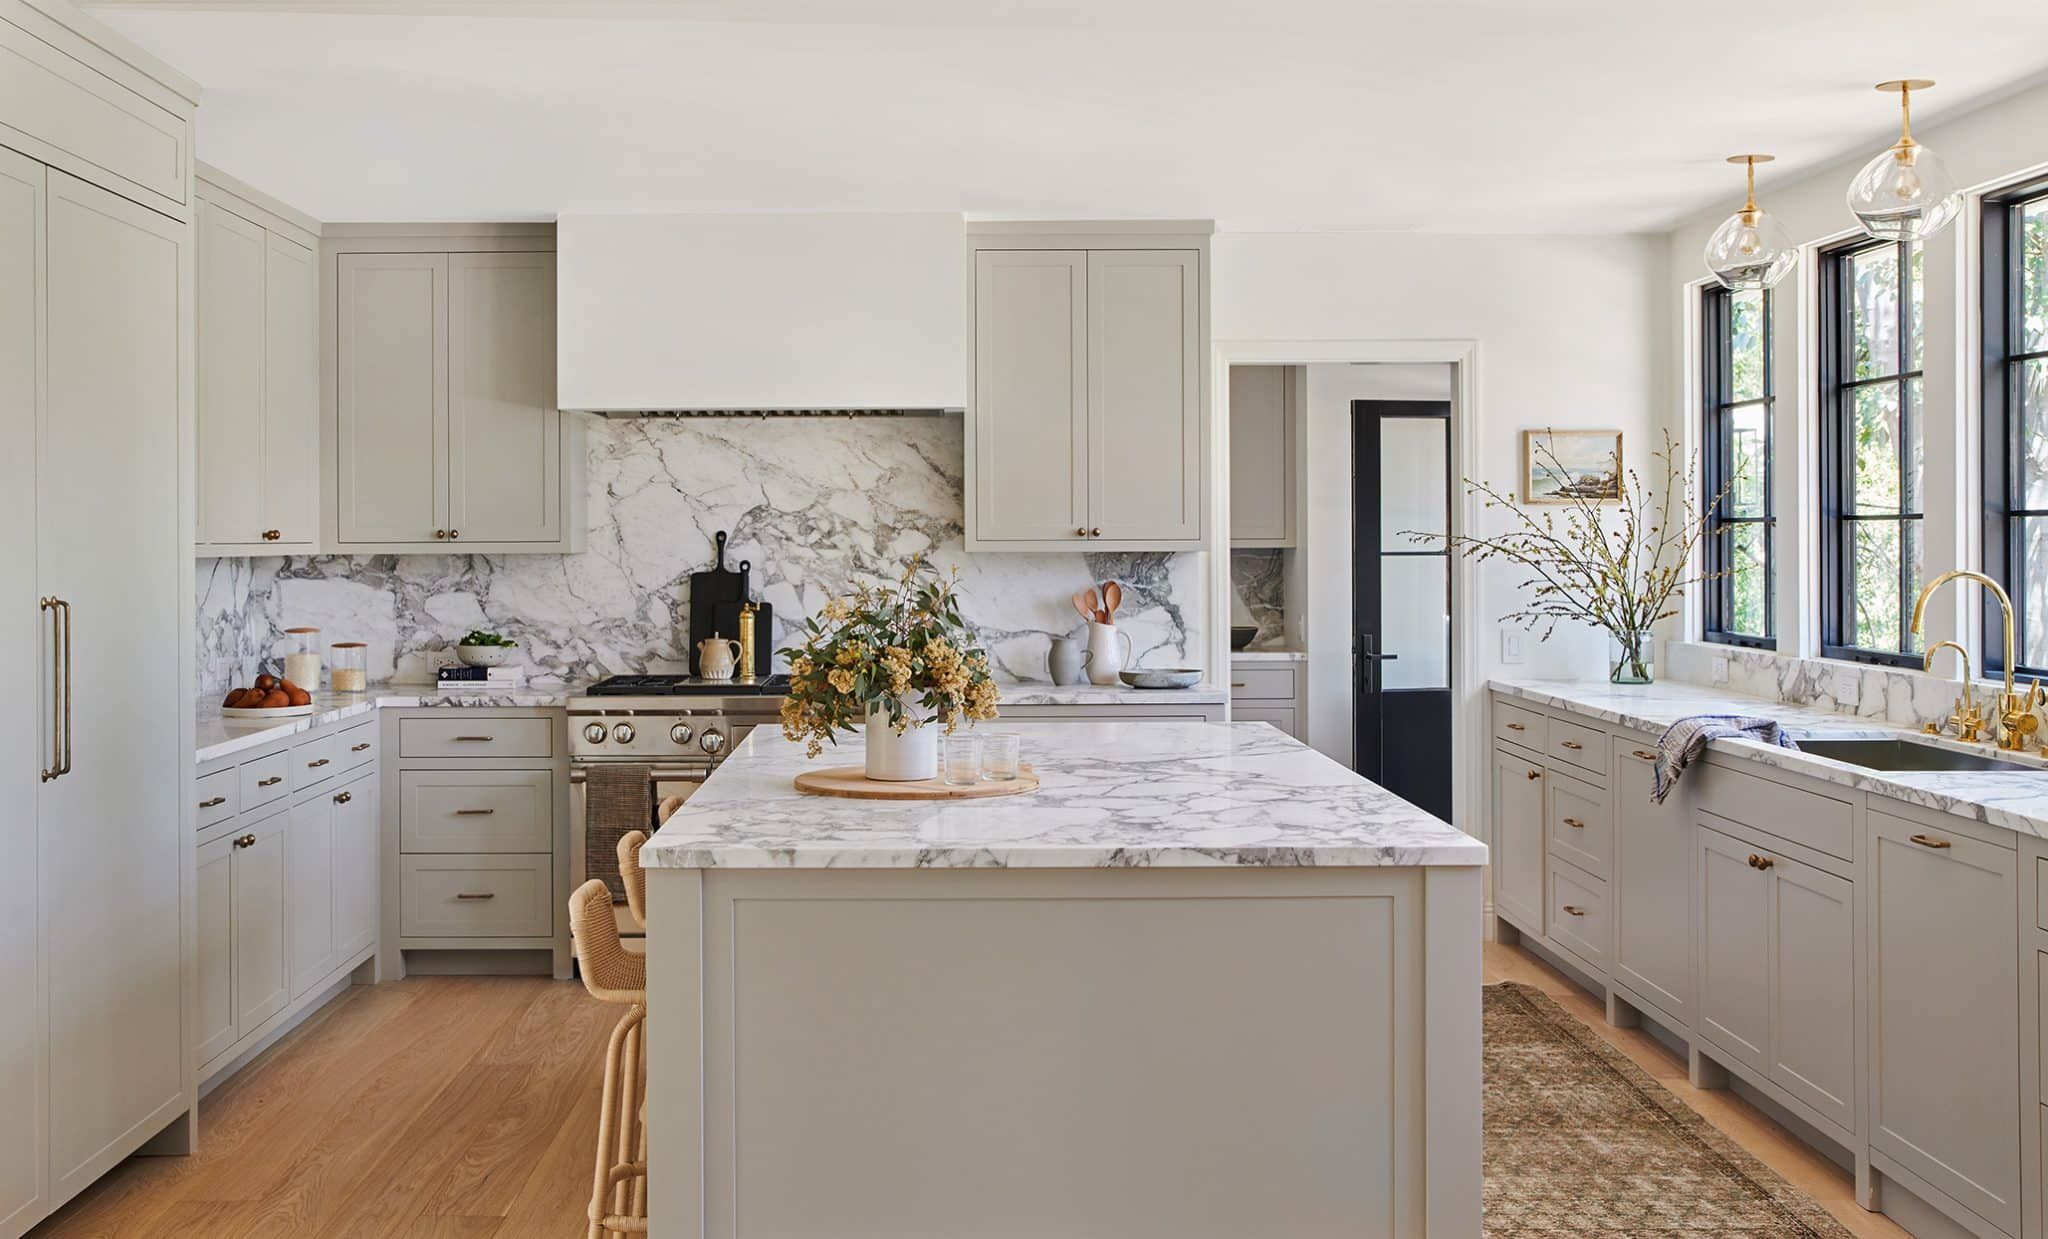
- Consider the color and veining: Marble comes in various colors, including white, gray, beige, and more. Consider the overall color scheme of your kitchen or bathroom and choose a marble slab that complements it. Additionally, pay attention to the veining patterns, as they can add depth and character to the countertops.
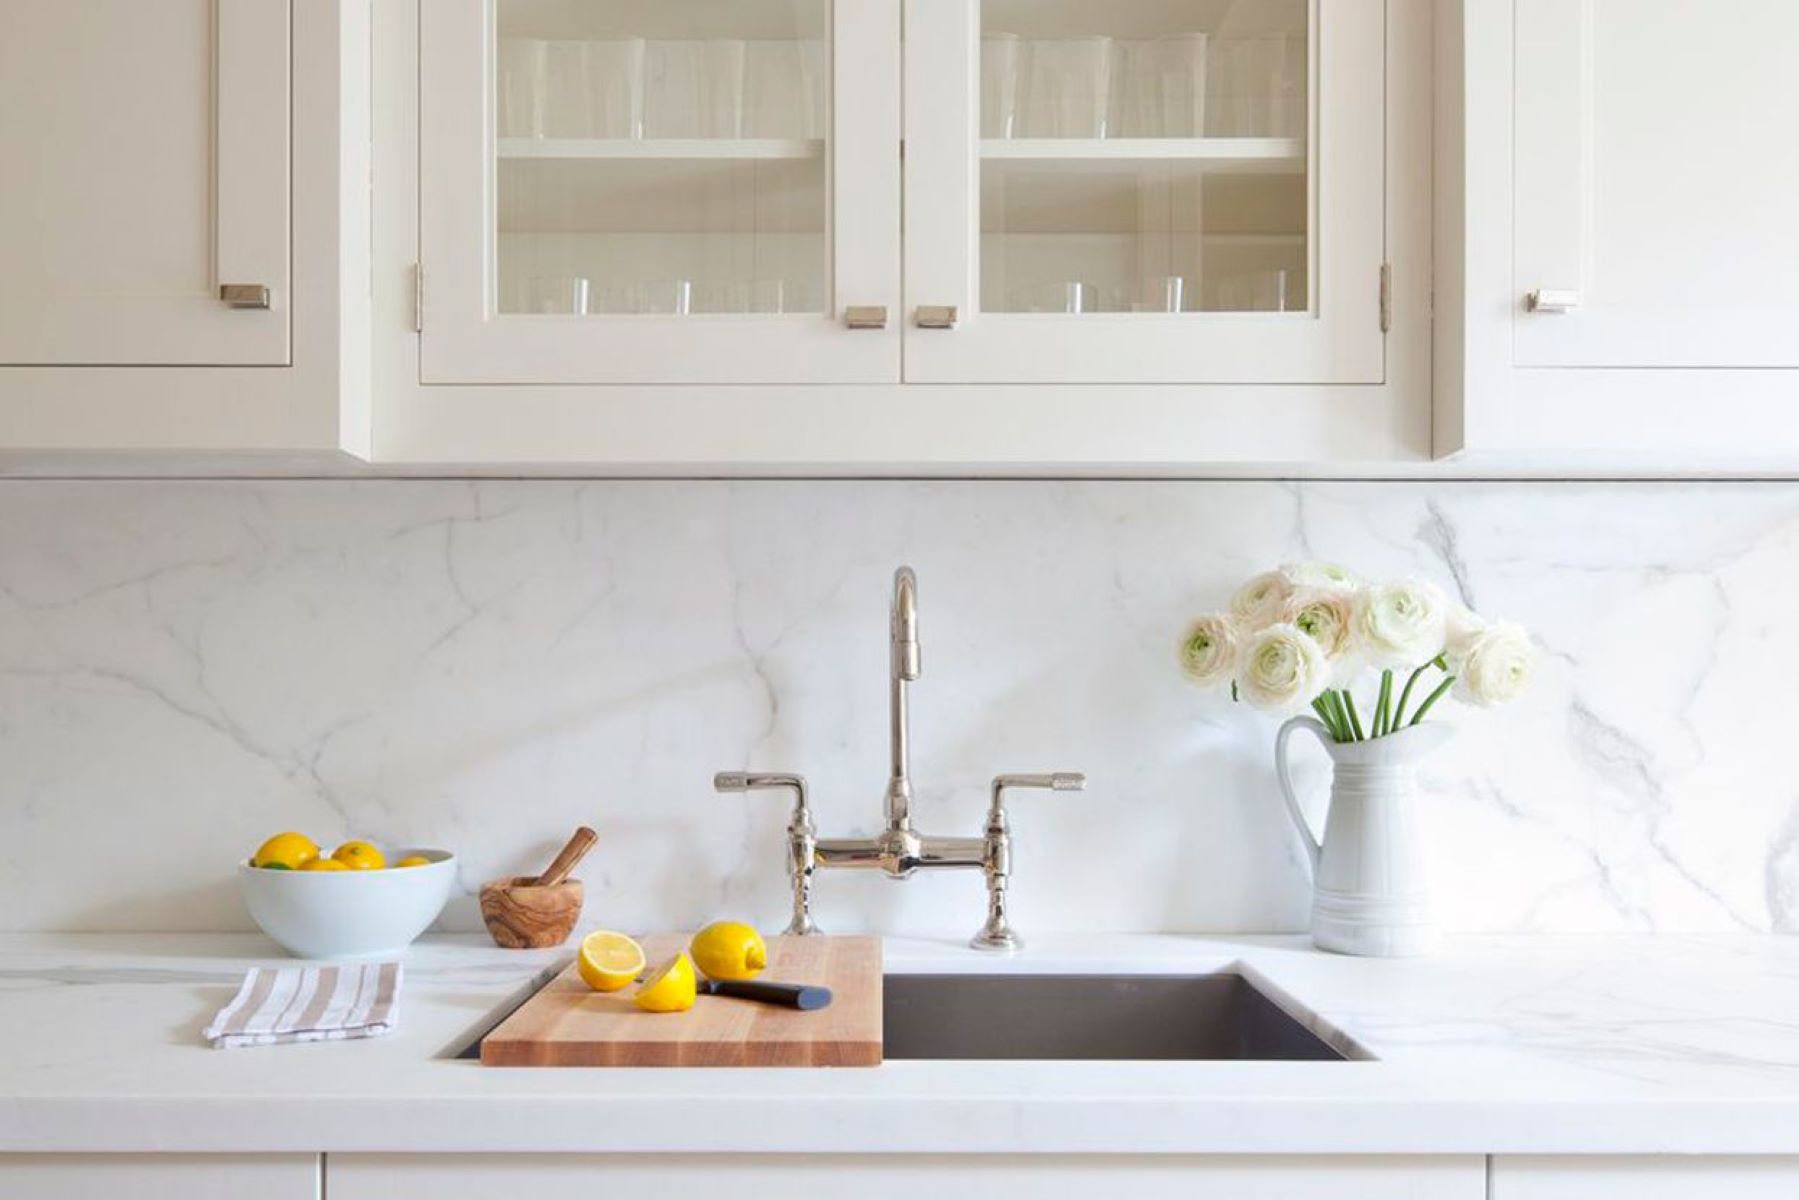
- Assess the finish: Marble slabs are available in different finishes, such as polished, honed, and leathered. Polished marble has a shiny and reflective surface, while honed marble offers a matte finish. Leathered marble has a textured surface that adds a unique touch. Consider the aesthetic appeal as well as the practicality of the finish for your specific needs.
- Check for durability: Marble is a naturally porous and softer stone compared to other countertop materials like granite. While it is known for its beauty, it is important to consider its susceptibility to stains and scratches. If you have a high-traffic kitchen or if maintenance is a concern for you, it might be worth considering alternative materials or applying a high-quality sealant to enhance the durability of the marble.
- Visit a stone yard or showroom: To get a better sense of the marble’s appearance and texture, it is recommended to visit a stone yard or showroom. Seeing the slabs in person can help you make a more informed decision and ensure that you are satisfied with the color, patterns, and overall quality of the marble.
- Consider the cost: Marble countertops can vary in price depending on factors such as the rarity of the marble, the slab size, and the region it is sourced from. Take into account your budget and compare prices from different suppliers to find a marble slab that fits within your price range.
By carefully choosing the right marble slab, you can create stunning and long-lasting countertops that enhance the beauty and functionality of your space.
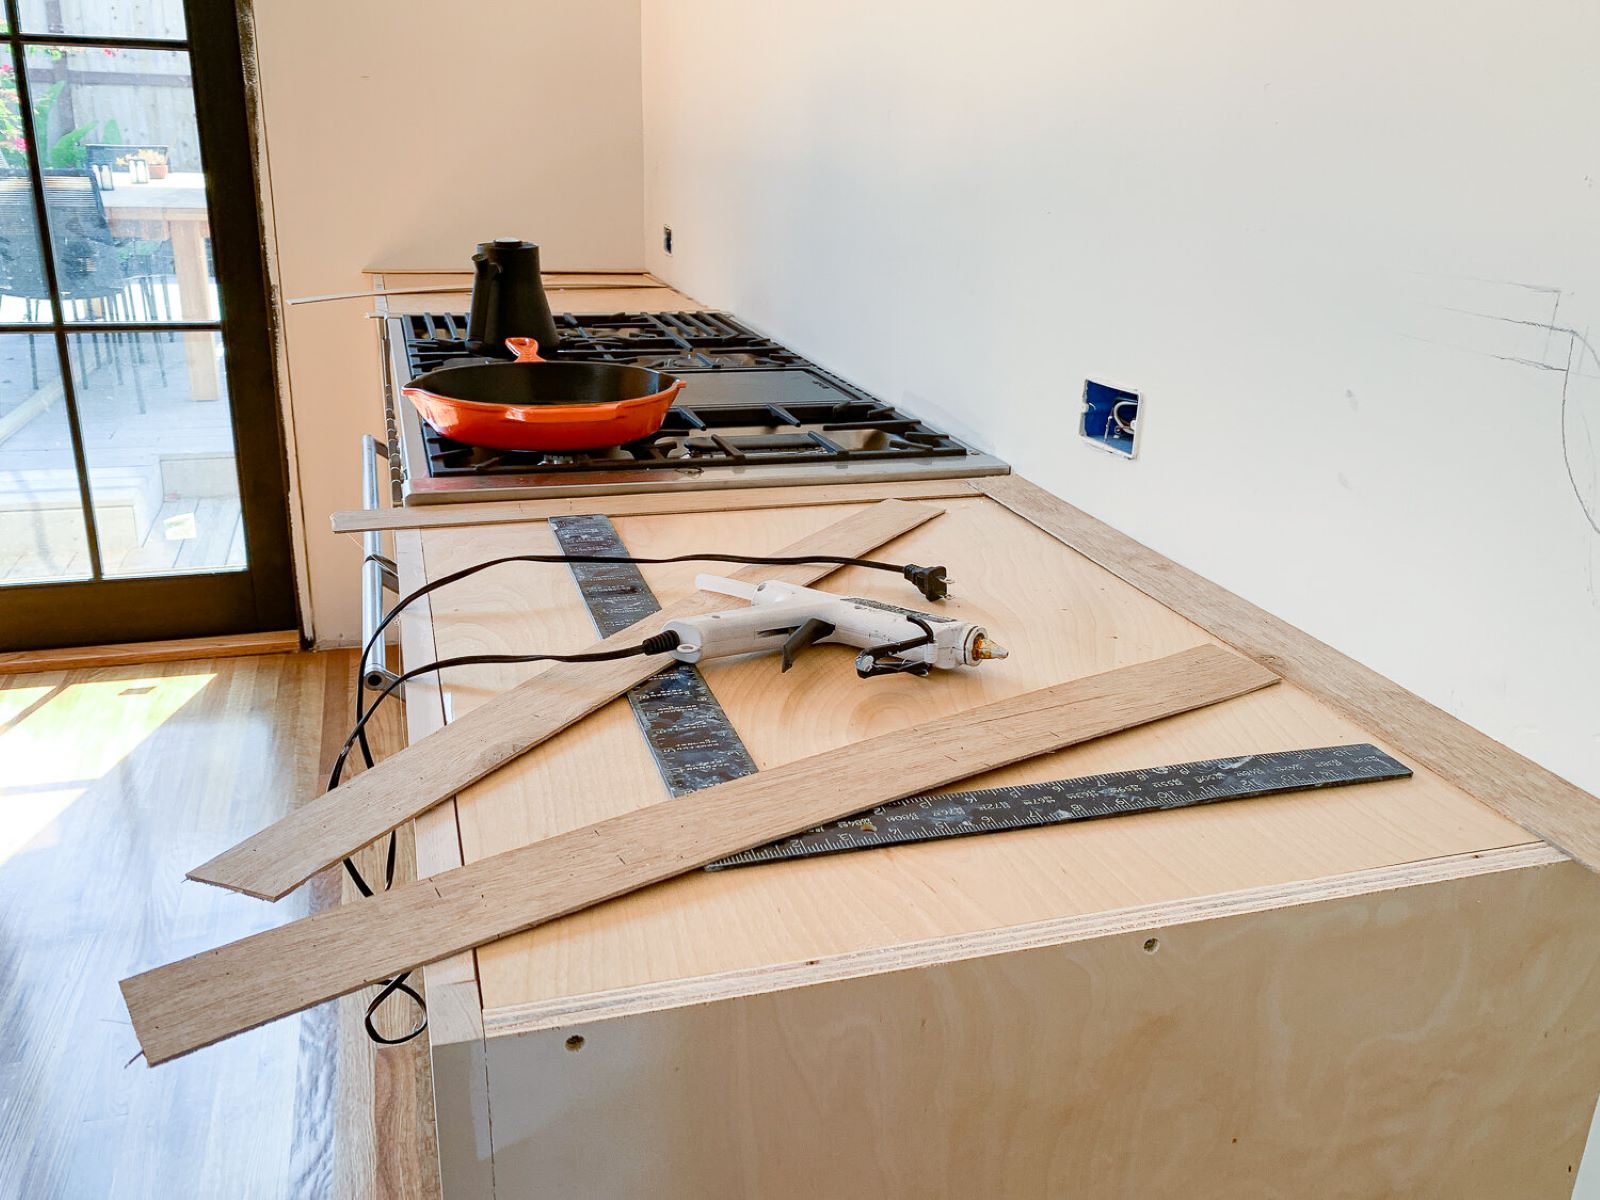
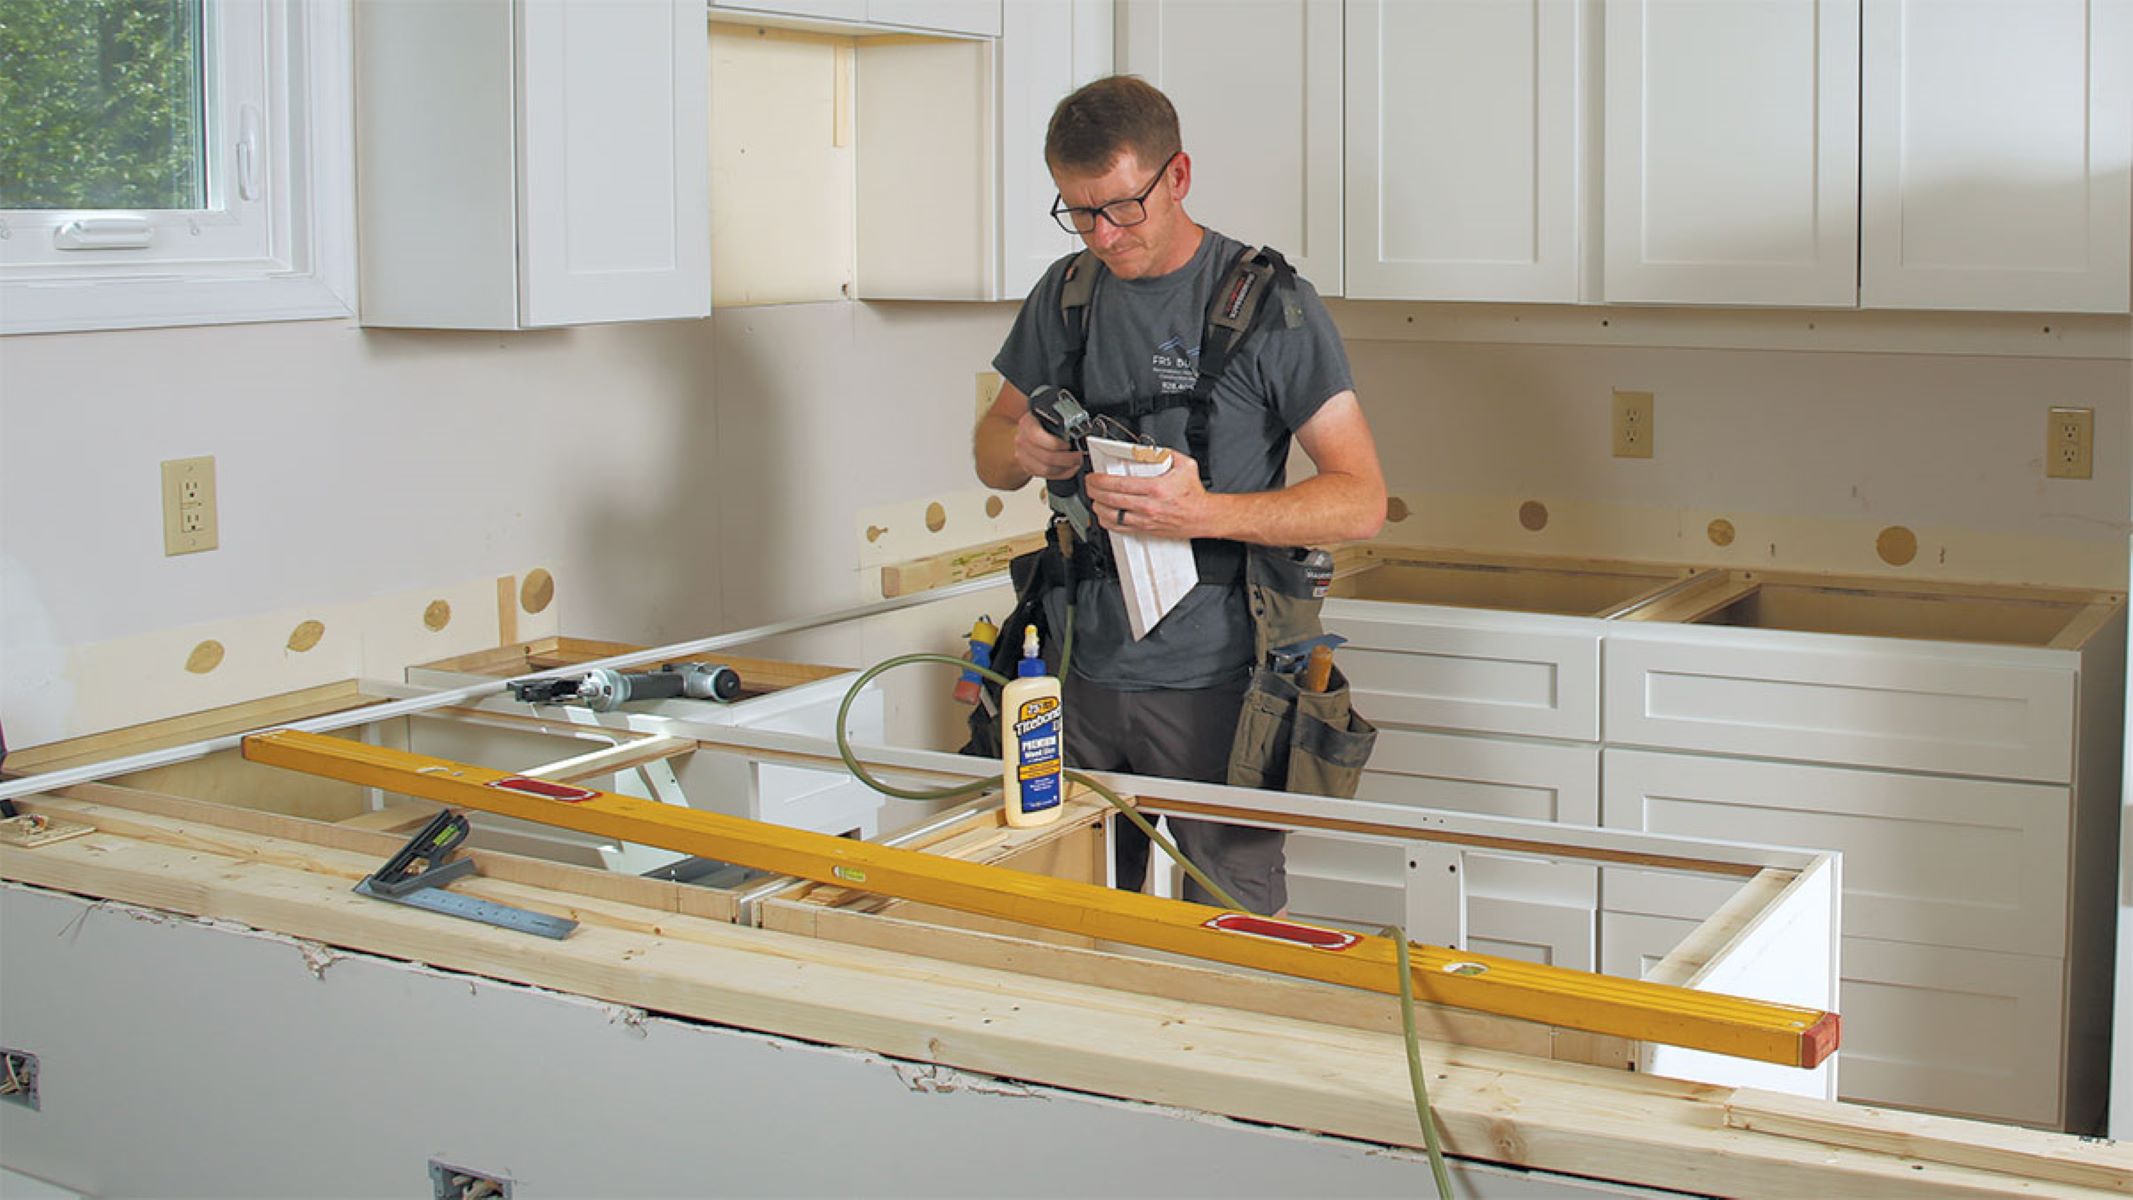
Step 3: Prepare the Countertop Surface
Before installing the marble slab, it’s essential to prepare the countertop surface to ensure a secure and stable foundation. This step involves properly leveling and reinforcing the base cabinets, as well as addressing any potential issues that may affect the installation.
Here are the key steps to follow when preparing the countertop surface:
- Check the stability of the cabinets: Ensure that the base cabinets supporting the countertops are secure and stable. If you notice any loose or wobbly cabinets, reinforce them by tightening screws and adding additional support brackets.
- Apply a moisture barrier: Apply a layer of moisture barrier on top of the base cabinets to protect them from water damage. This is particularly important in kitchens and bathrooms, where countertops are frequently exposed to moisture. The moisture barrier can be a sheet of plastic or a specialized waterproofing membrane.
By properly preparing the countertop surface, you will ensure a stable and level foundation for the marble slab, leading to a successful installation and long-lasting countertops.
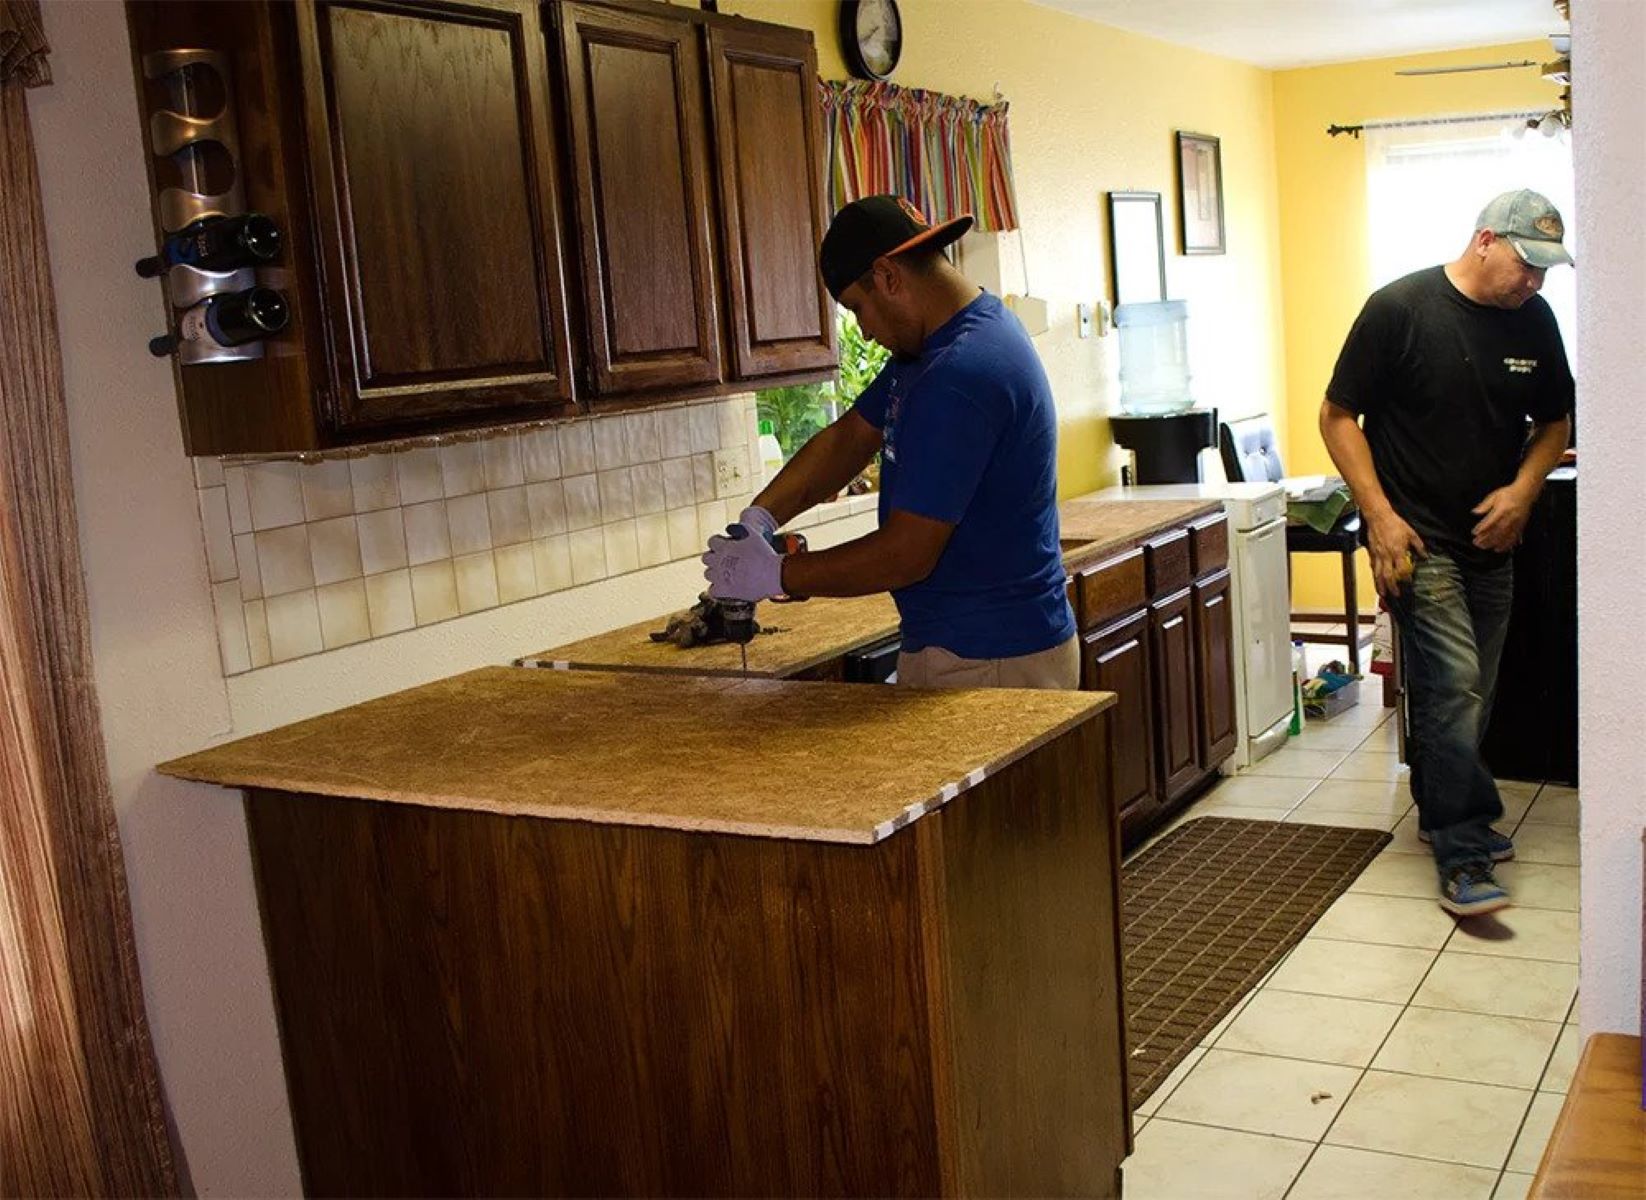
Step 4: Cut and Shape the Marble Slab
Once the countertop surface is prepared, it’s time to cut and shape the marble slab to fit the dimensions and design of your space. This step requires precision and care to ensure accurate cuts and a seamless installation.
Here are the key steps to follow when cutting and shaping the marble slab:
- Transfer measurements: Begin by transferring the measurements from the template or directly from the countertop surface onto the marble slab. Use a pencil or a marker to mark the cutting lines.
It is important to note that cutting and shaping marble requires skill and expertise. If you are not comfortable or experienced with using power tools, it may be advisable to hire a professional to handle this step.
By accurately cutting and shaping the marble slab, you will achieve a precise and custom fit for your countertops, enhancing the overall aesthetics and functionality of the space.
When installing marble countertops, make sure to properly seal the surface to protect it from stains and damage. Use a high-quality sealant and follow the manufacturer’s instructions for best results.
Read more: How To Shine Marble Countertops
Step 5: Install the Marble Slab
With the marble slab cut and shaped to perfection, it’s time to proceed with the installation. This step requires careful handling and precision to ensure the marble slab is securely and seamlessly installed on the countertop surface.
Follow these steps to install the marble slab:
- Prepare the adhesive: Use a high-quality adhesive specifically designed for marble or stone countertops. Follow the manufacturer’s instructions to mix the adhesive properly. Wear gloves and use a trowel to create a consistent and even layer of adhesive on the countertop surface.
- Lift and place the marble slab: Enlist the help of another person to carefully lift and place the marble slab onto the adhesive-covered countertop surface. Ensure the slab is aligned with the edges of the countertop and any cutouts for sinks or fixtures.
- Apply even pressure: Use a rolling pin or a laminate roller to apply even pressure across the entire surface of the marble slab. This will help ensure proper adhesion and eliminate any air pockets or bubbles between the slab and the countertop surface.
It is essential to handle the marble slab with care during installation to avoid any damage or breakage. Take your time and work methodically to ensure a seamless and secure installation.
Once the adhesive has fully cured, the marble slab will be firmly attached to the countertop surface. This brings us to the next step: sealing the marble countertops to protect against staining and etching.
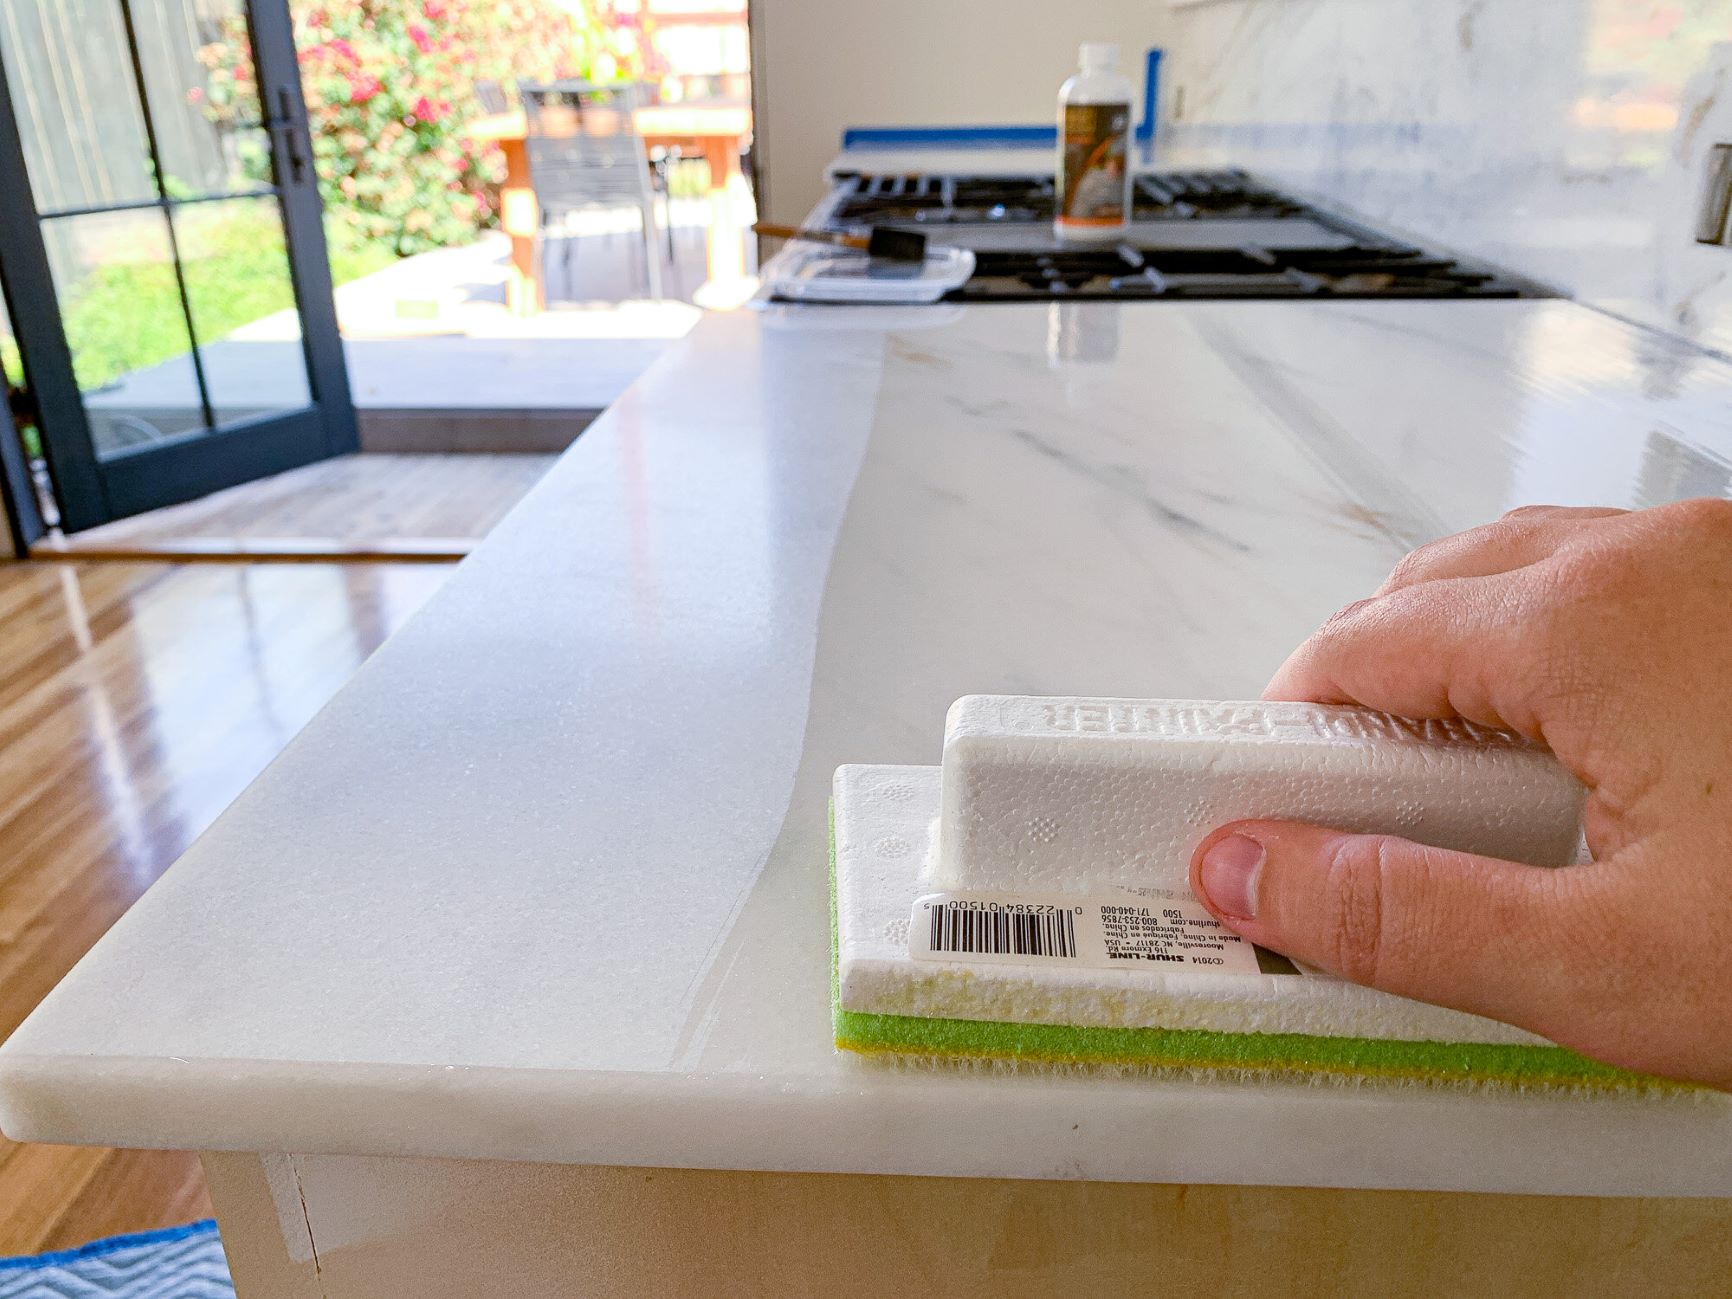
Step 6: Seal the Marble Countertops
Sealing the marble countertops is an important step to protect them from stains, spills, and etching caused by acidic substances. Marble is a porous stone, and sealing it helps to create a protective barrier that repels liquids and reduces the damage caused by everyday use.
Here’s how to properly seal your marble countertops:
- Clean the countertops: Start by thoroughly cleaning the countertops to remove any dust, dirt, or residue. Use a mild soap or a pH-neutral stone cleaner and a soft cloth or sponge. Rinse the countertops with clean water and allow them to dry completely before proceeding.
By properly sealing your marble countertops, you can protect them from stains and etching, making them more resistant to everyday wear and tear.
Now that your marble countertops are sealed and protected, it’s crucial to know how to clean and maintain them effectively, which leads us to the final step.
Step 7: Clean and Maintain the Marble Countertops
To keep your marble countertops looking their best, it’s important to establish a regular cleaning and maintenance routine. With the right approach, you can preserve the beauty and longevity of your countertops for years to come.
Follow these guidelines to effectively clean and maintain your marble countertops:
- Use a gentle cleaner: Avoid using harsh or abrasive cleaners on your marble countertops, as they can damage the surface. Instead, opt for a pH-neutral, non-abrasive stone cleaner or a mild dish soap diluted with warm water. Apply the cleaner with a soft cloth or sponge, and gently wipe down the countertops.
By following these cleaning and maintenance practices, you can keep your marble countertops looking pristine and extend their lifespan. Regular care will help to preserve the natural beauty and elegance of your countertops.
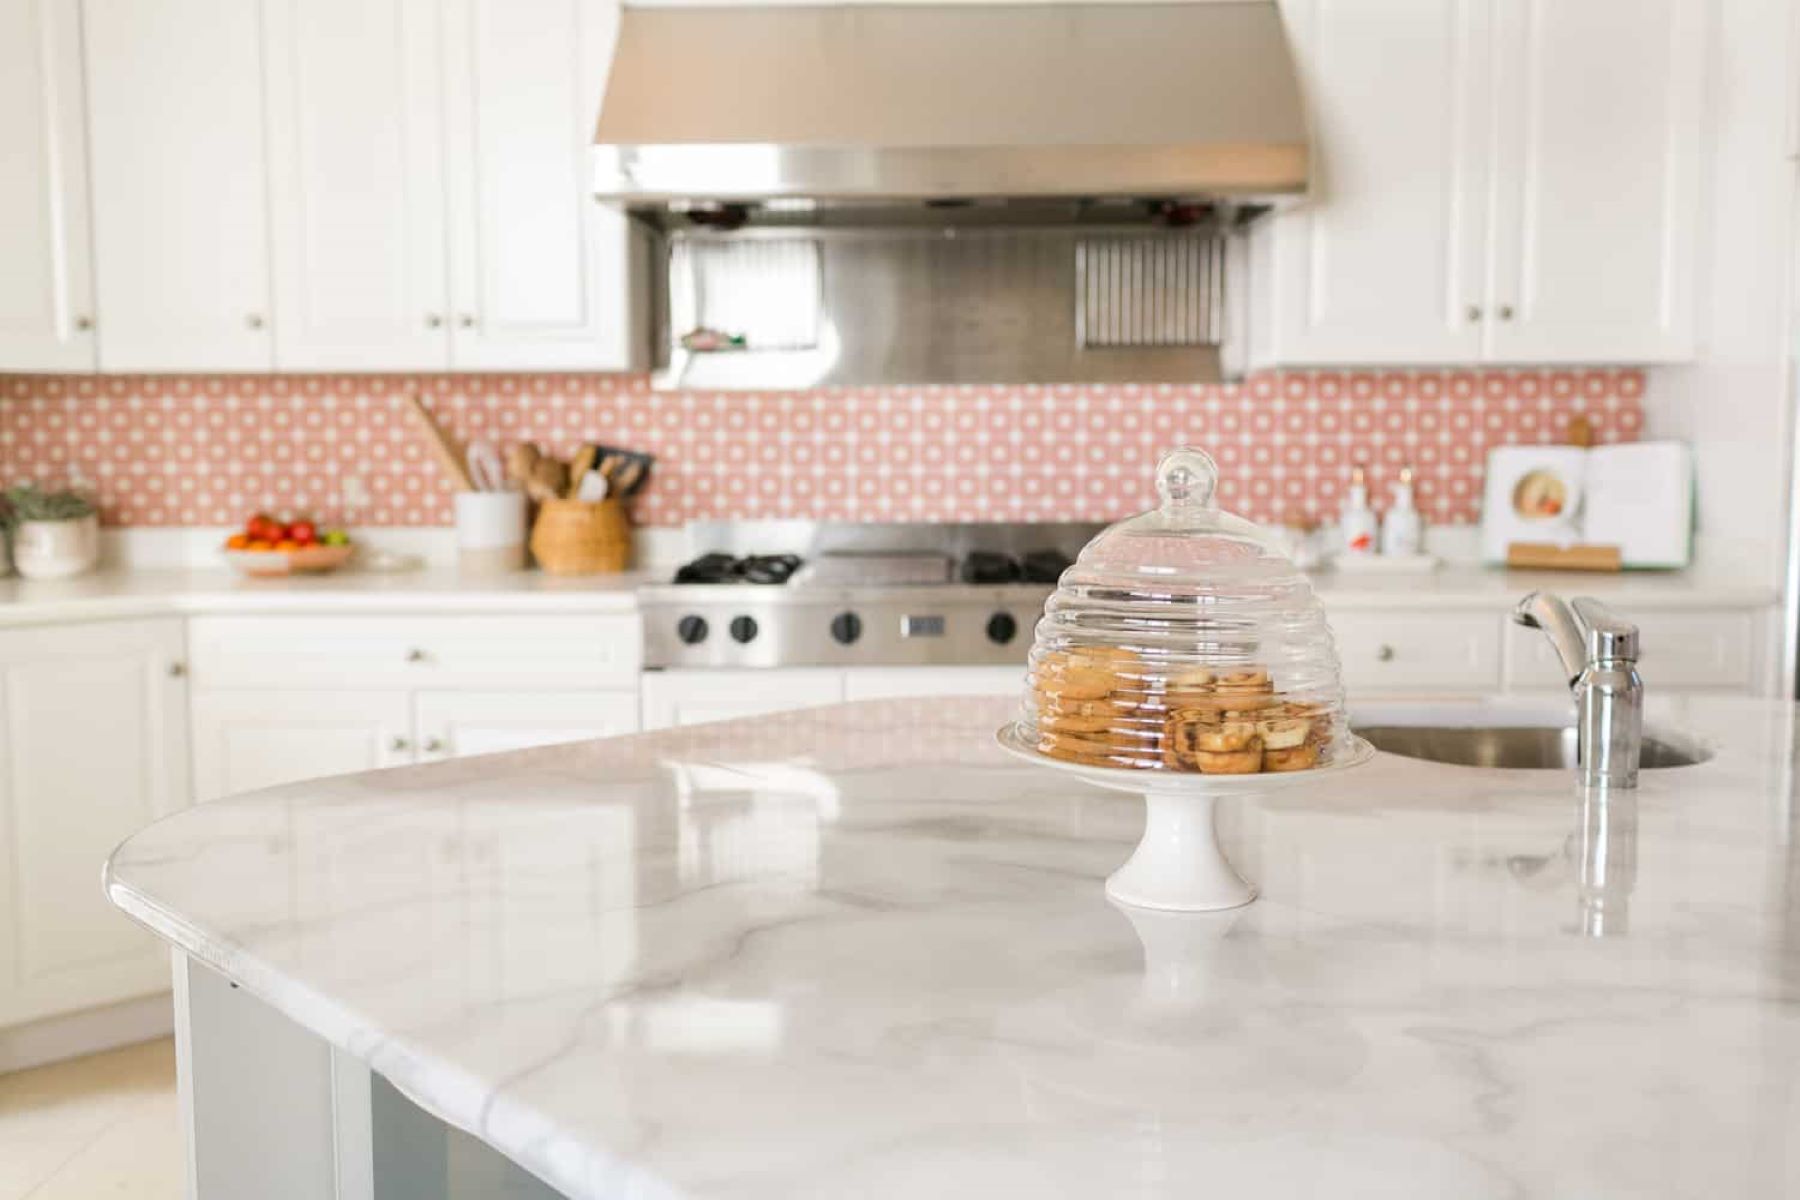
Remember, marble is a natural stone with unique characteristics, and it will develop a patina over time. Embrace its natural aging process, and enjoy the timeless beauty it adds to your kitchen or bathroom.
Congratulations! You have successfully completed the installation and maintenance of your marble countertops. Now, sit back and admire the luxurious, elegant, and functional addition to your space!
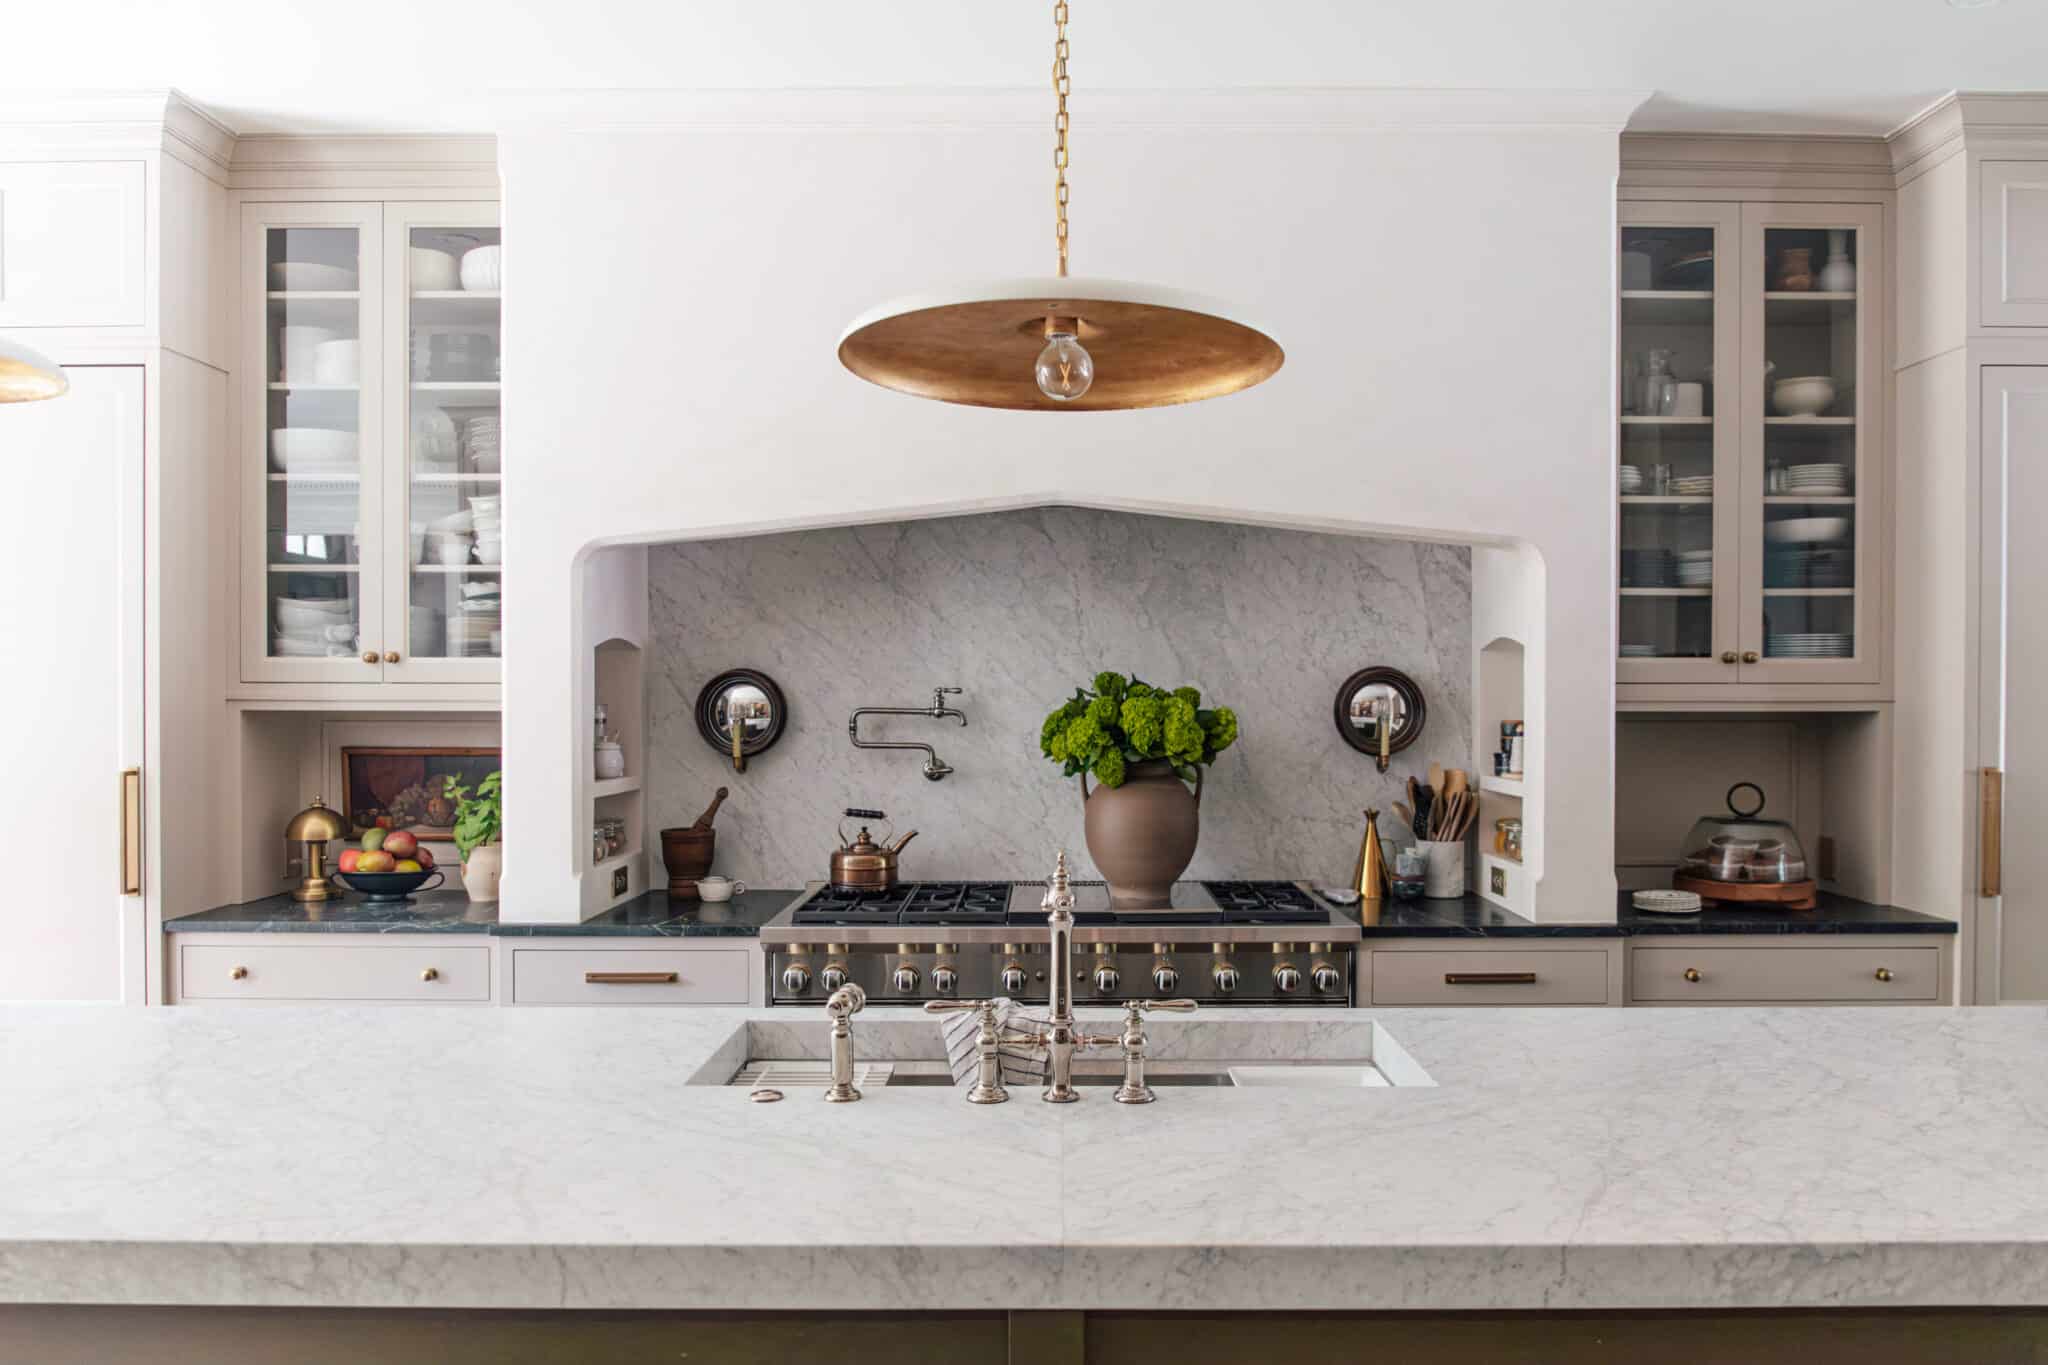
Conclusion
Installing marble countertops can transform the look and feel of your kitchen or bathroom, adding a touch of luxury and sophistication. By following the step-by-step guide outlined in this article, you can successfully install and maintain your marble countertops, while ensuring their longevity and beauty.
From measuring and preparing the space to choosing the right marble slab, cutting and shaping the slab, and finally installing and sealing the countertops, each step plays a crucial role in achieving a flawless and stunning end result. It’s essential to exercise caution and precision throughout the entire process to avoid any mishaps or damage to the marble.
Once the countertops are installed, proper cleaning and maintenance are crucial to preserve their appearance and durability. Using gentle cleansers, wiping up spills promptly, and avoiding abrasive tools are key practices to keep in mind. Regularly resealing and protecting the countertops from heat and scratches will also contribute to their long-term beauty and functionality.
While marble countertops require some additional care compared to other materials, the elegance and timeless appeal they bring to your space are well worth the effort. The natural beauty, unique veining patterns, and luxurious feel of the marble will undoubtedly enhance your kitchen or bathroom, creating a focal point that will impress and delight for years to come.
Remember to regularly monitor the condition of your marble countertops and address any issues promptly. With proper care and maintenance, they will continue to bring joy and elegance to your home for a lifetime.
Now, armed with the knowledge and guidance provided in this article, you are ready to embark on your journey of installing and maintaining marble countertops. Enjoy the process and the stunning results that await you!
Frequently Asked Questions about How To Install Marble Countertops
Was this page helpful?
At Storables.com, we guarantee accurate and reliable information. Our content, validated by Expert Board Contributors, is crafted following stringent Editorial Policies. We're committed to providing you with well-researched, expert-backed insights for all your informational needs.


0 thoughts on “How To Install Marble Countertops”