Home>Interior Design>Cleaning A Kitchen Floor: 5 Expert Tips For An Easy Shine
Interior Design
Cleaning A Kitchen Floor: 5 Expert Tips For An Easy Shine
Modified: October 21, 2024
Achieve a sparkling clean kitchen floor effortlessly with these 5 interior design expert tips. Say goodbye to dirt and grime, and hello to a shiny floor!
(Many of the links in this article redirect to a specific reviewed product. Your purchase of these products through affiliate links helps to generate commission for Storables.com, at no extra cost. Learn more)
Introduction
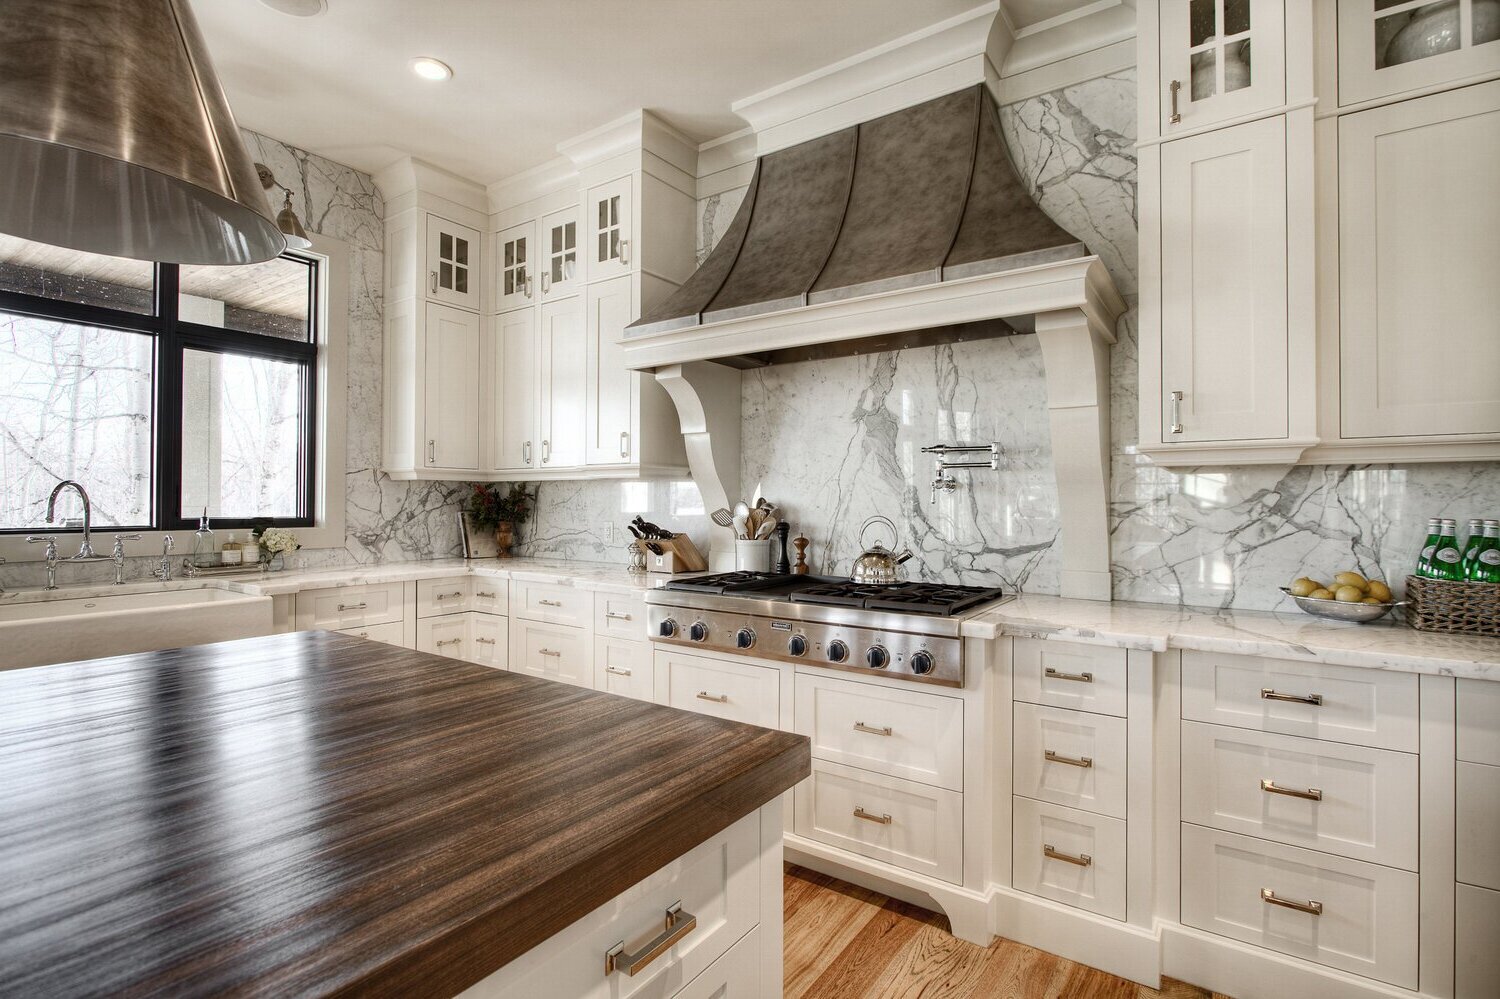
Welcome to our comprehensive guide on how to clean a kitchen floor and achieve a sparkling shine effortlessly. The kitchen is often the heart of the home, where meals are prepared and memories are made. With all the activity that takes place in this space, it’s important to keep the kitchen floor clean and free from dirt, spills, and stains.
A clean kitchen floor not only enhances the overall aesthetic appeal of your space, but it also promotes a healthy and hygienic environment for you and your family. Whether you have tile, hardwood, laminate, vinyl, or any other type of flooring in your kitchen, our expert tips will help you maintain its cleanliness and restore its natural shine.
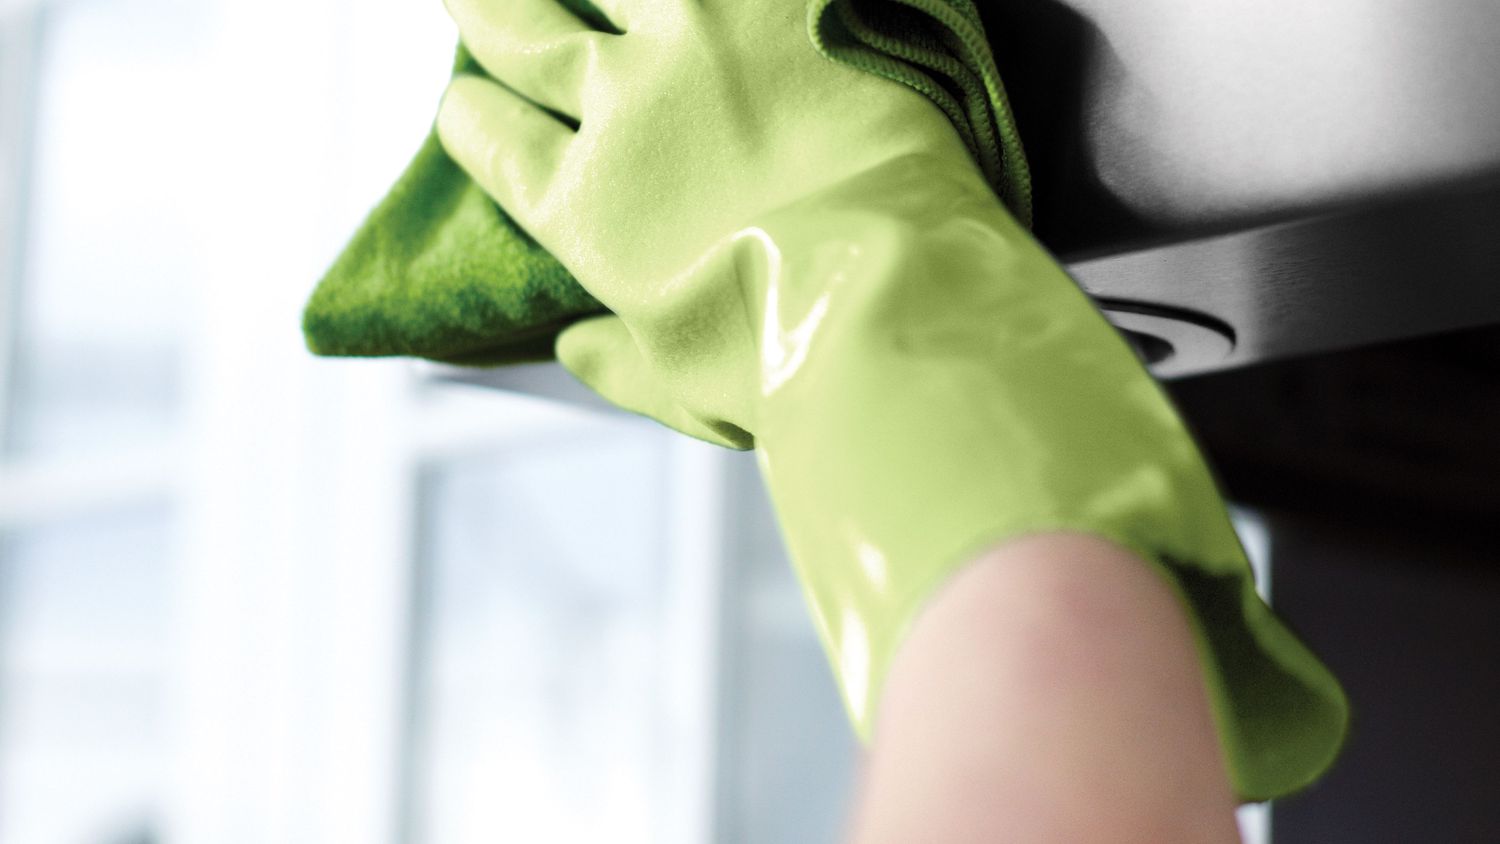
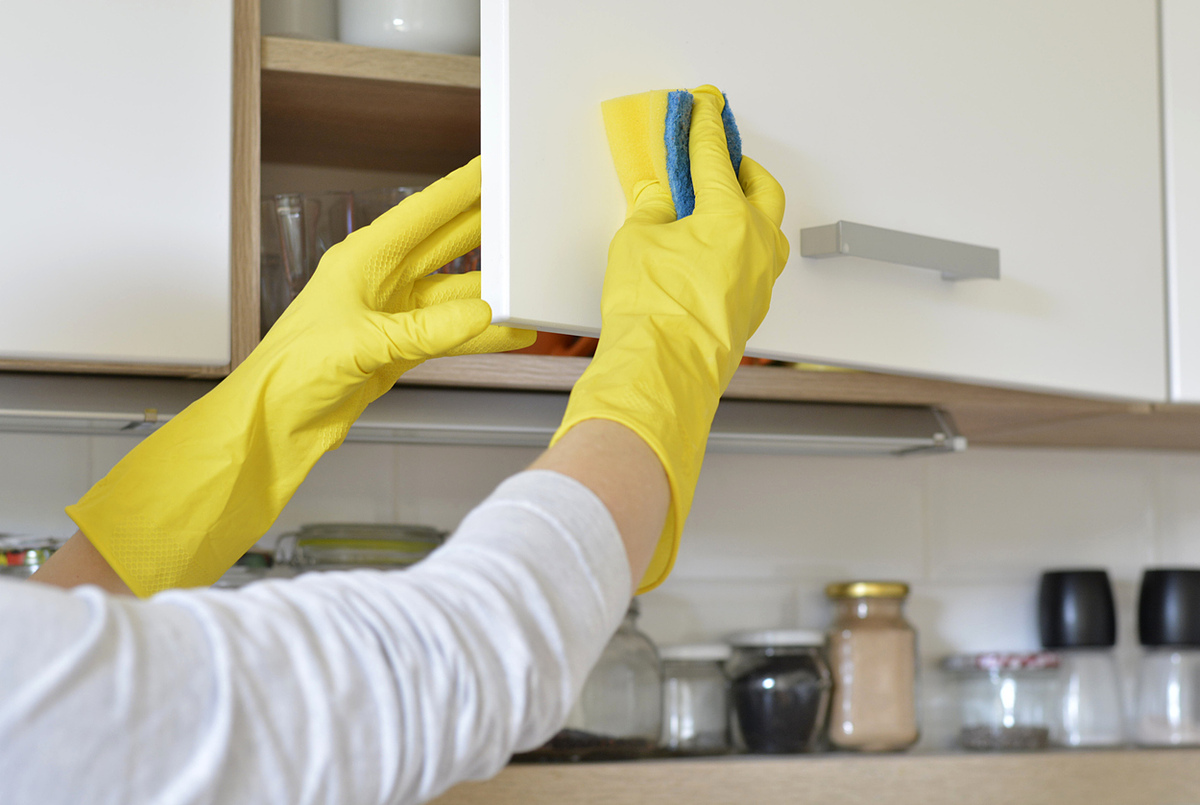
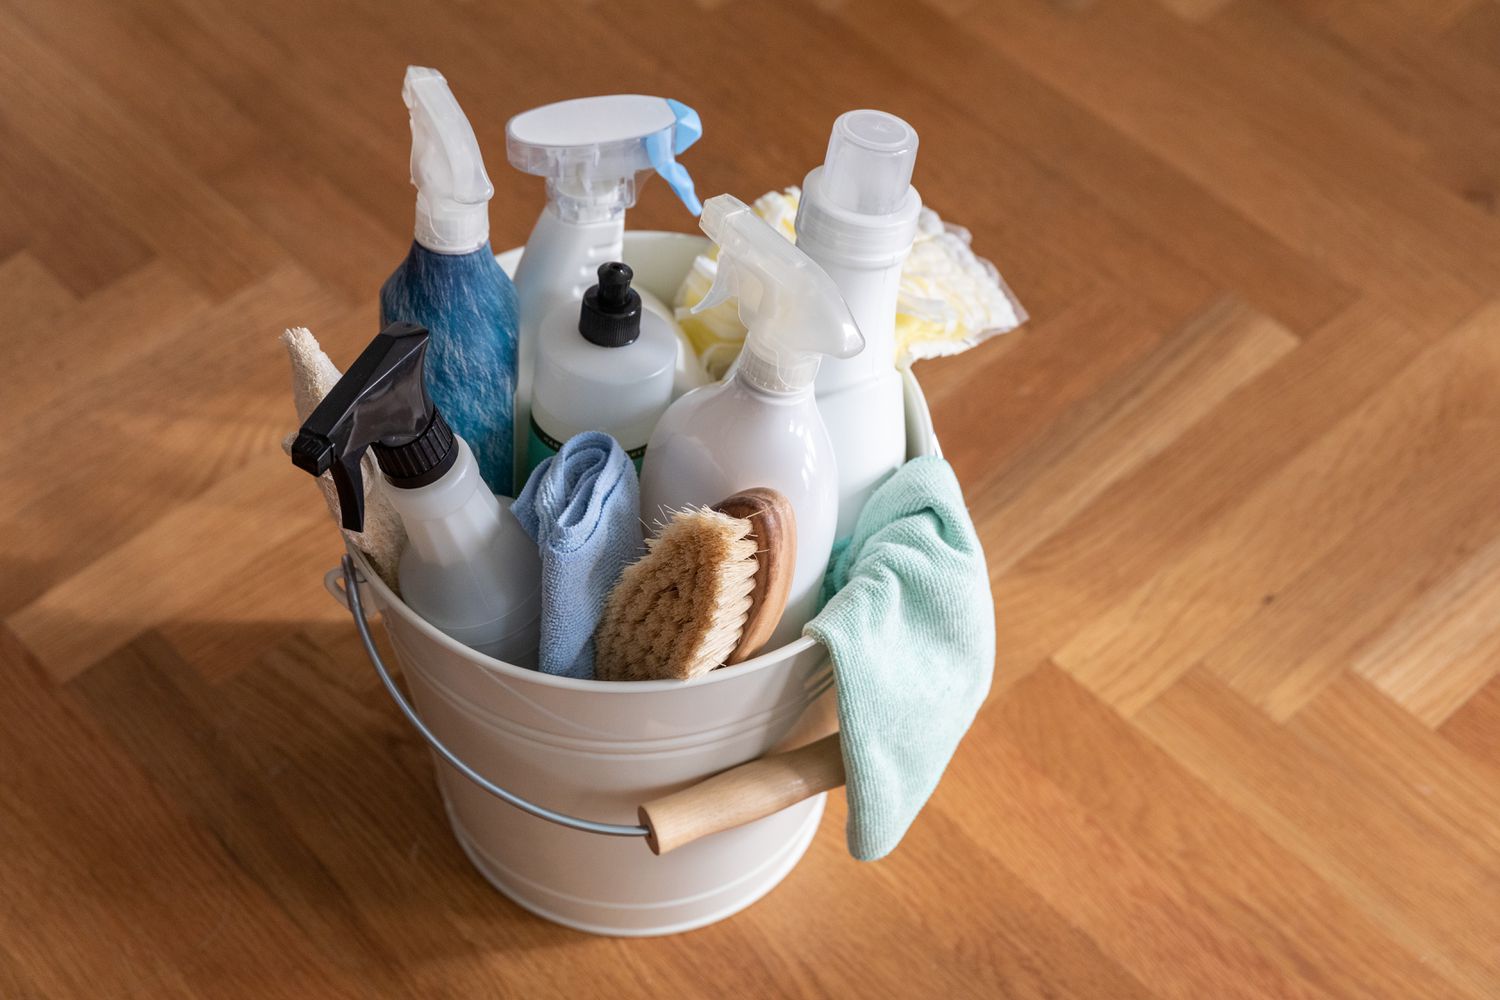
So, put on your cleaning gloves, grab your favorite cleaning supplies, and let’s dive into the top five expert tips for achieving an easy shine on your kitchen floor.
Key Takeaways:
- Achieve a sparkling kitchen floor effortlessly by following expert tips, from sweeping to drying, for a hygienic and visually appealing space.
- Use mild cleansers, scrub brushes, and proper drying techniques to maintain a clean and shiny kitchen floor with minimal effort.
Read more: 5 Small Upgrades To Make Your Kitchen Shine
Tip 1: Sweep or Vacuum the Floor
The first step to cleaning your kitchen floor is to remove any loose debris, such as crumbs, dust, and pet hair. This can be done by sweeping the floor with a broom or using a vacuum cleaner with a soft brush attachment.
Sweeping or vacuuming the floor not only removes visible dirt but also helps to prevent scratches caused by abrasive particles. Pay attention to the corners and edges of the floor where dirt tends to accumulate.
If you choose to use a vacuum cleaner, make sure that the wheels or beater bar are in good condition and won’t cause damage to your flooring. Also, be mindful of any loose cords or attachments that could potentially scratch the floor.
For hard-to-reach areas, you can use a small handheld brush or a crevice attachment on your vacuum cleaner. This will help to ensure that all the debris is completely removed.
By starting with a clean slate, you’ll have a better foundation for the next steps in the cleaning process. So, take your time and thoroughly sweep or vacuum the entire kitchen floor before moving on to the next tip.
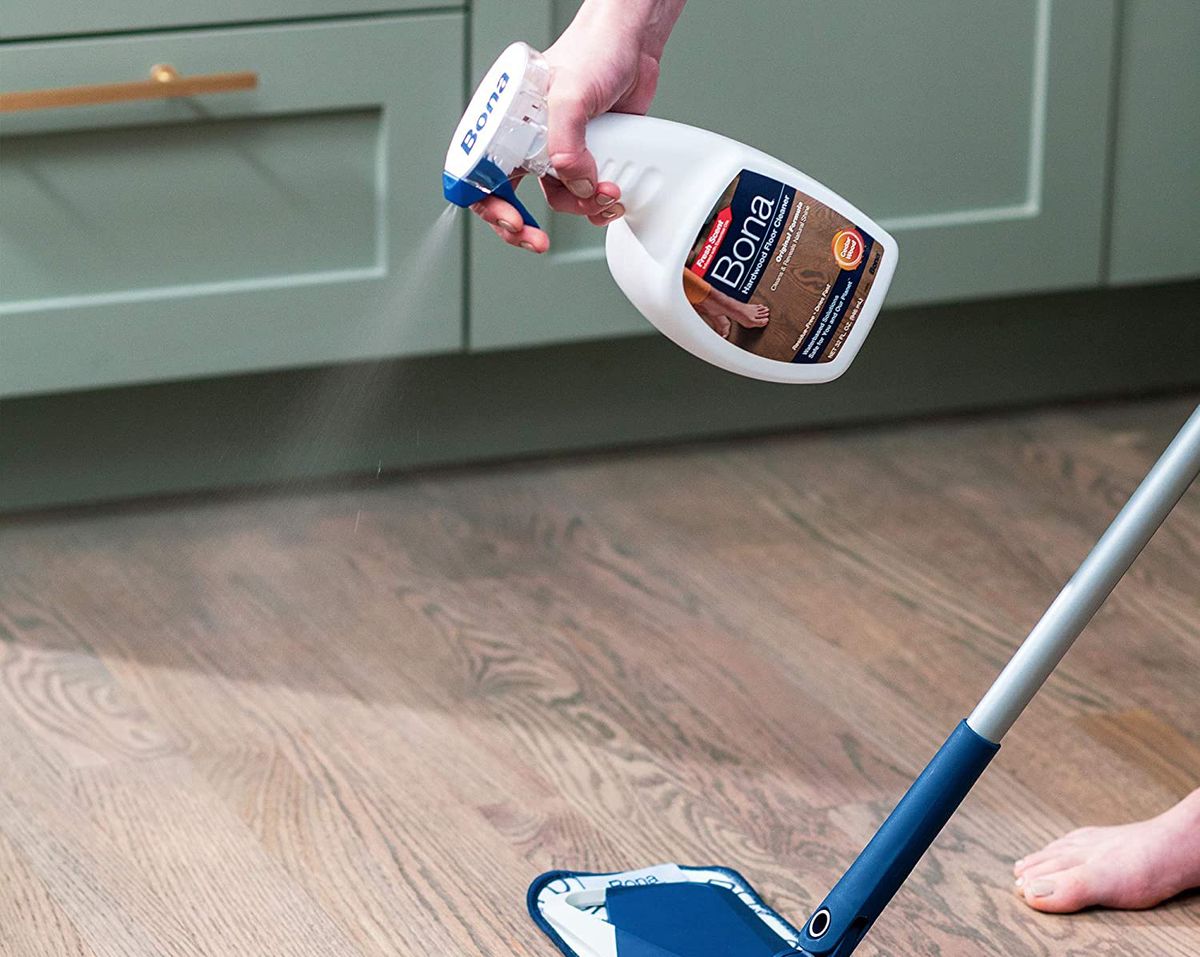
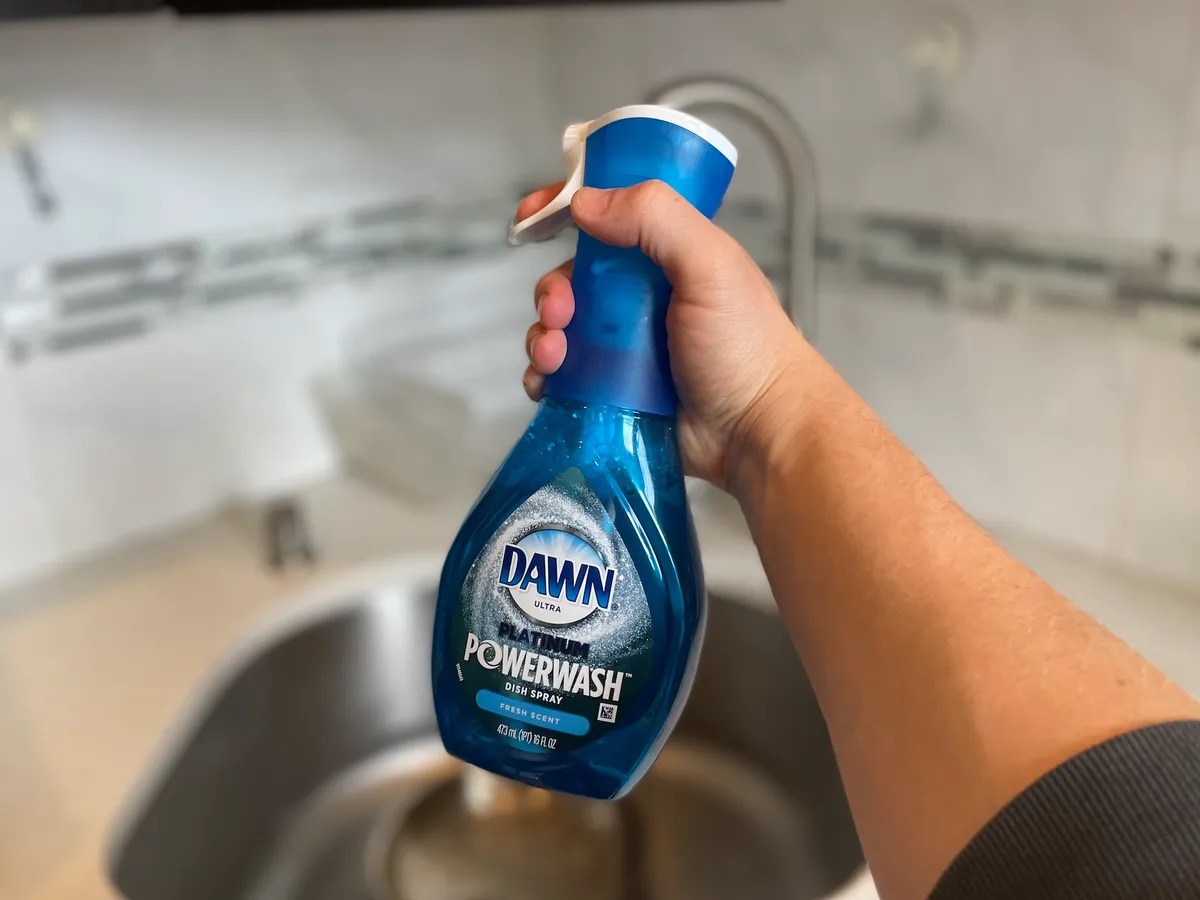
Tip 2: Use a Mild Cleanser or Vinegar Solution
Once you’ve removed the loose debris from your kitchen floor, it’s time to tackle any stuck-on grime or stains. One effective method is to use a mild cleanser or a vinegar solution.
If your floor manufacturer recommends a specific cleanser, follow their instructions. Otherwise, opt for a gentle, pH-neutral cleanser that is safe for your specific type of flooring. Avoid using harsh chemicals or abrasive cleaners, as they can damage or strip the finish of your floor.
Another natural and budget-friendly option is to create a vinegar solution. Mix equal parts of water and white vinegar in a bucket. Vinegar is a natural disinfectant and can help break down grease and dirt on your kitchen floor.
Before applying any cleanser or vinegar solution, it’s a good idea to spot test it in an inconspicuous area of your floor to ensure it doesn’t cause any discoloration or damage. Once satisfied, dip a soft mop or sponge into the solution and wring it out well to avoid excessive moisture.
Gently mop the floor, focusing on areas with stains or buildup. Be sure to follow the grain or direction of the floorboards for the best results. Avoid saturating the floor with excessive moisture, as this can cause damage to certain flooring types.
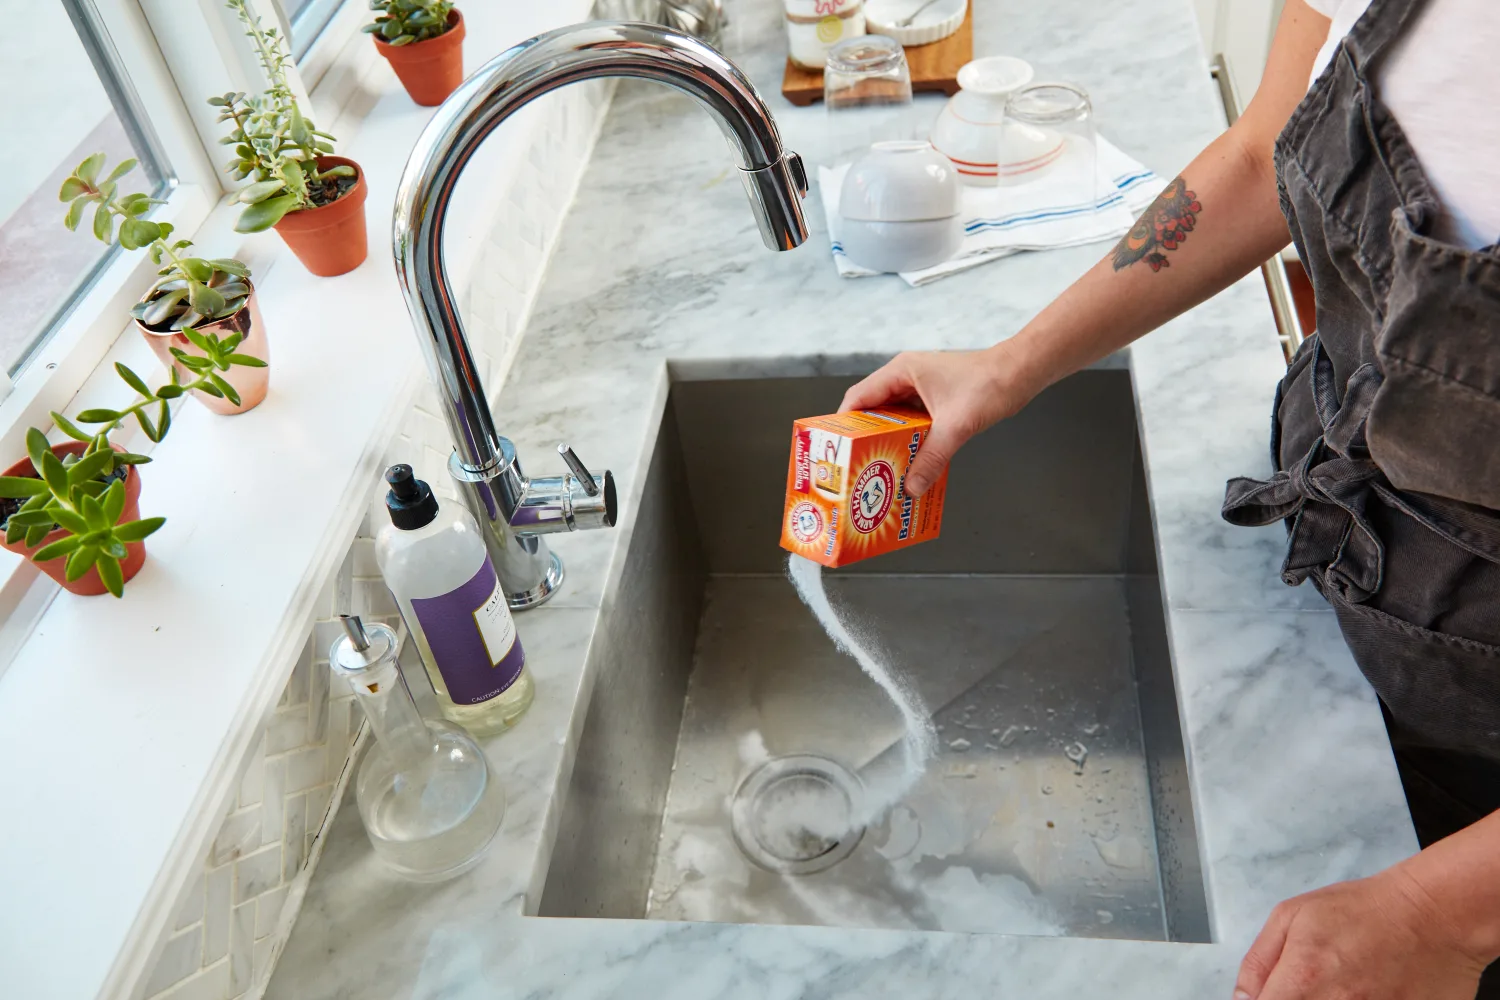
If you come across stubborn stains that won’t budge with a mild cleanser or vinegar solution, you can create a paste using baking soda and water. Apply the paste to the stain, let it sit for a few minutes, and then gently scrub it away with a soft brush or sponge.
By using a mild cleanser or vinegar solution, you can effectively remove dirt, grime, and stains from your kitchen floor, leaving it looking clean and refreshed.
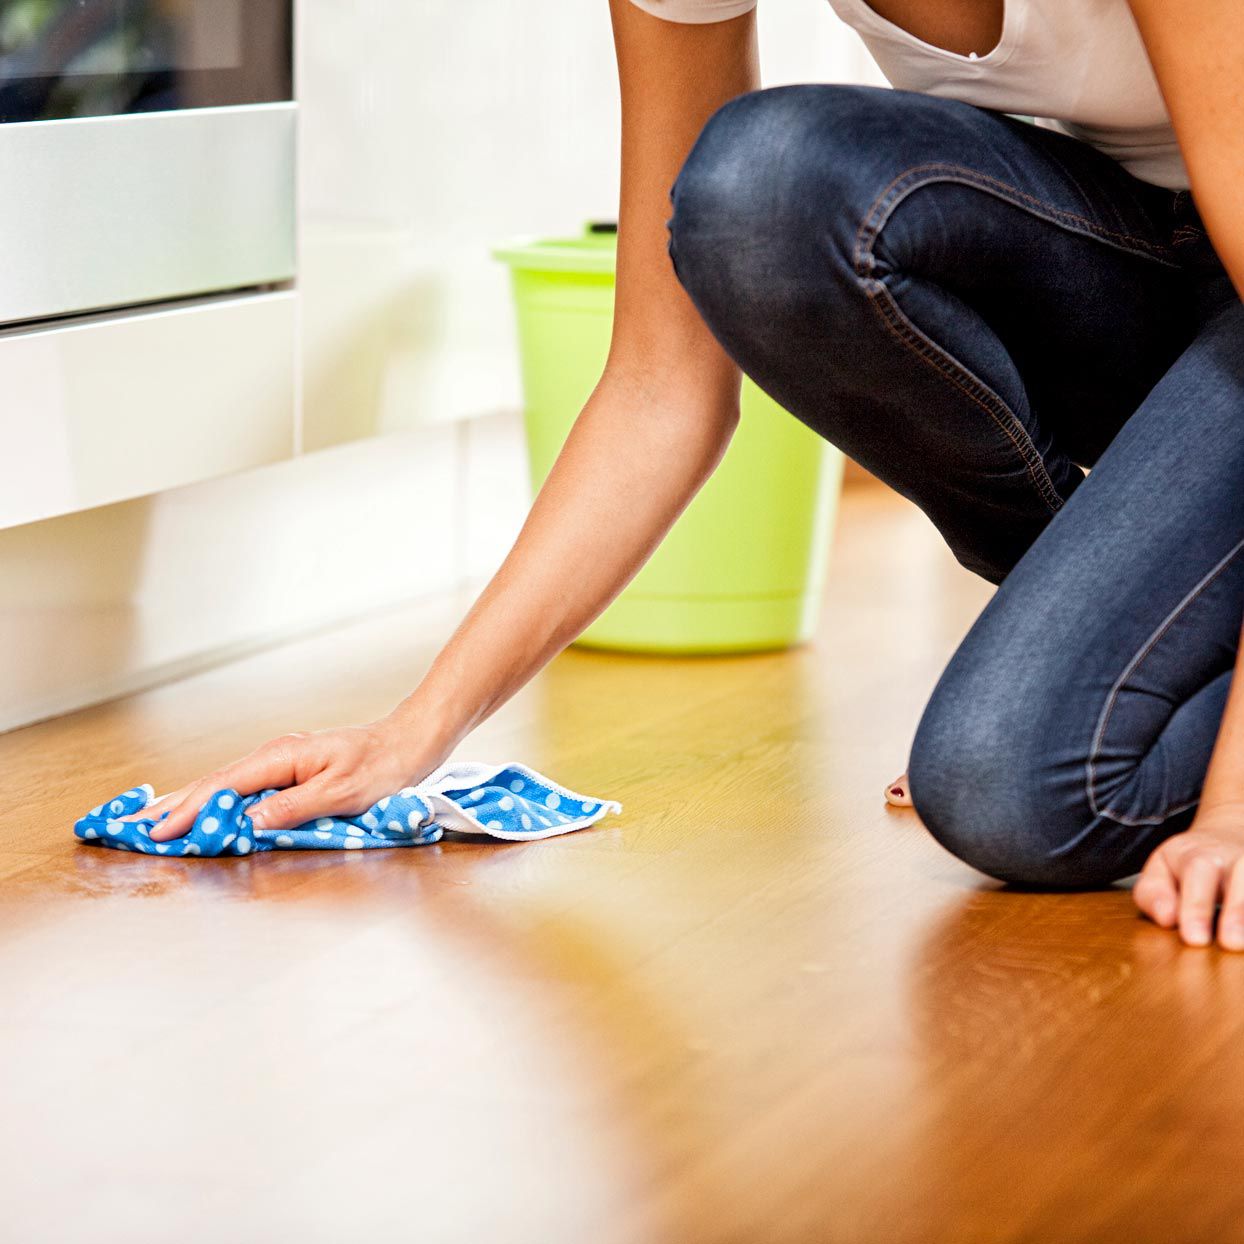
Tip 3: Scrub the Floor Using a Scrub Brush or a Mop
Once you’ve applied the cleanser or vinegar solution to your kitchen floor, it’s time to give it a deeper clean by scrubbing away any remaining dirt or grime. This step will help to remove tough stains and ensure that your floor is thoroughly clean.
Depending on the type of flooring you have, you can use a scrub brush or a mop with scrubbing pads to effectively clean the surface. Look for brushes or mop heads specifically designed for your type of flooring to avoid any potential damage.
If using a scrub brush, choose one with soft bristles that won’t scratch or damage your floor. Dip the brush in the cleanser or vinegar solution and scrub the floor in a circular motion. Focus on areas with stains or buildup, applying a bit more pressure if necessary.
If using a mop with scrubbing pads, attach the appropriate pad and saturate it with the cleanser or vinegar solution. Start by scrubbing the floor in small sections, working your way across the entire kitchen floor. Make sure to follow the grain of your flooring for the best results.
For particularly stubborn stains or grime, allow the cleanser or vinegar solution to sit on the floor for a few minutes before scrubbing. This will help to break down the dirt and make it easier to remove.
As you scrub the floor, periodically rinse the brush or mop head to remove any dirt or debris. This will ensure that you’re not spreading the dirt around and will help to maintain the effectiveness of your cleaning tools.
By scrubbing the floor using a scrub brush or a mop with scrubbing pads, you’ll be able to deeply clean your kitchen floor and remove any lingering dirt or stains.
Use a mixture of warm water and mild dish soap to clean the kitchen floor. Avoid using harsh chemicals that can damage the floor’s finish. Dry the floor thoroughly to prevent streaks and water spots.
Tip 4: Rinse the Floor Thoroughly
After scrubbing your kitchen floor, it’s important to rinse away any leftover cleanser or vinegar solution to ensure a clean and residue-free surface. Failure to rinse properly can leave behind a sticky or dull film on your floor.
Begin by filling a clean bucket with warm water. Dip a clean mop or sponge into the water and wring it out well, removing any excess moisture. Starting from one end of the kitchen floor, gently mop the floor, working your way towards the other end.
As you rinse, make sure to change the water in the bucket periodically to avoid spreading any dirt or residue from the floor back onto the surface. A clean mop or sponge will ensure an effective rinse.
Pay close attention to corners and tight spaces, ensuring that all areas are properly rinsed. Keep in mind that certain flooring types, such as hardwood, may be more sensitive to moisture. In these cases, it’s important to use a damp mop rather than a wet one.
For thorough rinsing, you may need to repeat the process one or two times, depending on the level of dirt or residue on your kitchen floor. The goal is to remove all traces of cleaning solution and leave the floor looking clean and fresh.
Once you’ve completed the rinsing process, allow the floor to air dry naturally. Avoid walking on the wet floor until it is completely dry to prevent slips or watermarks.
By taking the time to rinse your kitchen floor thoroughly, you’ll ensure that it is left clean and free from any cleaning solution or residue that could dull its shine.
Tip 5: Dry the Floor Properly
After rinsing your kitchen floor, it’s crucial to dry it properly to prevent any water spots or potential slip hazards. Proper drying also helps to bring out the natural shine of your flooring. Follow these steps to ensure a thorough drying process:
First, use a clean, dry mop or towels to soak up any excess water on the floor. Gently move the mop or towels in a back-and-forth motion, absorbing as much moisture as possible. Pay extra attention to corners and edges where water tends to collect.
If you have a hardwood or laminate floor, using a soft microfiber cloth can be especially beneficial to avoid scratching or damaging the surface. Be sure to replace or wring out the cloth as it becomes saturated with water.
Next, open windows or turn on fans to create good air circulation in the kitchen. This will help to speed up the drying process. Alternatively, you can use a floor fan or a dehumidifier to remove excess moisture from the room.
Avoid walking on the wet floor until it is completely dry to prevent slipping or leaving footprints. Instead, use this opportunity to clean any areas surrounding the kitchen floor.
Once the floor is visibly dry, it’s a good idea to leave it for a bit longer to ensure that it is completely dry. This will help to maintain its shine and prevent any water damage or warping.
Finally, take a moment to admire your clean and shiny kitchen floor. The proper drying process ensures that your floor looks its best and remains in excellent condition for years to come.
By following these expert tips, you can easily clean your kitchen floor and achieve a sparkling shine without much effort. Remember to regularly maintain and clean your floor to keep it looking its best and extend its lifespan.
Conclusion
Cleaning your kitchen floor doesn’t have to be a daunting task. With the right tools and techniques, you can achieve a clean and shiny floor with minimal effort. By following the expert tips outlined in this guide, you’ll be able to maintain a hygienic and visually appealing kitchen space.
Remember to start by sweeping or vacuuming the floor to remove loose debris. Then, use a mild cleanser or vinegar solution to tackle any stuck-on grime or stains. Scrub the floor using a scrub brush or a mop with scrubbing pads to ensure a deep clean. Rinse the floor thoroughly to remove any cleaning solution, and finally, dry the floor properly to bring out its natural shine.
As you clean your kitchen floor, keep in mind the specific requirements and recommendations for your type of flooring. Different flooring materials may require different cleaning products or methods, so always refer to the manufacturer’s instructions if available.
Maintaining a clean kitchen floor not only enhances the aesthetics of your space but also promotes a healthy and hygienic environment for you and your family. Regular cleaning and maintenance will help extend the lifespan of your flooring and keep it looking its best for years to come.
So, roll up your sleeves, gather your cleaning supplies, and tackle that kitchen floor. With these expert tips, you’ll be able to achieve an easy shine and enjoy a clean, sparkling kitchen floor that you can be proud of.
Frequently Asked Questions about Cleaning A Kitchen Floor: 5 Expert Tips For An Easy Shine
Was this page helpful?
At Storables.com, we guarantee accurate and reliable information. Our content, validated by Expert Board Contributors, is crafted following stringent Editorial Policies. We're committed to providing you with well-researched, expert-backed insights for all your informational needs.


0 thoughts on “Cleaning A Kitchen Floor: 5 Expert Tips For An Easy Shine”