Articles
How To Shut Off Water To House In Basement
Modified: October 19, 2024
Learn how to shut off the water to your house in the basement with these helpful articles. Ensure efficient water management and prevent damage.
(Many of the links in this article redirect to a specific reviewed product. Your purchase of these products through affiliate links helps to generate commission for Storables.com, at no extra cost. Learn more)
Introduction
Knowing how to shut off the water to your house is an essential skill that every homeowner should have. Whether you’re dealing with a plumbing emergency, making repairs, or going on vacation, being able to easily and quickly turn off the water can save you from potential damage and headaches.
In this guide, we will walk you through the step-by-step process of shutting off the water to your house in the basement. The main water shut-off valve is typically located in the basement, where the main water supply enters your home. By following these simple steps, you can effectively and safely shut off the water in case of an emergency or when needed.
Before proceeding, it’s important to note that shutting off the water supply to your house should only be done when necessary and with caution. If you’re unsure about any step or encounter difficulties along the way, it’s recommended to consult with a professional plumber to ensure the task is carried out correctly.
Now, let’s dive into the process of locating and shutting off the main water supply to your house.
Key Takeaways:
- Knowing how to locate and shut off the main water supply in your basement can prevent potential water damage and provide peace of mind during emergencies or repairs. Take the time to familiarize yourself with the process and be prepared.
- It’s crucial to exercise caution when dealing with stubborn valves and to test the shut-off to ensure its proper execution. Regularly testing the shut-off valve ensures its functionality and your home’s safety.
Read more: How To Shut Off Water
Step 1: Locating the Main Water Shut-off Valve
The first step in shutting off the water to your house is to locate the main water shut-off valve. In most homes, this valve is typically found in the basement, near where the main water line enters the house. Here’s how you can find it:
- Begin by identifying the water meter. The water meter is usually located near the front of the house or in the basement. It is a cylindrical device that measures the flow of water into your home.
- Next, locate the main water line that connects the water meter to your house. The main water line is a large pipe that carries water from the water meter to various parts of your home.
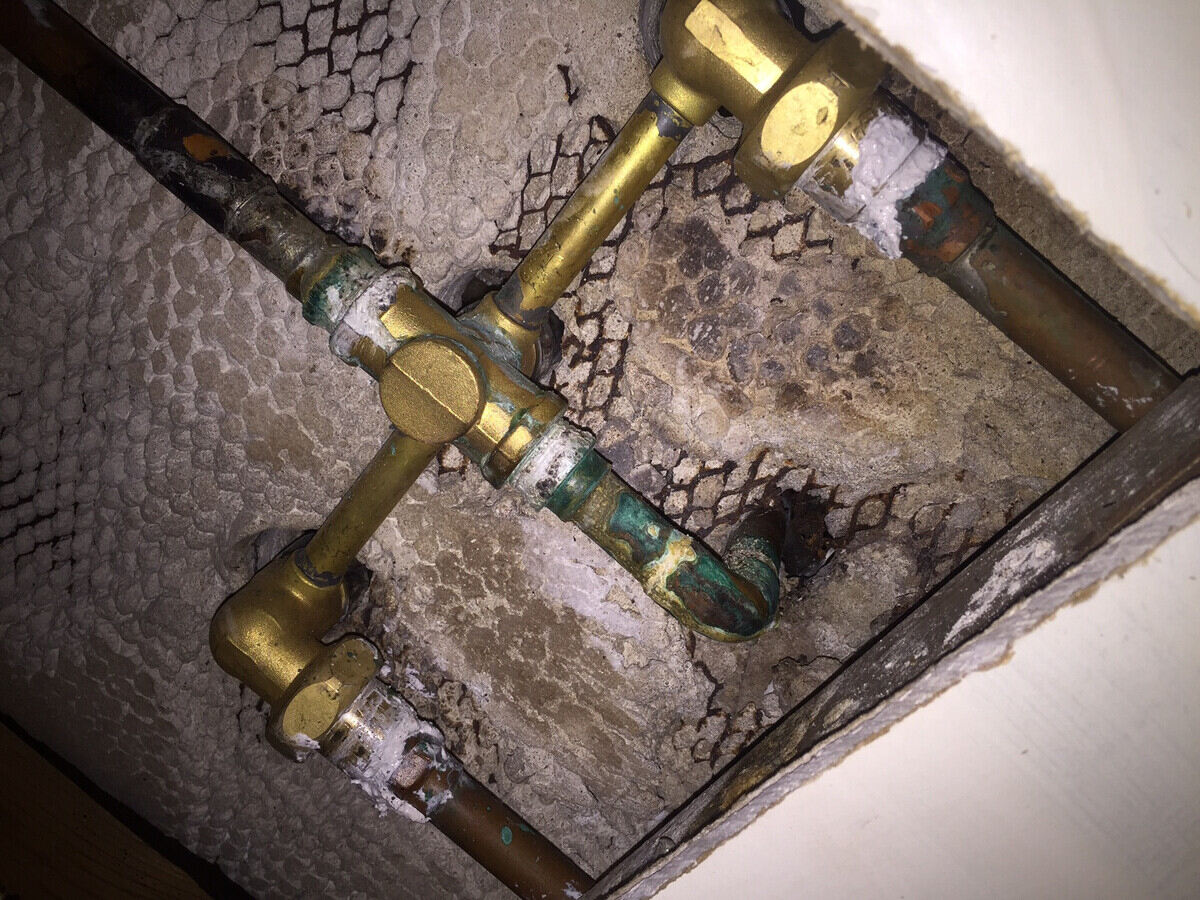
- Follow the main water line from the water meter towards your house, and look for a valve along the pipe. This valve is the main water shut-off valve.
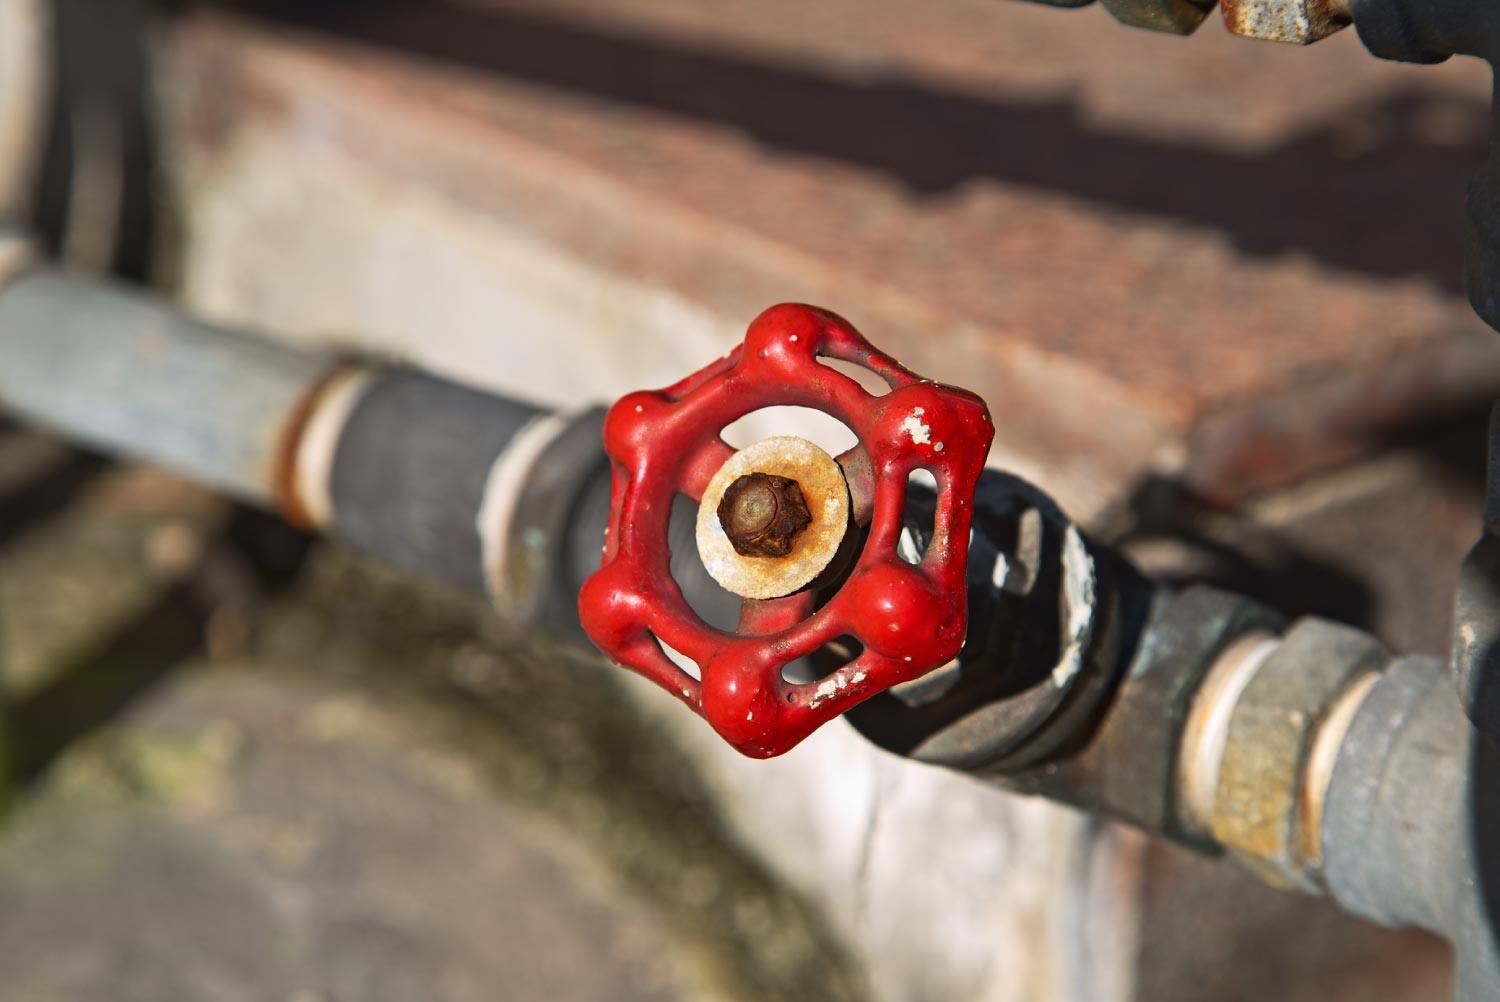
- The main water shut-off valve is typically a round or lever-type valve. It may be made of metal or plastic, and it is usually located on or near the wall.
Once you have located the main water shut-off valve, take note of its position and make sure that it is easily accessible. It’s a good idea to familiarize yourself with the valve and its operation, so you’ll be prepared to shut off the water quickly in case of an emergency.
Remember, it’s important to exercise caution when dealing with the main water shut-off valve. If you’re uncertain about its location or how to operate it, consult a professional plumber for assistance.
Step 2: Preparing the Area
Before shutting off the water to your house, it’s important to prepare the area to avoid any potential water damage or accidents. Here are the steps to follow:
- Clear the area around the main water shut-off valve: Remove any objects or clutter that might obstruct your access to the valve. This will ensure that you can easily reach and operate the valve when needed.
- Have a flashlight handy: In many cases, the main water shut-off valve is located in a dimly lit area of the basement. Having a flashlight will help you clearly see the valve and its surroundings, especially if there’s no built-in lighting in that area.
- Protect the floor: Placing a waterproof or absorbent mat or towel on the floor near the valve can help prevent any water spillage or damage in case there are leaks or drips when shutting off the water. It’s always better to be safe than sorry.
By taking these simple steps to prepare the area, you can minimize the risk of accidents and ensure that the process of shutting off the water goes smoothly. It’s always a good idea to have these preparations in mind, as emergencies can happen unexpectedly and being prepared can save you time and stress.
Step 3: Shutting Off the Water
Now that you have located the main water shut-off valve and prepared the area, it’s time to shut off the water supply to your house. Follow these steps:
- Confirm that you have found the correct valve: Double-check that the valve you identified is indeed the main water shut-off valve. This is important to ensure that you are shutting off the correct water supply.
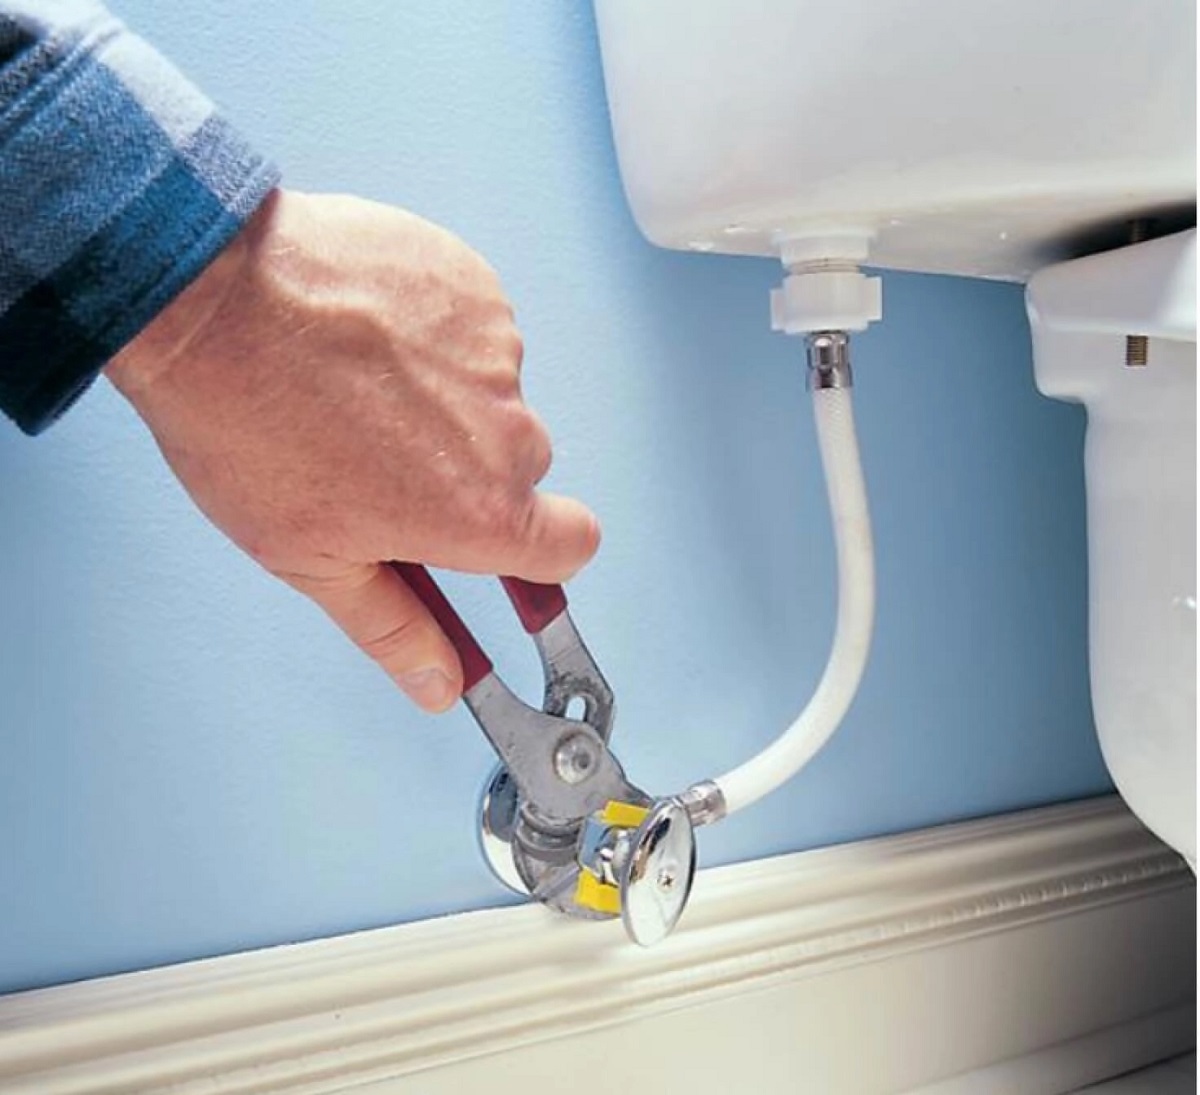
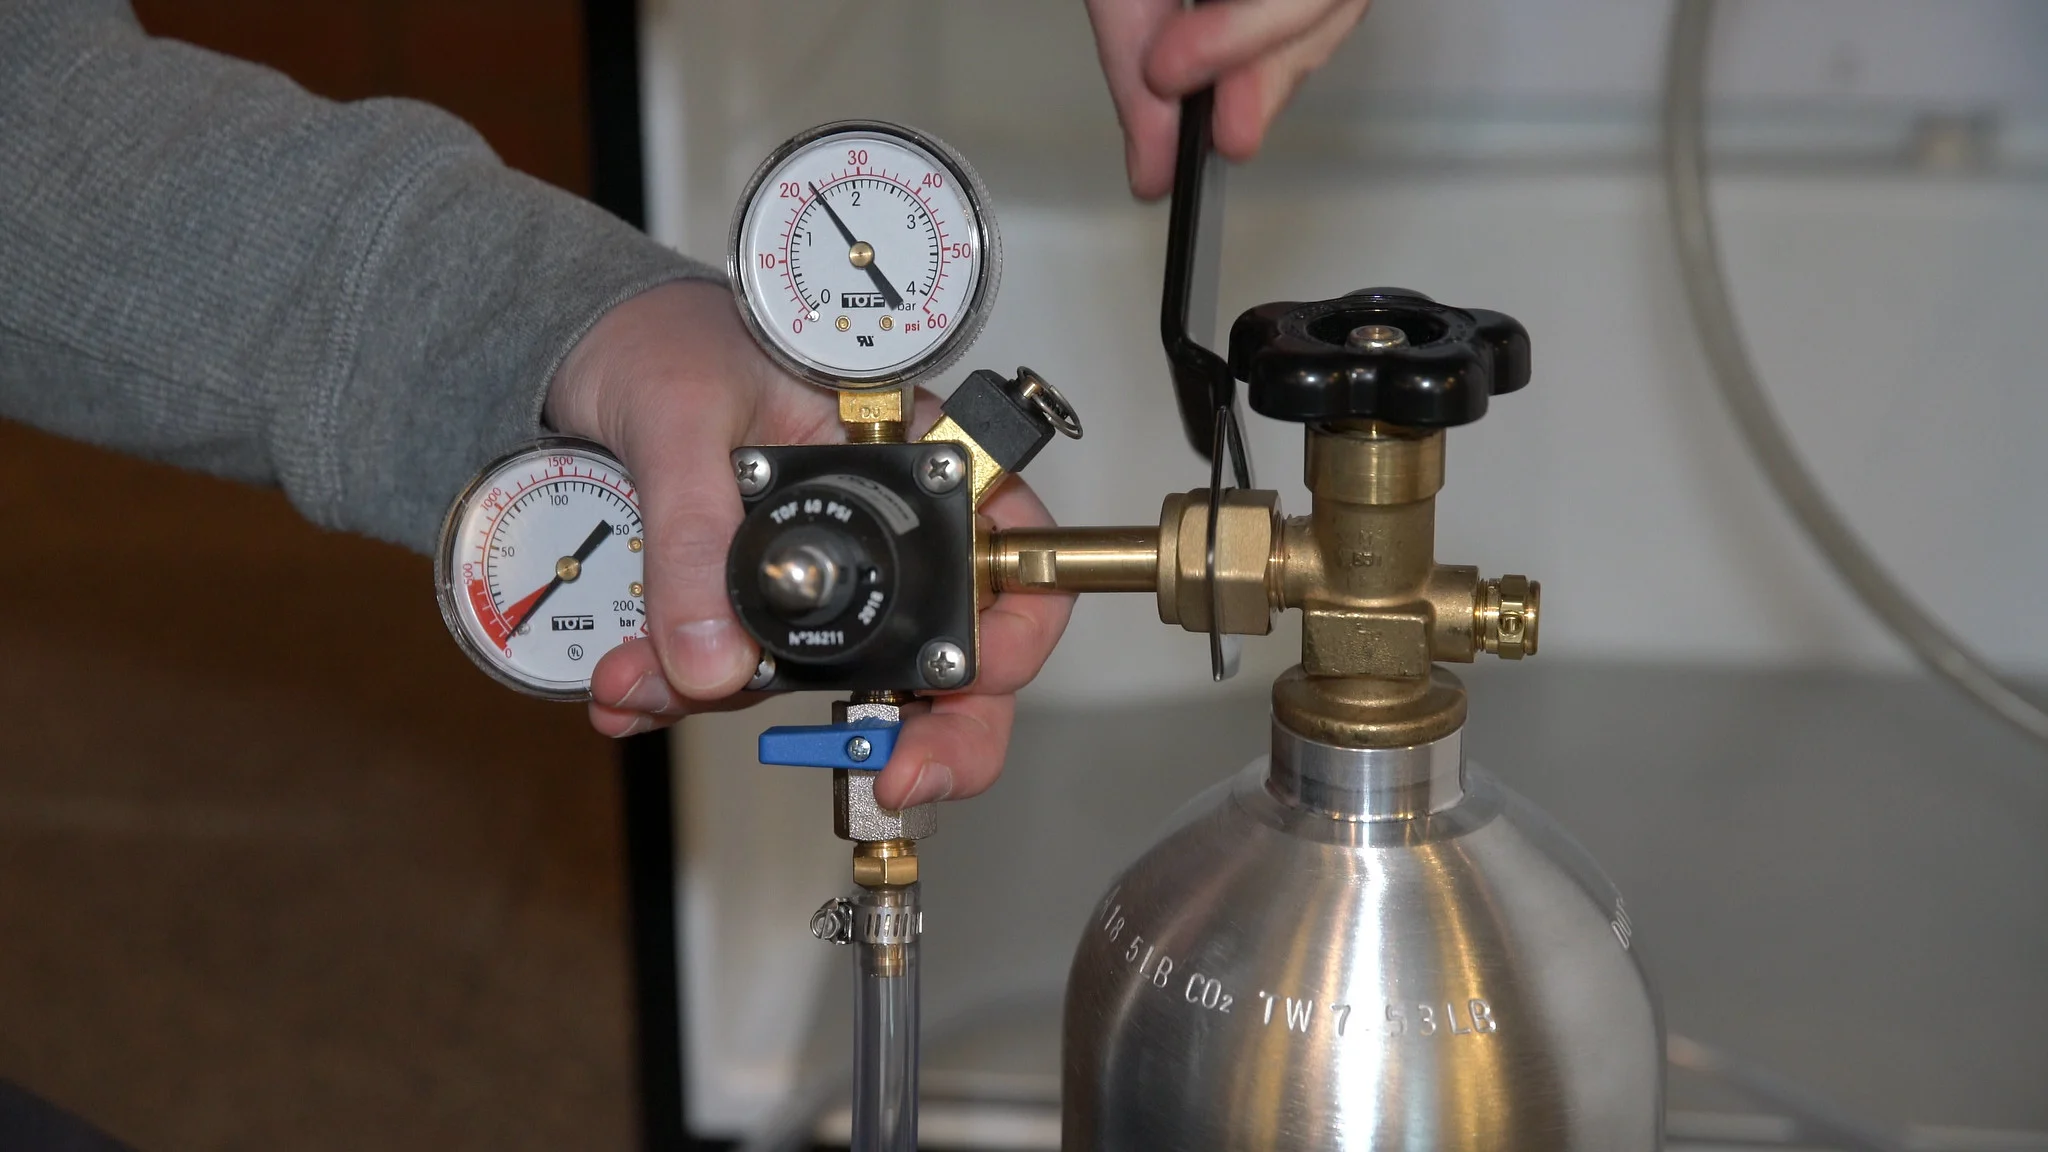
- Determine the type of valve: Take a moment to identify whether the valve is a round wheel-style valve or a lever-style valve. Round wheel valves require clockwise rotation to shut off the water, while lever valves usually require a simple flip or turn to perpendicular position.
- If it’s a round wheel valve, use a wrench or pliers to turn it clockwise until it is fully closed. Apply gentle but firm pressure to avoid damaging the valve or the pipe.
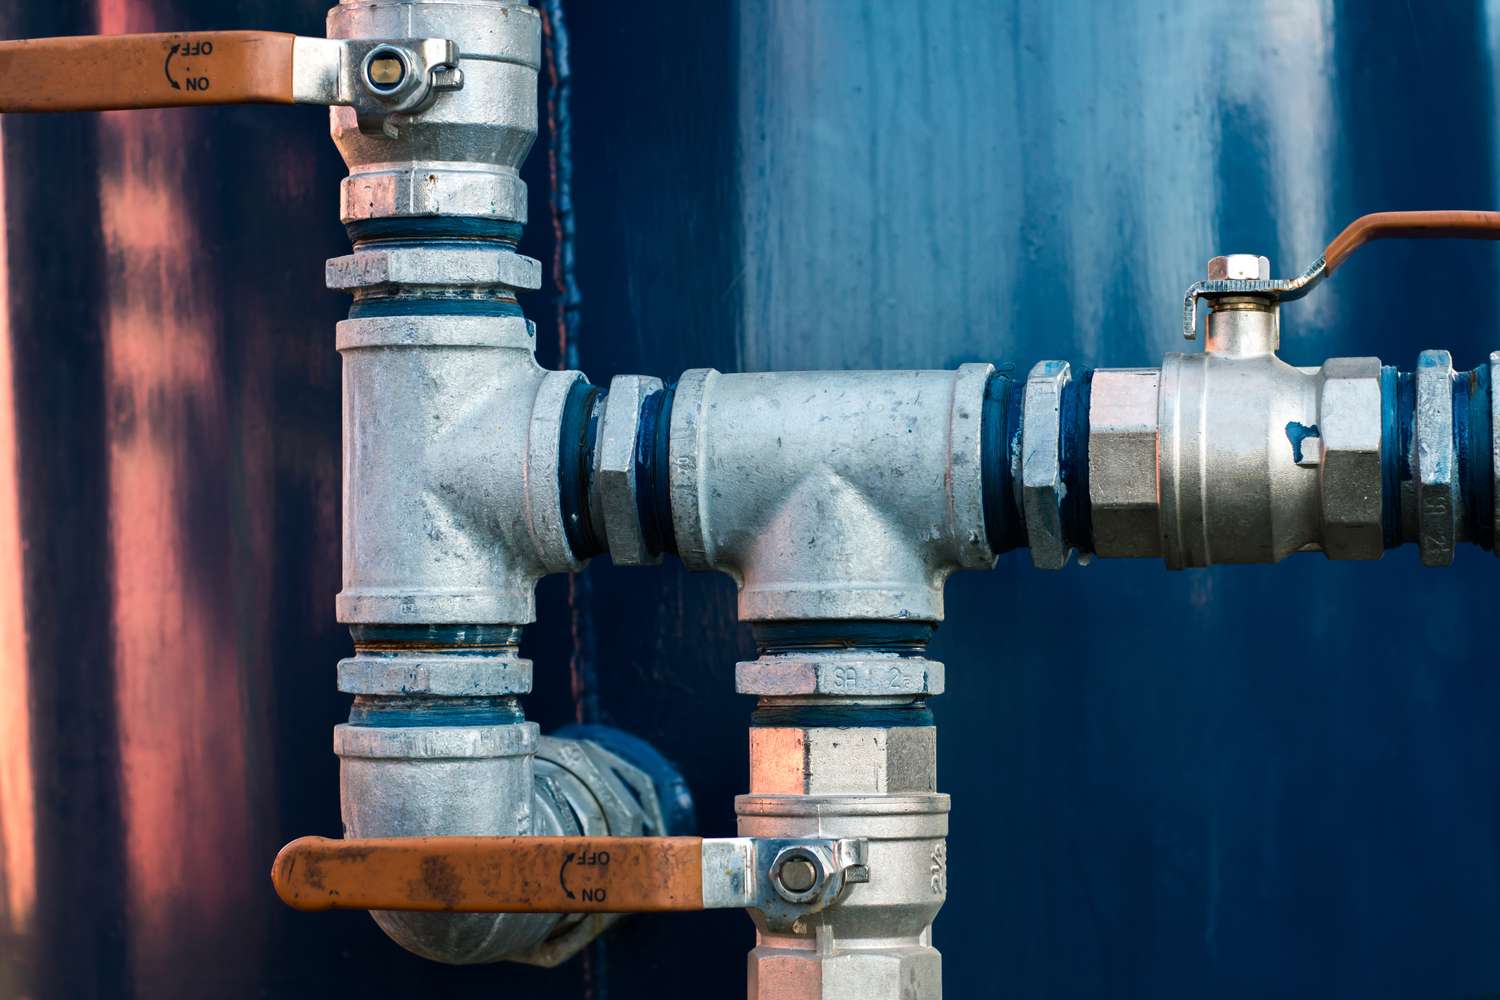
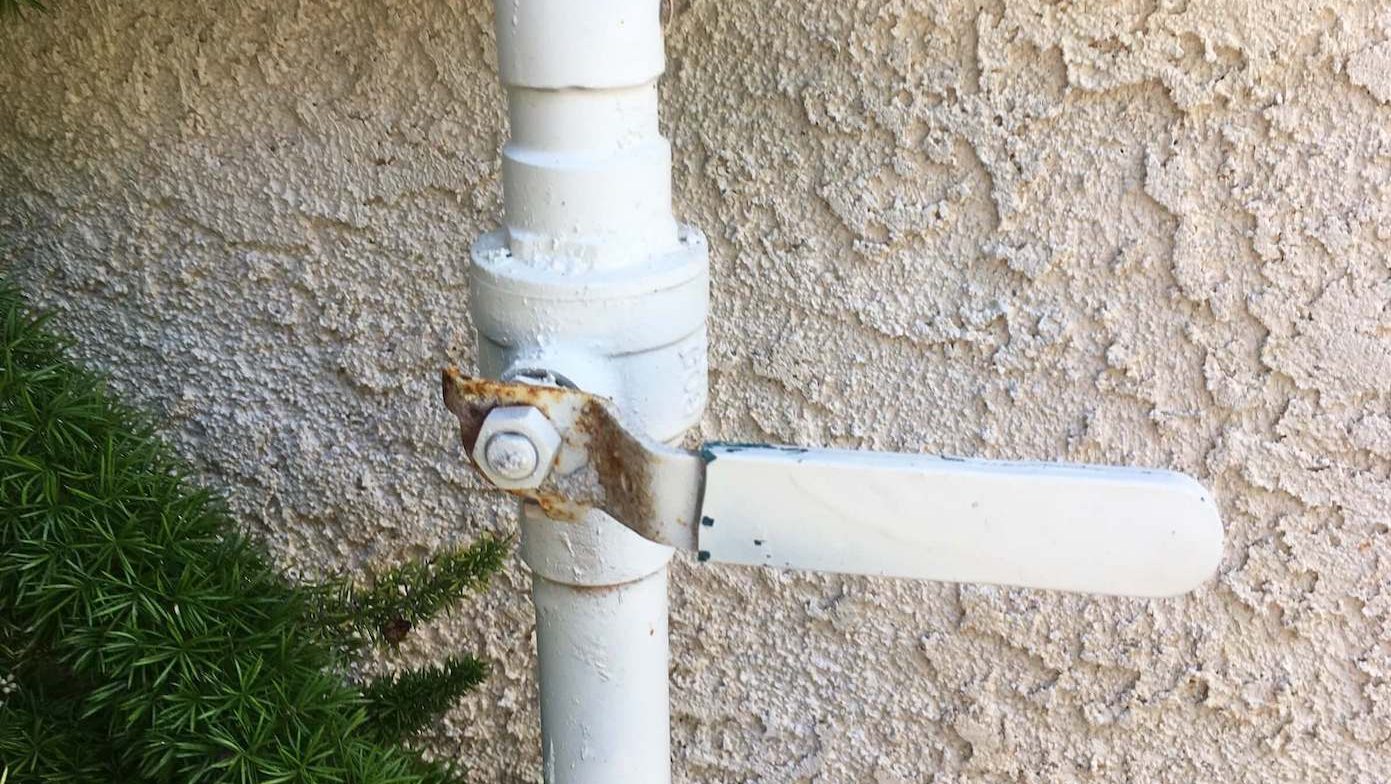
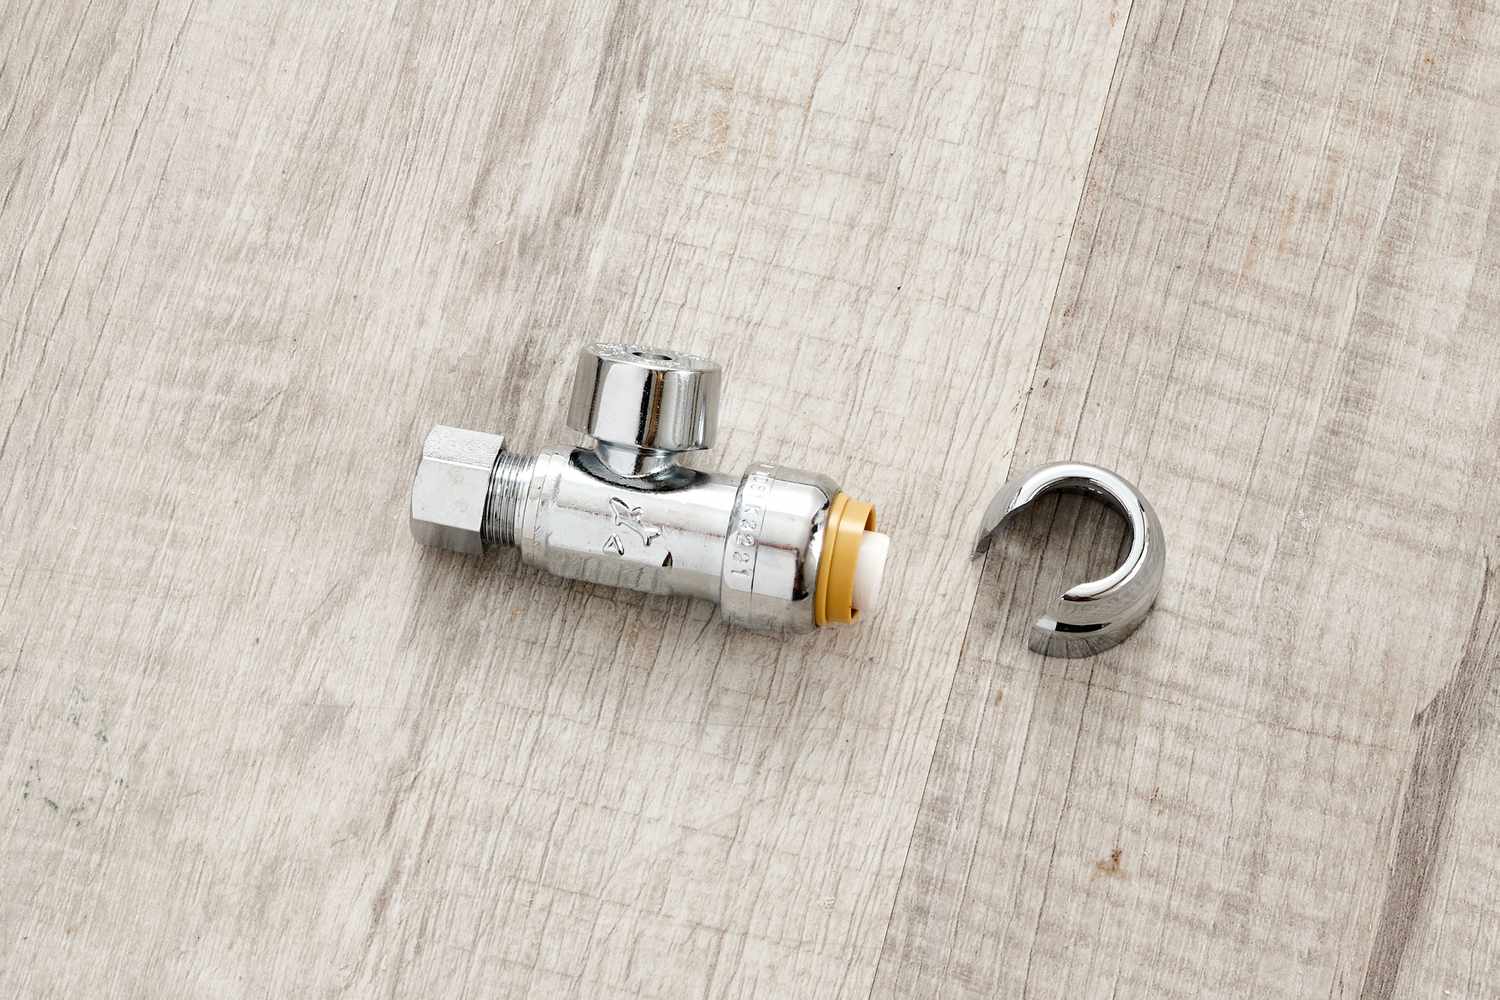
- If it’s a lever-style valve, simply turn the lever until it is perpendicular to the pipe, effectively shutting off the water flow.
- Take note of the valve’s position: Once the valve is shut off, take note of its position. This will help you remember whether the water supply is on or off, especially if you need to restore the water flow in the future.
It’s important to shut off the water supply carefully and avoid using excessive force. If you encounter any resistance or difficulties while turning the valve, stop and seek professional assistance to avoid causing damage to the valve or plumbing system.
By following these steps, you have successfully shut off the water supply to your house. However, it’s important to perform the next step to ensure that the shut-off is properly executed.
Locate the main water shut-off valve in the basement, usually near the water meter. Turn the valve clockwise to shut off the water to the entire house.
Step 4: Dealing with Stubborn Valves
In some cases, you may encounter stubborn or stuck valves that are difficult to shut off. If you’re unable to turn the main water shut-off valve, here are some tips to address this issue:
- Apply lubricant: If the valve is stiff or stuck, you can try applying a lubricant, such as WD-40, to loosen it. Spray the lubricant around the valve stem or mechanism, and give it a few minutes to penetrate. This may make it easier to turn the valve.
- Use a wrench or pliers: If the valve is still resistant to movement, you can try using a wrench or pliers for extra leverage. Grip the valve firmly and carefully turn it clockwise to shut off the water. Be cautious not to apply excessive force that may damage the valve or plumbing.
- Call a professional: If you have exhausted your efforts and the valve remains stuck, it’s best to contact a professional plumber. They have the expertise and specialized tools to handle stubborn valves without causing further damage to your plumbing system.
Remember, it’s crucial not to force a valve that won’t turn. Forcing it can potentially break the valve or cause leaks in the plumbing system, leading to further damage. If you’re unsure or uncomfortable dealing with a stubborn valve, it’s always better to seek professional assistance.
By addressing stubborn valves promptly and efficiently, you can ensure that you’re able to shut off the water supply effectively in case of emergencies or the need for repairs.
Read more: How To Shut Water Off To Water Heater
Step 5: Testing the Shut-off
After successfully shutting off the water supply to your house, it’s important to test the shut-off to ensure that it has been properly executed. Follow these steps:
- Check for water flow: Turn on a faucet or tap in your house to check if the water is flowing. If you’ve properly shut off the main water supply, there should be no water running from the faucet or tap. If water continues to flow, it may indicate that the shut-off valve was not fully closed or there is another valve that needs to be shut off.
- Inspect for leaks: Take a moment to visually inspect the area around the main water shut-off valve and the surrounding pipes. Look for any signs of leaks or drips. Even a small leak can lead to significant damage over time, so it’s crucial to identify and address any leaks right away. If you notice any leaks, it’s advisable to contact a professional plumber for assistance.
- Monitor water usage: Monitor your water usage for a period of time, such as a few hours or a day, to ensure that there are no unexpected increases. A sudden spike in water usage could indicate that there is a leak or a valve that hasn’t been properly shut off.
If you find any issues or concerns during the testing process, it’s important to address them promptly. This may involve rechecking the shut-off valve or reaching out to a professional plumber for further assistance or inspection.
Regularly testing the shut-off valve ensures that it is functioning correctly and provides you with peace of mind, knowing that you can rely on it in case of emergencies or necessary repairs.
Conclusion
Knowing how to shut off the water to your house in the basement is a valuable skill that every homeowner should possess. By following the step-by-step process outlined in this guide, you can confidently and effectively shut off the water supply to your house when needed.
We started by locating the main water shut-off valve in the basement, ensuring that it is easily accessible and familiarizing ourselves with its operation. We then prepared the area by clearing any obstructions, having a flashlight handy, and protecting the floor to minimize the risk of accidents or water damage.
Next, we learned how to shut off the water by turning the valve clockwise or flipping a lever-style valve. We discussed the importance of not forcing stubborn valves and the option of calling a professional plumber if needed. Finally, we emphasized the significance of testing the shut-off by checking for water flow, inspecting for leaks, and monitoring water usage.
Remember, shutting off the water supply should be done with caution and only when necessary. If you are uncertain or encounter difficulties during the process, it’s advisable to consult a professional plumber for assistance.
By knowing how to shut off the water to your house in the basement, you can prevent potential water damage during emergencies, repairs, or when you’re away from home. This knowledge empowers you to take control of your home’s water supply and ensures the safety and well-being of your property and belongings.
So, take the time to locate the main water shut-off valve, familiarize yourself with its operation, and be prepared to confidently shut off the water supply when needed. Your proactive approach will safeguard your home and provide you with peace of mind.
Frequently Asked Questions about How To Shut Off Water To House In Basement
Was this page helpful?
At Storables.com, we guarantee accurate and reliable information. Our content, validated by Expert Board Contributors, is crafted following stringent Editorial Policies. We're committed to providing you with well-researched, expert-backed insights for all your informational needs.


0 thoughts on “How To Shut Off Water To House In Basement”