Articles
How To Store Homemade Frosting
Modified: August 24, 2024
Looking for tips on how to store homemade frosting? Read our informative articles on the best methods to keep your frosting fresh and delicious for longer.
(Many of the links in this article redirect to a specific reviewed product. Your purchase of these products through affiliate links helps to generate commission for Storables.com, at no extra cost. Learn more)
Introduction
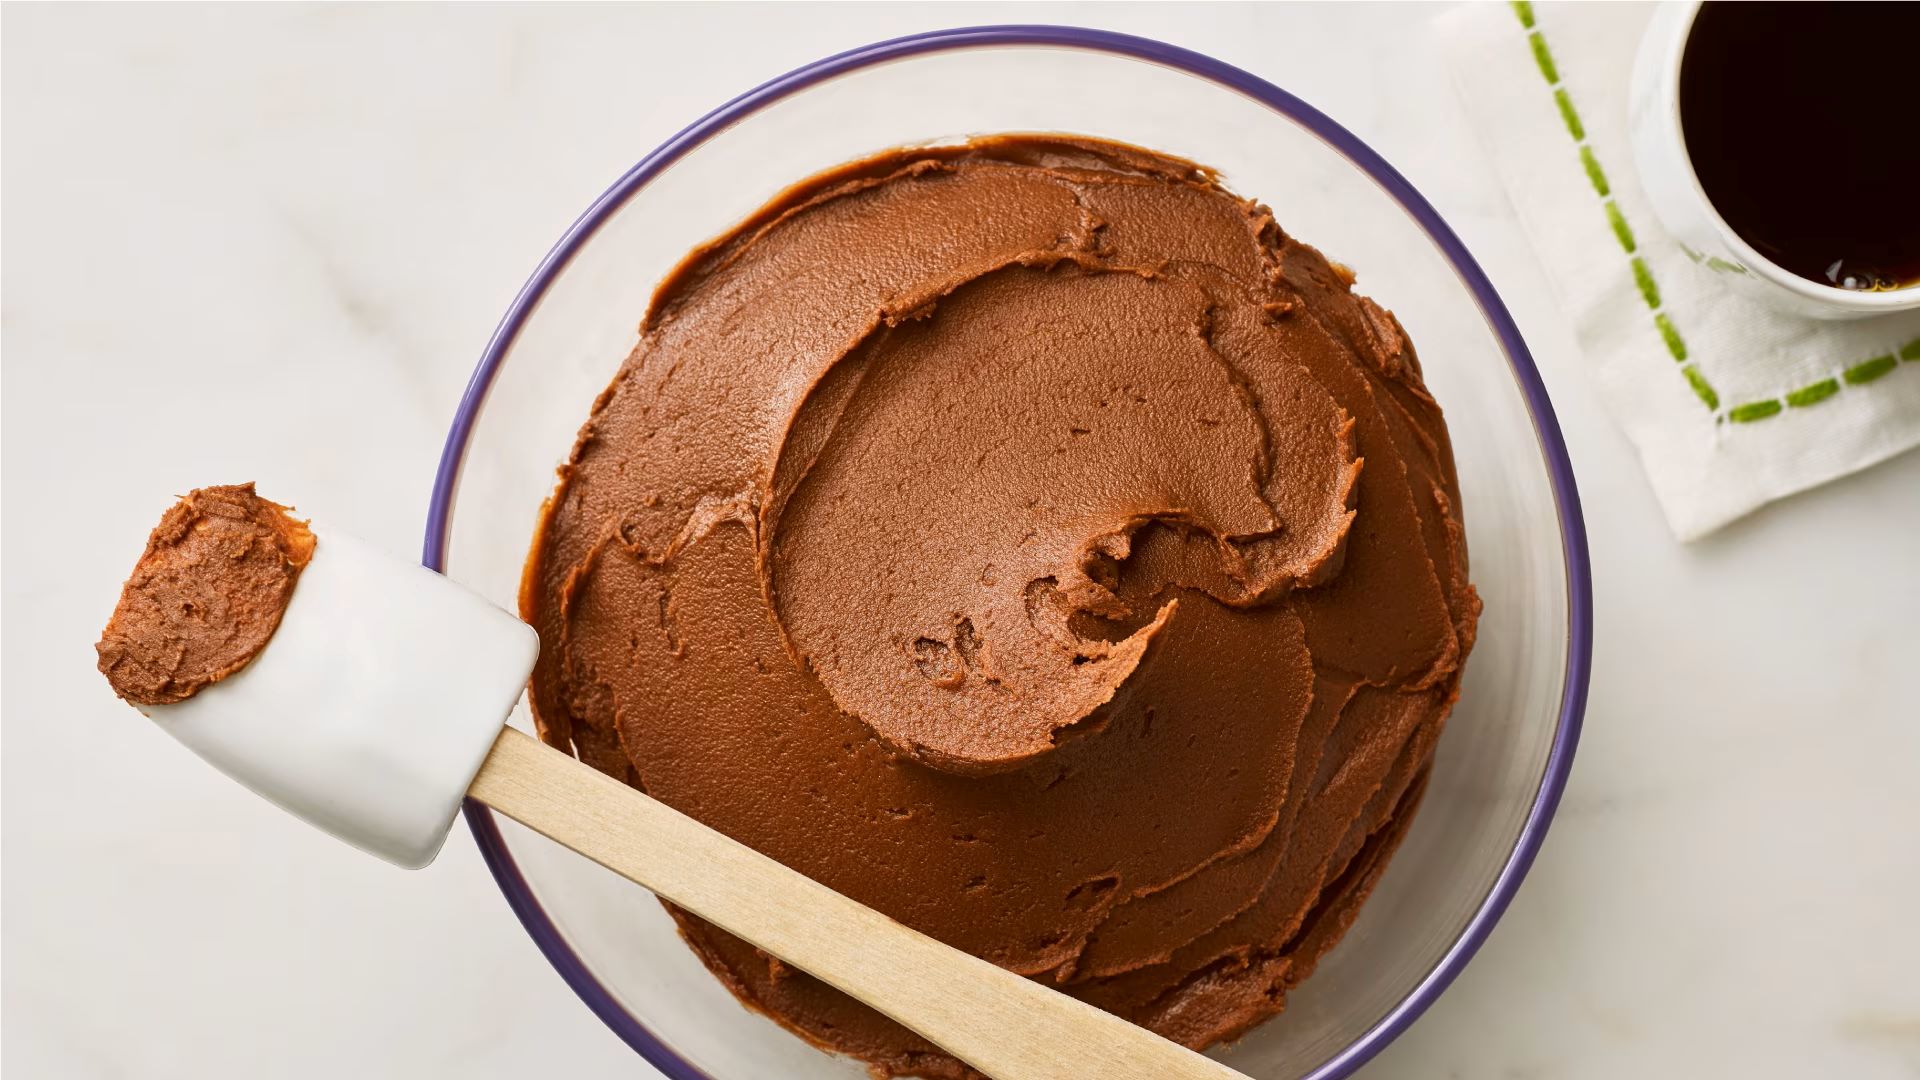
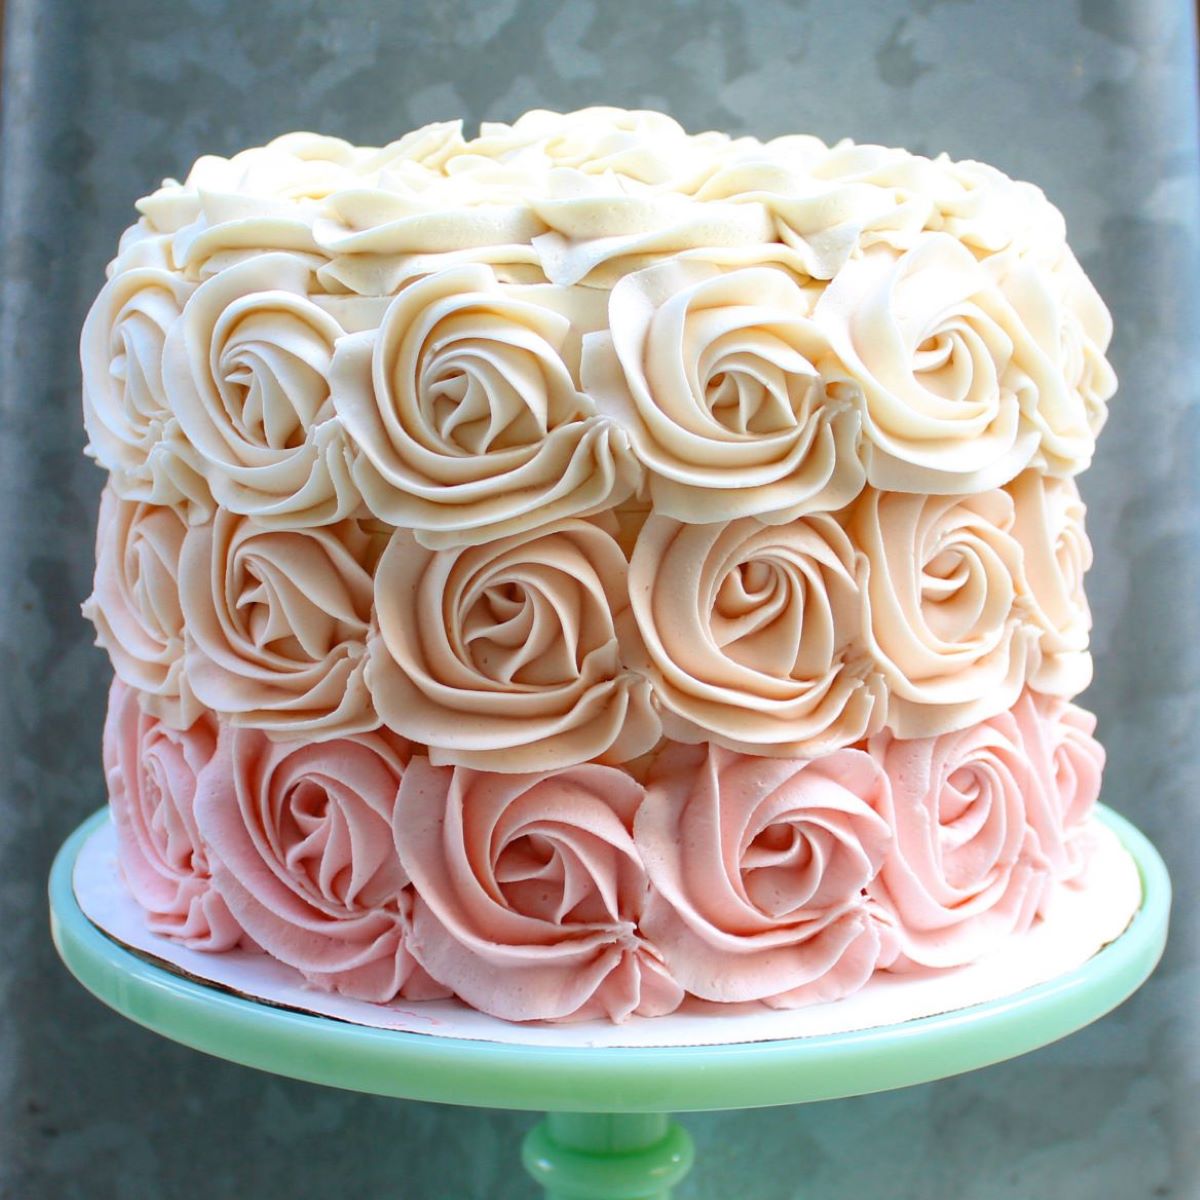
Welcome to the wonderful world of homemade frosting! Whether you’re a baking novice or a seasoned pro, knowing how to make your own frosting is a valuable skill to have. Not only does homemade frosting taste infinitely better than store-bought options, but it also allows you to experiment with different flavors and customize your desserts to your heart’s content.
In this article, we will guide you through the process of storing homemade frosting so that you can always have a delicious topping on hand whenever you need it. Whether you’re making a batch of buttercream, cream cheese frosting, or any other type of frosting, proper storage is key to preserving its freshness and flavor.
Before we jump into the specifics of storing homemade frosting, let’s first gather the equipment and ingredients you’ll need for the process.
Key Takeaways:
- Store homemade frosting in airtight containers, labeled and dated, for easy access and freshness. Experiment with flavors and use high-quality ingredients for delicious, customizable results.
- Properly prepare, make, and store homemade frosting to ensure it stays fresh and ready for all your baking needs. Use room temperature butter and avoid overmixing for the best results.
Read more: How To Store Frosted Cupcakes
Equipment Needed
Before you begin making and storing your homemade frosting, it’s important to have the right equipment on hand. Here are the essential tools you’ll need:
- Mixing Bowl: A large mixing bowl is necessary for combining all the frosting ingredients.
- Electric Mixer: Whether it’s a stand mixer or a handheld mixer, having one will make the process of making the frosting much easier and faster.
- Spatula: A rubber spatula is essential for scraping down the sides of the bowl and achieving a smooth and well-mixed frosting.
- Airtight Containers: You’ll need airtight containers to store your homemade frosting. These can be plastic containers or glass jars with tight-fitting lids.
- Labels: It’s a good idea to label your stored frosting containers with the date and type of frosting to help you keep track of freshness.
Now that you have all the necessary equipment ready, let’s move on to gathering the ingredients for your homemade frosting.
Ingredients
The ingredients for homemade frosting may vary depending on the type of frosting you’re making. However, here are some common ingredients you’ll typically need:
- Butter: Unsalted butter is commonly used as the base for many frosting recipes. It’s important to use softened butter to ensure easy mixing.
- Powdered Sugar: Also known as confectioners’ sugar, this provides sweetness and helps to thicken the frosting. Sifting the powdered sugar before use can prevent lumps.
- Flavorings: Vanilla extract is a popular flavoring for frosting, but you can also experiment with other extracts like almond or citrus to add a unique twist.
- Heavy Cream or Milk: These ingredients are used to achieve the desired consistency of the frosting. Heavy cream will result in a richer and creamier texture.
- Food Coloring (optional): If you want to add some color to your frosting, liquid or gel food coloring can be added in small amounts until the desired shade is achieved.
It’s important to note that these are just general ingredients, and specific frosting recipes may require additional or alternate ingredients. Now that you have all your ingredients ready, let’s move on to the step-by-step process of making the frosting.
Step 1: Preparation
Before you begin making your homemade frosting, it’s essential to make sure you’re properly prepared. Following these preparation steps will help ensure a smooth and successful frosting-making process:
- Read the Recipe: Take the time to carefully read through the recipe you’ll be using for your frosting. Familiarize yourself with the ingredients and measurements required and make note of any special instructions or variations.
- Gather your Ingredients: Collect all the ingredients specified in the recipe, making sure you have everything you need before you start. This will save you from scrambling to find a missing ingredient in the middle of the process.
- Set up your Equipment: Get your mixing bowl, electric mixer, spatula, and airtight containers ready. Ensure all the equipment is clean and dry before you begin to prevent any unwanted flavors or contaminants from affecting the frosting.
- Prepare your Work Surface: Clear and clean your work surface so that you have enough space to comfortably work with the ingredients. Having a clutter-free area will make it easier to maneuver and mix the frosting.
By taking the time to prepare beforehand, you’ll be set up for success when it comes to making your homemade frosting. Once you have everything ready, it’s time to move on to the next step: making the frosting itself!
Store homemade frosting in an airtight container in the refrigerator for up to 1 week. If you need to store it longer, you can freeze it for up to 3 months. Just be sure to thaw it in the refrigerator before using.
Step 2: Making the Frosting
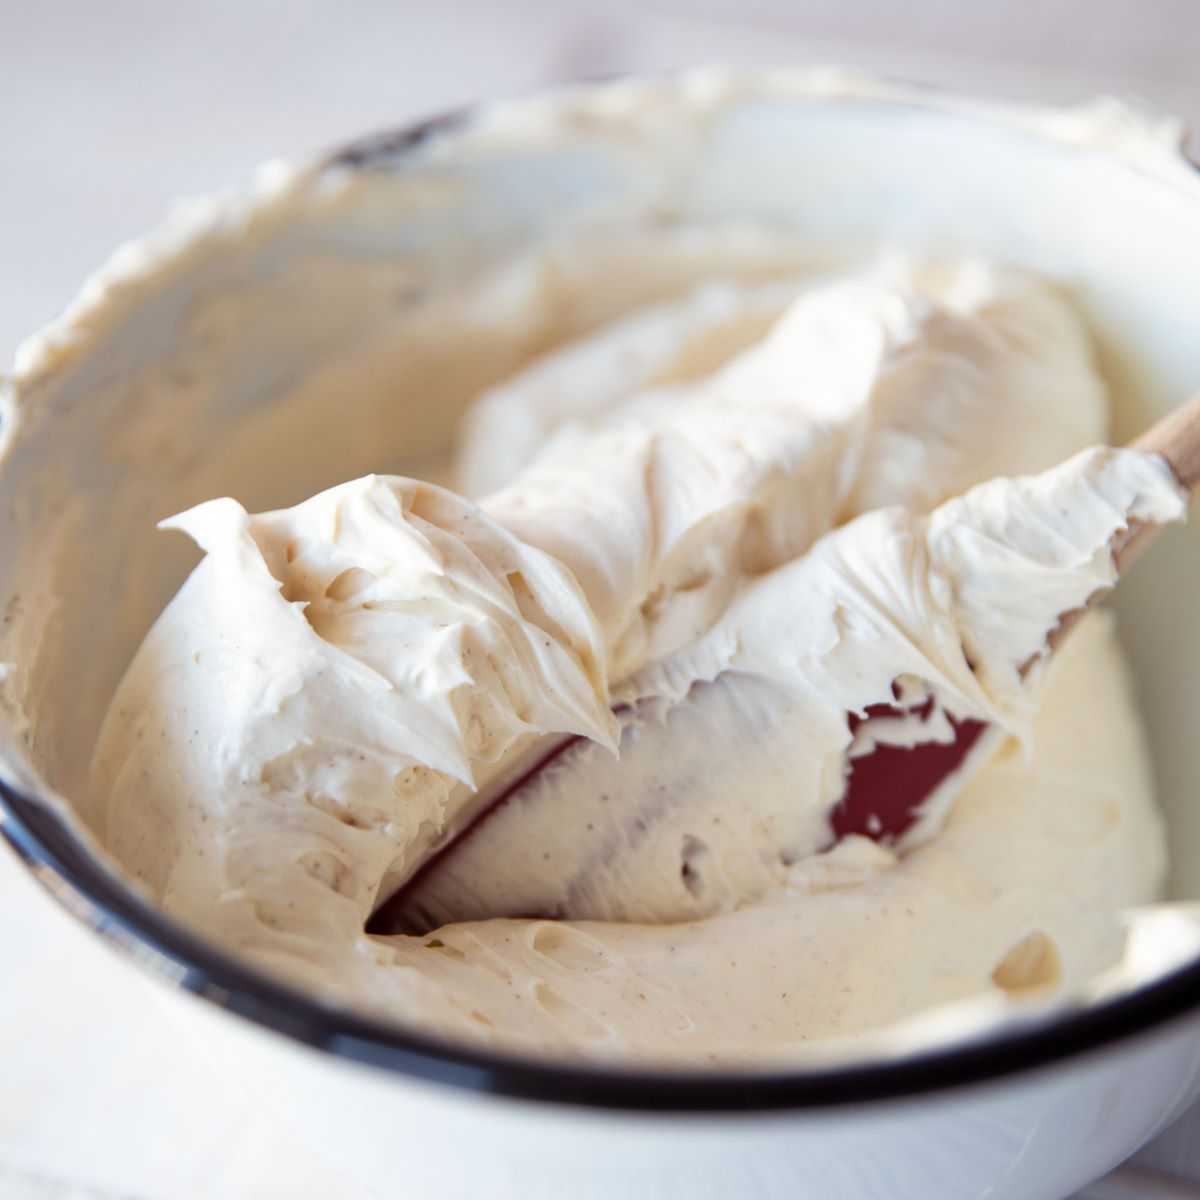
Now that you’re prepared, it’s time to dive into the process of making your homemade frosting. Follow these steps to create a delicious and creamy frosting:
- Soften the Butter: Start by ensuring that your butter is softened. Remove it from the refrigerator and let it sit at room temperature for about 30 minutes. Softened butter is easier to mix and will result in a smoother frosting.
- Cream the Butter: Place the softened butter in a mixing bowl and beat it with an electric mixer until it becomes light and fluffy. This usually takes around 2-3 minutes. Scrape down the sides of the bowl with a spatula to ensure even mixing.
- Add the Powdered Sugar: Gradually add the powdered sugar to the creamed butter, mixing on low speed until well combined. Scrape down the sides of the bowl as needed to ensure all the ingredients are incorporated.
- Flavor and Customize: Add your desired flavorings, such as vanilla extract, and any other optional ingredients, like food coloring. Continue mixing until everything is evenly distributed throughout the frosting.
- Adjust Consistency: To achieve the desired consistency, add heavy cream or milk to the frosting, a little at a time. Mix on low speed until you reach the desired thickness. Be cautious not to overmix, as this can lead to a runny frosting.
Once your homemade frosting is mixed to perfection, it’s time to move on to the final step: storing it for future use.
Read more: How To Store Frosting Overnight
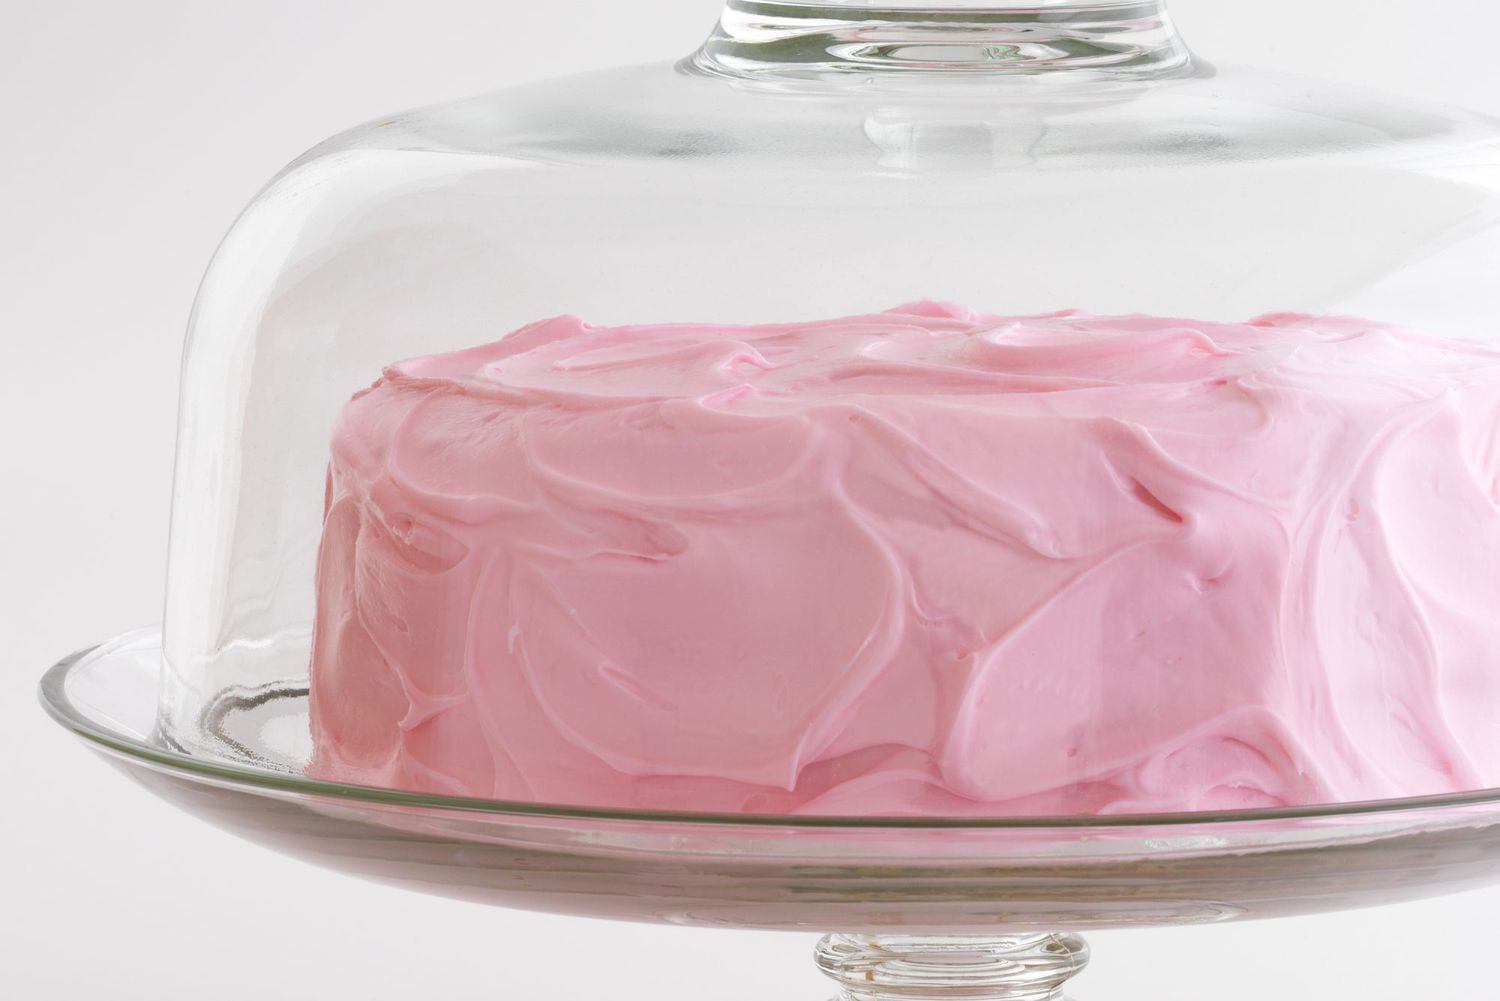
Step 3: Storing the Frosting
Properly storing your homemade frosting is crucial to maintain its freshness and flavor. Follow these steps to ensure your frosting stays delicious for future use:
- Transfer to Airtight Containers: Once your frosting is ready, transfer it to clean and dry airtight containers. This can be plastic containers or glass jars with tight-fitting lids. Make sure there is enough space in the containers to prevent the frosting from overflowing.
- Label and Date: It’s a good practice to label your frosting containers with the date and type of frosting. This will help you keep track of freshness and avoid confusion if you have multiple batches or flavors stored.
- Refrigerate or Freeze: Depending on how long you plan to store your frosting, you have two options. If you’re planning to use it within a week, store it in the refrigerator. For longer-term storage, you can freeze the frosting. Make sure to seal the containers tightly before placing them in the fridge or freezer.
- Thawing Frozen Frosting: If you have frozen your frosting, it’s important to thaw it properly before using. Move the container from the freezer to the refrigerator and let it thaw overnight. Once thawed, bring it to room temperature before using by leaving it on the counter for a couple of hours.
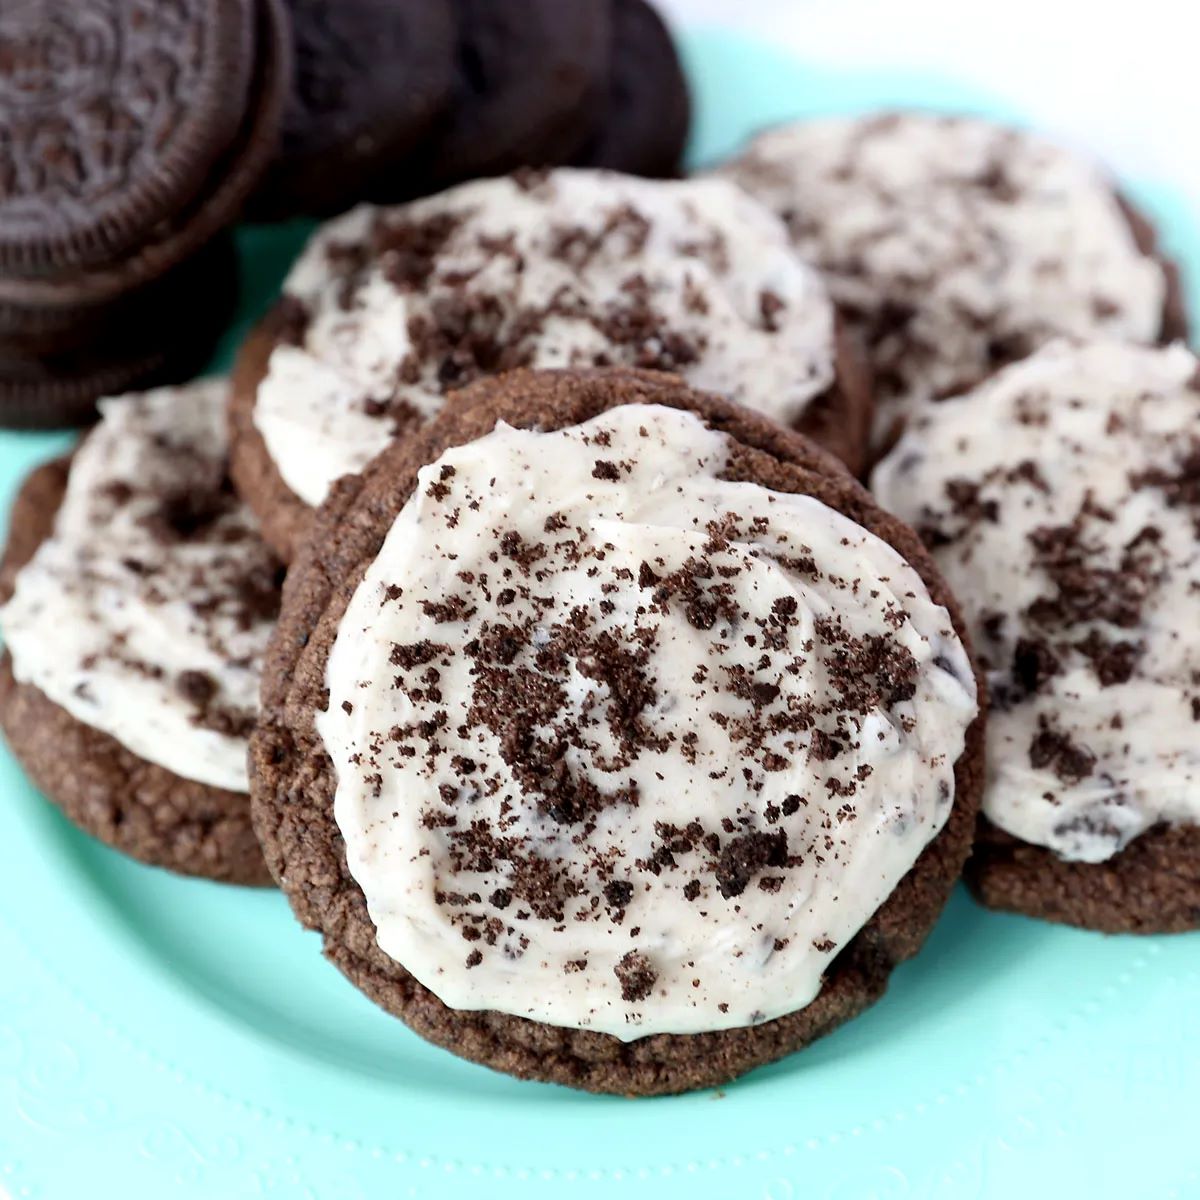
By following these steps, you can have homemade frosting readily available whenever you need it. Whether it’s for cupcakes, cookies, or other treats, having stored frosting on hand ensures you can whip up a delicious dessert in no time.
Tips and Tricks
Here are some helpful tips and tricks to keep in mind when making and storing your homemade frosting:
- Use High-Quality Ingredients: The quality of your ingredients will greatly impact the taste and texture of your frosting. Opt for unsalted butter, fresh flavorings, and high-quality powdered sugar for the best results.
- Room Temperature Butter: Make sure your butter is softened to room temperature before creaming it. Cold or melted butter can affect the consistency of the frosting.
- Sift the Powdered Sugar: To prevent lumps in your frosting, consider sifting your powdered sugar before adding it to the butter. This will give you smoother and creamier results.
- Gradually Add Liquid: When adjusting the consistency of your frosting, add liquid (heavy cream or milk) a little at a time. This will help you achieve the desired thickness without the risk of over-thinning the frosting.
- Avoid Overmixing: Once you’ve added the ingredients to the frosting, be careful not to overmix. Overmixing can lead to a dense and heavy texture. Mix just until everything is well combined.
- Store Individually: If you’re making multiple flavors or colors of frosting, consider storing them in separate containers. This will allow you to easily access and use different variations as needed.
- Reusing Leftover Frosting: If you have leftover frosting that you don’t want to store, consider using it as a filling for cakes, topping for pancakes or waffles, or even flavoring for milkshakes.
- Experiment with Flavors: Don’t be afraid to get creative with your frosting flavors. Add extracts, zests, or even fruit purees to customize your frosting and give it a unique twist.
These tips and tricks will help you achieve the best results when making and storing your homemade frosting. Happy baking!
Conclusion
Congratulations! You now have the knowledge and expertise to store your homemade frosting with ease. By following the steps outlined in this article, you can ensure that your frosting remains fresh, flavorful, and ready to use whenever you need it.
Remember, the key to successful frosting storage is proper preparation, using the right equipment, and storing the frosting in airtight containers. By labeling and dating your containers, you can keep track of freshness and avoid any confusion later on.
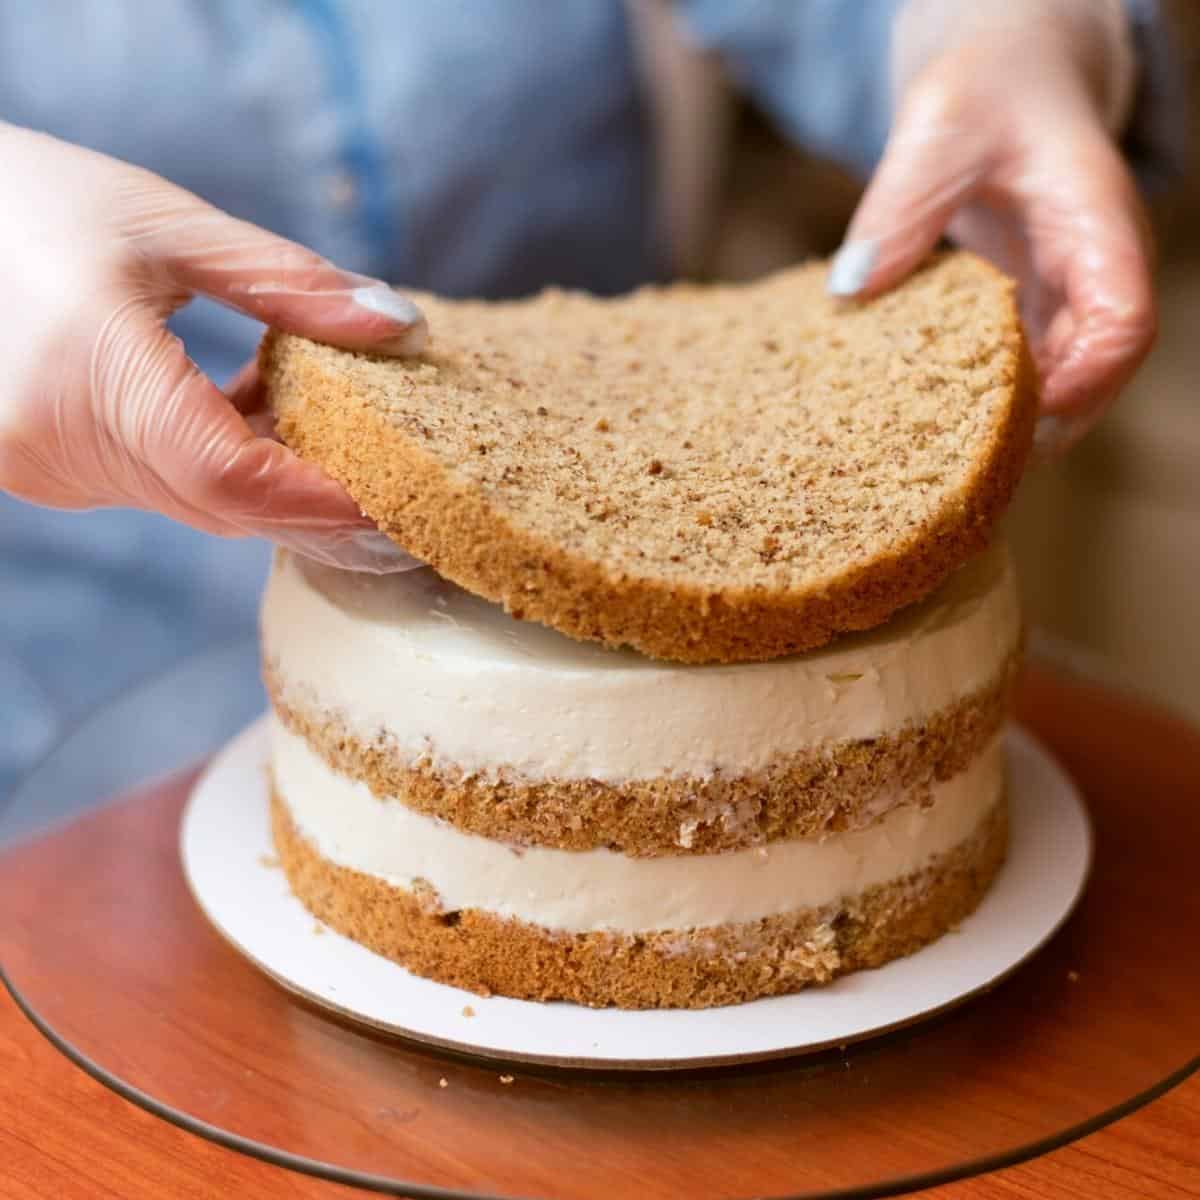
Whether you’re a baking enthusiast or just someone who loves to whip up tasty treats now and then, having homemade frosting on hand opens up a world of possibilities. From decadent cupcakes to beautifully frosted cakes, your homemade frosting will elevate your desserts and impress your friends and family.
So why settle for store-bought frosting when you can easily make your own? Experiment with different flavors, customize to your liking, and enjoy the satisfaction of knowing you have a delicious topping ready whenever a sweet craving strikes.
Now go ahead and start creating your homemade frosting and store it using the tips and techniques shared in this article. Happy baking!
Frequently Asked Questions about How To Store Homemade Frosting
Was this page helpful?
At Storables.com, we guarantee accurate and reliable information. Our content, validated by Expert Board Contributors, is crafted following stringent Editorial Policies. We're committed to providing you with well-researched, expert-backed insights for all your informational needs.


0 thoughts on “How To Store Homemade Frosting”