Articles
How To Replace Toilet Shut Off Valve
Modified: October 20, 2024
Learn how to replace a toilet shut off valve with step-by-step instructions in this informative article. Improve your plumbing skills with our helpful tips.
(Many of the links in this article redirect to a specific reviewed product. Your purchase of these products through affiliate links helps to generate commission for Storables.com, at no extra cost. Learn more)
Introduction
Replacing a toilet shut off valve is a common home improvement task that can be completed with a few simple steps. Over time, shut off valves can become worn out or develop leaks, causing water damage and inconvenience. Knowing how to replace a faulty shut off valve can save you time and money, and give you peace of mind by ensuring that your toilet’s water supply is properly controlled.
In this article, we will guide you through the process of replacing a toilet shut off valve step by step, providing you with the necessary tools and techniques to tackle this project with confidence. Whether you are a seasoned DIY enthusiast or a beginner, this guide will help you successfully complete the task and restore the functionality of your toilet’s water supply.
Before we dive into the specific steps, it is important to note that working with plumbing systems can pose risks if not done correctly. If you are unsure about any aspect of the process or feel uncomfortable, it is always best to consult a professional plumber who can assist you.
Now, let’s gather the necessary tools and materials to get started on replacing your toilet shut off valve.
Key Takeaways:
- Replacing a toilet shut off valve is a manageable DIY task that can save time and money. With the right tools and steps, you can ensure a properly functioning water supply for your toilet.
- Prioritize safety and consult a professional if unsure. Regular maintenance and proactive replacement of the shut off valve can prevent water damage and ensure the reliability of your plumbing system.
Read more: Where Is The Outdoor Water Shut Off Valve
Step 1: Gather the necessary tools and materials
Before you begin replacing the toilet shut off valve, it is important to gather all the necessary tools and materials to ensure a smooth and efficient process. Having everything ready beforehand will save you time and prevent the need for multiple trips to the hardware store.
Here are the tools and materials you will need:
- Adjustable wrench
- Bucket or towel
- New shut off valve
- Teflon tape
- Plumber’s tape
- Channel locks
- Pipe cutter or hacksaw (if necessary)
- Pipe wrench or pliers (if necessary)
An adjustable wrench is essential for loosening and tightening various connections. It allows you to adjust the width of the jaws to fit different sizes of nuts and bolts. Make sure to select an adjustable wrench that fits comfortably in your hand.
A bucket or towel is necessary to catch any water that may leak during the process. It is always a good idea to have one nearby to minimize potential water damage.
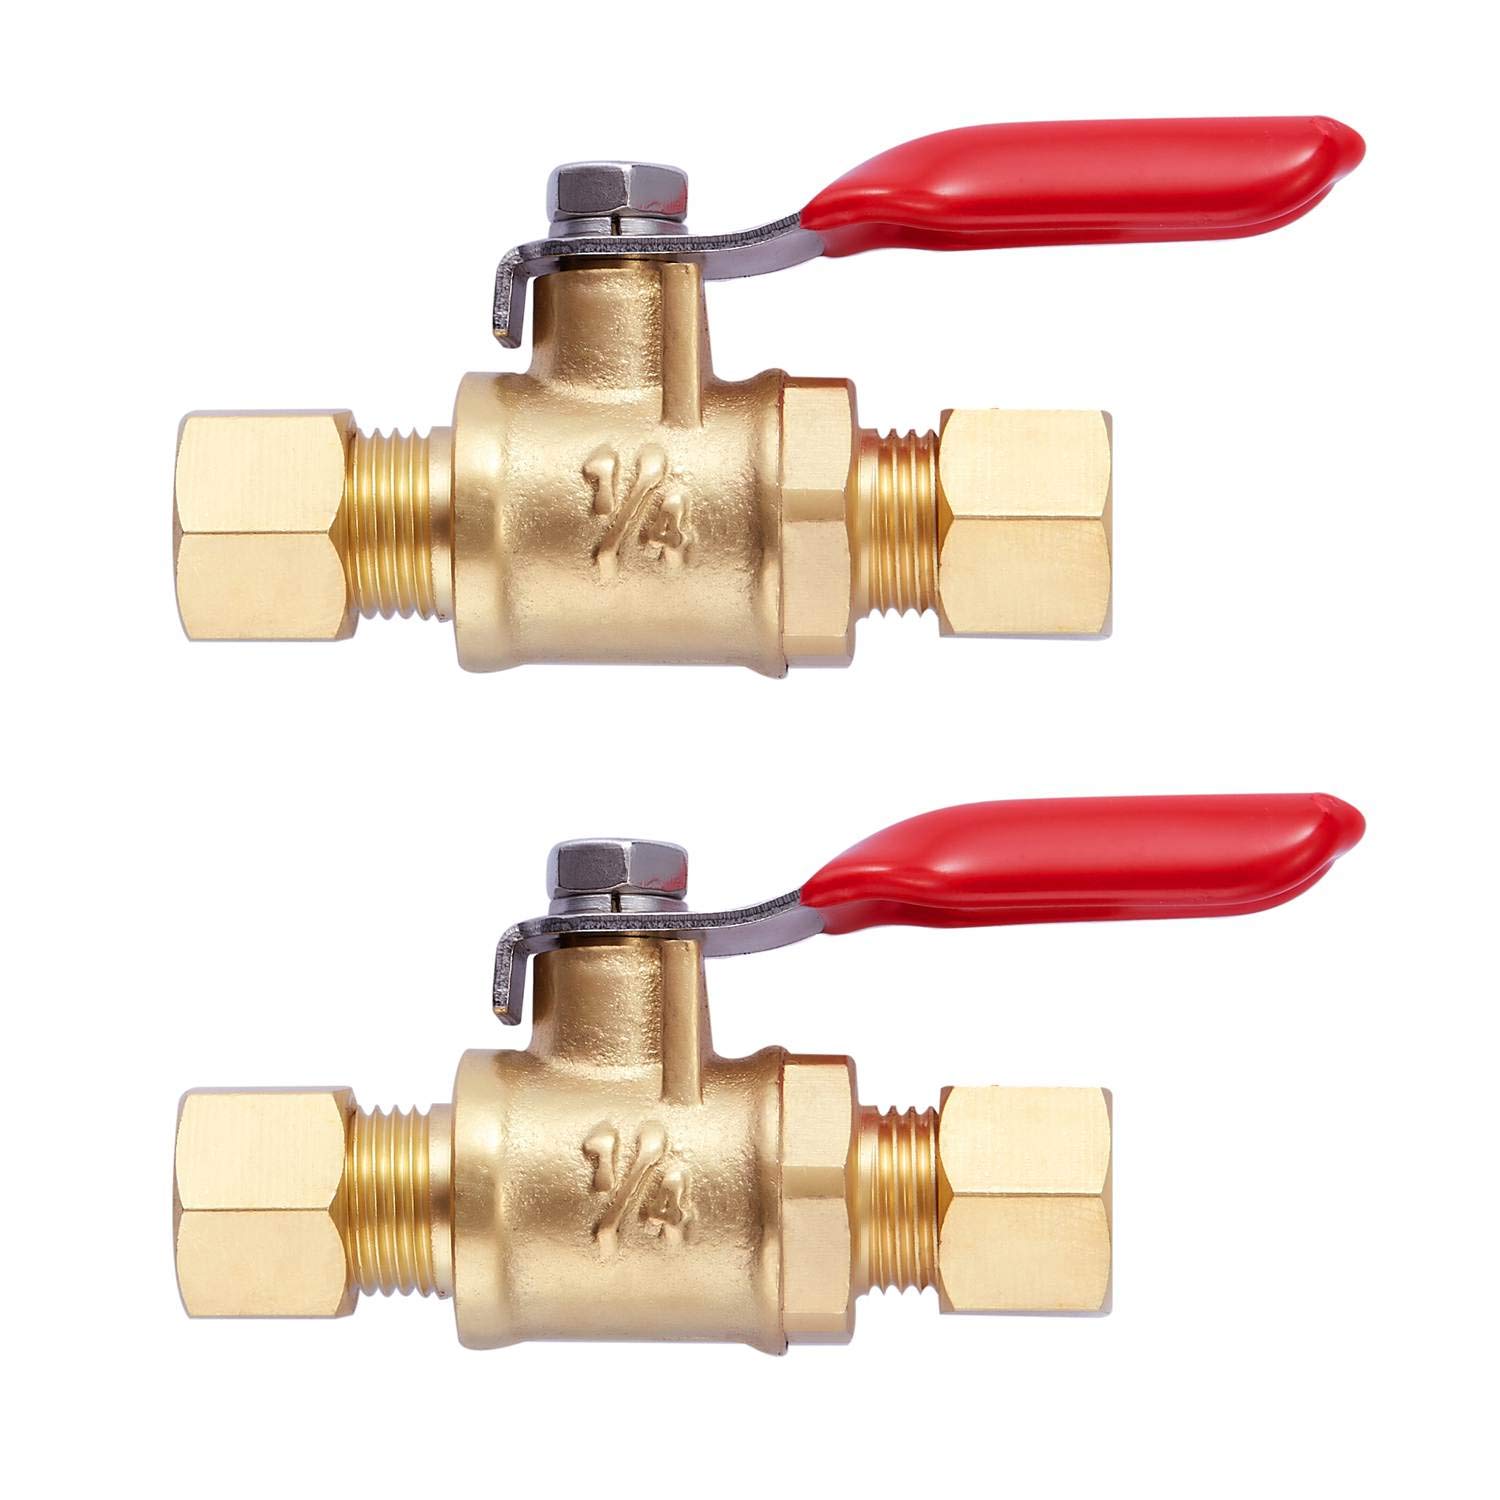
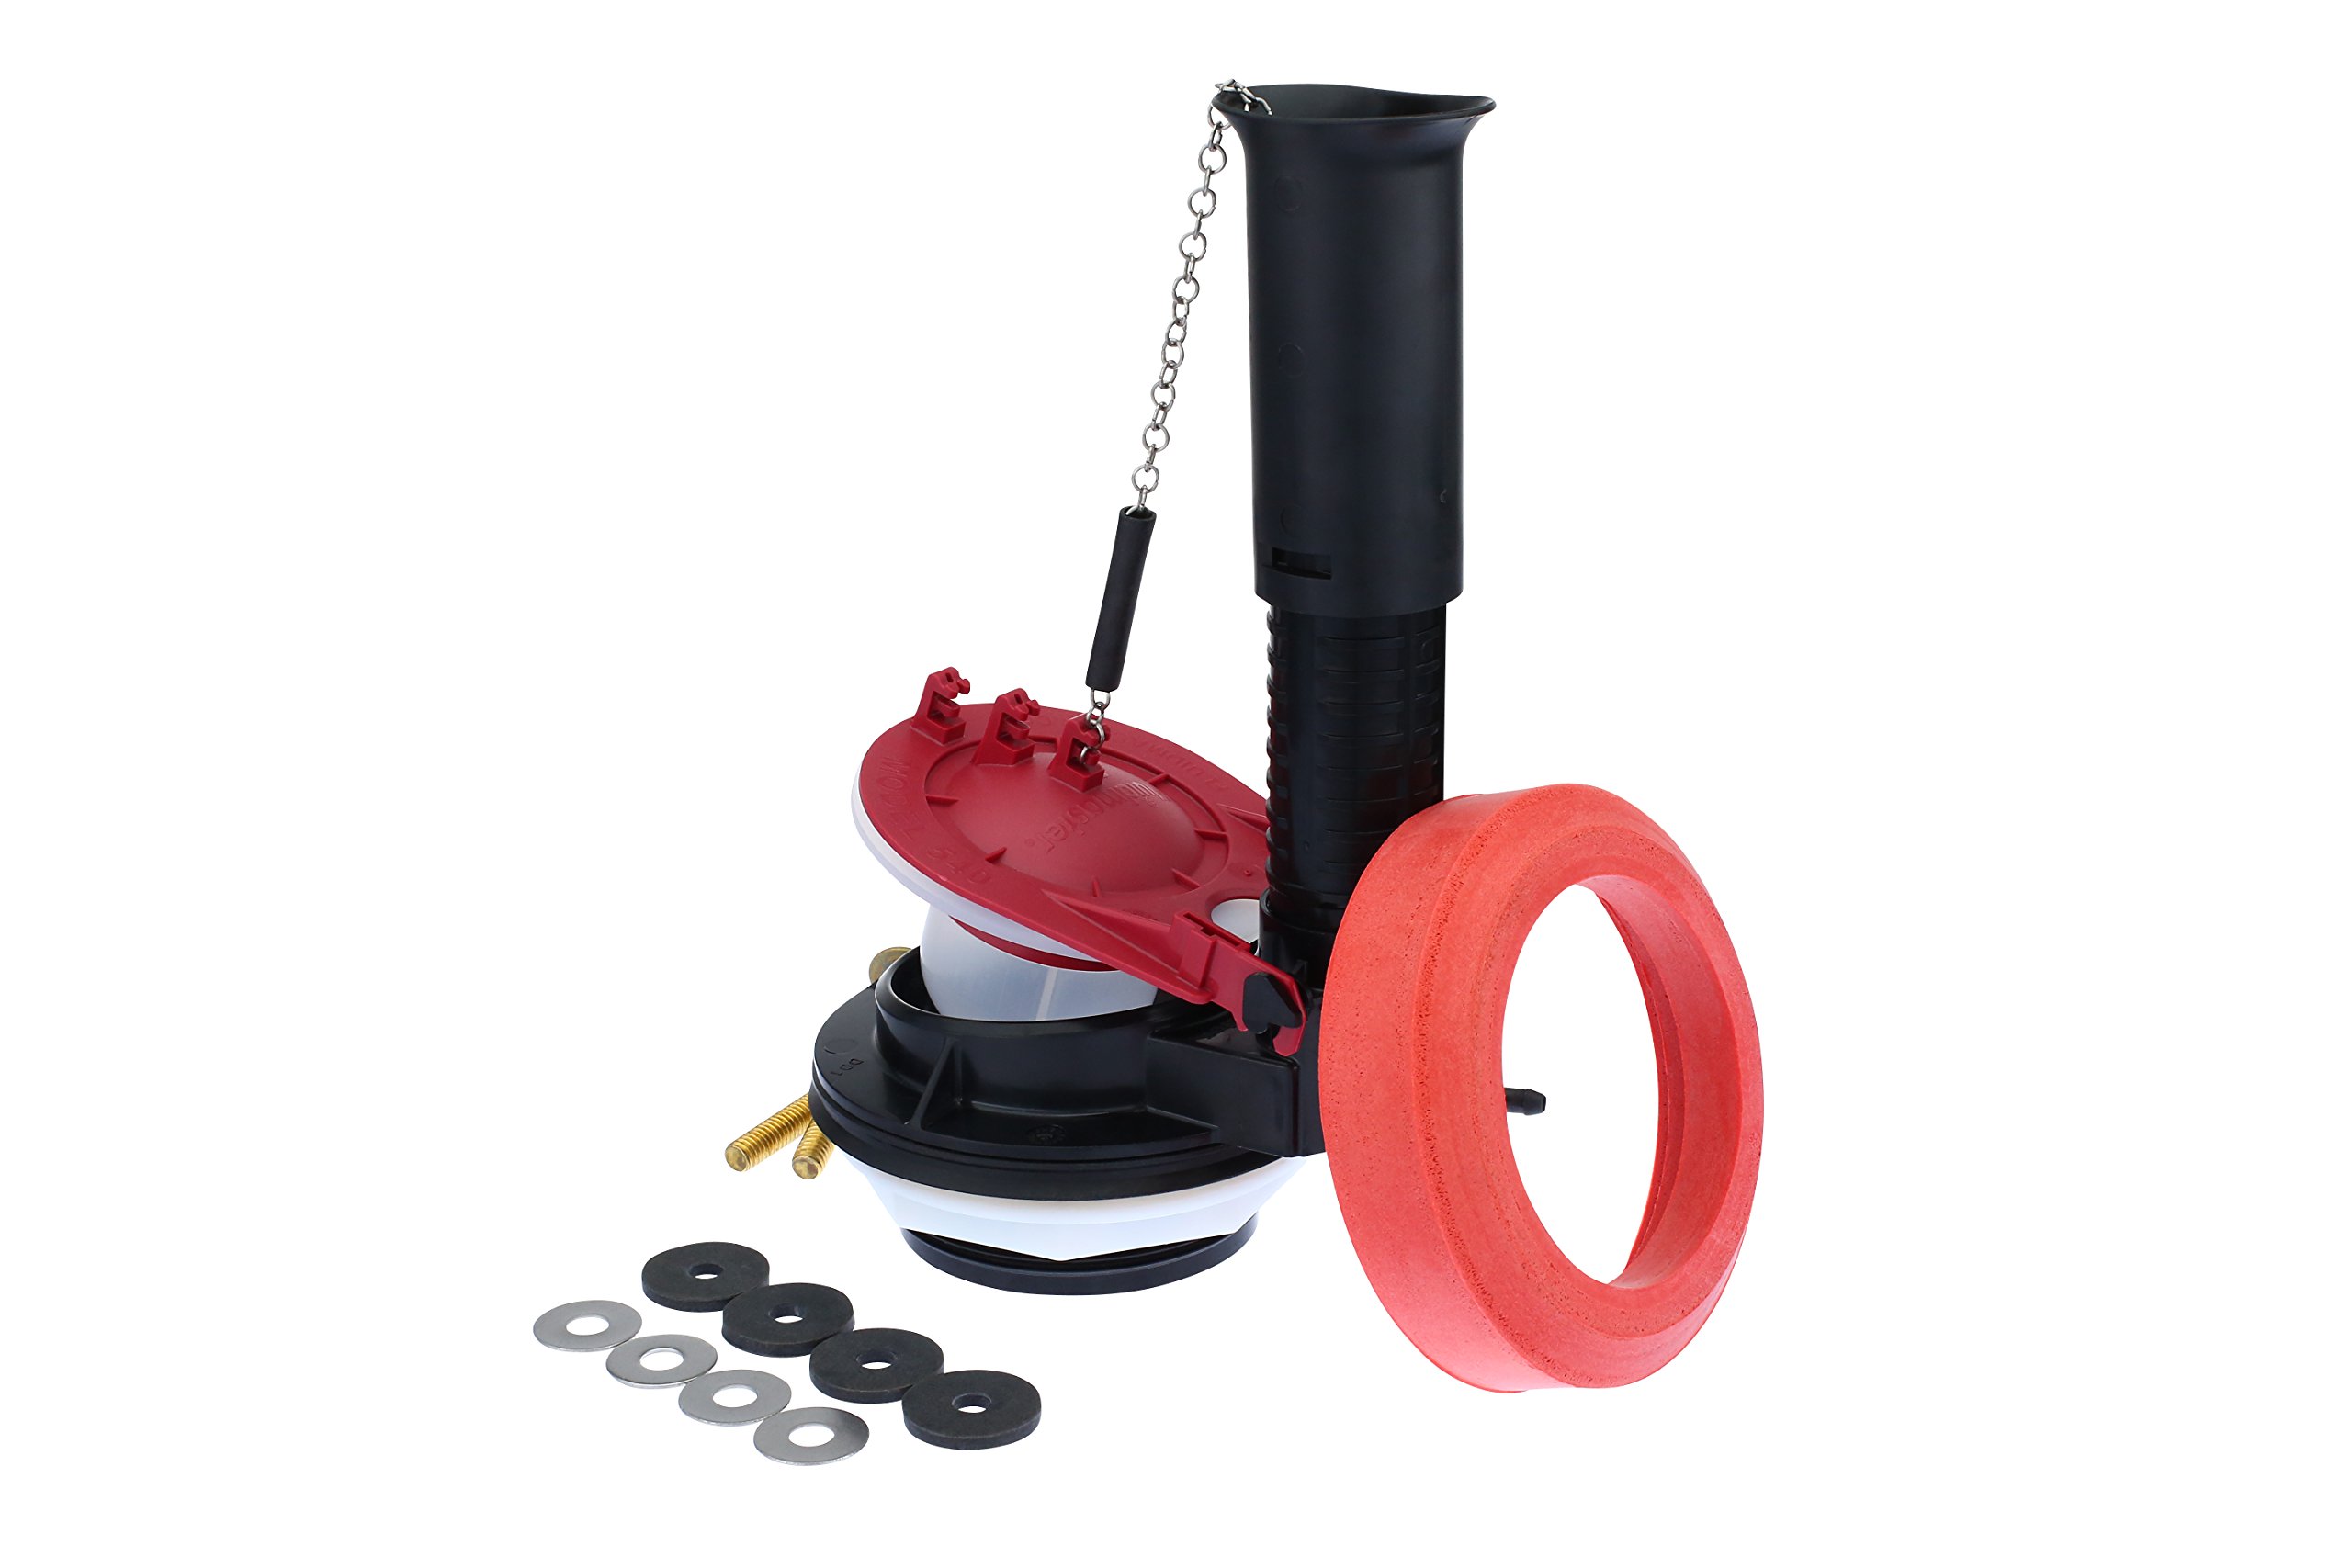
The most important item on the list is a new shut off valve. When purchasing a replacement valve, make sure to choose one that is compatible with your toilet’s plumbing system. Consider the type of connection (compression or solder) and the size of the valve before making your purchase.
Teflon tape, also known as plumber’s tape, is used to create a watertight seal on threaded connections. It is a thin tape that you wrap around the threads of the valve to prevent leaks.
Lastly, channel locks or pliers are helpful tools for gripping and turning pipes or fittings securely. These tools provide extra leverage and make it easier to loosen or tighten connections.
Once you have gathered all the necessary tools and materials, you are ready to proceed to the next step: turning off the water supply.
Step 2: Turn off the water supply
Before you can replace the toilet shut off valve, it is essential to turn off the water supply to prevent any water flow during the process. This step will help you avoid potential leaks and keep your work area dry.
To turn off the water supply, follow these steps:
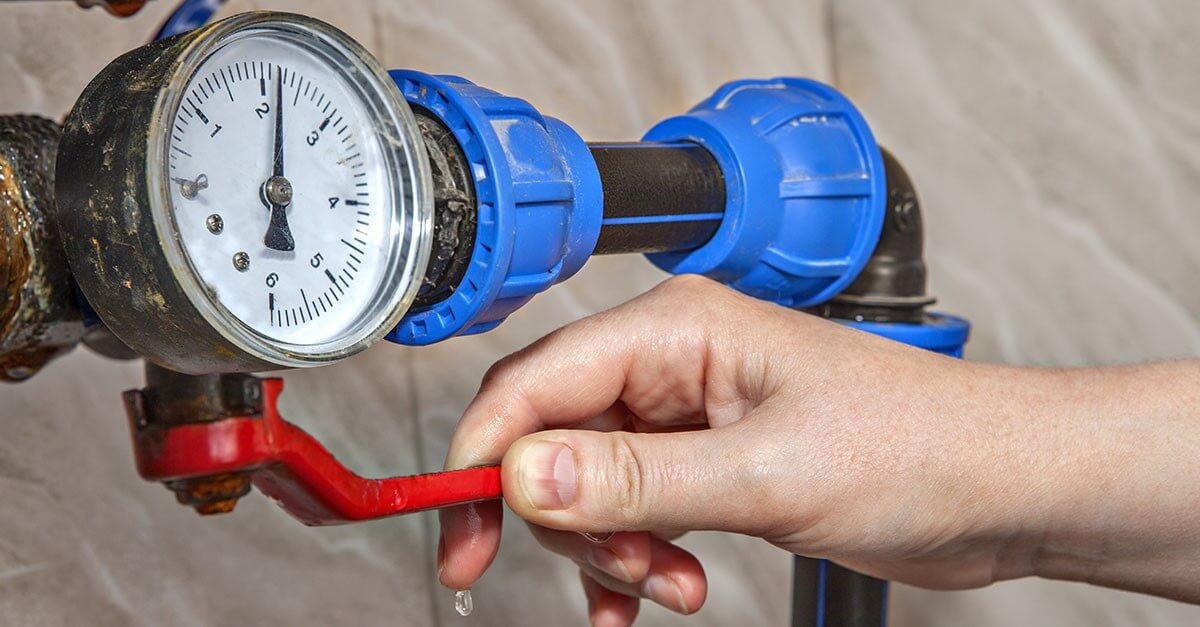
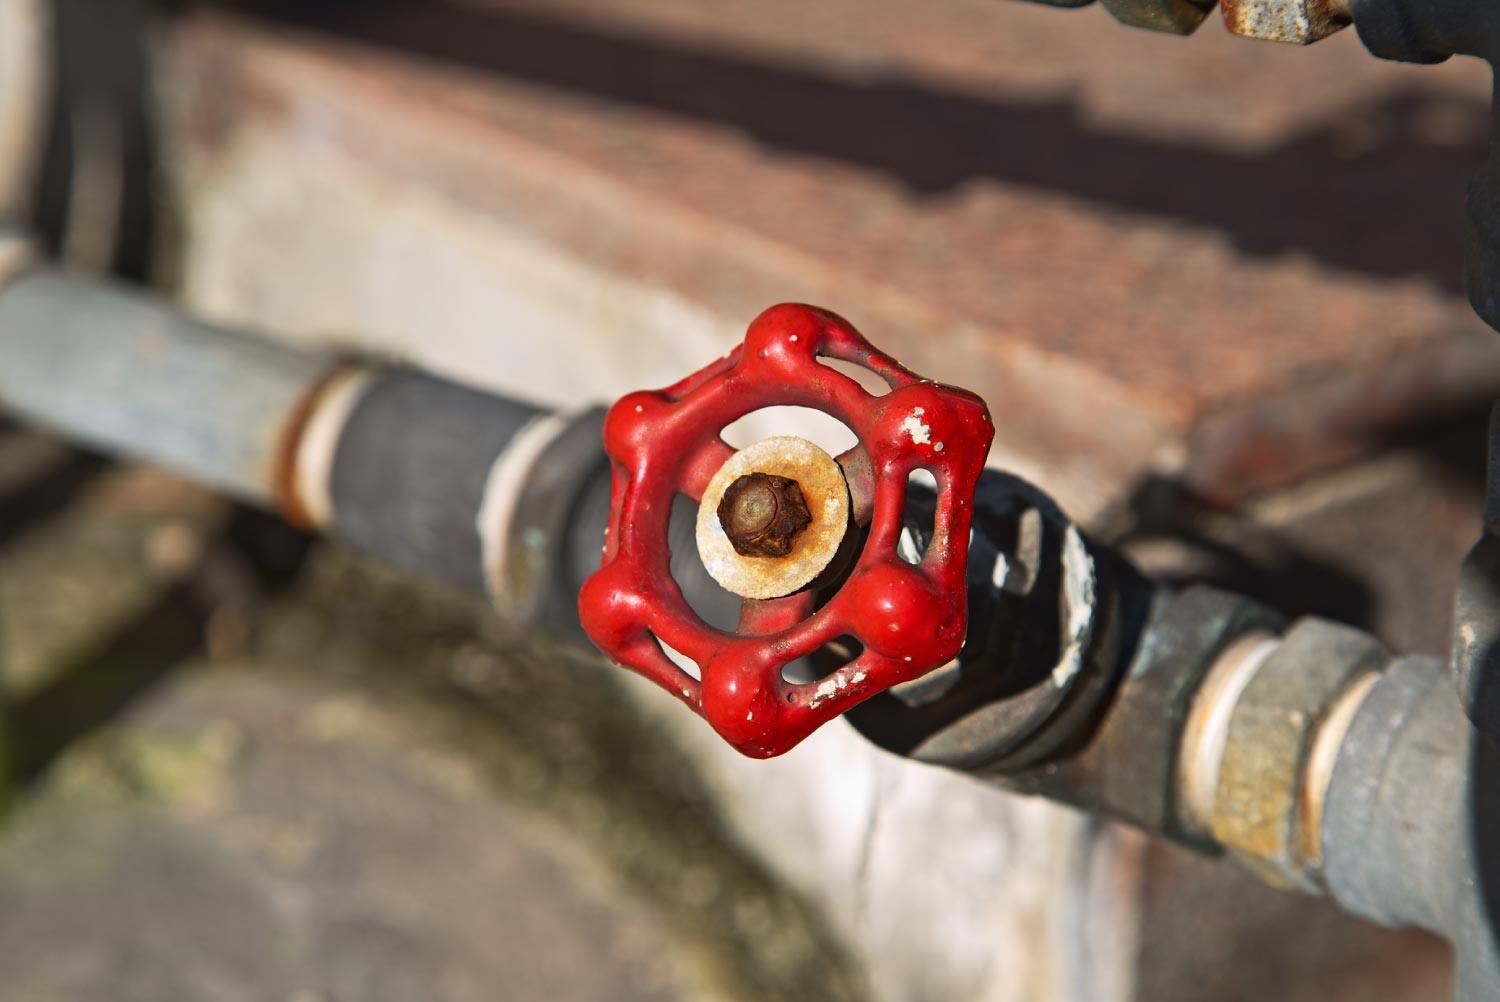
- Locate the main water shut off valve in your home. This valve is typically located near the water meter or where the main water line enters your house.
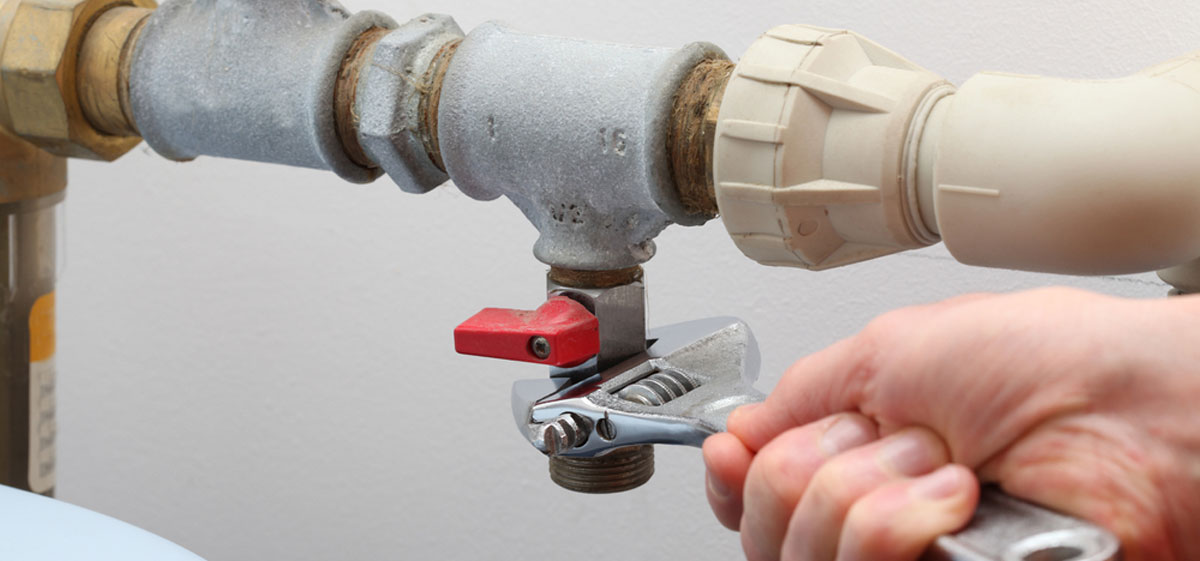
- Turn the valve clockwise (to the right) to shut off the water supply. You may need to use a wrench or pliers if the valve is difficult to turn.
- Once the valve is fully closed, test the water flow by turning on a faucet or flushing a toilet. If there is no water flow, you have successfully shut off the water supply.
It is important to note that different homes may have different water shut off valve locations. If you are unsure where your main water shut off valve is located, consult your home’s plumbing system diagram or contact a professional plumber for assistance.
After you have turned off the main water supply, it is recommended to drain any remaining water from the toilet tank to prevent spills or excessive water leakage during the replacement process. This can be done by flushing the toilet and holding the handle down to ensure complete water evacuation.
With the water supply turned off and the toilet tank emptied, you can now move on to the next step: detaching the water supply line from the shut off valve.
Step 3: Empty the toilet tank
Before you can proceed with replacing the shut off valve, it is important to empty the toilet tank to avoid any spills or water damage during the process. Emptying the tank will also make it easier to work on the valve.
Here’s how you can empty the toilet tank:
- Locate the toilet’s flush handle. It is typically located on the front or side of the tank.
- Press and hold the handle down to initiate a flush. This will activate the toilet’s flushing mechanism and drain the water from the tank into the toilet bowl.
- Continue holding the handle down until all the water has emptied from the tank. You may need to repeat this step a few times to ensure complete water evacuation.
- Once the tank is empty, you can use a sponge or towel to soak up any remaining water and ensure it is completely dry.
Emptying the toilet tank is crucial to prevent any accidental spills or leaks when detaching the water supply line from the shut off valve. By following these steps, you will create a safer and more manageable work environment.
Now that the toilet tank is emptied, you can proceed to the next step: detaching the water supply line from the shut off valve.
Step 4: Detach the water supply line
After emptying the toilet tank, the next step in replacing the shut off valve is to detach the water supply line that connects the shut off valve to the toilet tank. This will allow you to remove the old shut off valve and replace it with a new one.
Follow these steps to detach the water supply line:
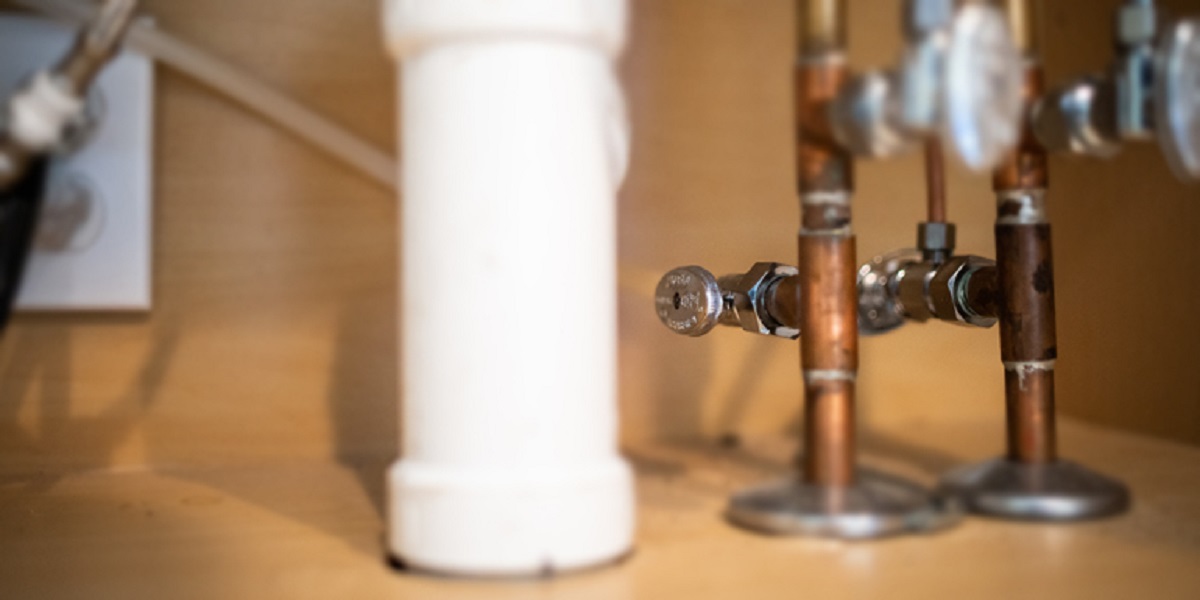
- Locate the water supply line connected to the shut off valve. This line is usually made of flexible tubing, typically made of braided stainless steel or copper.
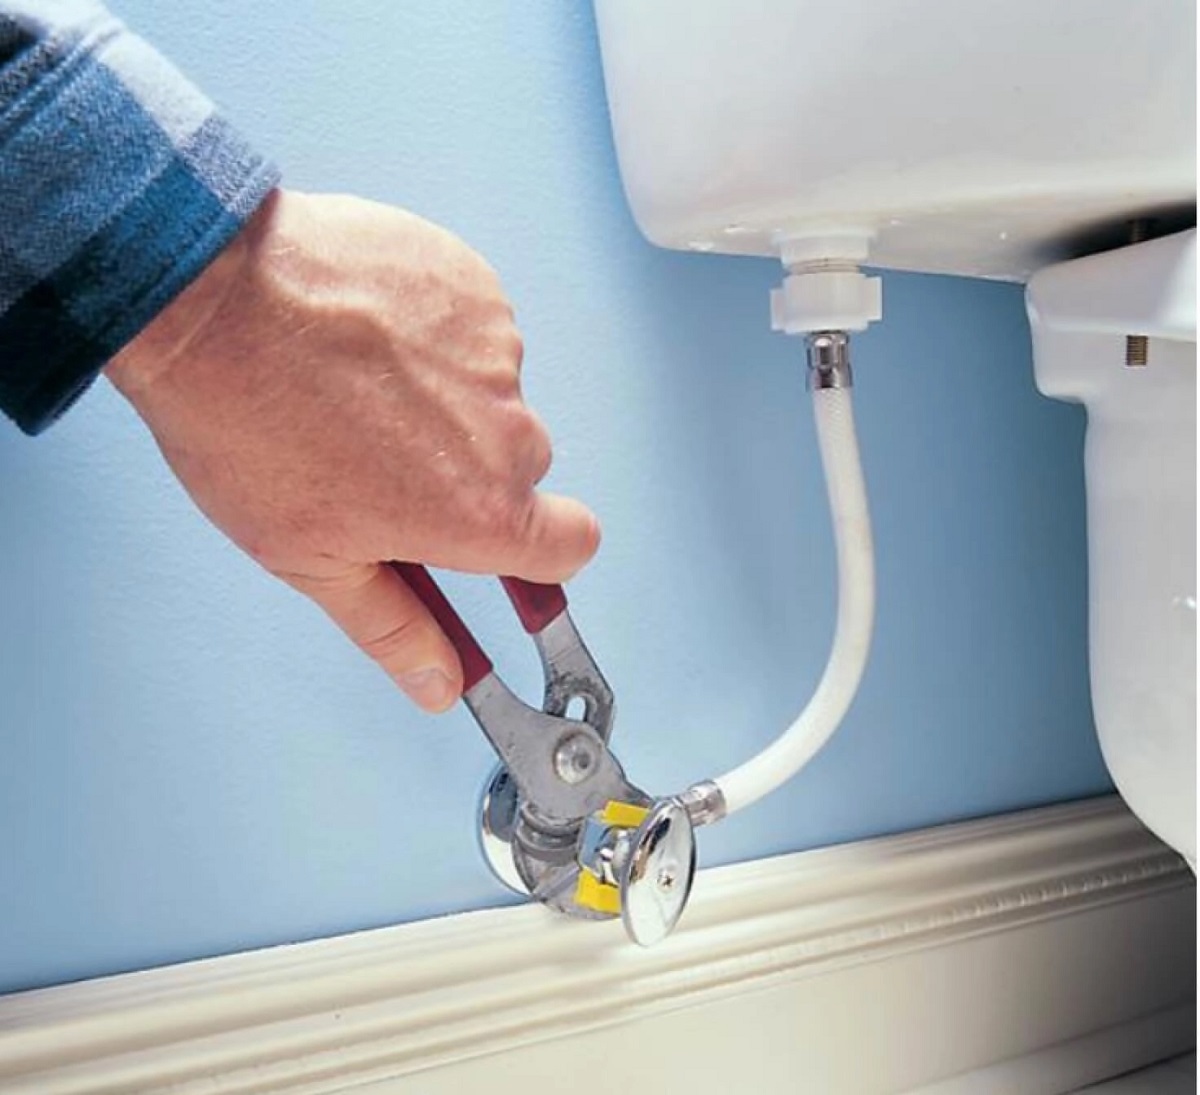
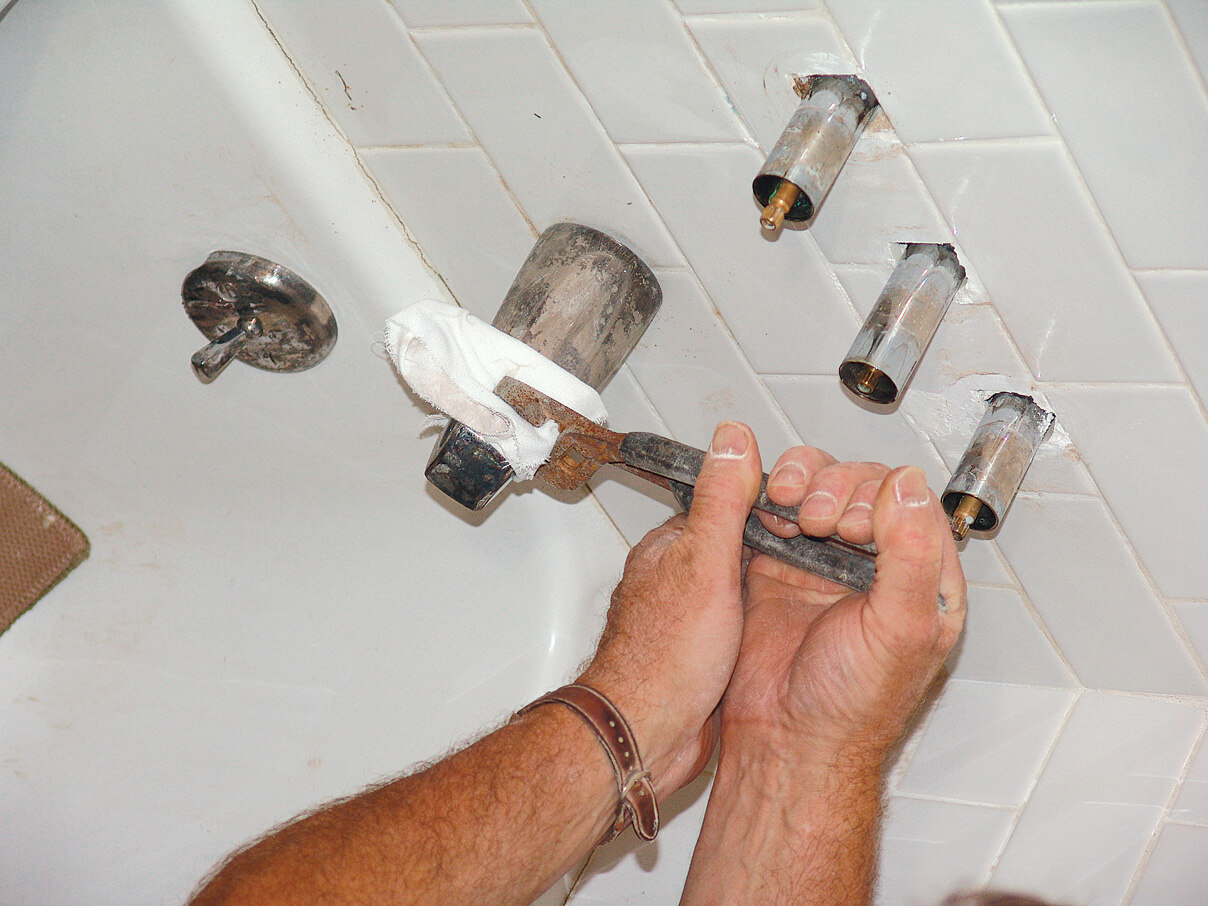
- Using an adjustable wrench, grip the nut connecting the water supply line to the shut off valve.
- Turn the wrench counterclockwise (to the left) to loosen the nut. Continue turning until the nut is loose enough to be removed by hand.
- Once the nut is loosened, carefully unscrew it and set it aside. You may need to hold the shut off valve with another wrench or pliers to prevent it from turning.
- With the nut removed, gently pull the water supply line away from the shut off valve. It may require a slight tug, but be careful not to exert too much force to avoid damaging the line or valve.
Detaching the water supply line can sometimes be challenging if the nut is tightly secured. In such cases, you can use a pair of channel locks or pliers to provide extra grip and leverage to loosen the nut.
Once the water supply line is detached, you can proceed to the next step: removing the old shut off valve from the toilet tank.
Read also: 11 Amazing Faucet Shut Off Valve for 2025
Step 5: Remove the old shut off valve
With the water supply line detached, the next step in replacing the shut off valve is to remove the old valve from the toilet tank. This will allow you to make way for the new shut off valve.
Follow these steps to remove the old shut off valve:
- Inspect the old shut off valve and identify the connection method. It could be a compression fitting or a soldered joint.
- If it is a compression fitting, use an adjustable wrench to grip the large nut on the valve body.
- Turn the wrench counterclockwise (to the left) to loosen the nut. Continue turning until the nut is loose enough to be removed by hand.
- If the shut off valve is soldered, you will need to cut the pipe using a pipe cutter or a hacksaw. Measure a few inches above the valve and make a clean cut through the pipe.
- Using a pipe wrench or pliers, grip the valve body tightly and twist it counterclockwise to remove it from the toilet tank.
Removing the old shut off valve may require some effort, especially if it has been in place for a long time. Applying a small amount of penetrating oil can help loosen any rust or corrosion that may be hindering the removal process.
Once the old shut off valve is removed, inspect the area for any debris or build-up. Clean the toilet tank opening thoroughly before proceeding to the next step of installing the new shut off valve.
Now that the old shut off valve has been removed, you can move on to the next step: installing the new shut off valve.
When replacing a toilet shut off valve, be sure to turn off the water supply to the toilet before starting. Use a wrench to loosen and remove the old valve, then install the new valve and tighten it securely. Check for any leaks before turning the water supply back on.
Step 6: Install the new shut off valve
With the old shut off valve removed, it’s time to install the new shut off valve. This step involves connecting the new valve to the toilet tank and ensuring a secure and watertight connection.
Follow these steps to install the new shut off valve:
- Take the new shut off valve and apply a layer of plumber’s tape or Teflon tape to the threaded end of the valve. This will create a tight and leak-free seal.
- Insert the threaded end of the shut off valve into the toilet tank opening. Twist it clockwise (to the right) to tighten the valve securely.
- Use an adjustable wrench or pliers to grip the large nut on the valve body.
- Turn the wrench clockwise (to the right) to tighten the nut. Ensure that it is tightened enough to create a watertight seal, but be careful not to overtighten and risk damaging the valve or the tank.
- If the new shut off valve requires soldering, carefully clean and flux the ends of the pipe and the valve, then use a propane torch to heat the joint. Apply solder to the joint and allow it to cool and solidify.
When installing the new shut off valve, it is important to refer to the manufacturer’s instructions for specific guidelines. This will ensure that you properly install the valve according to its design and specifications.
Once the new shut off valve is securely installed, you can move on to the next step: reconnecting the water supply line.
Step 7: Reconnect the water supply line
After installing the new shut off valve, the next step is to reconnect the water supply line to the valve. This will restore the water flow to the toilet tank and ensure proper functionality.
Follow these steps to reconnect the water supply line:
- Take the water supply line and ensure that it is clean and free from any debris or old tape.
- Apply a layer of plumber’s tape or Teflon tape to the threaded end of the water supply line. This will create a tight and secure seal when connecting it to the shut off valve.
- Gently insert the threaded end of the water supply line into the shut off valve.
- Using an adjustable wrench, grip the nut on the shut off valve and turn it clockwise (to the right) to tighten the connection. Make sure to tighten it enough to create a watertight seal, but avoid overtightening to prevent damage to the valve or the supply line.
It is important to check the manufacturer’s instructions for any specific guidelines on tightening the water supply line connection. Each shut off valve may have different specifications and requirements.
Once the water supply line is securely connected, double-check all connections to ensure that they are tight and leak-free. Inspect the area around the valve for any signs of water leakage or dripping.
Now that the water supply line is reconnected, move on to the next step: turning on the water supply.
Step 8: Turn on the water supply
After reconnecting the water supply line, you are now ready to turn on the water supply and restore the flow of water to the toilet tank. This step will help you test the new shut off valve and ensure that it functions properly.
Follow these steps to turn on the water supply:
- Locate the main water shut off valve in your home. The valve is typically located near the water meter or where the main water line enters your house.
- Turn the valve counterclockwise (to the left) to open the water supply. Use an adjustable wrench or pliers if necessary to provide the leverage needed to turn the valve.
- Gradually open the valve to allow water to flow back into the toilet tank. This will help prevent sudden surges of water and potential damage.
As you turn on the water supply, keep an eye on the shut off valve and the surrounding area for any signs of leaks. If you notice any leaks or dripping, it may indicate an improper connection or a faulty shut off valve.
Allow the tank to fill completely, which may take a few minutes depending on your water pressure. While the tank is filling, inspect all the connections to ensure there are no leaks.
If everything looks secure and there are no signs of leaks, congratulations! You have successfully turned on the water supply and completed the process of replacing the shut off valve.
For the final step, proceed to check for any leaks.
Step 9: Check for leaks
After turning on the water supply and completing the installation of the new shut off valve, it is important to thoroughly check for any leaks. This step will ensure that the valve is properly sealed and functioning correctly.
Follow these steps to check for leaks:
- Inspect all the connections, including the shut off valve, the water supply line, and any soldered joints or compression fittings. Look for any signs of water leaks or dripping.
- Use a dry cloth or paper towel to wipe around each connection. If there is any moisture or water droplets on the cloth, it indicates a leak.
- If you spot a leak, carefully tighten the connection or adjust the fitting as needed. Use an adjustable wrench or pliers to ensure a secure and watertight seal.
- After making any adjustments, check again for leaks. Repeat the process until all connections are dry and leak-free.
It is essential to address any leaks promptly to prevent water damage to your toilet, surrounding areas, or even your home. Tightening connections or applying plumber’s tape can often resolve minor leaks.
If you are unable to resolve a persistent leak or if the shut off valve continues to leak even after tightening, it may be necessary to consult a professional plumber for assistance.
Once you have checked all the connections and ensured that there are no leaks, you can consider the replacement of the shut off valve complete.
Congratulations! You have successfully replaced the toilet shut off valve and restored the proper functionality of your toilet’s water supply.
Remember to keep an eye on the shut off valve and periodically inspect it for any signs of wear or leaks. Regular maintenance will help prolong the lifespan of the valve and ensure its reliable operation in the long run.
By following the steps outlined in this guide, you have taken an important step towards maintaining the plumbing system in your home and preventing potential water damage. Well done!
If you have any further plumbing concerns or would like to explore more DIY home improvement projects, don’t hesitate to consult a professional or reference reliable resources for guidance.
Thank you for reading, and we hope this guide has been helpful in replacing your toilet shut off valve.
Conclusion
Replacing a toilet shut off valve is a task that can be accomplished with a few simple steps and the right tools. By following the steps outlined in this guide, you have gained the knowledge and confidence to tackle this project and ensure the proper functionality of your toilet’s water supply.
Throughout the process, we have discussed the importance of gathering the necessary tools and materials, turning off the water supply, emptying the toilet tank, detaching the water supply line, removing the old shut off valve, installing the new shut off valve, reconnecting the water supply line, turning on the water supply, and checking for leaks.
Remember, while replacing a shut off valve can be a relatively straightforward project, it is always important to prioritize safety and consult a professional plumber if you have any doubts or concerns. Plumbing systems can be complex, and it is best to seek expert advice when necessary.
By taking the time to properly replace the shut off valve, you can prevent potential water leaks, damage, and inconveniences. It is a proactive step towards maintaining the integrity of your plumbing system and ensuring the reliable operation of your toilet.
We hope this guide has provided you with the knowledge and guidance you need to successfully replace your toilet shut off valve. Remember to regularly inspect your plumbing system for any signs of wear, and address any issues promptly to avoid further complications.
Thank you for reading, and best of luck with your home improvement projects!
Glad you've mastered replacing your toilet shut off valve! Ready for more DIY challenges? Dive into our comprehensive guide on home repair and pick up practical skills to tackle any fix around your house. If your toilet still gives you trouble, our toilet repair tips for 2024 are sure to come in handy, offering innovative solutions you won't want to miss. Also, if your fridge’s water dispenser acts up, don’t fret! Check out our recommendations for the best water valve replacements to ensure smooth operation all year round.
Frequently Asked Questions about How To Replace Toilet Shut Off Valve
Was this page helpful?
At Storables.com, we guarantee accurate and reliable information. Our content, validated by Expert Board Contributors, is crafted following stringent Editorial Policies. We're committed to providing you with well-researched, expert-backed insights for all your informational needs.


0 thoughts on “How To Replace Toilet Shut Off Valve”