Articles
How To Shut Off Water
Modified: January 8, 2024
Discover helpful articles on how to shut off water and effectively manage plumbing emergencies. Find step-by-step guides and expert tips to handle various water shut off scenarios.
(Many of the links in this article redirect to a specific reviewed product. Your purchase of these products through affiliate links helps to generate commission for Storables.com, at no extra cost. Learn more)
Introduction
Welcome to this helpful guide on how to shut off the water in your home. Knowing how to shut off the water can be essential in various situations, such as plumbing repairs, emergencies, or when you go on vacation. By familiarizing yourself with the main water shut-off valve and the process of shutting off water at individual fixtures, you can handle these situations with ease and prevent any further water damage.
In this article, we will take you through a step-by-step process on how to shut off the water in your home. We will start with locating the main water shut-off valve, then move on to turning it off, draining excess water, shutting off water at individual fixtures, and finally, testing for water shut-off. So, let’s dive in and learn how to take control of your water supply!
Key Takeaways:
- Knowing how to locate and turn off the main water shut-off valve is crucial for handling plumbing emergencies and preventing water damage in your home. Familiarize yourself with this process to take control of your water supply.
- After shutting off the main water supply, draining excess water and shutting off water at individual fixtures are essential steps to prepare your plumbing system for repairs or maintenance. Testing for water shut-off ensures that your efforts have been successful in preventing leaks and water flow.
Read more: How To Shut Water Off To Water Heater
Step 1: Locate the Main Water Shut-Off Valve
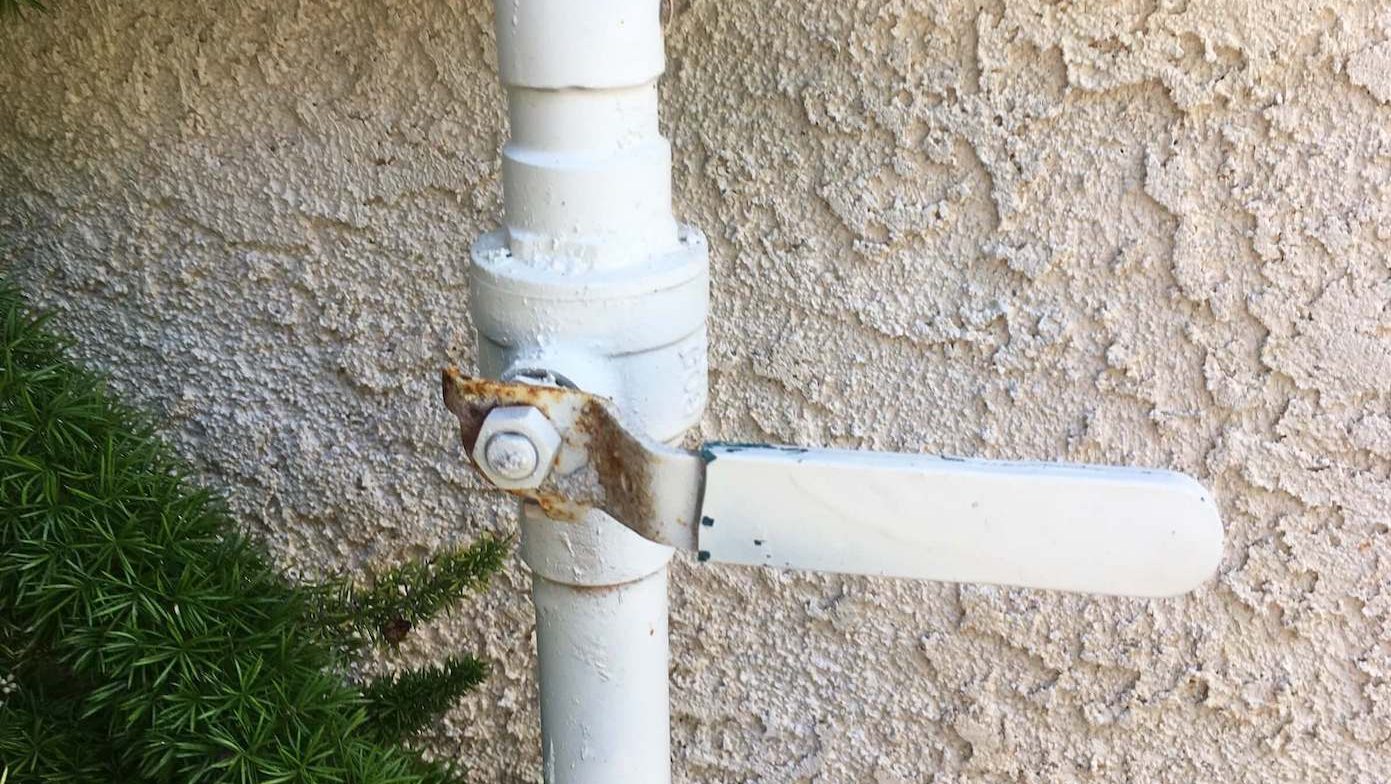
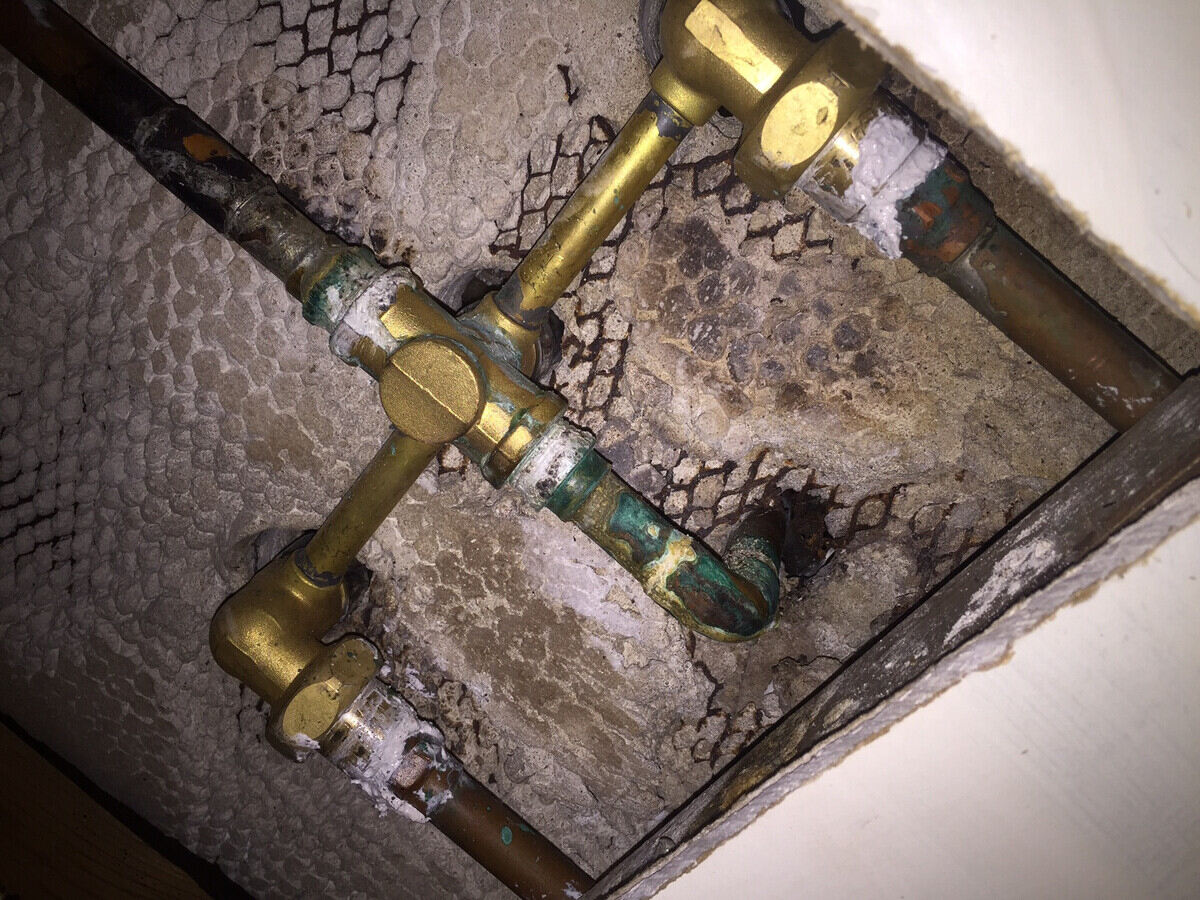
The first step in shutting off the water in your home is to locate the main water shut-off valve. This valve is usually located near the water meter or where the water line enters your house. The exact location may vary depending on the layout of your home and the climate in your region.
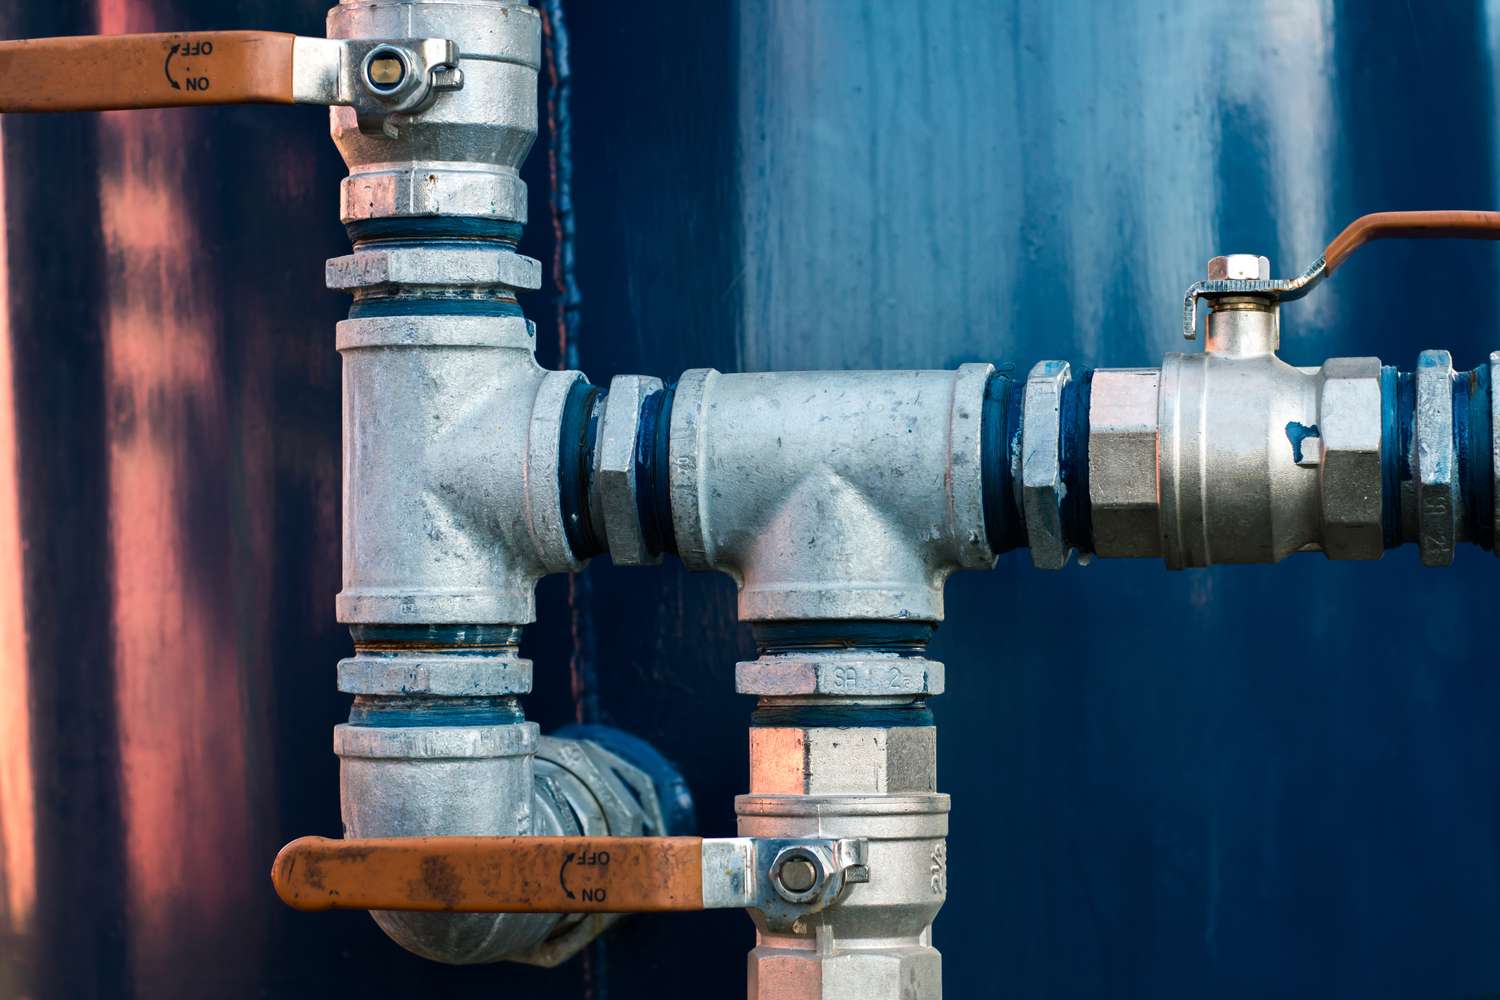
In many homes, you can find the main shut-off valve in the basement or crawlspace. Look for a large metal or brass valve with either a round wheel or a lever handle. In warmer climates, the main shut-off valve may be located outside near the foundation of the house.
If you are having trouble locating the main shut-off valve, you can try consulting the house plans or contacting a plumber for assistance. They will be able to guide you to the exact location.
Once you have found the main shut-off valve, it’s a good idea to familiarize yourself with how it works. In most cases, turning the valve clockwise (or to the right) will shut off the water flow, while turning it counterclockwise (or to the left) will open the valve and restore water flow. Make sure the valve moves freely and is not rusted or stuck.
Locating the main shut-off valve is an important first step in shutting off the water in your home. Once you have found it, you are ready to move on to the next step of the process.
Step 2: Turn Off the Main Water Shut-Off Valve
Now that you have located the main water shut-off valve, it’s time to turn it off. This step will ensure that water flow is completely stopped throughout your home.
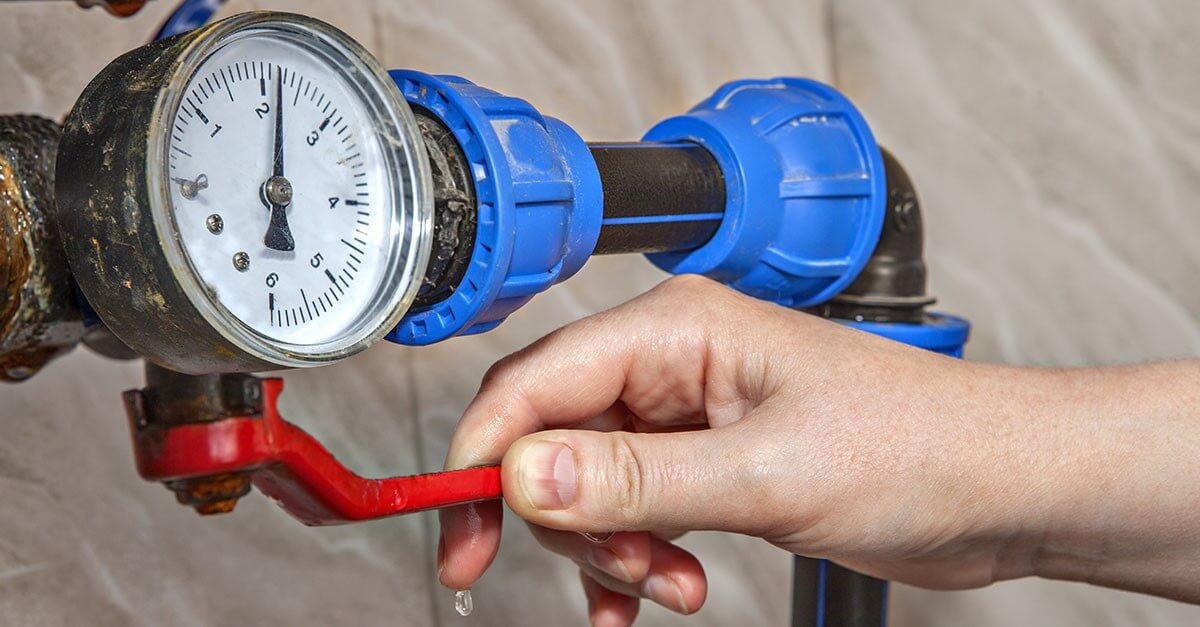
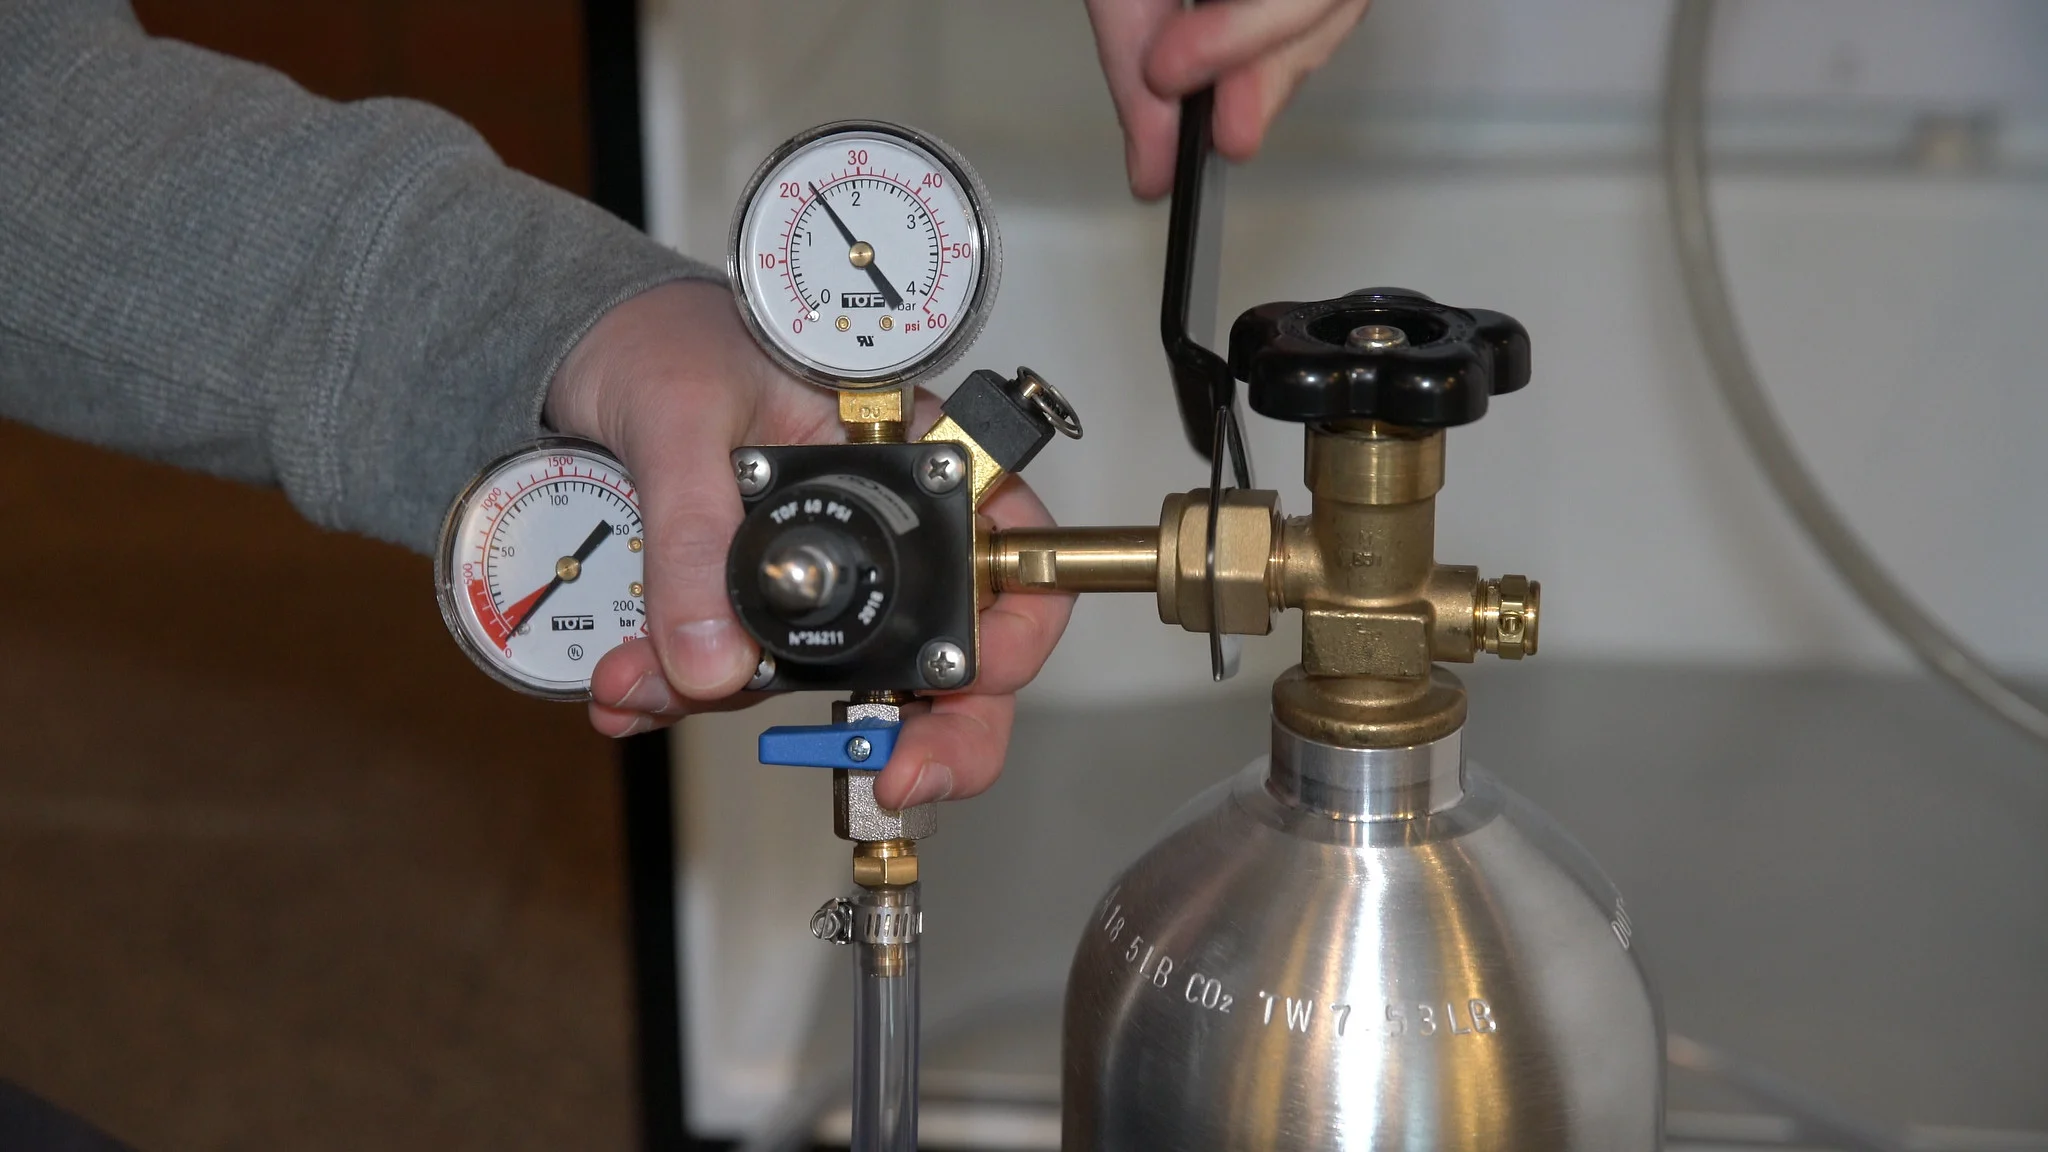
To turn off the main shut-off valve, you will need to use a wrench or a valve key, depending on the type of valve you have. If you have a wheel-type valve, use a wrench to grip the wheel and turn it clockwise until it stops. If you have a lever handle valve, simply turn it a quarter turn clockwise until it is perpendicular to the pipe.
It’s important to note that turning off the main shut-off valve may cause a momentary increase in water pressure within the pipes. Don’t be alarmed if you hear a slight banging noise or see a small amount of water spray out when you turn off the valve. This is normal and should subside quickly.
Once the main shut-off valve is fully closed, go to various faucets, toilets, and showers in your home and test them to ensure that the water flow has stopped. If you still notice water running or dripping from any fixture, you may need to revisit the main shut-off valve and make sure it is completely closed.
Turning off the main water shut-off valve effectively cuts off the water supply to your entire home. This step is crucial during plumbing repairs or emergencies, as it prevents any further water damage and allows you to work on the pipes or fixtures without the risk of water flowing.
Now that you have successfully turned off the main shut-off valve, it’s time to move on to the next step of draining excess water.
Step 3: Drain Excess Water
After turning off the main water shut-off valve, it’s important to drain any excess water that may still be present in your plumbing system. This step helps prevent water from leaking or causing damage while you work on repairs or maintenance.
To drain excess water, start by opening all the faucets and fixtures in your home. This includes turning on all the sinks, showers, and tubs. Additionally, flush all the toilets. By opening these fixtures, you allow the water to flow out of the pipes and drain into your sinks, tubs, or drains.
Keep the fixtures open until you no longer hear water flowing or see any water dripping from the faucets. This indicates that the majority of the water has been drained from your plumbing system.
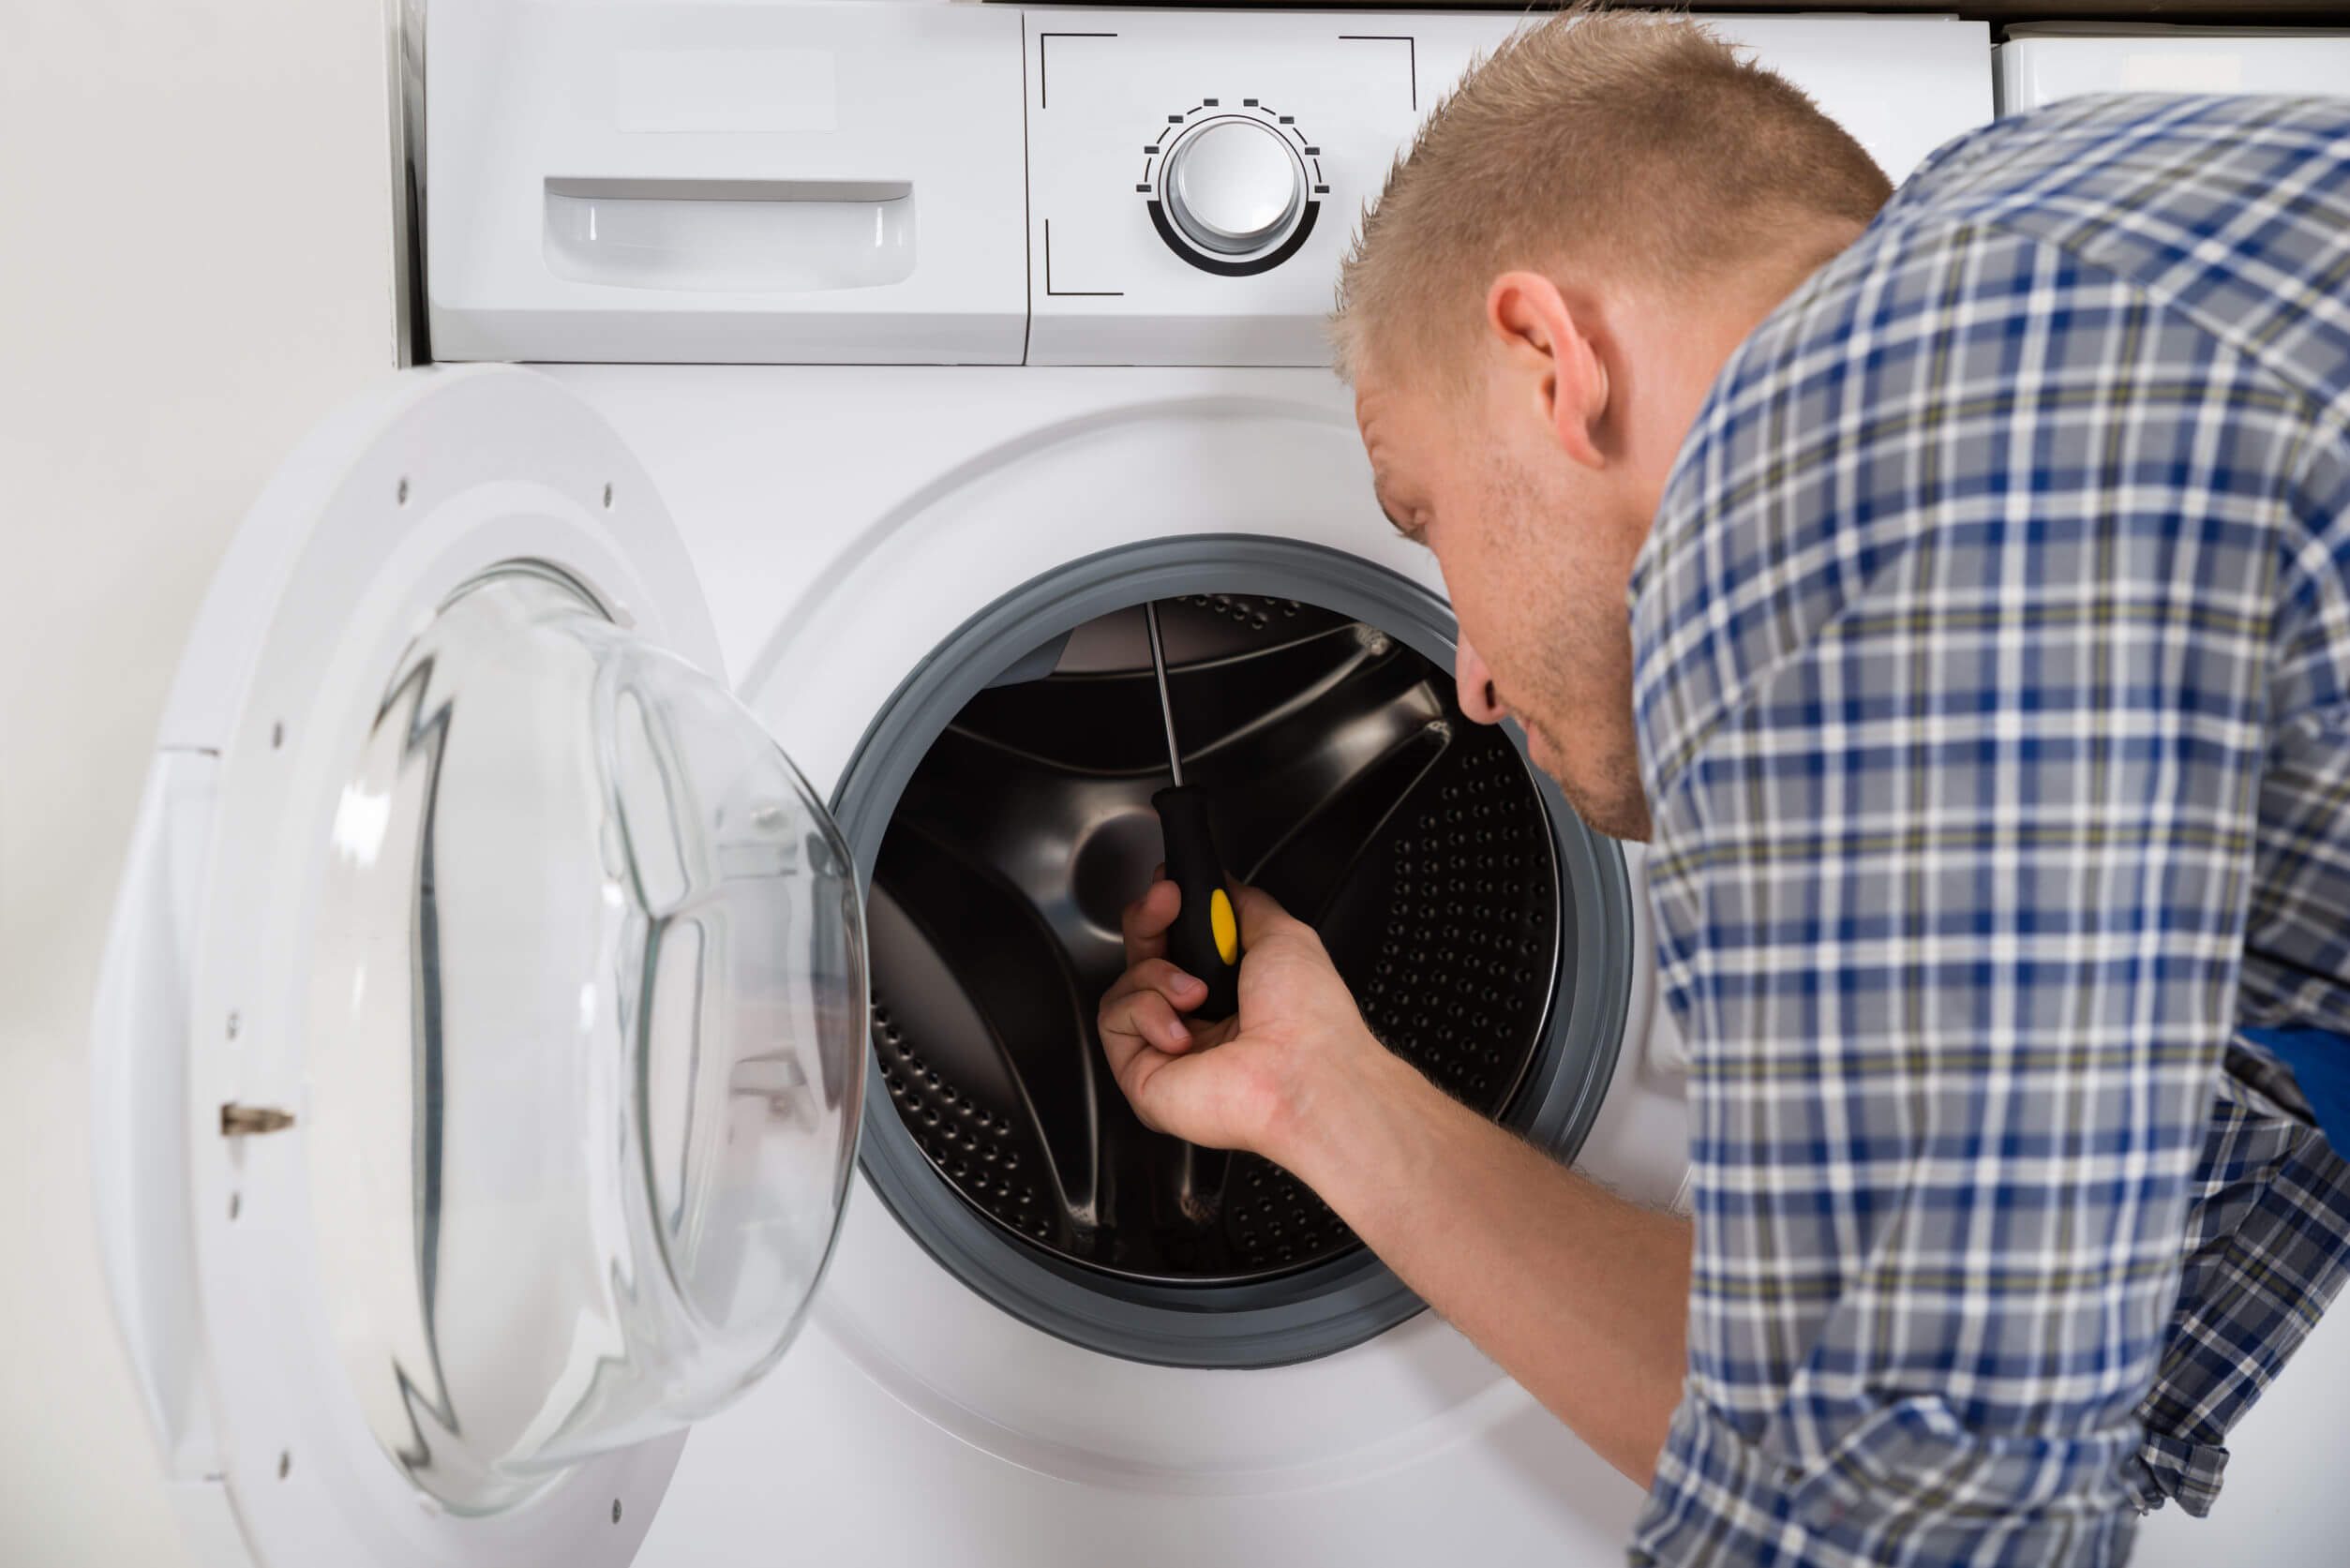
In some cases, you may need to go a step further and drain the water from specific appliances or fixtures, such as water heaters or washing machines. Consult the manufacturer’s instructions or seek professional advice on how to properly drain these appliances.
Remember to turn off any electrical devices or appliances that use water, such as water heaters or washing machines, before draining the water. This prevents any potential damage or accidents.
Draining excess water is an essential step in the water shut-off process. It ensures that the plumbing system is empty and ready for any necessary repairs or maintenance without the risk of water flow or leaks.
With the excess water drained, we can now proceed to the next step of shutting off water at individual fixtures.
Locate the main shut-off valve, usually near the water meter or where the main water line enters the house. Turn the valve clockwise to shut off the water supply.
Step 4: Shut Off Water at Individual Fixtures
Once you have turned off the main water shut-off valve and drained excess water from the plumbing system, it’s time to shut off the water at individual fixtures. This step allows you to isolate specific areas or fixtures without cutting off water supply to the entire house.
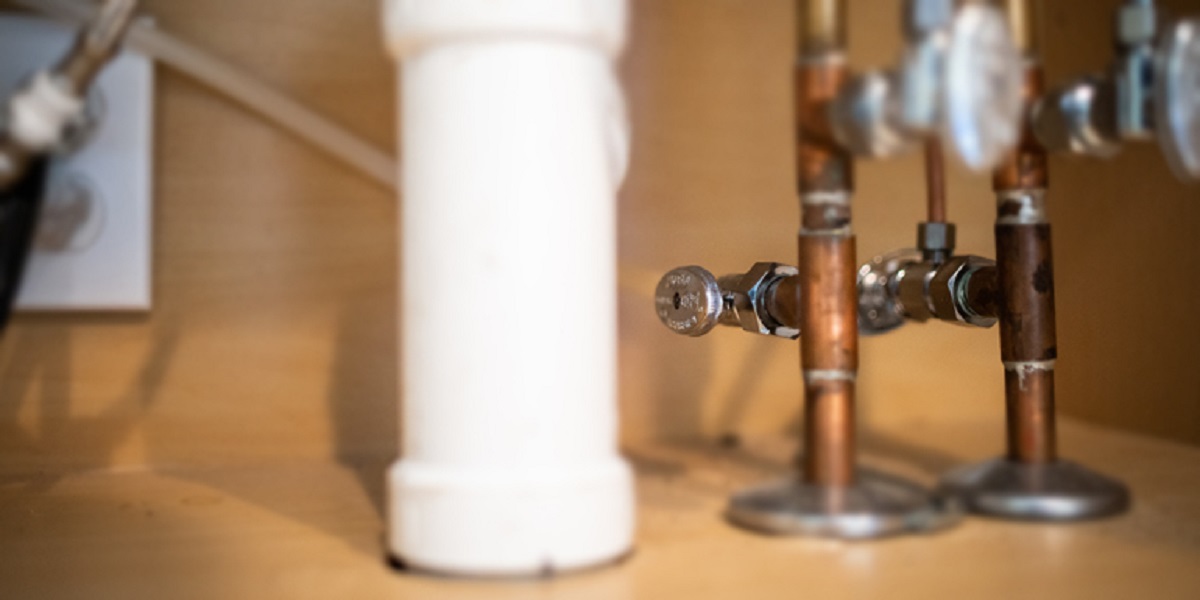
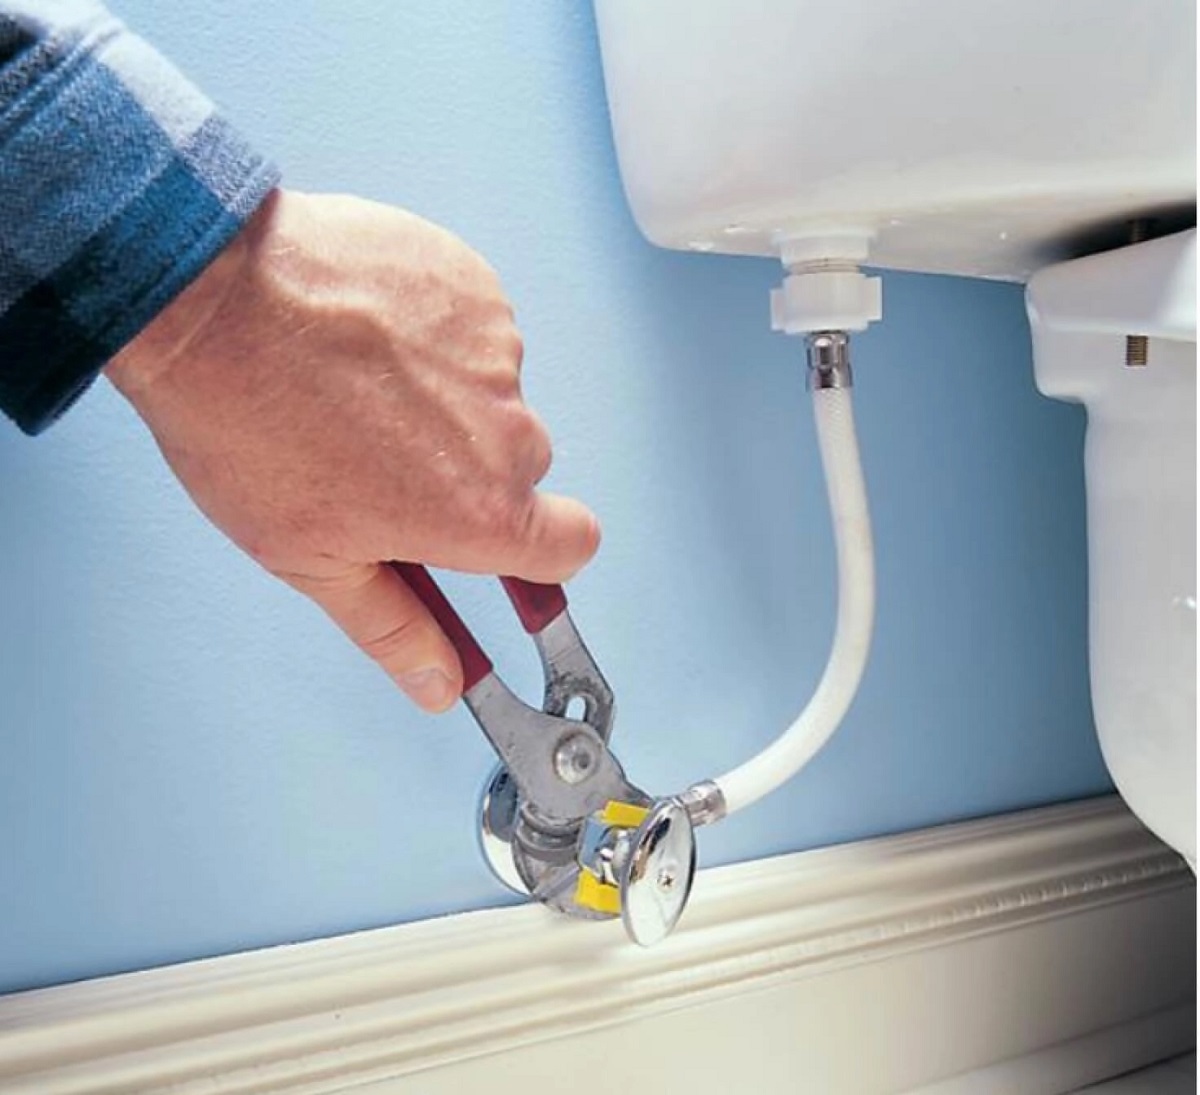
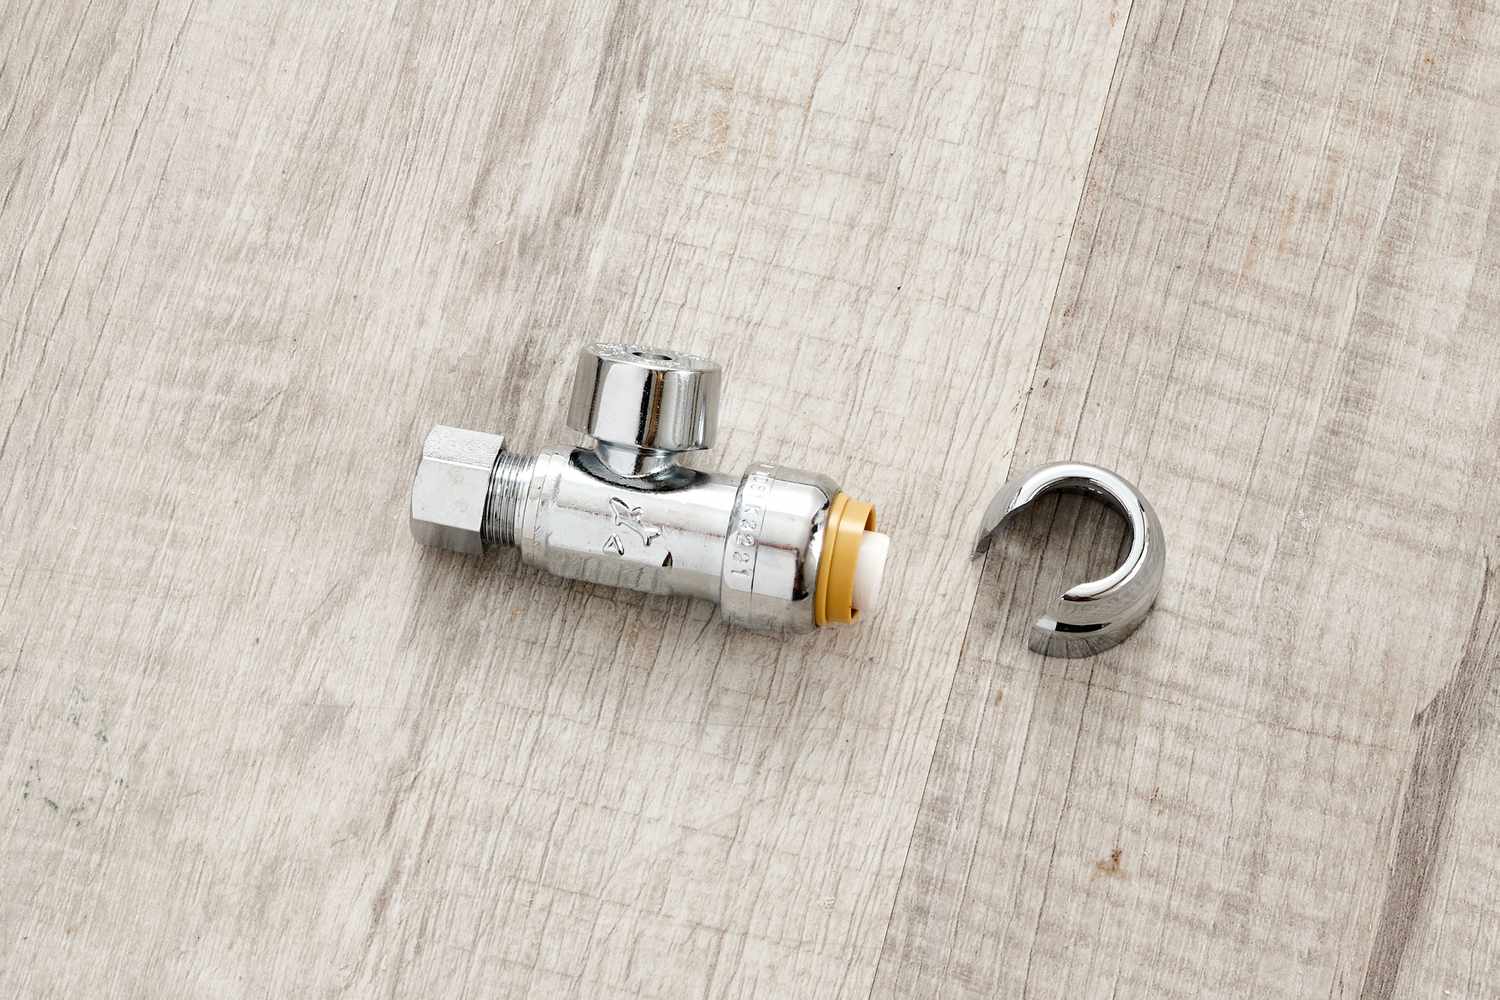
Start by identifying the shut-off valves for each fixture in your home. These valves are usually located near the fixture itself. For sinks and toilets, the shut-off valve is typically located underneath the fixture or inside the cabinet. For showers and tubs, the shut-off valve may be located behind an access panel or in the basement.
Once you have located the shut-off valve for a specific fixture, turn it clockwise until it stops. This cuts off the water supply to that particular fixture while allowing water to flow to the rest of the house. Make sure to turn off the shut-off valves for all the fixtures you want to work on or temporarily disable.
It’s important to note that not all fixtures have individual shut-off valves. If you are unable to find a shut-off valve for a specific fixture, you may need to shut off the water at the main shut-off valve for the entire house.
If you are shutting off the water to perform repairs or maintenance on a fixture, it’s a good idea to also turn off the power or gas supply to the associated appliances. For example, if you are shutting off the water to a washing machine, unplug the machine or turn off its circuit breaker.
Shutting off the water at individual fixtures provides you with more control over which areas or fixtures are without water. This can be especially useful during repair or maintenance work, as it minimizes disruption to other parts of your home.
With the water shut off at individual fixtures, we can now move on to the final step—testing for water shut-off.
Read more: How To Shut Off Water To House In Basement
Step 5: Test for Water Shut-Off
After shutting off the water at the main shut-off valve and individual fixtures, it’s important to test for water shut-off to ensure that the water flow has been completely stopped. This step allows you to verify that your shut-off efforts have been successful and that there are no leaks or water still flowing in your plumbing system.
To test for water shut-off, start by going to each fixture and turning on the faucets, showers, and toilets. If you have properly shut off the water, no water should come out of these fixtures. If you observe any water flow or dripping, it indicates that there is still water flowing in your plumbing system and you may need to revisit the shut-off valves.
Pay close attention to the fixtures where you shut off the water at the individual shut-off valves. These should show no signs of water flow. Additionally, listen for any sounds of running water or leaks around your home. Keep in mind that it may take a few minutes for the last bit of water to drain from the pipes, so be patient as you conduct your tests.
If you discover any leaks or water flow after testing, you’ll need to investigate and address the issue. It could be a sign of a faulty shut-off valve, a damaged pipe, or other plumbing problems. In such cases, it’s advisable to seek professional assistance to diagnose and fix the issue.
Ensuring that the water has been properly shut off is crucial to prevent any water damage, especially during plumbing repairs or when you are away from home for an extended period. By conducting a thorough test, you can have peace of mind knowing that the water flow has been effectively stopped.
With the water shut-off successfully tested, you have now completed the process of shutting off the water in your home.
Remember, always exercise caution when working with your plumbing system, and if you are unsure or uncomfortable with any step of the process, it’s best to contact a professional plumber for assistance.
By knowing how to shut off the water in your home, you can confidently handle plumbing emergencies, perform repairs, and maintain your plumbing system with ease. Following the steps outlined in this guide ensures that you have the necessary knowledge and skills to protect your home from potential water damage and keep your plumbing system in good condition.
Conclusion
Knowing how to shut off the water in your home is a valuable skill that every homeowner should possess. Whether you’re facing a plumbing emergency or planning to undertake repairs or maintenance, being able to control and cut off the water supply is essential.
In this comprehensive guide, we have walked you through the step-by-step process of shutting off the water in your home. From locating the main water shut-off valve to turning it off, draining excess water, shutting off water at individual fixtures, and testing for water shut-off, each step plays a crucial role in ensuring the water flow is completely stopped.
By familiarizing yourself with the location and operation of the main shut-off valve, you can quickly and confidently turn off the water supply to your entire home. Draining excess water helps prevent leaks or water damage while you work on repairs, and shutting off water at individual fixtures offers more control and convenience.
Finally, testing for water shut-off is a vital step to verify that your efforts have been successful and there are no leaks or water flow in your plumbing system. By conducting thorough tests and addressing any issues you discover, you can ensure that your home is protected from potential water damage.
Remember, if you are unsure or uncomfortable with any step of the process, it’s always best to seek professional assistance. Plumbers have the expertise and knowledge to handle plumbing emergencies and provide guidance on proper shut-off procedures.
With the information and guidance provided in this article, you can confidently navigate the process of shutting off the water in your home. By having this knowledge, you are better equipped to handle unforeseen situations, protect your home, and maintain your plumbing system for years to come.
Now that you have learned how to shut off the water in your home, it’s time to apply this knowledge and be prepared for any plumbing situation that comes your way!
Frequently Asked Questions about How To Shut Off Water
Was this page helpful?
At Storables.com, we guarantee accurate and reliable information. Our content, validated by Expert Board Contributors, is crafted following stringent Editorial Policies. We're committed to providing you with well-researched, expert-backed insights for all your informational needs.

0 thoughts on “How To Shut Off Water”