
Articles
How To Stack Wood In A Fireplace
Modified: October 20, 2024
Learn how to stack wood in a fireplace efficiently with our articles. Find useful tips and techniques for maximizing heat and creating a cozy ambiance.
(Many of the links in this article redirect to a specific reviewed product. Your purchase of these products through affiliate links helps to generate commission for Storables.com, at no extra cost. Learn more)
Introduction
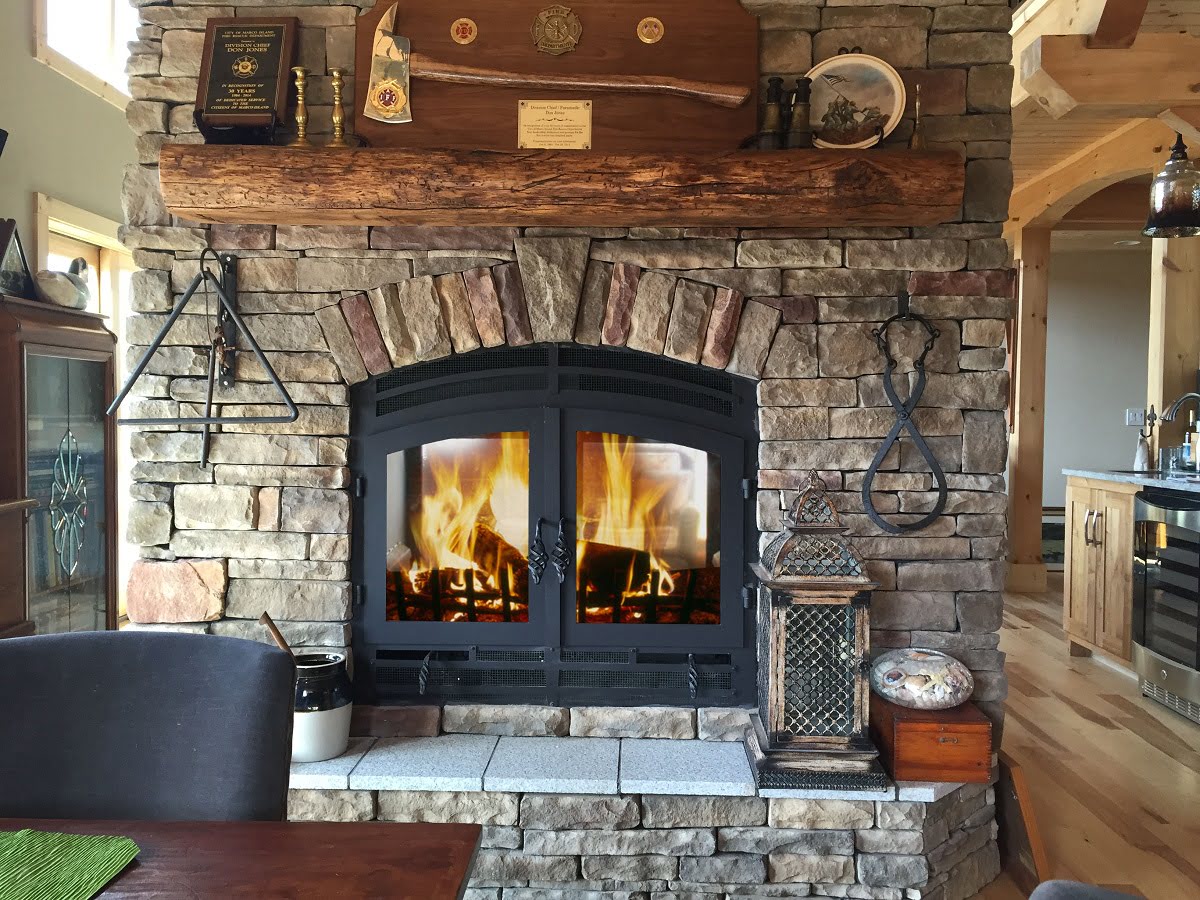
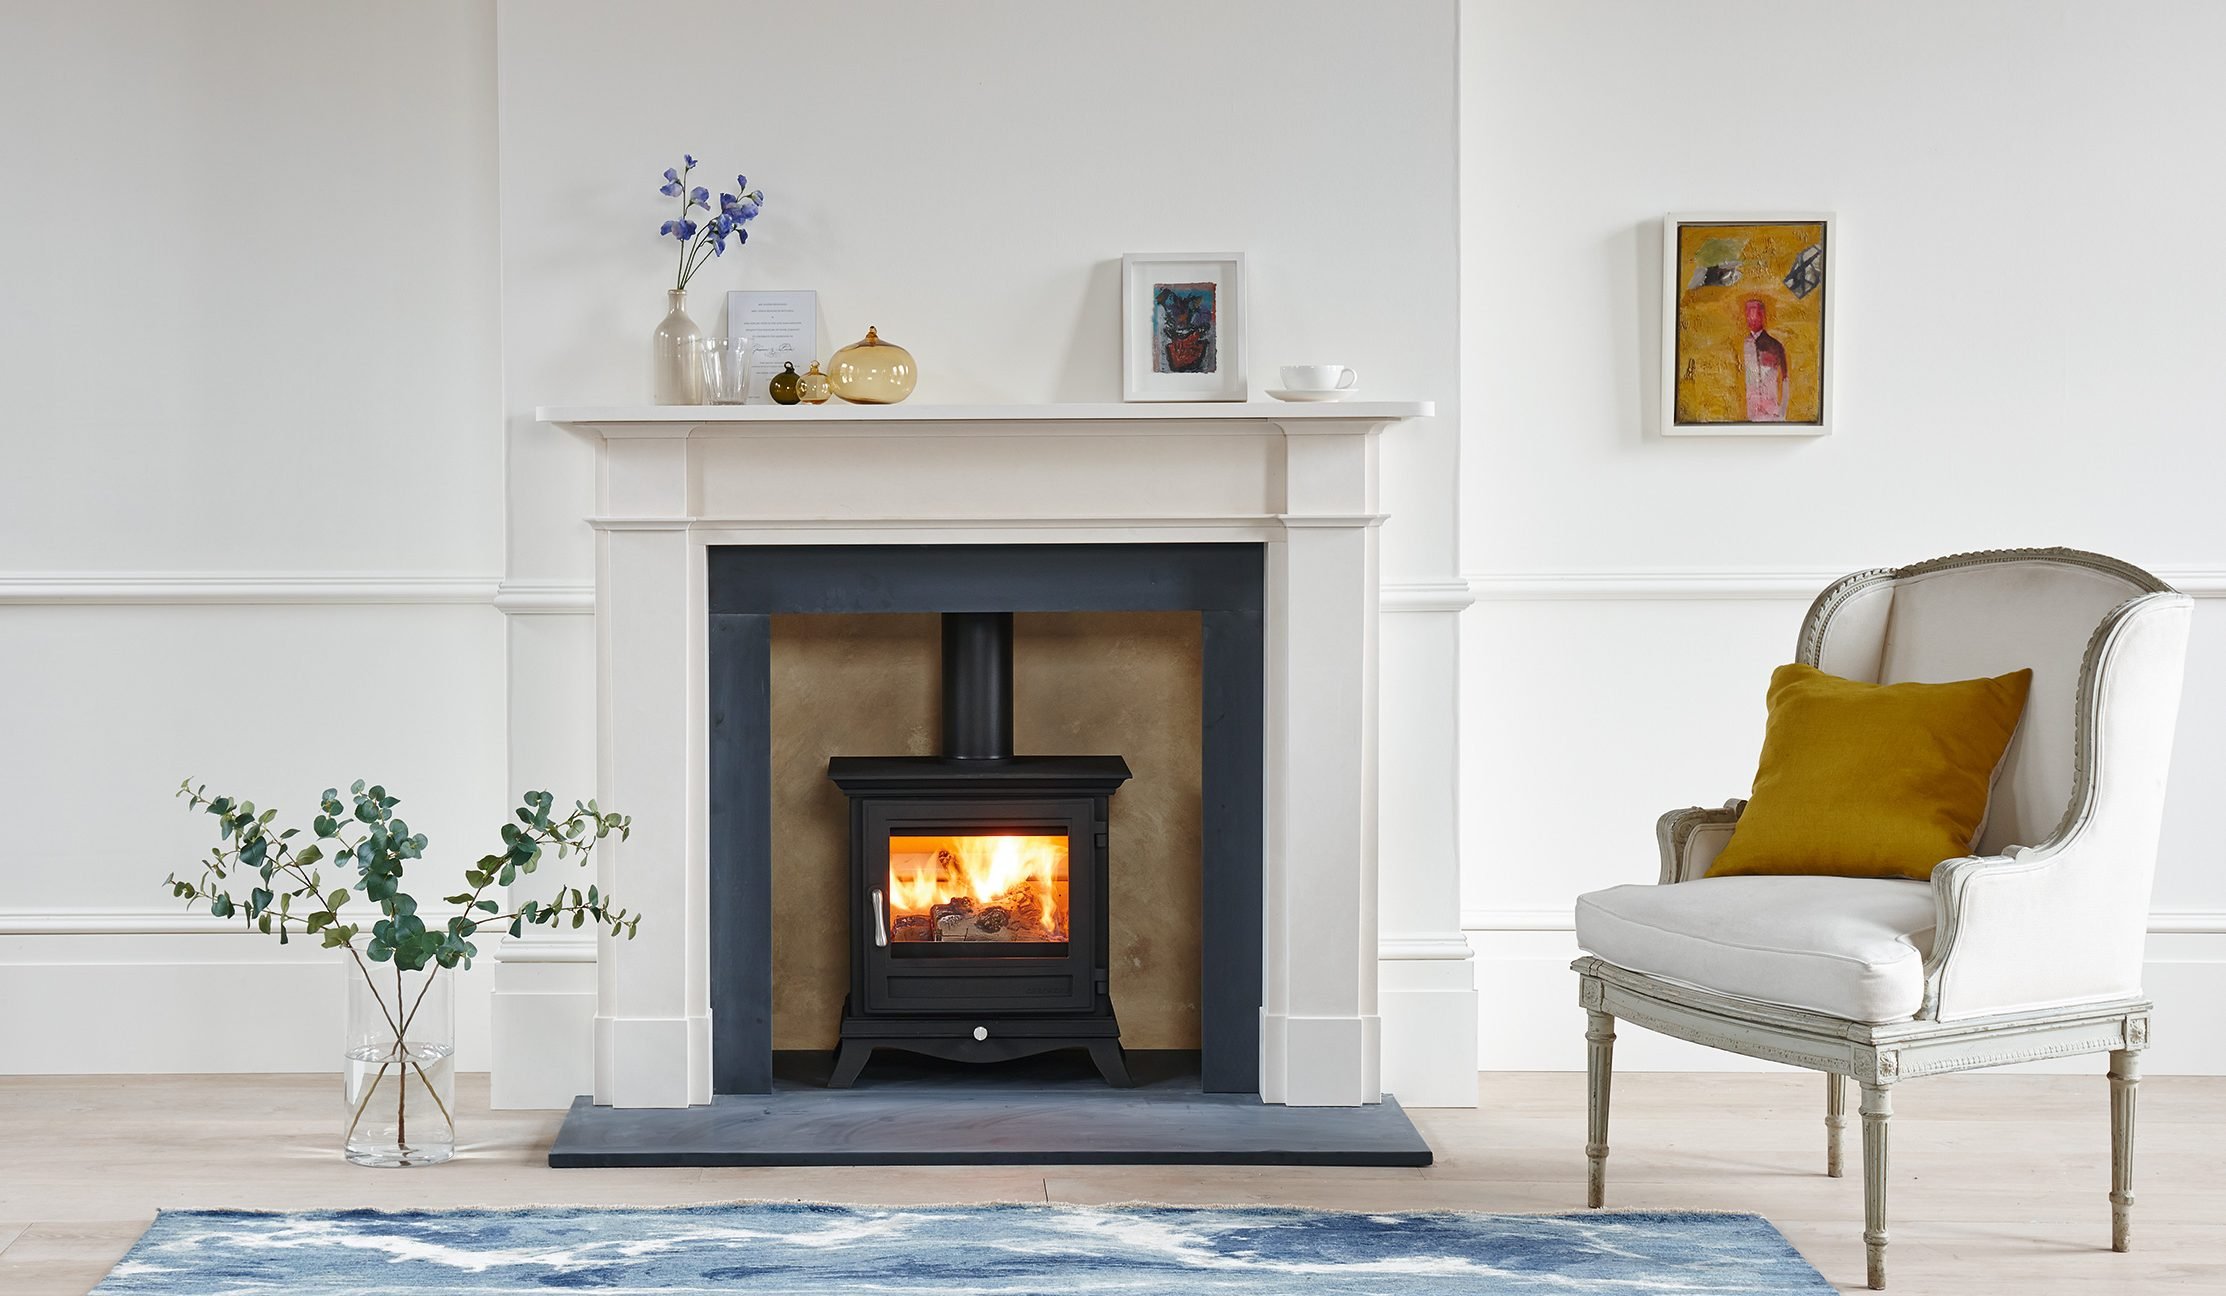
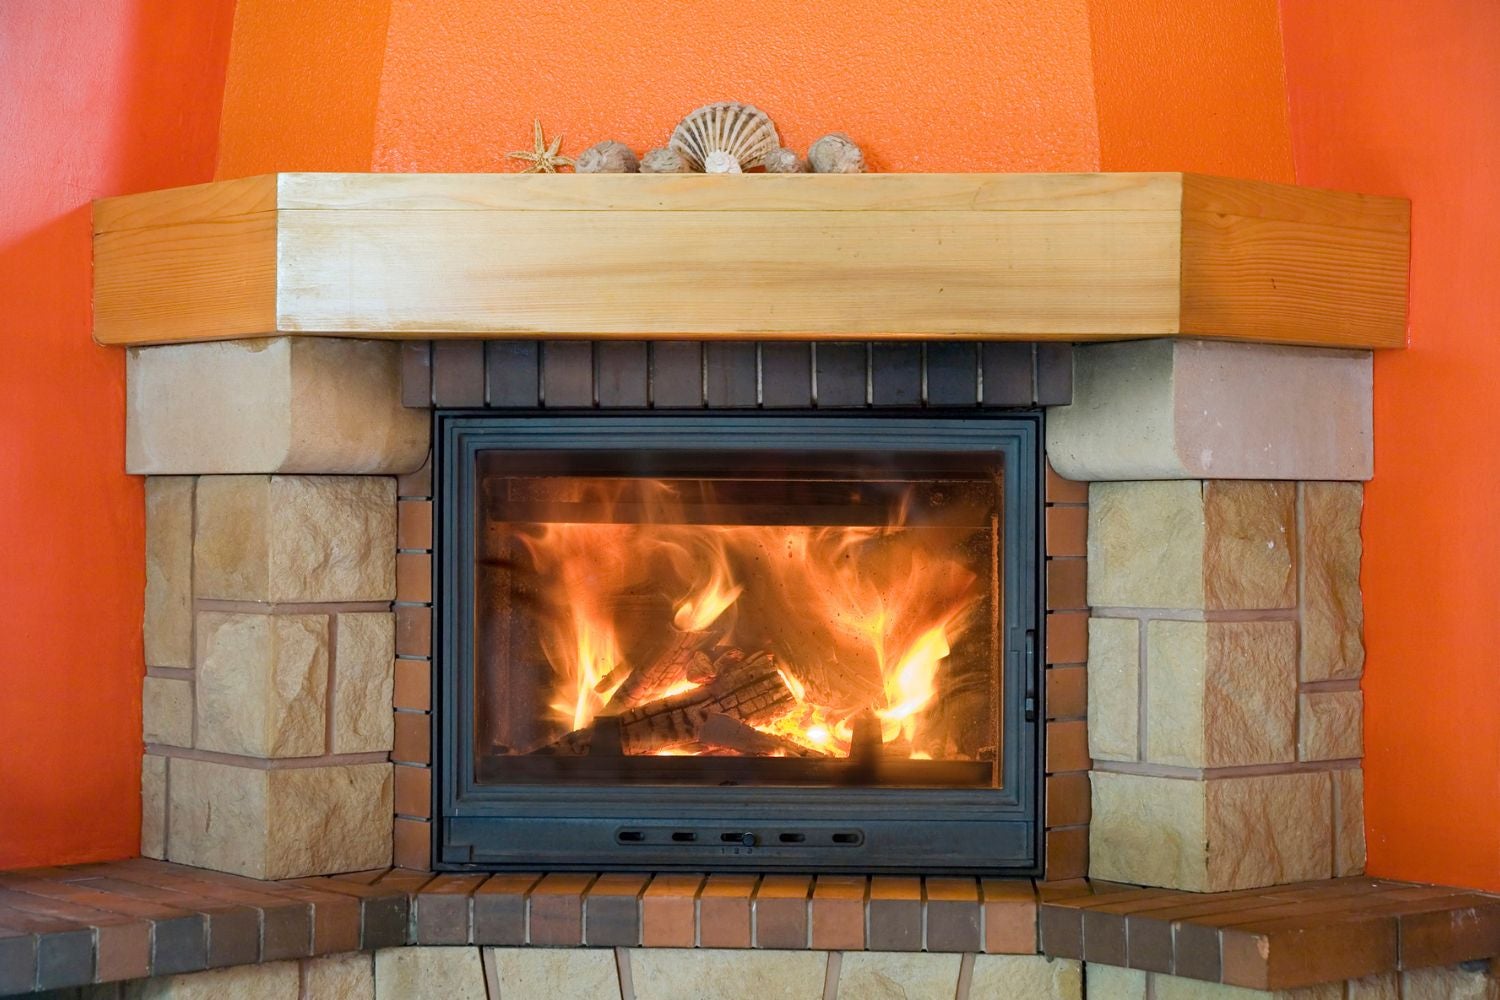
Stacking wood in a fireplace is not only a practical skill but also one that can add aesthetic appeal to your home. A well-organized and neatly stacked woodpile not only makes it easier to access firewood but also ensures efficient and safe burning. Whether you are a seasoned firebuilder or a beginner learning the ropes, this article will guide you through the process of stacking wood in a fireplace.
Before we dive into the details, it’s important to note that safety should always be the top priority. Make sure your fireplace and chimney are clean and in good working condition. Follow the manufacturer’s guidelines for your fireplace, use the appropriate tools, and take precautions to prevent accidents or injuries.
Now, let’s explore the steps to stack wood effectively and create a beautiful fireplace display:
Key Takeaways:
- Safety First
Before stacking wood in your fireplace, prioritize safety by inspecting your fireplace and chimney, keeping the area clear, using a fireplace screen, and practicing proper ventilation. Always have a fire extinguisher nearby and never leave a fire unattended. - Wood Selection and Maintenance
Select the right type of wood for efficient burning, ensure it is properly seasoned, and avoid burning wood treated with chemicals. After use, clean up and store firewood in a dry, well-ventilated area, protecting it from the elements and pests.
Read more: How To Stack Wood In A Fire Pit
Safety Precautions
Before you start stacking wood in your fireplace, it’s crucial to take the necessary safety precautions. This will help prevent accidents and ensure a safe environment for you and your loved ones. Here are some important safety tips to keep in mind:
- Inspect your fireplace and chimney: Before lighting a fire, thoroughly inspect your fireplace and chimney for any signs of damage or blockage. Look for cracks, loose bricks, or debris that could pose a safety hazard. If you notice any issues, it’s best to consult a professional chimney sweep or fireplace technician.
- Keep the area clear: Ensure that the area around the fireplace is clear of any flammable materials, such as furniture, curtains, or decorations. Keep a minimum distance of at least three feet between the fireplace and any combustible objects.
- Use a fireplace screen: Installing a fireplace screen or glass doors can prevent sparks and embers from escaping the firebox. This helps protect your home from potential fire hazards.
- Never leave a fire unattended: It’s essential to never leave a fire unattended, especially if you have pets or children in the house. Always extinguish the fire completely before leaving the room or going to bed.
- Use appropriate tools: When handling the fire or adding wood to the fireplace, use sturdy fireplace tools like tongs or a poker. These tools will help you maintain a safe distance from the flames and minimize the risk of burns.
- Keep a fire extinguisher nearby: Have a working fire extinguisher easily accessible near the fireplace. Familiarize yourself with its usage and make sure it is in good working condition.
- Practice proper ventilation: Adequate ventilation is crucial to prevent the buildup of harmful gases like carbon monoxide. Ensure that your fireplace and chimney are properly vented to allow for the proper release of smoke and gases.
- Check smoke detectors and carbon monoxide alarms: Regularly test your smoke detectors and carbon monoxide alarms to ensure they are in proper working order. Install these devices near the fireplace and throughout your home for maximum safety.
By following these safety precautions, you can enjoy the warmth and ambiance of a crackling fire while minimizing the risk of accidents or injuries.
Selecting the Right Wood
Choosing the right type of wood is essential for efficient burning and creating a warm and welcoming fire in your fireplace. Here are some factors to consider when selecting the right wood:
- Hardwood vs. Softwood: Hardwoods like oak, maple, birch, and hickory are denser and provide longer-lasting and hotter burns. Softwoods like pine and fir burn faster and are easier to ignite, making them ideal for kindling. For a well-balanced fire, use a combination of hardwoods and softwoods.
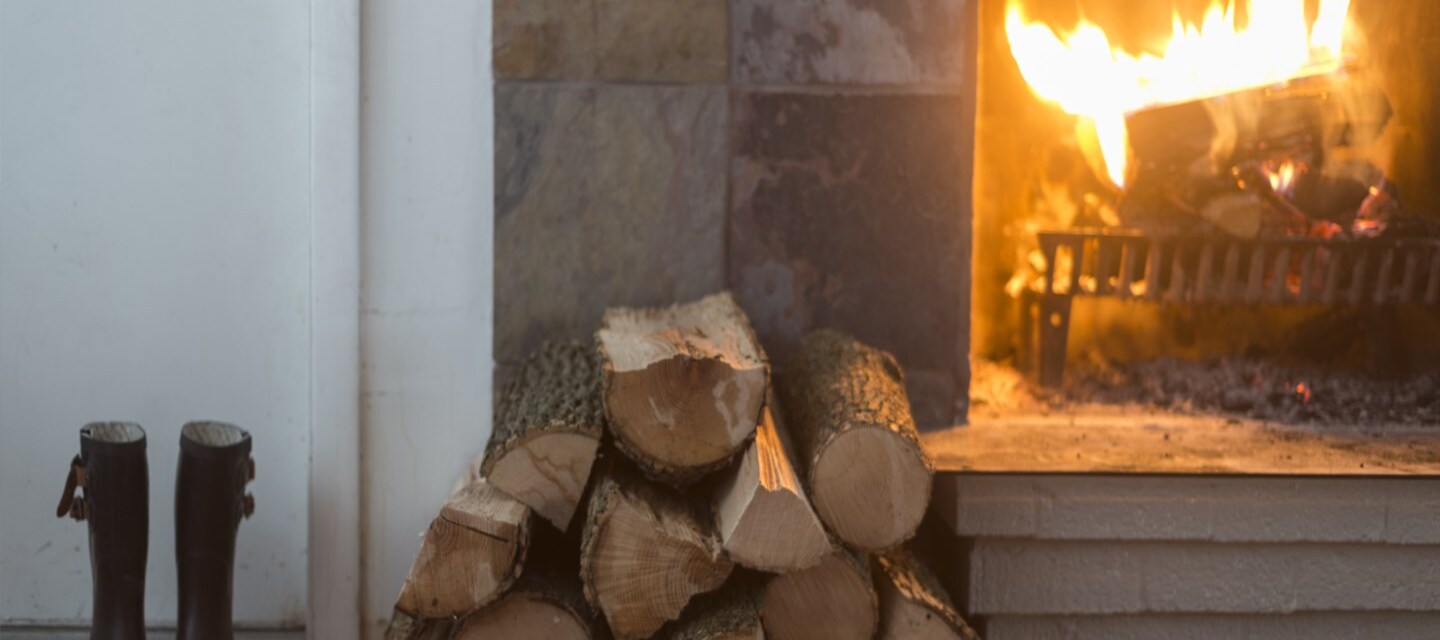
- Dryness: It’s crucial to use dry or seasoned wood for your fireplace. Freshly cut or green wood contains a high moisture content, which can result in poor combustion, excessive smoke, and reduced heat output. Ideally, firewood should be seasoned for at least six months to a year to ensure it has a moisture content of around 20% or less.
- Size and Thickness: Split wood into manageable sizes that fit easily in your fireplace. Aim for log lengths of around 12-18 inches and a thickness of 3-6 inches. Smaller pieces can be used for kindling.
- No Wood Treated with Chemicals: Avoid burning wood that has been treated with chemicals, painted, or stained. These materials can release toxic fumes when burned, posing health risks.
- Sustainable and Ethical Sourcing: Consider sourcing your firewood from sustainable and ethical sources. Look for local suppliers who practice responsible forestry practices or use wood from renewable resources.
Remember that the quality of the firewood you choose will directly impact the warmth and longevity of your fire. By selecting the right type of wood and ensuring it is properly seasoned, you can create a fire that burns efficiently, produces less smoke, and provides optimal heat output for your enjoyment.
Clearing Out the Fireplace
Before you begin stacking wood in your fireplace, it’s important to clear out any debris and ash from previous fires. Here are the steps to effectively clear out your fireplace:
- Make sure the fire has completely burned out: Wait until the embers have died down and the ash has cooled before attempting to clean out the fireplace. This ensures your safety and prevents any accidental fires.
- Protect the surrounding area: Place a drop cloth or old sheets around the fireplace to catch any debris that may fall during the cleaning process. This will make cleanup easier.
- Use a fireplace shovel and ash bucket: Using a fireplace shovel, carefully scoop out any remaining ash and debris from the firebox. Dispose of the ashes in a metal ash bucket. Avoid using a regular trash can as the ashes may still contain hot embers.
- Inspect the chimney: Take a moment to visually inspect the chimney for any signs of creosote buildup or obstructions. Creosote is a highly flammable substance that can accumulate in the chimney and increase the risk of a chimney fire. If you notice excessive buildup or suspect any obstructions, it’s best to contact a professional chimney sweep for a thorough cleaning.
- Clean the fireplace walls and floor: Use a brush or vacuum to remove any loose soot or ash from the walls and floor of the fireplace. Be gentle to avoid damaging the bricks or mortar.
- Dispose of ashes safely: Once the ash has cooled completely, dispose of it in a safe manner. Avoid dumping ashes directly onto the ground or into a trash can. Instead, find a designated outdoor ash disposal area or wait for a few days before disposing of them in a trash receptacle.
By properly clearing out your fireplace, you create a clean and safe environment for stacking wood and ensure better airflow for a more efficient and enjoyable fire.
Preparing the Firebox
Preparing the firebox is an important step in ensuring a successful fire. It involves arranging the necessary materials and preparing the area for efficient burning. Here’s how you can prepare the firebox:
- Clean the firebox: Start by clearing out any remaining debris or ash from the previous fire, following the steps outlined in the previous section. This will provide a clean and tidy space for your new fire.
- Check the damper: The damper is a metal flap located in the chimney that controls the airflow. Make sure it is fully open before starting the fire to ensure proper ventilation. This allows smoke to escape and fresh air to enter, promoting efficient burning.
- Arrange grates or fire bricks: Place grates or fire bricks at the bottom of the firebox to elevate the wood off the ground. This helps create air circulation, allowing the wood to burn more efficiently.
- Open the airflow vents: Many fireplaces have adjustable vent mechanisms that regulate the amount of air flowing into the firebox. Open these vents to provide a steady supply of oxygen to the fire.
- Add insulation if necessary: If your fireplace has poor insulation, you can enhance its efficiency by adding insulation materials, such as refractory panels or fire-resistant insulation. This helps to keep the heat in the firebox and prevent it from escaping into the chimney.
- Inspect the flue: Before lighting the fire, check that the flue is fully open and clear of obstructions. Use a flashlight to shine up the chimney and look for any debris or nests that may be blocking the flue. Remove any obstructions to ensure proper airflow.
By properly preparing the firebox, you create a conducive environment for a well-structured fire. The arrangement and setup described above will allow for efficient burning, proper ventilation, and a more enjoyable fire experience.
Read more: Where To Buy Stacked Stone For Fireplace
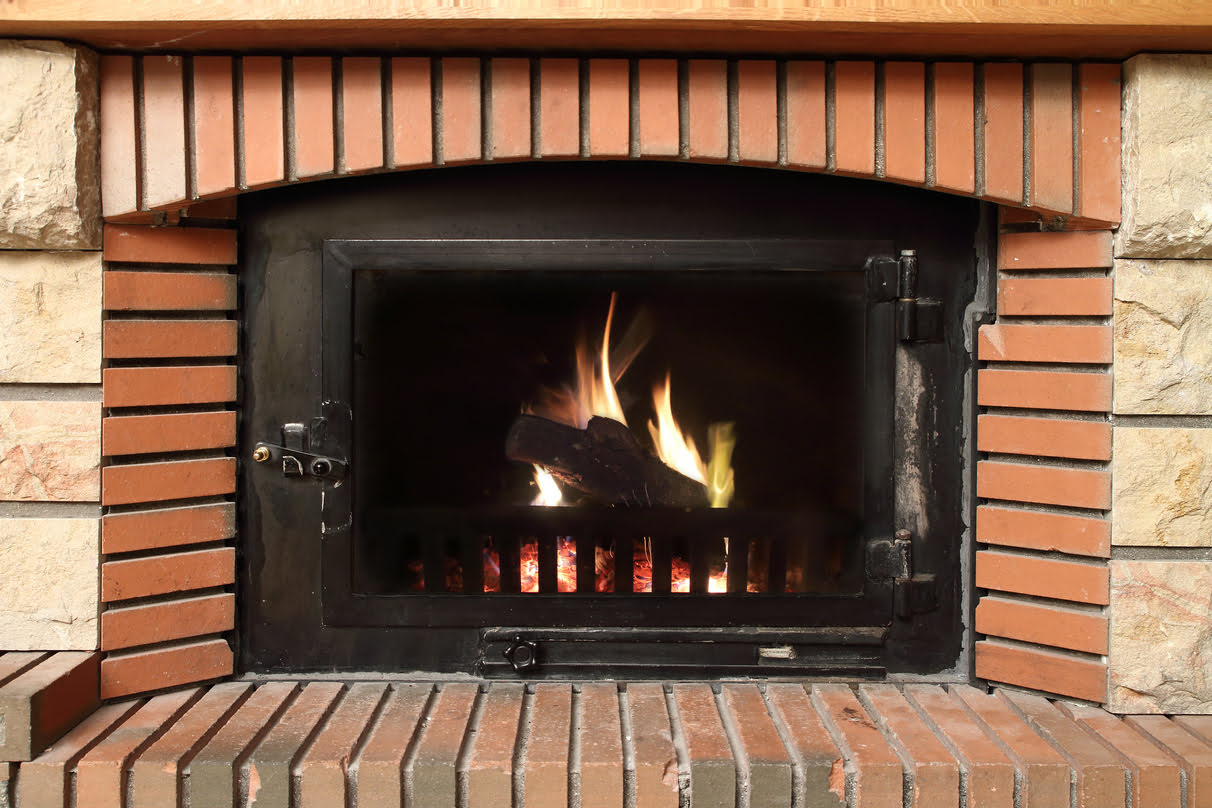
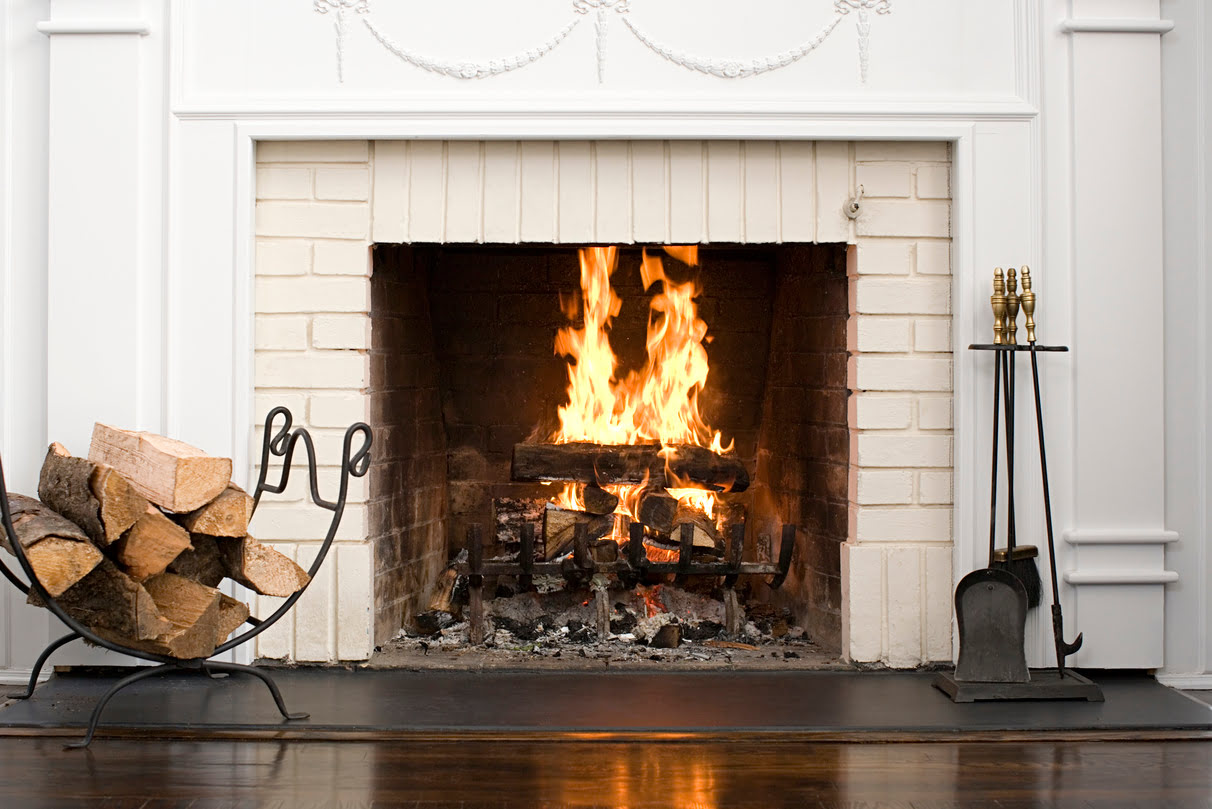
Arranging the Base Layer
When stacking wood in a fireplace, it’s important to arrange a solid and stable base layer. This base layer serves as the foundation for the rest of the stack and provides proper airflow for efficient burning. Here’s how you can arrange the base layer:
- Select large, sturdy logs: Begin by selecting larger, sturdy logs for the base layer. These logs should be the same length, typically around 12-18 inches, and have a diameter of 3-6 inches.
- Place logs perpendicular to the front of the fireplace: Position the logs perpendicular to the front of the fireplace, placing them parallel to each other and closely together. This helps create a solid and stable foundation.
- Leave small gaps between logs: Leave small gaps between the logs for adequate airflow. These gaps allow oxygen to reach the fire and enhance combustion. The size of the gaps should be approximately the width of your finger.
- Continue stacking logs: Layer additional logs on top of the base layer, alternating their direction to add stability. Remember to leave gaps between the logs for sufficient airflow.
- Stack the logs tightly: As you stack the logs, ensure they are tightly packed to create a stable structure. Avoid leaving large gaps between the logs, as this can hinder airflow and affect the burn quality.
- Avoid stacking too high: It’s important to avoid stacking the logs too high in the fireplace. The height of the stack should not exceed the height of the fireplace opening, as this can pose a safety risk and cause logs to fall out. Maintain a safe and manageable height to prevent accidents.
- Leave space for kindling: Save some space on the top layer of the base stack for adding kindling and fire starters. These smaller pieces will ignite quickly and help start the larger logs.
By arranging a well-structured base layer, you create a solid foundation for your wood stack. This allows for proper airflow, efficient burning, and a stable fire that will burn for a longer duration.
When stacking wood in a fireplace, start with larger logs on the bottom and gradually stack smaller pieces on top. Leave space between the logs for air circulation to help the fire burn more efficiently.
Building Up the Stack
Once you have arranged the base layer of logs in your fireplace, it’s time to build up the rest of the stack. Building up the stack properly ensures maximum heat output, efficient combustion, and a visually appealing arrangement. Follow these steps to build up the stack:
- Choose progressively smaller logs: Select progressively smaller logs as you build up the stack. These logs should be slightly shorter in length and have a smaller diameter than the ones used in the base layer. Use a mix of hardwoods and softwoods for a well-balanced fire.
- Alternate log directions: As you layer the logs on top of the base layer, alternate their direction to create stability. This cross-stack pattern helps the logs support each other and prevents them from rolling or collapsing.
- Leave gaps between logs: Similar to the base layer, leave small gaps between the logs in the stack. These gaps provide space for air circulation, allowing for efficient combustion. Aim for gaps approximately the width of your finger or slightly larger.
- Gradually decrease log size: continue to decrease the log size as you move up the stack. This creates a tapering effect that helps the fire burn from bottom to top, ensuring consistent heat distribution.
- Stack logs tightly: Pack the logs tightly together to maintain a stable and solid structure. Avoid leaving large gaps between logs, as this can disrupt the airflow and affect the burn quality. A tightly packed stack promotes more efficient combustion and longer burn times.
- Consider aesthetics: While functionality is important, don’t forget about the visual appeal of your wood stack. Arrange the logs in a way that creates an aesthetically pleasing pattern. This could include alternating wood colors or arranging logs by size to create an interesting design.
- Leave space for kindling: Similar to the base layer, reserve some space on the top layer of the stack for adding kindling and fire starters. These smaller pieces will ignite quickly and help start the larger logs.
By following these guidelines, you can build a well-structured wood stack that not only enhances the functionality of your fireplace but also adds a visually pleasing element to your living space.
Creating Air Gaps
One essential aspect of stacking wood in a fireplace is creating proper air gaps between the logs. These air gaps allow for efficient combustion by providing an adequate supply of oxygen to the fire. Here’s how you can create air gaps in your wood stack:
- Leave gaps between logs: As you stack the logs, be mindful of leaving small gaps between them. These gaps promote airflow and allow oxygen to reach the fire, enabling it to burn more efficiently. The size of the gaps should be approximately the width of your finger or slightly larger.
- Avoid over-stacking: It’s important not to over-stack the logs tightly together. While it may seem logical to pack them as tightly as possible, this can impede proper airflow and inhibit efficient combustion. Leave some space between the logs to allow for air circulation.
- Stack logs at an angle: Instead of stacking logs perfectly parallel to each other, try arranging them at a slight angle. This technique creates natural gaps between the logs, allowing air to flow through the stack more easily.
- Use kindling for additional air gaps: Incorporating kindling, such as small twigs or thin pieces of wood, into the stack can help create additional air gaps. Place the kindling strategically throughout the wood stack to ensure proper ignition and airflow.
- Consider using a log cabin or teepee style: Another option for creating air gaps is to stack the logs in a log cabin or teepee style. Both styles involve arranging the logs in a way that creates natural gaps between them, allowing for better airflow.
- Monitor the air gaps: While creating air gaps is crucial, it’s important to maintain a balance. Avoid leaving overly large gaps that can cause the logs to collapse or the fire to burn too quickly. Regularly check the stack and adjust as needed to ensure optimal airflow and burn efficiency.
By intentionally creating air gaps in your wood stack, you improve the overall combustion process and help generate a more efficient and longer-lasting fire. These air gaps allow oxygen to circulate and ensure a strong and consistent burn throughout the stack.
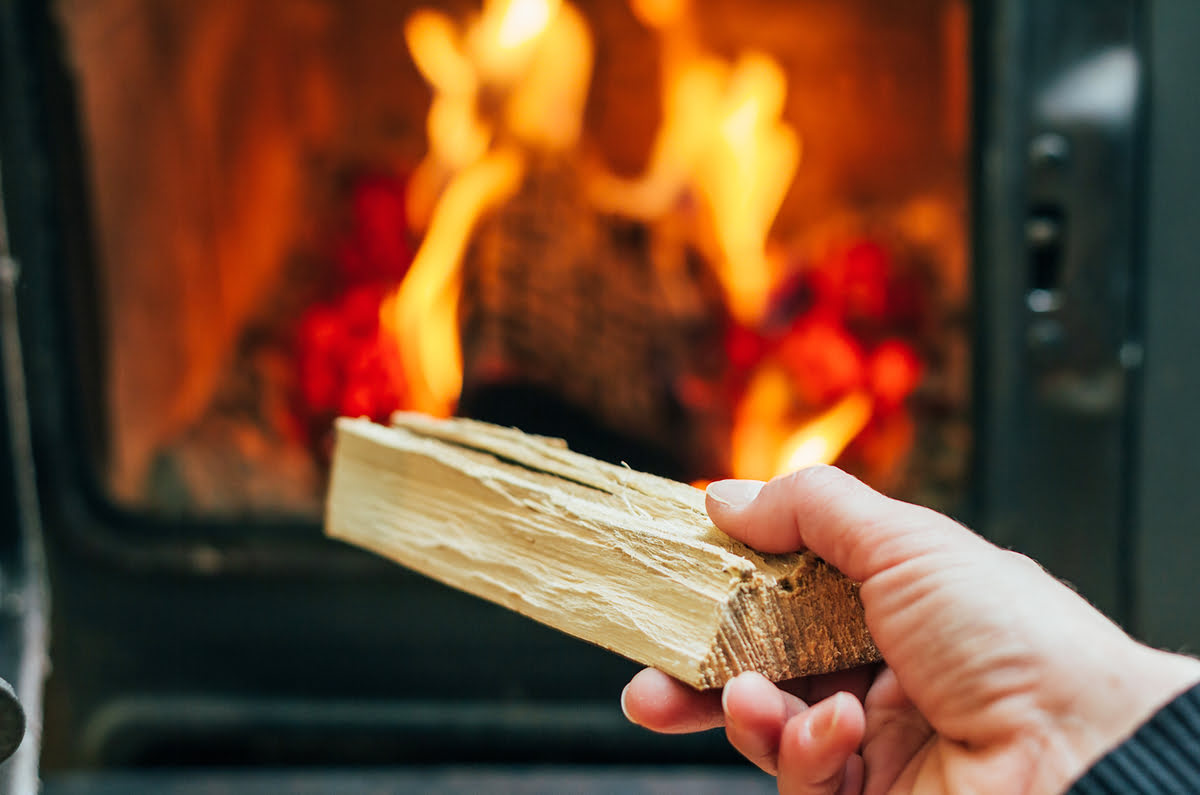
Adding Kindling and Fire Starters
Kindling and fire starters play a crucial role in getting your fire off to a strong start. They provide the initial flame and heat needed to ignite the larger logs in your wood stack. Here’s how you can effectively add kindling and fire starters to your fireplace:
- Gather appropriate kindling: Kindling refers to small, dry sticks or twigs that ignite easily and burn quickly. Look for dry and lightweight kindling that is no thicker than your finger. Suitable options include dry leaves, small branches, or newspaper.
- Prepare the kindling: If your kindling is slightly damp, you can dry it by placing it near a heat source or in a sunny spot for a few hours. This ensures that it will ignite more easily when placed in the fire.
- Arrange the kindling: Place the kindling on top of the base layer of logs or within the gaps in your wood stack. Crisscross the sticks to create a loose and airy structure that encourages airflow. You can also stack them in a teepee-like formation, allowing for better combustion.
- Add fire starters: Fire starters are highly flammable materials used to initiate the fire. They can be in the form of commercially available fire starter sticks or homemade options like wax-coated pinecones or cotton balls soaked in melted candle wax.
- Position the fire starters: Place the fire starters in between the kindling, ensuring that they are in direct contact with the kindling or nestled within its structure. This helps the flame from the fire starters catch on to the kindling more easily.
- Light the fire starters: Use a long match or fireplace lighter to ignite the fire starters. Light them at multiple points to ensure that the flame spreads quickly and evenly throughout the kindling.
- Adding larger logs: Once the kindling has caught fire and is burning steadily, you can start adding larger logs to the stack. Place them carefully on top of the burning kindling, closer to the back of the fireplace for stability.
- Let the fire establish: Allow the fire to establish itself, ensuring that the larger logs catch fire and burn steadily. Adjust the airflow if necessary by opening or closing any vents on the fireplace.
By incorporating kindling and fire starters into your fireplace, you can ignite the fire more quickly and efficiently. They provide the initial heat and flame needed to ignite the larger logs, helping you establish a strong and long-lasting fire.
Read more: How To Light Wood Fireplace
Lighting the Fire
Lighting a fire in your fireplace can be a rewarding and enjoyable experience. With proper preparation, you can create a warm and inviting atmosphere in your home. Here’s a step-by-step guide on how to light a fire in your fireplace:
- Ensure proper ventilation: Before lighting the fire, make sure the damper or flue is open to allow for proper airflow. This helps prevent smoke from filling the room and ensures that the fire burns efficiently.
- Arrange the wood stack: Ensure that you have properly stacked the wood in the fireplace, following the guidelines mentioned earlier. The base layer should be sturdy, and there should be adequate air gaps between the logs for proper combustion.
- Add kindling and fire starters: Place small and dry kindling on top of the base layer of logs or within the gaps in the wood stack. Add fire starters, such as commercially available sticks or homemade options, in direct contact with the kindling to initiate the flame.
- Light the fire starters: Use a long match or fireplace lighter to ignite the fire starters at multiple points. This will help ensure that the flame spreads quickly and evenly throughout the kindling.
- Monitor the fire: As the kindling catches fire and begins to burn, monitor the flames and make any necessary adjustments. If the fire starts to die down, add more kindling or gently blow on the flames to provide oxygen and encourage combustion.
- Gradually add larger logs: Once the kindling has established a strong flame, begin adding larger logs to the fire. Place them carefully on top of the burning kindling, closer to the back of the fireplace for stability.
- Manage the airflow: Adjust the airflow in your fireplace by opening or closing any vents or dampers. This helps control the intensity of the fire and maintain a steady burn throughout.
- Enjoy the fire: Once the fire is burning steadily, sit back, relax, and enjoy the warmth and ambiance it provides. Ensure that you keep a safe distance from the fire and never leave it unattended.
Remember, safety is paramount when lighting a fire in your fireplace. Always exercise caution, follow safety guidelines, and supervise the fire at all times. A properly lit fire can create a cozy and inviting atmosphere, perfect for relaxing and enjoying the comfort of your home.
Maintaining the Fire
Once you have successfully lit a fire in your fireplace, it’s important to properly maintain it to ensure optimal heat output and a safe burning environment. Here are some tips for maintaining the fire:
- Keep an eye on the fire: Regularly monitor the fire to ensure that it is burning safely and steadily. Watch for any signs of excessive smoke, sparks, or embers escaping the firebox. If necessary, adjust the airflow and add more wood to maintain the desired flame.
- Add more wood gradually: As the fire burns, you may need to add more wood to keep it going. Avoid adding too much wood at once, as this can smother the fire. Instead, add logs gradually and maintain a balanced stack, ensuring proper air gaps between the logs.
- Use hardwoods for longer burn time: Hardwoods like oak, maple, and hickory burn longer and provide more sustained heat compared to softwoods like pine or fir. Consider using hardwood logs to keep the fire going for extended periods.
- Avoid overcrowding the fireplace: While it may be tempting to load the fireplace with as much wood as possible, overcrowding can hinder proper airflow and combustion. Maintain a safe and manageable stack height, ensuring that the flames can breathe and move freely.
- Remove ashes and debris: Regularly remove excess ashes and debris from the firebox to maintain proper airflow. Use a fireplace shovel and ash bucket to scoop out the cold ashes and dispose of them in a safe manner. Leaving a thin layer of ashes can actually help insulate the firebox and enhance heat retention.
- Keep a safe distance: Always keep a safe distance from the fire to prevent accidental burns. Use fireplace tools like tongs or a poker when adjusting the logs or adding more wood. Never leave the fire unattended, especially if you have pets or children in the vicinity.
- Maintain proper ventilation: Ensure that the ventilation system, such as the damper or flue, remains open throughout the duration of the fire. This allows for the proper release of smoke and prevents the buildup of harmful gases like carbon monoxide.
- Extinguish the fire completely: Before leaving the room or going to bed, ensure that the fire is completely extinguished. Use a fireplace screen or glass doors to contain any remaining embers or sparks. Dispose of the ashes and clean the fireplace before the next use.
By following these tips, you can maintain a safe and well-managed fire in your fireplace. Regular monitoring and proper maintenance will ensure a cozy and enjoyable fire experience while minimizing the potential risks associated with burning wood.
Cleaning Up and Storing Firewood
Once you have finished using your fireplace, it’s important to properly clean up and store your firewood to maintain its quality and ensure a safe and organized space. Here are some steps to follow for cleaning up and storing firewood:
- Remove any remaining ashes and debris: Start by scooping out any remaining ashes and debris from the firebox using a fireplace shovel and ash bucket. Dispose of the ashes in a safe and designated location away from flammable materials.
- Inspect the logs: Before storing the firewood, inspect the logs for signs of damage or pests. Remove any logs that are rotting, infested with insects, or have signs of mold growth. These logs should be disposed of properly to prevent the spread of pests or diseases.
- Clean the fireplace: Use a brush or vacuum to clean the fireplace walls and floor, removing any soot or residue. Wipe down the fireplace tools and remove any remaining ash that may have accumulated during use.
- Stack the firewood: Choose a suitable location for stacking your firewood. It should be a dry and well-ventilated area, preferably off the ground to prevent moisture absorption. Stack the firewood in a neat and organized manner, ensuring proper airflow between the logs.
- Allow for seasoning: If you have recently purchased or cut fresh firewood, it will need time to season or dry properly. Seasoning typically takes around six months to a year, depending on the type of wood. Ensure that the firewood is protected from rain and snow but still benefits from airflow to aid in the drying process.
- Cover the firewood: To protect the firewood from the elements, cover it with a waterproof tarp or firewood cover. This helps prevent moisture absorption and keeps the wood dry for optimal burning in the future.
- Keep a safe distance from the house: When storing firewood, ensure it is stored at a safe distance from your home. This helps prevent any potential transfer of pests or moisture from the firewood to your dwelling.
- Rotate the firewood: To maintain the quality of your firewood, it’s important to rotate the stack. Use the oldest wood first to ensure proper usage before it becomes too dry or prone to decay. This helps prevent waste and ensures efficient burning.
- Regularly inspect and maintain: Periodically inspect your stored firewood for any signs of pests, mold, or decay. Remove any affected logs immediately to prevent further damage. Additionally, keep your firewood storage area clean and free from debris or clutter.
By following these guidelines, you can ensure that your firewood remains in good condition and ready for use whenever you wish to enjoy a cozy fire in your fireplace. Proper cleaning and storage not only help maintain the quality of the wood but also reduce the risk of pests or other issues affecting your home.
Now that you've mastered stacking wood in your fireplace for optimal warmth and ambiance, keeping that fireplace in tip-top shape is crucial. Regular maintenance not only ensures safety but also enhances performance. Our detailed guide on gas fireplace upkeep offers practical, easy-to-follow advice to keep your cozy corner trouble-free throughout the burning season. Don't miss out on crucial insights that could save time and prevent hazards.
Frequently Asked Questions about How To Stack Wood In A Fireplace
Was this page helpful?
At Storables.com, we guarantee accurate and reliable information. Our content, validated by Expert Board Contributors, is crafted following stringent Editorial Policies. We're committed to providing you with well-researched, expert-backed insights for all your informational needs.


0 thoughts on “How To Stack Wood In A Fireplace”